This post contains affiliate links, find out what that means here.
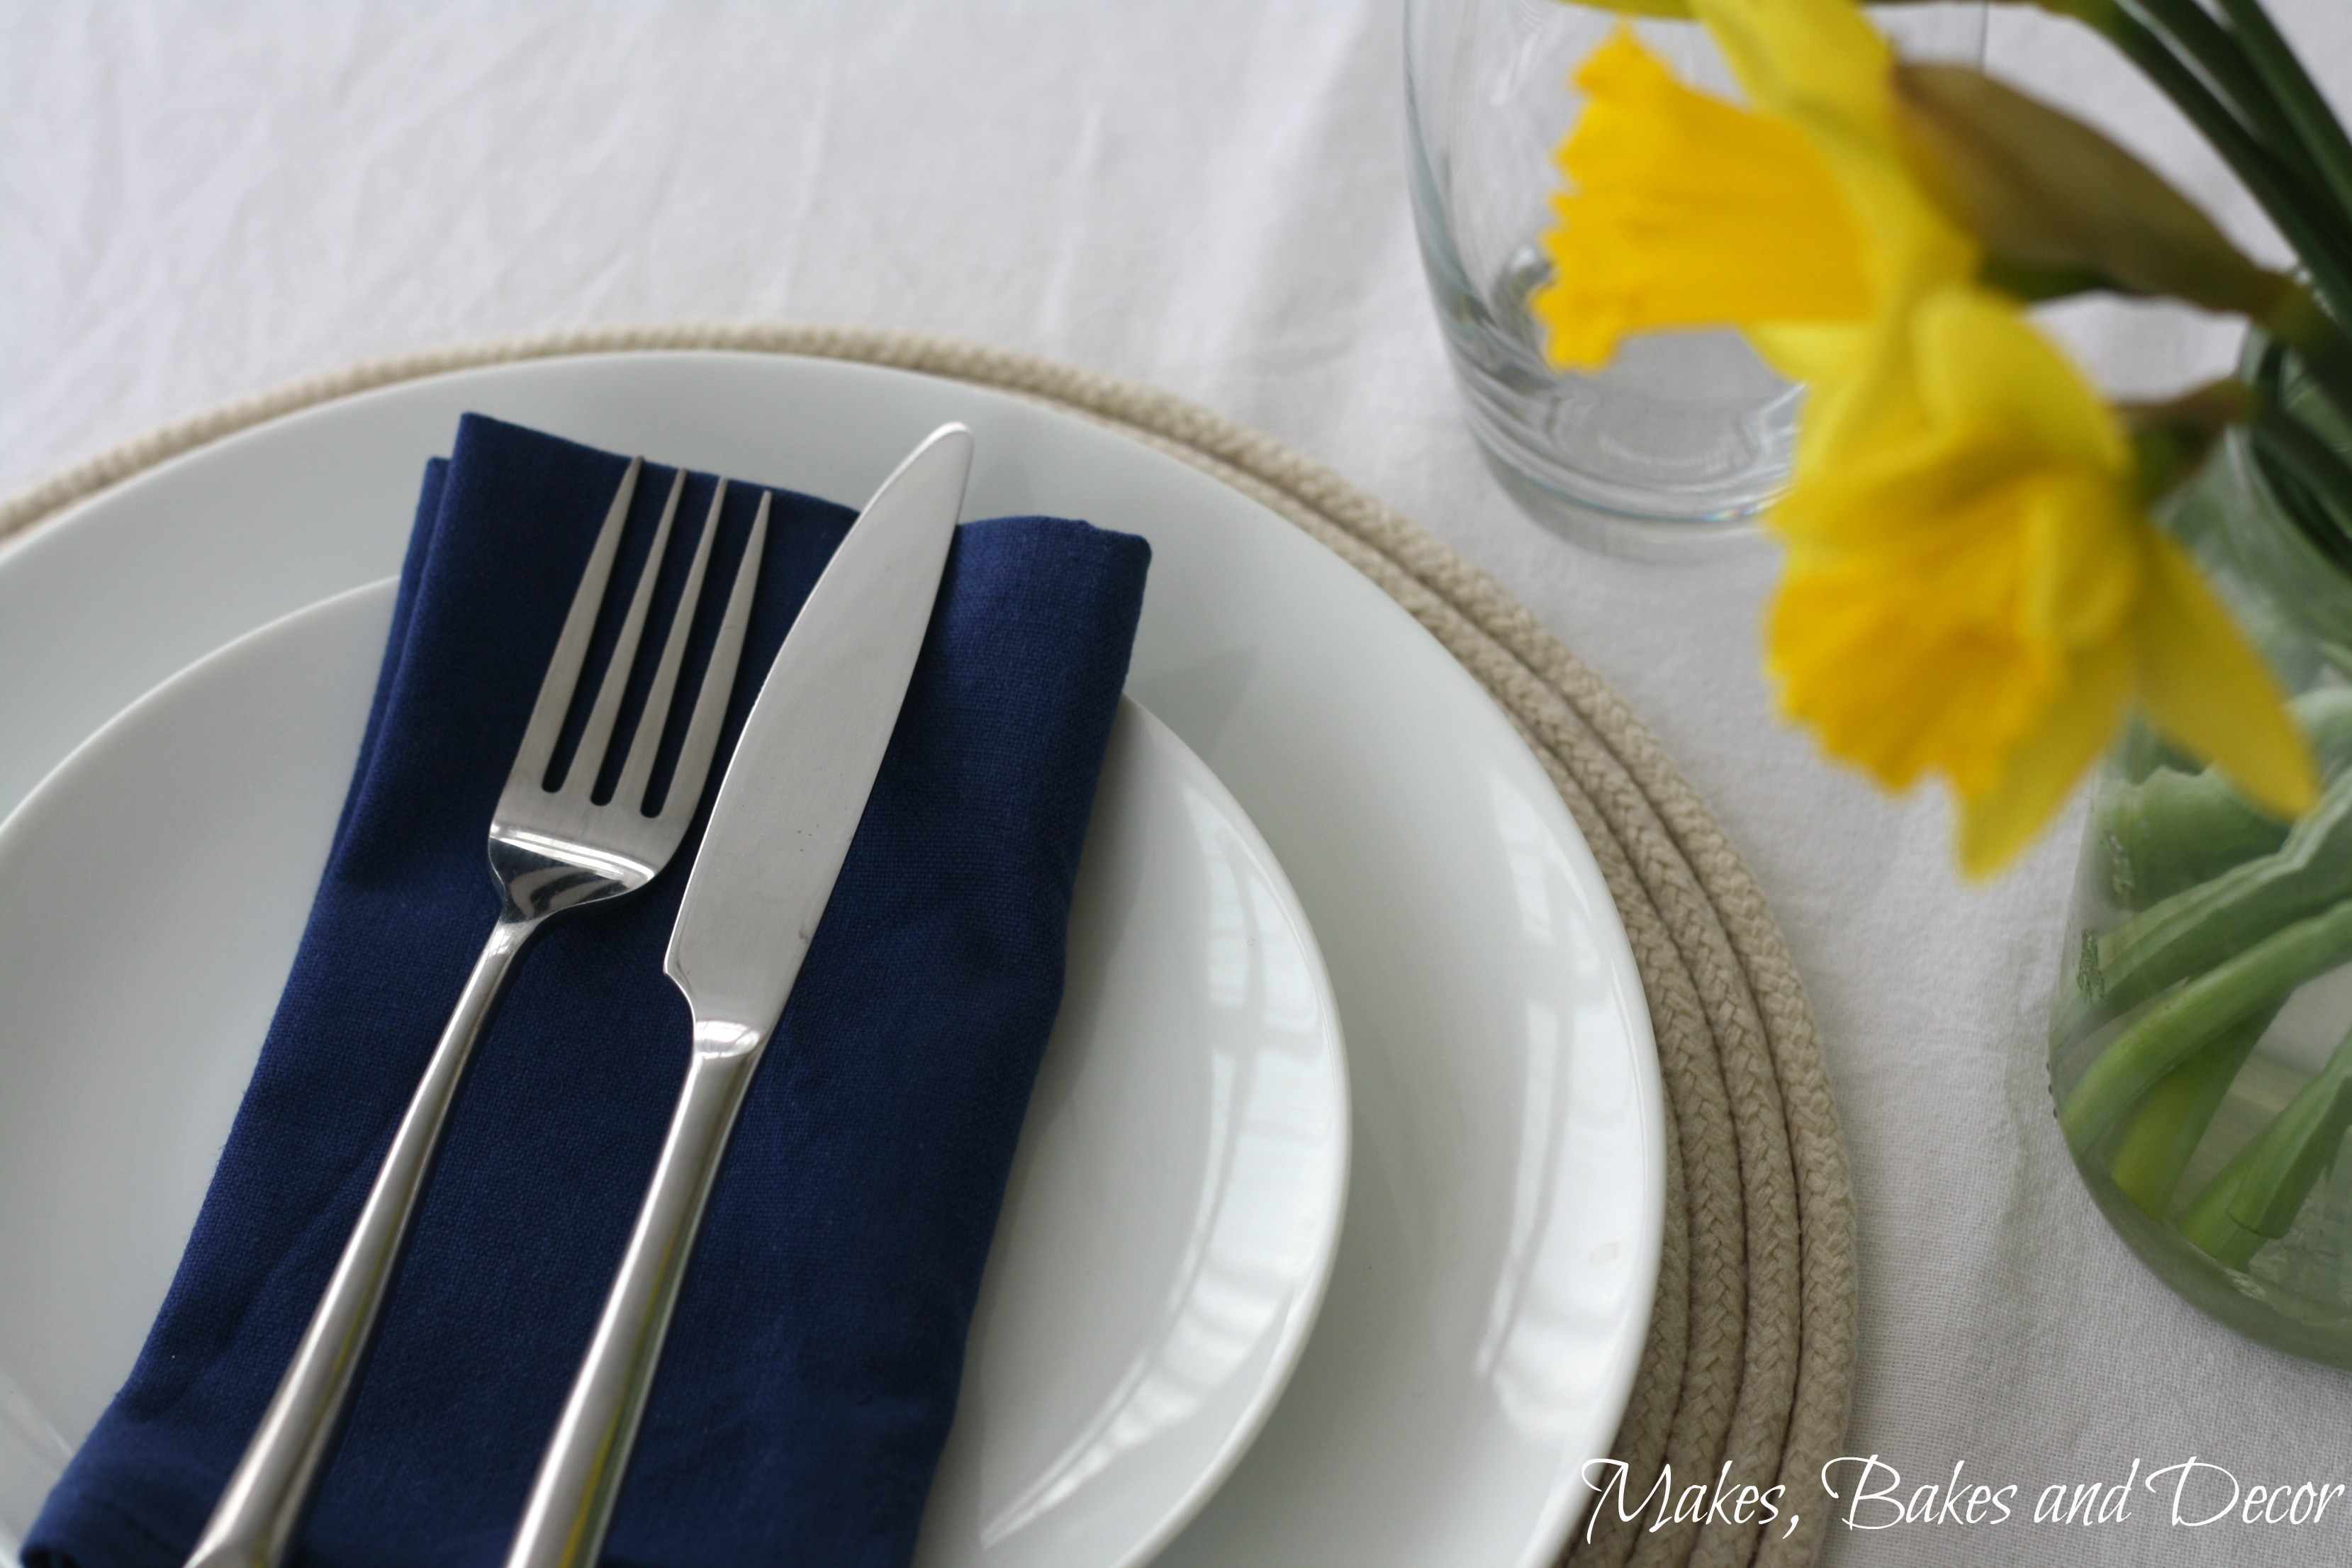
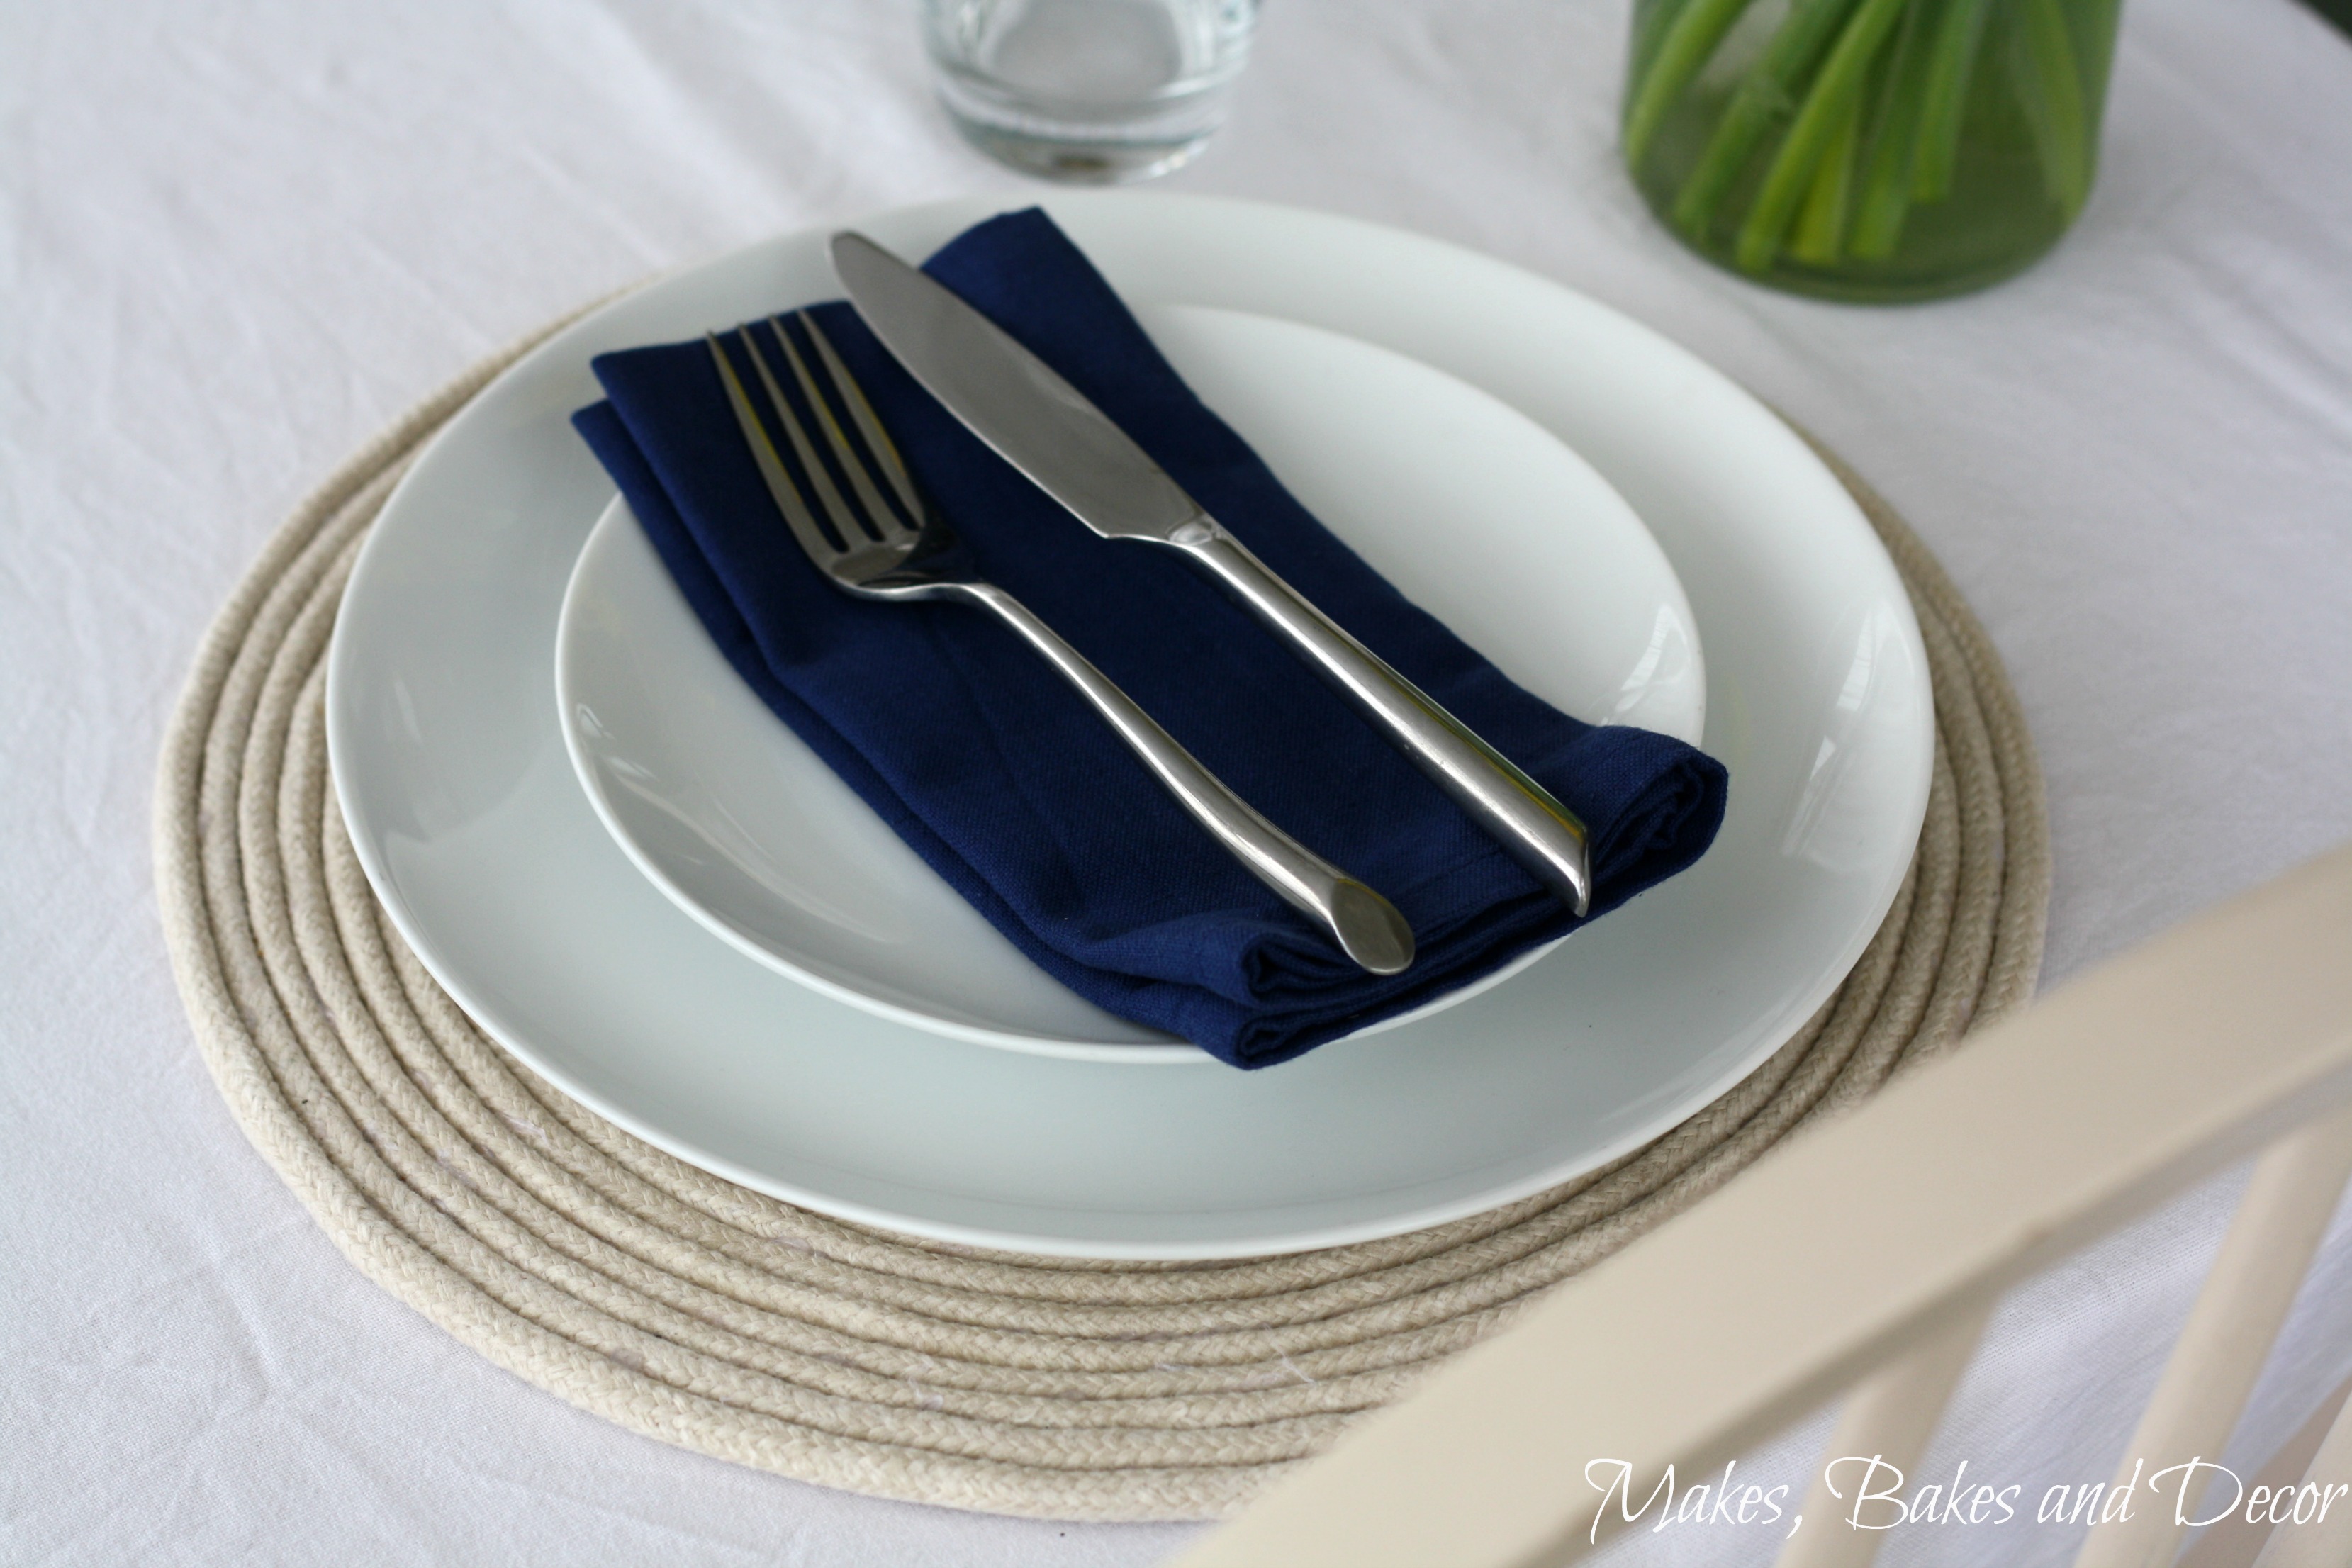
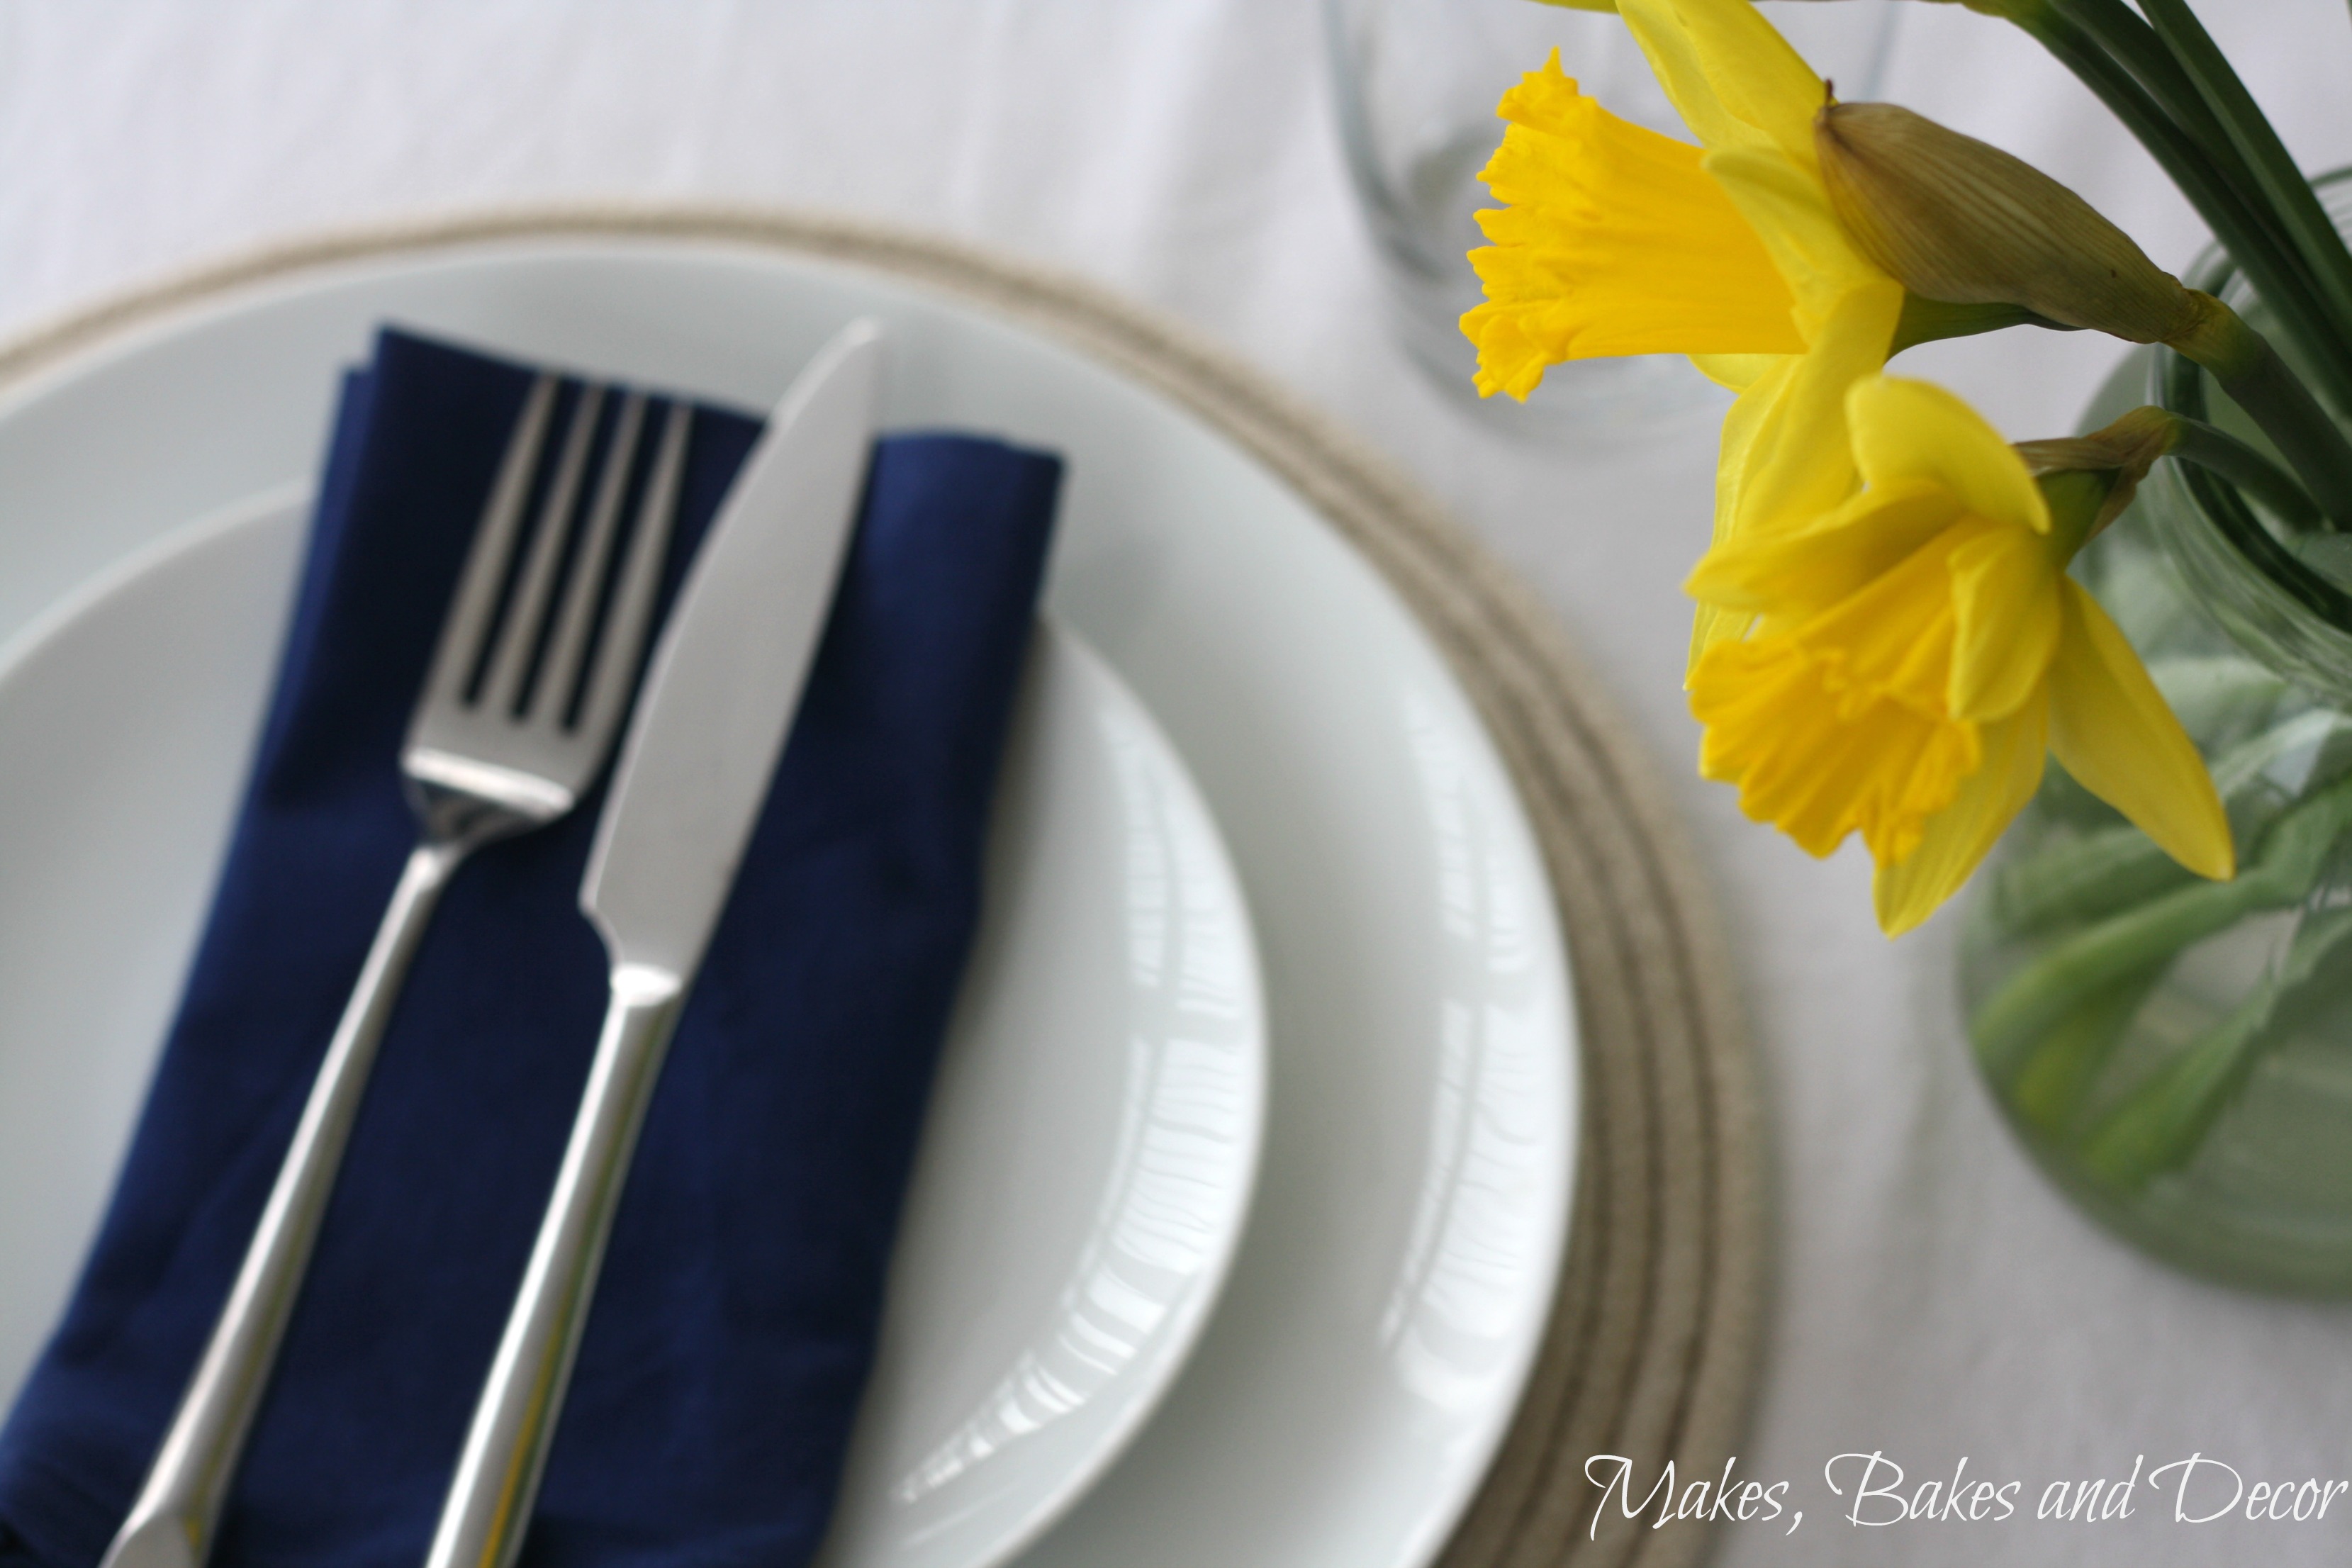
A little Diy for you today! And it’s really easy too, I barely have to tell you how to make these Coiled Rope Placemats. They look so good when done though and everyone will be asking where you got them!
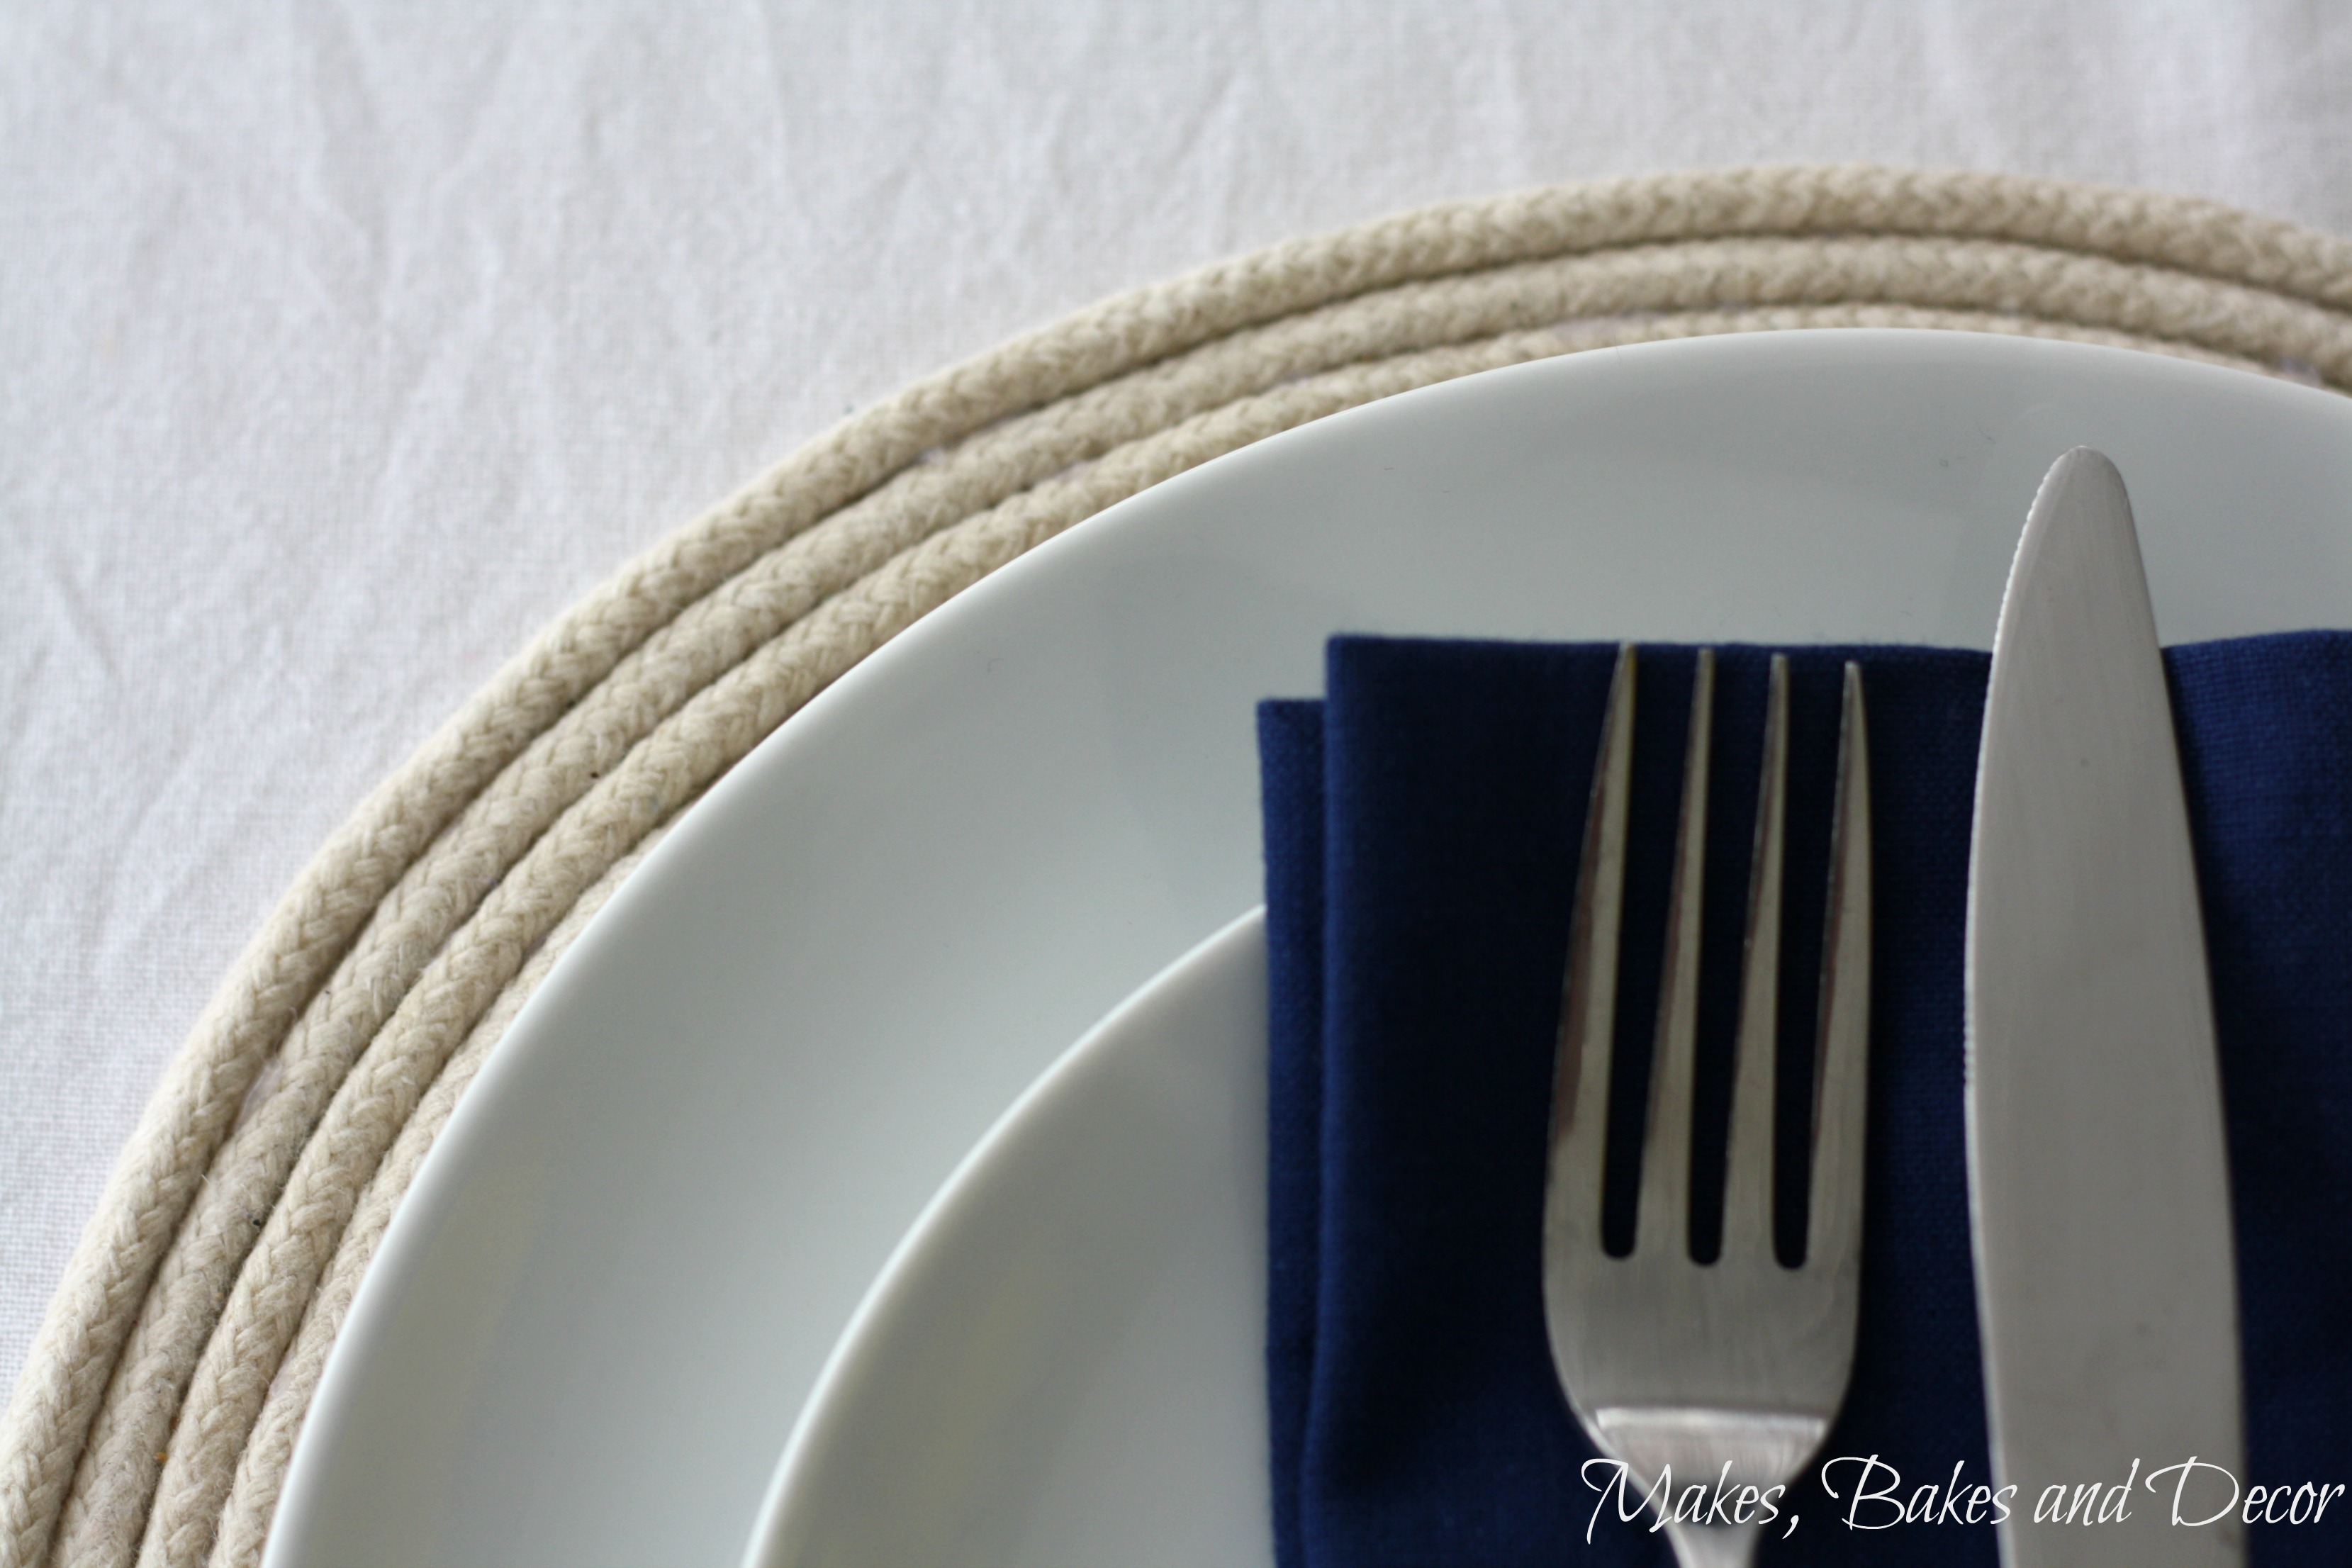
I must admit that these took a lot more rope than I originally imagined! You need at least 10 meters of rope per placemat for it to be visible around the edge of your dinner plate. Here is what I used to make these.
Rope | Mini glue gun | Mini glue sticks | Felt (optional)
Like I said before I don’t really need to give step by step instructions, this diy is pretty self explanatory. Get your 10 meter length of rope and start to coil it. Using the glue gun add a small amount of glue to the outside edge of the rope, then coil. Keep doing this in small sections being careful not to let the glue be visible from the top.
Keep coiling until you get to the end of your 10 metre length, work on a flat surface to ensure your mat lays flat. Also I got a lot of glue on my counter so make sure you put something, like a board, down to protect your surfaces.
When you get to the end, turn the mat over to the ‘wrong’ side and fray the end of the rope a little so you can stick it down.
Doing this will make sure the ‘right’ side of your placemat looks neat but it will still lie flat on the table. The last optional step is to glue a circle of felt to the base of the placemat. Mine didn’t really need it for stability but it gives the placemat a professional, finished look.
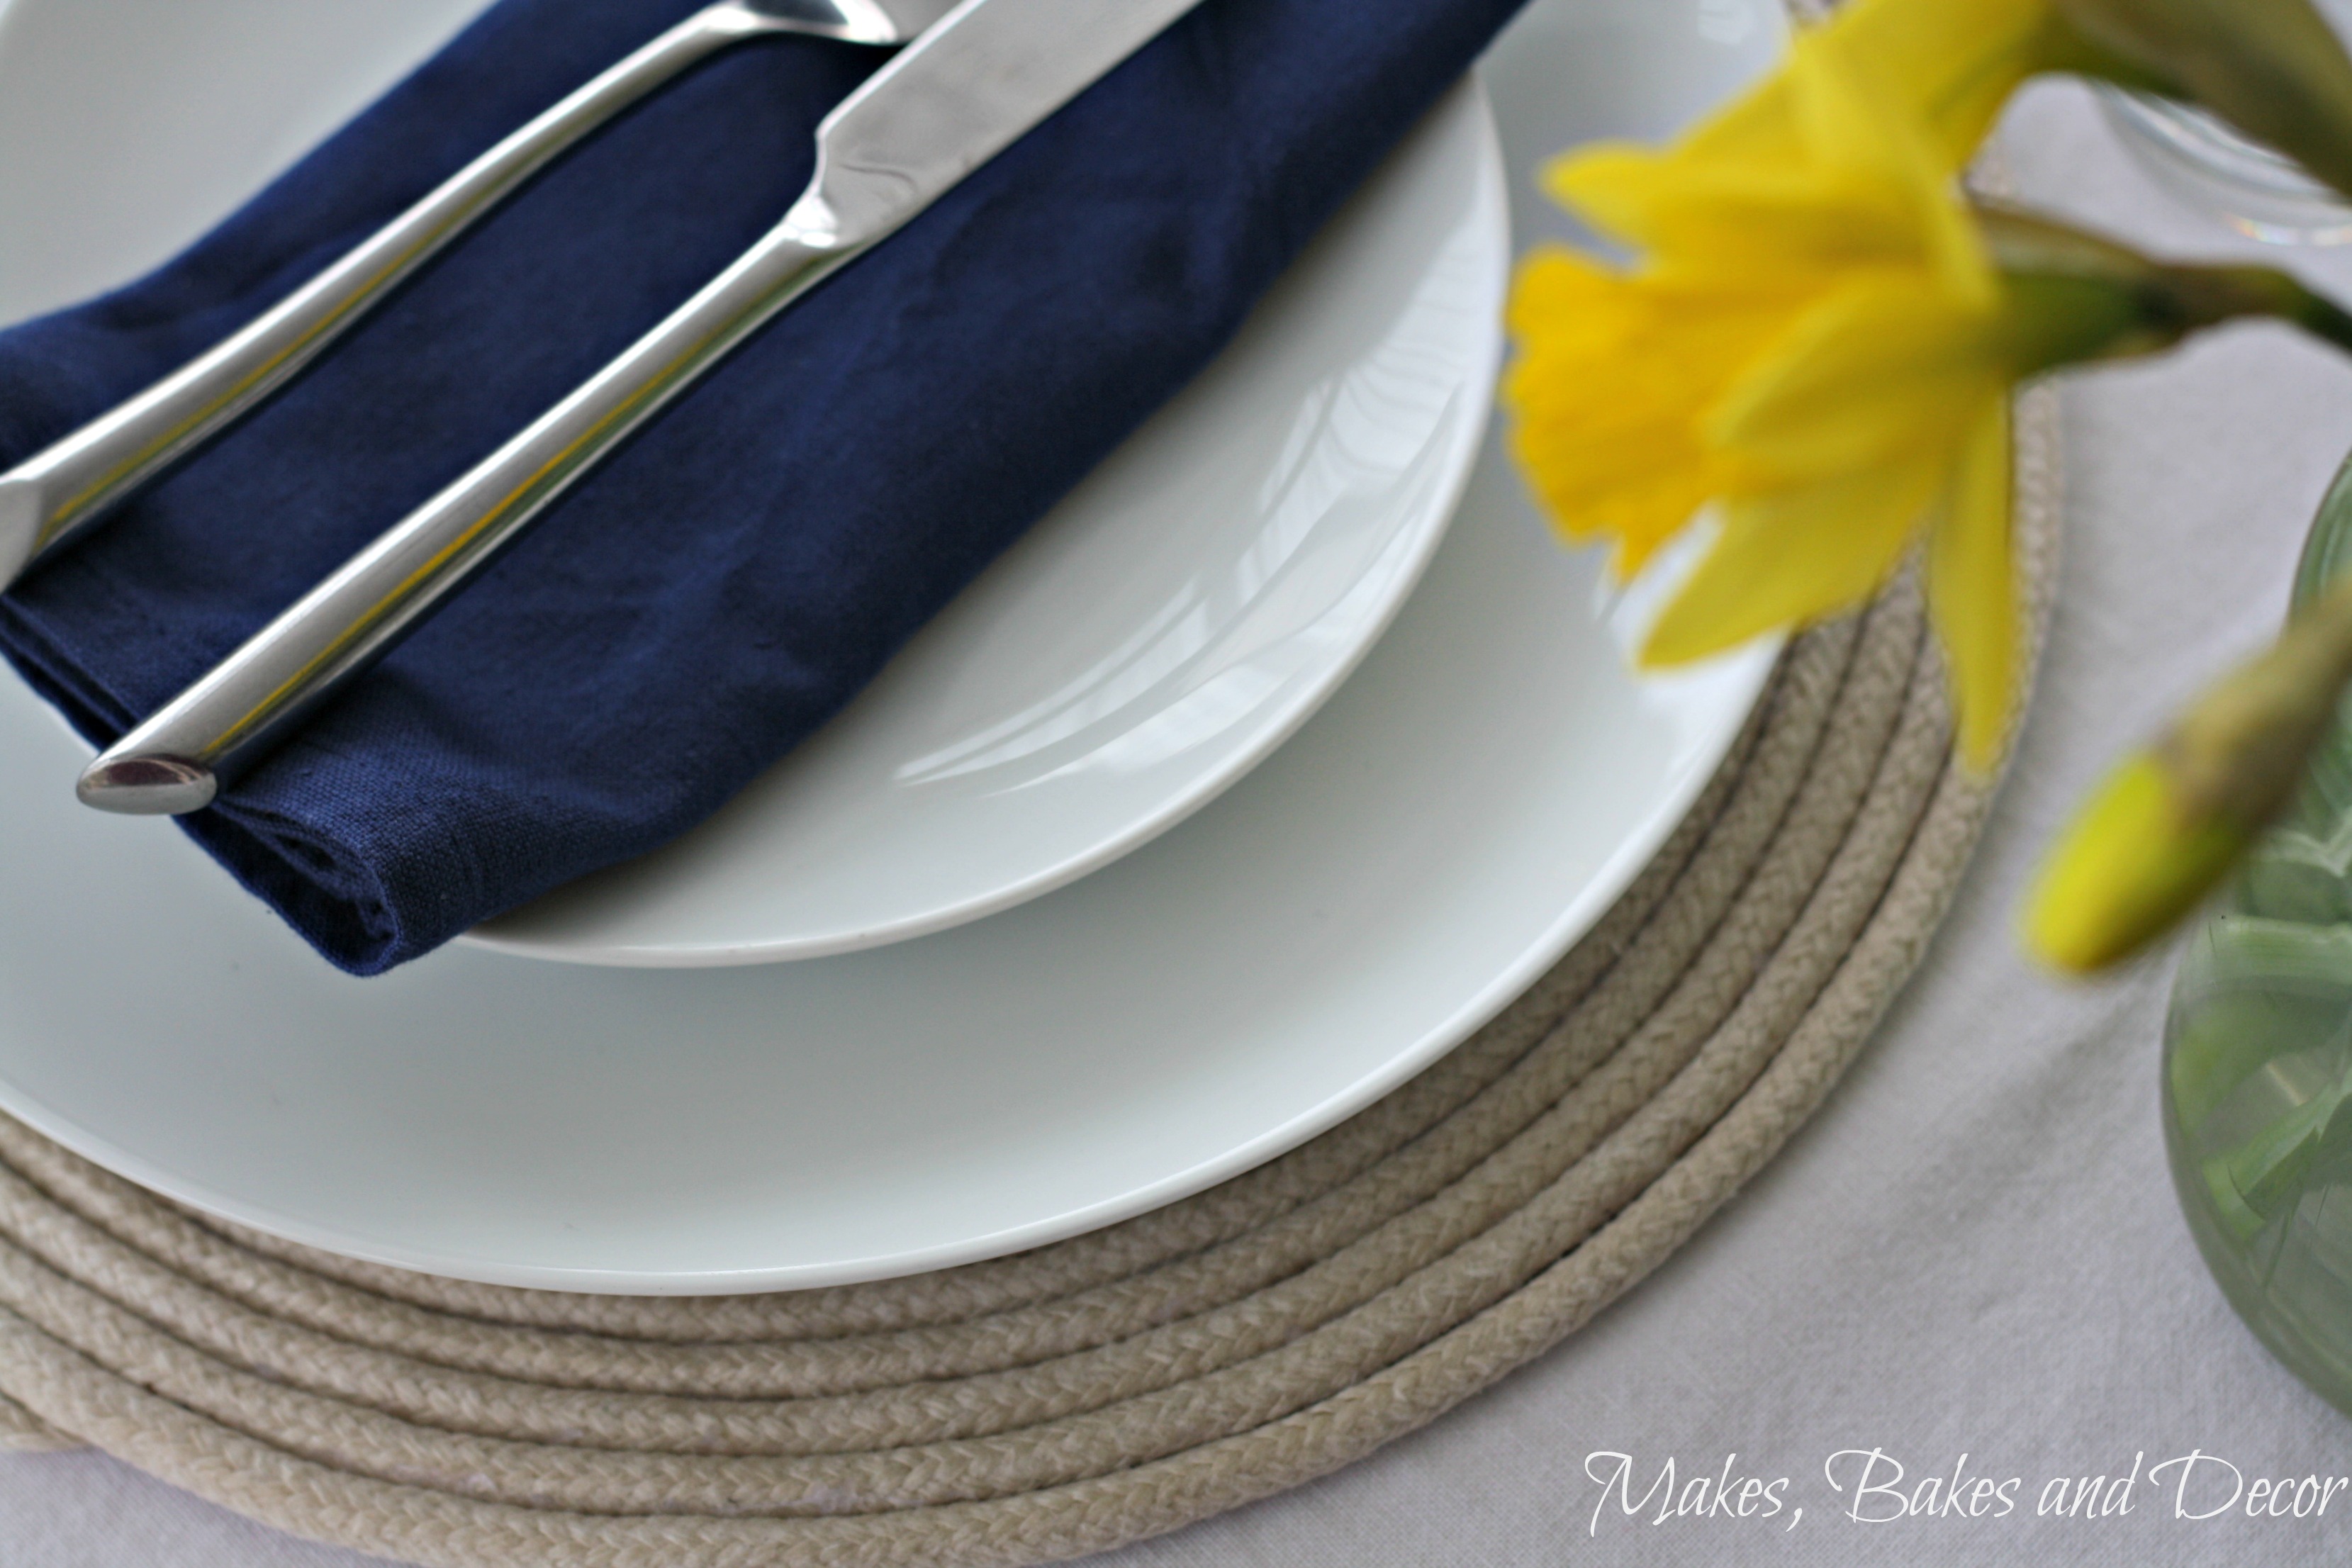
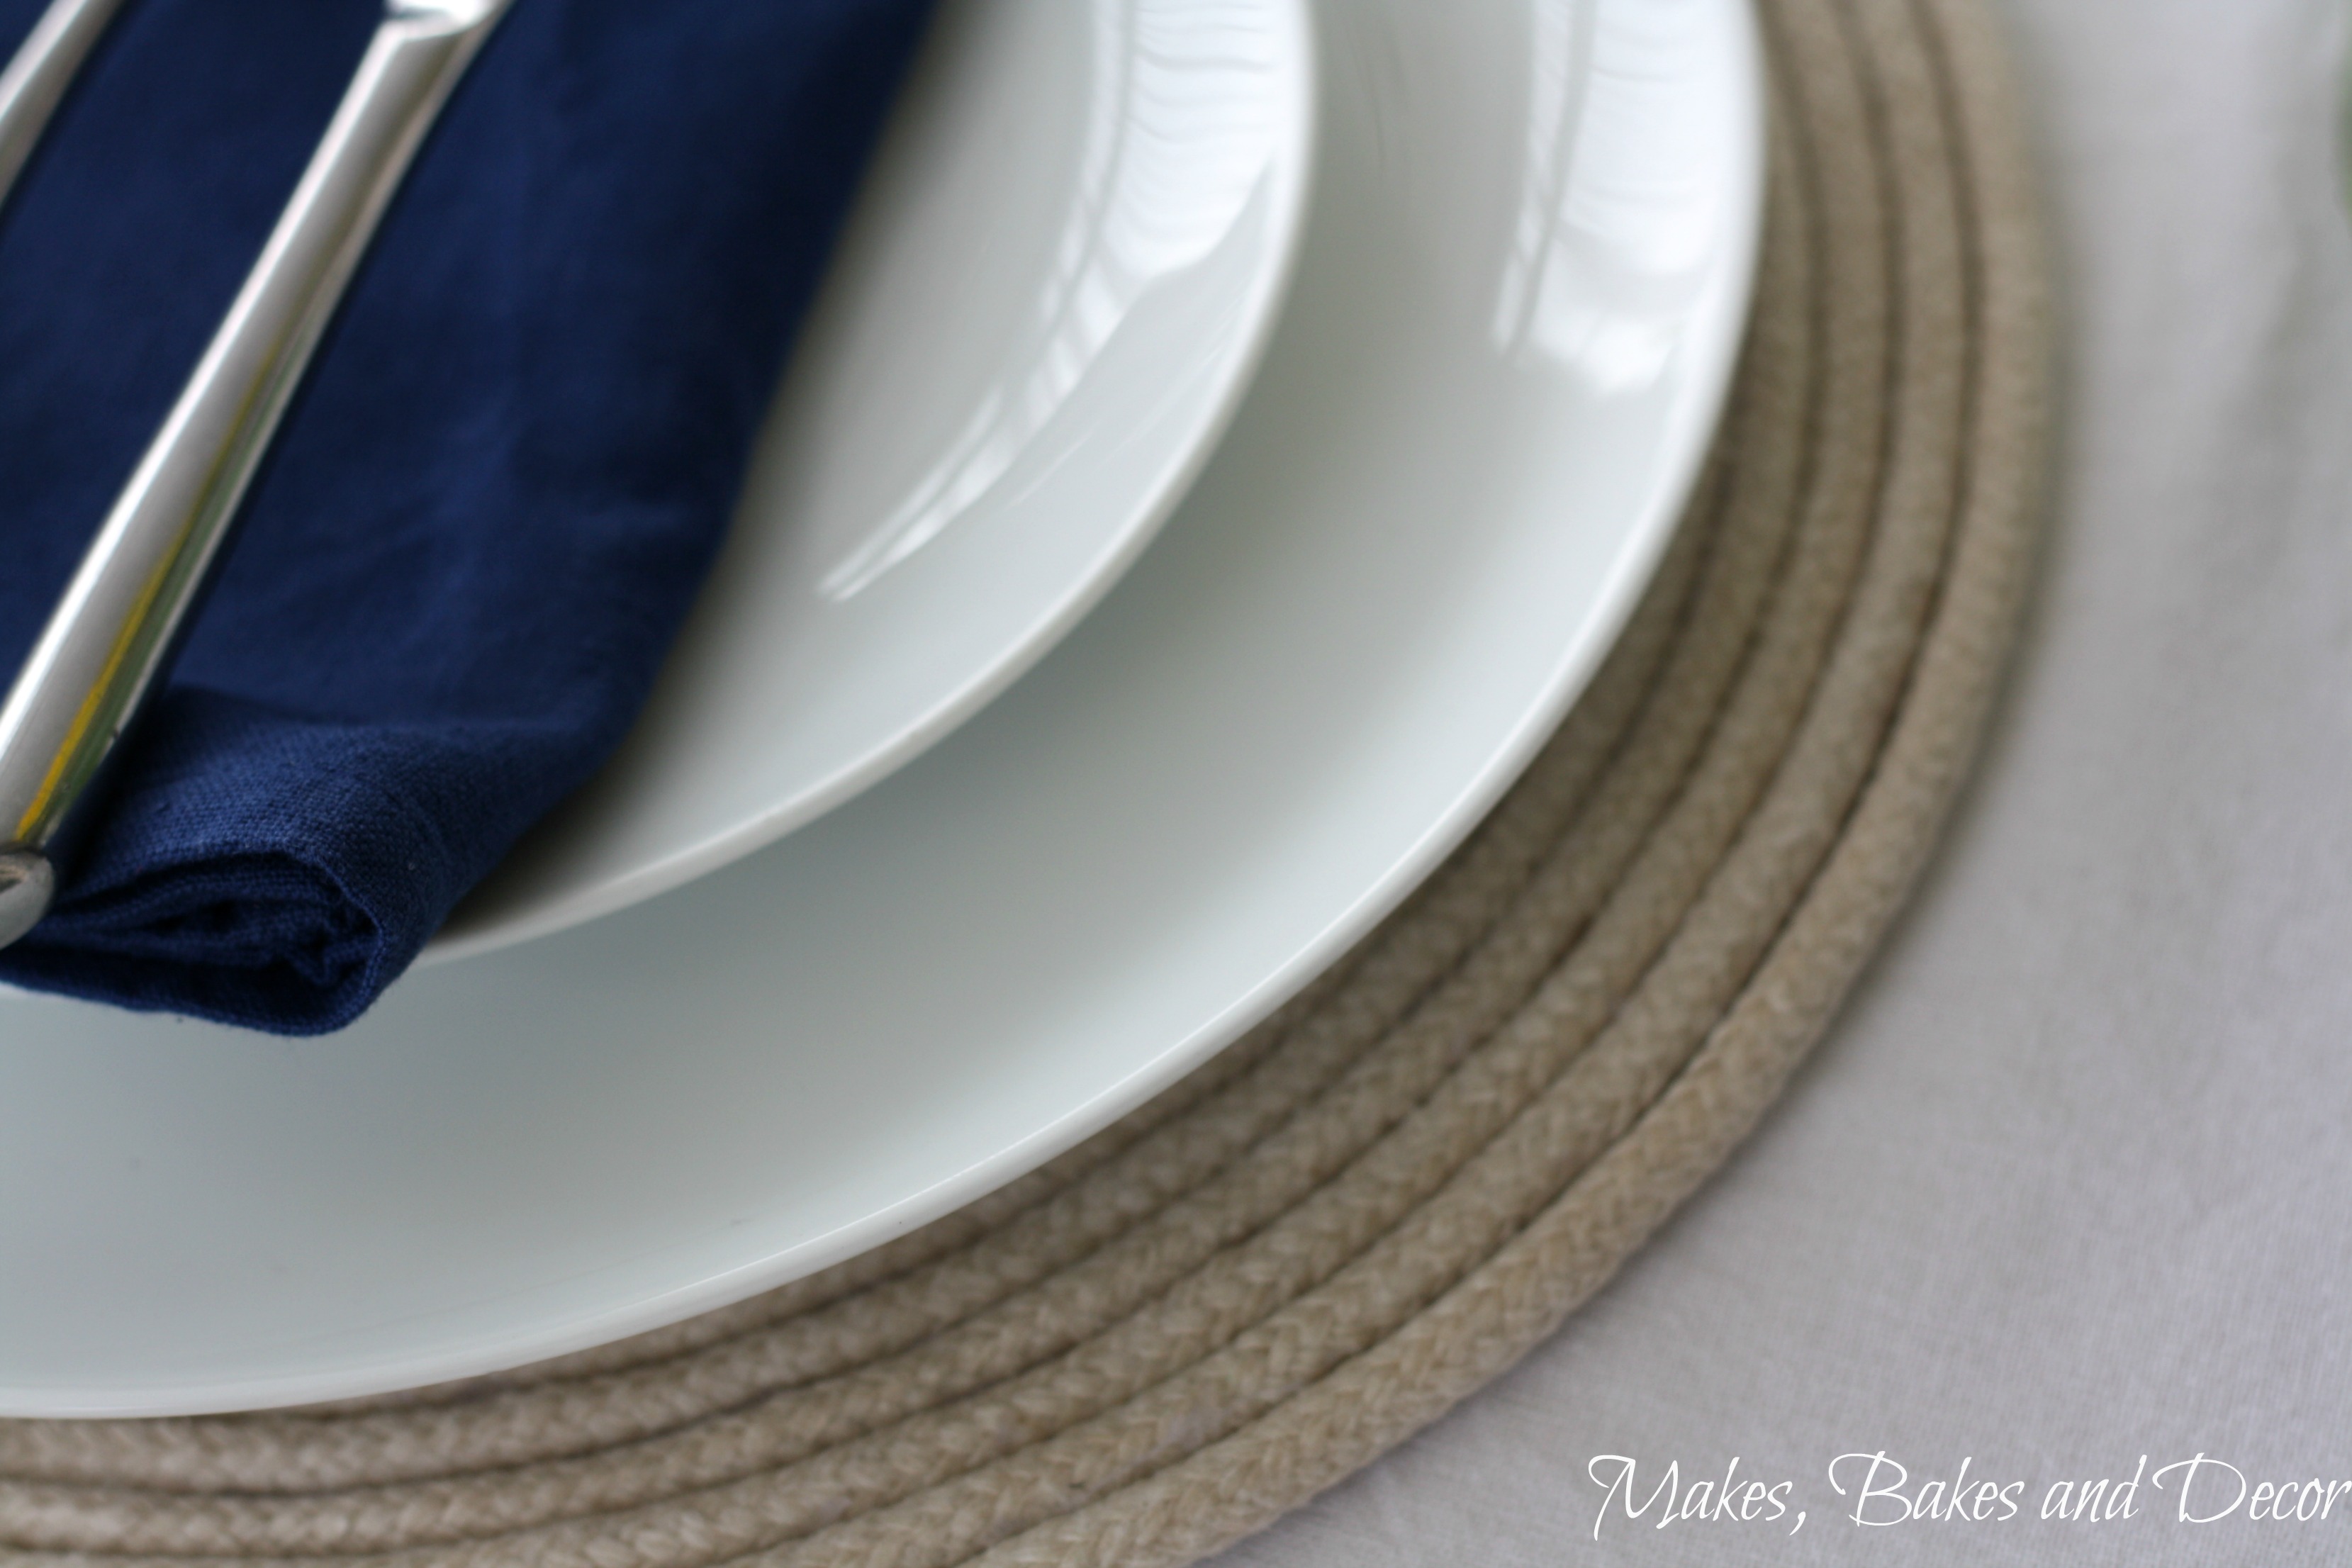
I love the look and texture of the finished coiled rope placemats. I’ve seen some different coloured ropes and cords that I might experiment with. Like this pink one or this black one.
What do you think of today’s post? If you give it a try let me know in the comments at the bottom of the page!
Lianne x
Pin Coiled Rope Placemats to save them for later!



I love how easy, simple, and beautiful these are!
Author
Thank you 🙂
This is so cute! I see these at the store all the time, but I had no idea that it was so easy to make them at home xx
http://theblondechiffon.com
Author
Thanks 🙂
These are adorable! I need to make these for our dining room!
Author
Thank you! You definitely should!
This is cool to see, especially with your photos. We usually use our Sushi roll-like place mats. This is a cool idea.
Author
Thanks, I’ve got so many different kinds of placemats! I think I have some like you described too!
Love these! Simple yet very effective 🙂
Author
Thank you 🙂
Oh these are lovely and easy and look great too.
Author
Thanks!
You make it look so easy! Fab idea : )
Author
thank you 🙂
I like the look of the finished placemats. Looks beautiful.
Author
thank you!
these look brilliant, really simple and effective. Great tutorial x
Author
Thanks, glad you like them!
What a great idea. I have something simerla but they are to big for my table, you have gave me a great idea to make some smaller. Love these:)
Author
Thanks, good luck with making them! 🙂
This looks great. So effective and easier than it looks x
Author
Thank you!