For ages I’ve been wanting to make my makeup drawer more organised, so I’m actually able to get exactly what I want without emptying everything out because I can’t find it. You can buy lots of things to help you organise and divide drawers but I didn’t want to spend a lot of money and I wanted something that would fit into my drawer perfectly. So my solution was to make these DIY drawer dividers!
To make them I used an old cardboard box, scissors, a pen, masking tape, newspaper, pva glue, paintbrush and paint. I had most of these things already, the only new purchases I made were the masking tape and glue. First things first, I should probably show you what my makeup drawer looked like before!
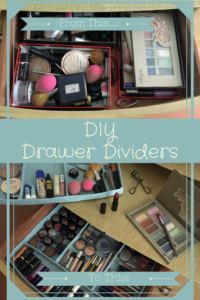
It’s a mess right?! Before I start I just want to point out that I haven’t set this post up as a step by step tutorial, as I made it to fit my own dressing table drawer. However I will show you how I made it so you could use the same method to make your own.
Once I had emptied my drawer I cut a piece of cardboard to fit snugly in the base of my drawer. You can do this in one solid piece or masking tape pieces together. I then cut strips of cardboard half the depth of my drawer. This was because I wanted to make two DIY drawer dividers, one to sit on top of the other. If you are just making one you will need the strip to be the full depth of your drawer. I then used masking tape to stick these around the edge, making a tray as you can see below.
You can see in the picture how it fits perfectly in my drawer.
My next step was to layout where I would be putting my makeup and then using a pen mark where I wanted to put the dividers. Then I cut more strips of cardboard the same width as the edges and masking taped them to where I had marked out.
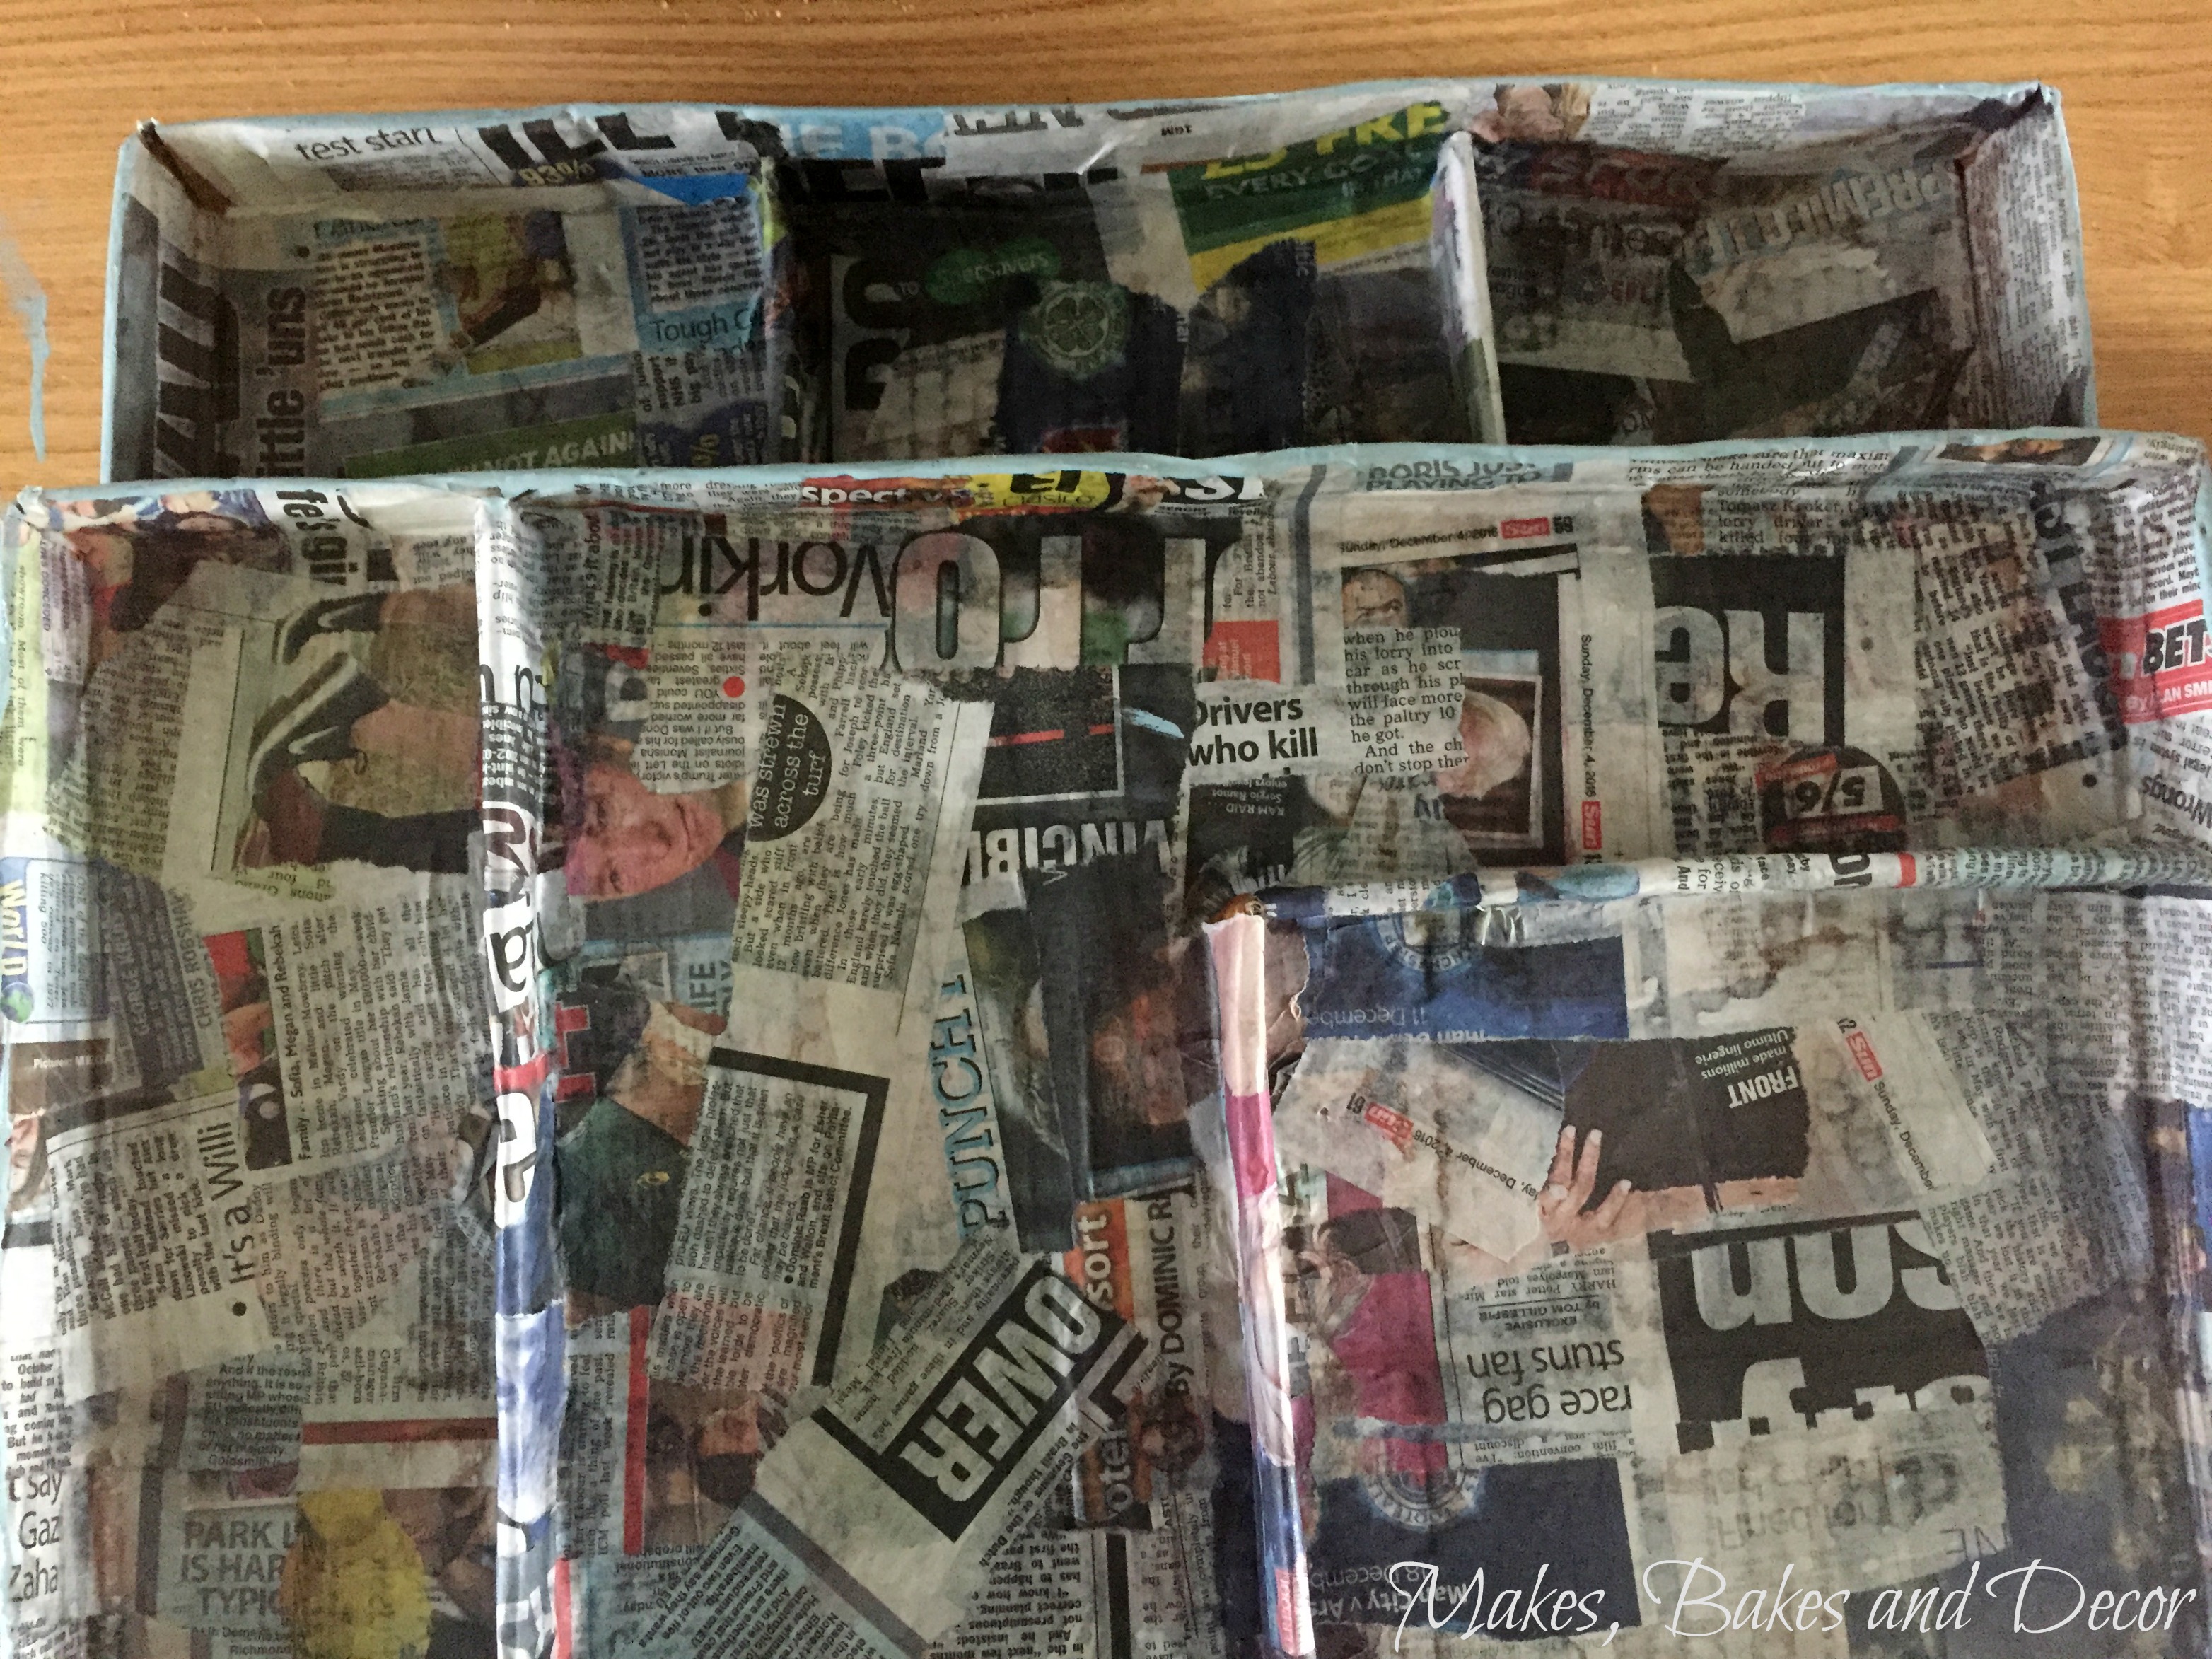
Here is the DIY drawer divider ready to cover. Make sure everything is secure with plenty of masking tape. You’re probably thinking that this is looking pretty flimsy right? I must admit at this point I was doubting if my idea was going to work out or not. The next step makes everything more sturdy.
I paper machéd the whole thing using strips of newspaper and pva glue with a little water added. Paint the divider with the glue lay down the newspaper strip then paint over with the glue. repeat this process until the whole thing is covered. Leave it to dry for 24 hours.
I repeated this whole process to make the second divider. You might be able to see from the picture above that I made the second divider shorter. This is so the bottom divider will stay in the drawer all the time but I will be able to easily lift the second divider in and out to get to the one underneath. The final step is to paint them! I used some emulsion paint I had spare in the garage. Leave them to dry again for 24 hours and then your drawers can look as organised and as fab as this!
Hopefully my instructions can inspire your own diy drawer dividers, you could go all out on the decoration. I’m thinking washi tape! Next up for me is my earring drawer! Let me know your opinions in the comments section at the very bottom of the page! I look forward to hearing from you!
Lianne x
This post contains affiliate links, find out what that means here
Want to pick up your materials now? Here are some options!
Pin DIY Drawer Dividers to save it for later!
Looking for more DIY projects for the home? Why not follow my DIY | Home and decor board on Pinterest?
[bws_pinterest_widget type=”board” width=”360″ height=”60″ thumbnail=”60″ url=”https://uk.pinterest.com/makesbakesdecor/diy-home-and-decor/”]
Some previous posts that you might be interested in!
before and after occasional tables
I’ve linked this post to The Sweet Inspiration Link Party hosted by


I need to do this my makeup collection is a mess!
Author
ha ha, good luck!
This is such a creative way to make dividers. It really turned out super pretty and soo organized!
Author
Thanks!!
This is such a smart idea! I’ve been needing to re-organize my makeup drawers forever but haven’t found a solution for the width of my drawers without losing space. So smart! I bet the paper mache helps to really keep everything stiff and together.
Author
It does! I love how I can see everything properly now!
I just got a BEAUTIFUL vanity that has plenty of drawers but before that I TOTALLY could have used this. My makeup was a MESS.
Author
great! 🙂
This is such a great idea! Since my makeup drawer looks a lot like your “before” I think I need to try this out too.
January is such a good month to start organization projects, and this one will be at the top of my list.
Author
Thanks, I have so many cupboards and drawers that need organising!
That is so clever, I like it when I can grab my lipsticks and make up easily and don’t have to look for it, especially early in the morning! Thanks for stopping by Sweet Inspiration this week!! Hope to see you again!
Author
thank you, I’m enjoying the sweet inspiration link parties, they are full of so many great projects 🙂