
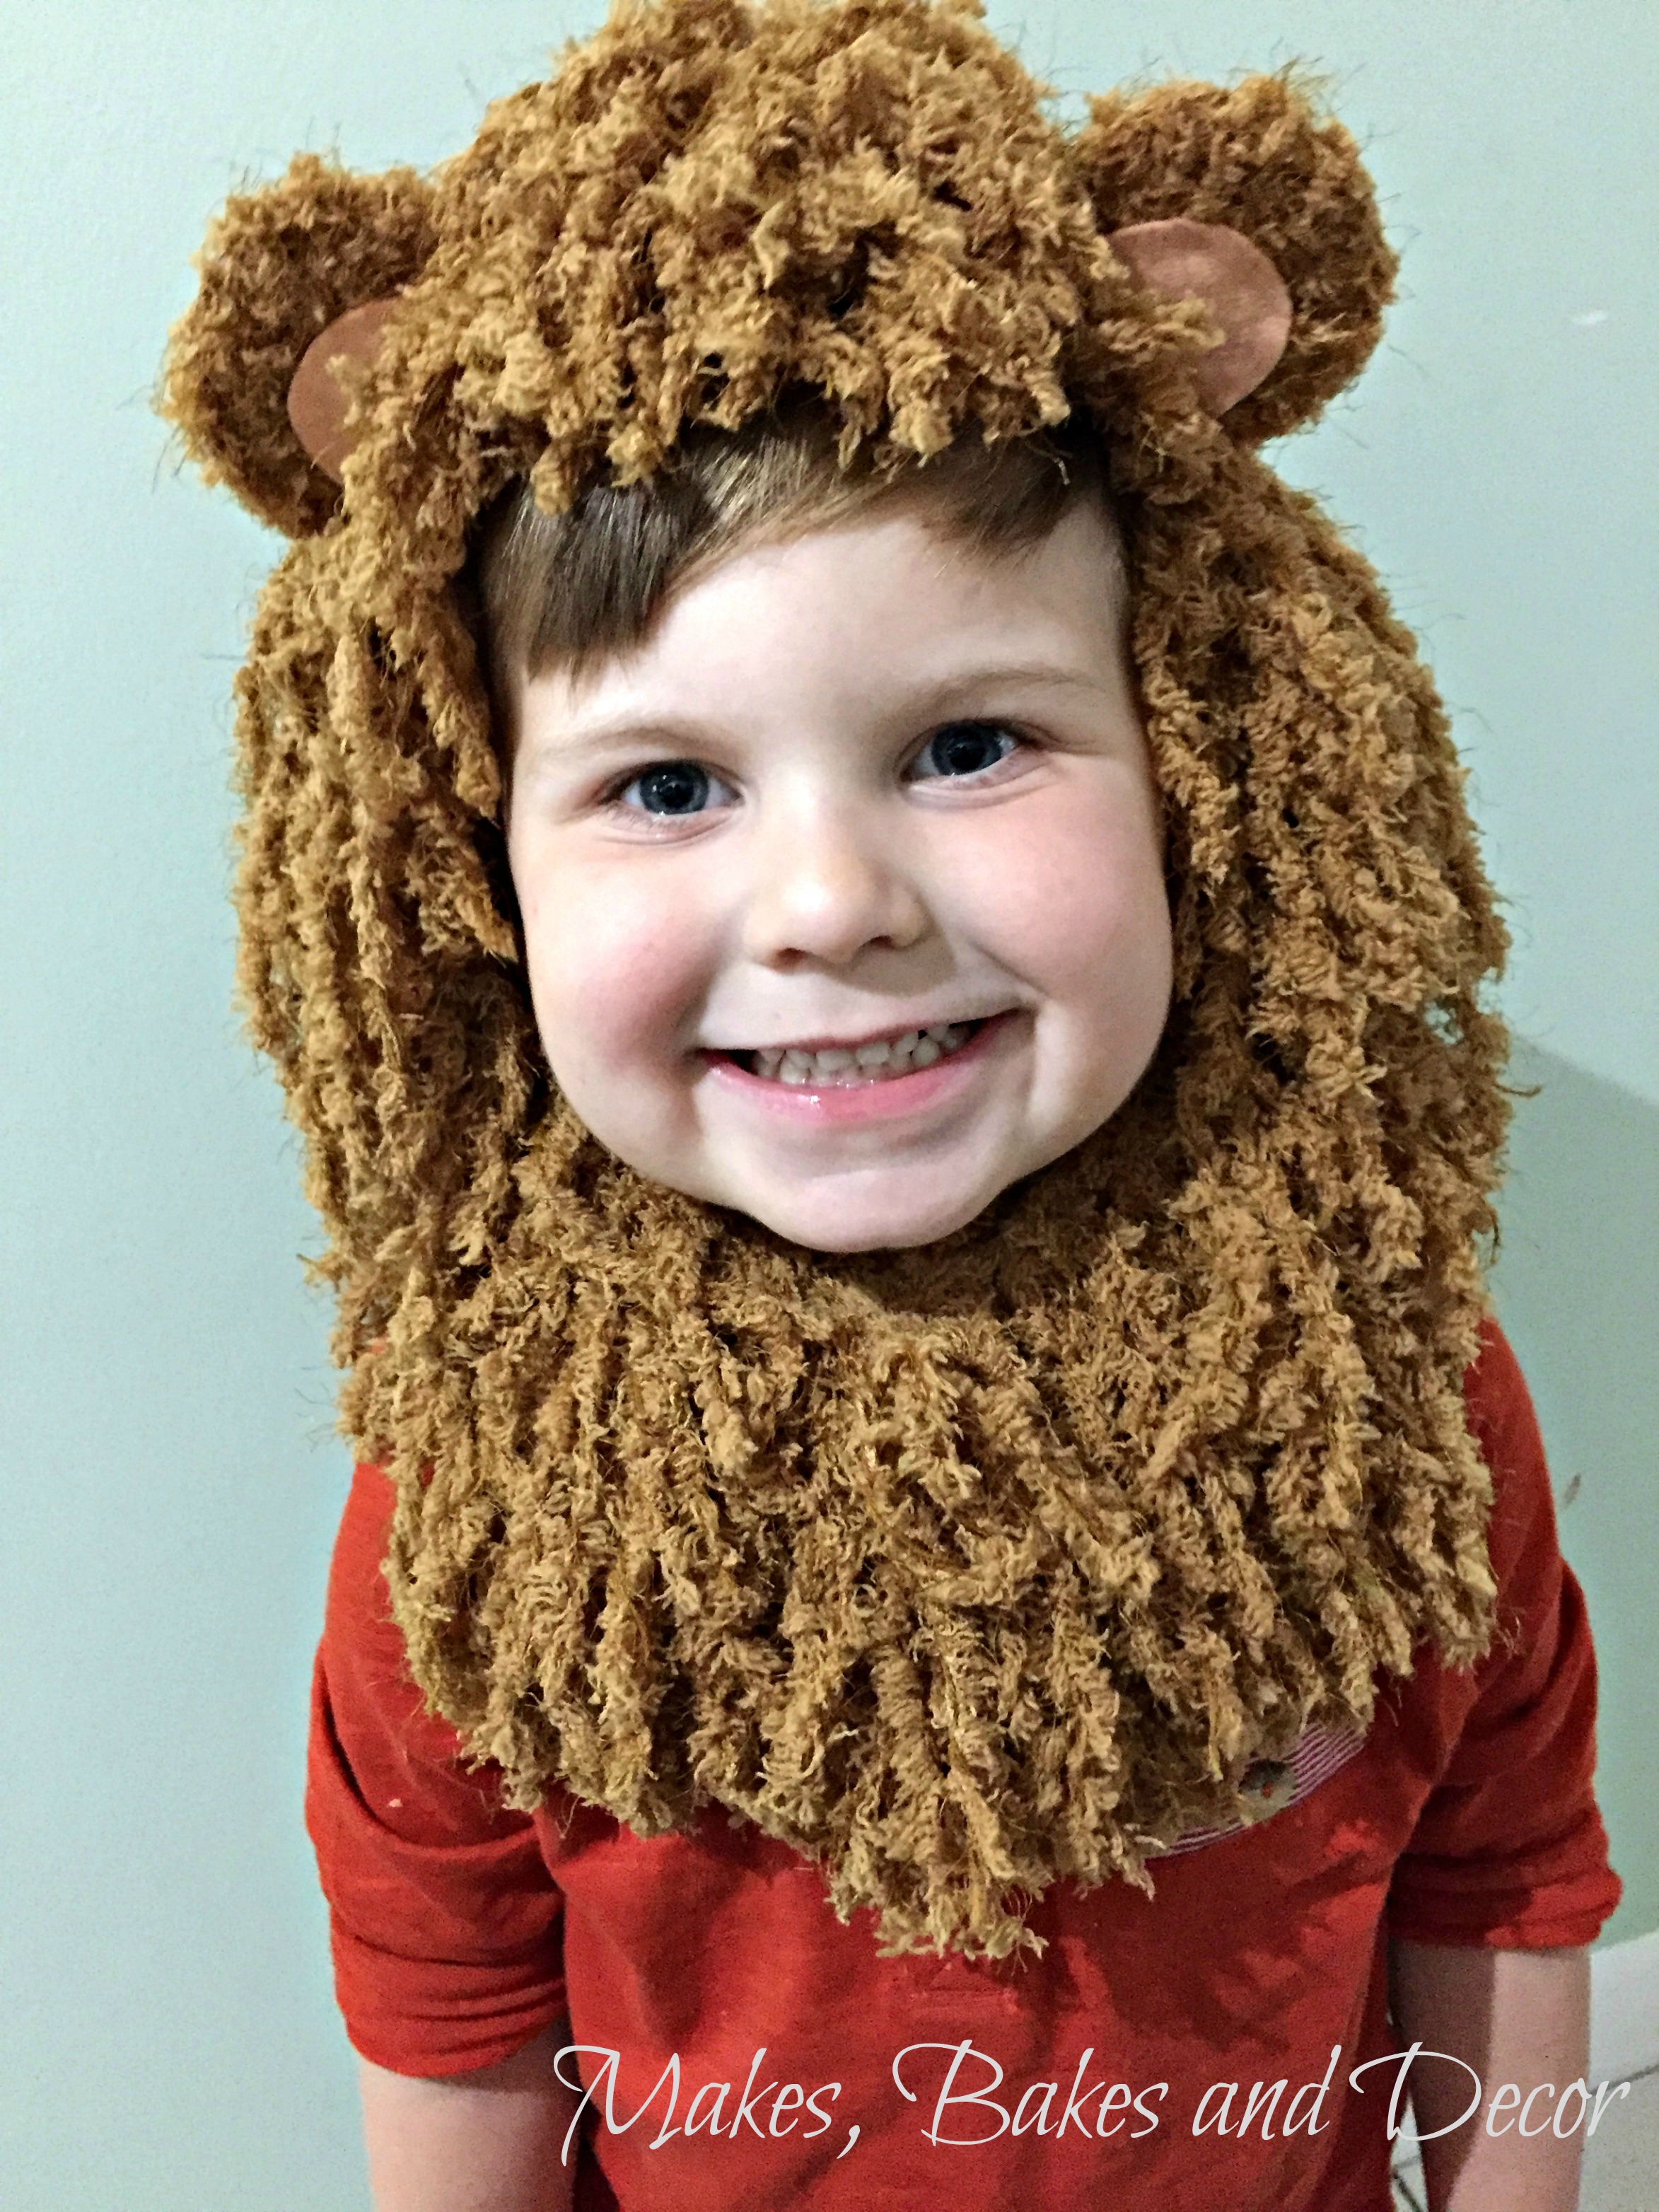
Today I’m sharing this Lion Costume Tutorial with you. Back in September, my son Mason was invited to a circus themed birthday party, his best friend (the birthday girl) was dressed as the ring mistress and he was her lion!
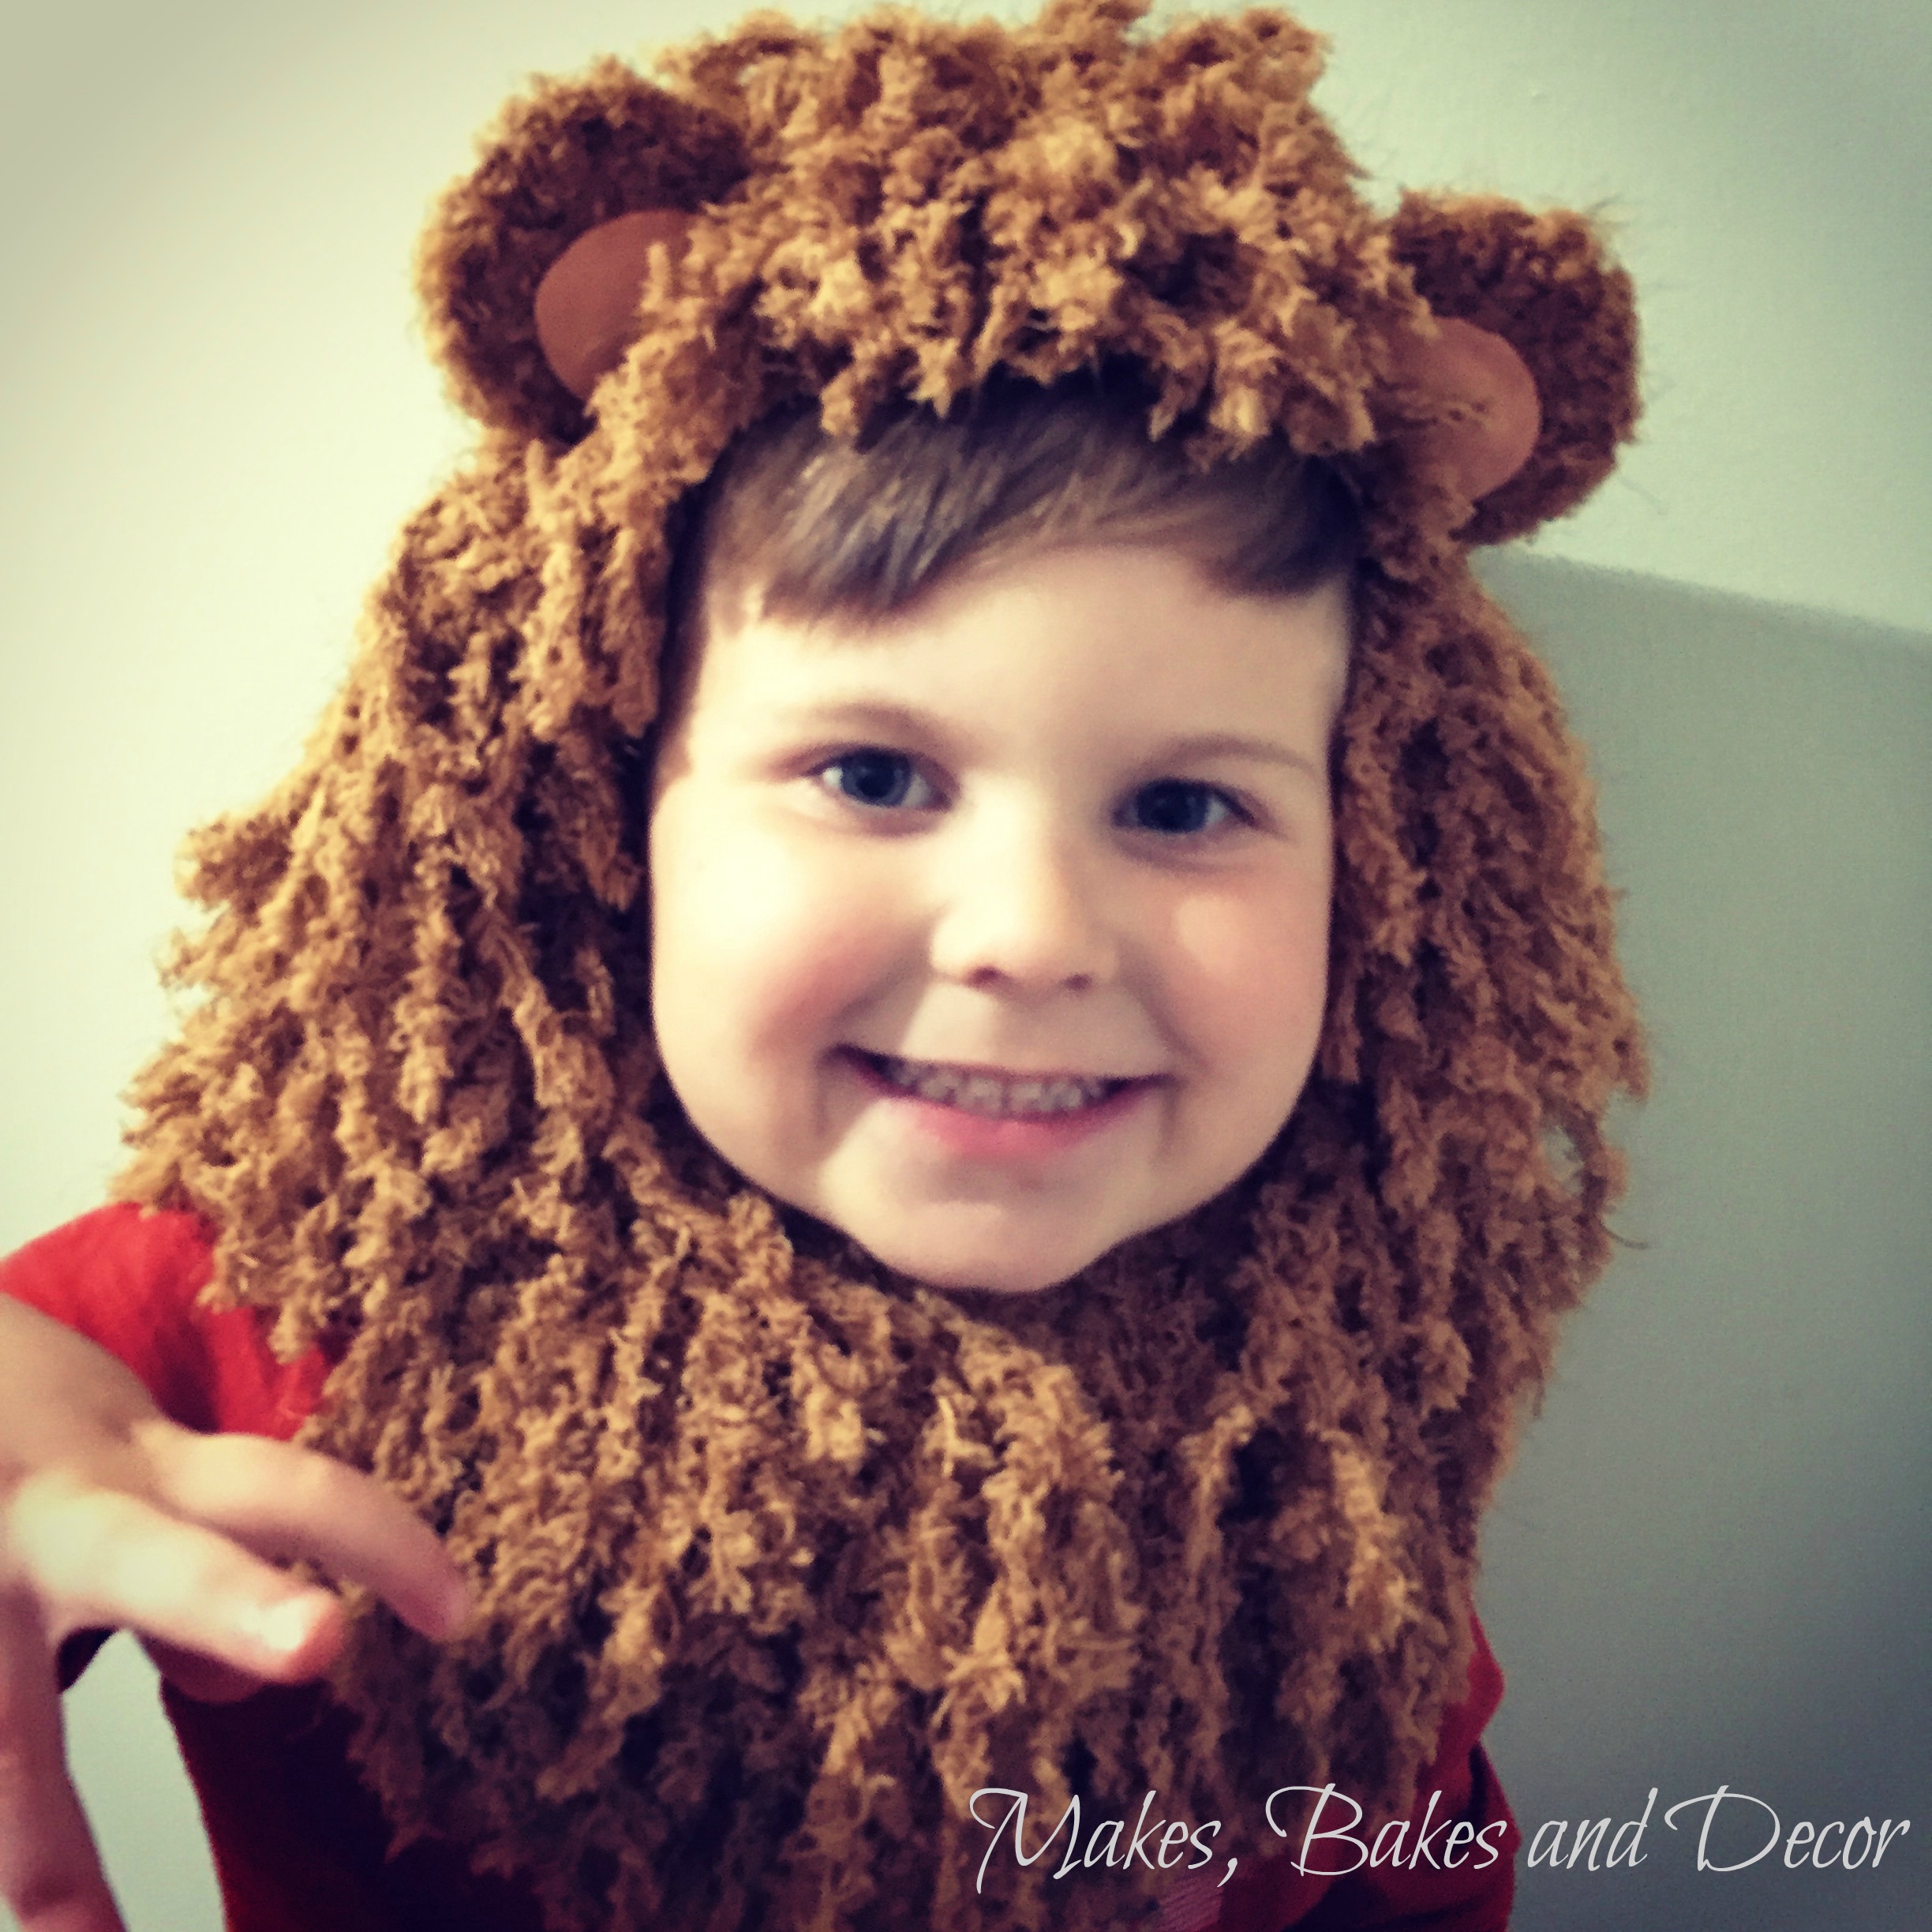
How cute does he look?! When he decided he wanted to be a lion I had a look at what was available online. There was a mixture of horrible nylon costumes and some really nice ones from places like Etsy. I was considering buying one of these, however I decided to give making my own a try. Below is my step by step lion costume tutorial.

Above is a picture of everything I used. An old headband,cardboard, pen, glue (I know, I forgot to put this in the picture), scissors, large wool needles, skin coloured felt and some wool. I found this amazing wool which was perfect for a lions mane in a local cheap shop. My original plan though was to get a few different natural shades and mix them all together. Have a look around and see what you can find.
To make things clear I’ve broken this lion costume tutorial down step by step. Each step comes with a picture, for example step 1 is picture 1 etc.
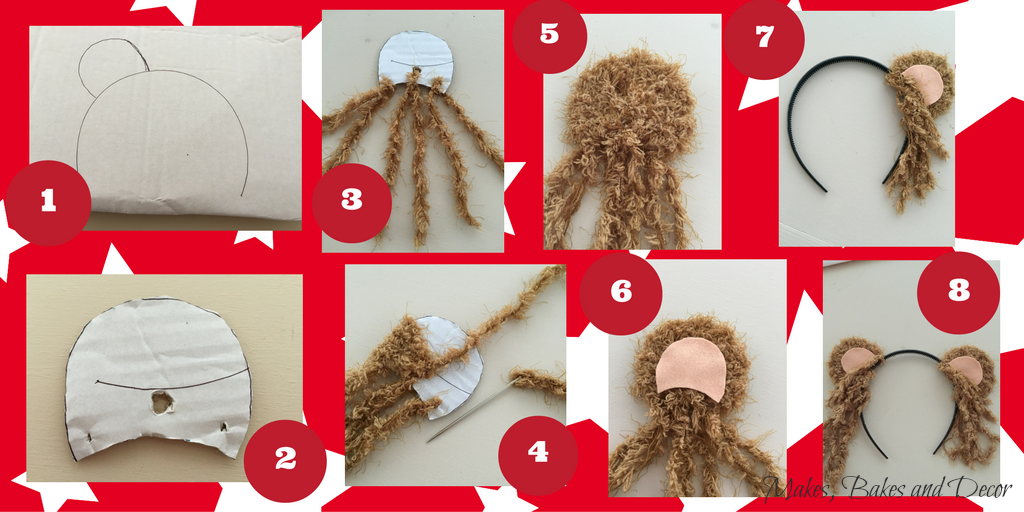
1: Draw around the head band onto the cardboard so you get the bottom curve right and then draw out your ears.
2: Cut out your ear shape and make three holes along the bottom edge, two small in the corners and one larger hole in the middle.
3: Cut three lengths of wool and tie them through the three holes. You will use these to tie the ears to the headband.
4: Next you want quite a long length of wool and threading it onto the needle you want to wrap it round the ear and through the middle hole like you would if you were making a pom pom.
5: Continue wrapping the wool round the cardboard until it’s all covered.
6: Get your felt and cut out a smaller ear shape and using the glue, stick it to the main ear.
7: Tightly tie the three lengths of wool from step 3 onto the headband. You don’t need to worry about cutting them off as they become part of the mane.
8: repeat all the steps above so you have 2 ears on the headband.
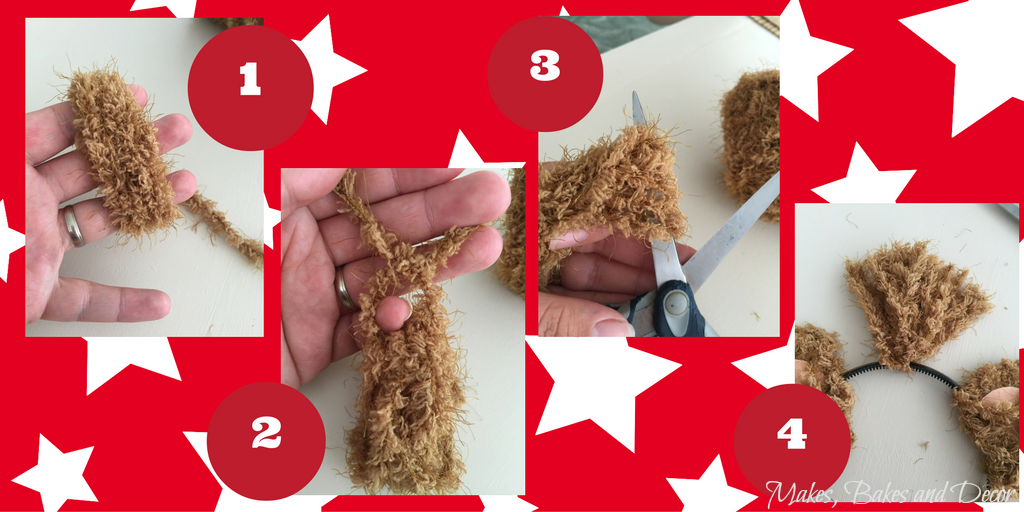
1: Now you need to start making the tassels that make up the mane. I did this by wrapping the wool around three fingers a few times.
2: Then thread a length of wool through all the loops and tie tightly. Make sure you keep hold of these two ends because you need them to tie the tassel to the headband!
3: Cut the loops (whilst keeping hold of your two strands form the previous step) at the bottom to make the loops a tassel.
4:Using the two strands from step 2 tie your tassel tightly to the headband. You can then cut these two strands to the same length as the rest of the tassel if you need to.
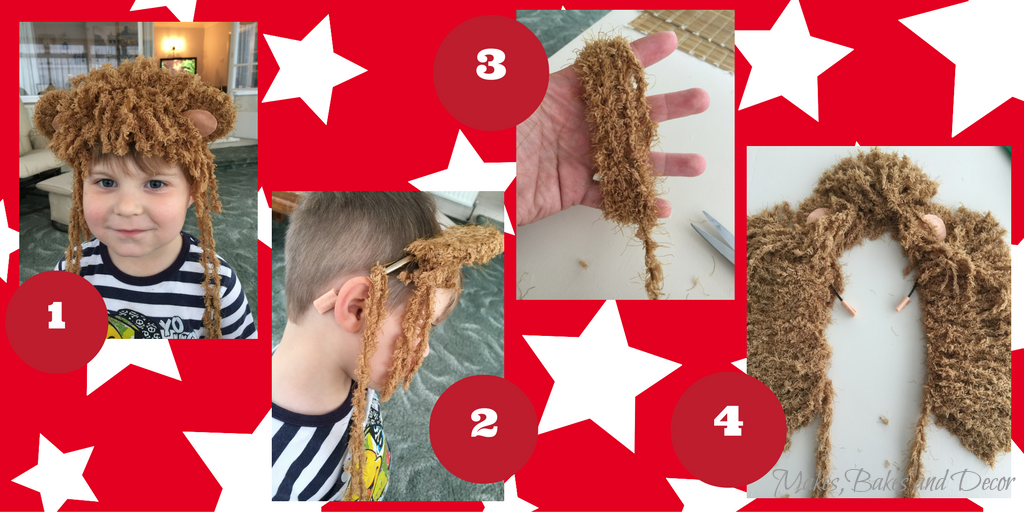
1: keep going with you tassels until the space between the ears is nice and full.
2: At this point I wrapped and glued two small pieces of felt around the ends of the headband to make sure it didn’t hurt the back of Mason’s ears. Then I tied two long lengths of the wool just above the ears. You can also see how these hang down in picture 1.
3: Next I repeated the tassel making again, only I made the tassels longer, wrapping the wool around four fingers.
4: Continue to make these tassels and tie them securely down each side to the two lengths of wool until they are long enough to tie under the chin. Keep trying on the headband checking you have made the sides the right length.
Mason was good enough to pose for a few photos for me! I know I’m biased but I think he looks super cute!

I hope you have found my lion costume tutorial helpful and give making your own costume a try. Let me know what you think in the comments section below.
Lianne x
Pin Lion Costume tutorial for later

What a cute little guy! I love this project – cleverly done!
Author
Thank you so much! 🙂
That is the cutest DIY costume I have seen online
11/10 for effort!
Thanks for talking us through the tassels… After my little’s original costume was rejected and I needed to come up with a lion outfit in 24hours, I may not have had any sleep before world book day if it wasn’t for your tutorial!!
A nice DIY idea. Thanks for these tips.
Thanks ☺️