
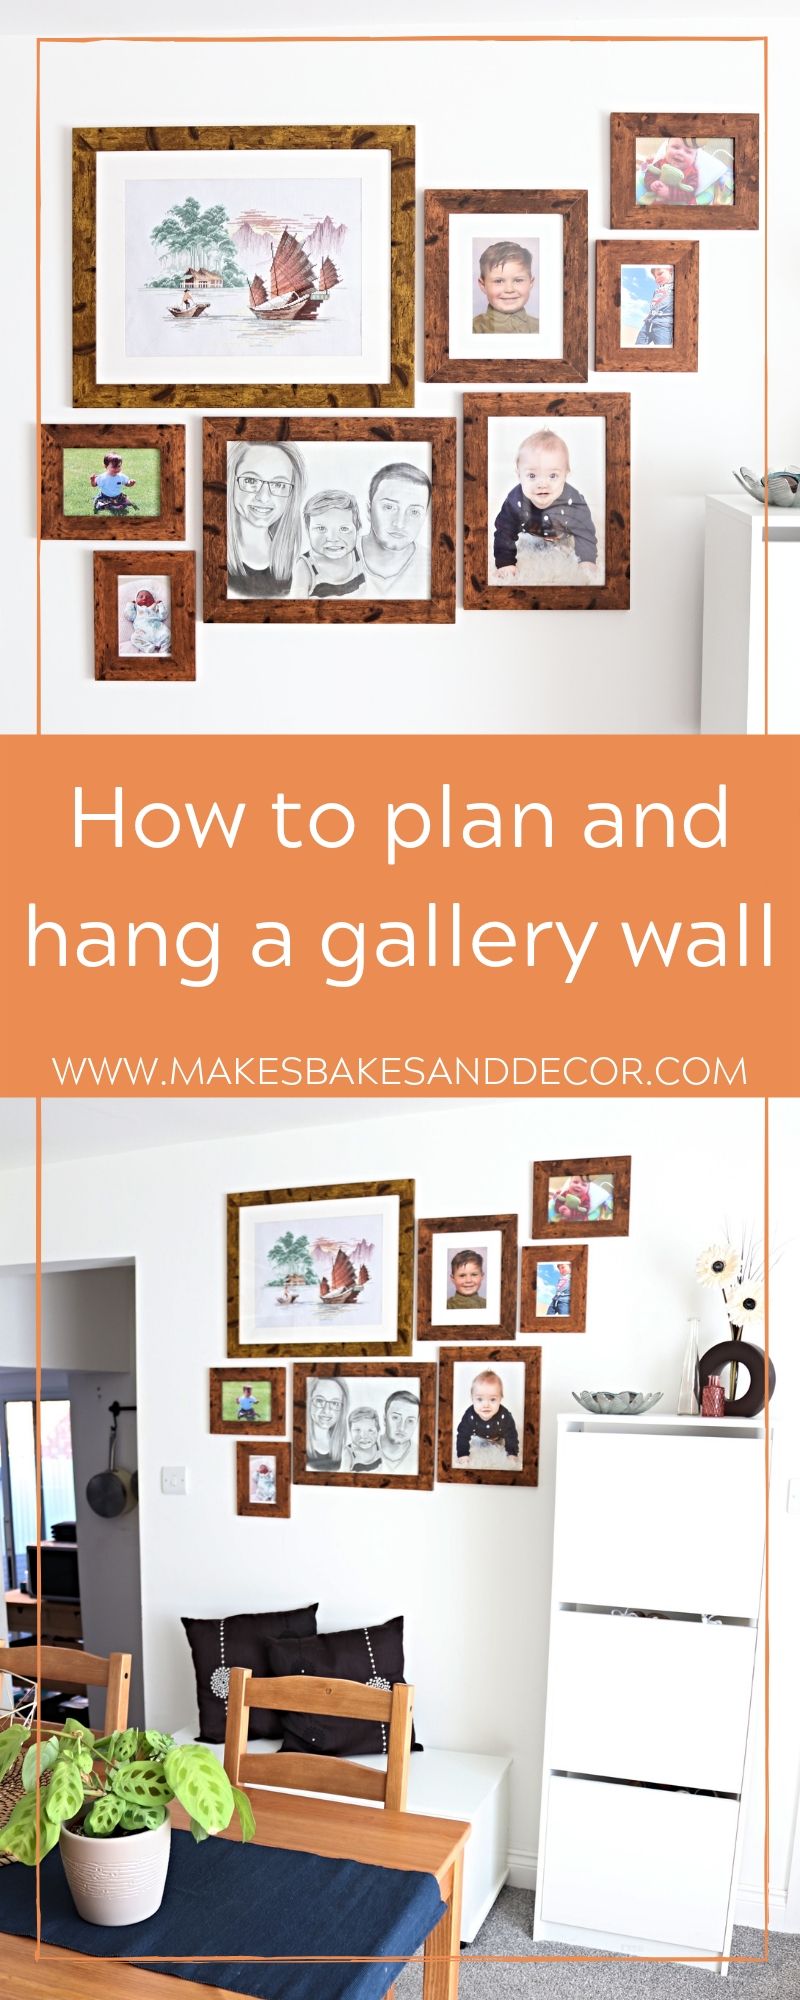
So the frames destined for this gallery wall were purchased about 3 months ago and have been leaning up against the dining room wall ever since…. oops! But I finally pulled my finger out (what does that phrase even mean?!) and got on with it and I’m so pleased with how it’s looking. It can be hard to know where to start with a gallery wall so this post, How to plan and hang a gallery wall shares how I did it and hopefully it will help anyone who wants to add one to there own home.
Makes, Bakes and Decor has been nominated in the 2019 Amara Interior blog awards! If you have enjoyed this post please could you take a minute of your time to vote for me! Just click on the badge below to vote and everyone who does vote is also entered into a competition to win a Lecia camera!

Some items that might help you with your own gallery wall
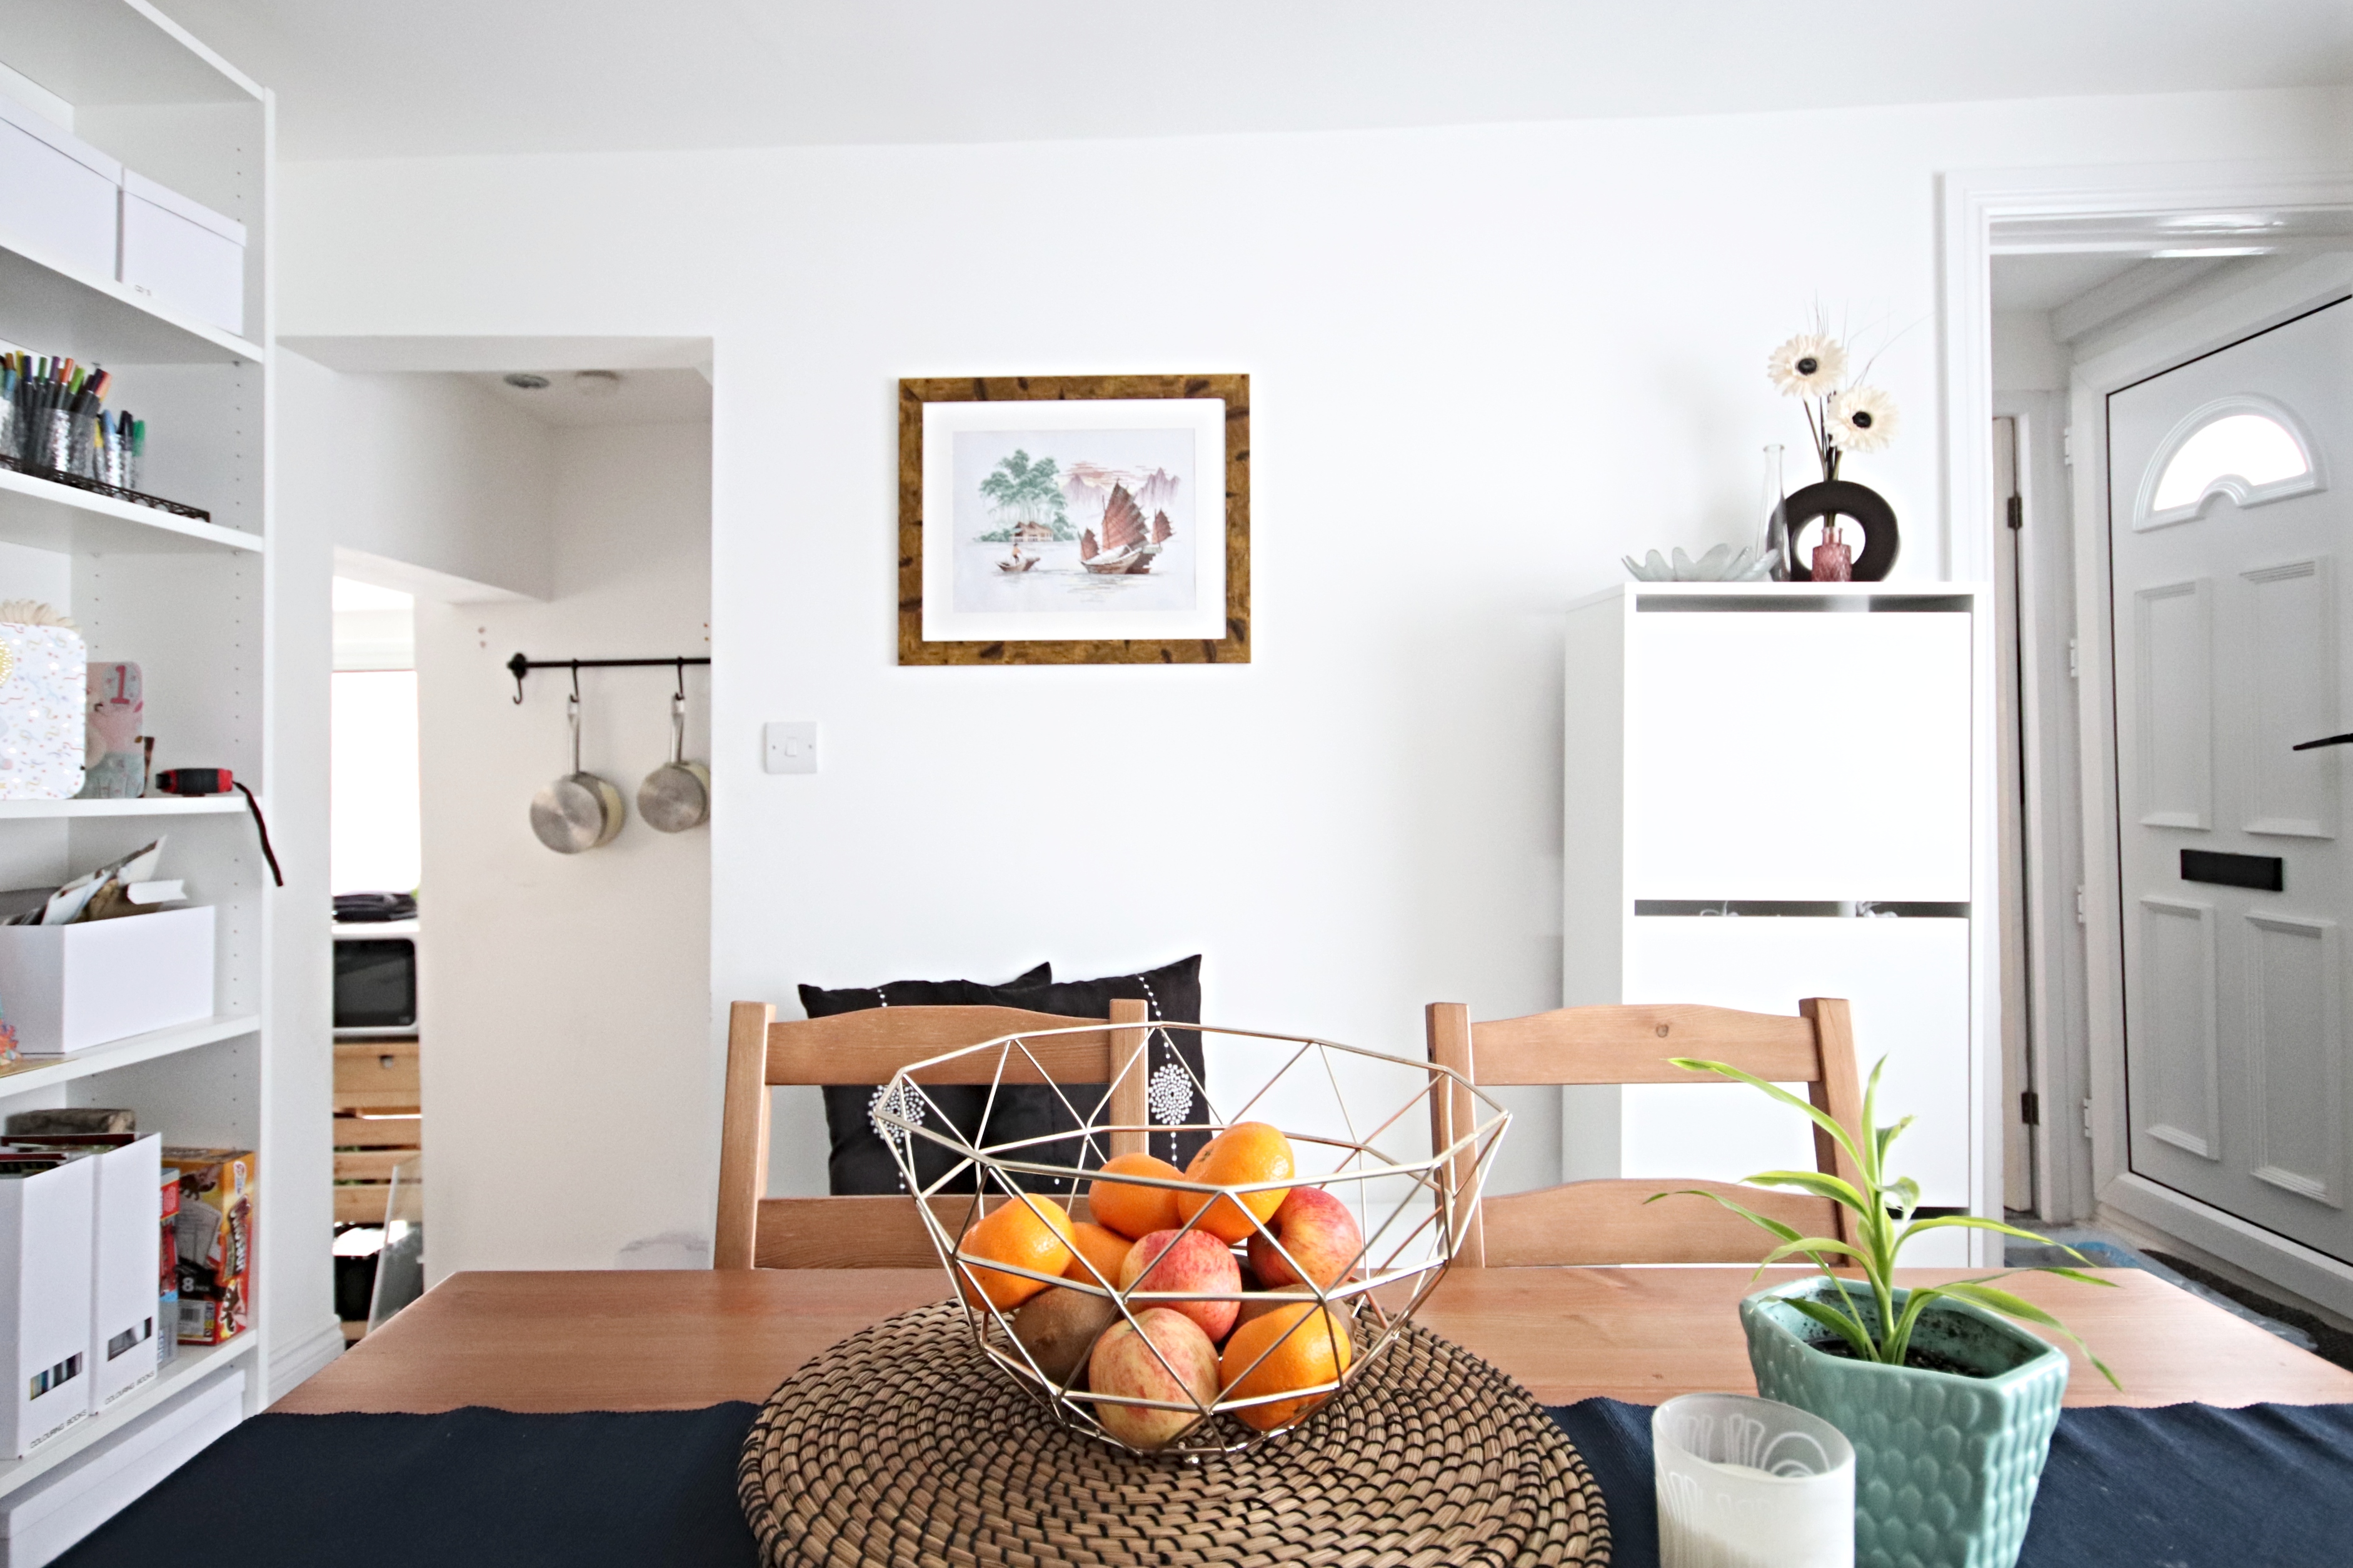
So this is how the wall looked before I got started. It was pretty plain and it needed more character. I wanted to put more family pictures up around the house and I wanted my gallery wall to fit in with the feel of the room.
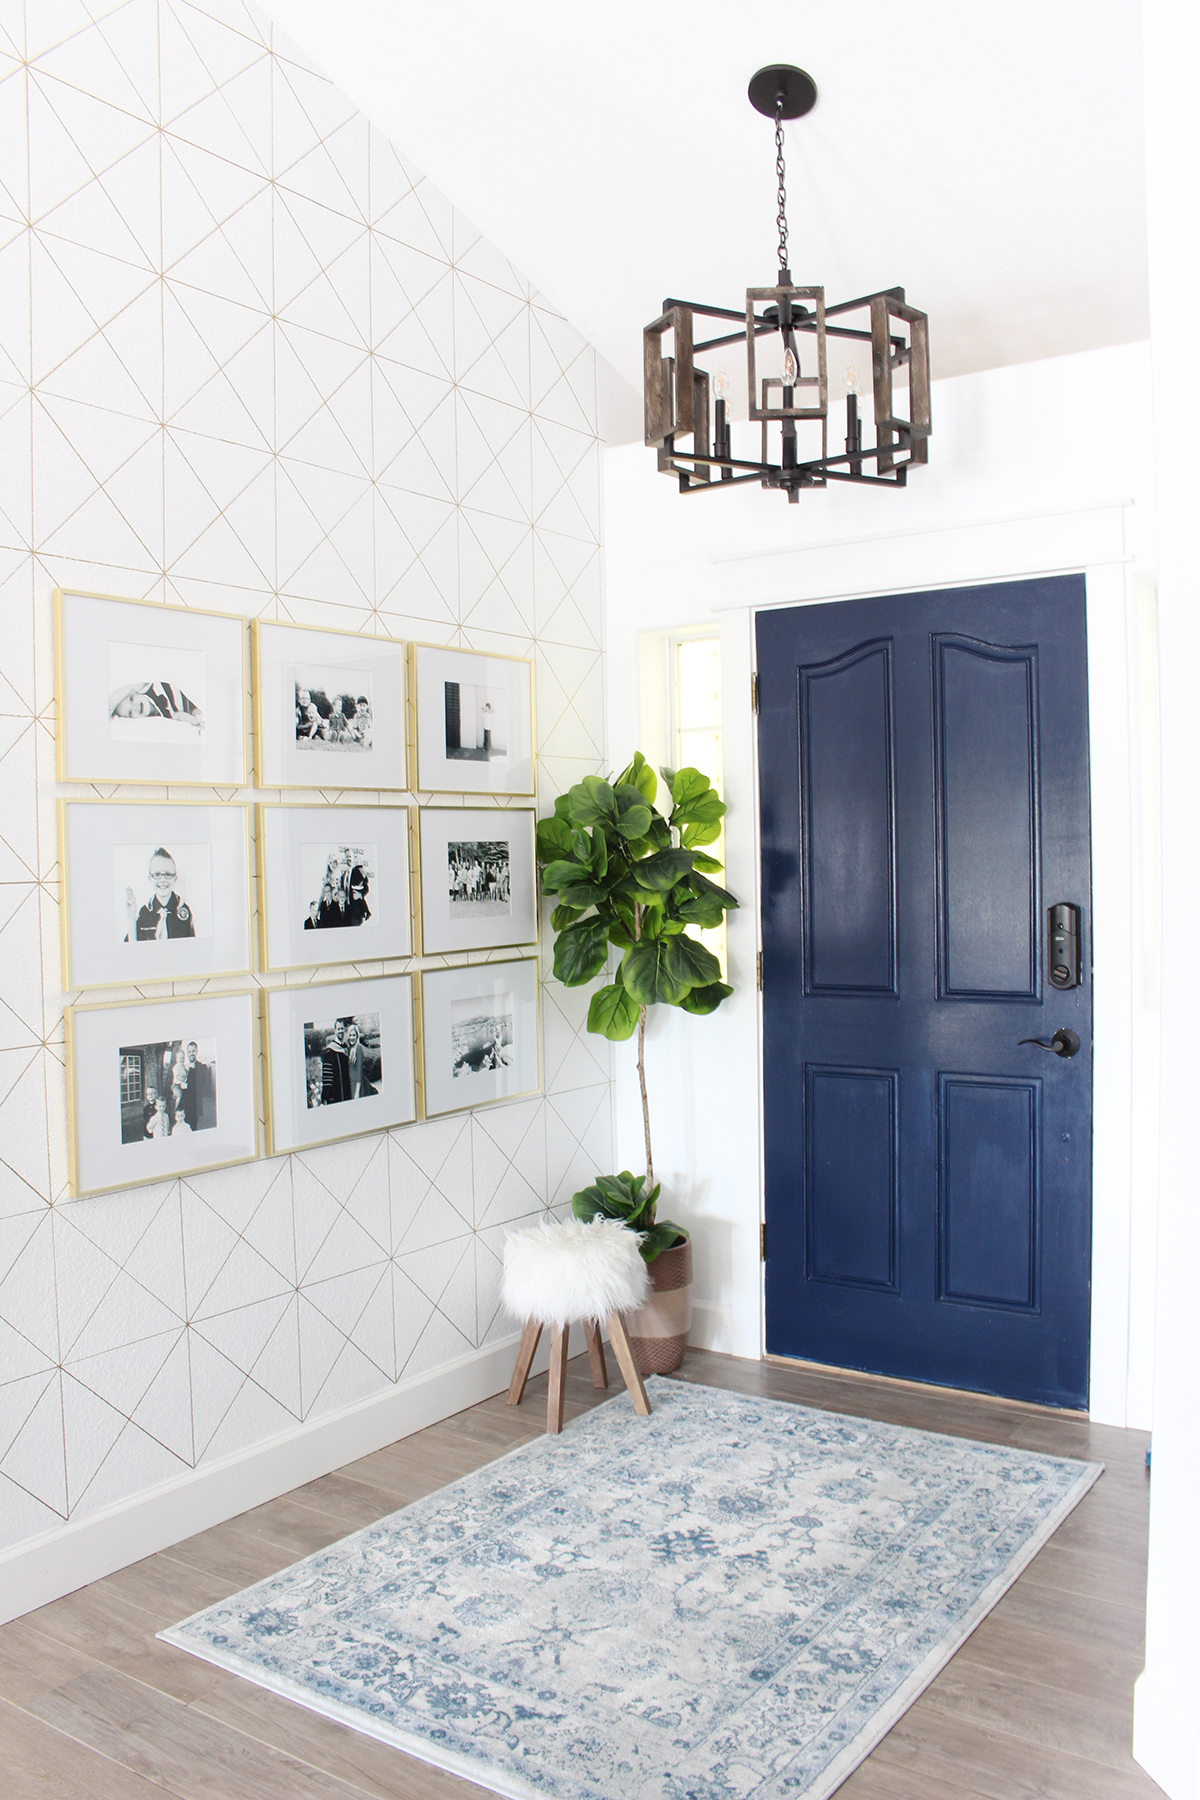
There are many different styles of gallery wall. You could go for a very formal one with all the frames the same size and hung in rows. The image below from the Classy Clutter girls is a great example of this.
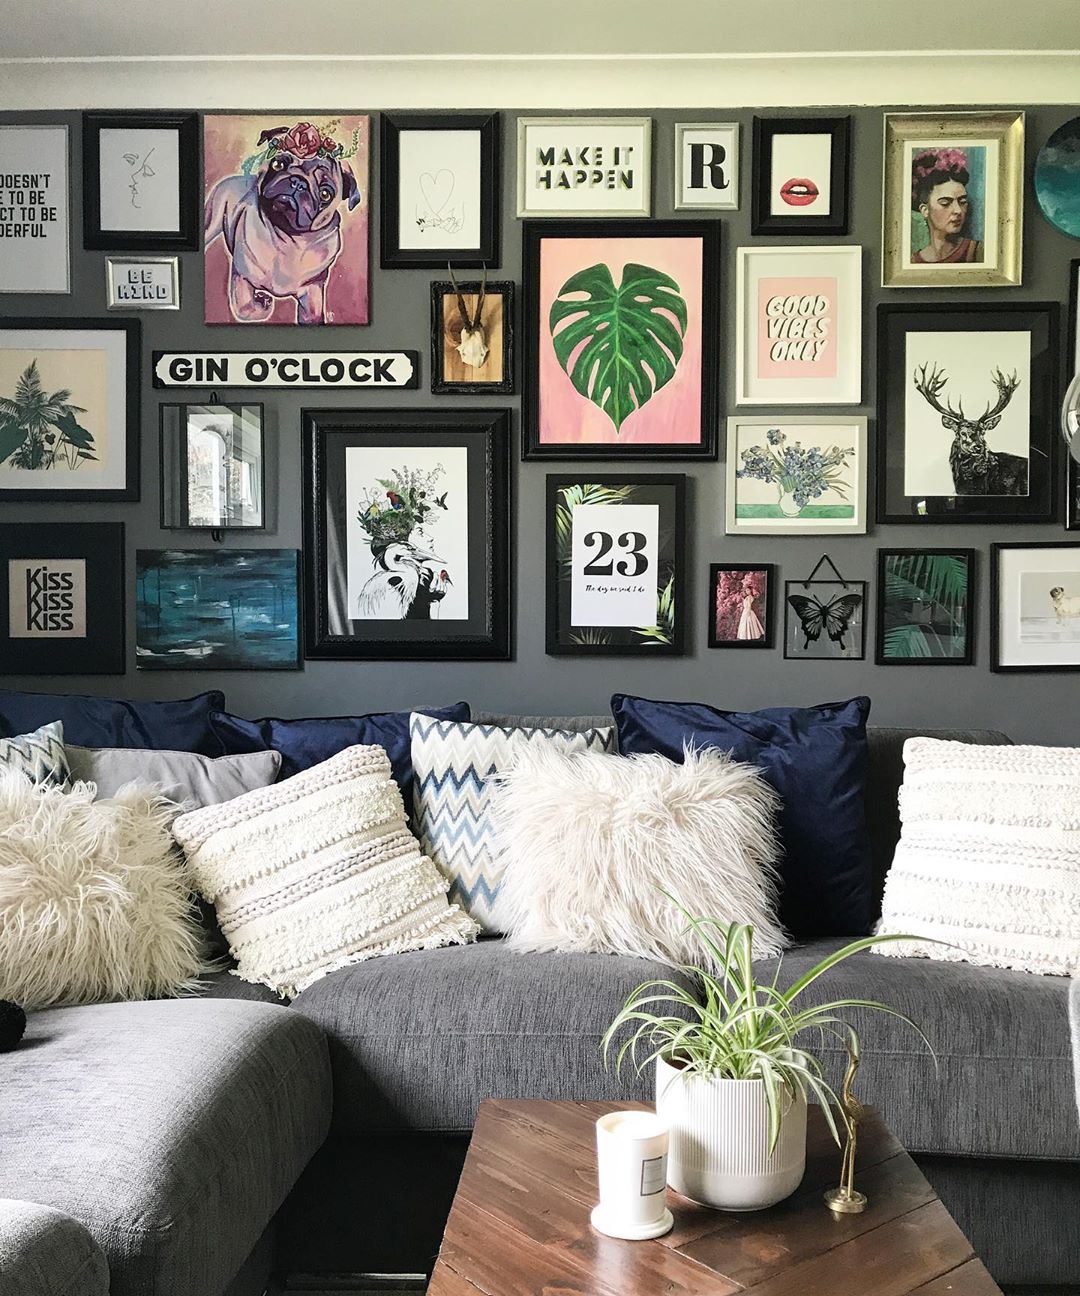
Or you could have an eclectic gallery wall with all different shaped prints, frames etc like Evija who blogs at From Evija with Love has created in her living room below.
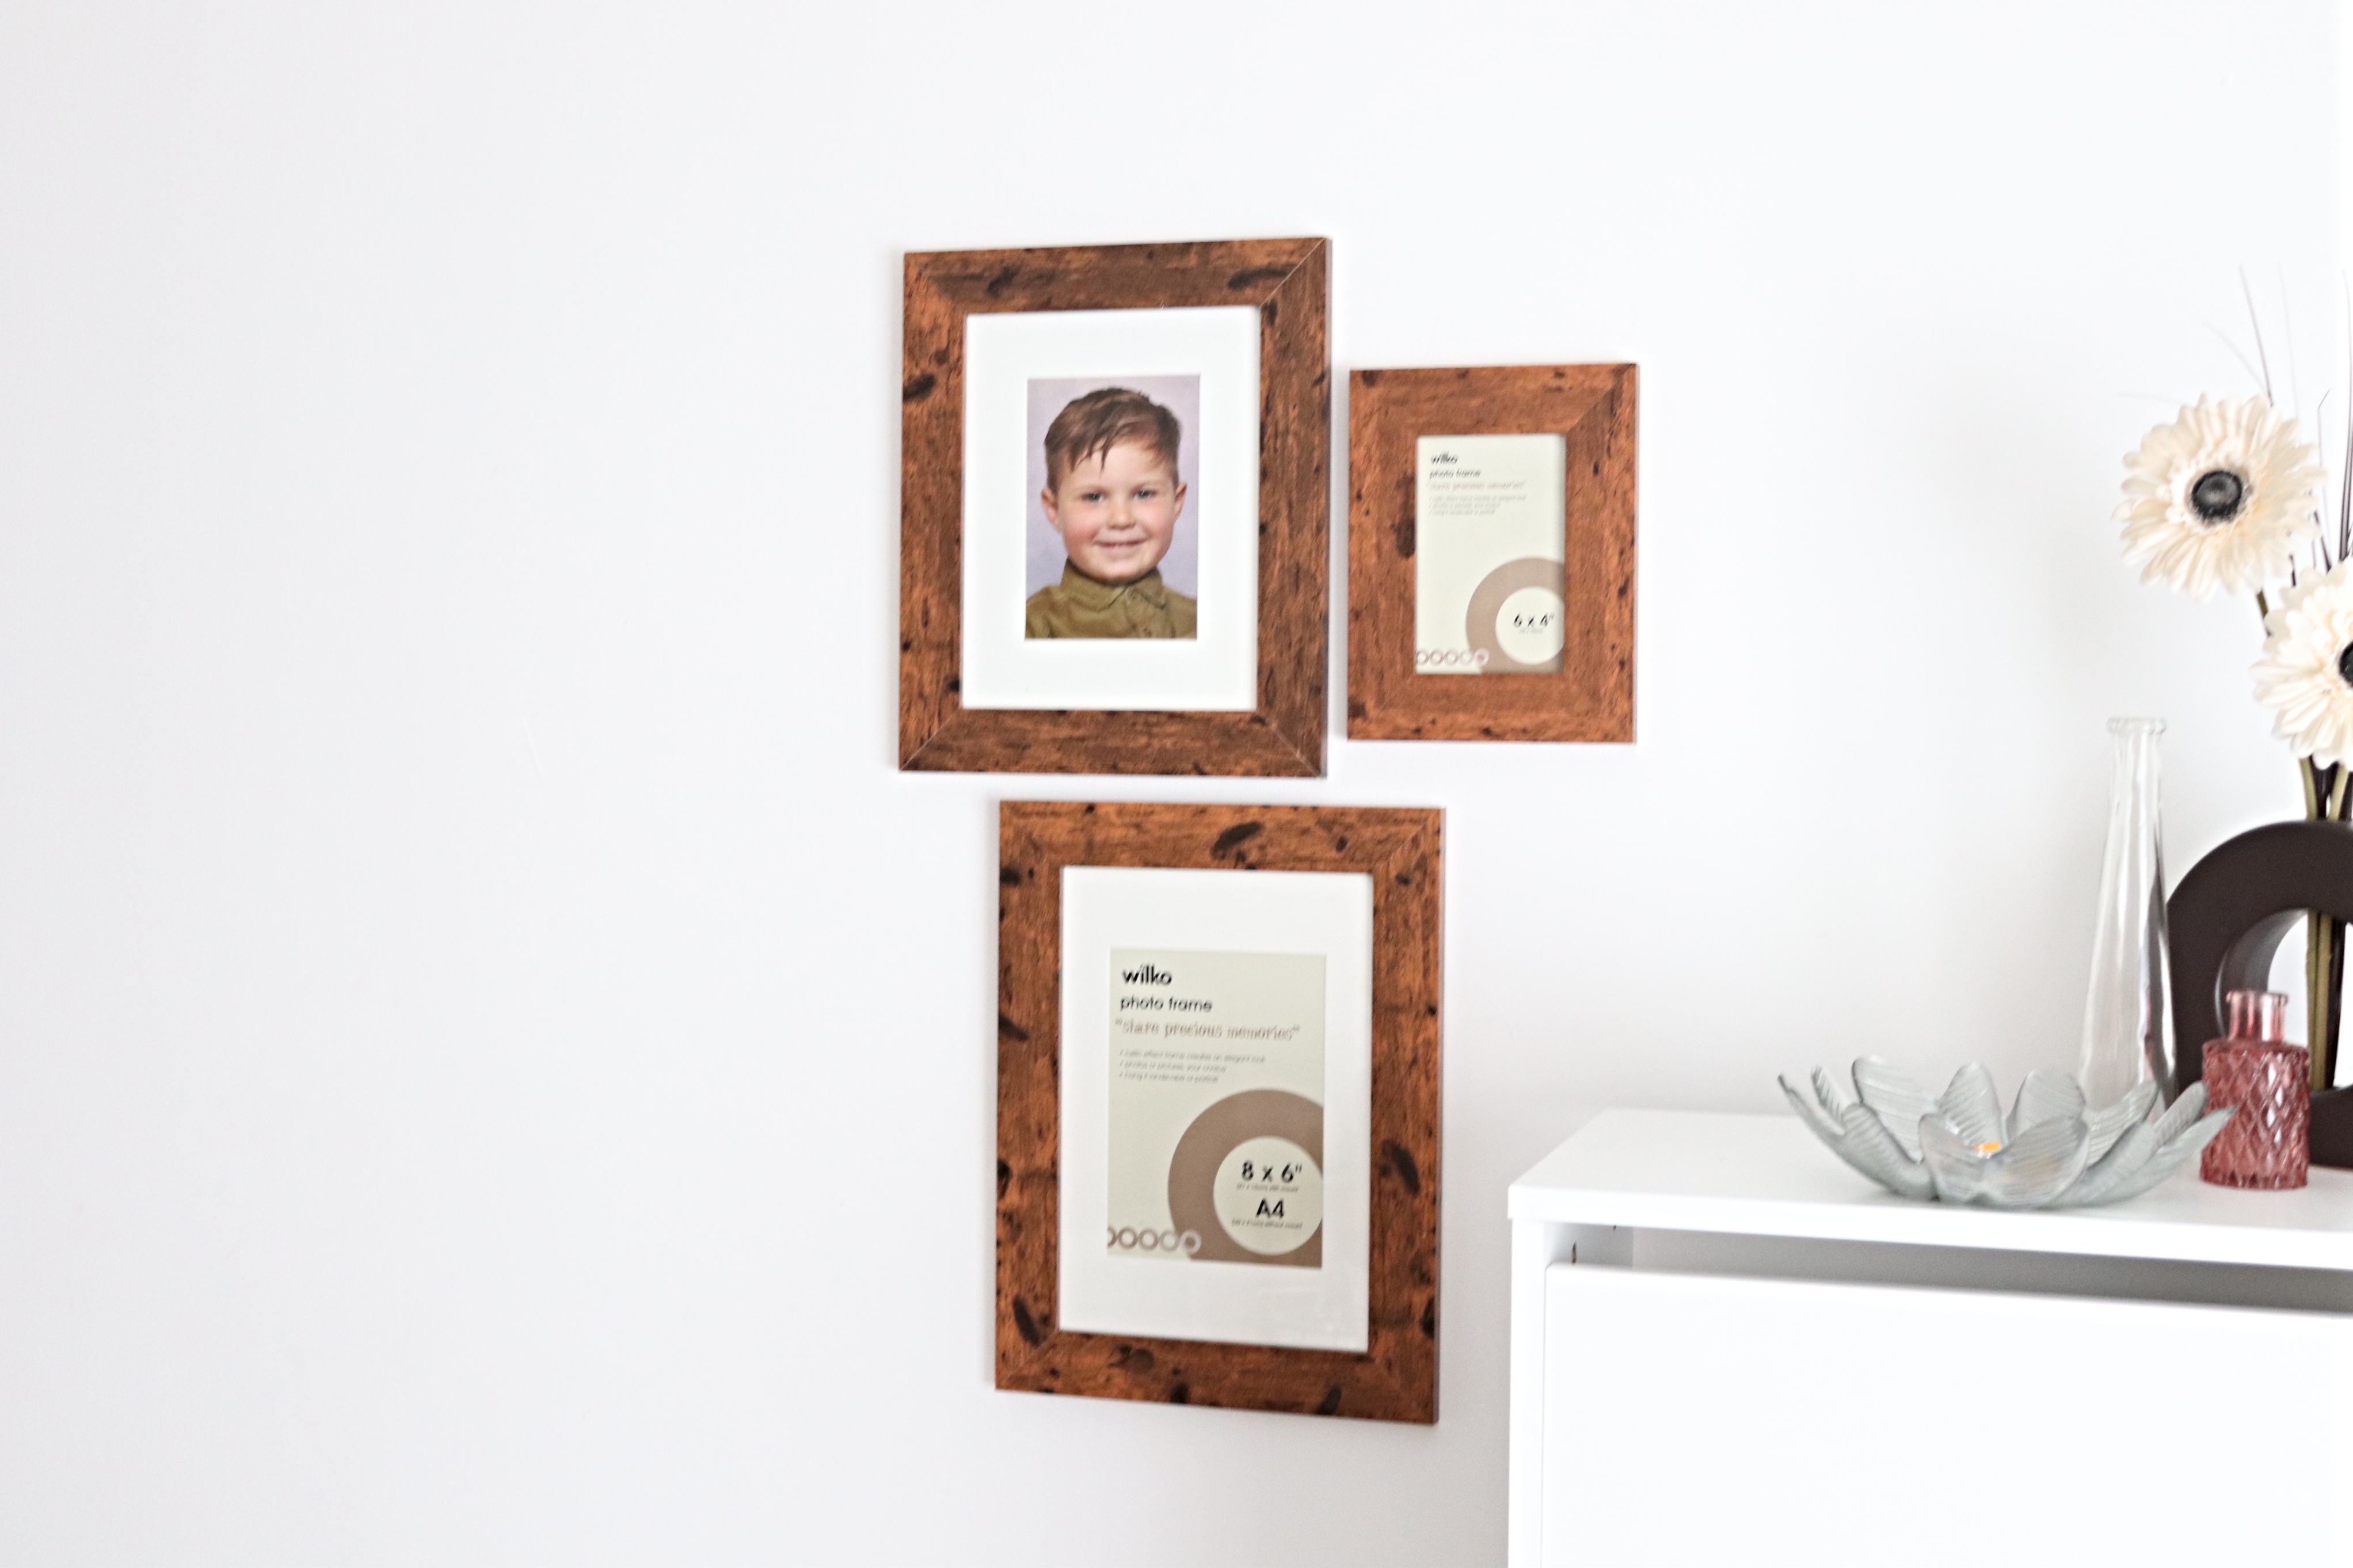
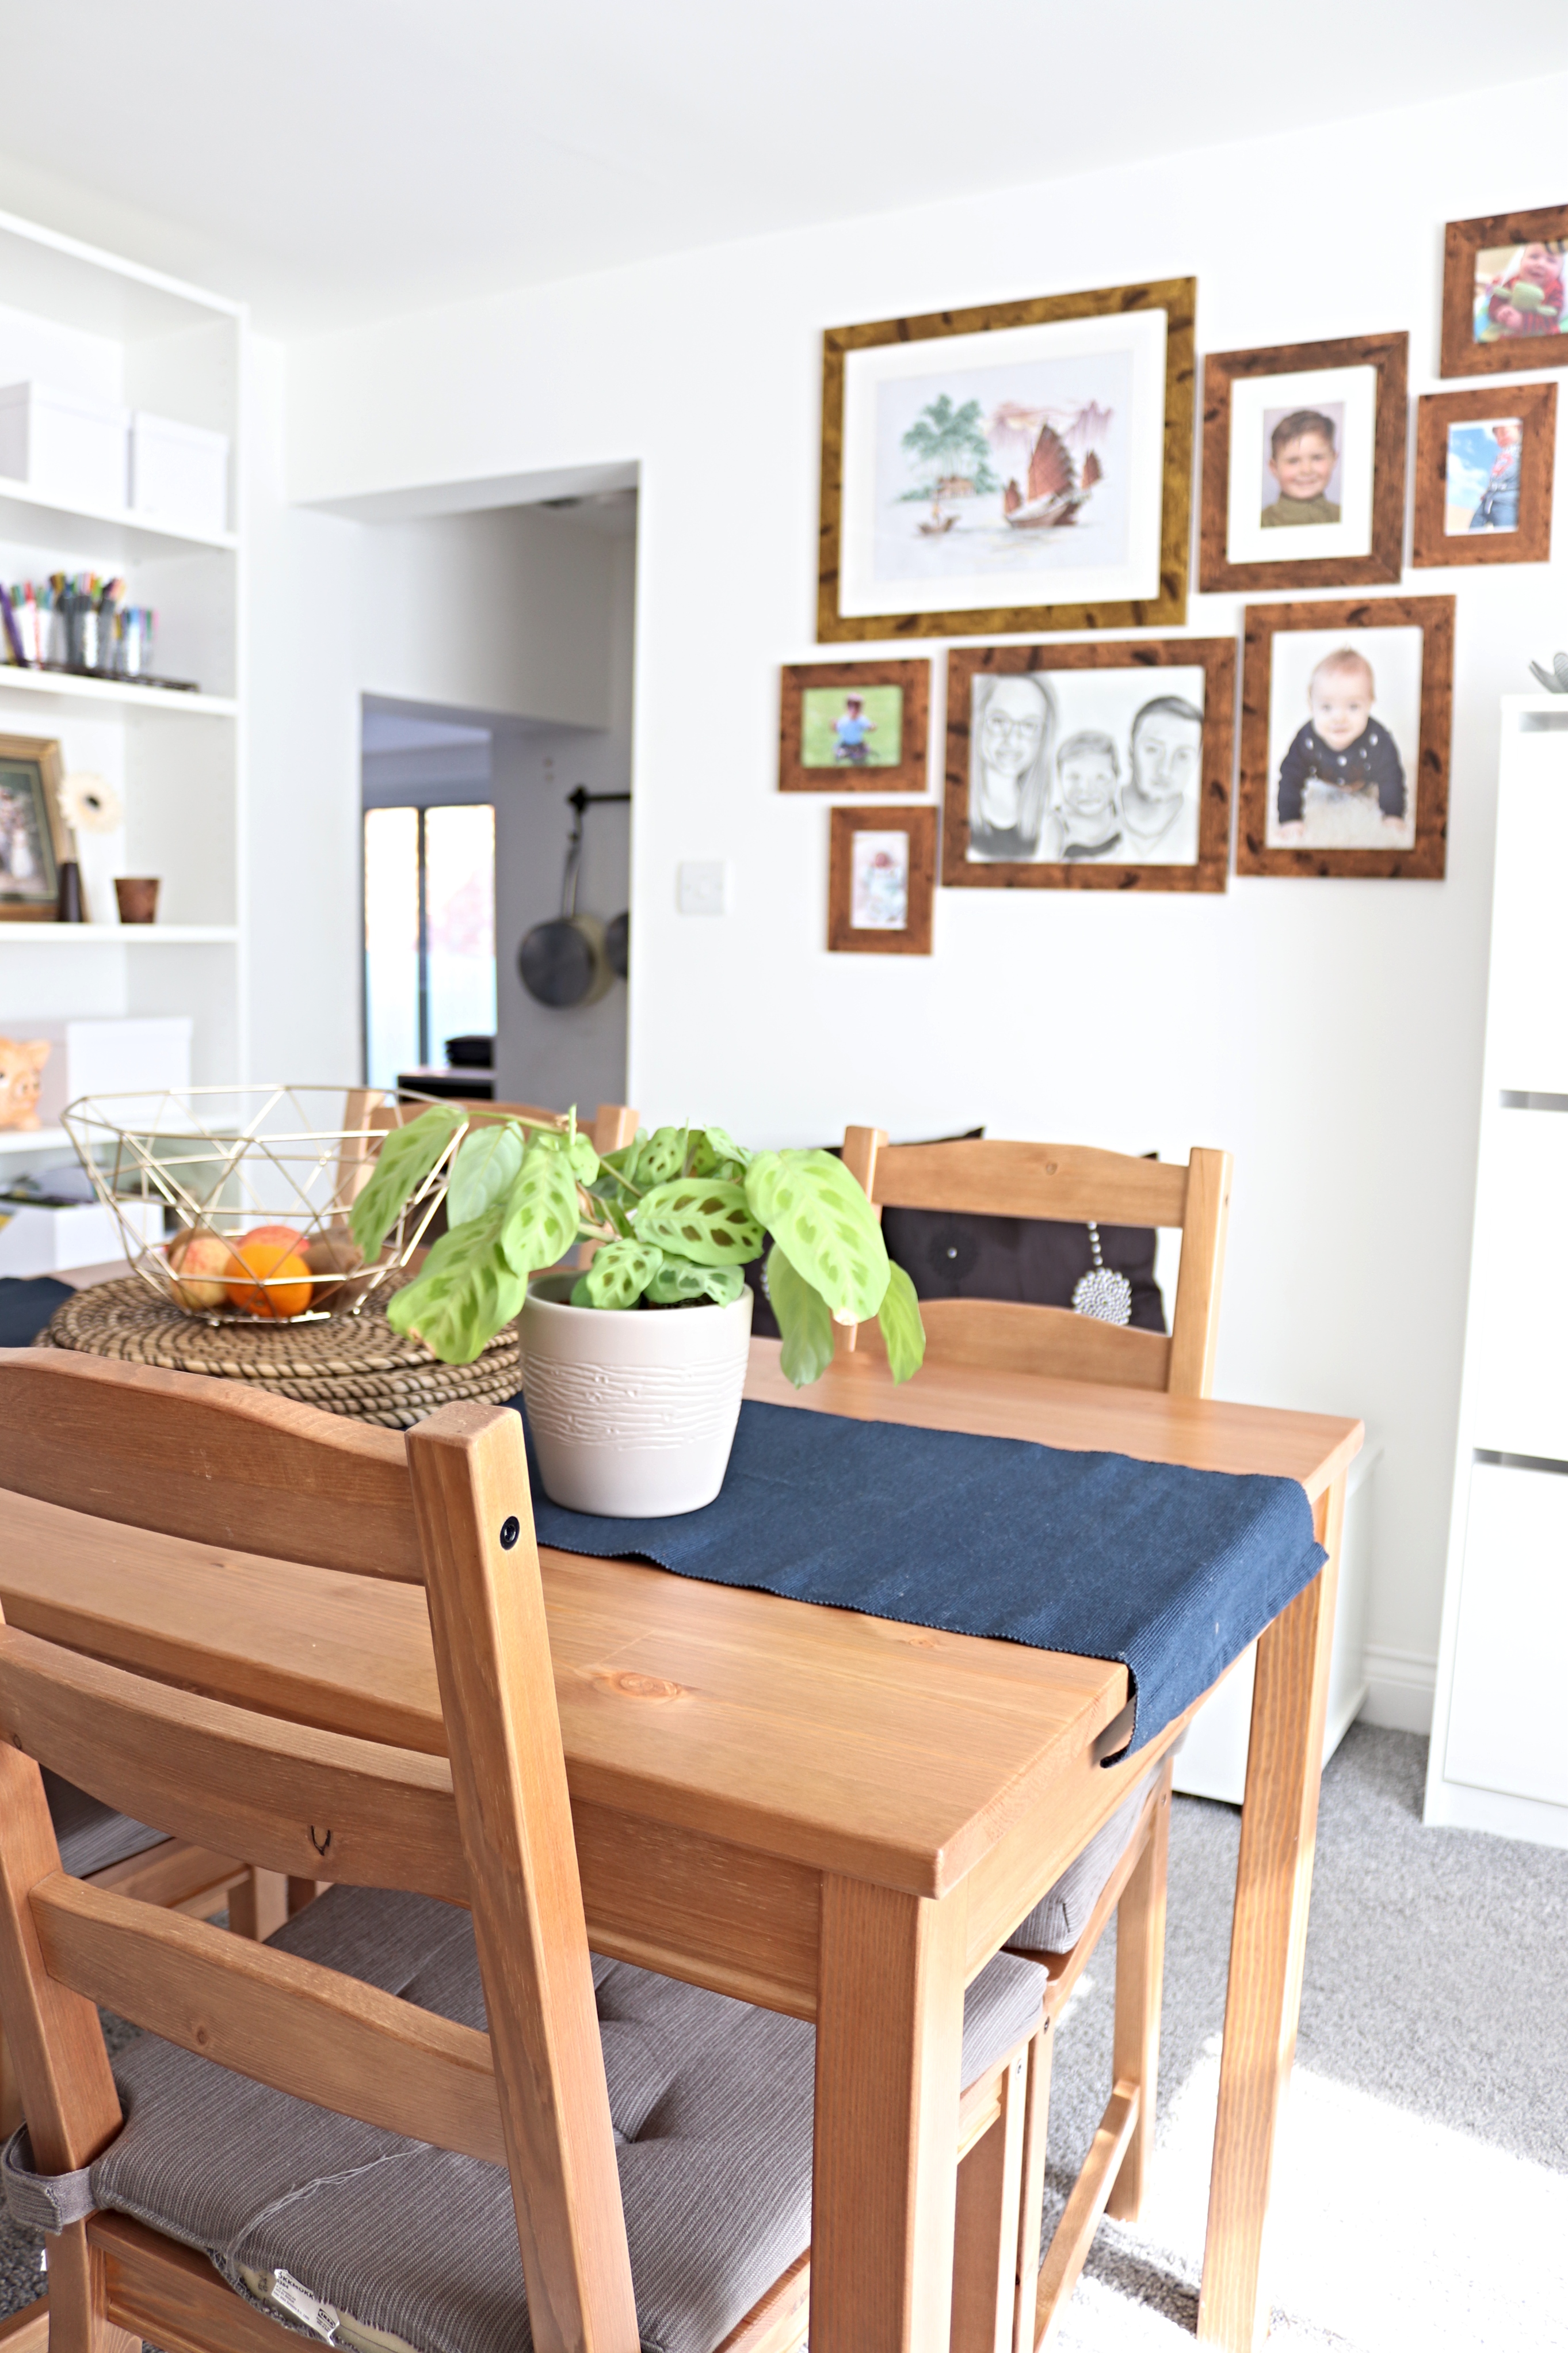
So I decided my gallery wall would fall somewhere between these two examples. I chose matching frames, which I purchased from Wilko, but I went for different sizes and I didn’t want to hang them in rows.
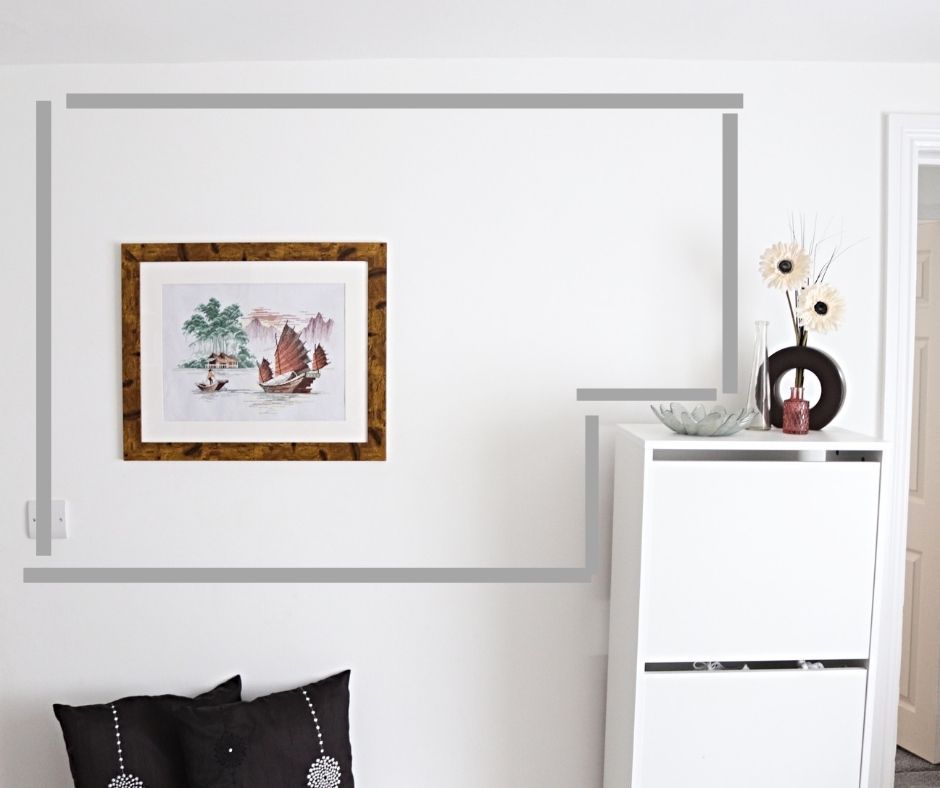
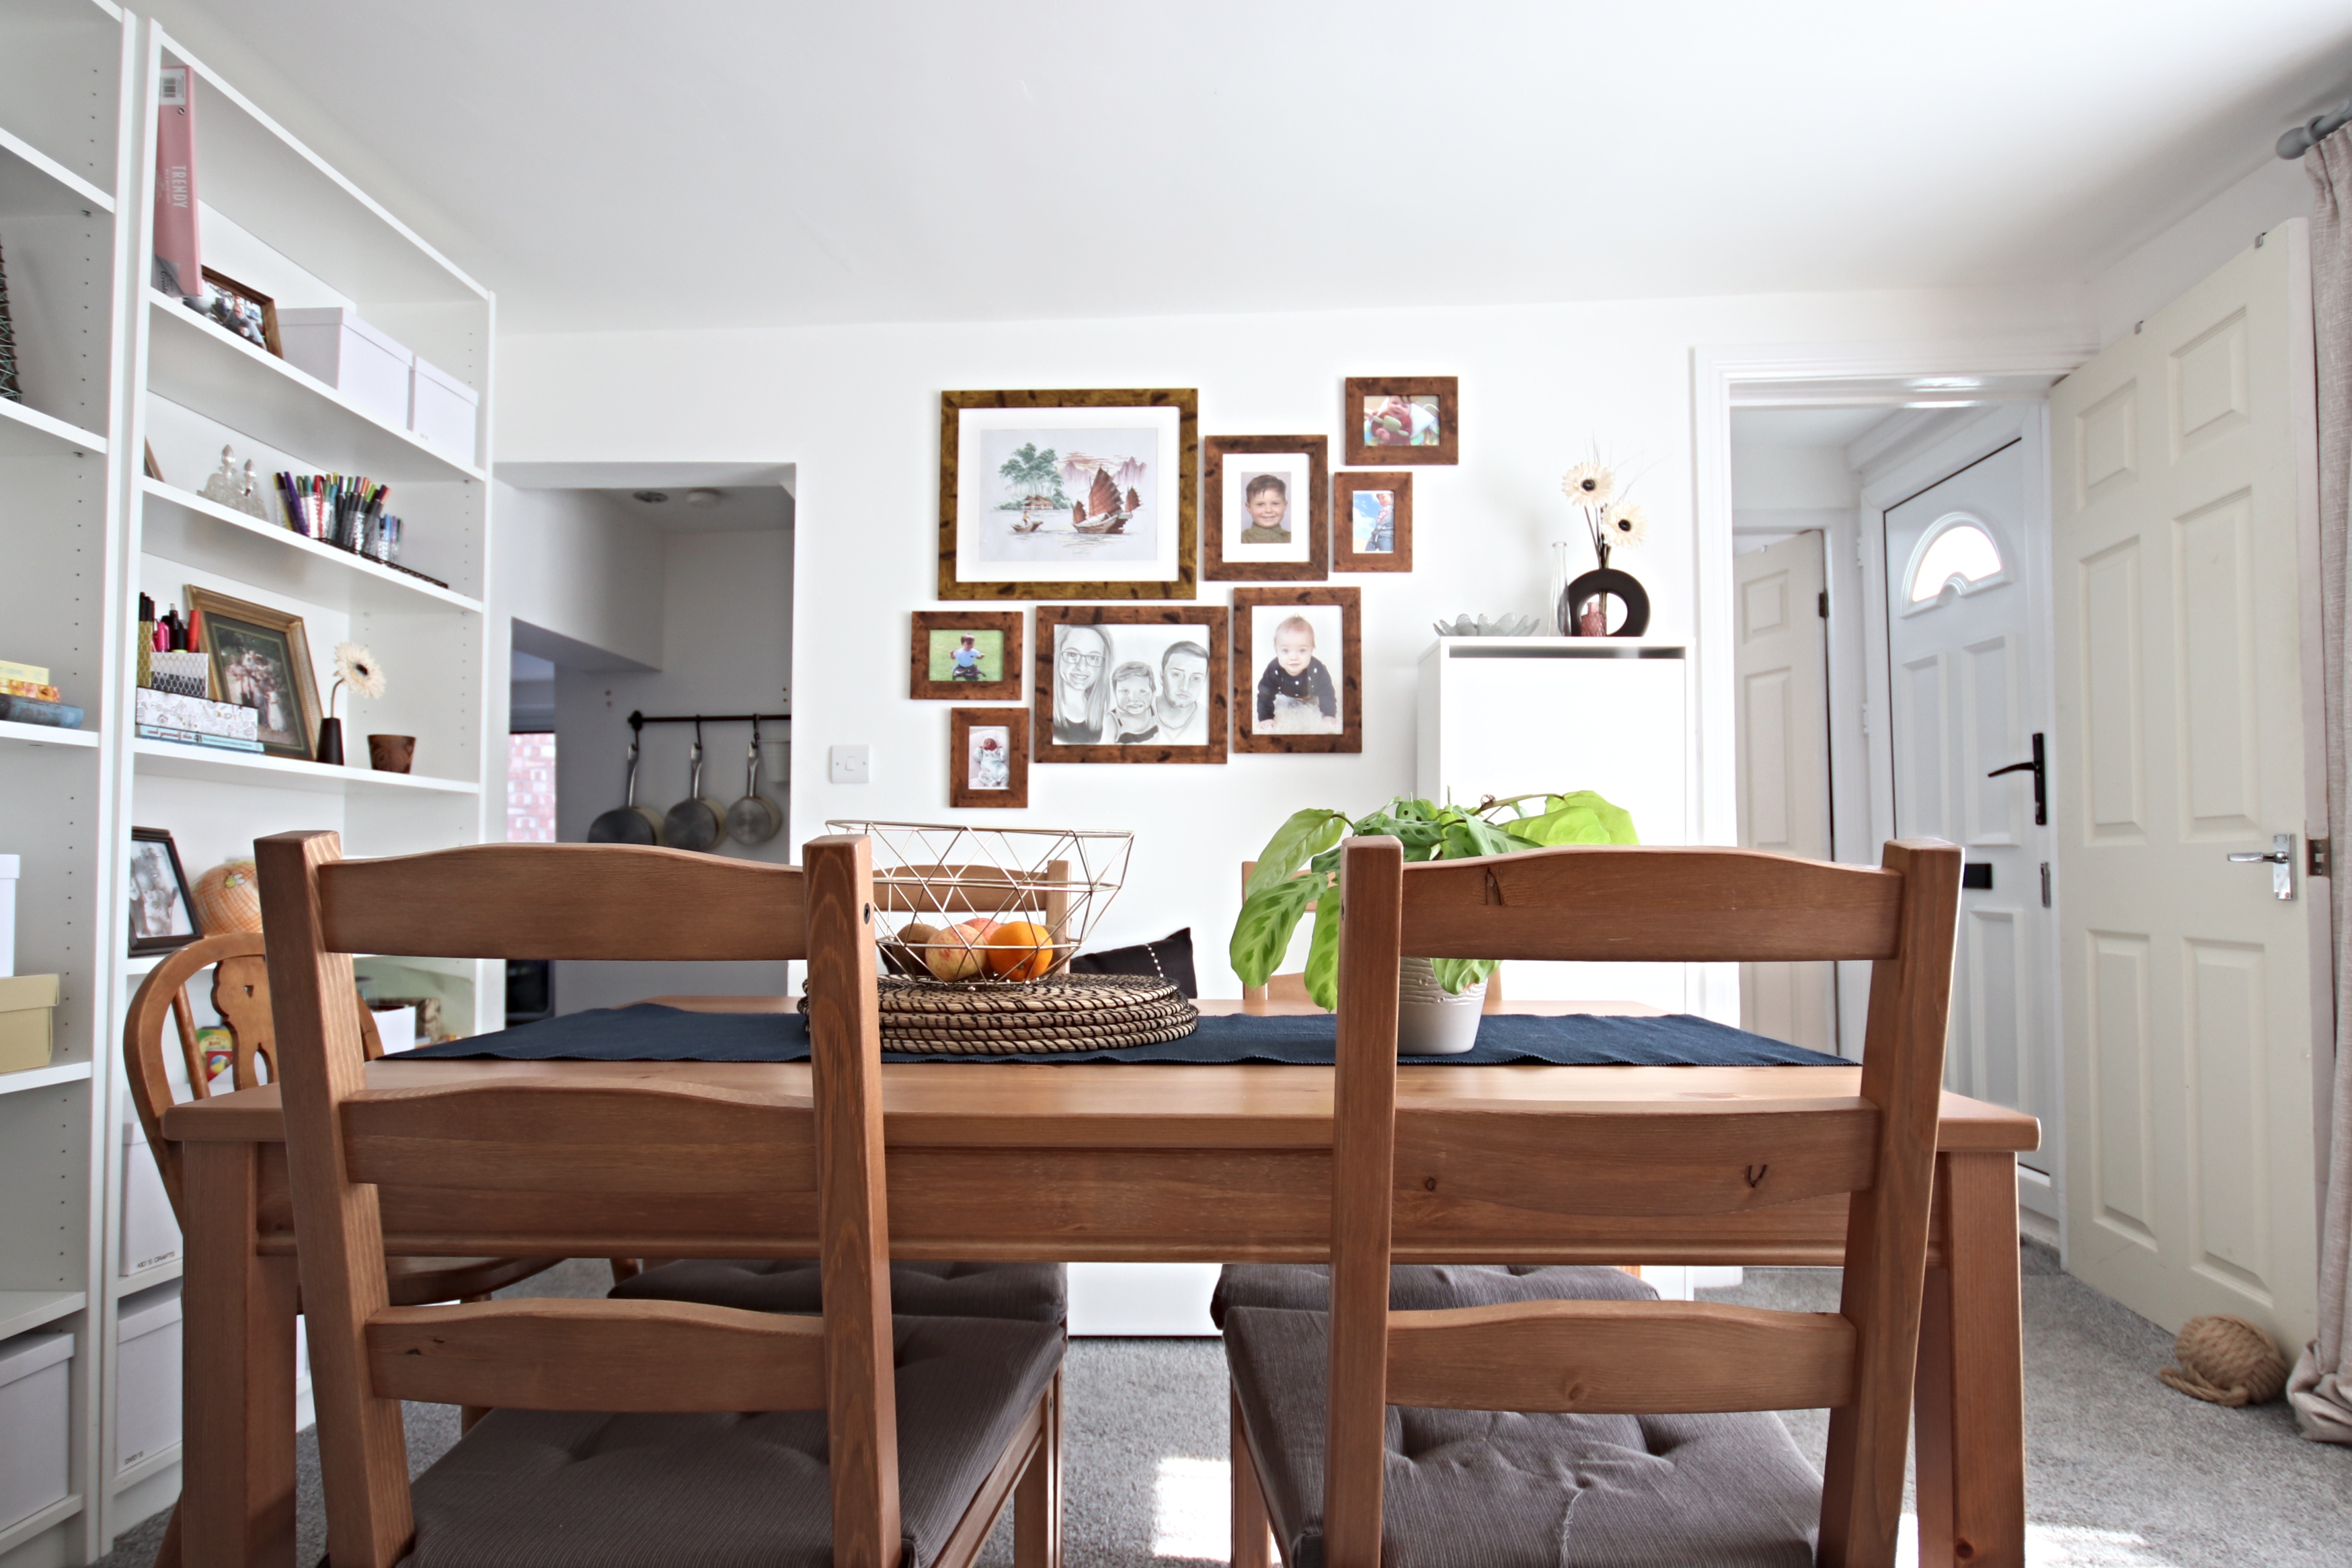
I started out by measuring the section of wall that I wanted to put my picture up in. I have marked it out, in grey, in the image above. I love gallery walls that work around the furniture that is already in place so I knew I wanted my pictures to come down towards the bench and up over the shoe cabinet.
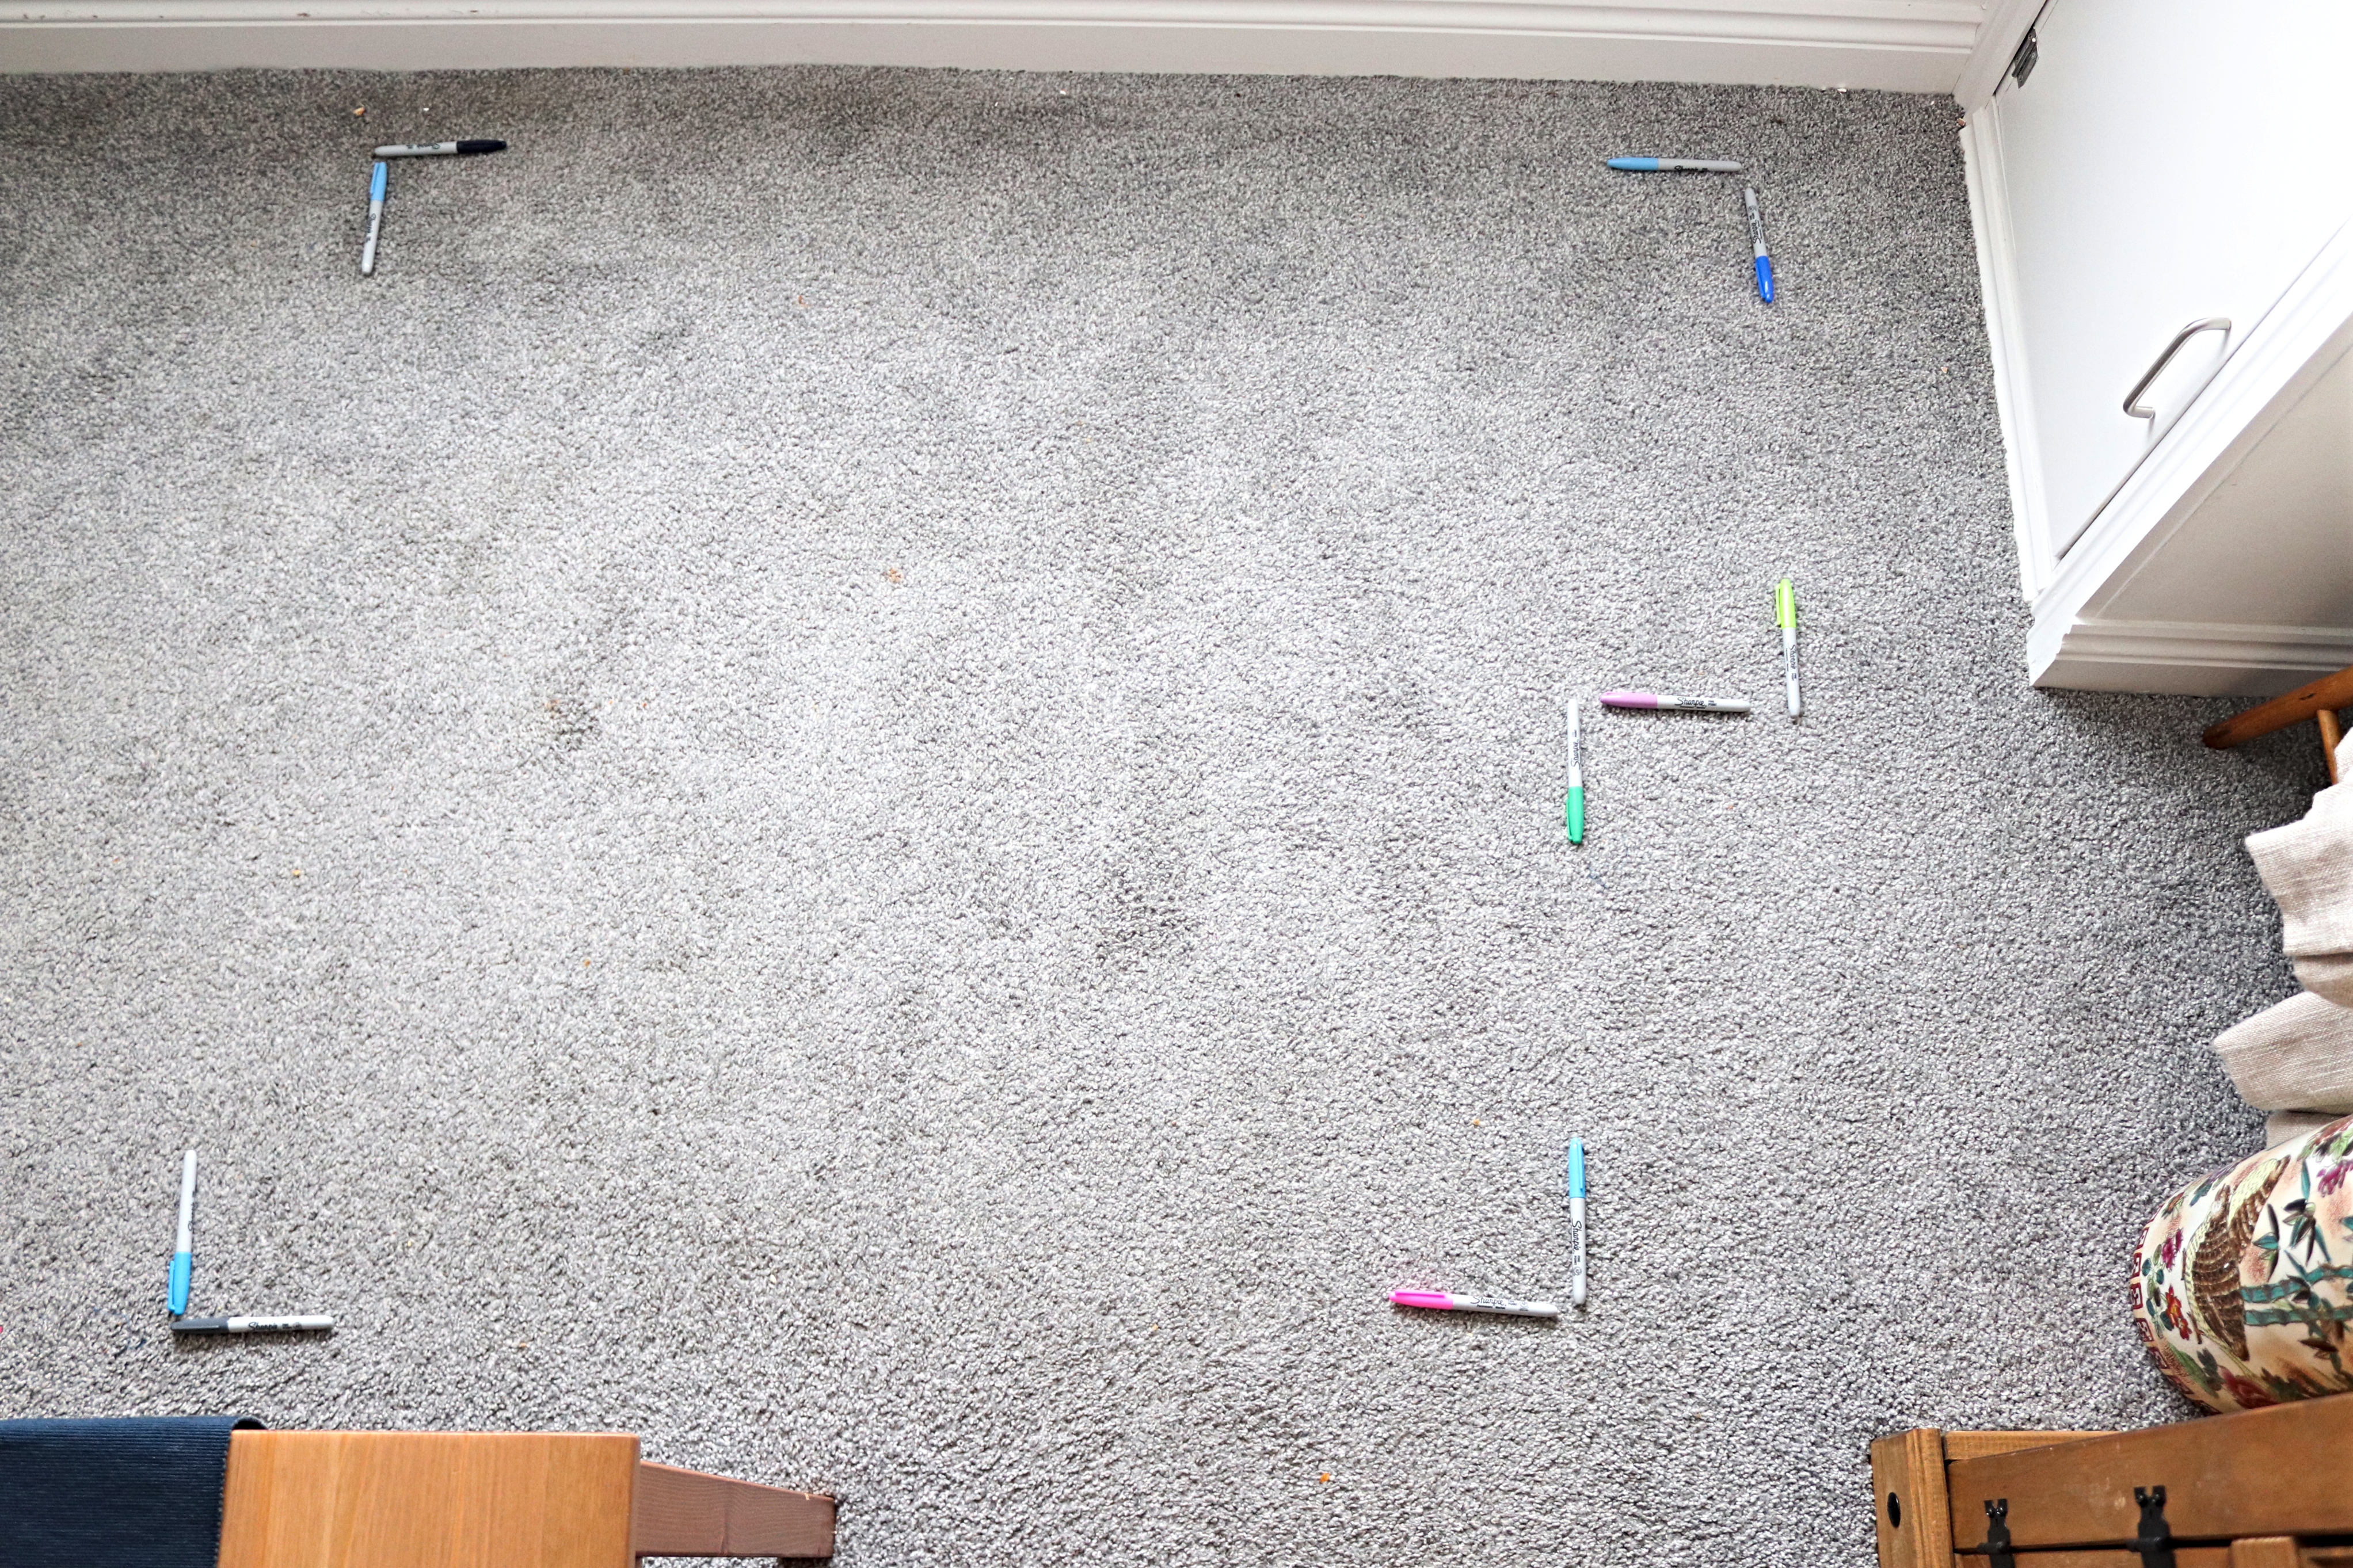
My next step was to (very technically) mark out these measurements on the floor, I used sharpie markers but you can use anything you have to hand 😀
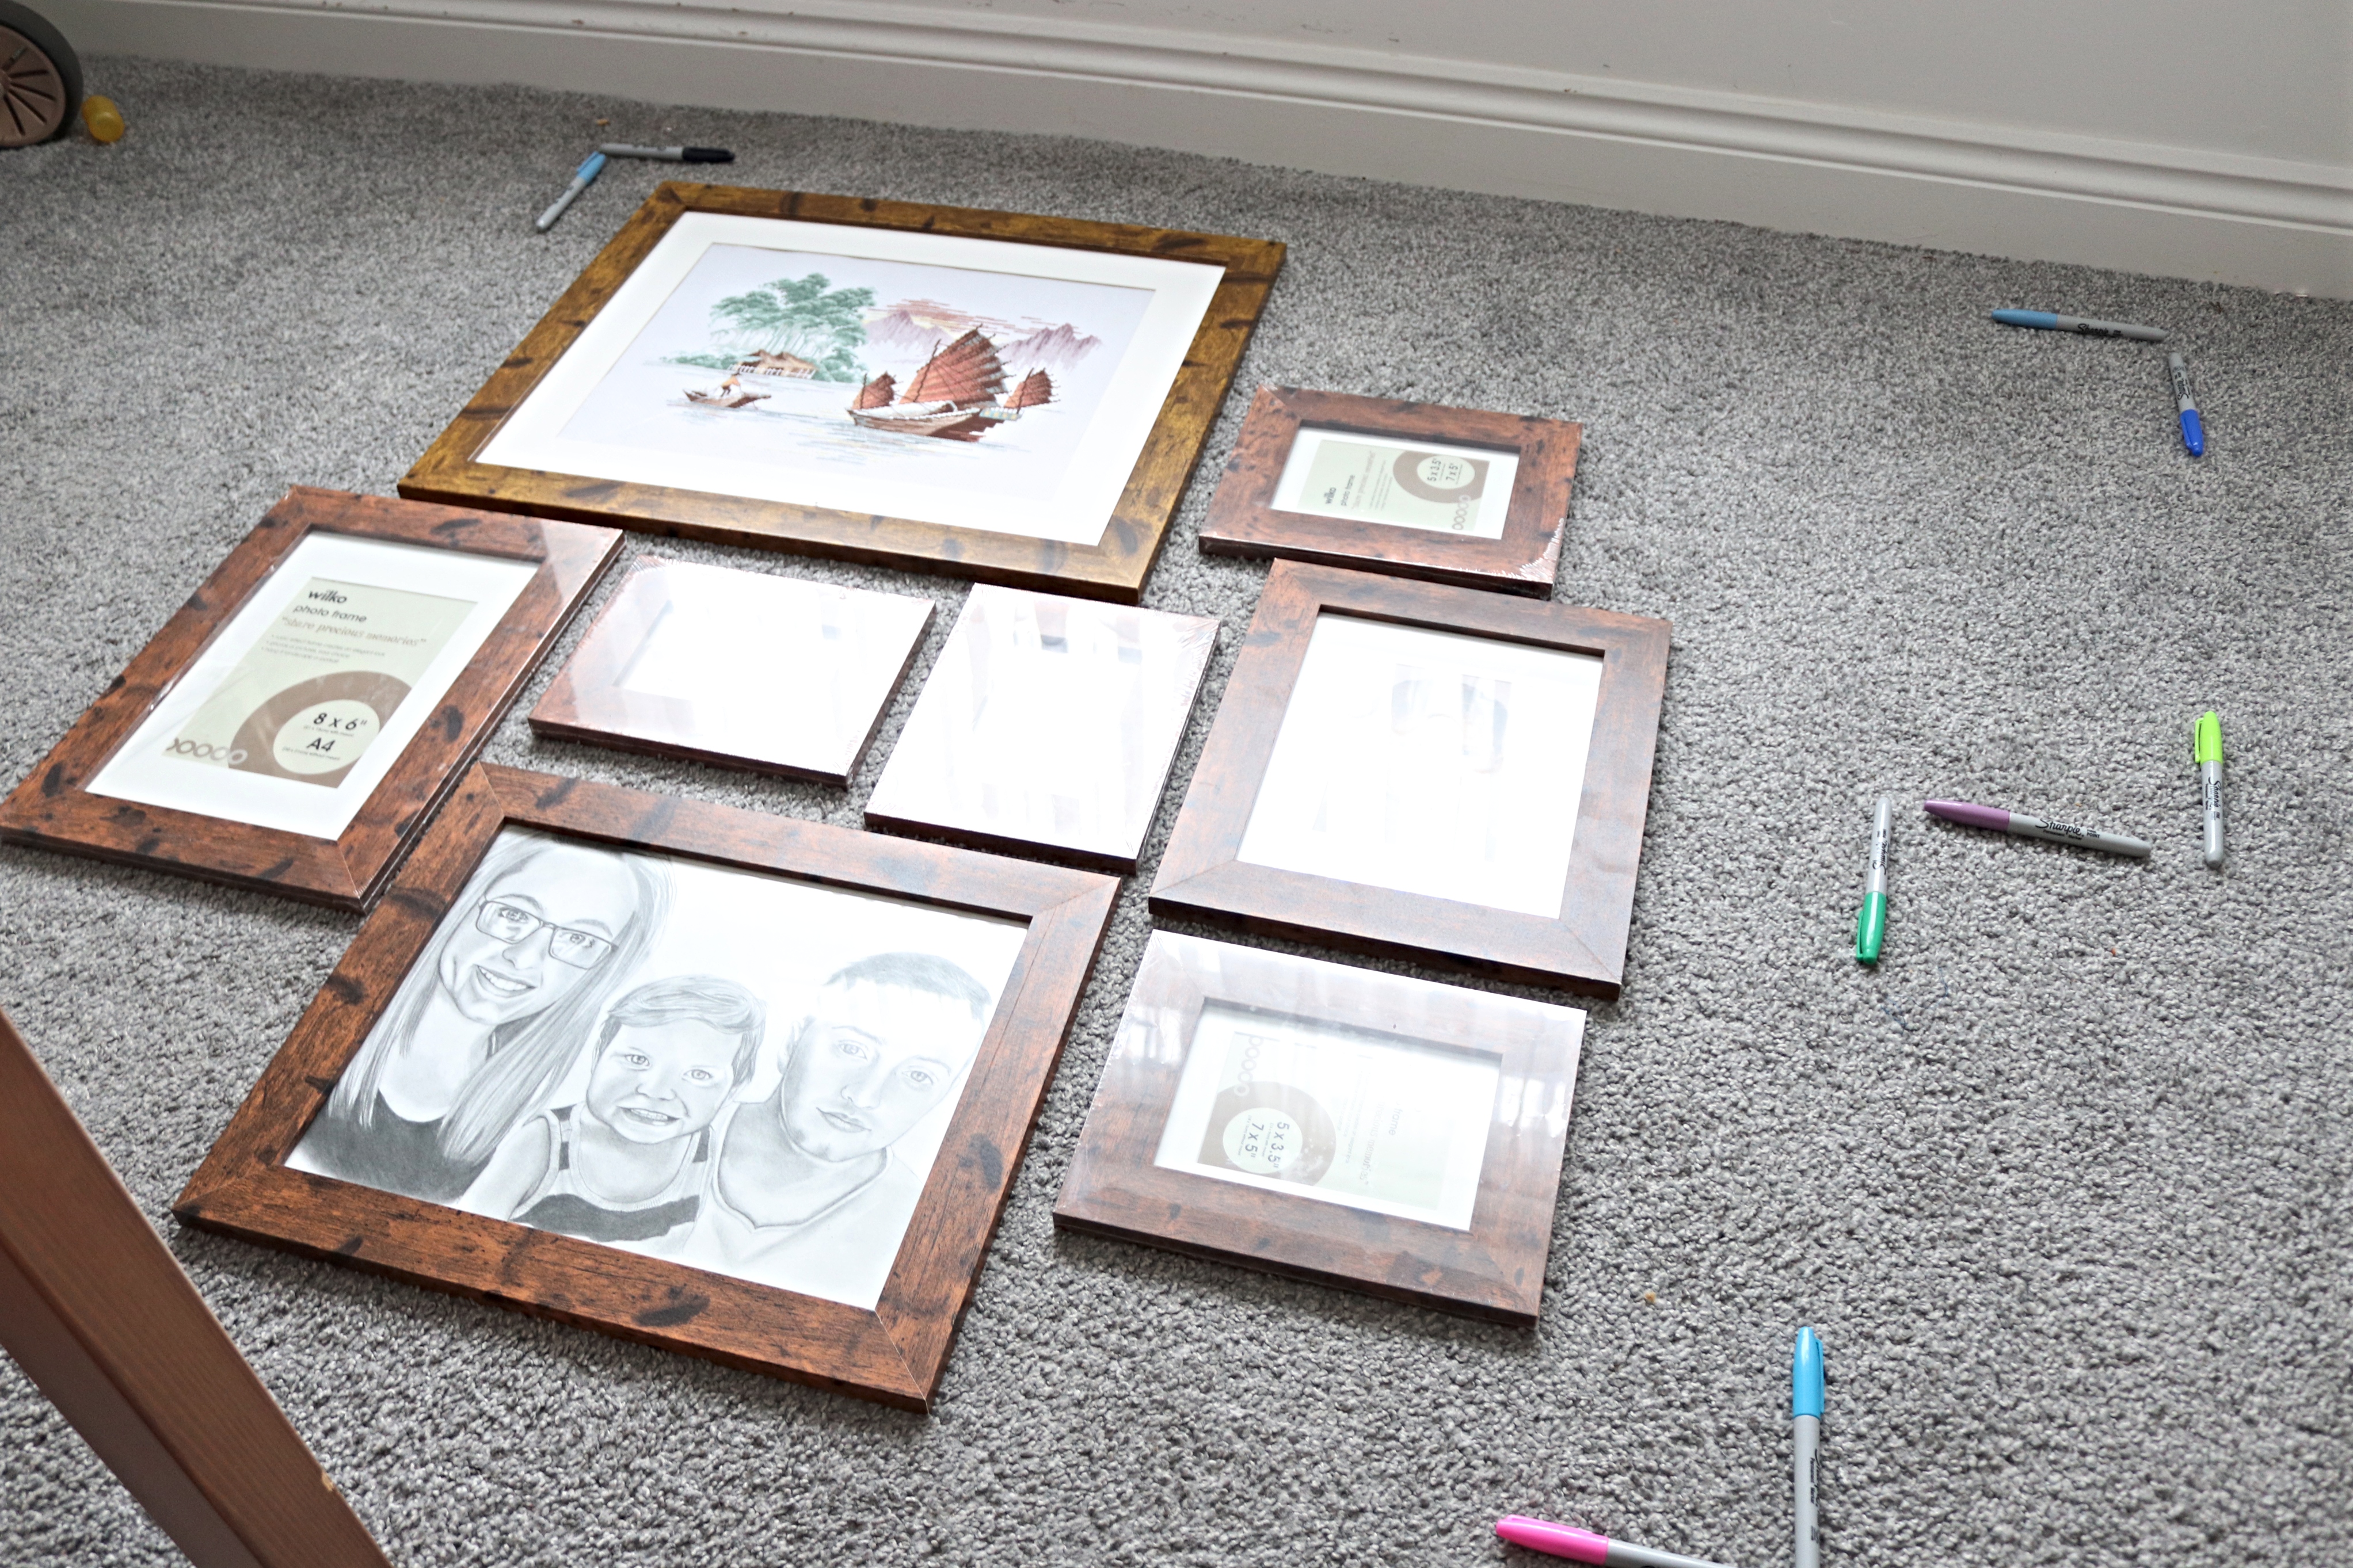
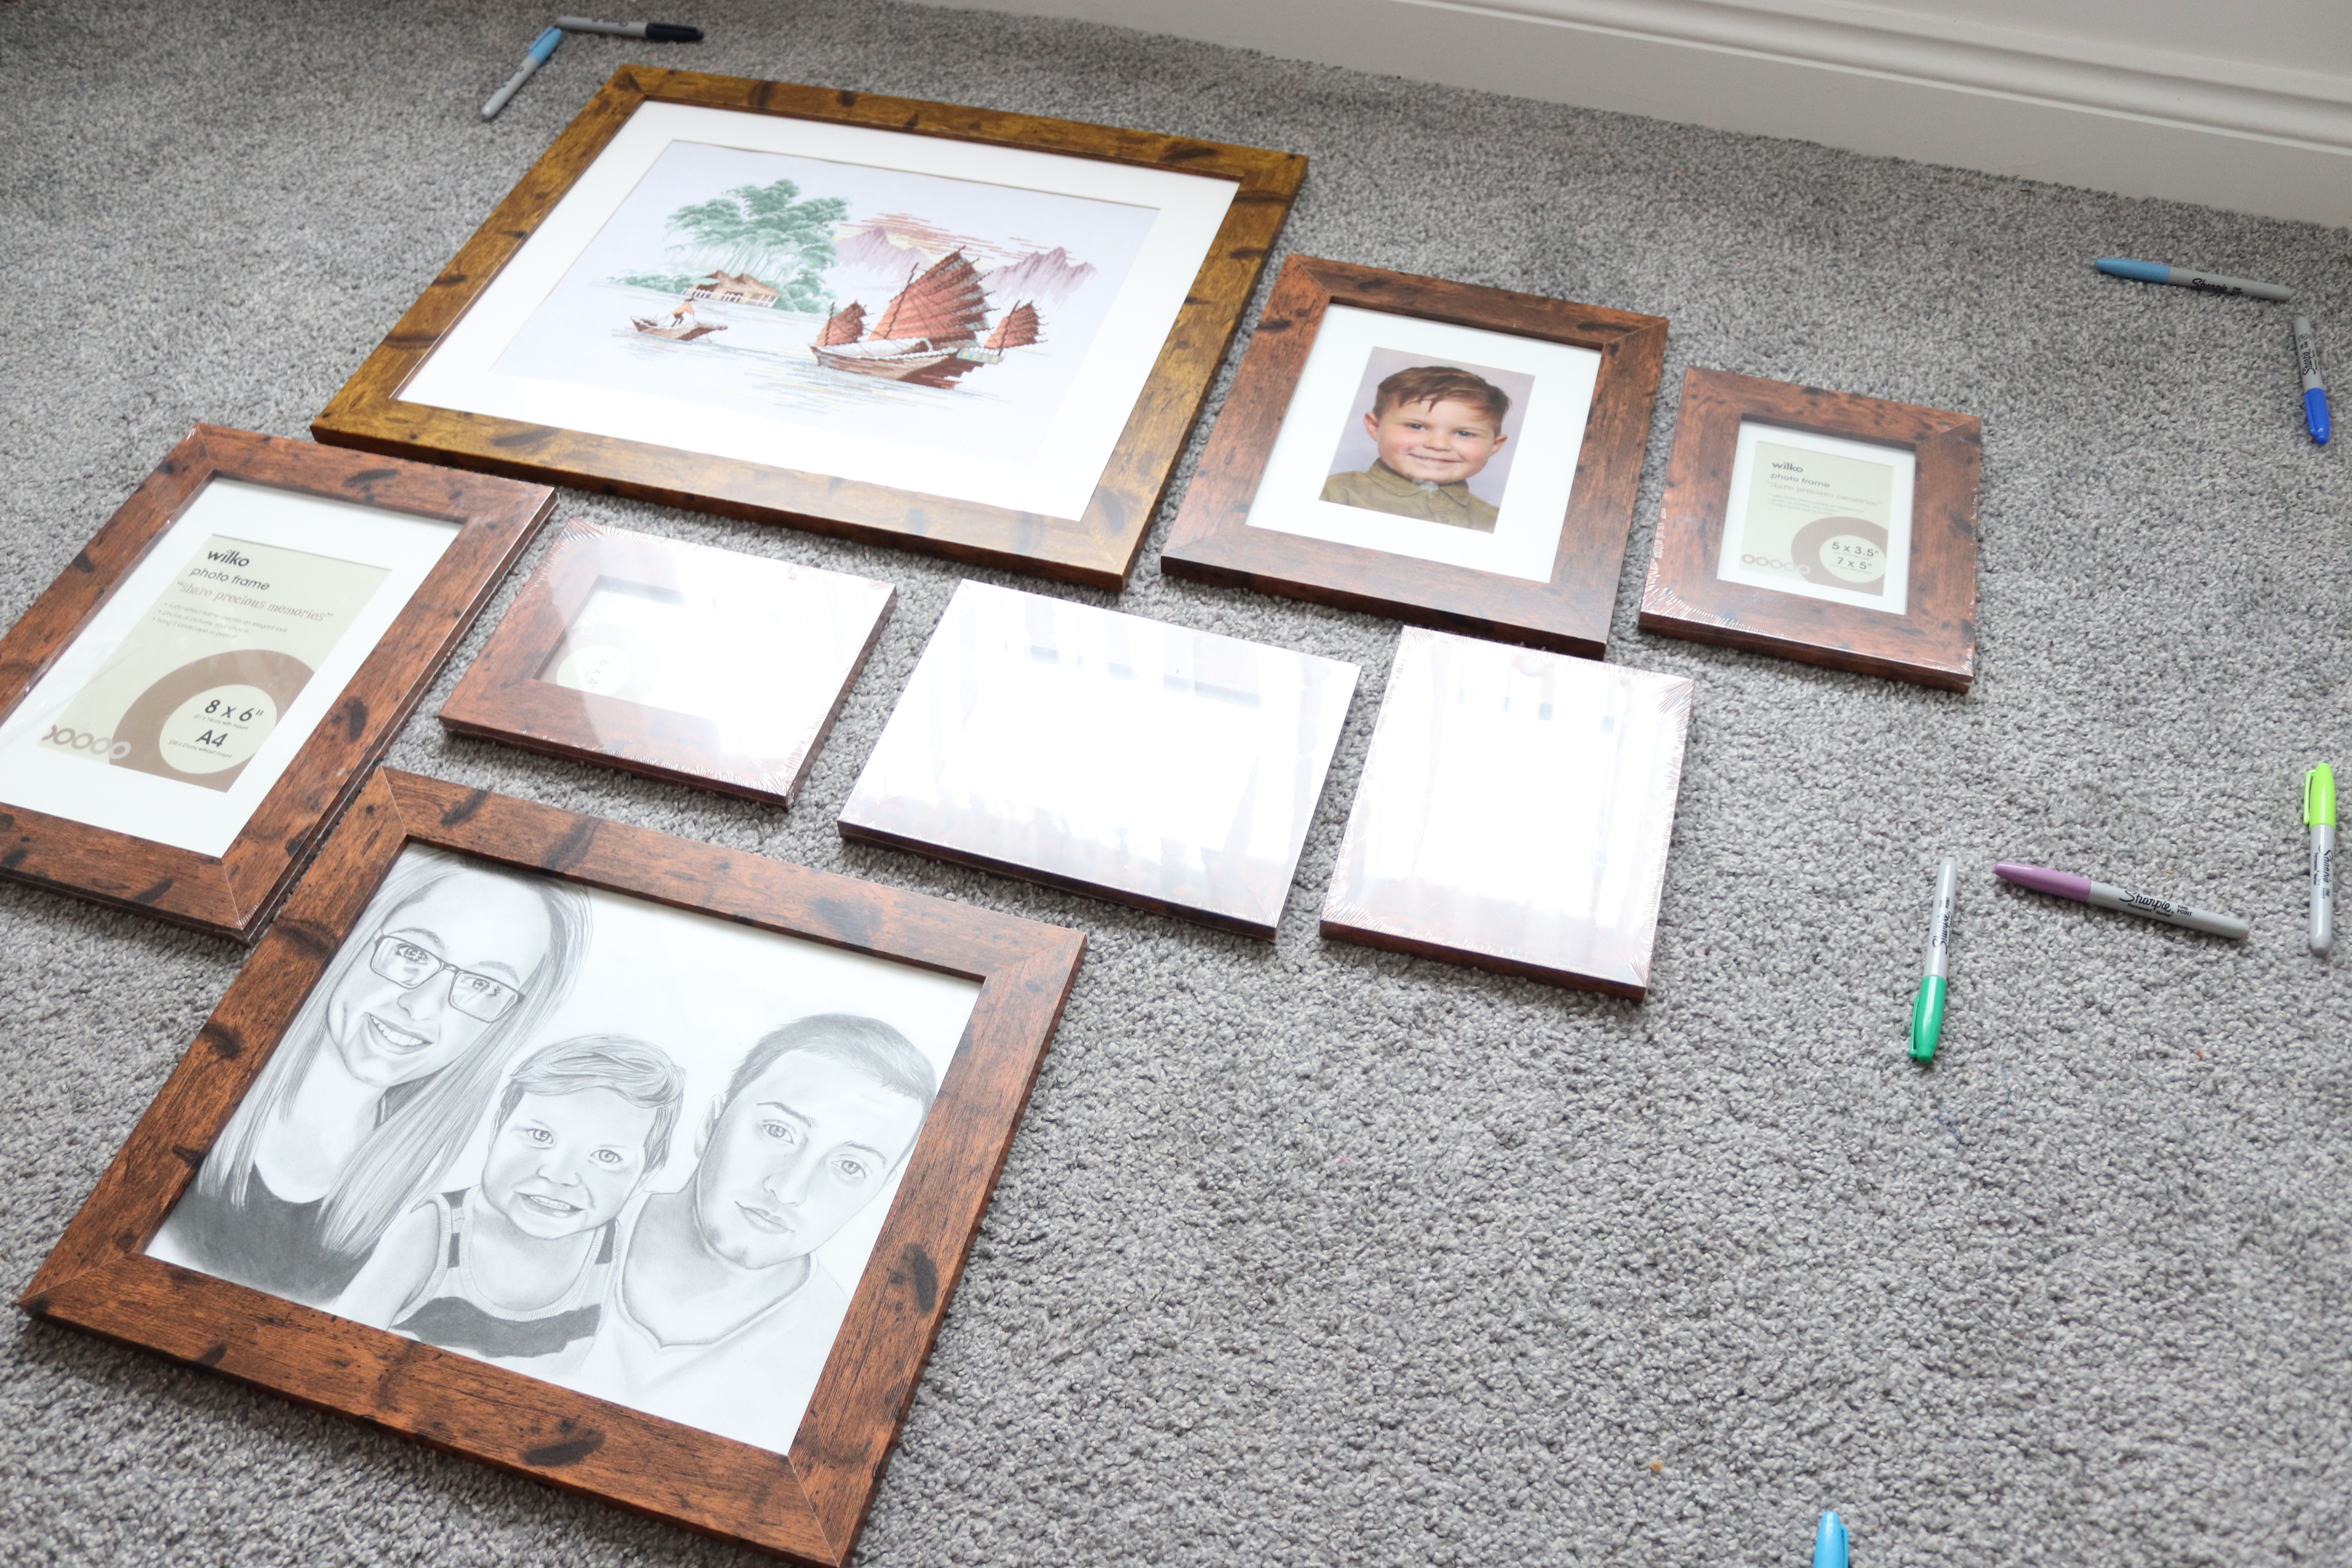
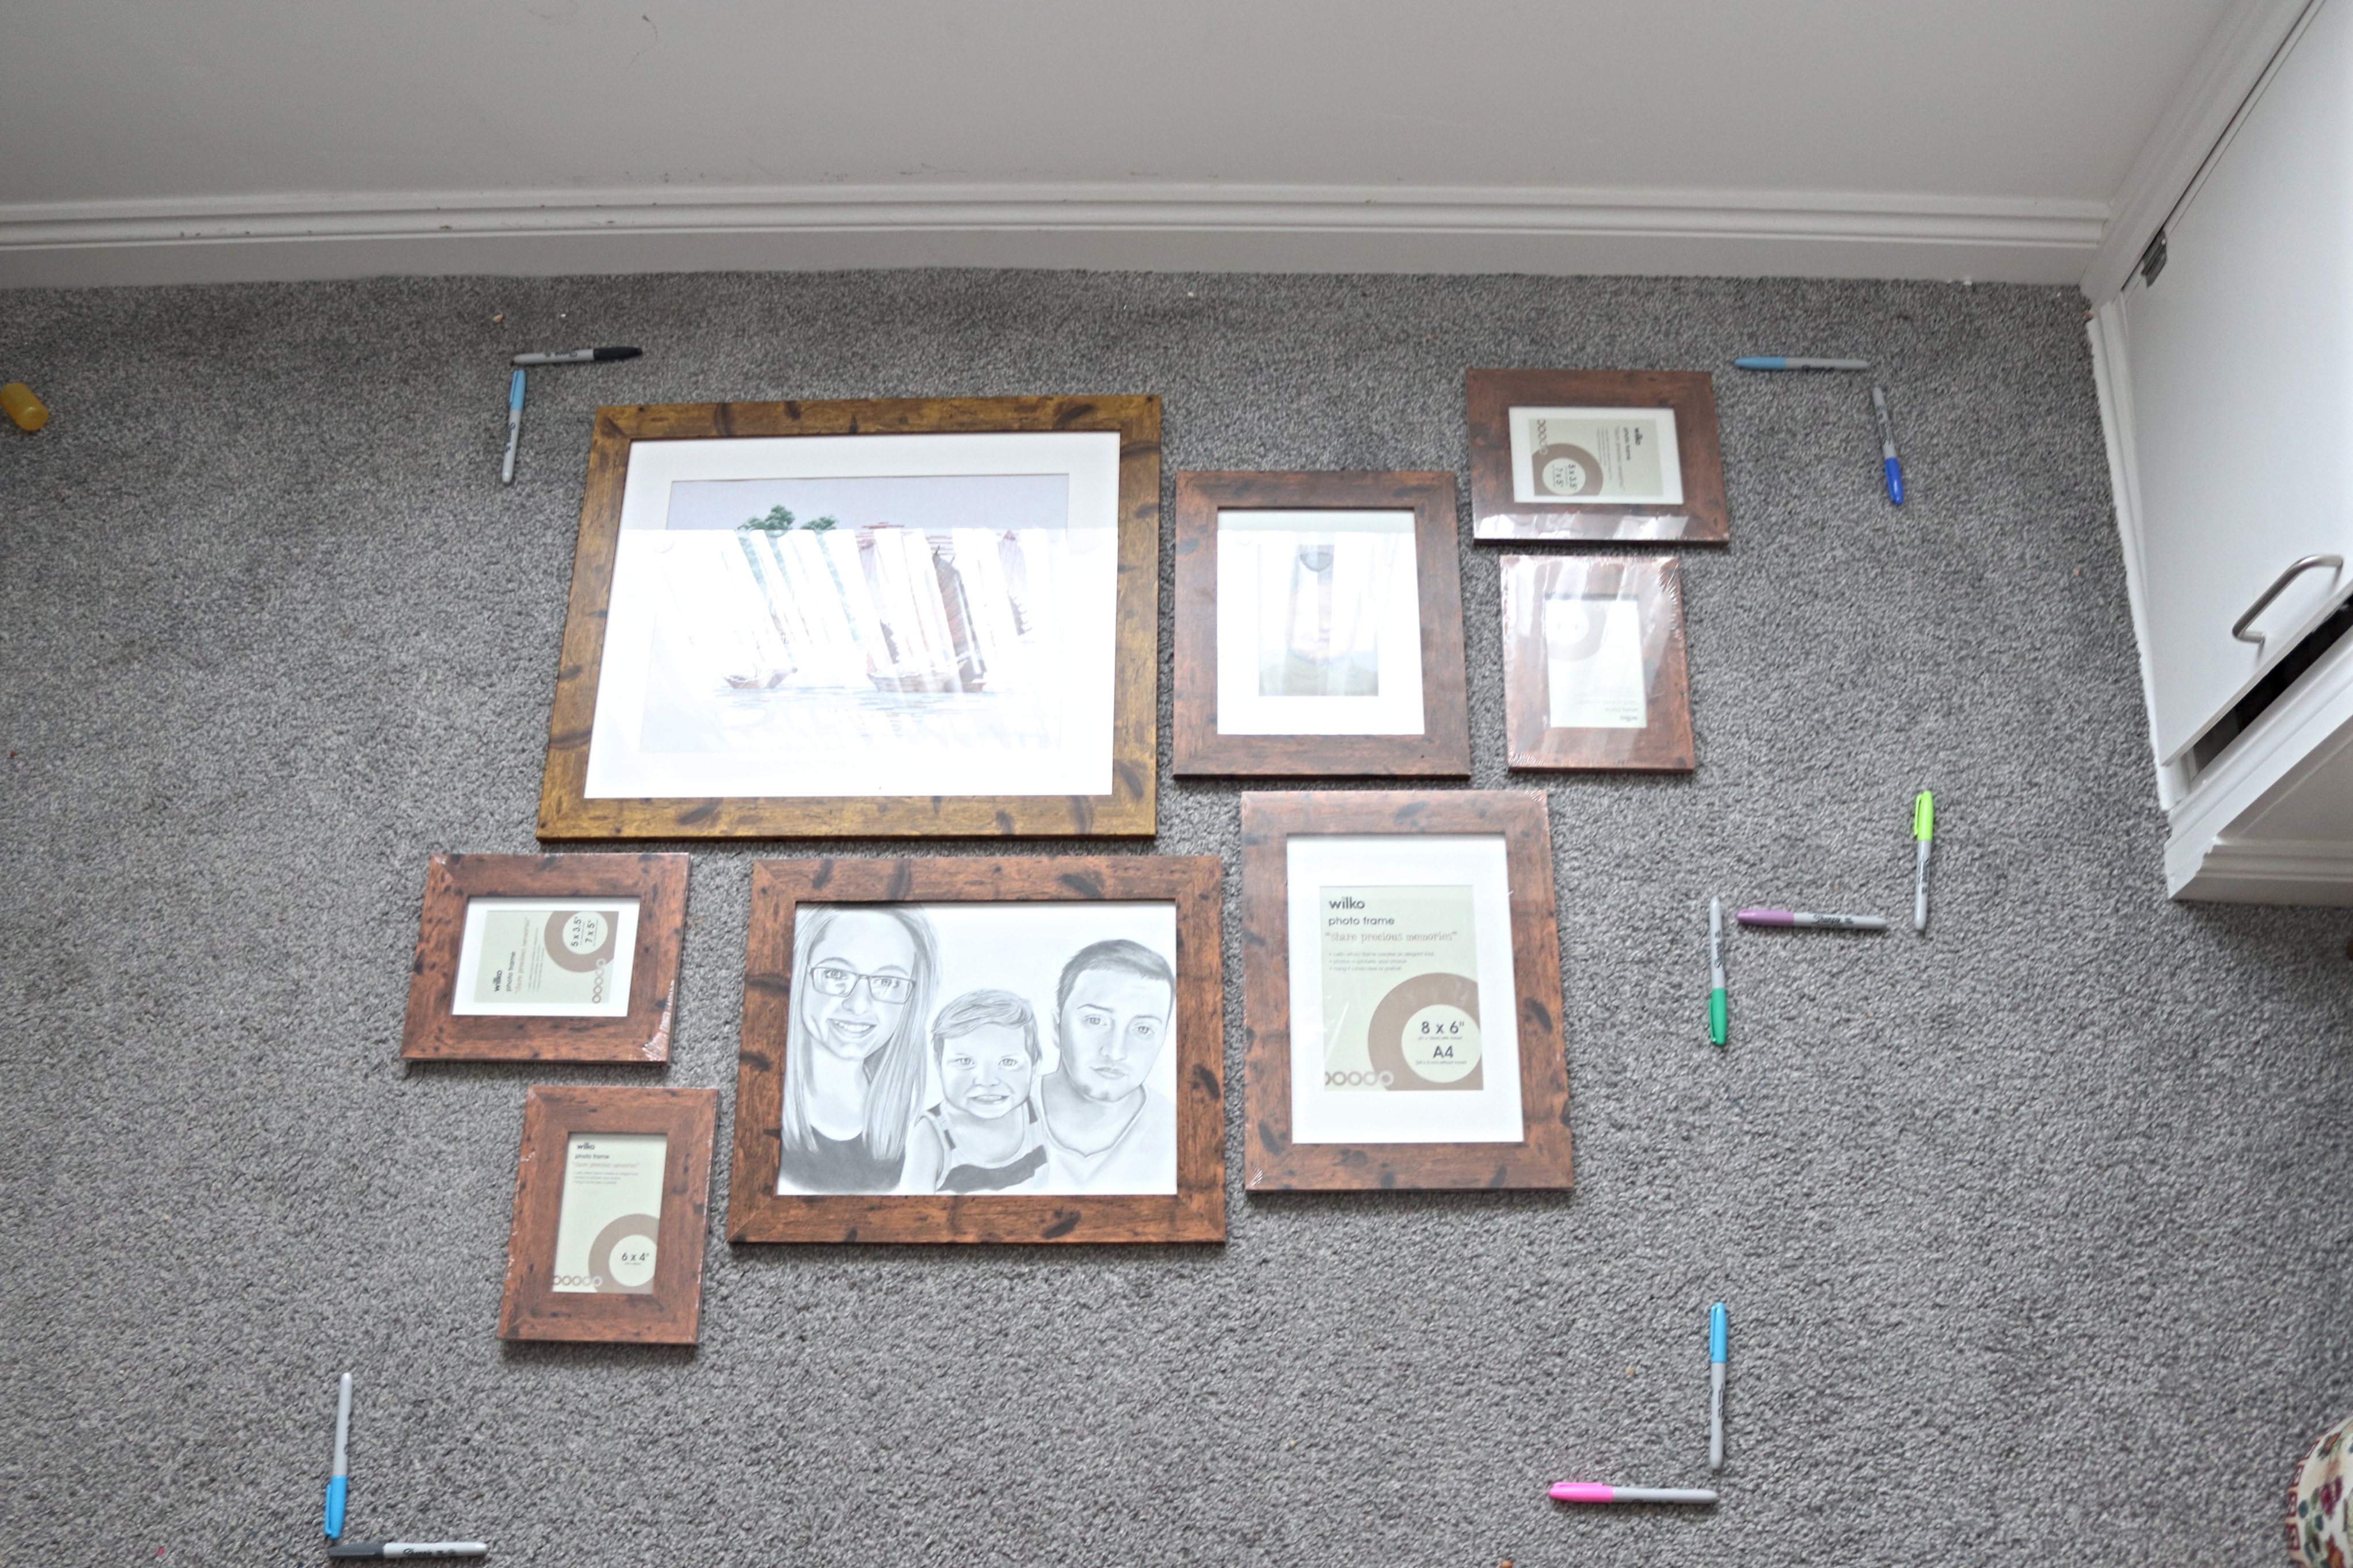
Once my area was marked out I just experimented with the frames. I tried different layouts until I was happy with where each picture was placed. Once I had my chosen layout I took a photo from above.
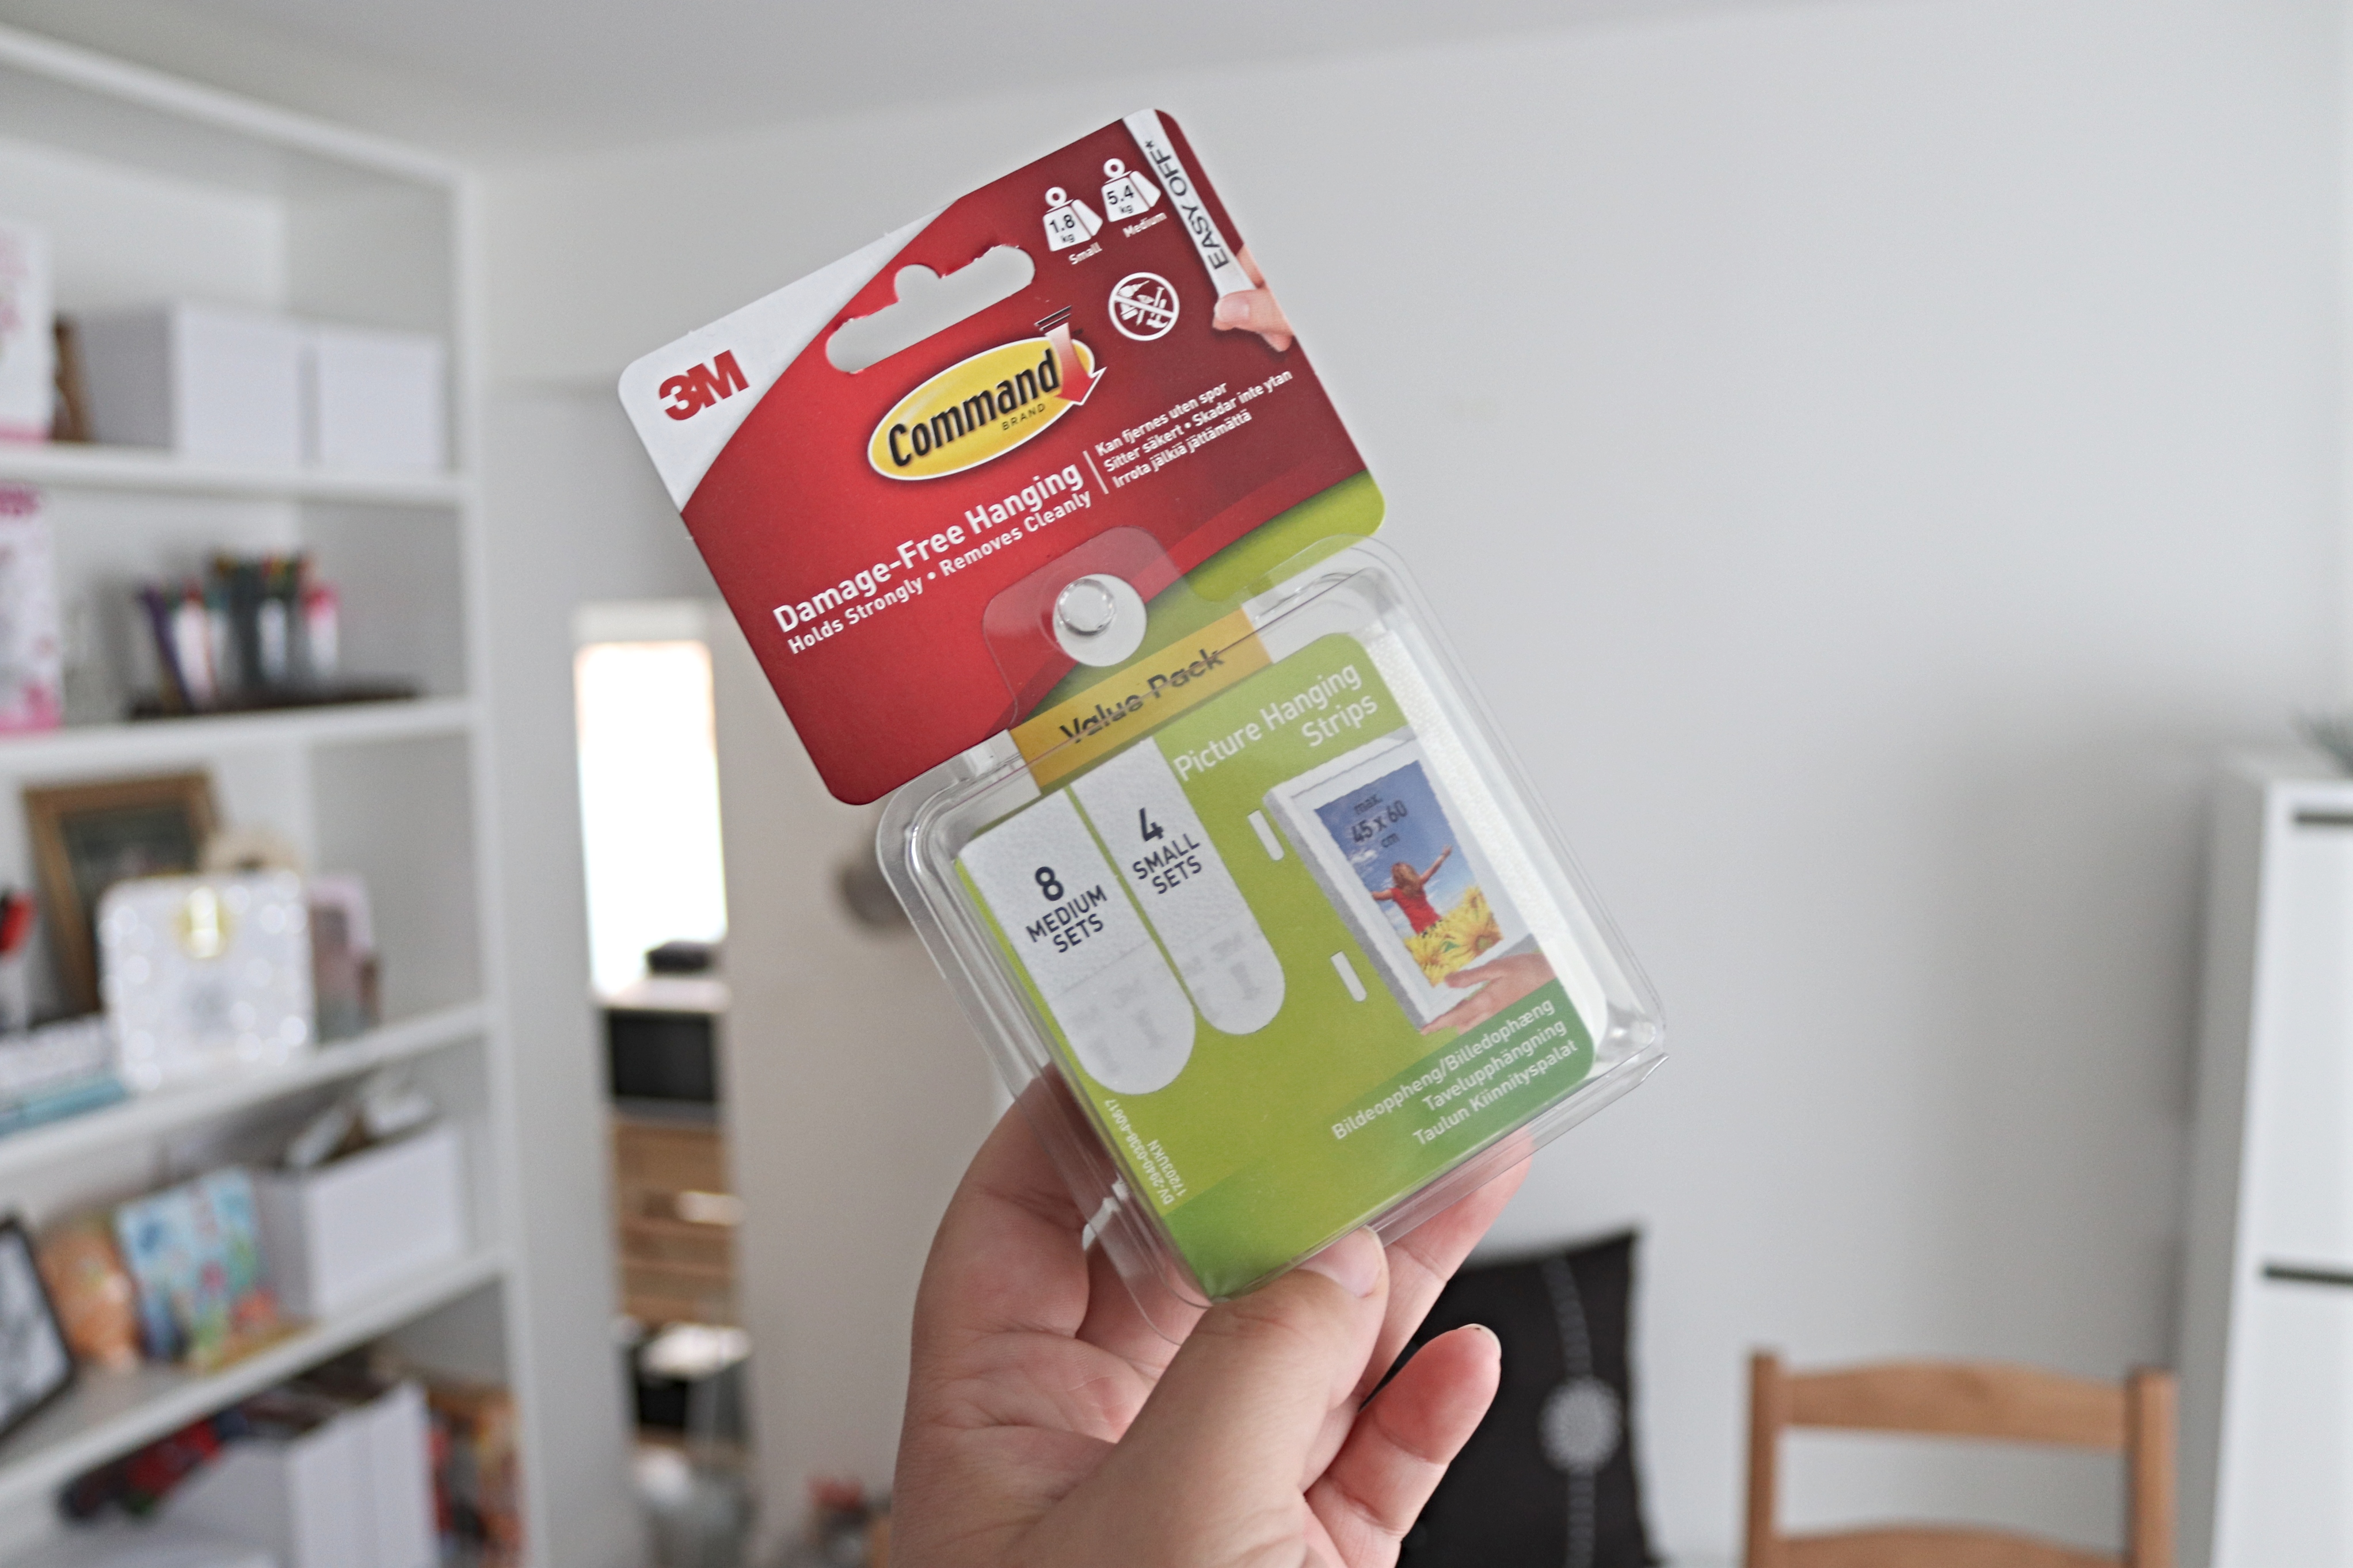
I used command strips to hang the pictures so that I didn’t need to put any nails in the wall. If you have never used Command strips before I definitely recommend them.
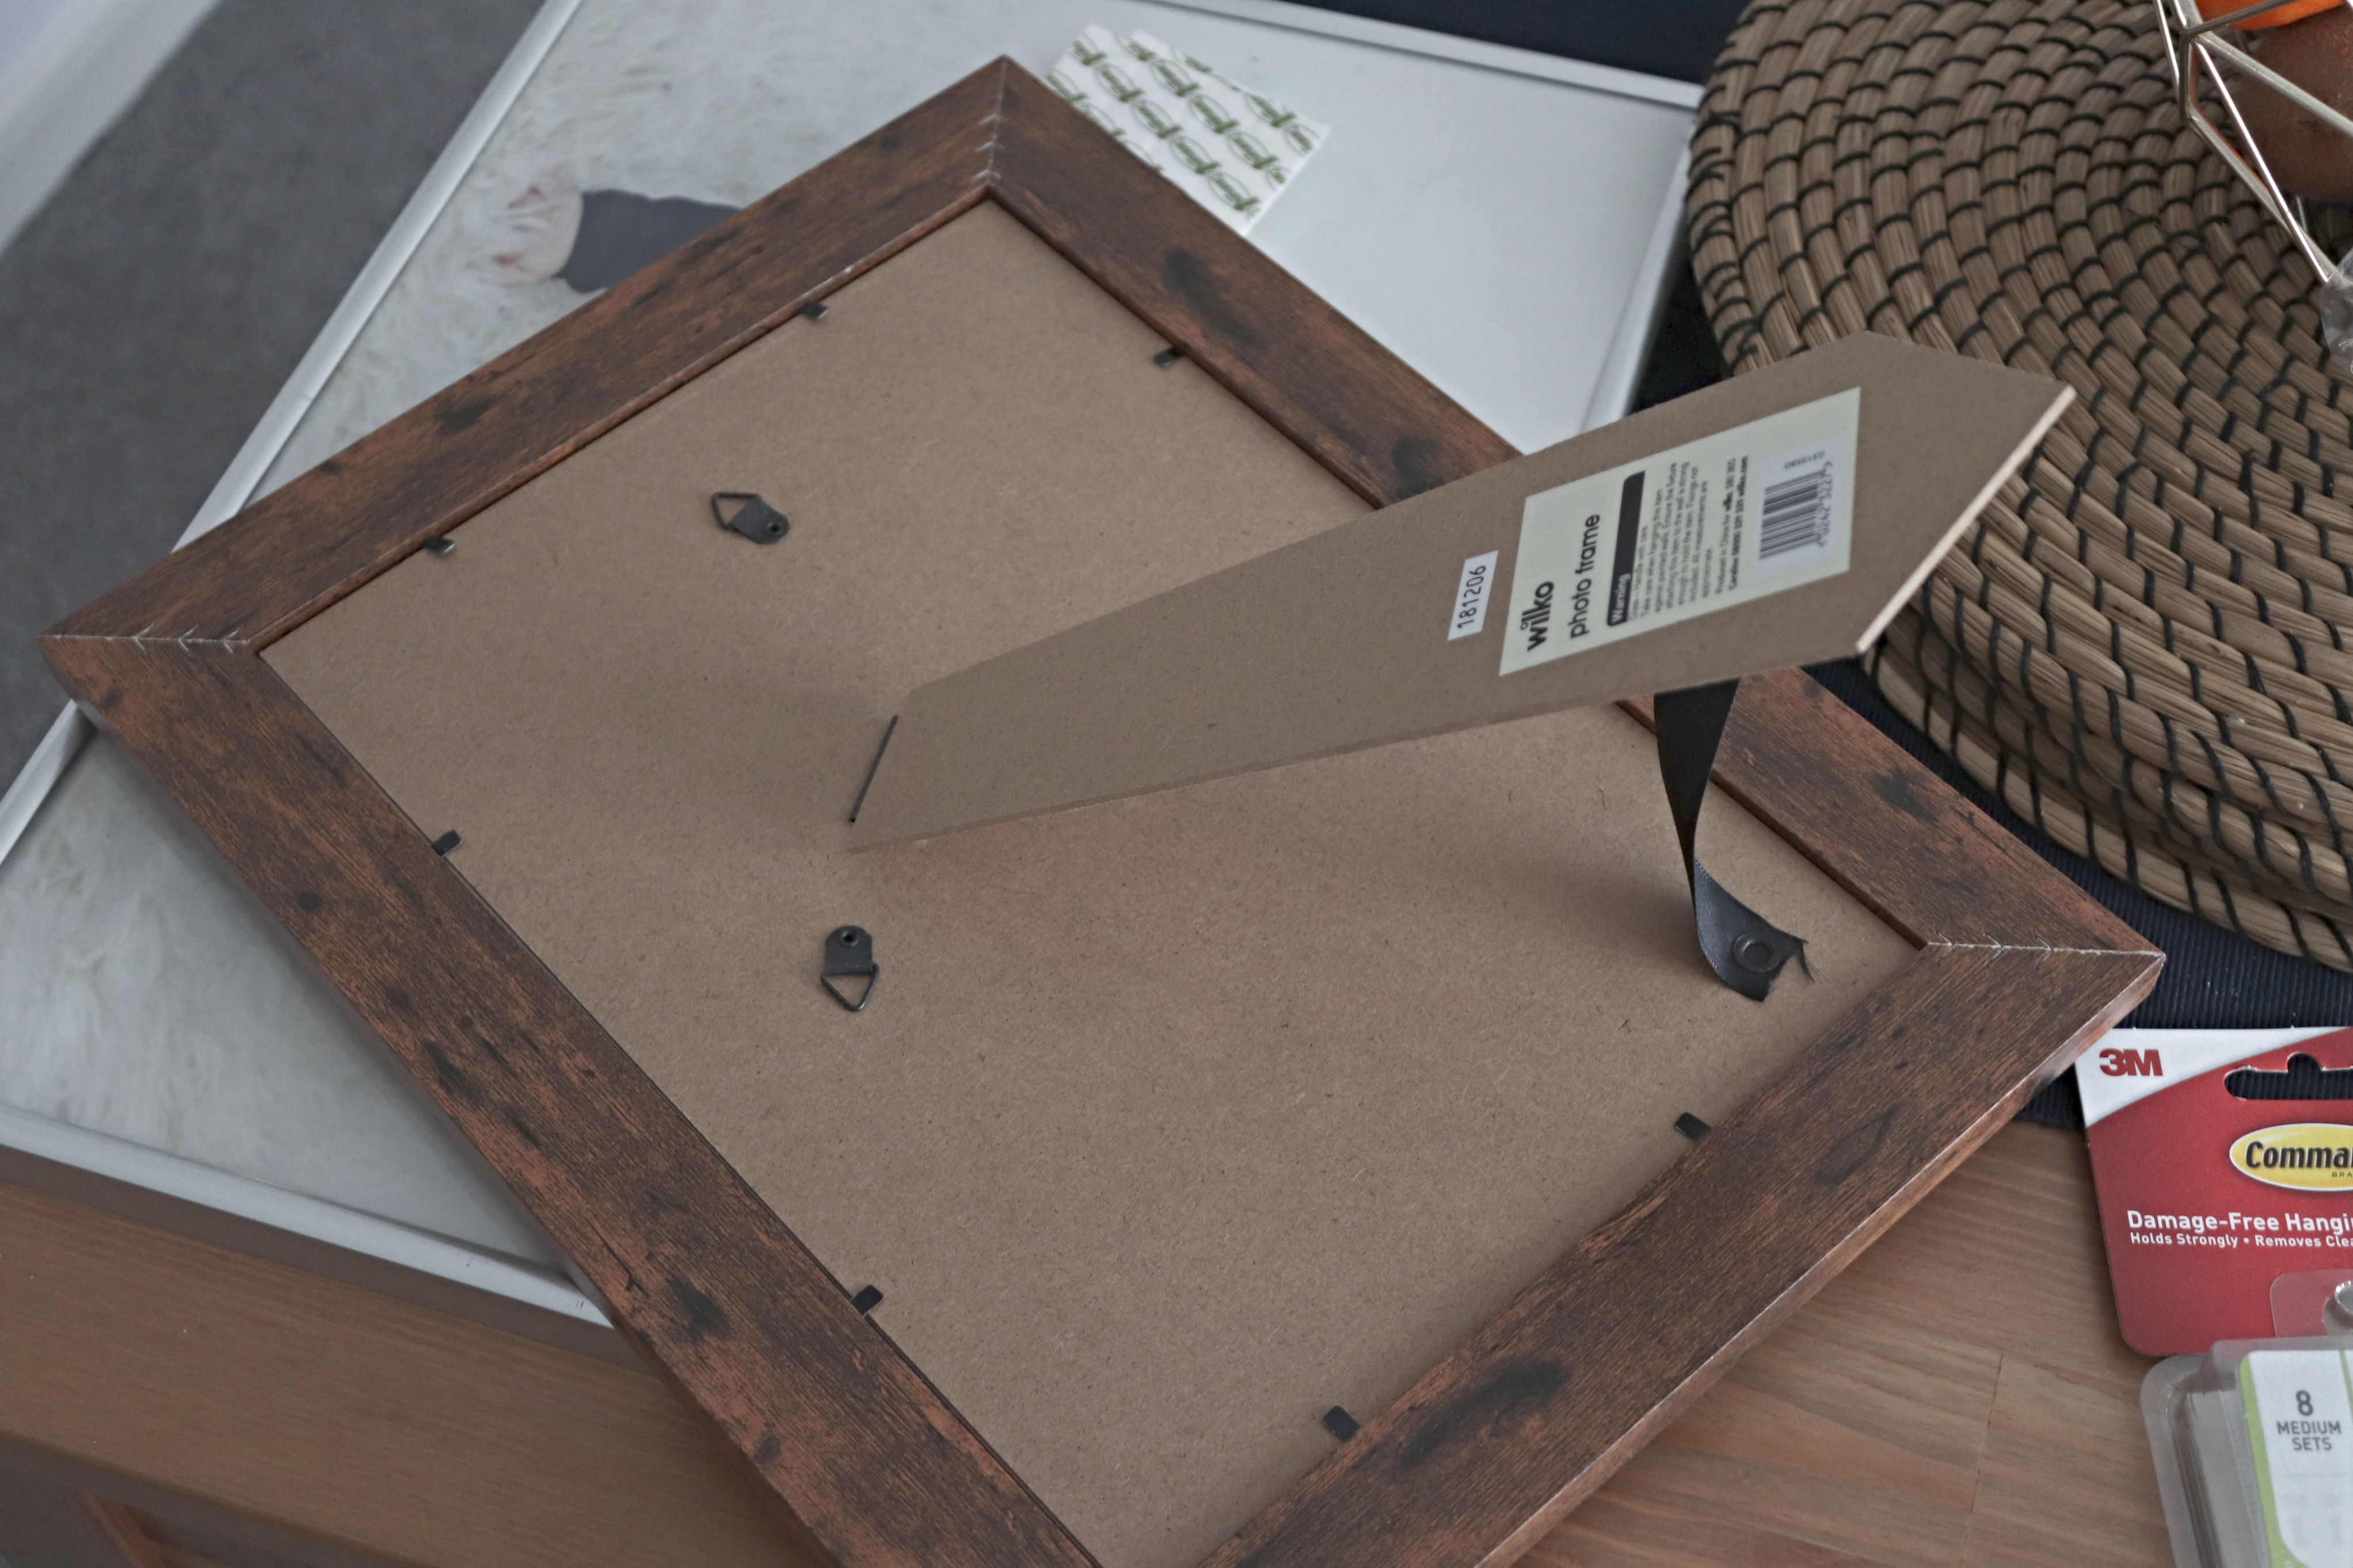
Some of the frames had stands on the back and I had to remove these so that the pictures sat flat against the wall.
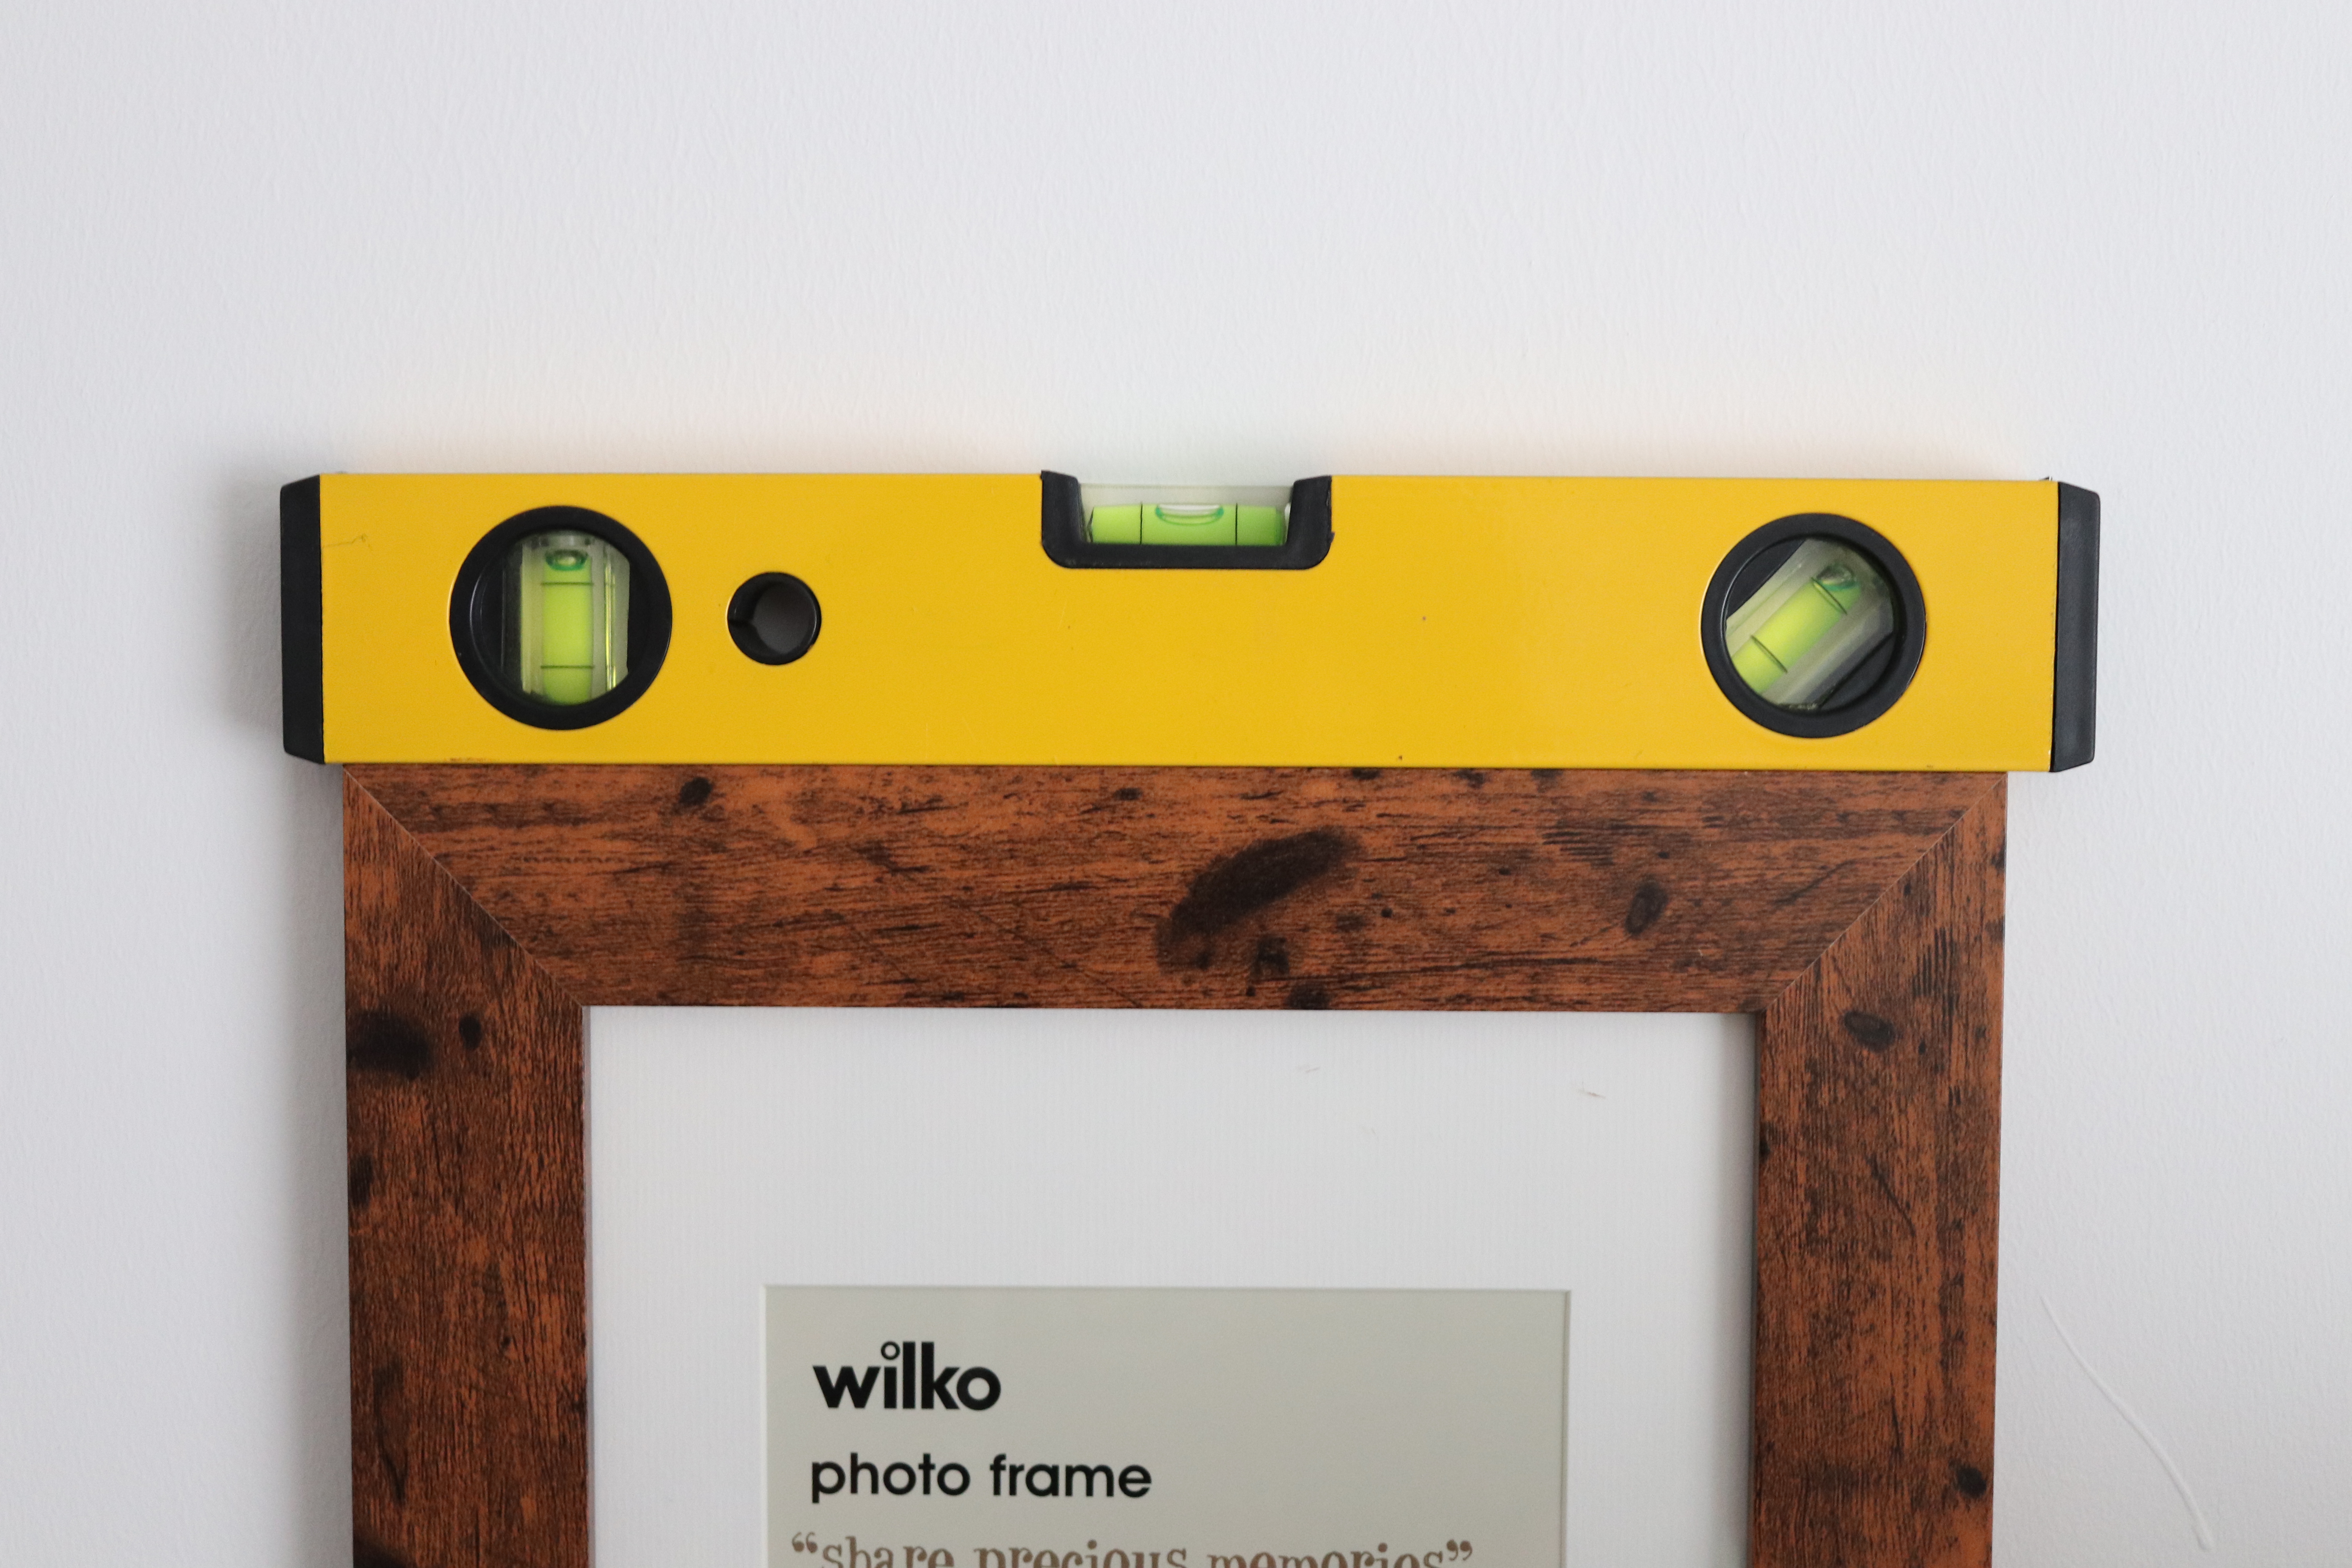
I then started to hang the pictures using the photo I took as a reference. I used a spirit level to hang the first frame but then I hung the rest by eye working outwards from this first frame.
Every time I hung a new frame I would refer back to my photograph to make sure I was placing it the same way as I had when planning it out. This is another great reason for using command strips as once stuck you do have a little room to move them up or across if you are not 100% happy with the placement. Also at this point I didn’t have pictures for all of my frames so once I had finished hanging all the frames I went back and filled them with photos!
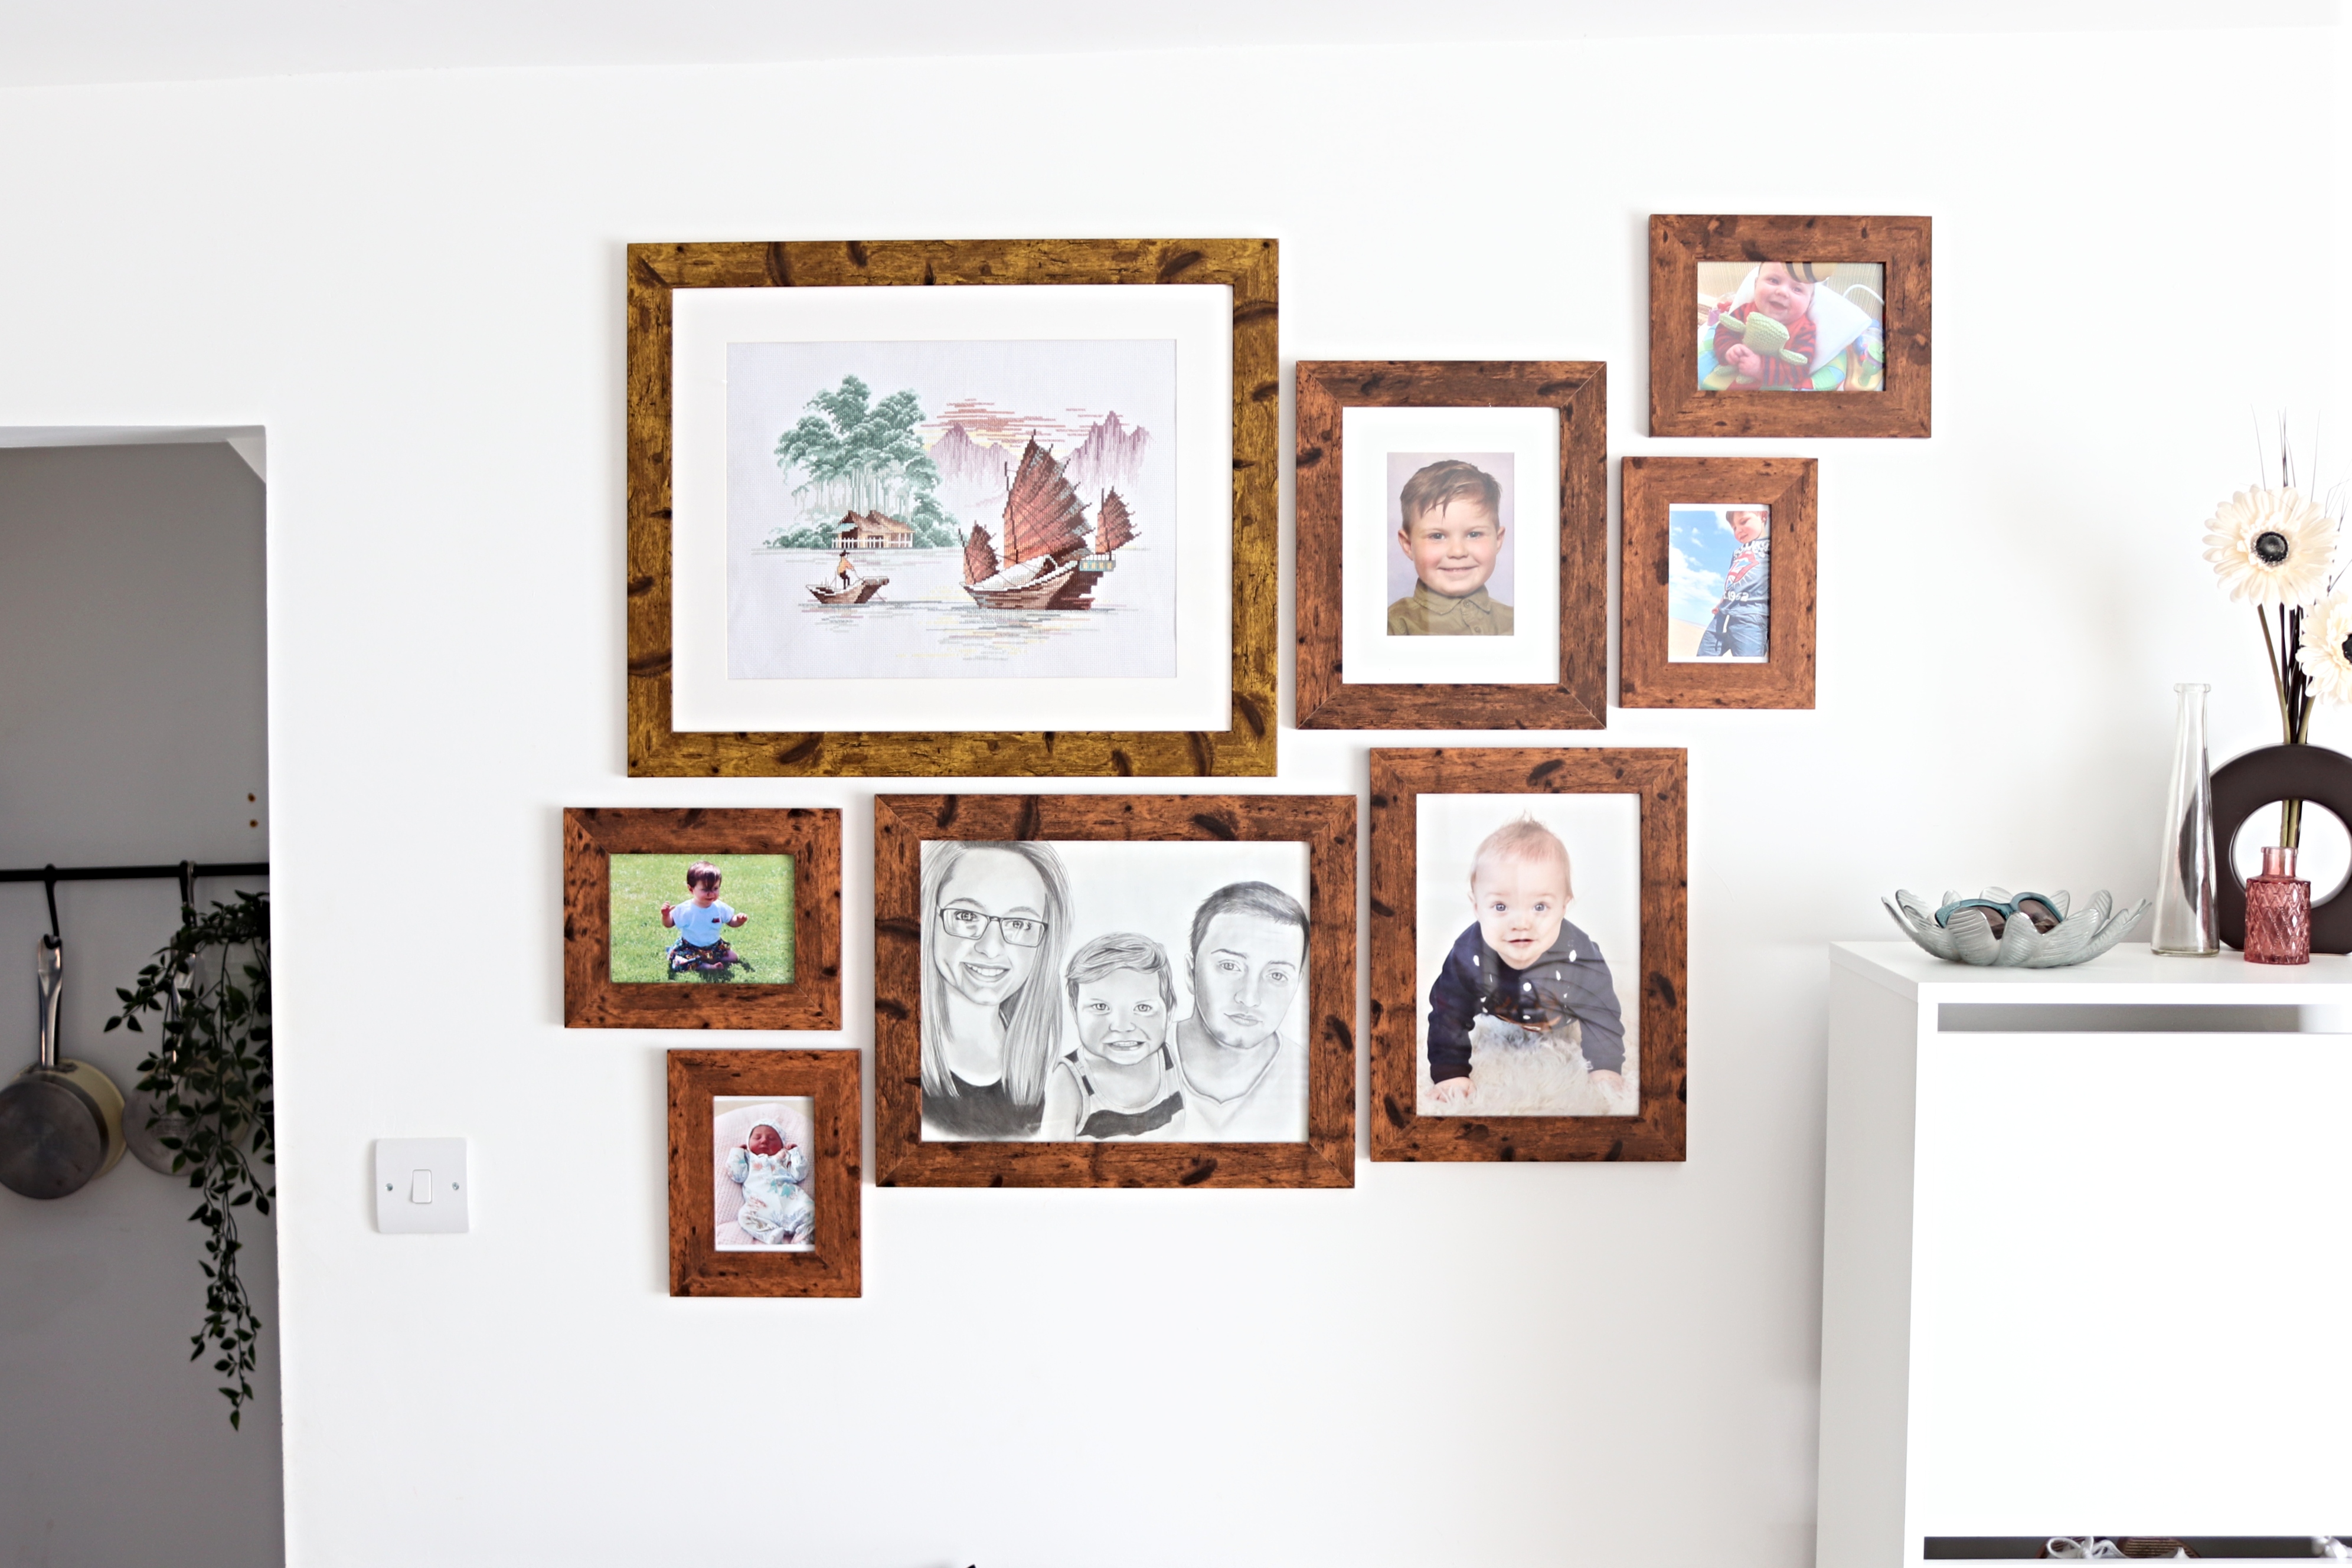
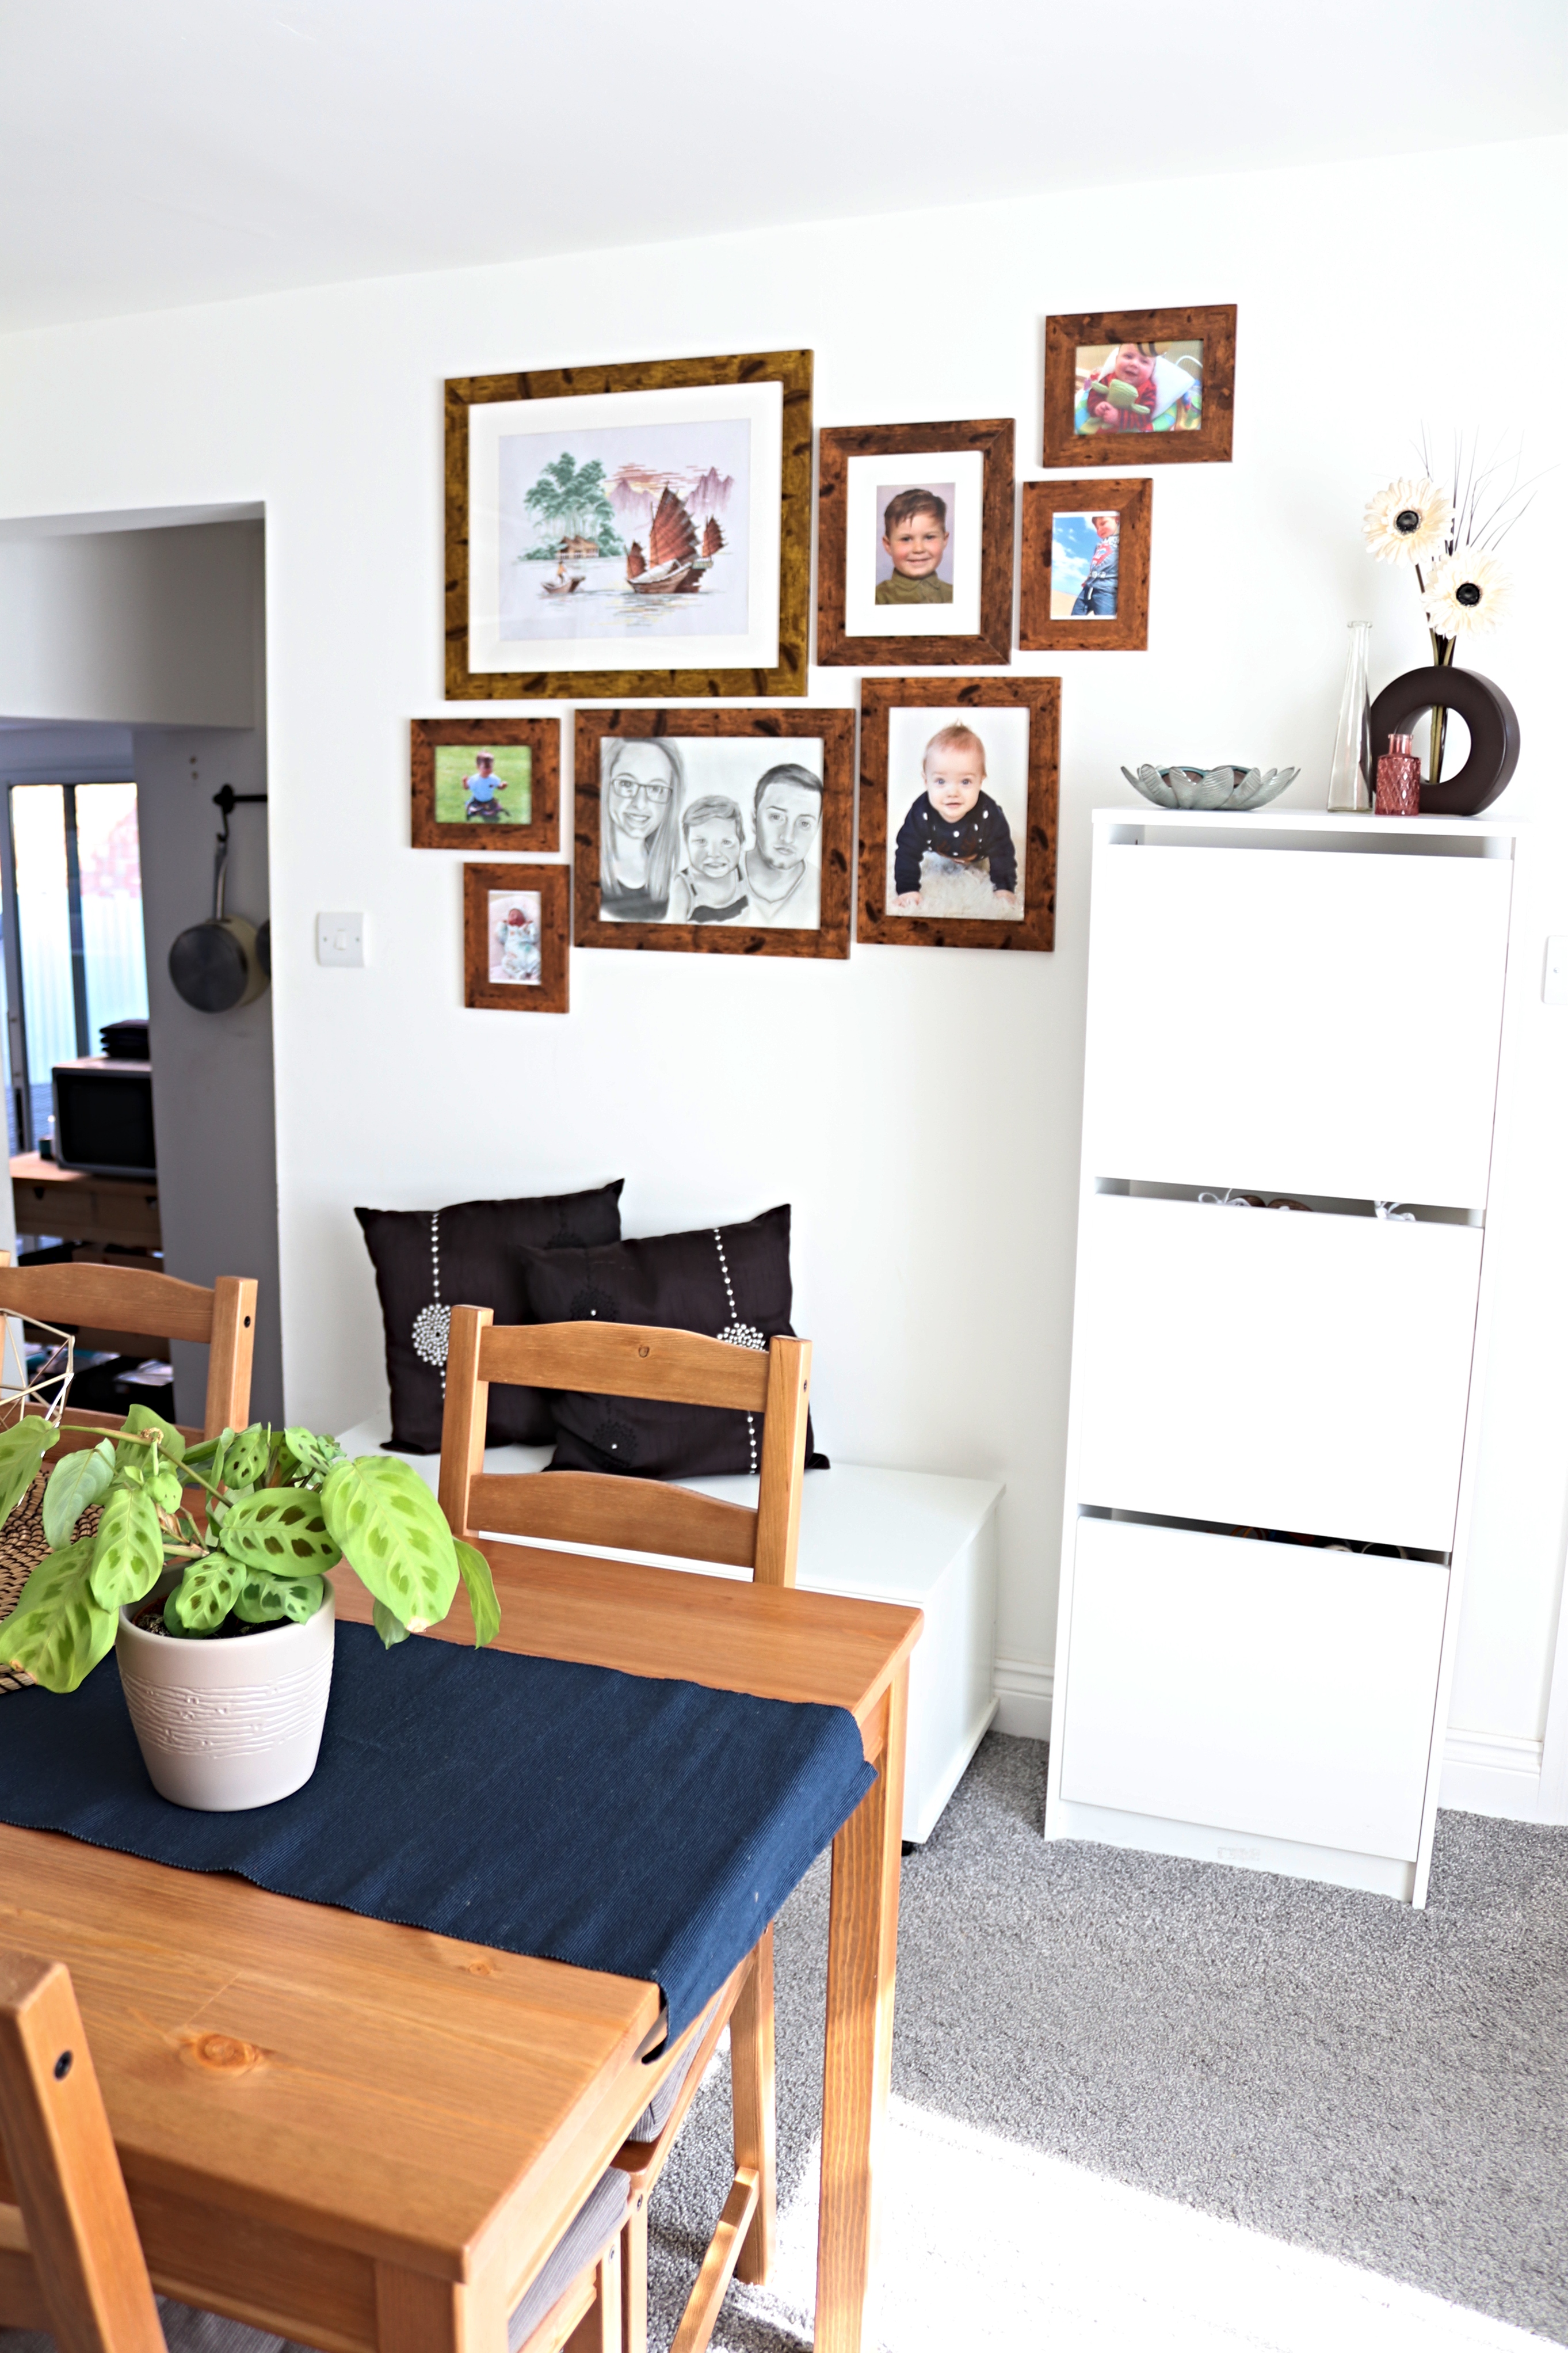
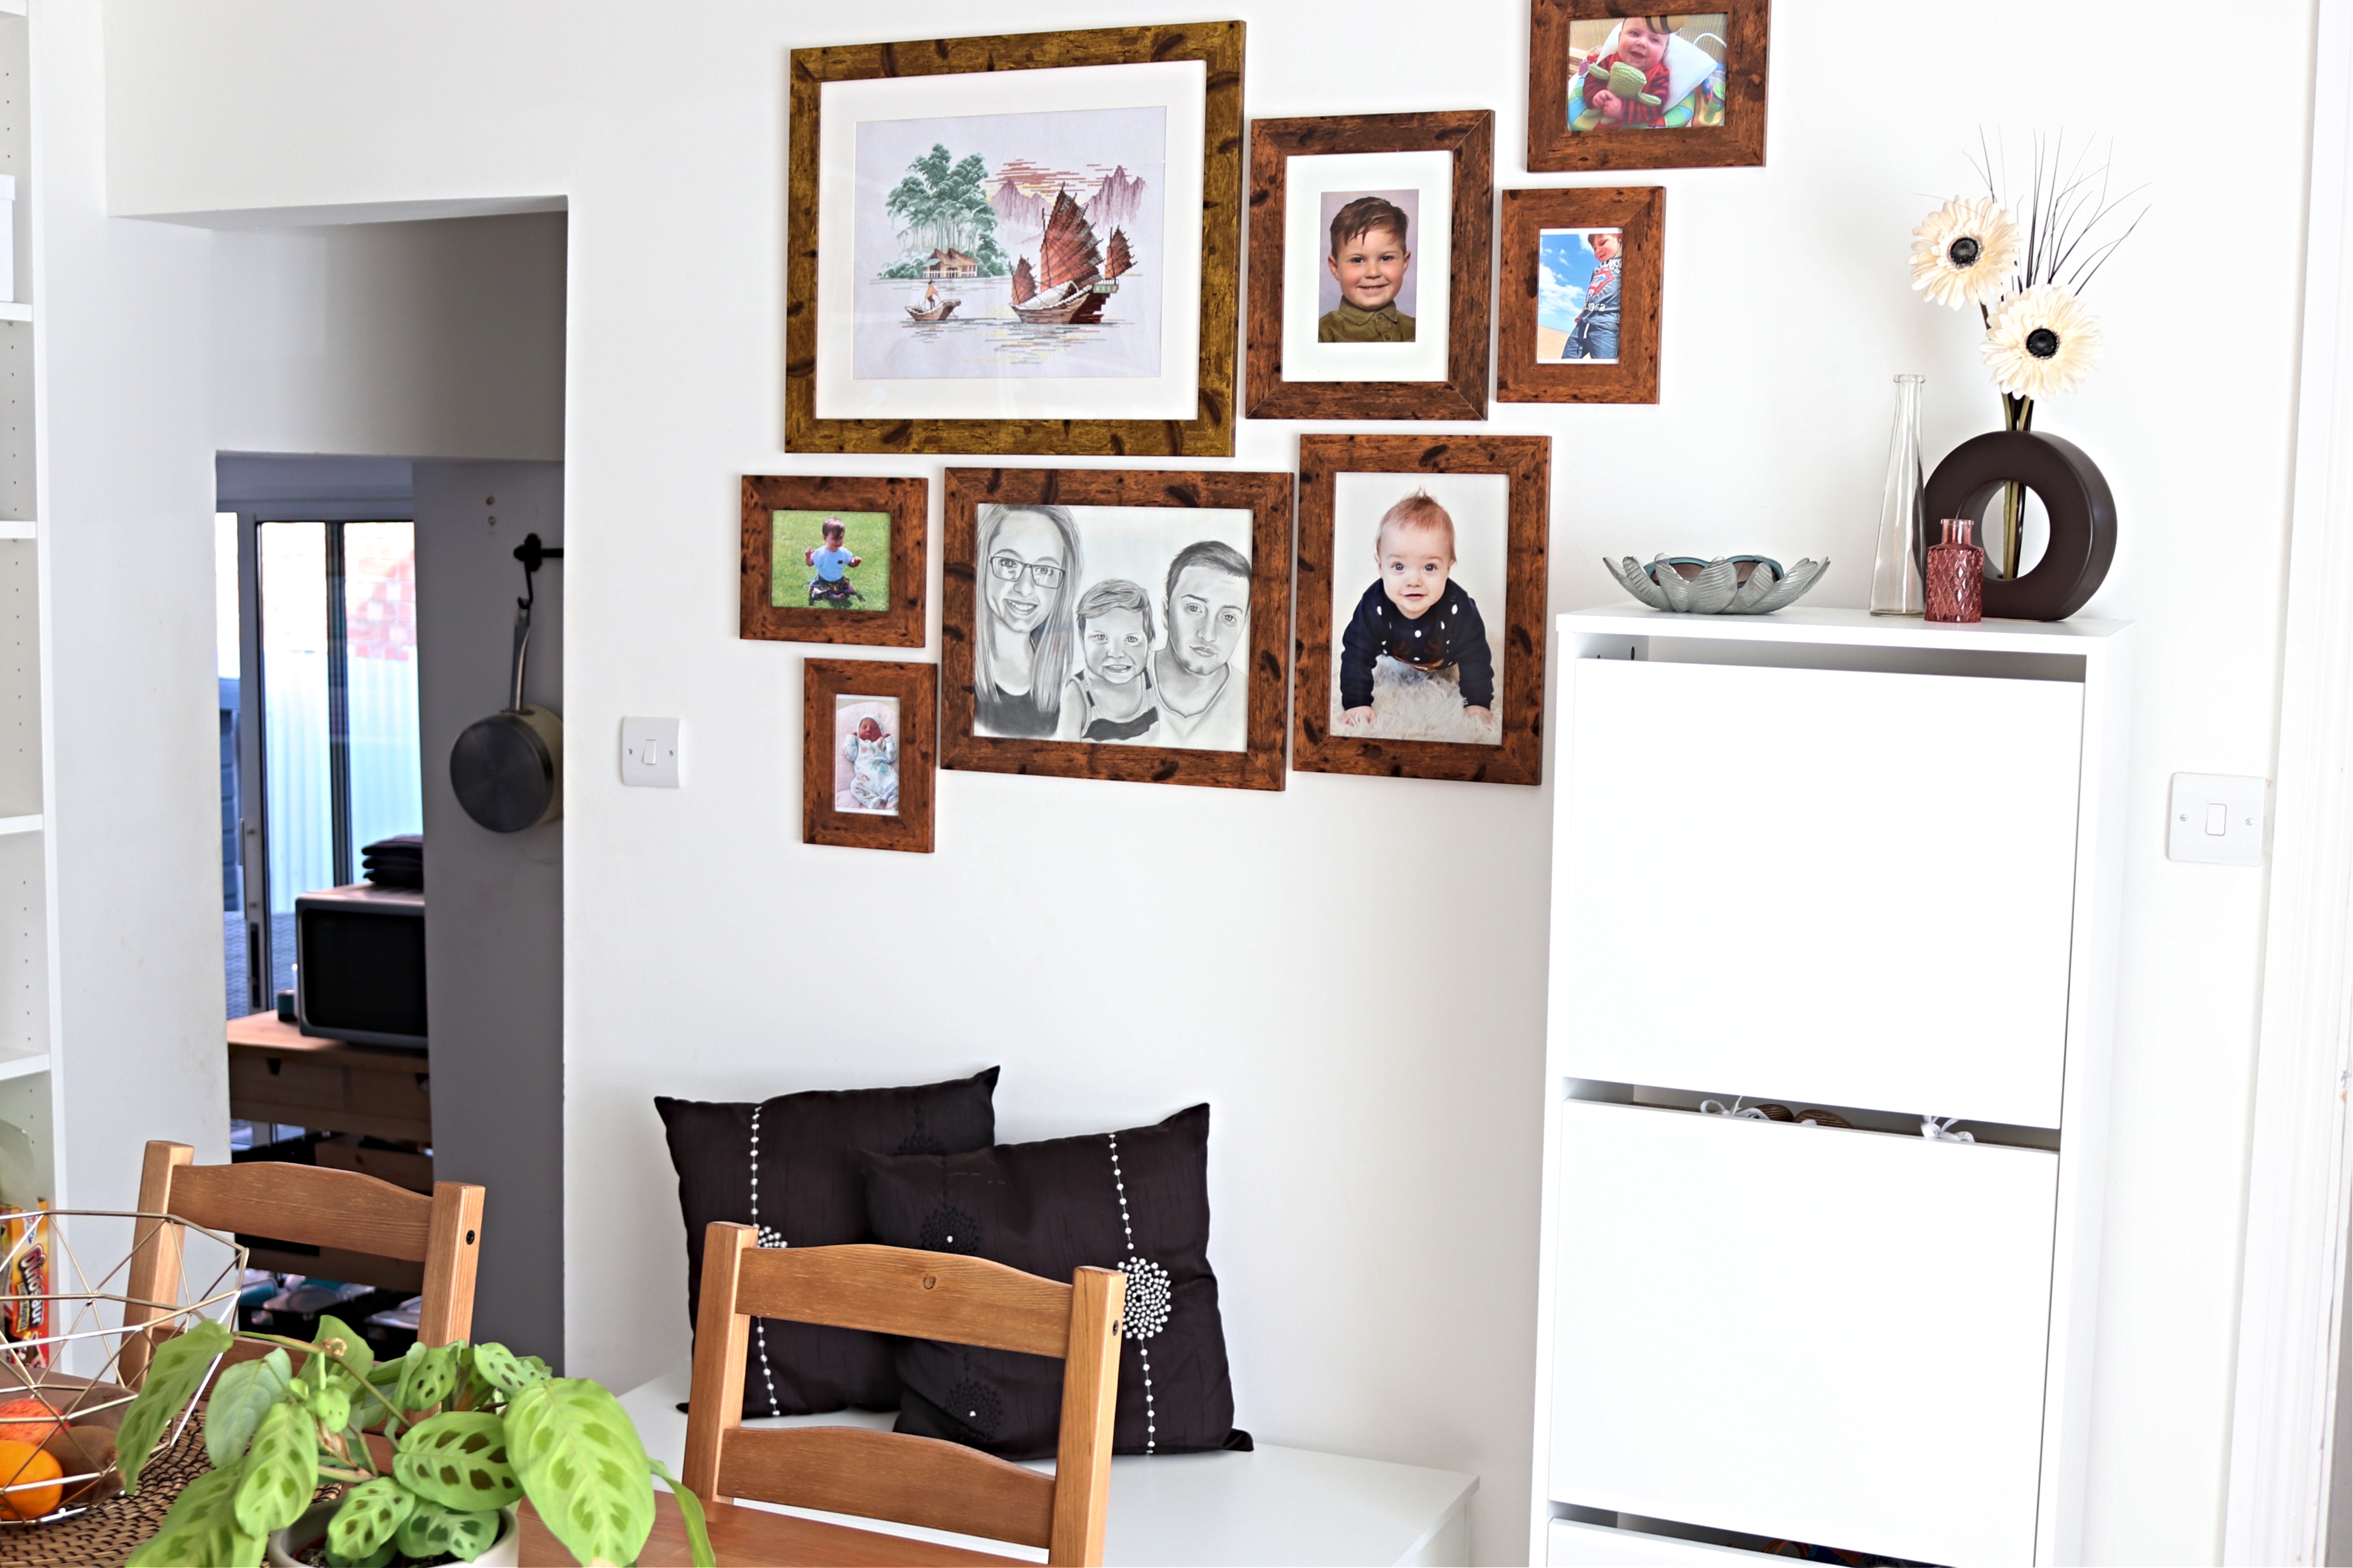
So there you have the gallery wall complete. I really hope that this post has helped you if you’re planning a gallery wall of your own. The main rule of the gallery wall is that there are no rules (except maybe make sure your pictures are straight!) So have fun with it and experiment. The beauty of doing it this way is that you can rearrange your layout over and over again until you’re happy. Now that I’ve got stuck into a couple of tasks in the dining room I want to get it finished so you will be seeing this room again soon!
Lianne x
Pin How to plan and hang a gallery wall to save it for later!

The gallery looks great! Nice work!