
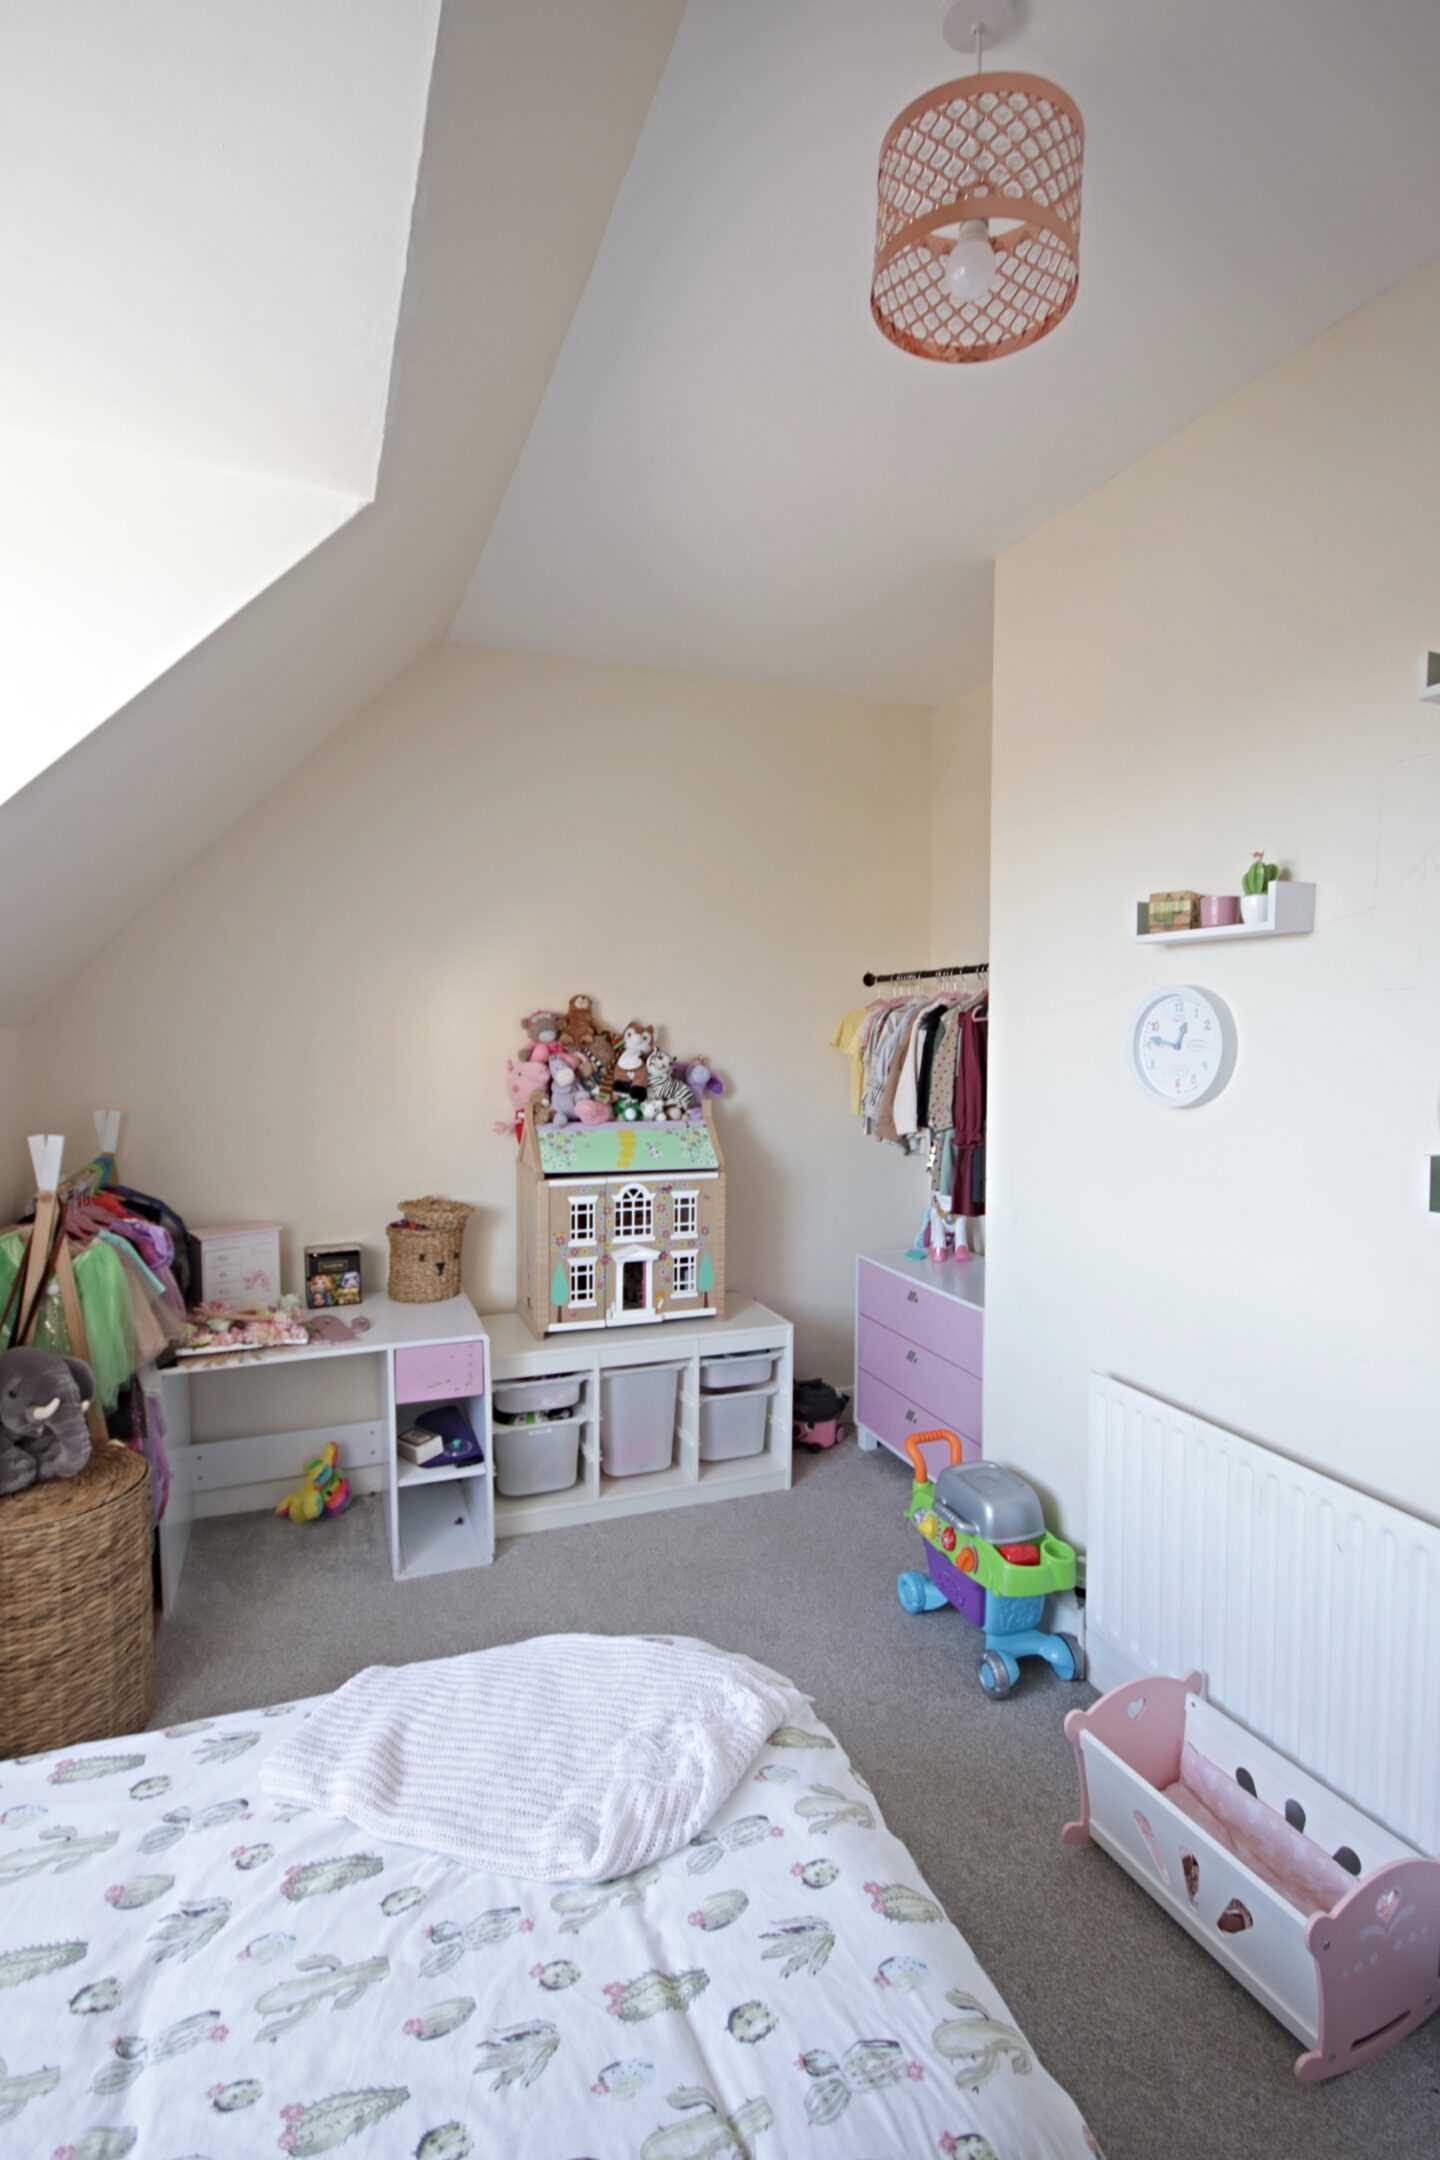
A few months ago work started in Noa’s bedroom. As you know we painted Mason’s bedroom before Christmas and we always wanted to decorate the kids bedrooms around the same time to keep things fair. Noa’s favourite colour is purple and she wanted a purple bedroom. I’m not a big fan of purple so we got to work to find a shade that we were both happy with and after searching up lavender girls bedroom on Pinterest we had our inspiration to get started. But first here is a reminder of the how the bedroom looks.
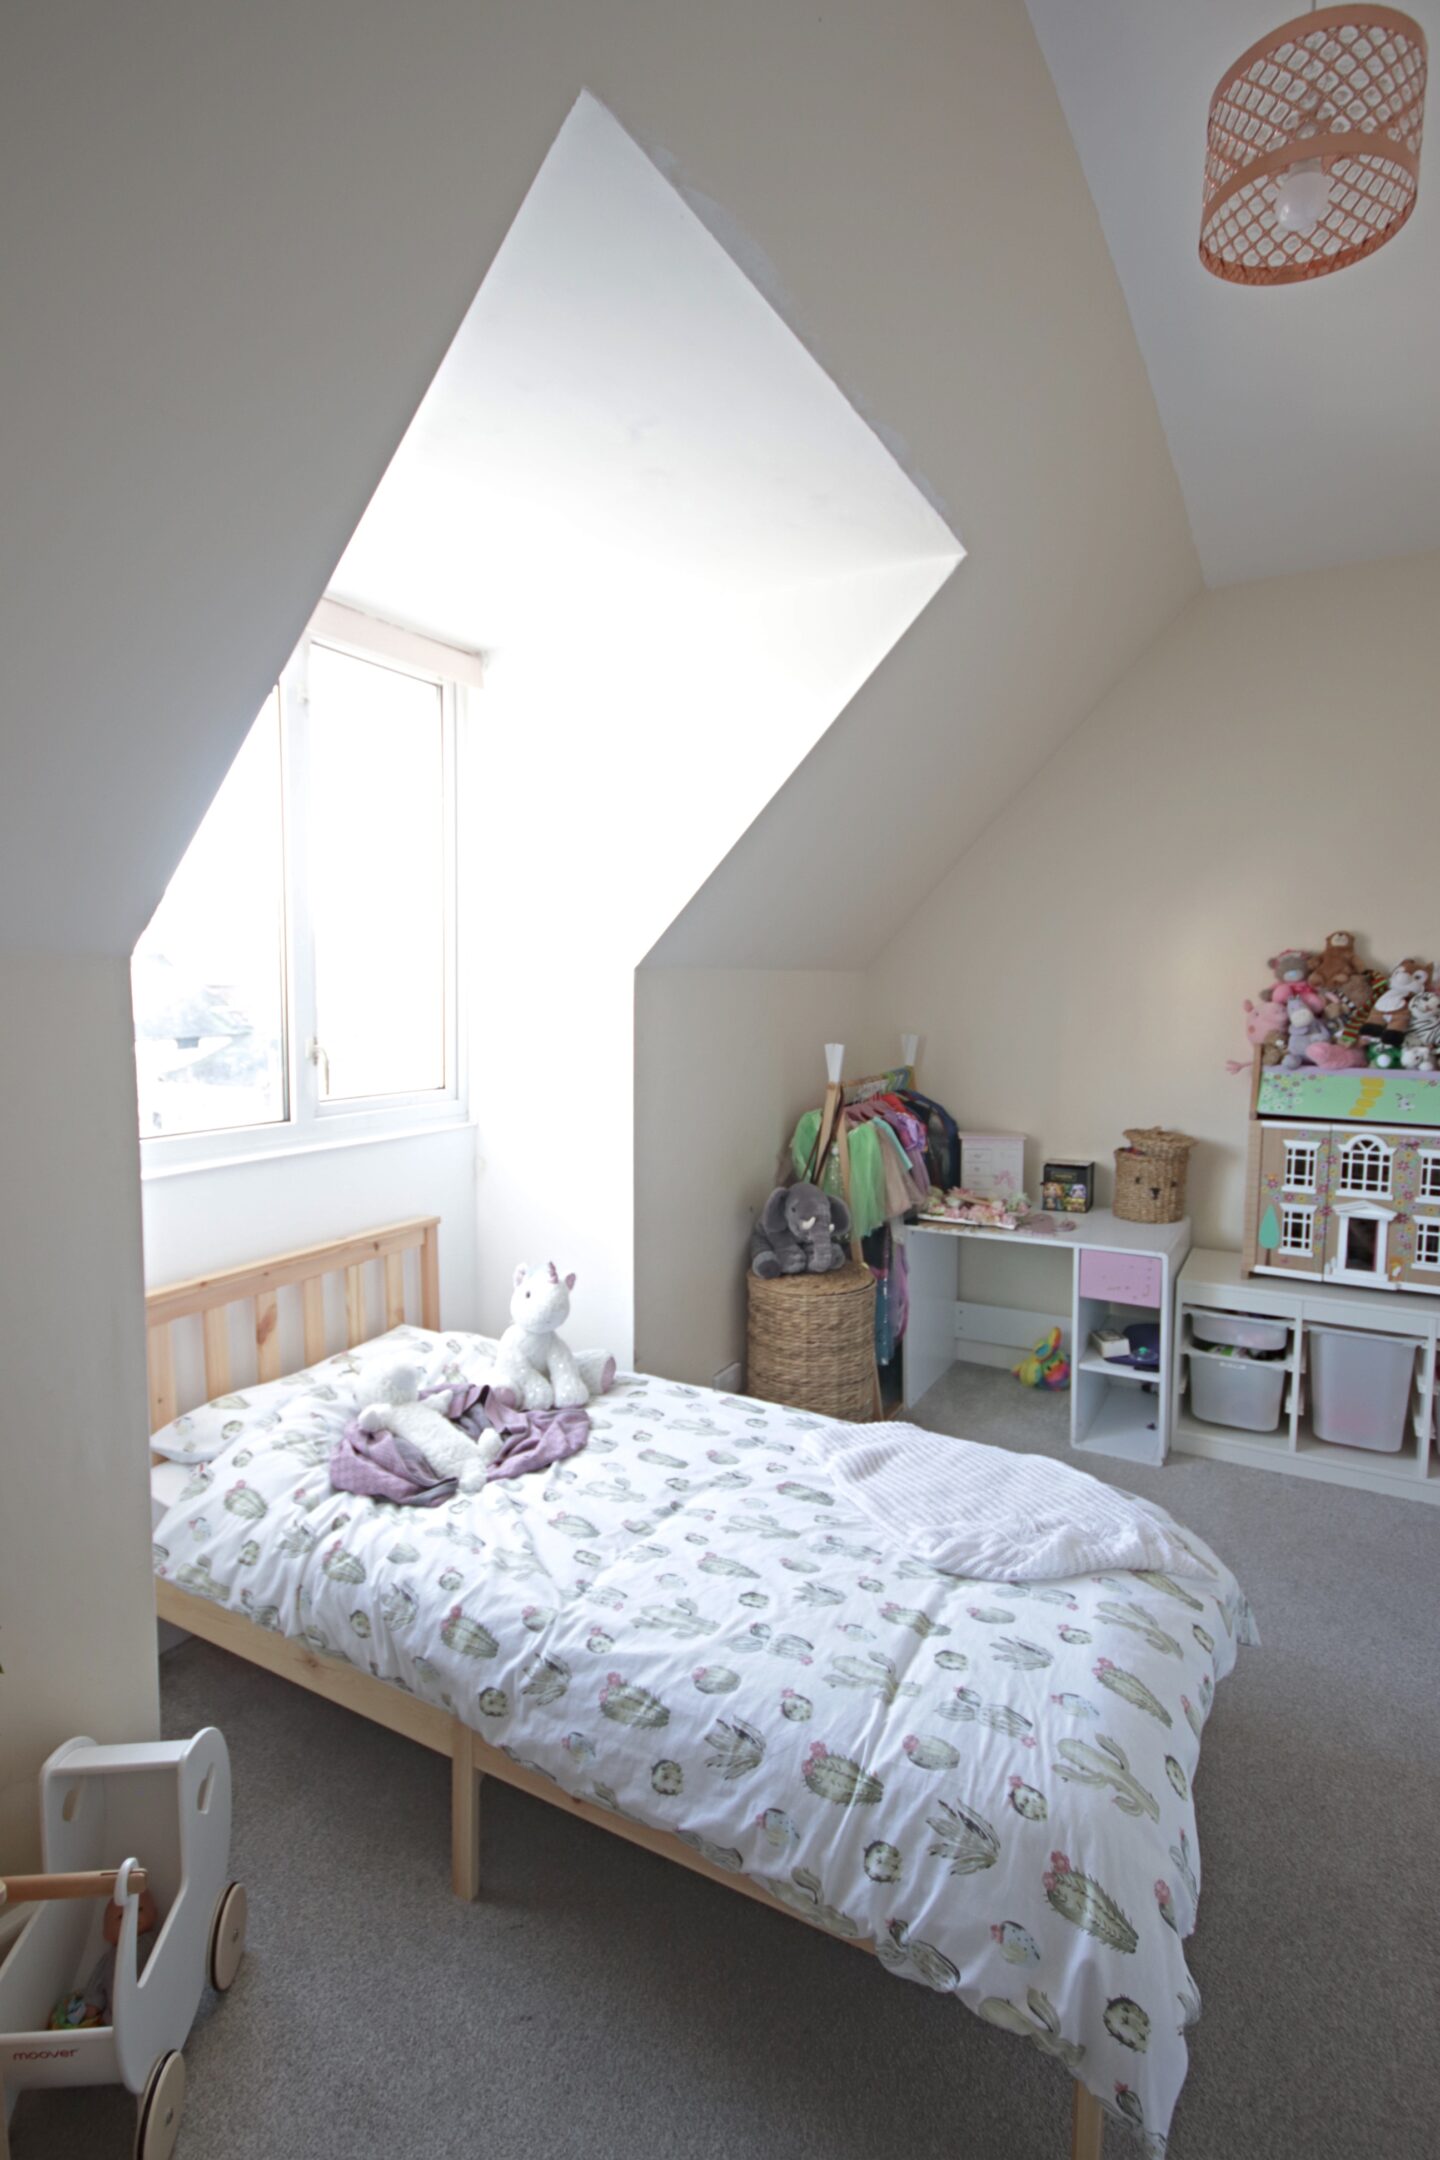
What we were starting with was a magnolia room that had a fair few cracks and needed some repair work done first. I completed most of this over the summer last year and had also painted most of the walls with Polycell crack free ceiling paint just to smooth everything over. We planned on doing half and half walls like in Mason’s room but this time with a scalloped edge. We also wanted to decorate the room in sections so that it could be done over time and the room still be in use.
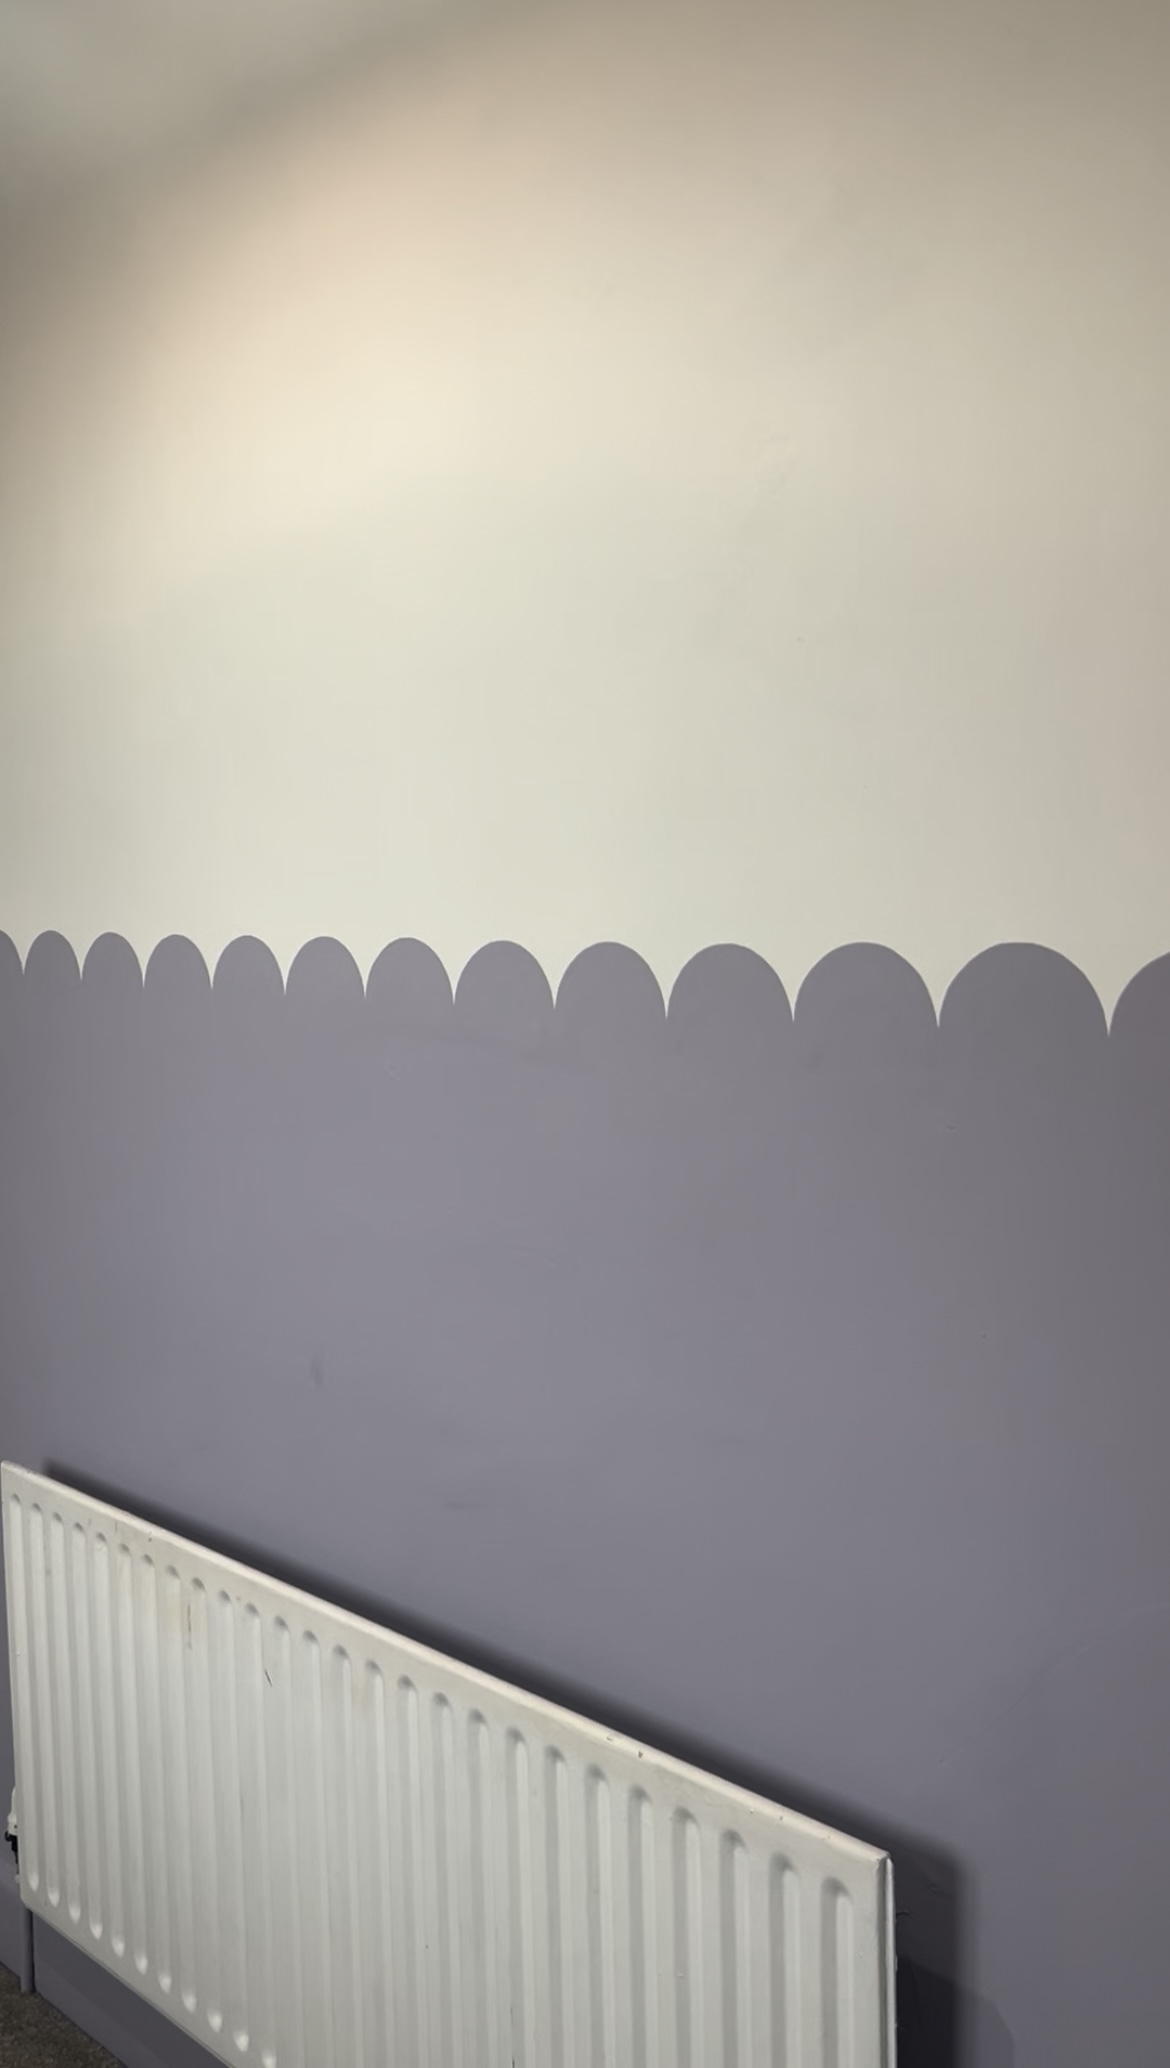
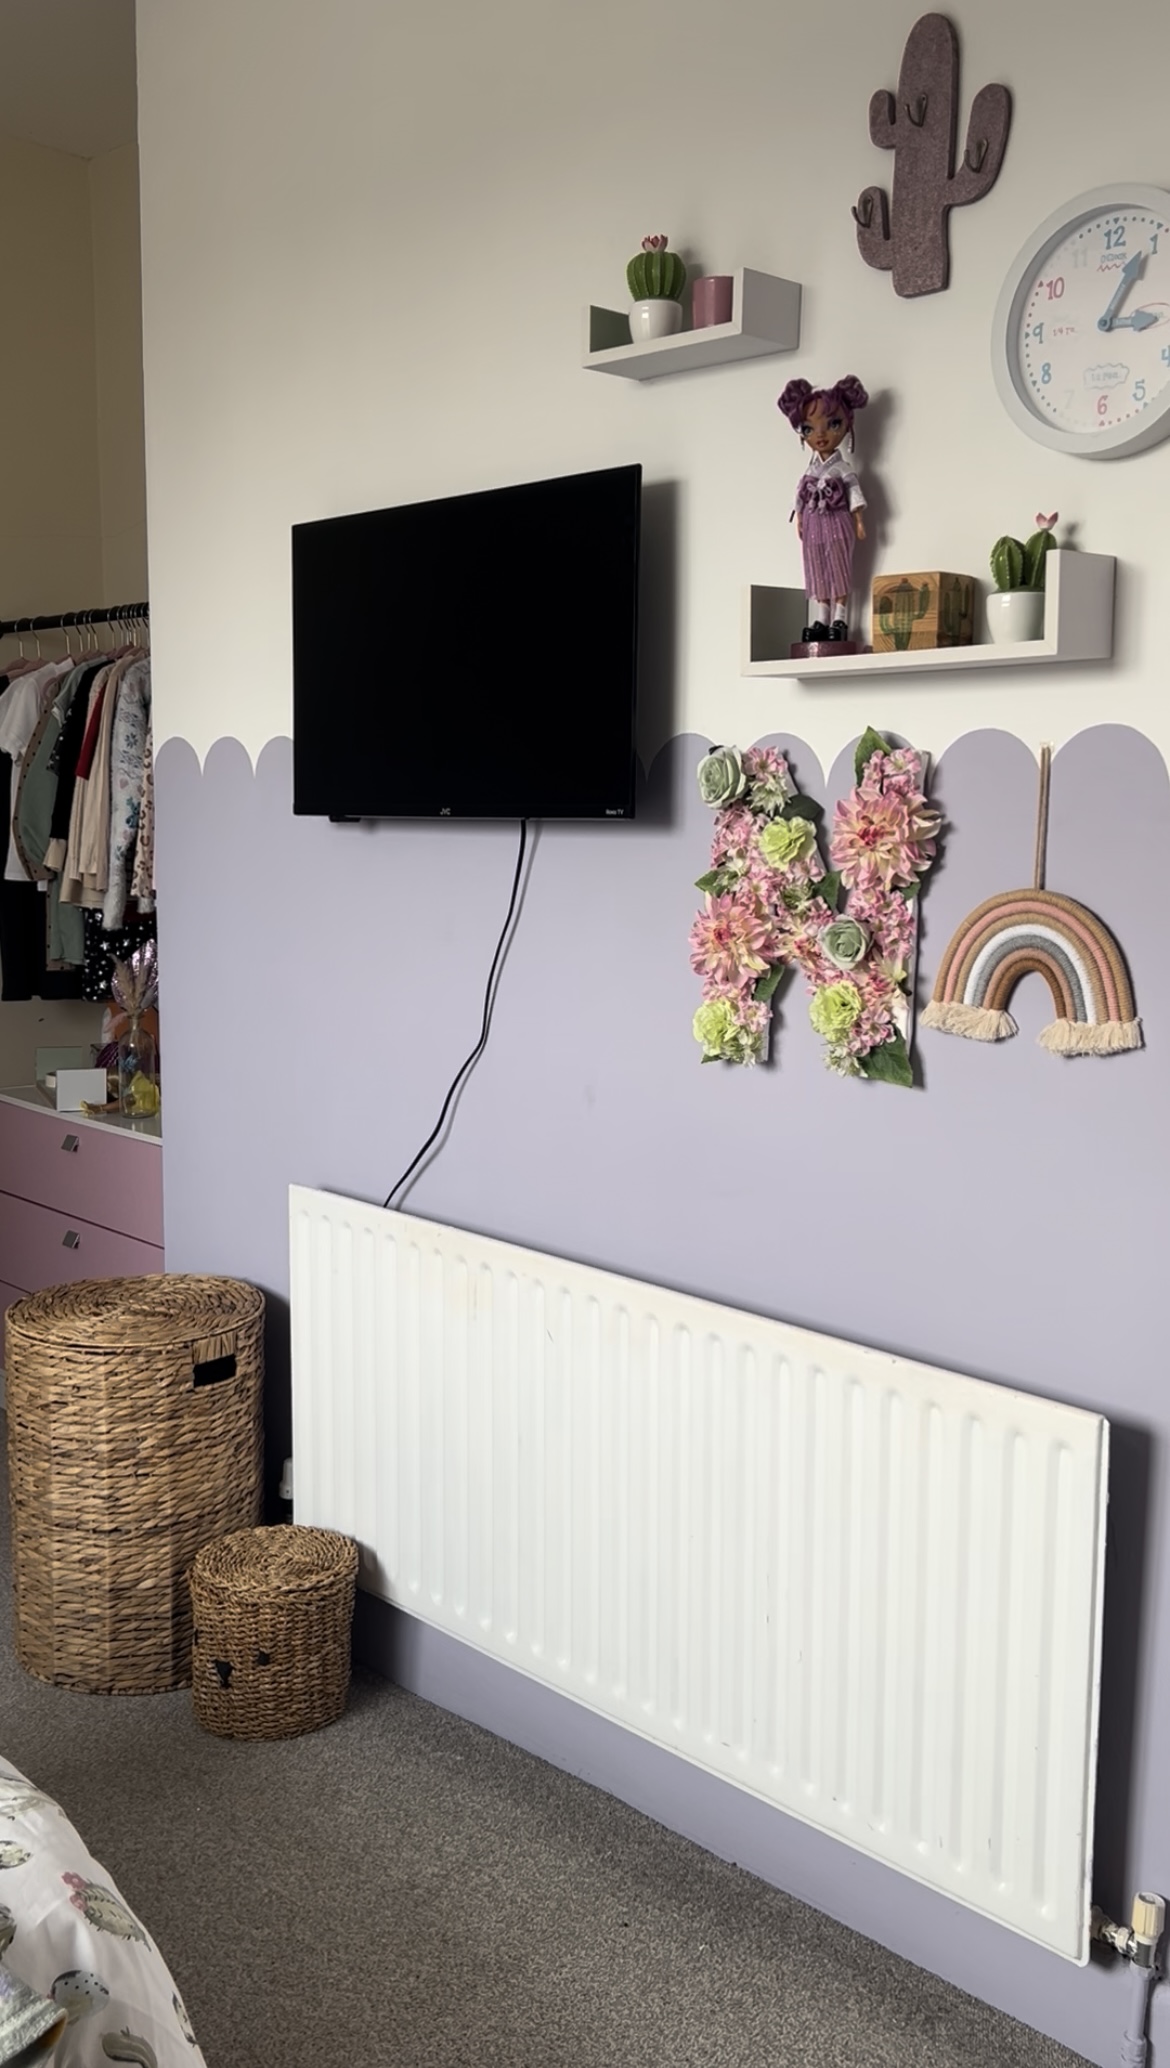
So we got to work on section number one which was the wall facing her bed. task number one was to paint the top half of the wall in white cotton and then get started on the purple scallops to make this the lavender girls bedroom Noa had requested. The paint used was by Dulux in the colour Lavender Quartz I have a full tutorial on how to paint a scalloped wall if you’re not sure on the technique. It’s the second time we have done this and I used the same method both times.
FIND THE ITEMS WE USED FOR NOA’S BEDROOM ON MY AMAZON STOREFRONT
Once the wall was fully painted it was time to put up her TV and then we also wanted to make this like a gallery wall with some of the decor she already had. A lot of the things used are from her cactus nursery that I still think work well in here with the purple and who remembers when I made the floral letter? I was still pregnant and hadn’t even shared her name yet!
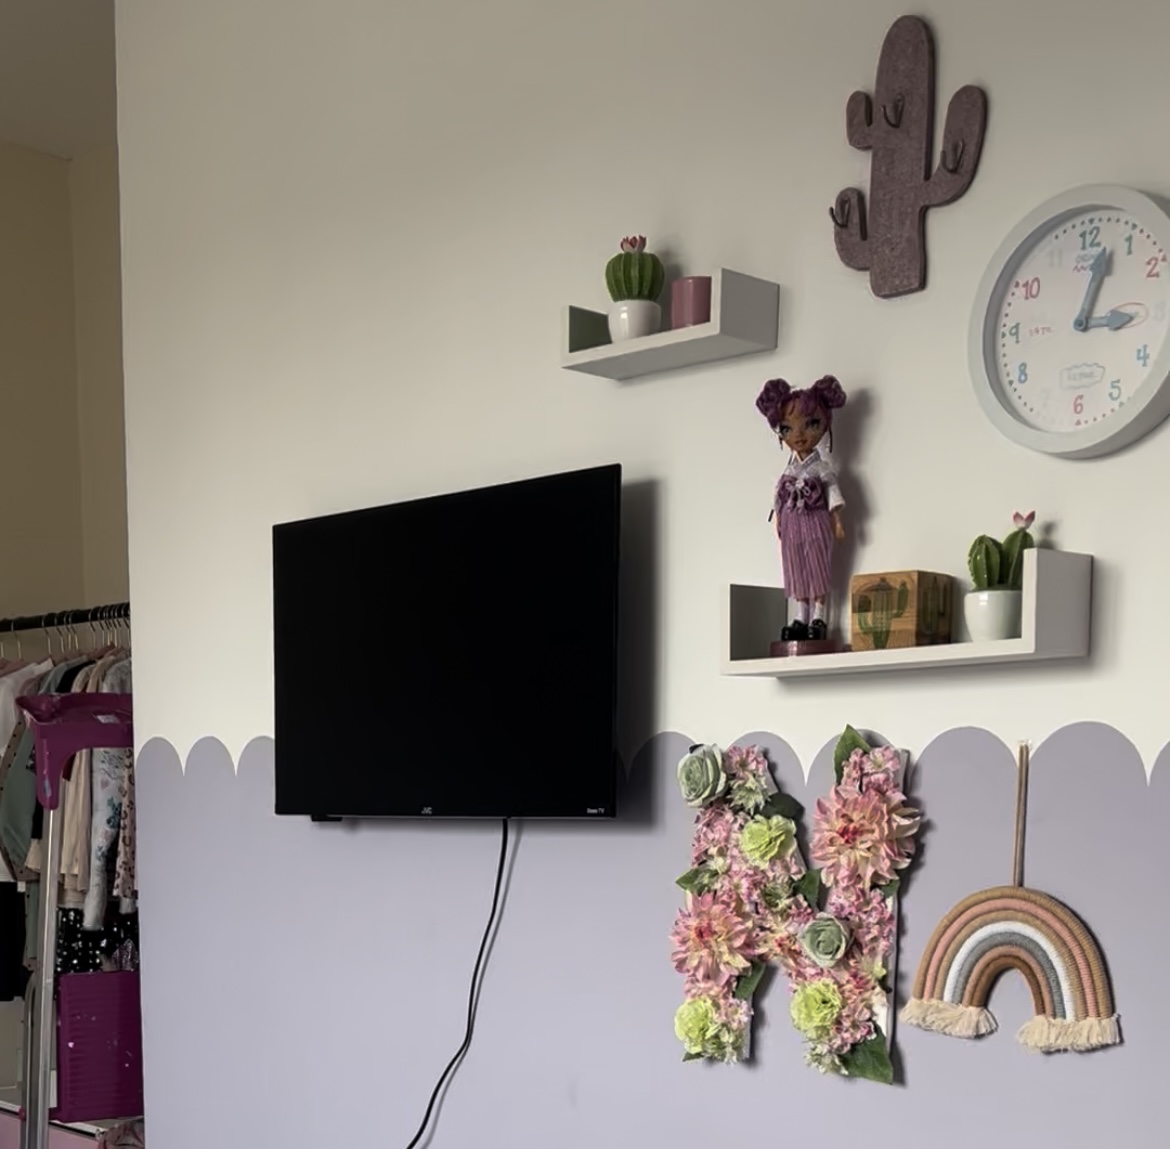
Adding the storage baskets here was the final thing to finish this section off. The only purchases made for this area was the filler and paints. The styling was all done with things already owned but I was so happy with how it came together and Noa loved it too.
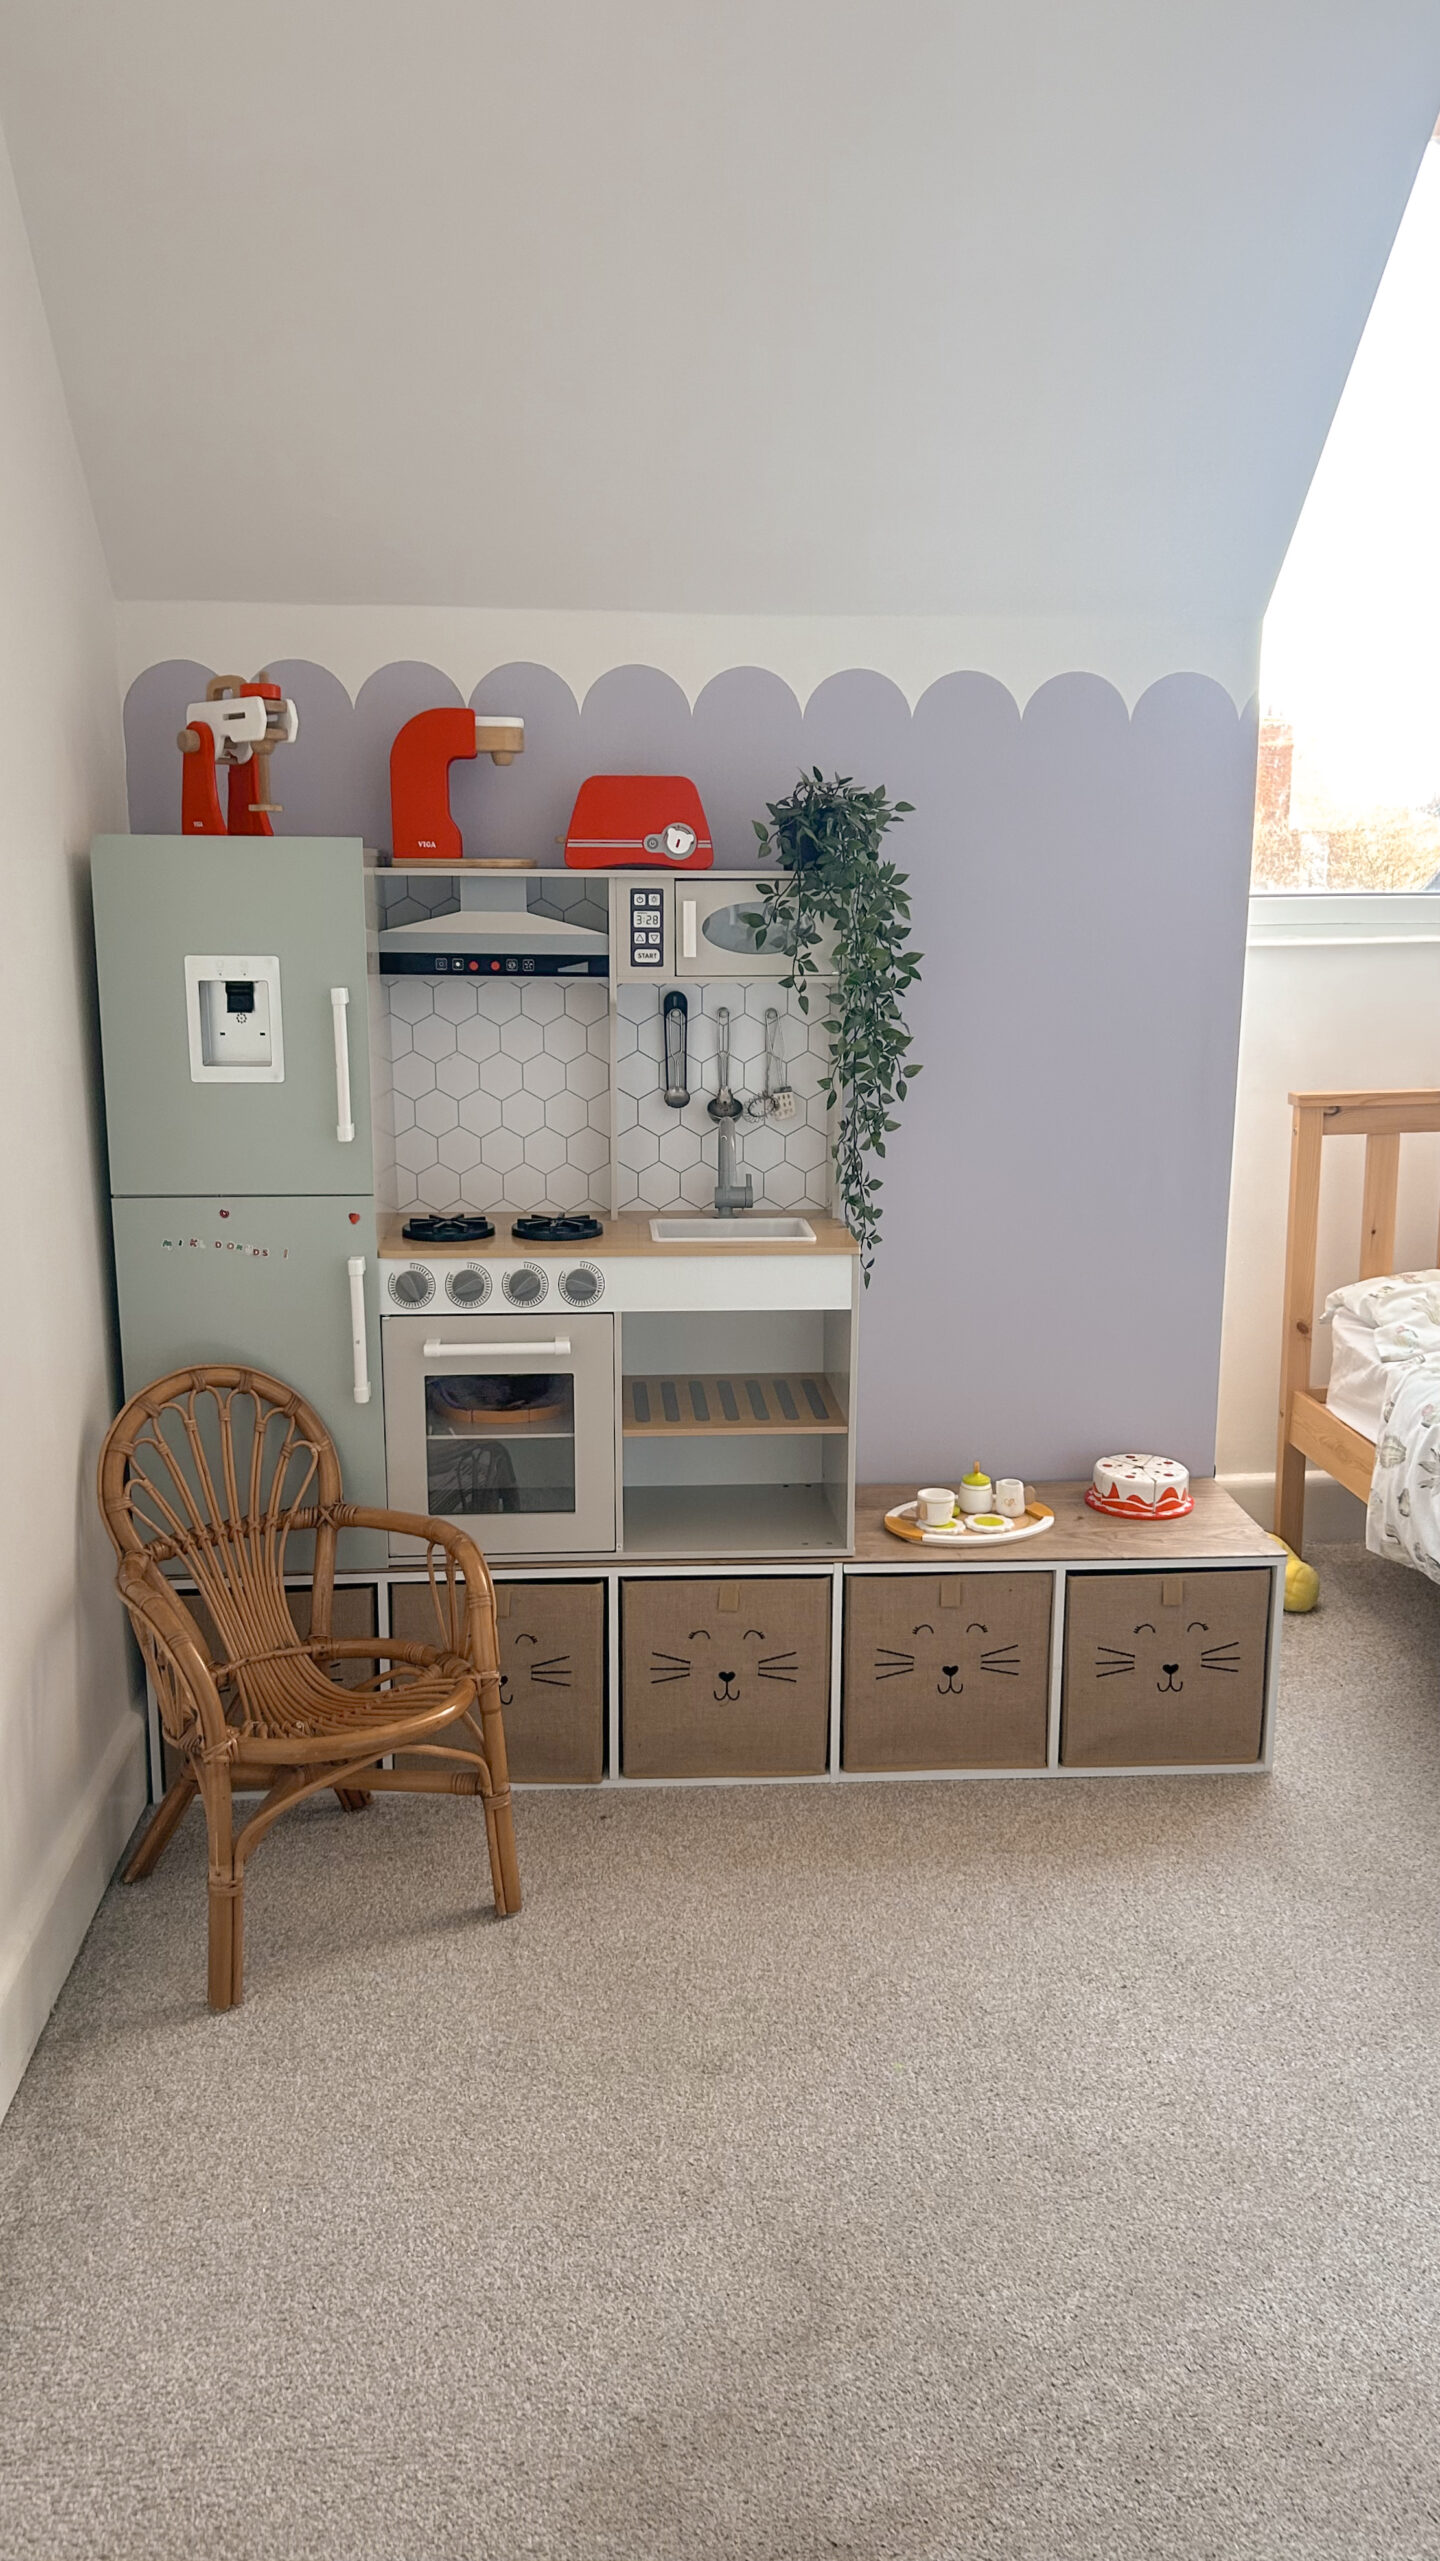
Section two is the wall where we had a storage unit and Noa’s play kitchen. Plans for this wall were to again do half and half with the scalloped edge. Then to also rework the storage go raise up the kitchen Noa got a new kitchen for Christmas) and give Noa a bit of extra surface to play on.
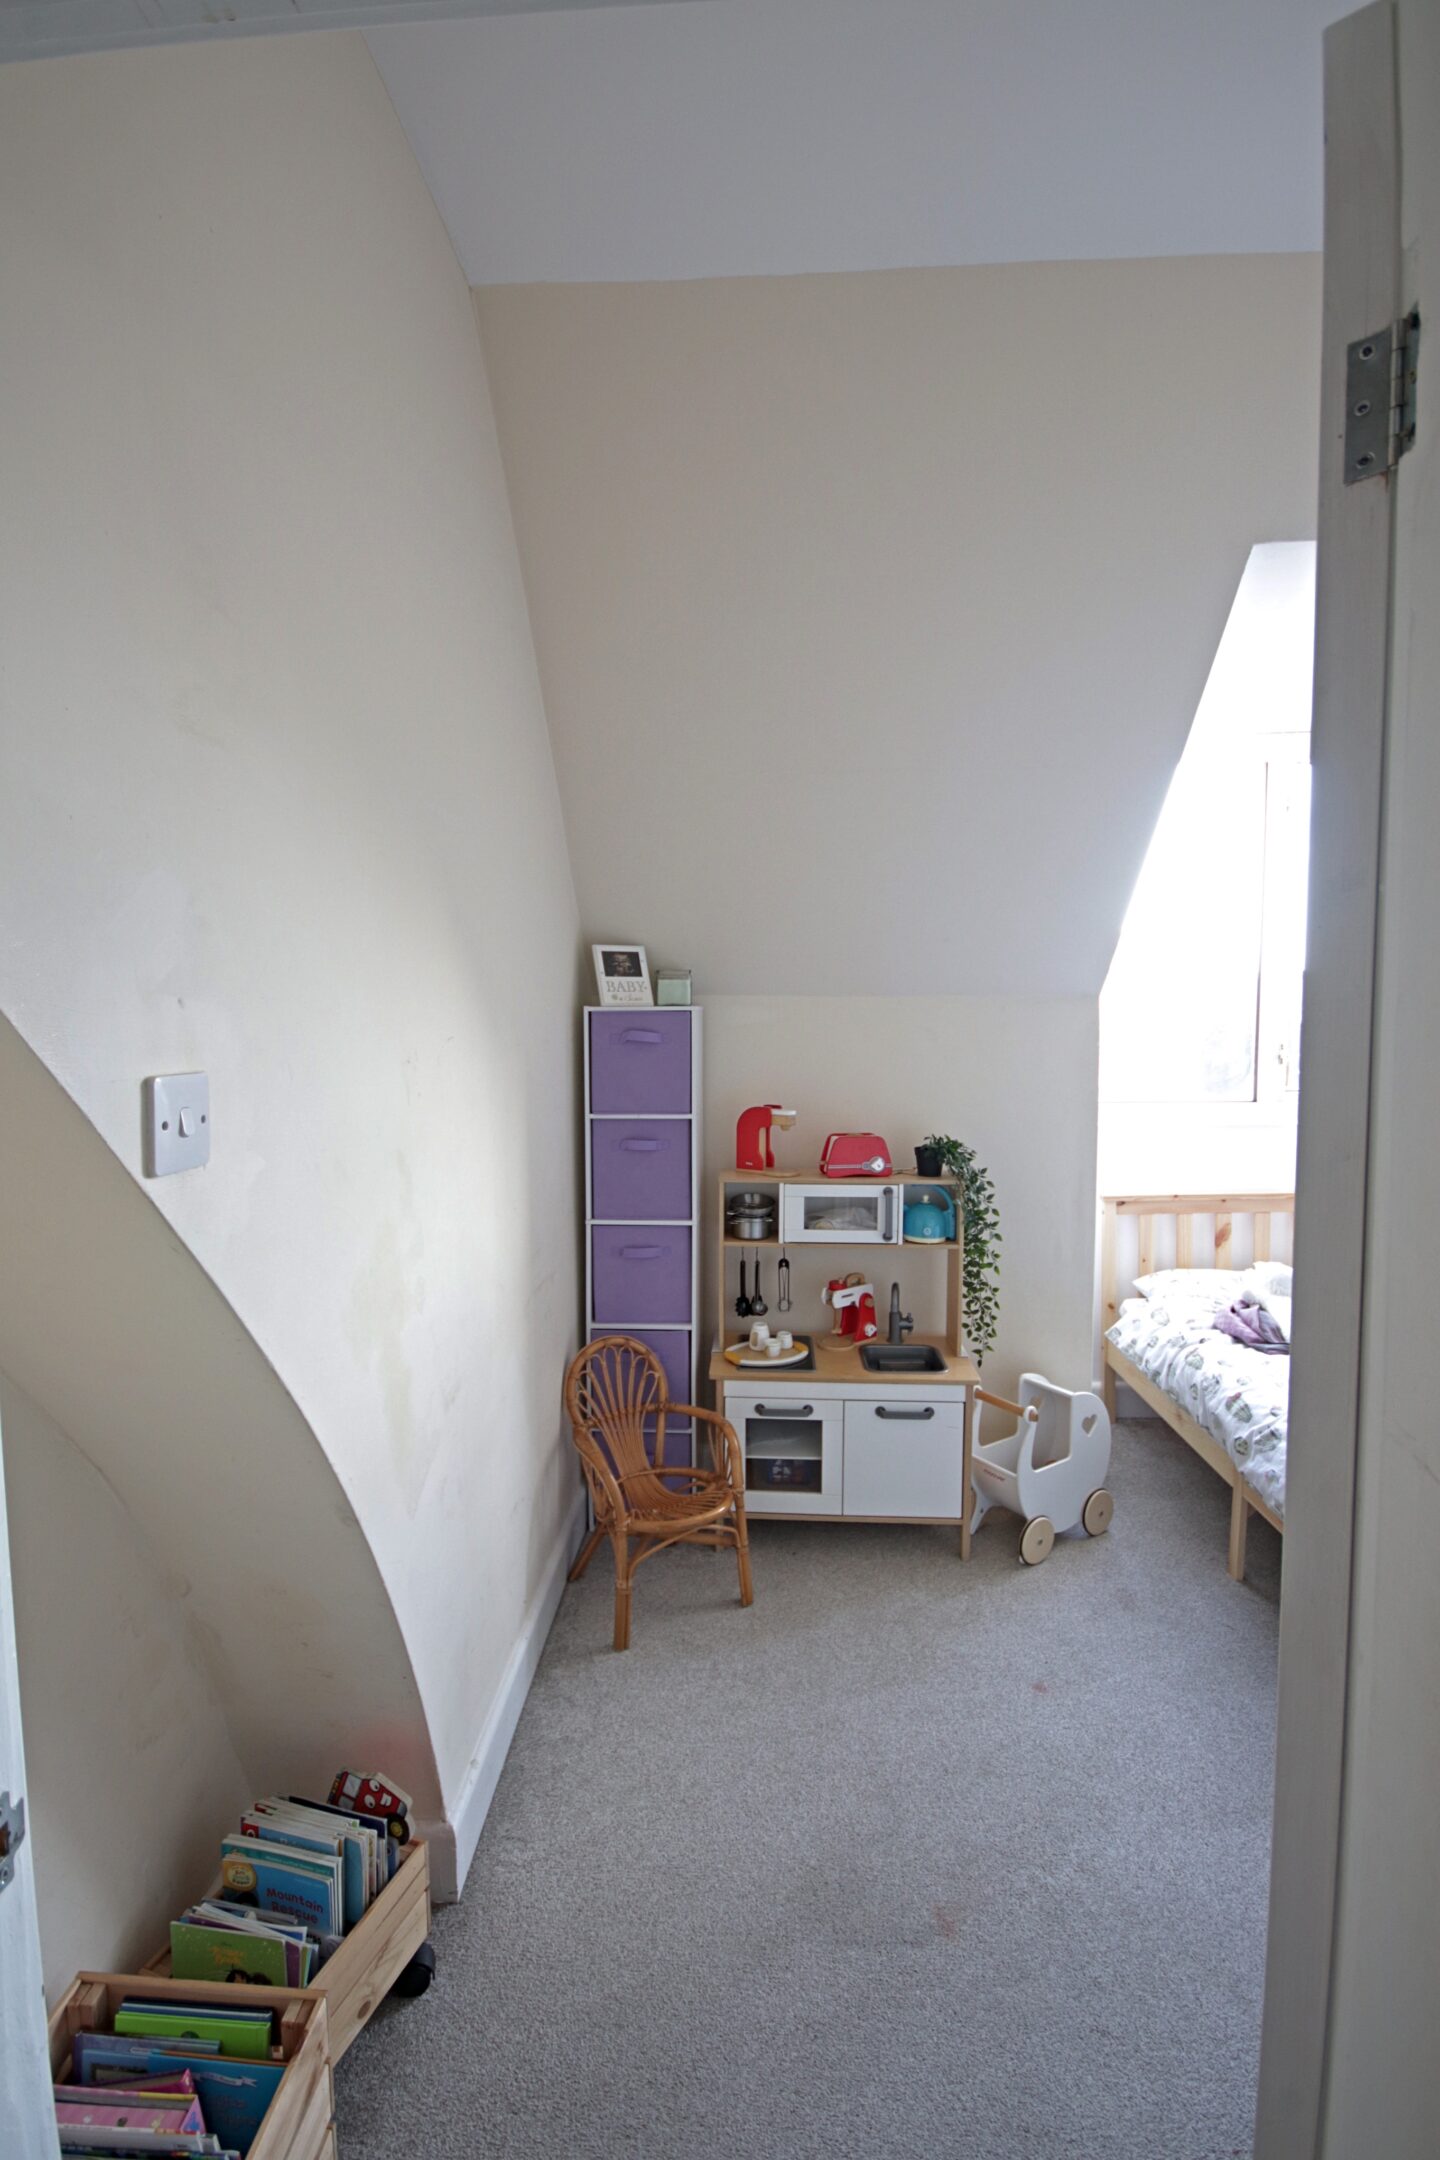
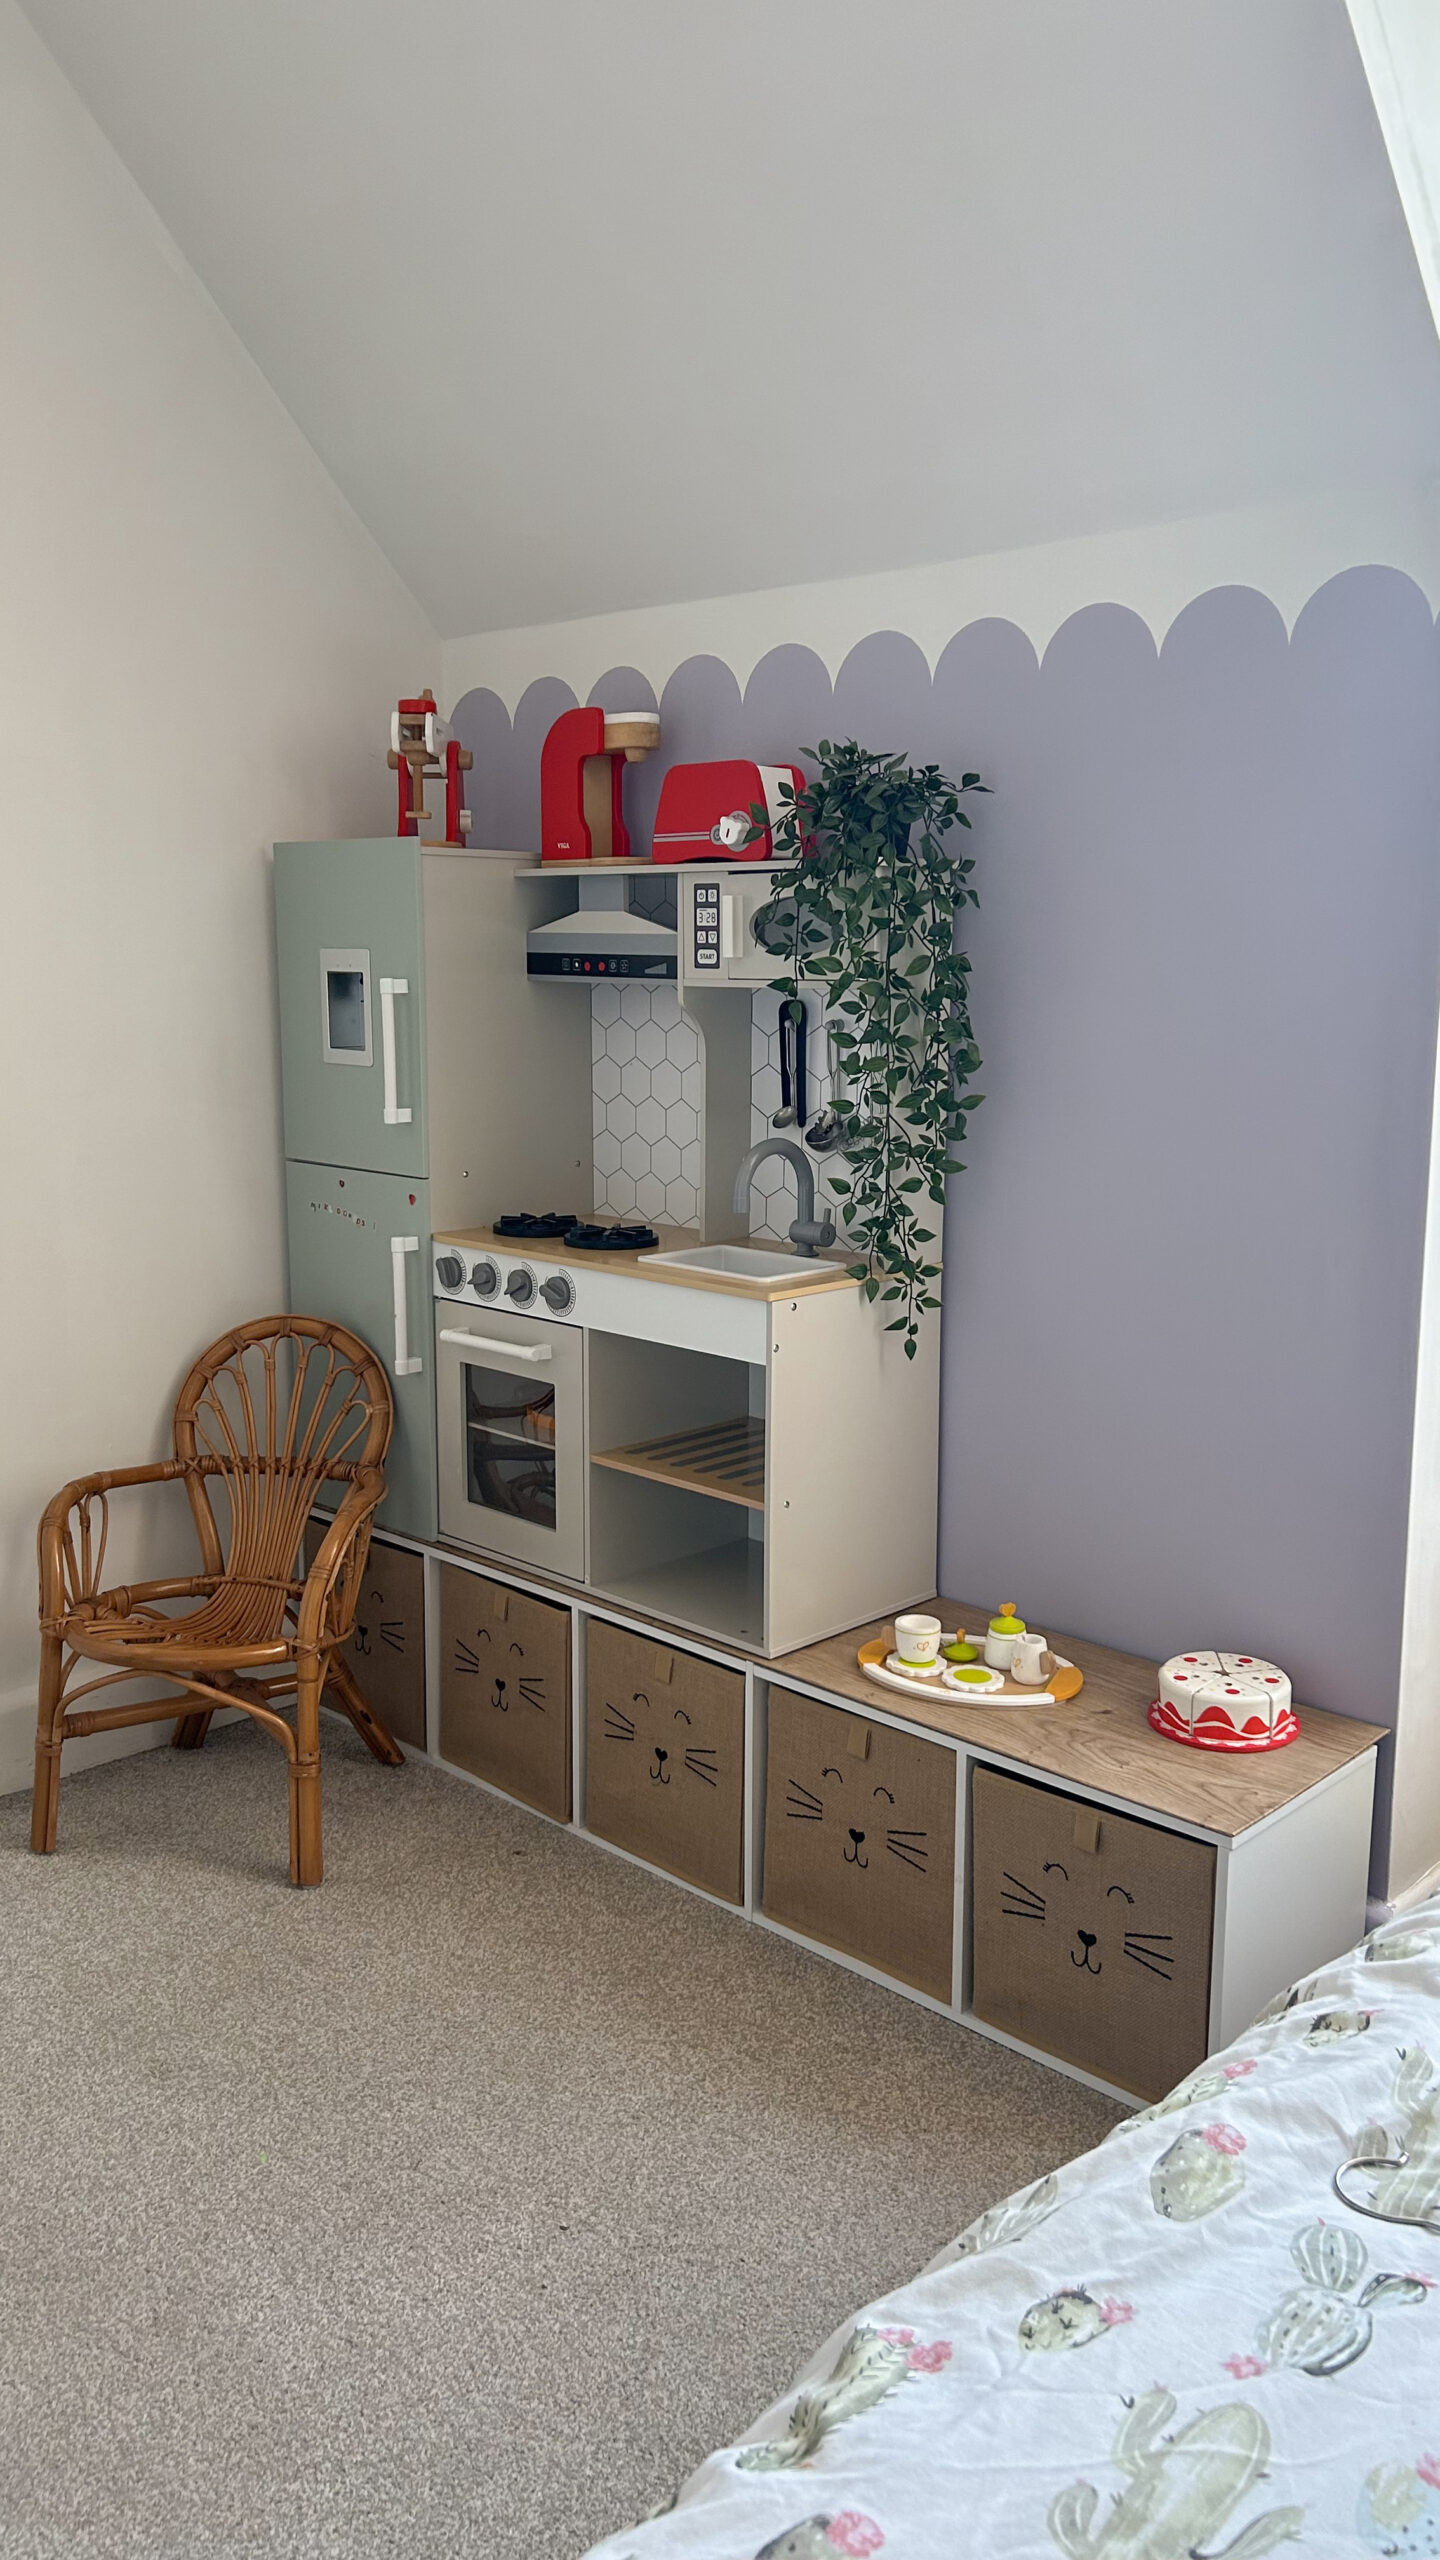
Job number one was of course to get painting and once that was done we then turned the storage unit on its side and added a top to it. This was just a thin sheet of mdf that we cut to size and then wrapped in DC Fix. The kitchen then sat perfectly on the top which made it a much better height for Noa to play with. I also updated the baskets in the storage as the purple ones didn’t quite match the paint and I thought it was just too much purple. I want to keep some natural elements in there so these hessian ones from B&M were perfect.
Both of these sections were quite simple to achieve. The power of paint always amazes me and you can completely transform a room with just paint alone.
I know this post was a quick one. I wanted to catch up here on the blog with what has changed so far before I carry on with the next section of the room. Hopefully I can share a more detailed step by step process of the next project in this lavender girls bedroom in the next post 🙂 Thank you for reading and if you have any questions at all just pop them in the comments below or find my on social media (@liannehempsallhome)!
Lianne x
Pin Lavender Girls Bedroom to save it for later!

