
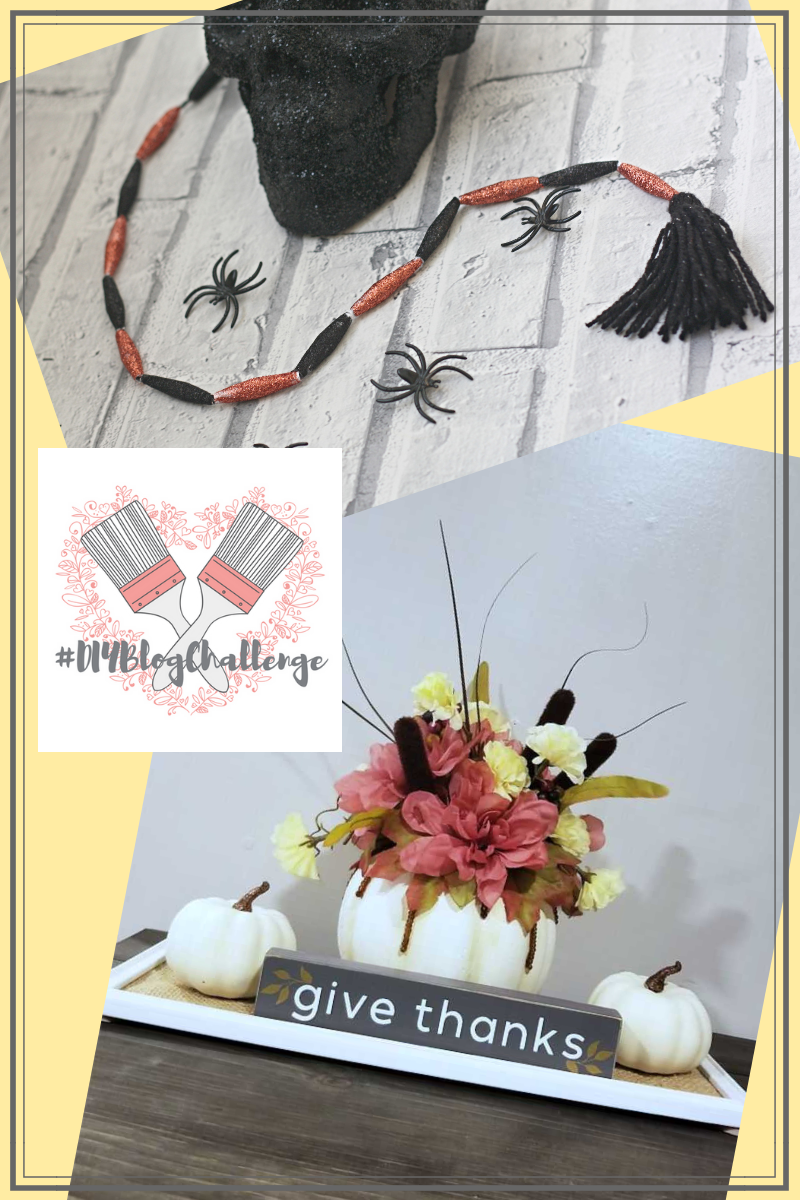
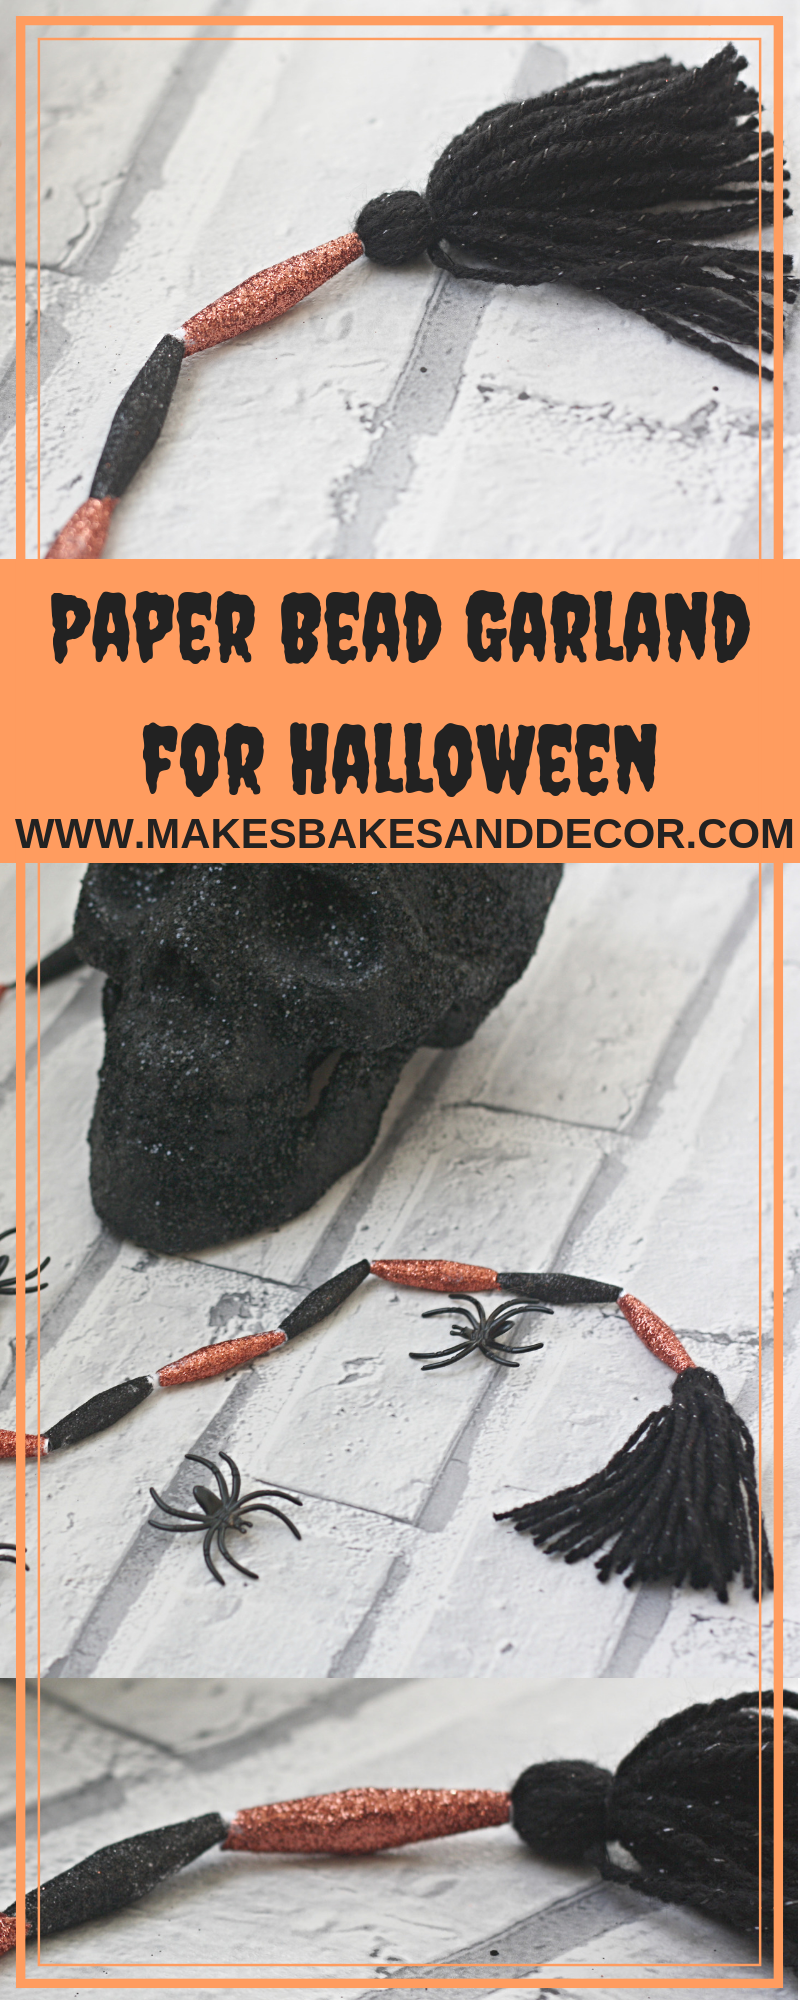
Paper Bead Garland for Halloween – October #DIYBlogChallenge
Welcome to October’s #DIYBlogChallenge! The theme for October is beads and as it’s also Halloween this month it’s the first of a couple of Halloween themed posts/recipes I’ll be sharing with you over the next two weeks. I came up with this Paper Bead Garland for my project for a couple of reasons. Number one I was looking for ways to decorate my mantle for Halloween as cheaply as possible. Number two I left my bead project until the last possible moment (literally I put this together yesterday and today) and hadn’t even purchased any beads so hey presto I decided to make some!
Paper Bead Garland – What do you need to make it?
So to make the actual beads you need paper, Mod Podge and a wooden skewer or dowel. I then used glitter to decorate mine but you could just use coloured paper to make them or paint them. You then also need wool to make the tassels on the end and to thread the beads to make the garland. Earlier in the year I won a competition with Crafty Glitter so I used that glitter in copper and black for this project. If you haven’t heard of their glitter before I recommend you give it a try. (I wasn’t payed to say this I just love it!) 😉 Here are some links if you need any supplies.
Paper Bead Garland – How do you make it?
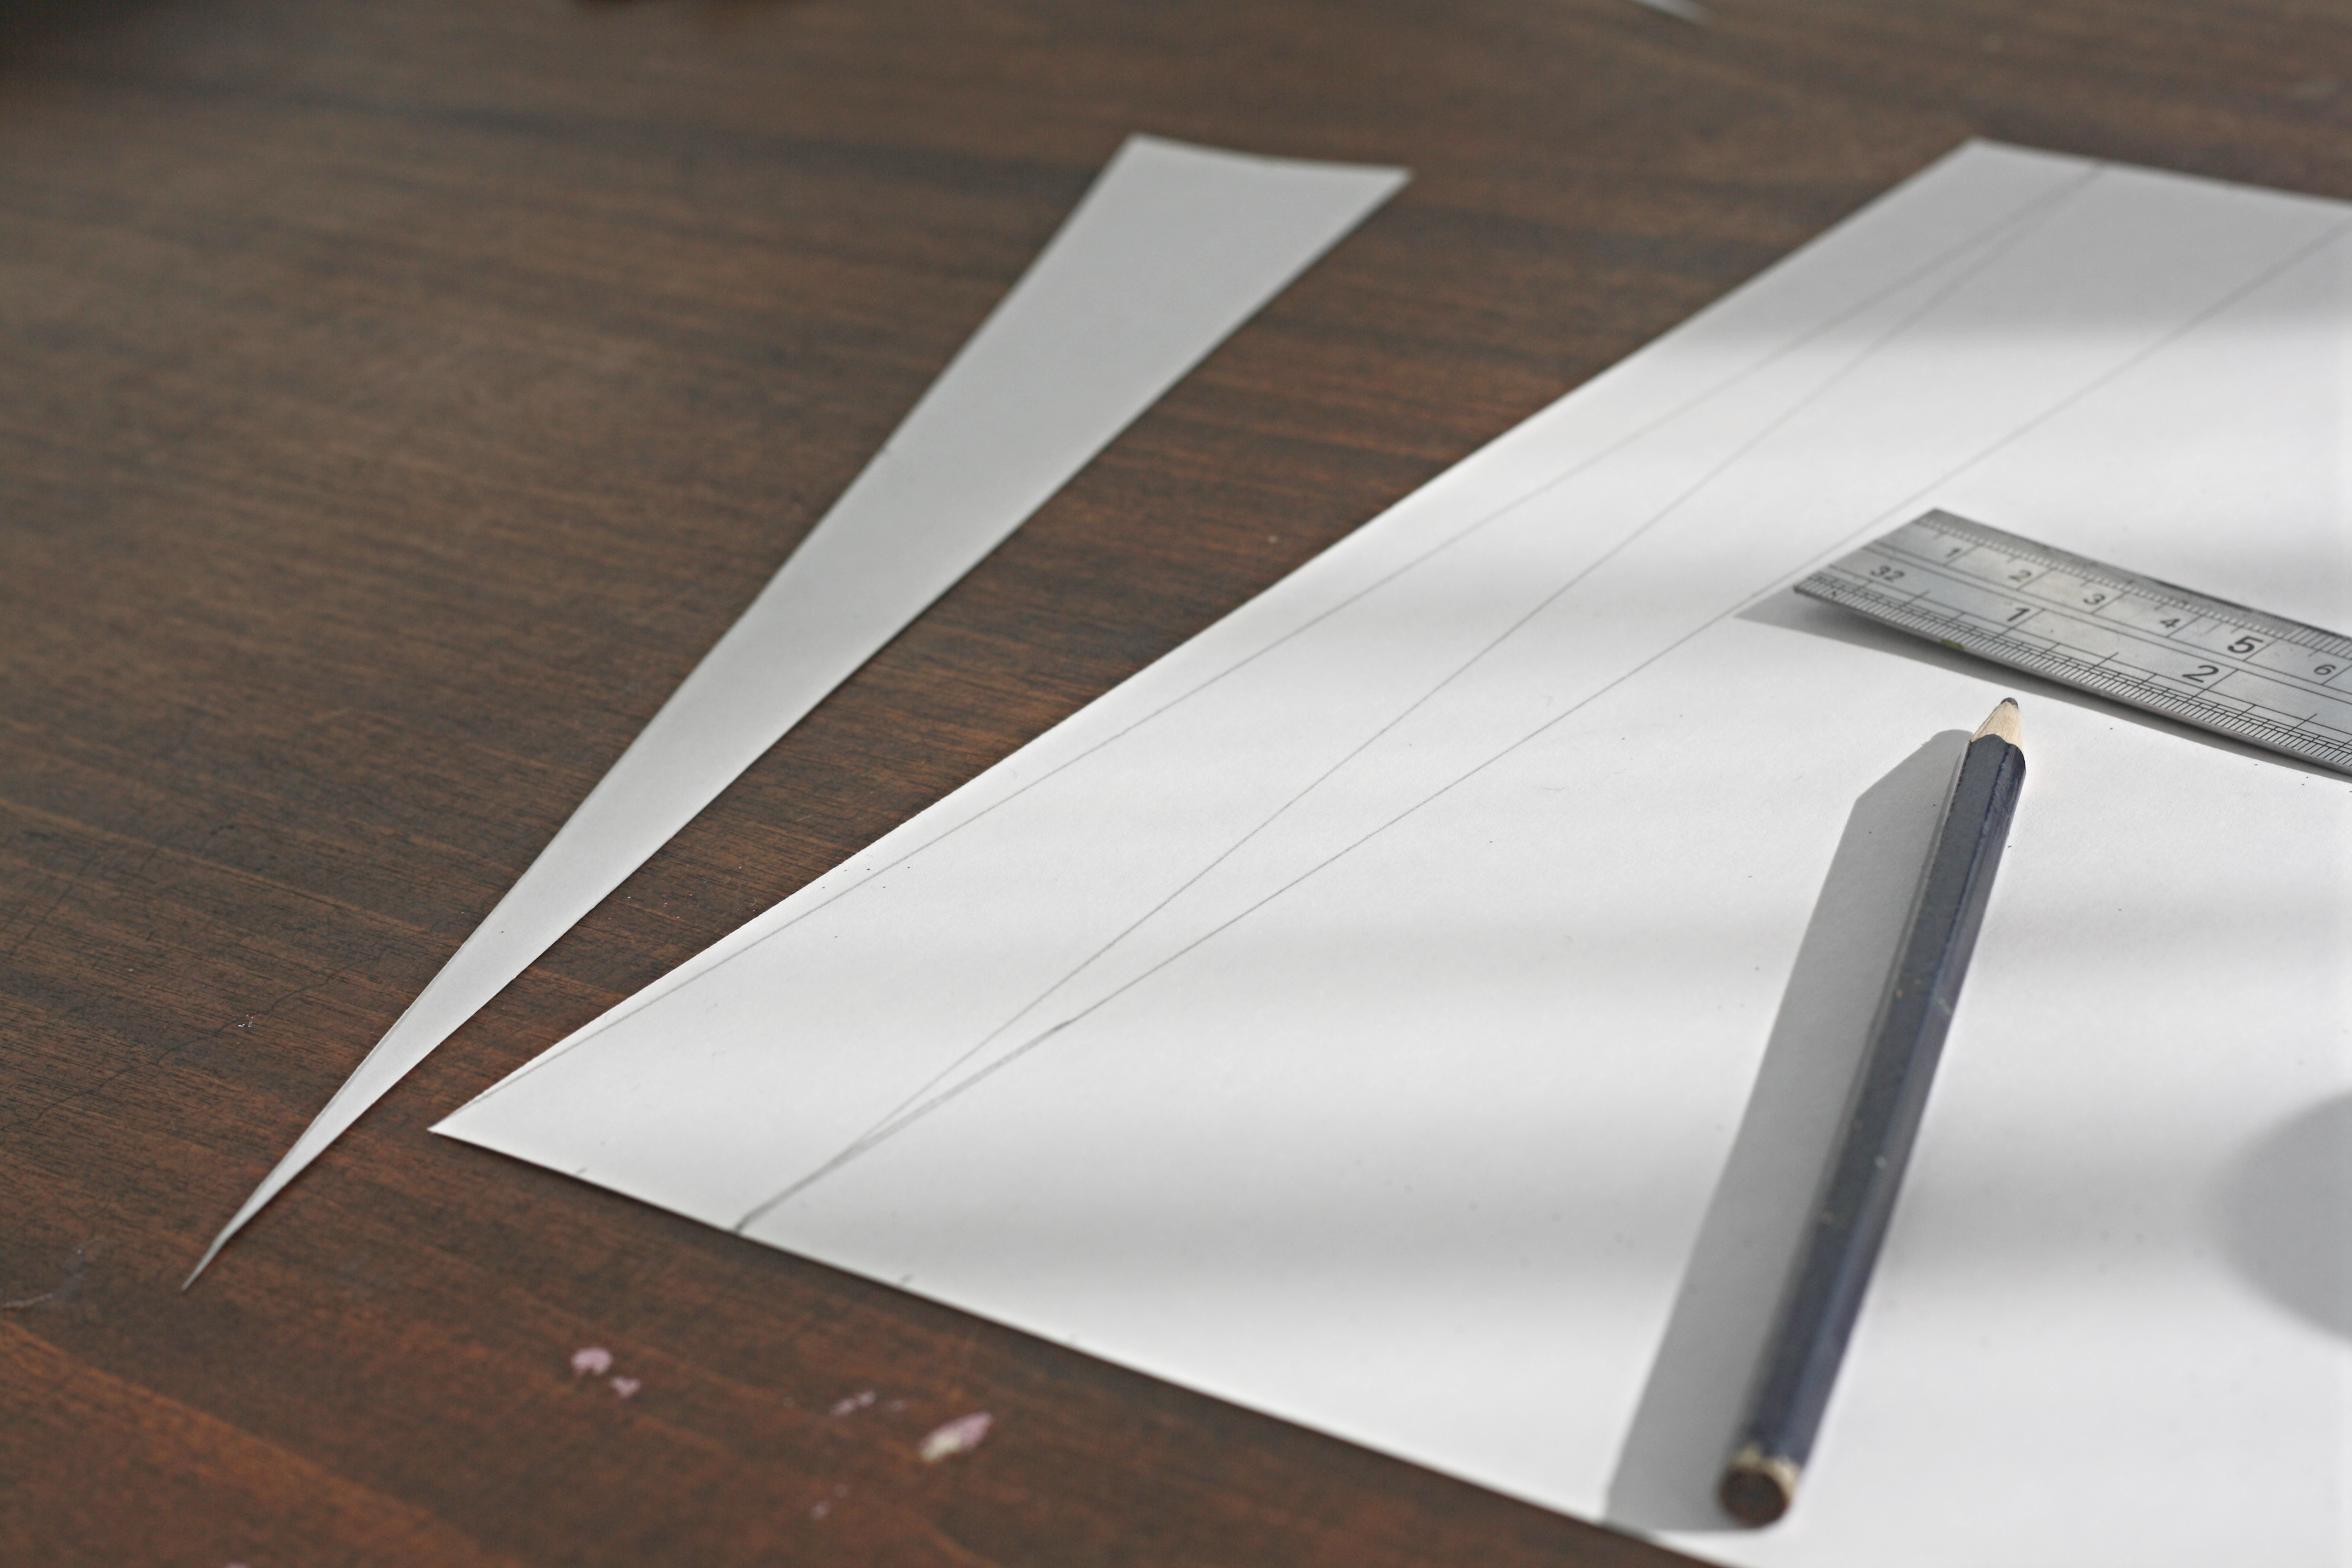
The first step is to draw out some long rectangles. I used plain A4 so the base of my triangle measured 4cm and ran the full length of the paper. Each triangle makes one bead so I filled four sheets of A4 then cut all the triangles out. You can see on the picture above how they run top to bottom so there is very little wasted paper.

Next paint one side of the triangle with Mod Podge starting about an inch from the top. This is so your bead doesn’t stick to the dowel you use to make it.
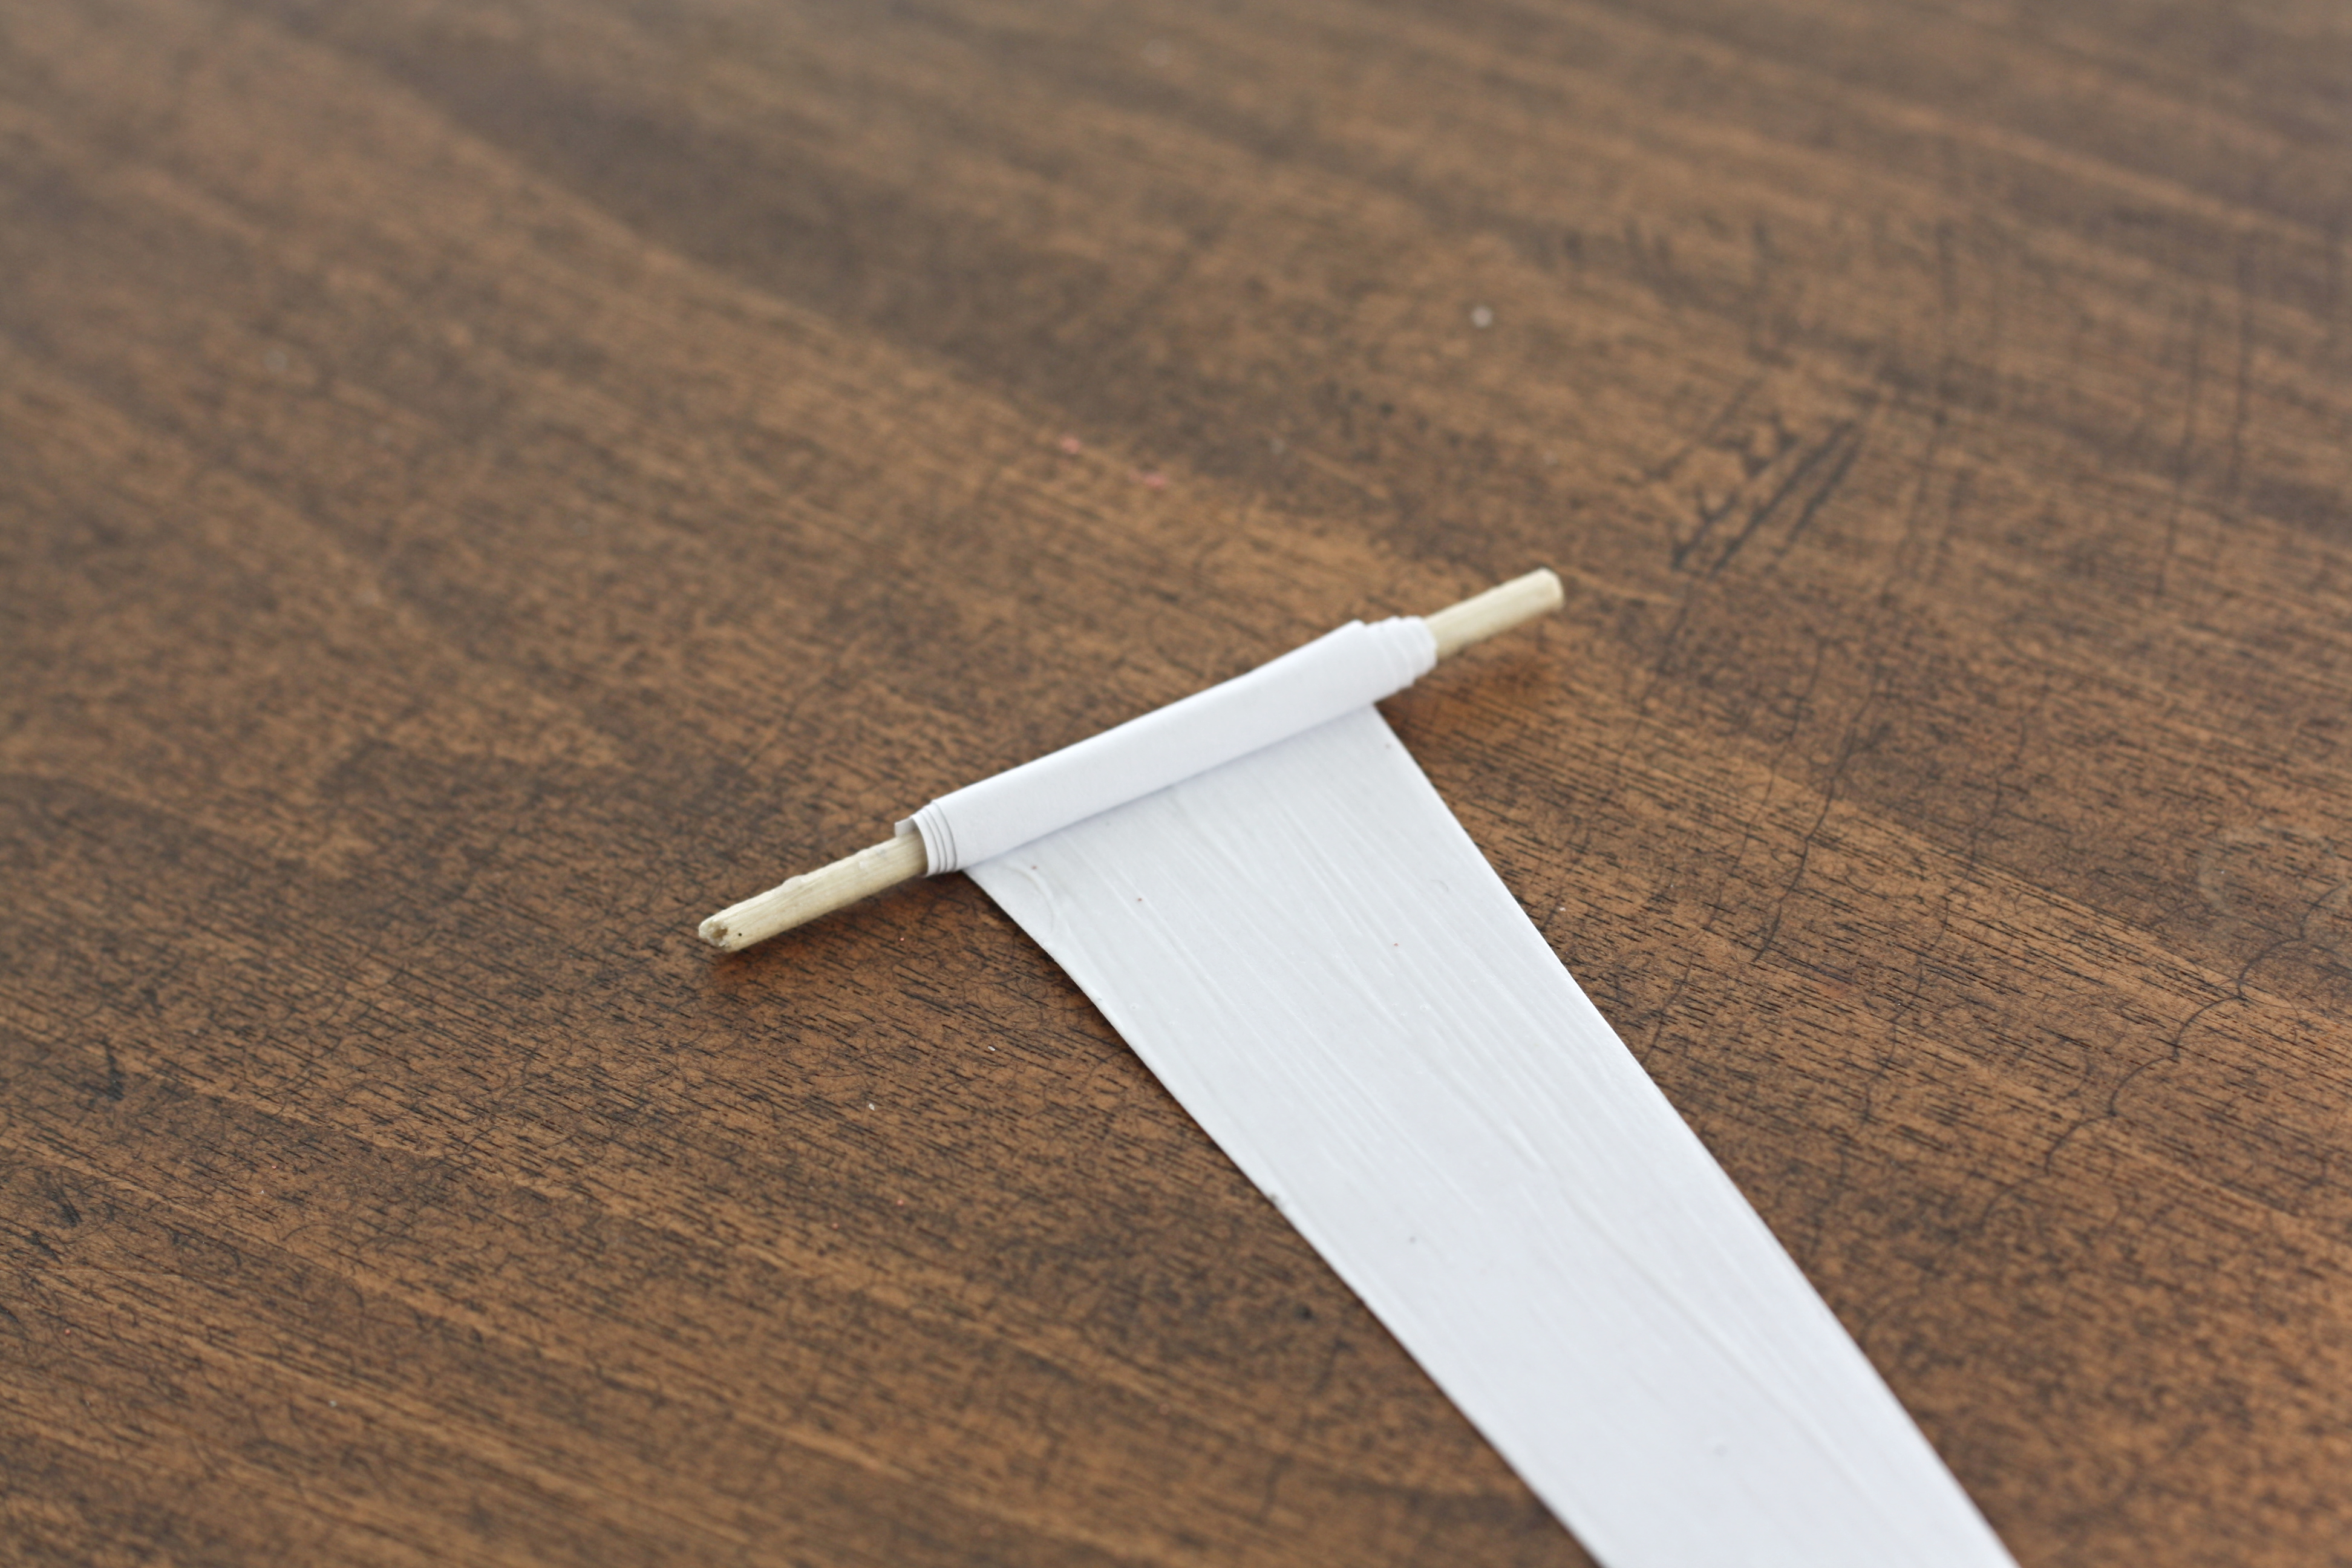
Starting at the widest end start to wrap the paper around the skewer or dowel. Try to keep it central as you wrap it.
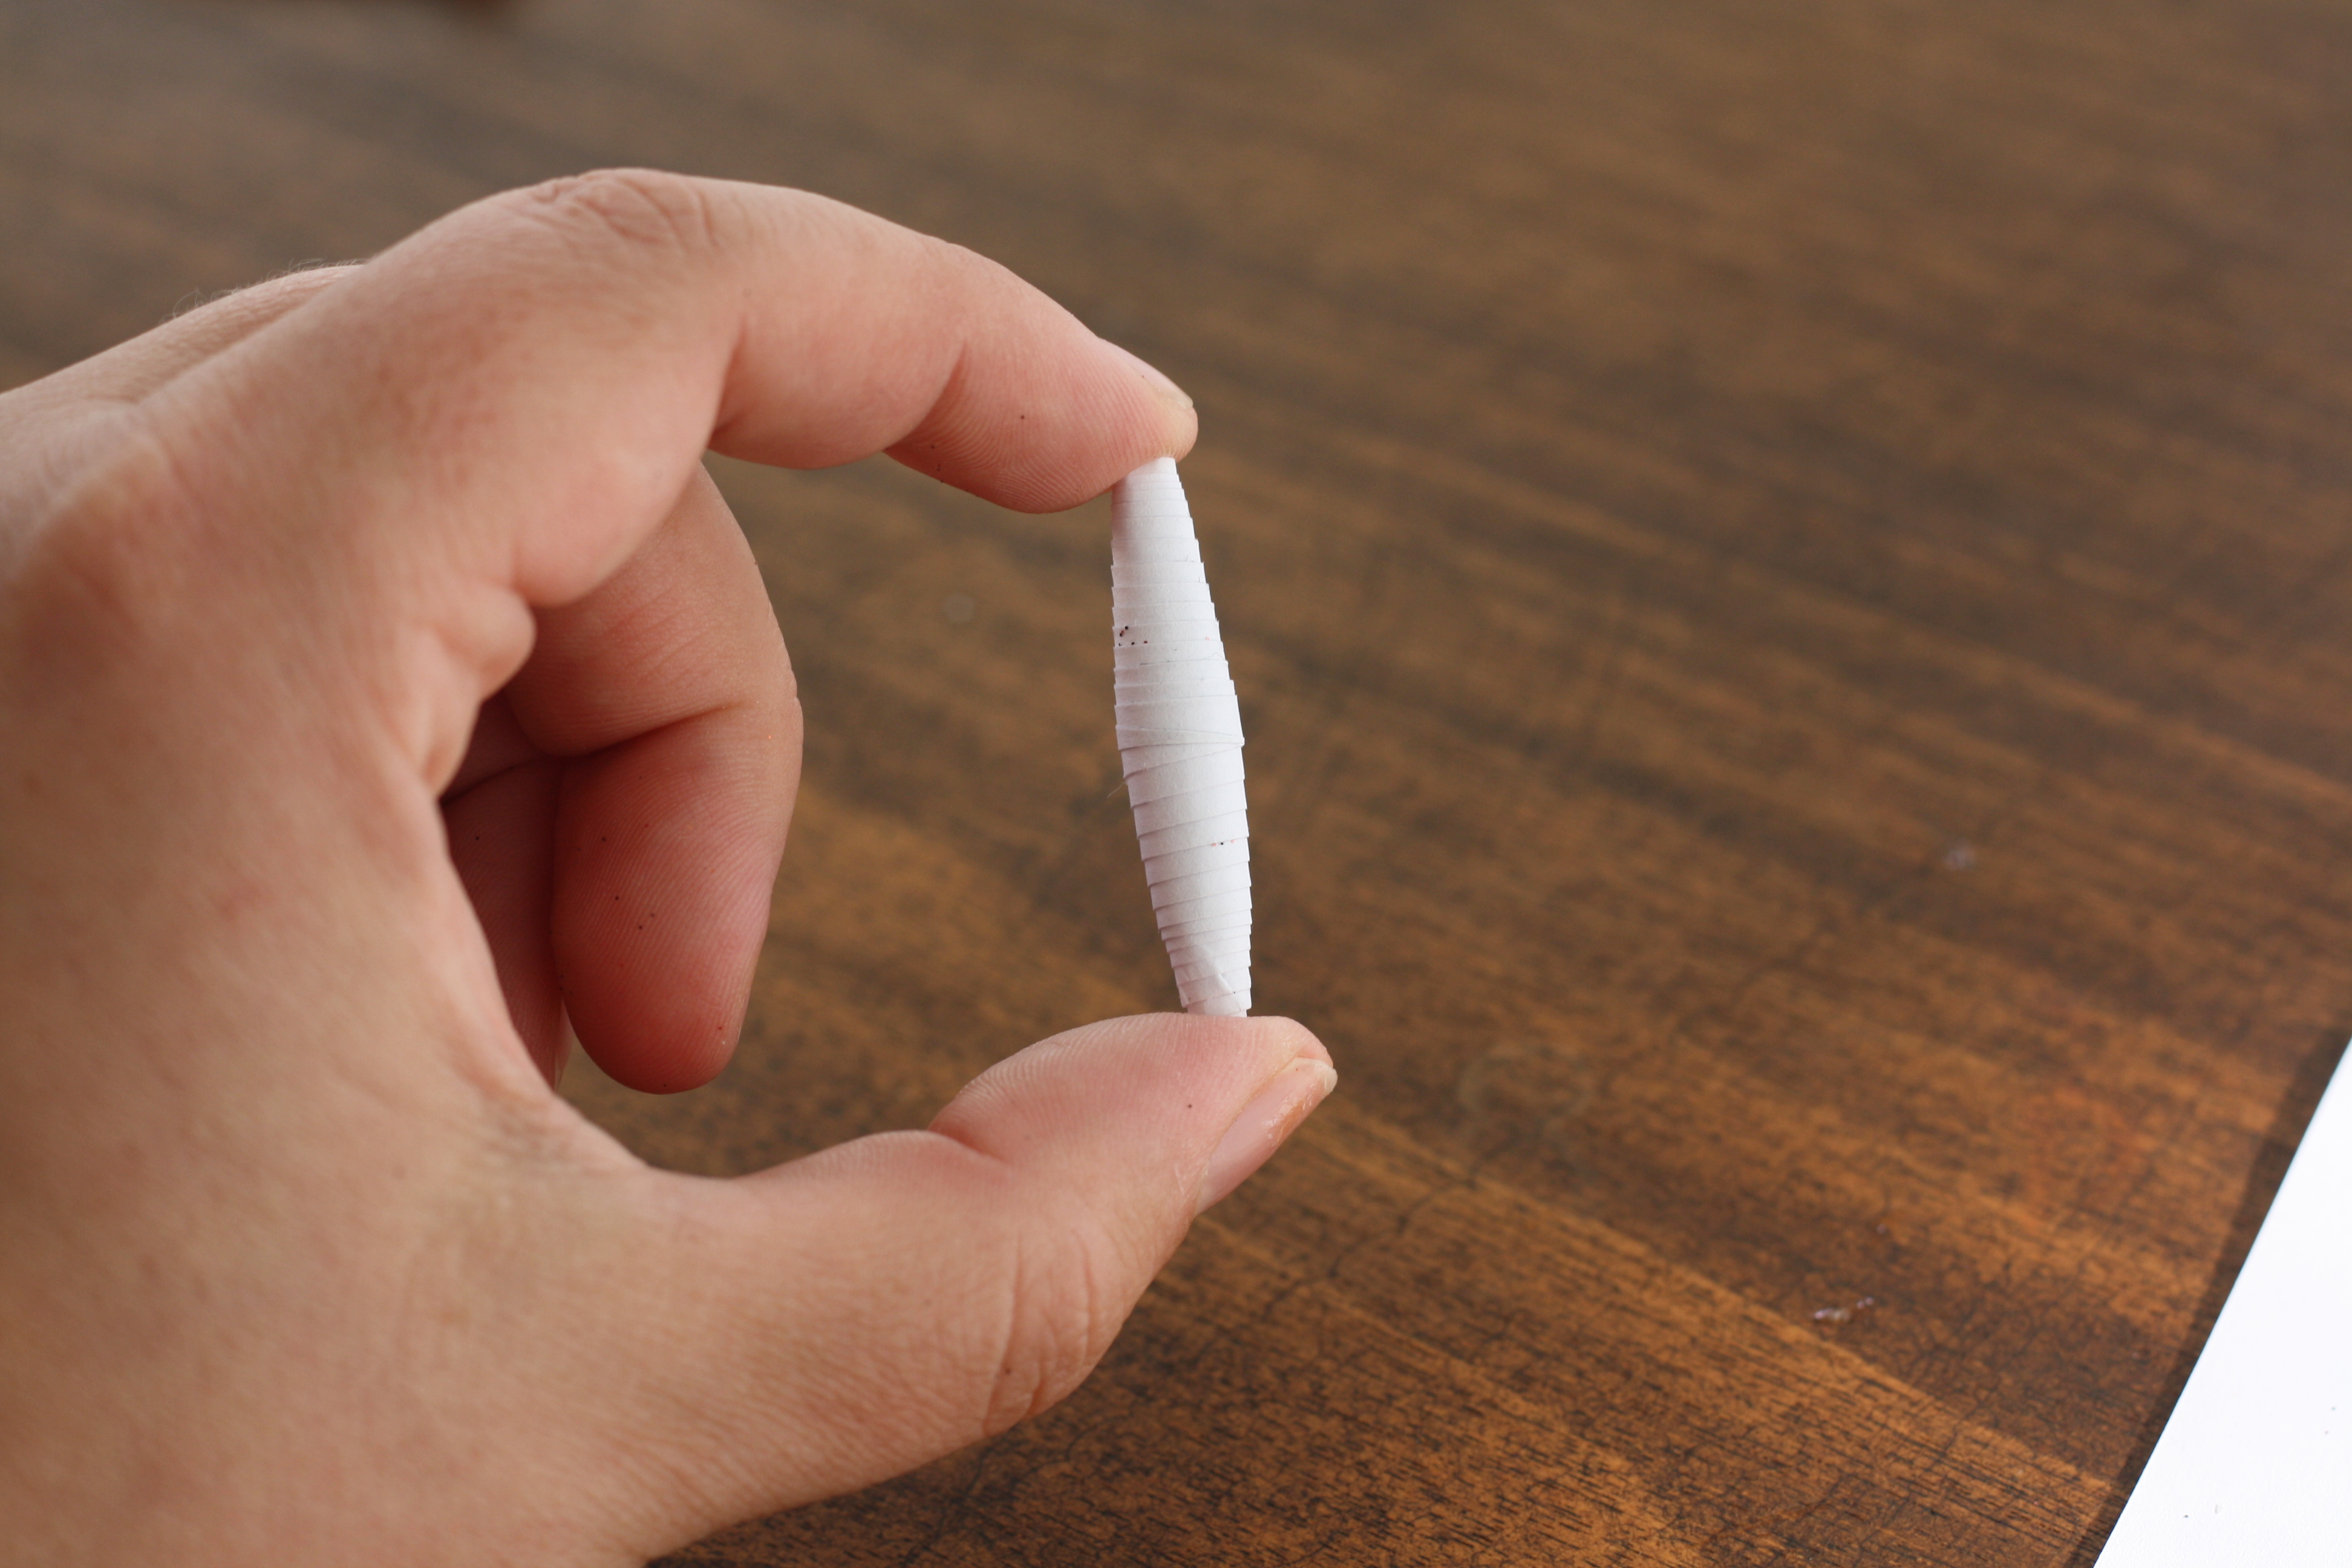
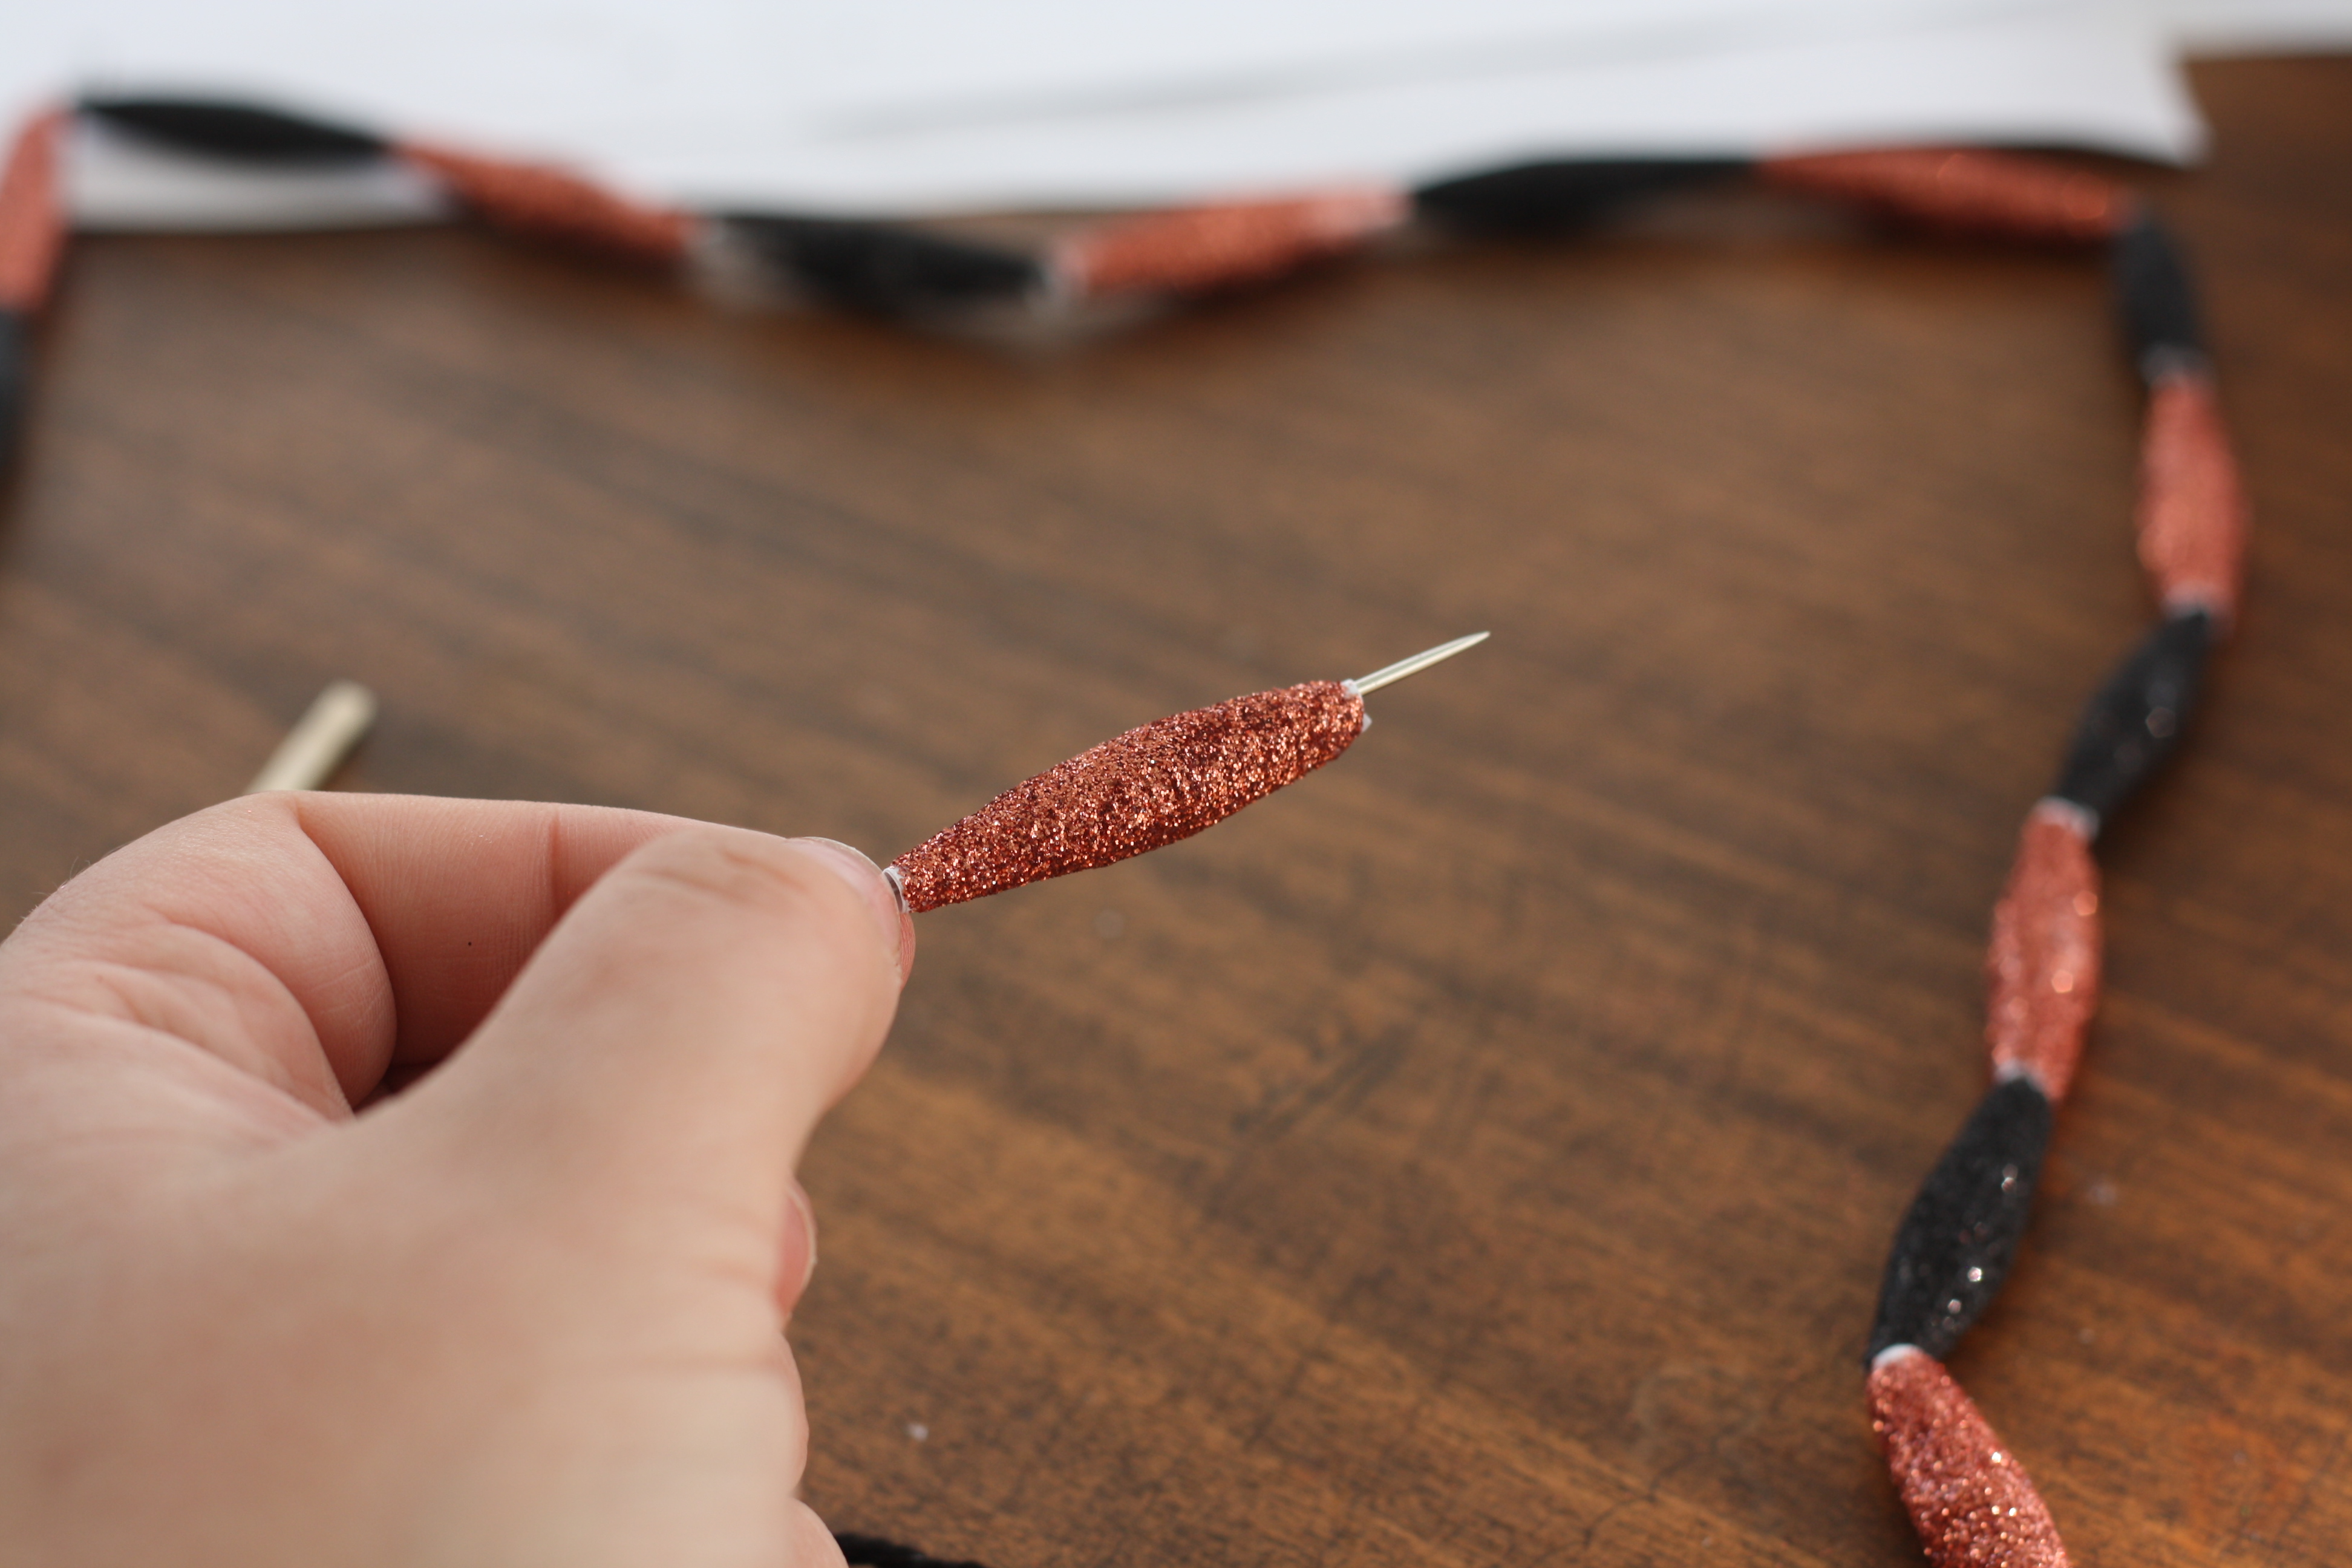
You then need to slide it off the skewer and give it a coat of Mod Podge. If you are using coloured paper or painting it you could then set this aside to dry but I was glittering mine I them rolled it in the glitter while the Mod Podge was still wet.
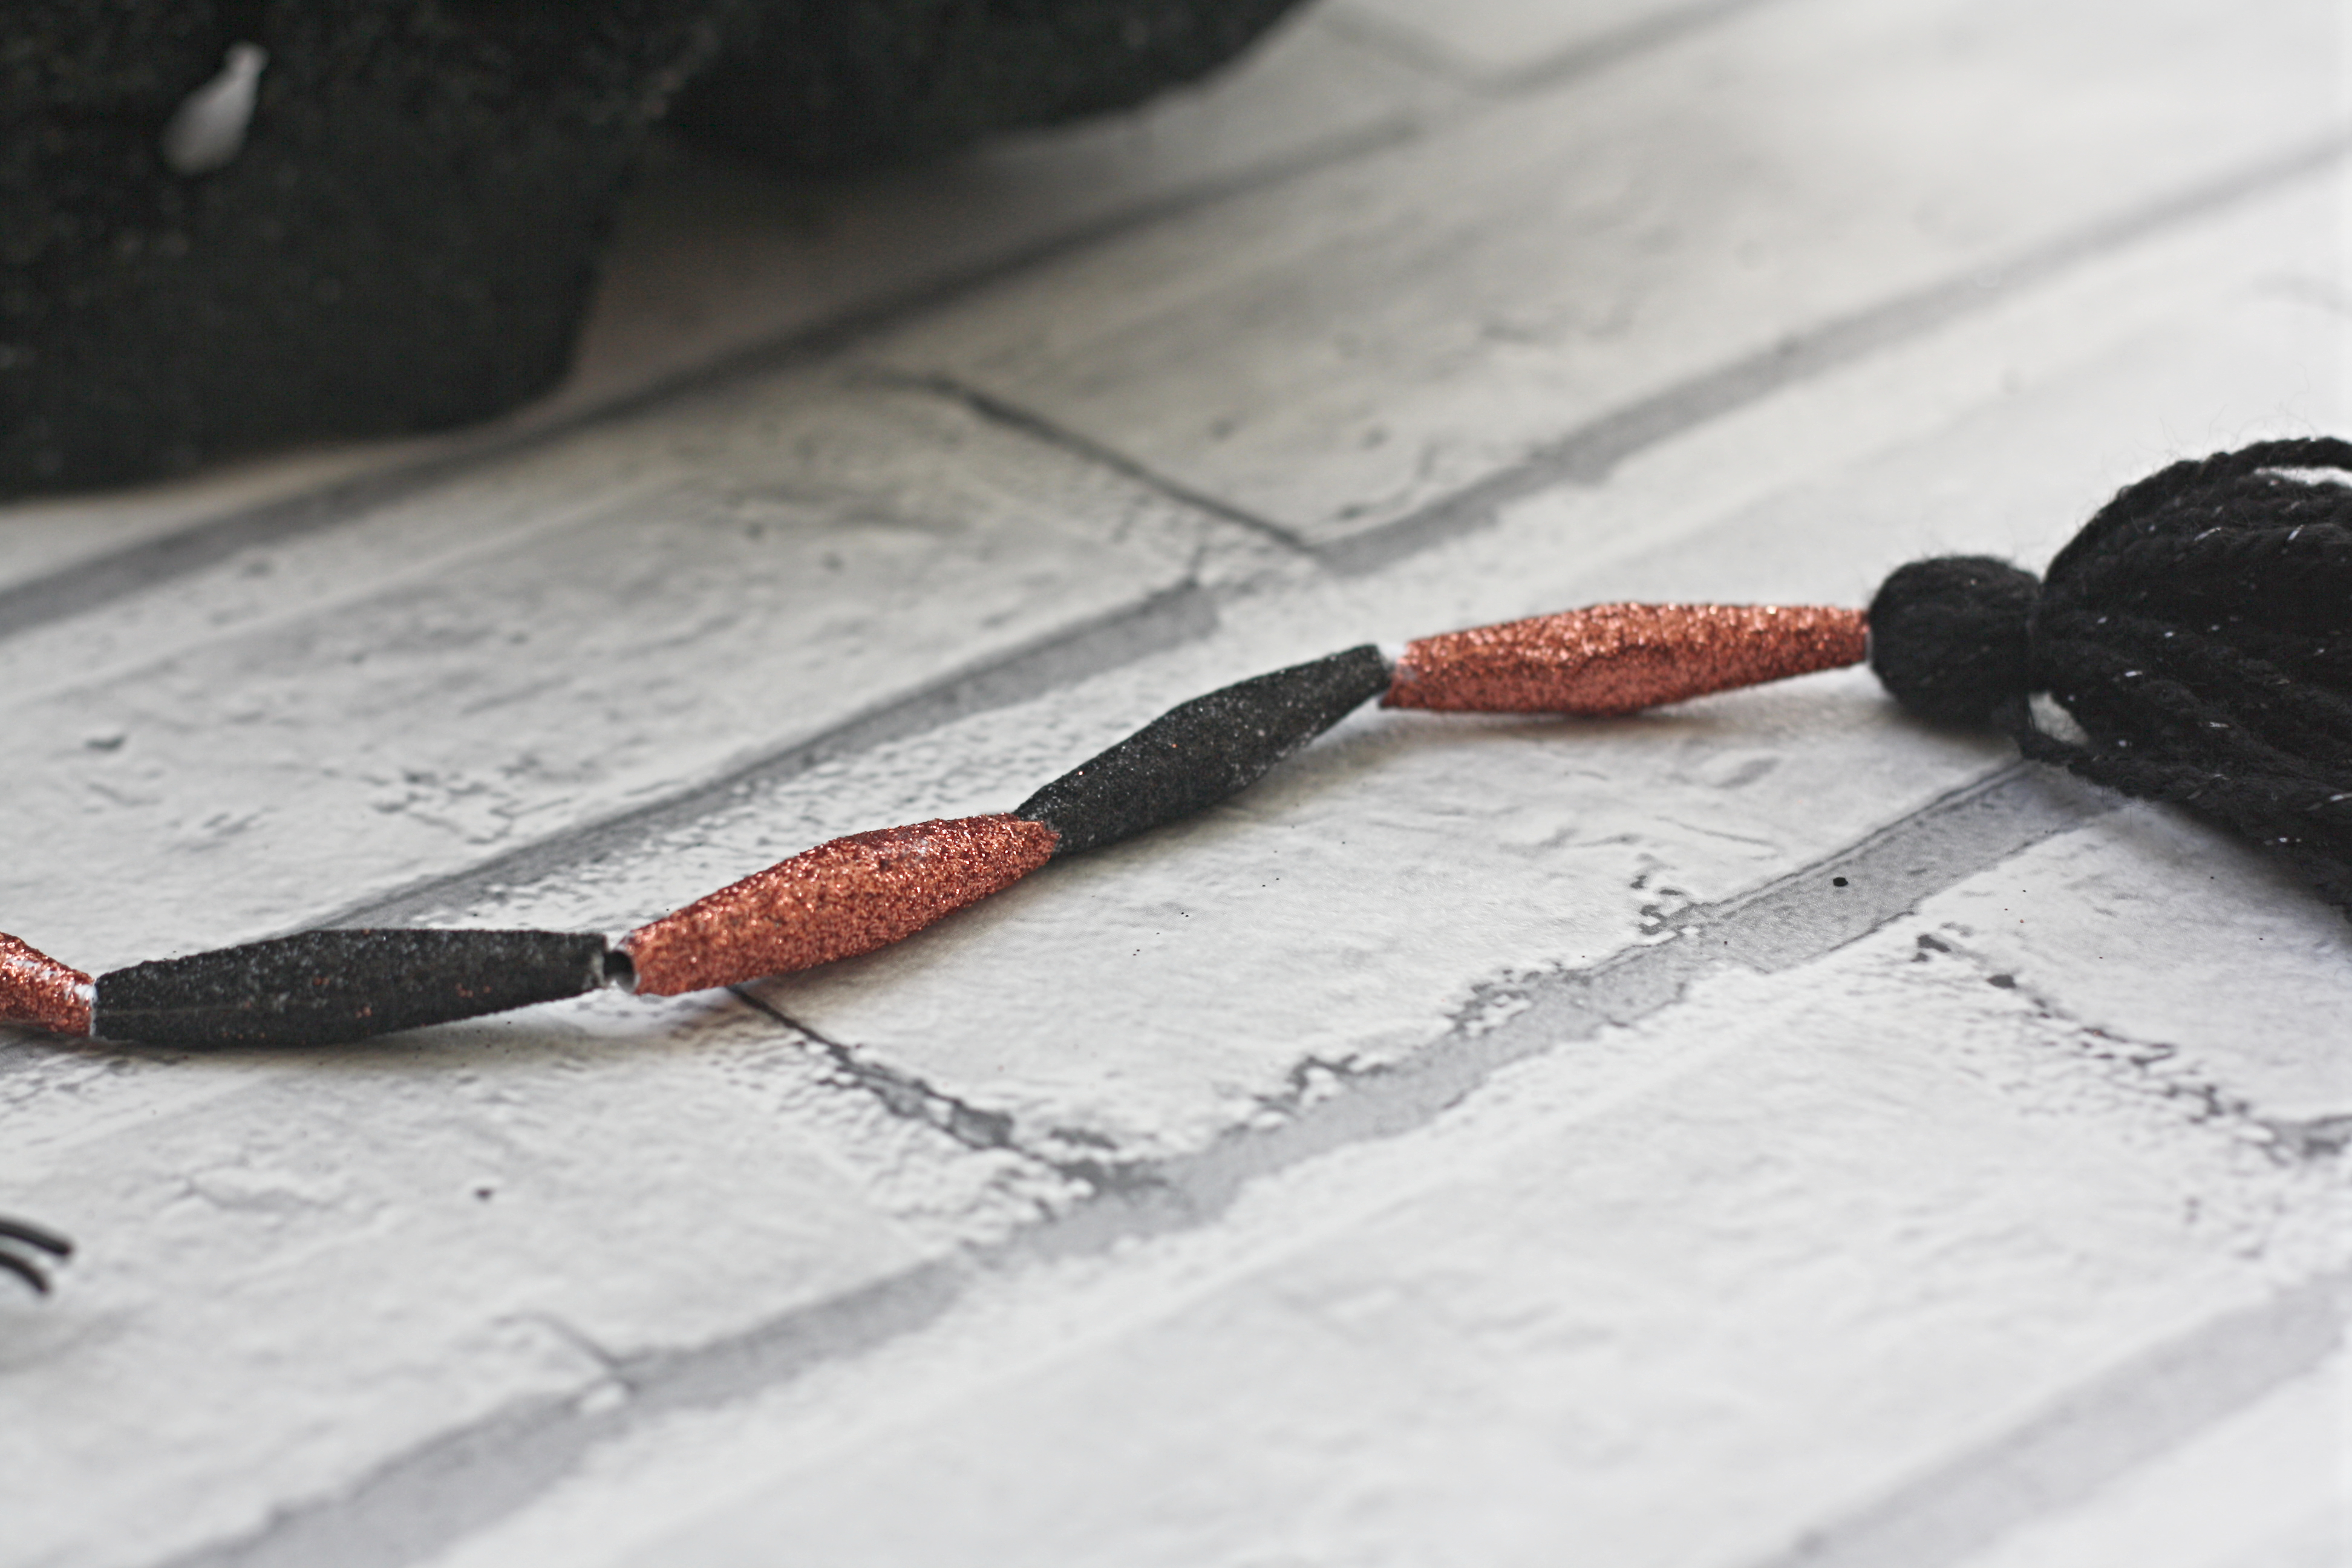
Then leave your bead to dry. Keep repeating this process until you have enough beads for the length of garland you require. I glittered half of my beads in copper and half in black.
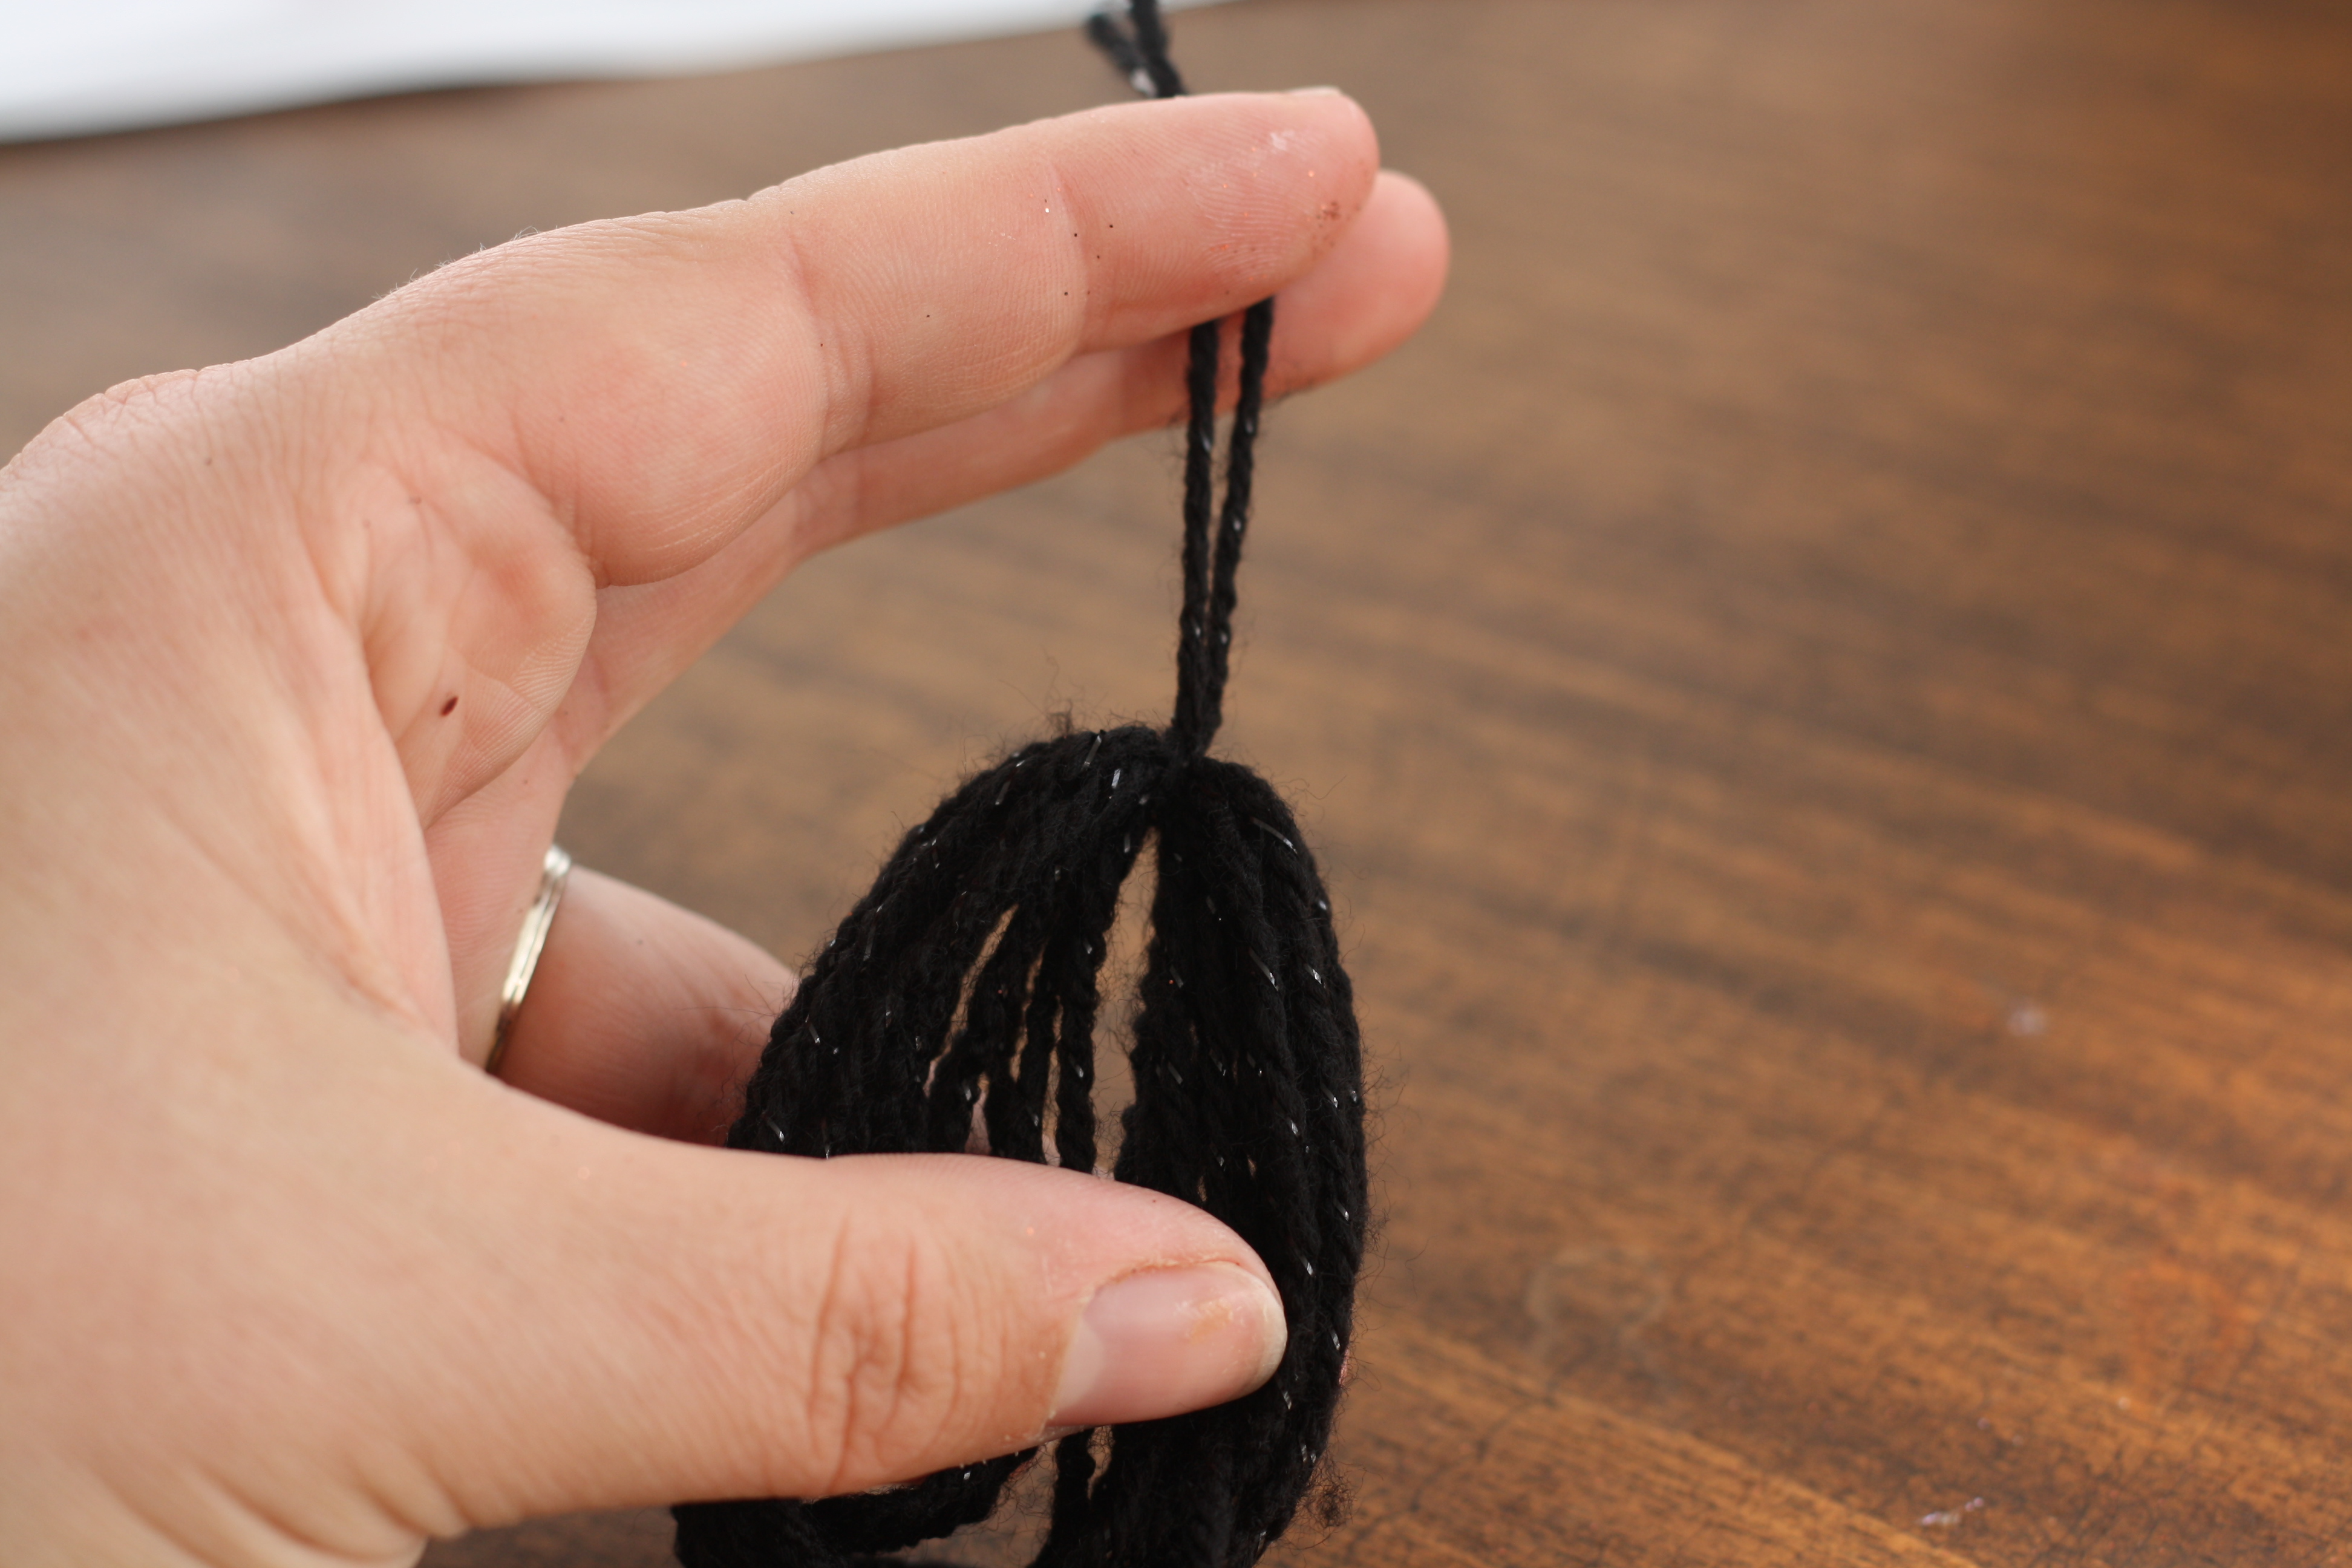
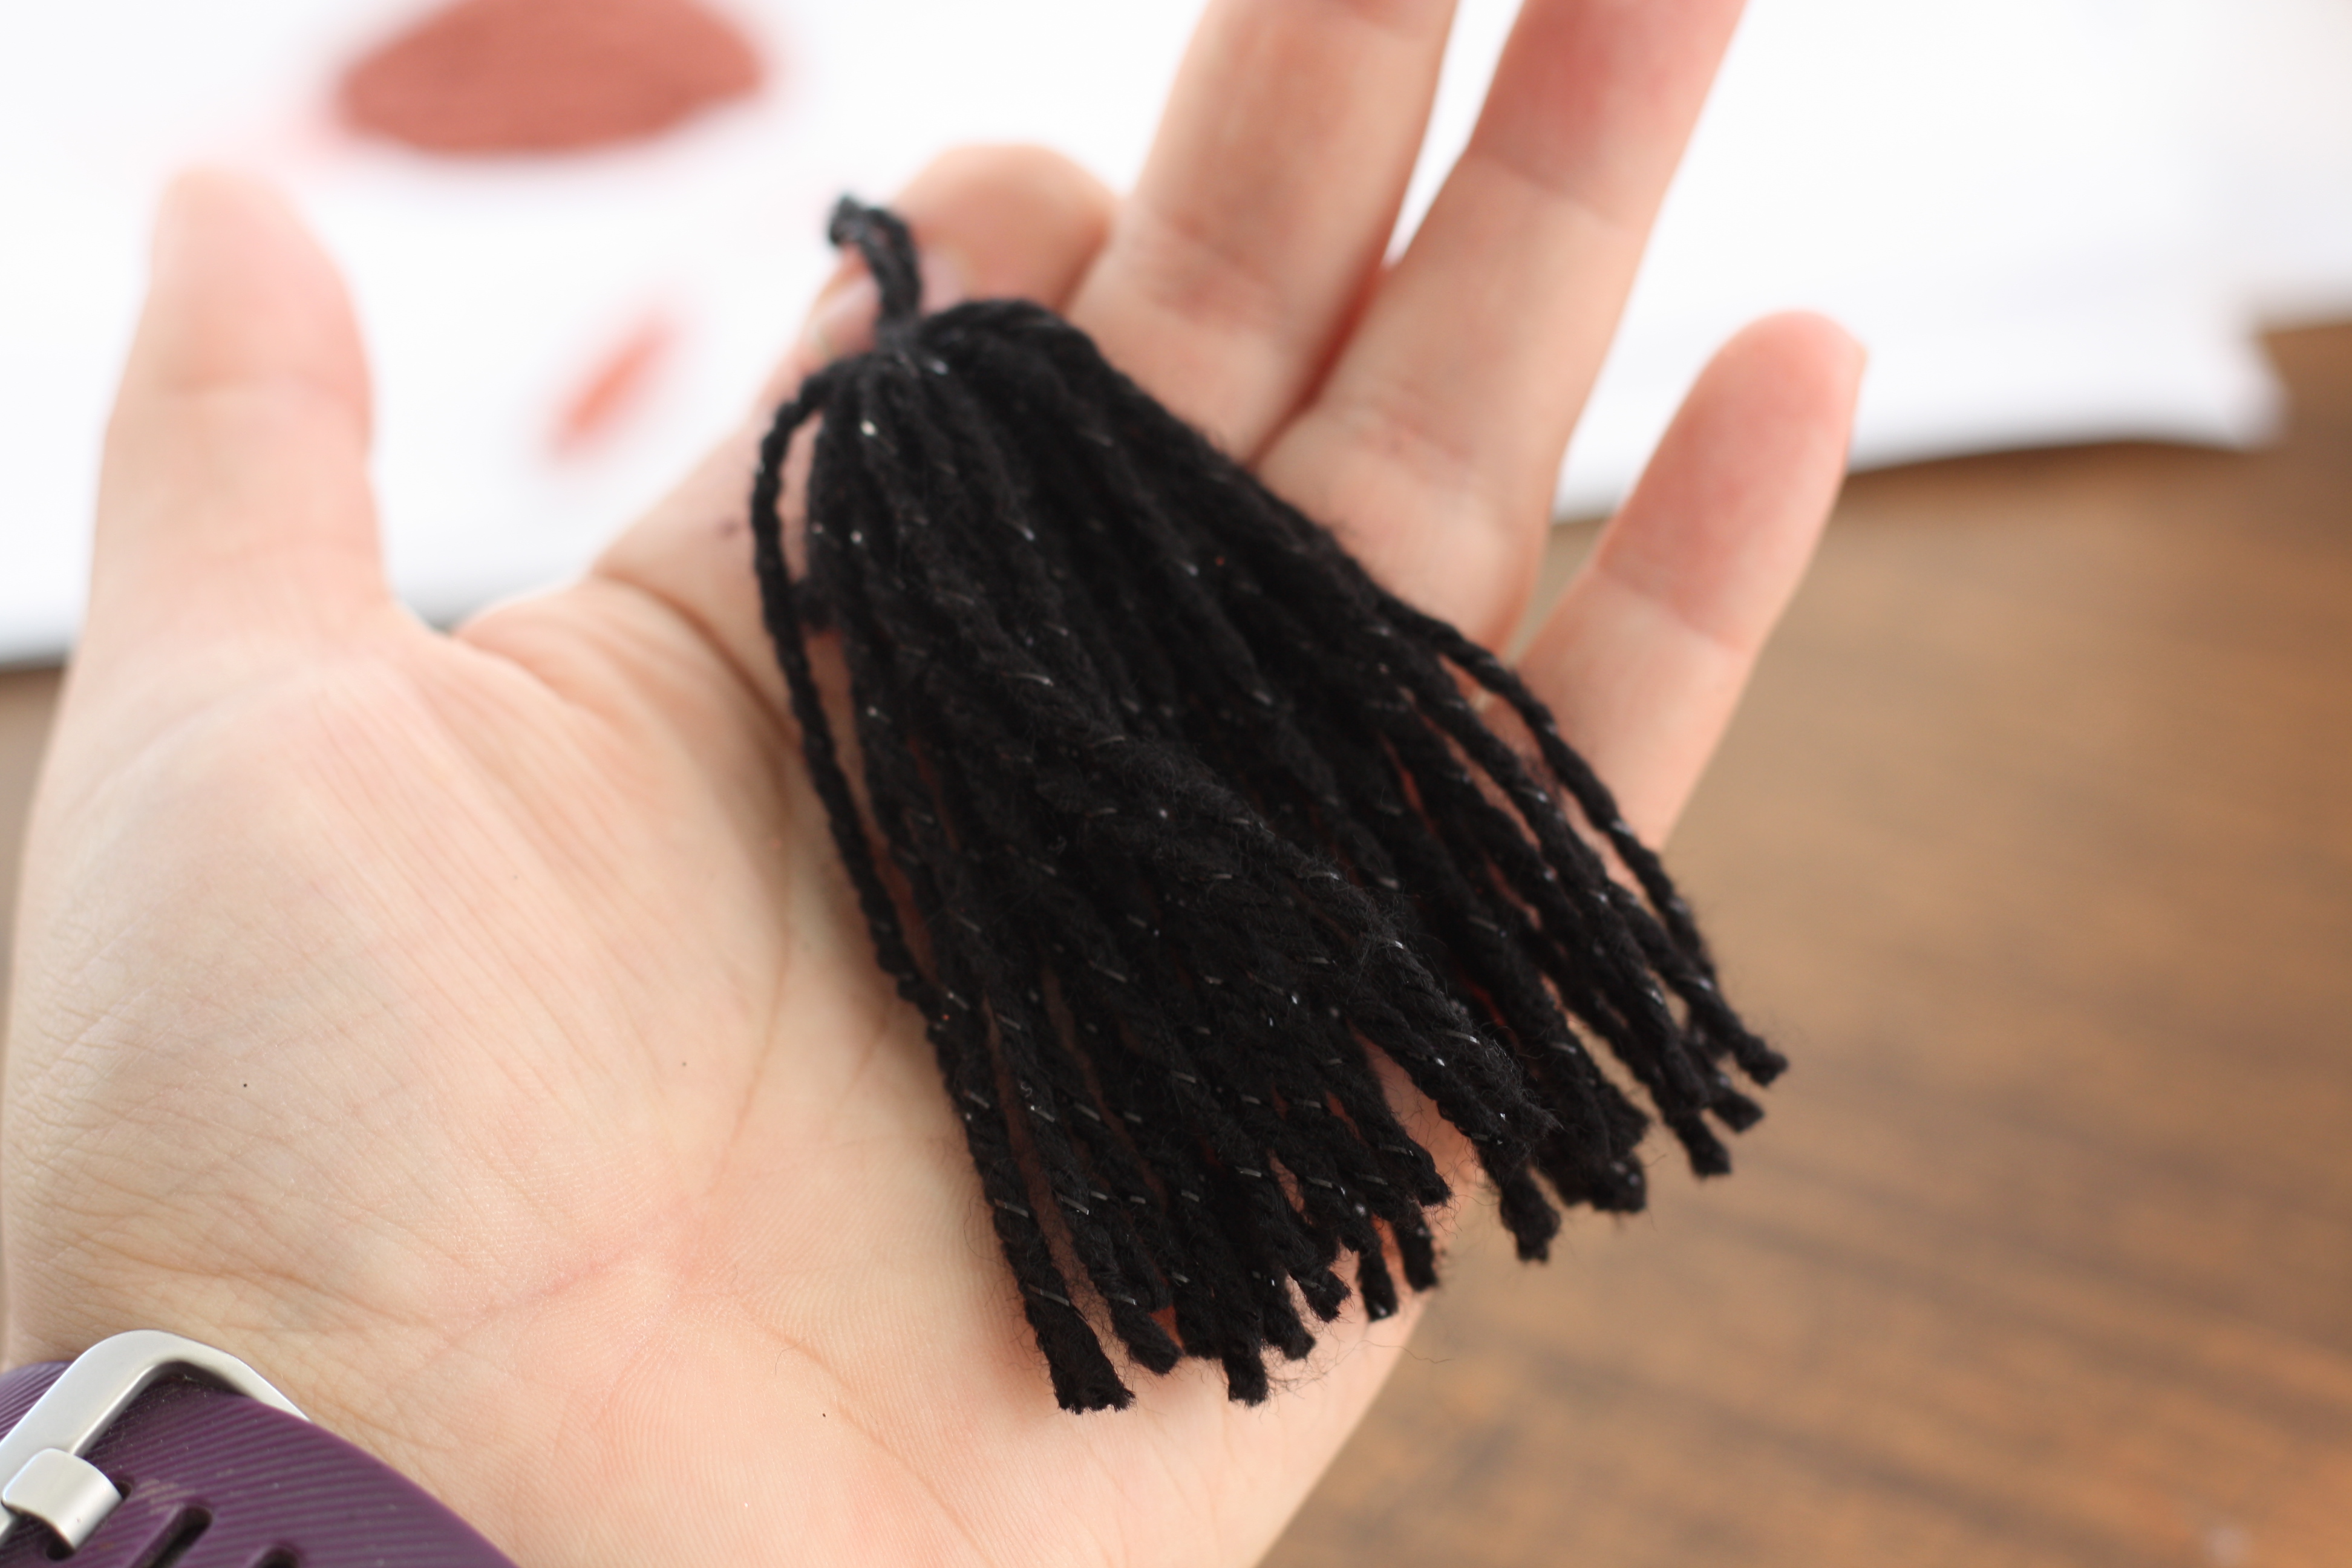
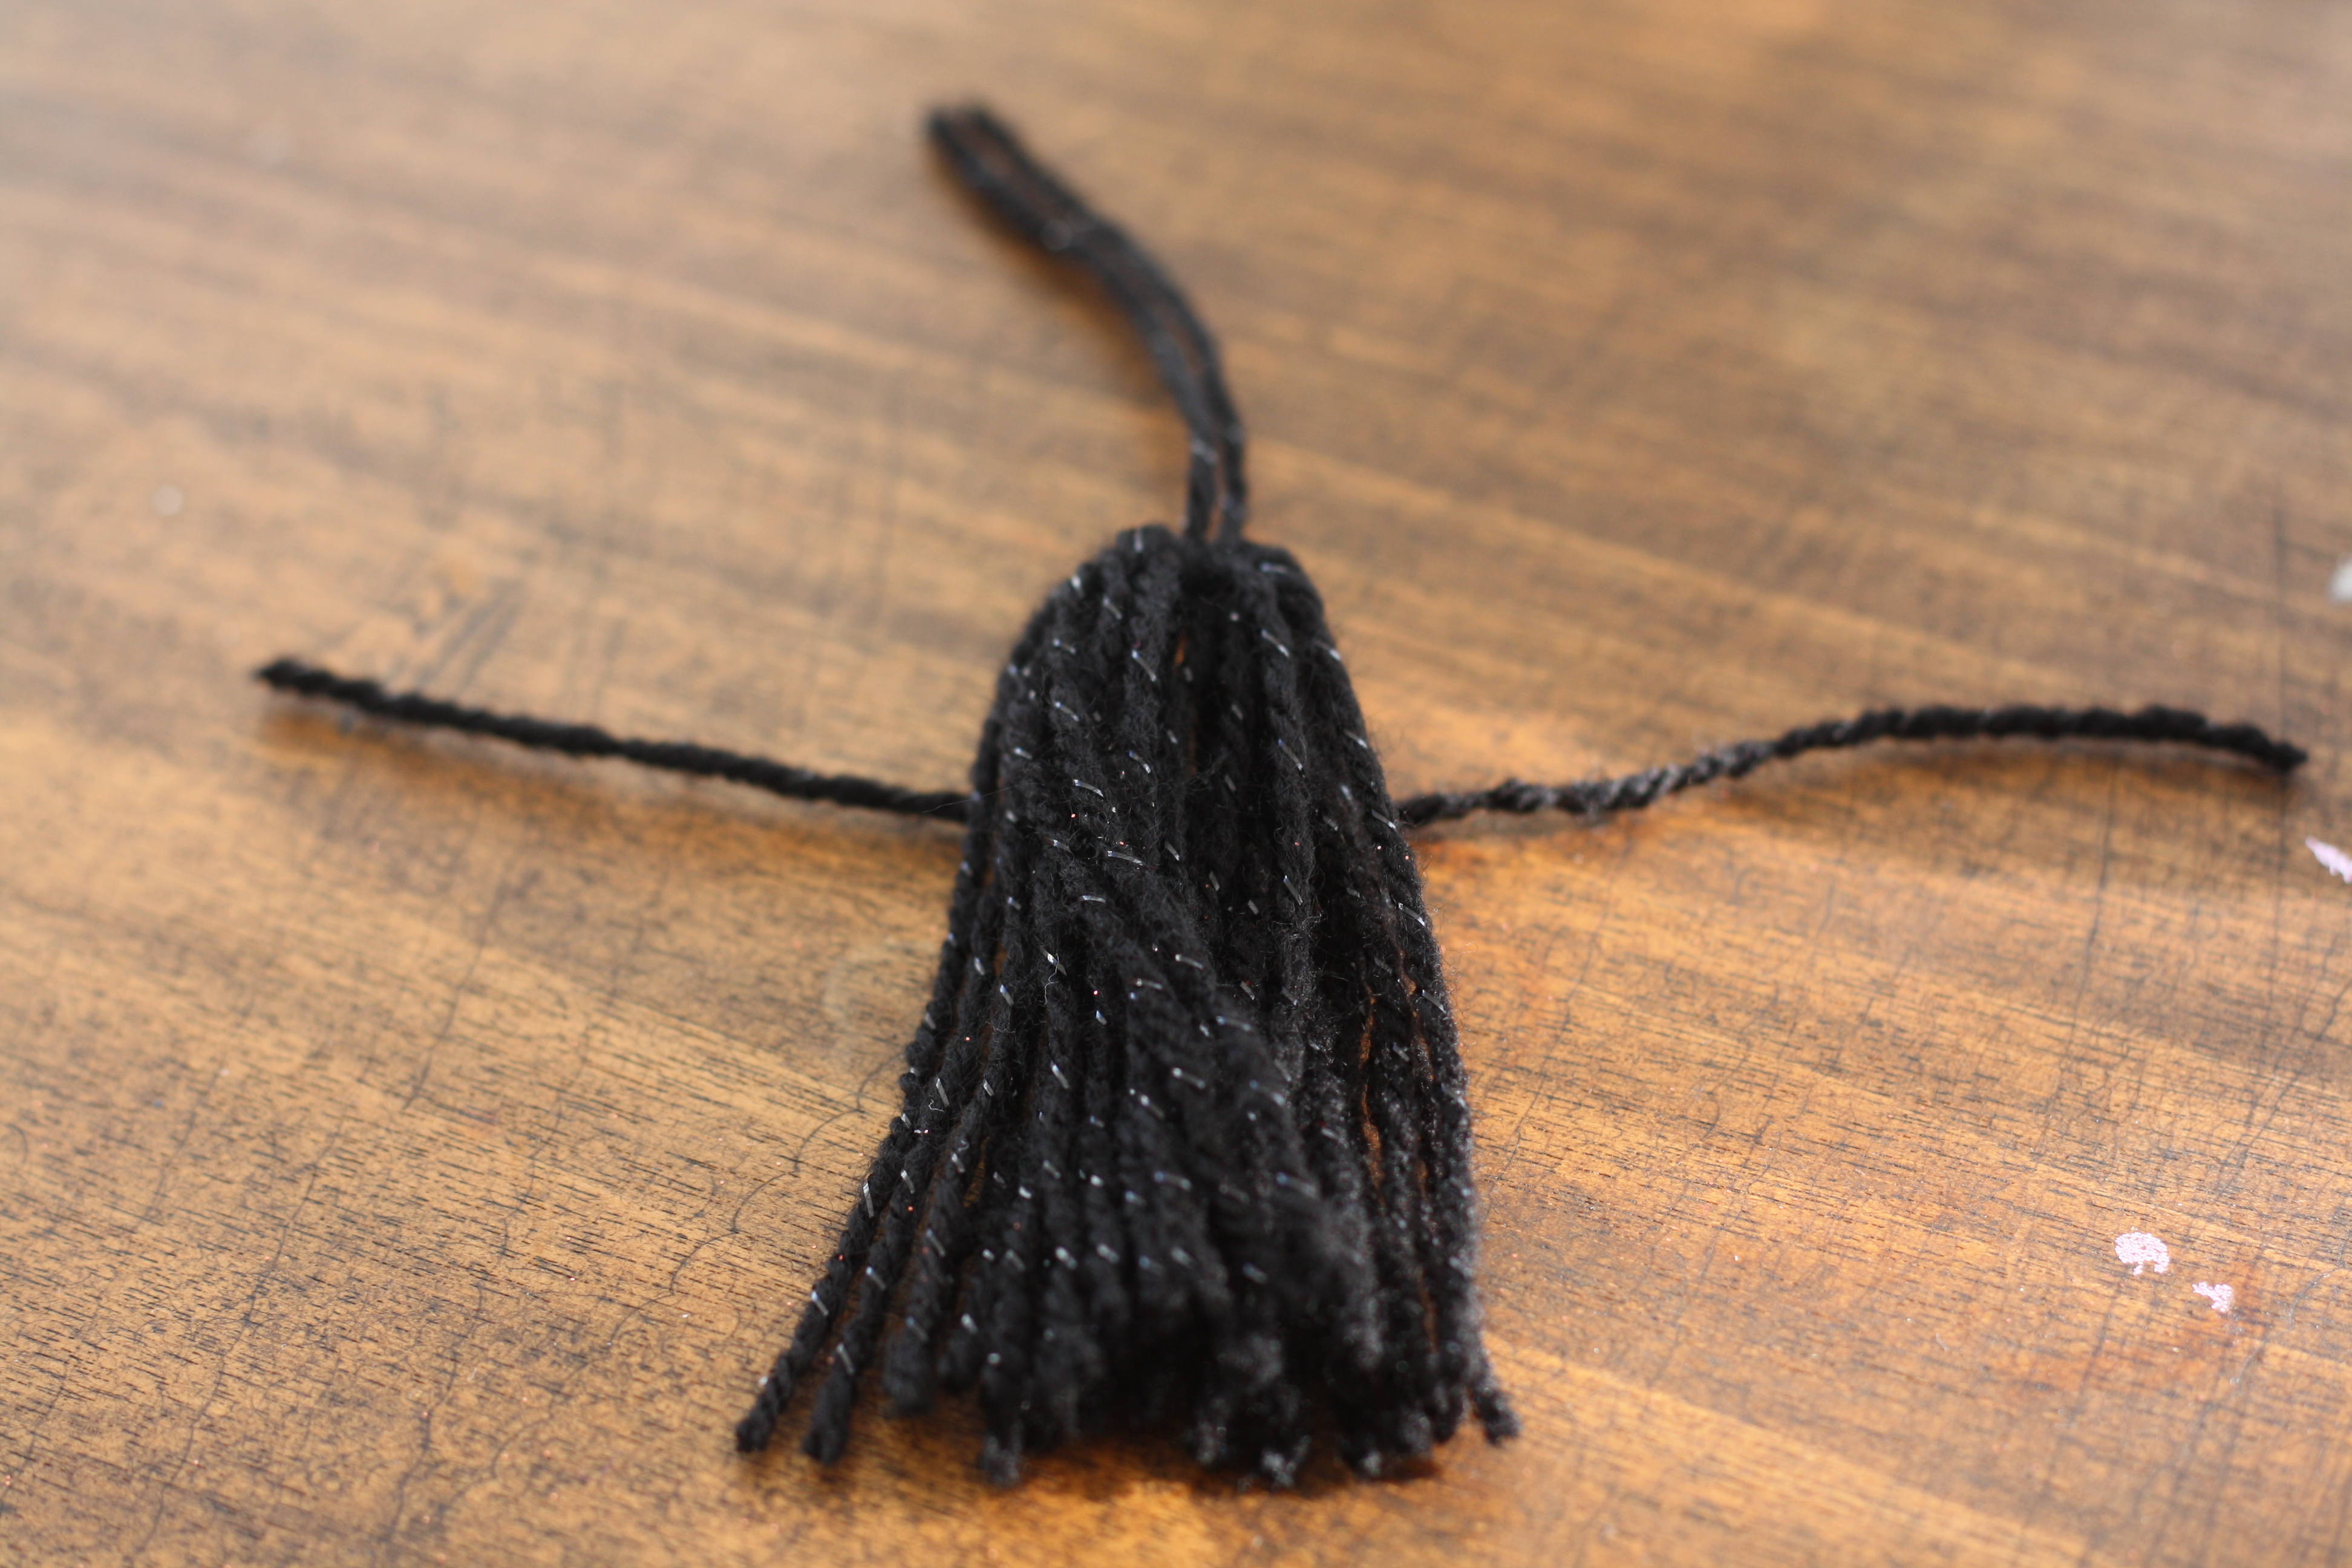
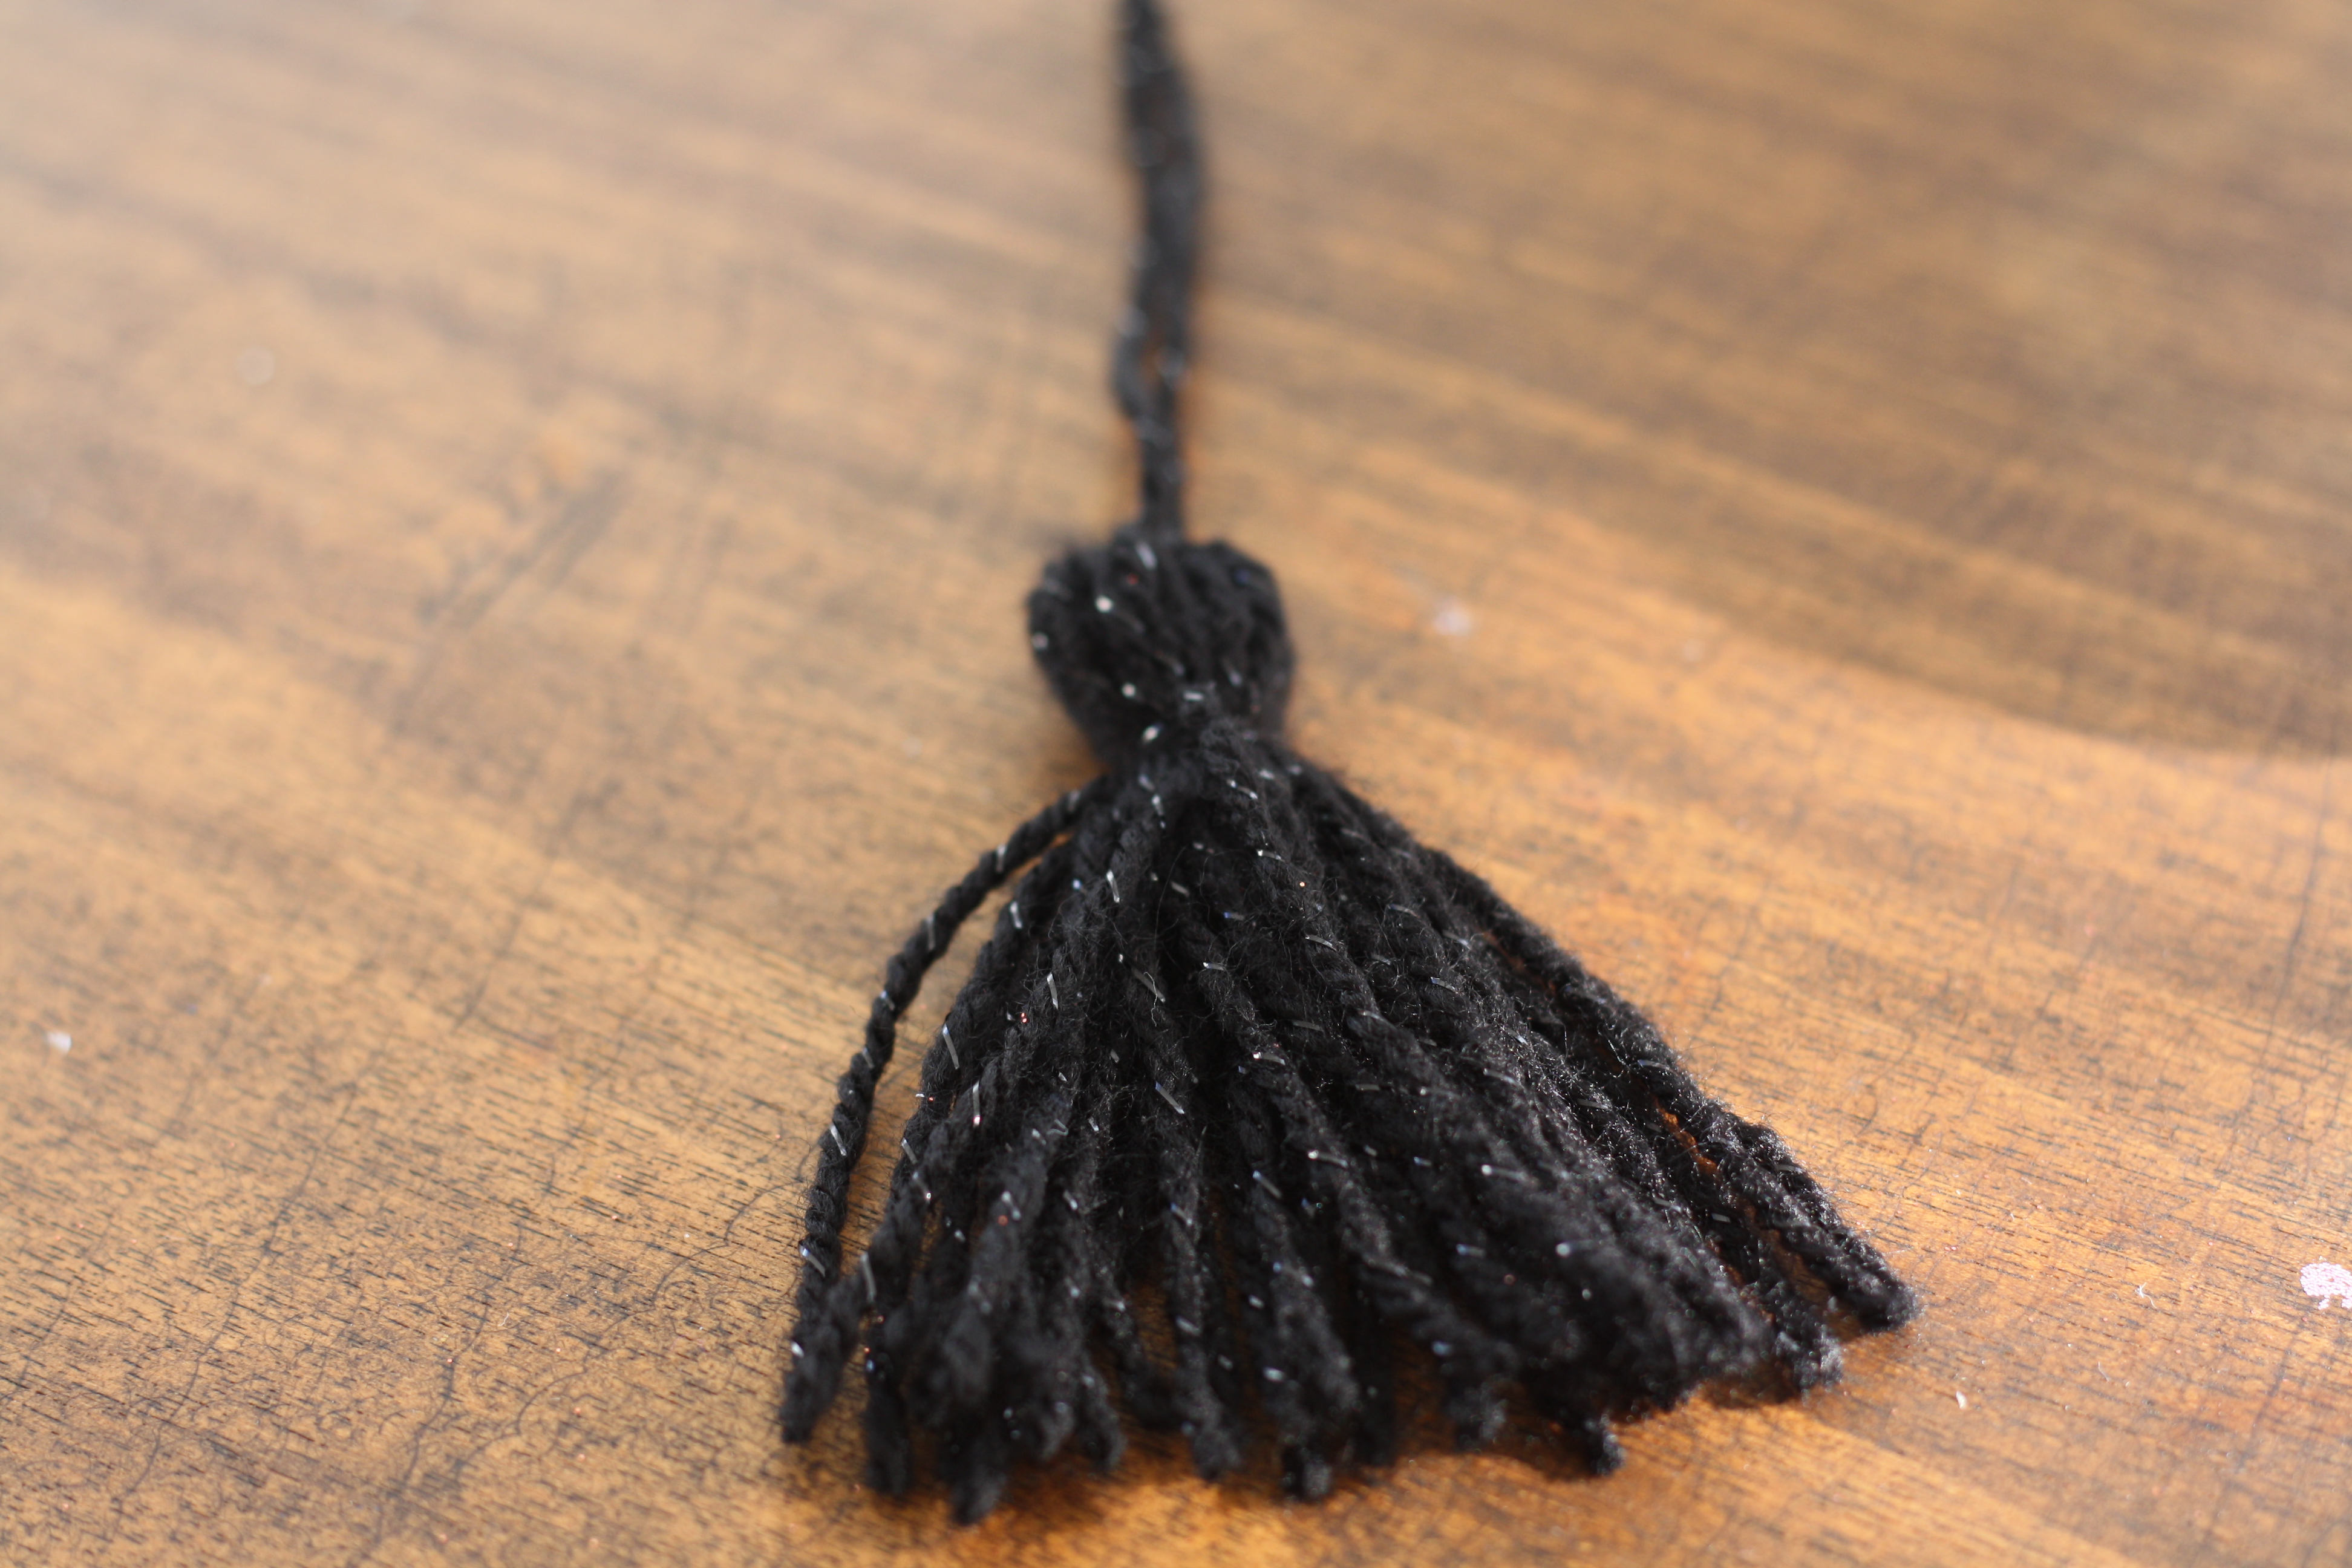
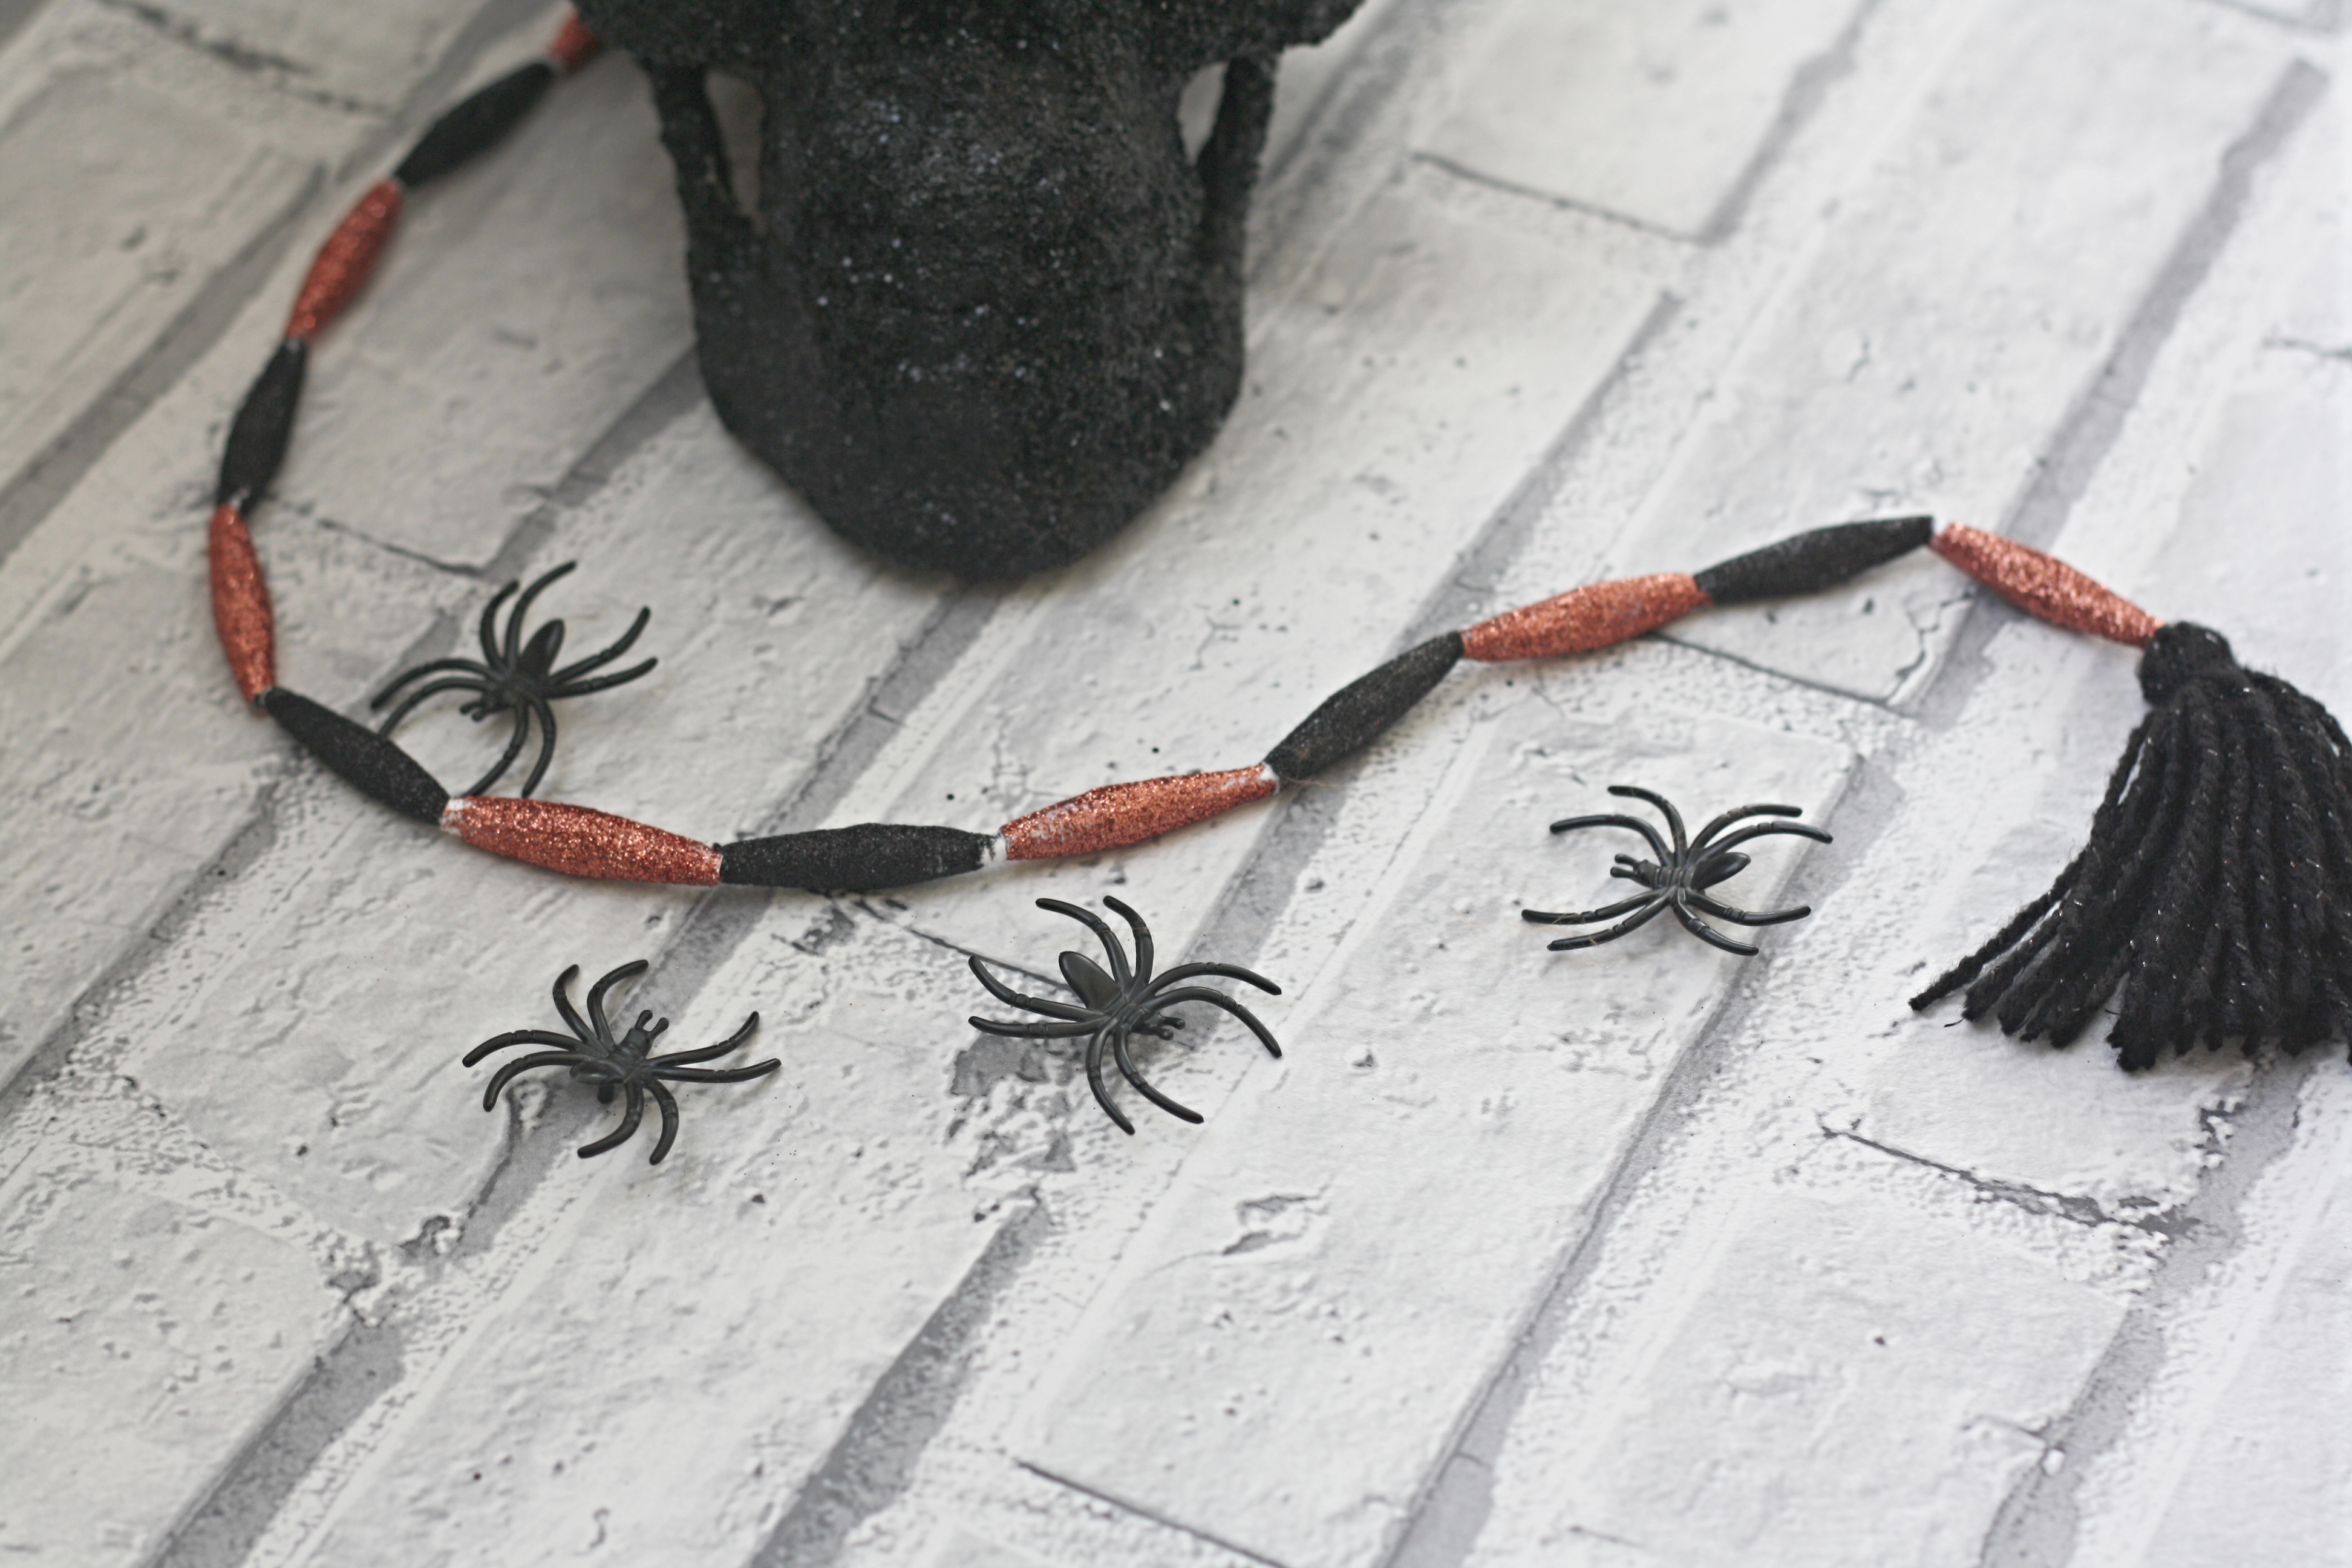
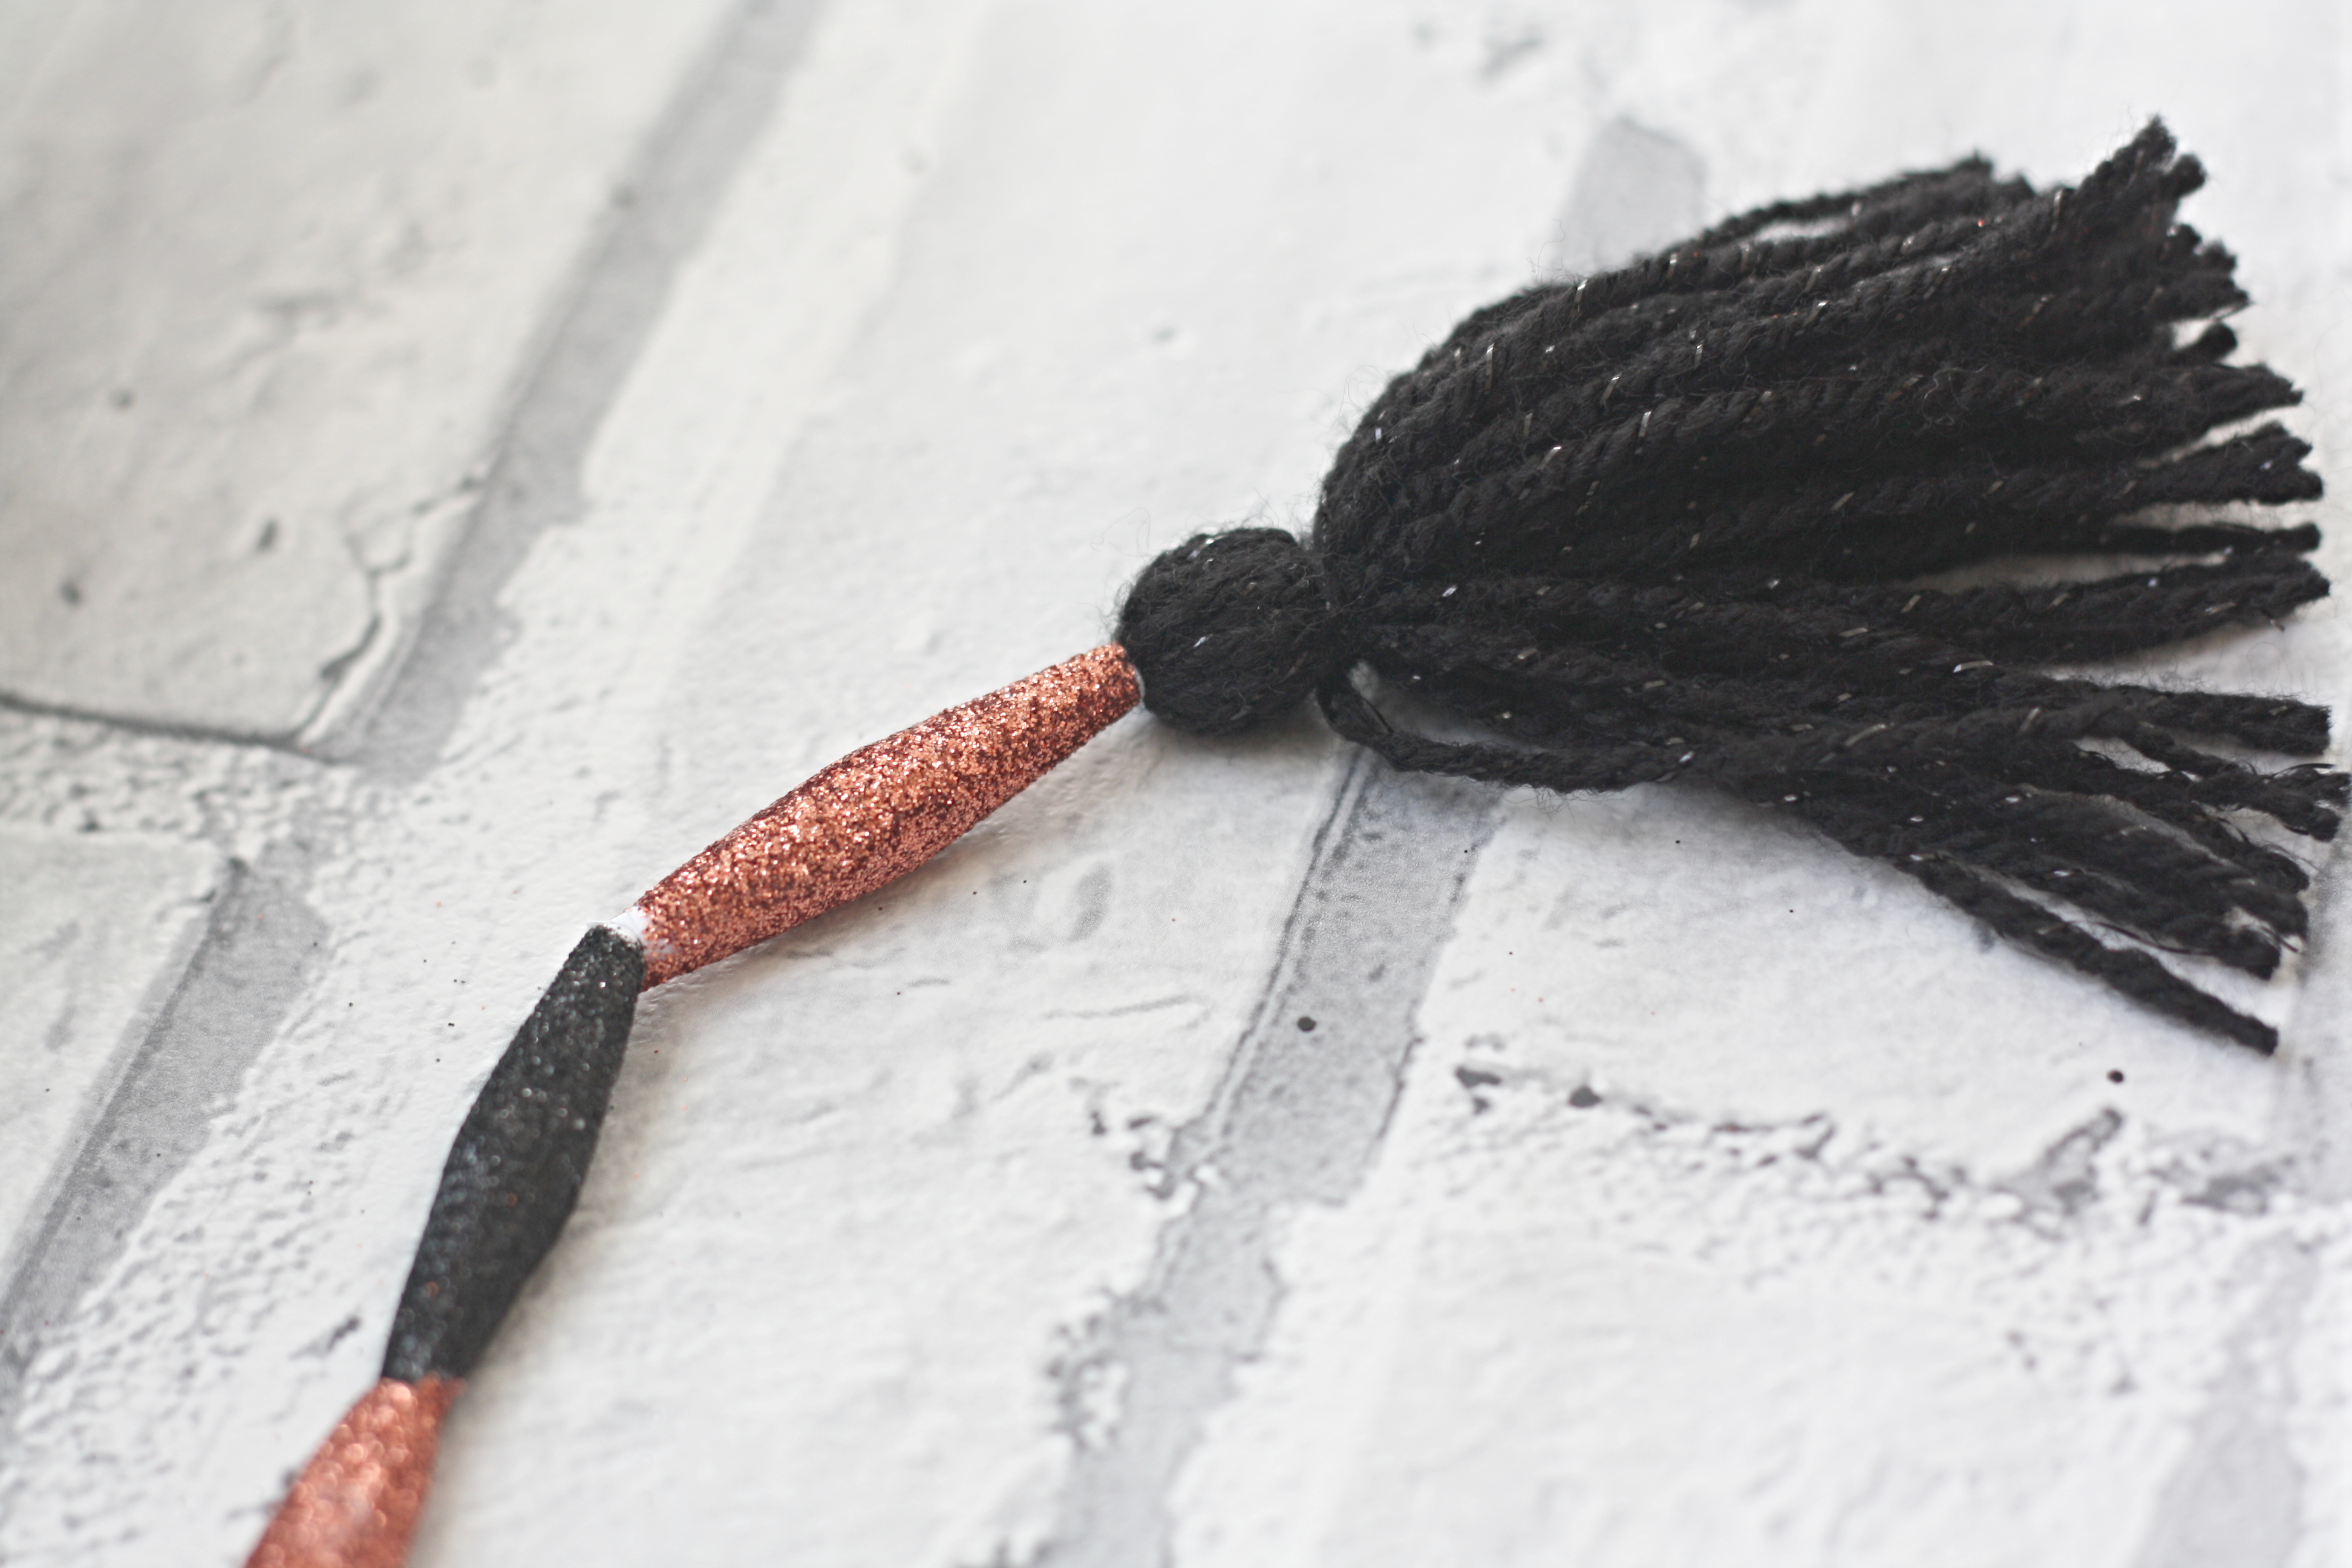
I finished each end of my garland with a tassel. Use the images above to help you make them. Wind a length of wool around your fingers a few times. Tie around the loop at one end and then snip through the loops at the other end. Tie another piece of wool around the top of the tassel about 1cm down.
Cut a length of wool long enough to be your garland. Tie one tassel to the end and start to thread on your paper beads. A yarn needle makes this easier. When all your beads are on tie the other tassel close to the beads on the other end.
Paper Bead Garland – The finished garland
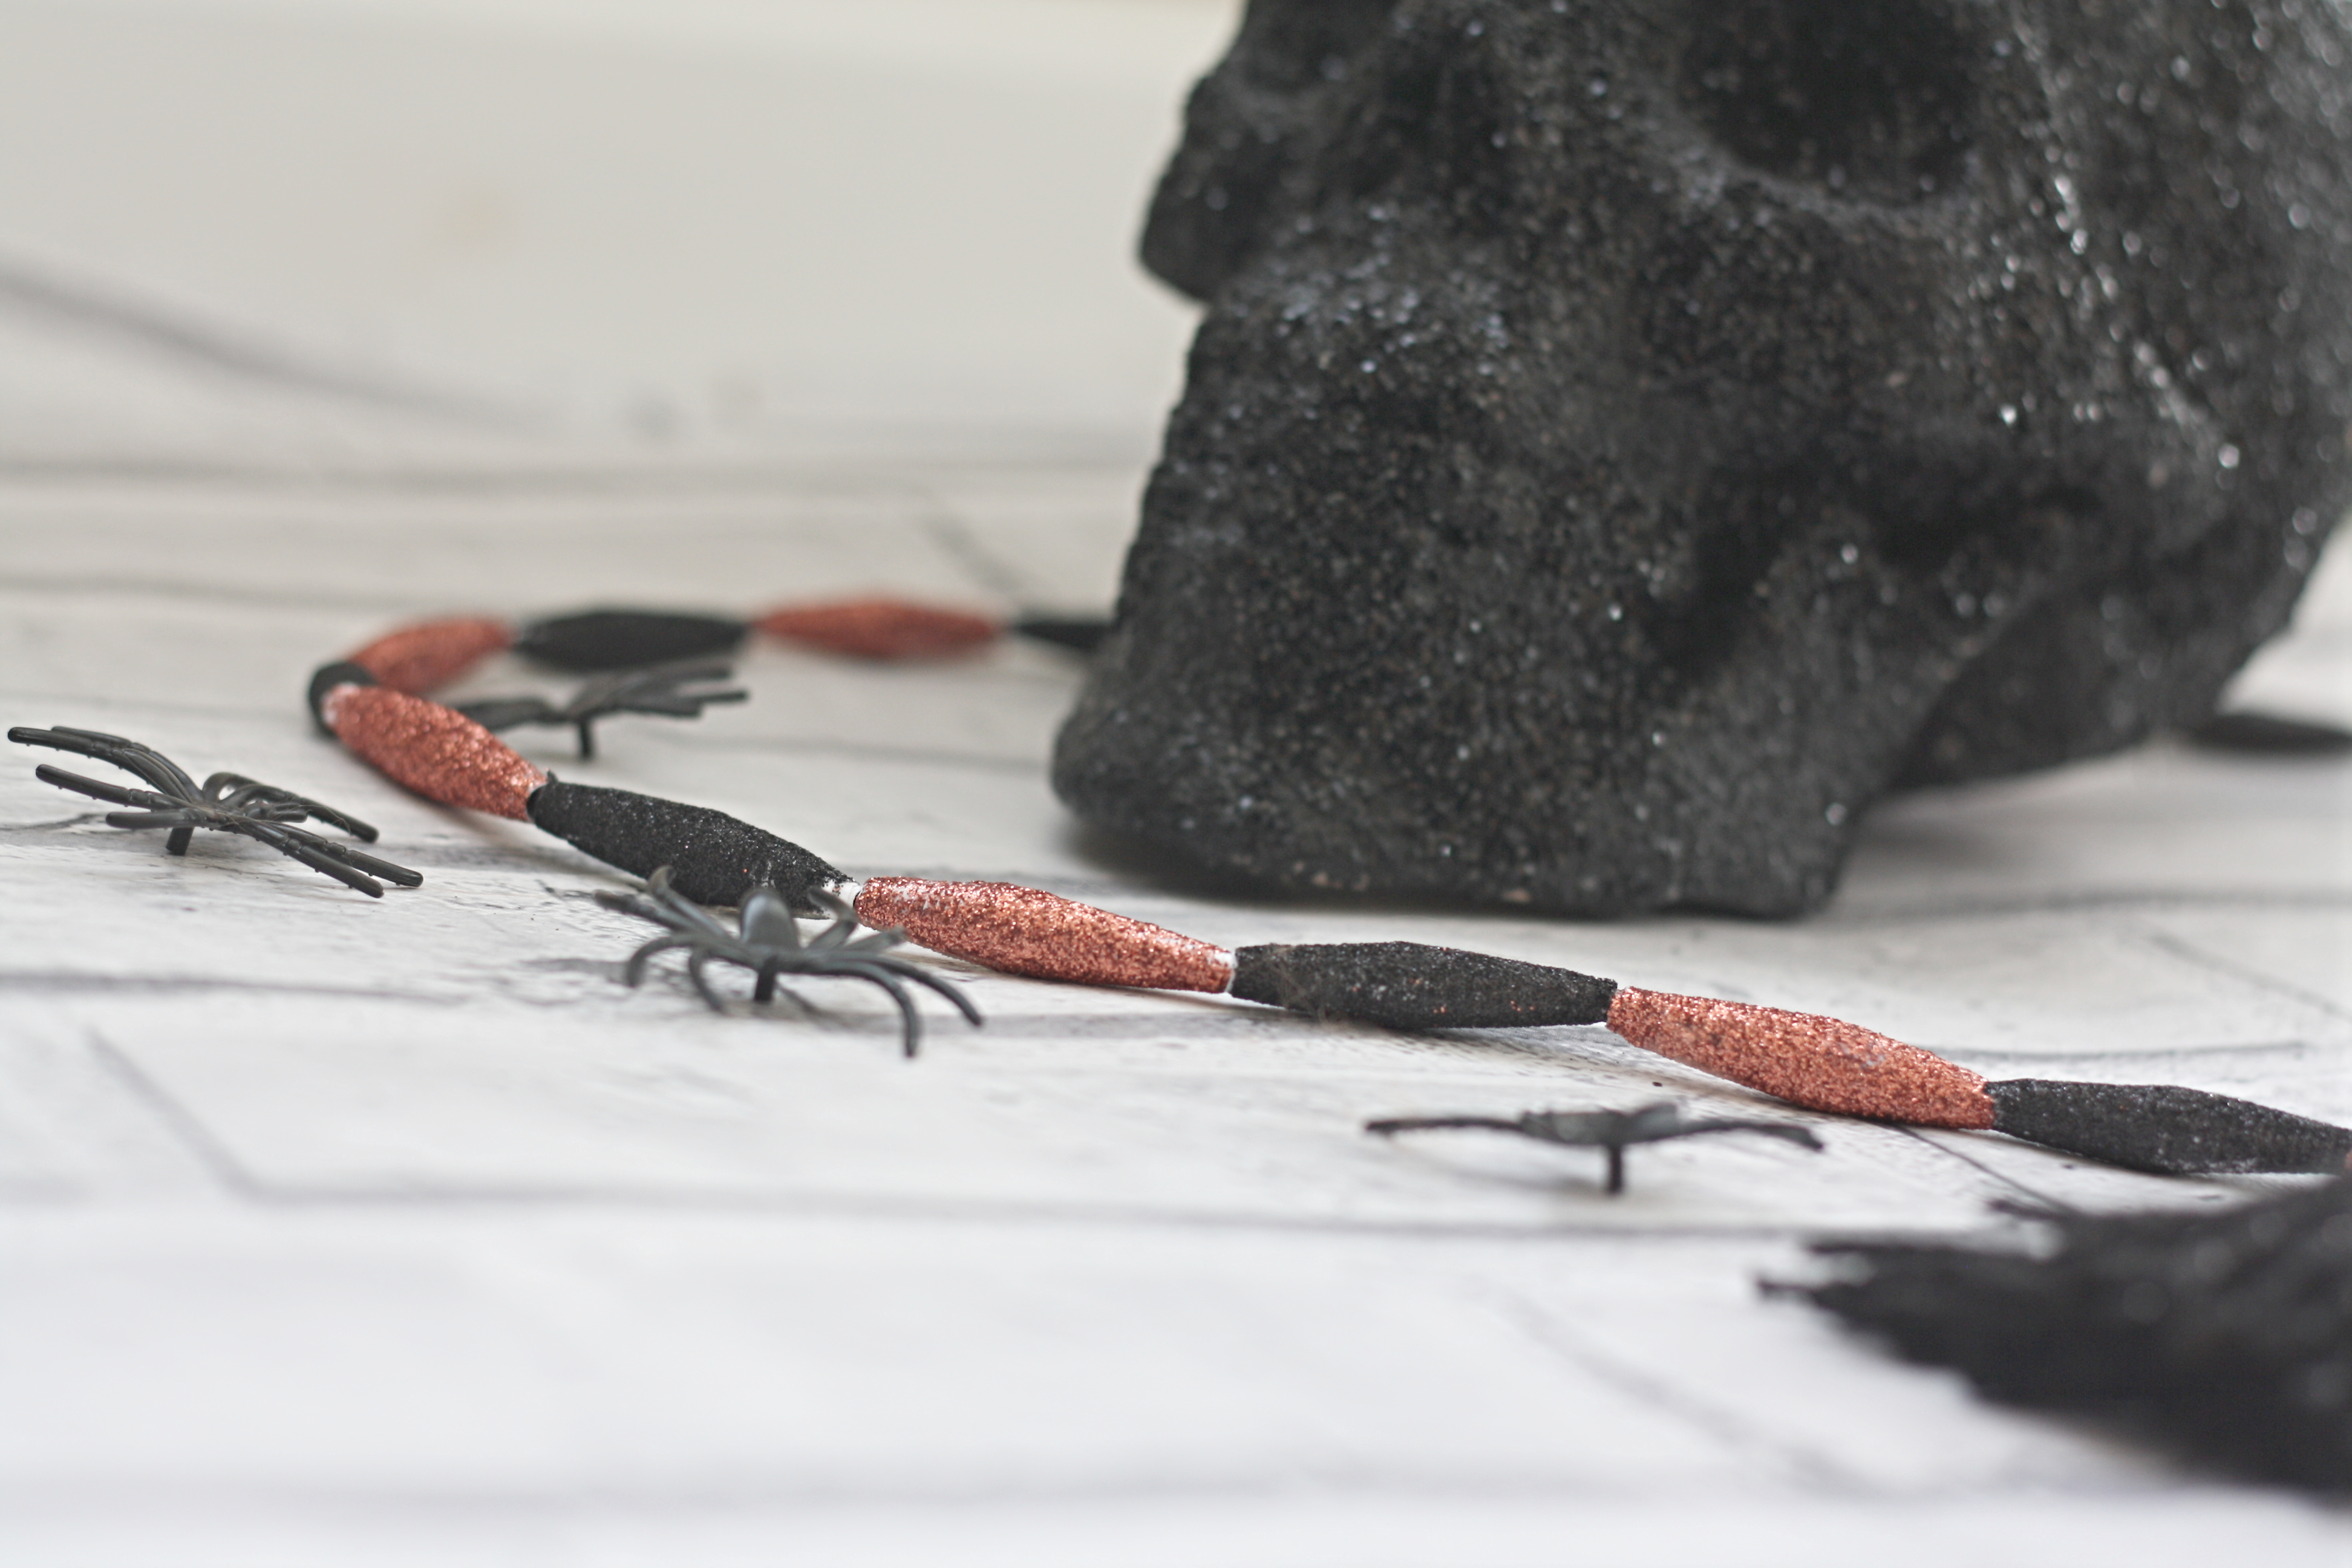
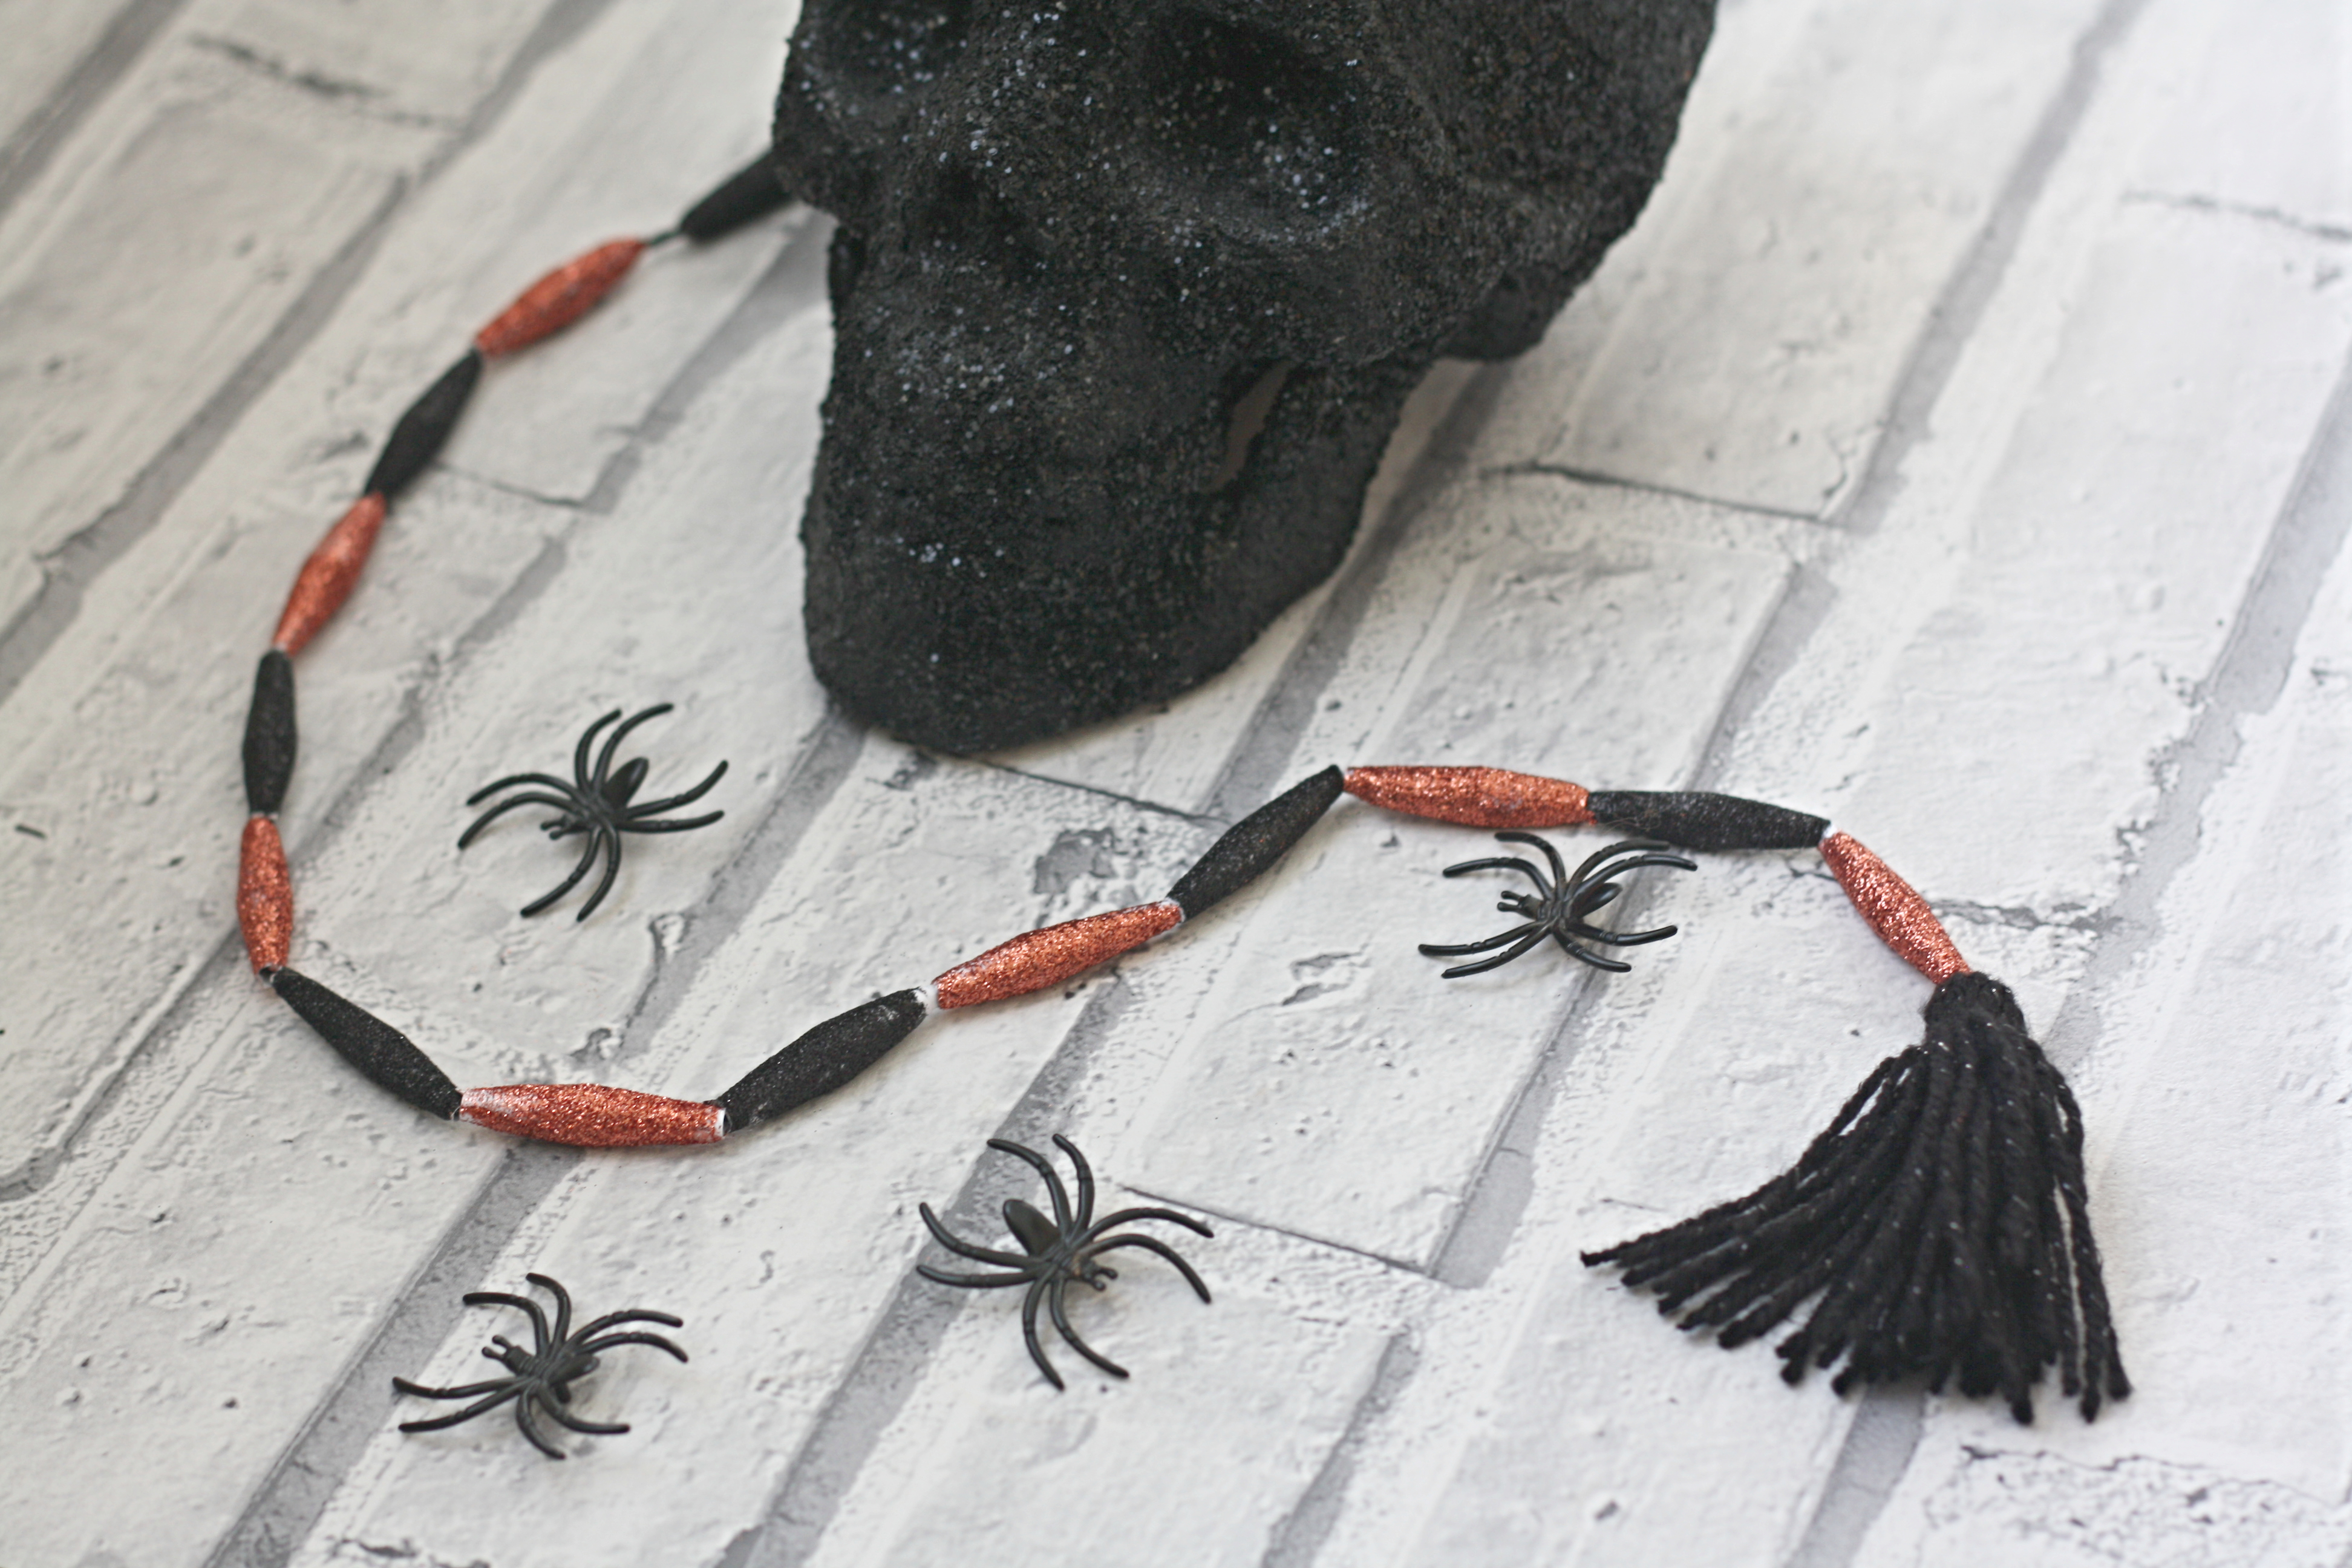
So what do you think? Like I said I will be using my garland as part of my Halloween decor which I will be sharing on Friday so pop back then to see it in place. Melinda from Simply Mindy also took part and you can find the link for her project below 🙂
Lianne x
Simply Mindy
Pin my Paper Bead Garland for Halloween to save it for later!

This looks fun to make, Lianne! 🙂 I think I could make this before our Halloween party!
Thanks for sharing.
Cheers,
Jessica