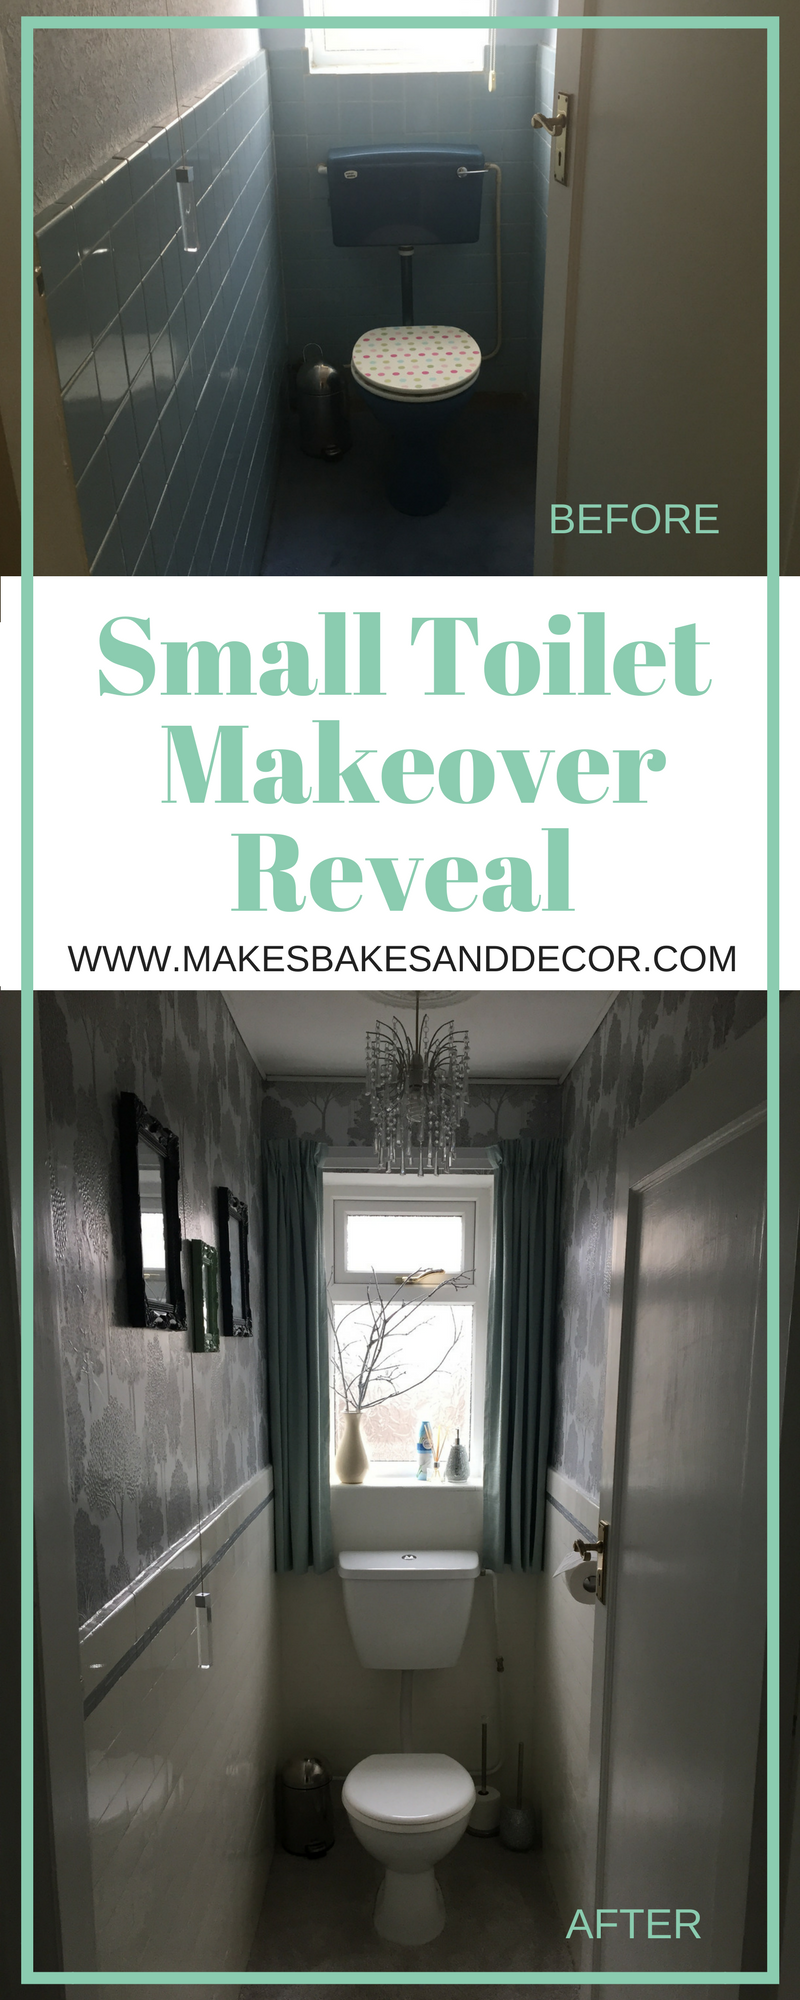
Welcome to the Small Toilet Makeover Reveal! We have lived in our home now for one year and 8 months and last week we finally, completely, 100% finished our first room! It was a very exciting moment for me when I placed that vase on the window sill and stepped back to behold the finished room. The room in question was the small toilet and it is the smallest room in the entire bungalow but we won’t mention that part. The finished room is completely different to how I thought it would be in the beginning, to explain why I will show you how the room looked when we moved in.
It’s not the best photo (I wasn’t a blogger then, I didn’t know I would need a good photo!), but as you can see the toilet was blue, the carpet was blue, the tiles were blue and it’s hard to see because of how the light is shining, but if you look at the window wall, yep, you guessed it, the walls were blue too! You need to remember that we only rent so we can’t really afford to invest money changing the fixtures and fittings. I thought that we would have to make the most of what was there and improve it the best we could. but then a couple of things happened.
My sister and her family came to visit and my youngest nephew picked up a rock that was used as a door stop and dropped it into the toilet! The whole bottom of the toilet cracked and it had to be replaced. With a shiny new white one! Also the stool in the picture got left behind the door, the door got opened, the stool hit the tiles and the tiles fell off!
That’s when we found these white tiles underneath! They weren’t perfect, they were covered in the adhesive that had been used to put the blue tiles up and the grout was dirty, but we scraped them clean, cleaned the grout and they looked ok. The blue tiles were all pretty loose and could easily pop off. Our choices were to fix the tiles that had come off, or to take all the blue tiles (which I hated and needed a lot of work and regrouting anyway) off not knowing what the condition of all the tiles underneath were.
So we did this! It took a lot of work and time to get the blue tiles off without damaging the ones underneath.
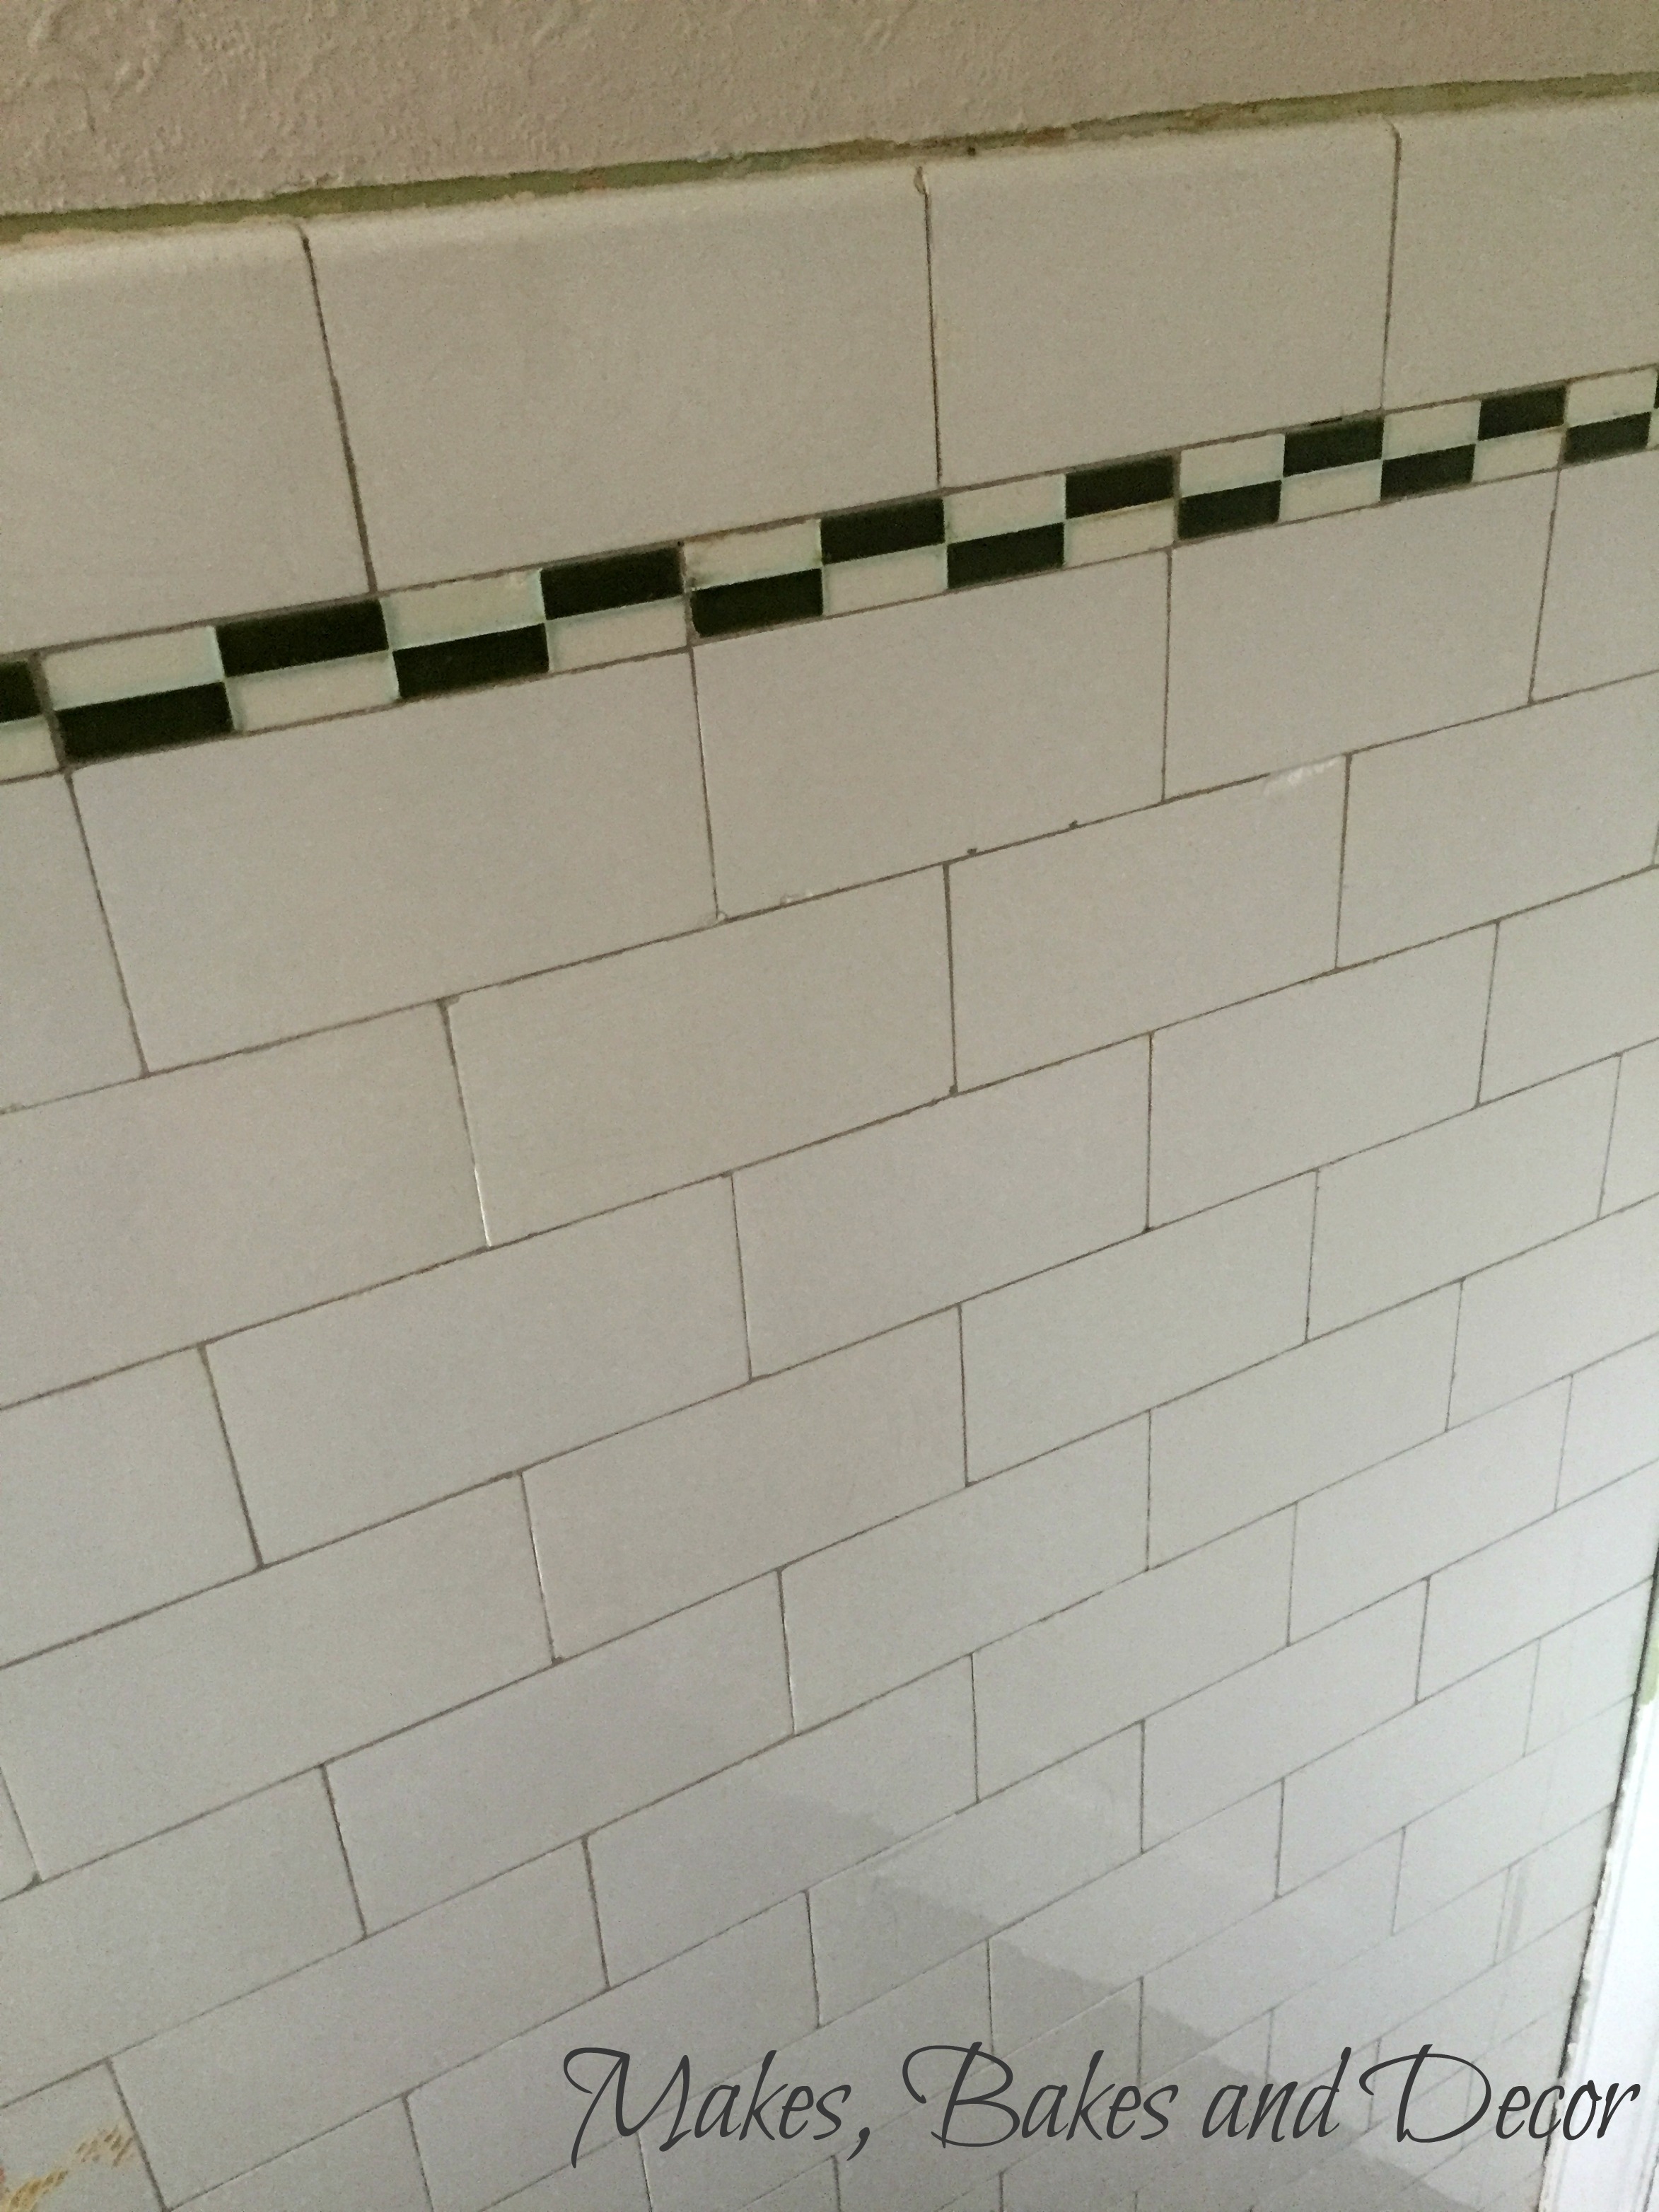
This is how they looked when we got them clean. We then filled any gaps in the grout and there were a couple of chips that needed filling.
Our next task was to paint the tiles using tile paint. I’ve used tile paint a few times before and I would definitely recommend it as a cheap and easy way to update tiles if you are on a budget. This is the one I used. You can see the difference above and that was only after one coat. After painting the tiles we stripped the wallpaper.
The picture above is the room stripped and bare with most of the tiles painted. This is where all the fun bits start. What colour did we want to decorate?! I had thought, when we moved in that this would be a make do room that I would never really like and instead I now had a blank canvas and could decorate it any way I liked.
I knew I definitely wanted a patterned wall paper as in such a small space it would be difficult to add many interesting features. I wanted the wallpaper to be the main feature of the room and work on the rest from there.
Are you ready for the finished room?!!
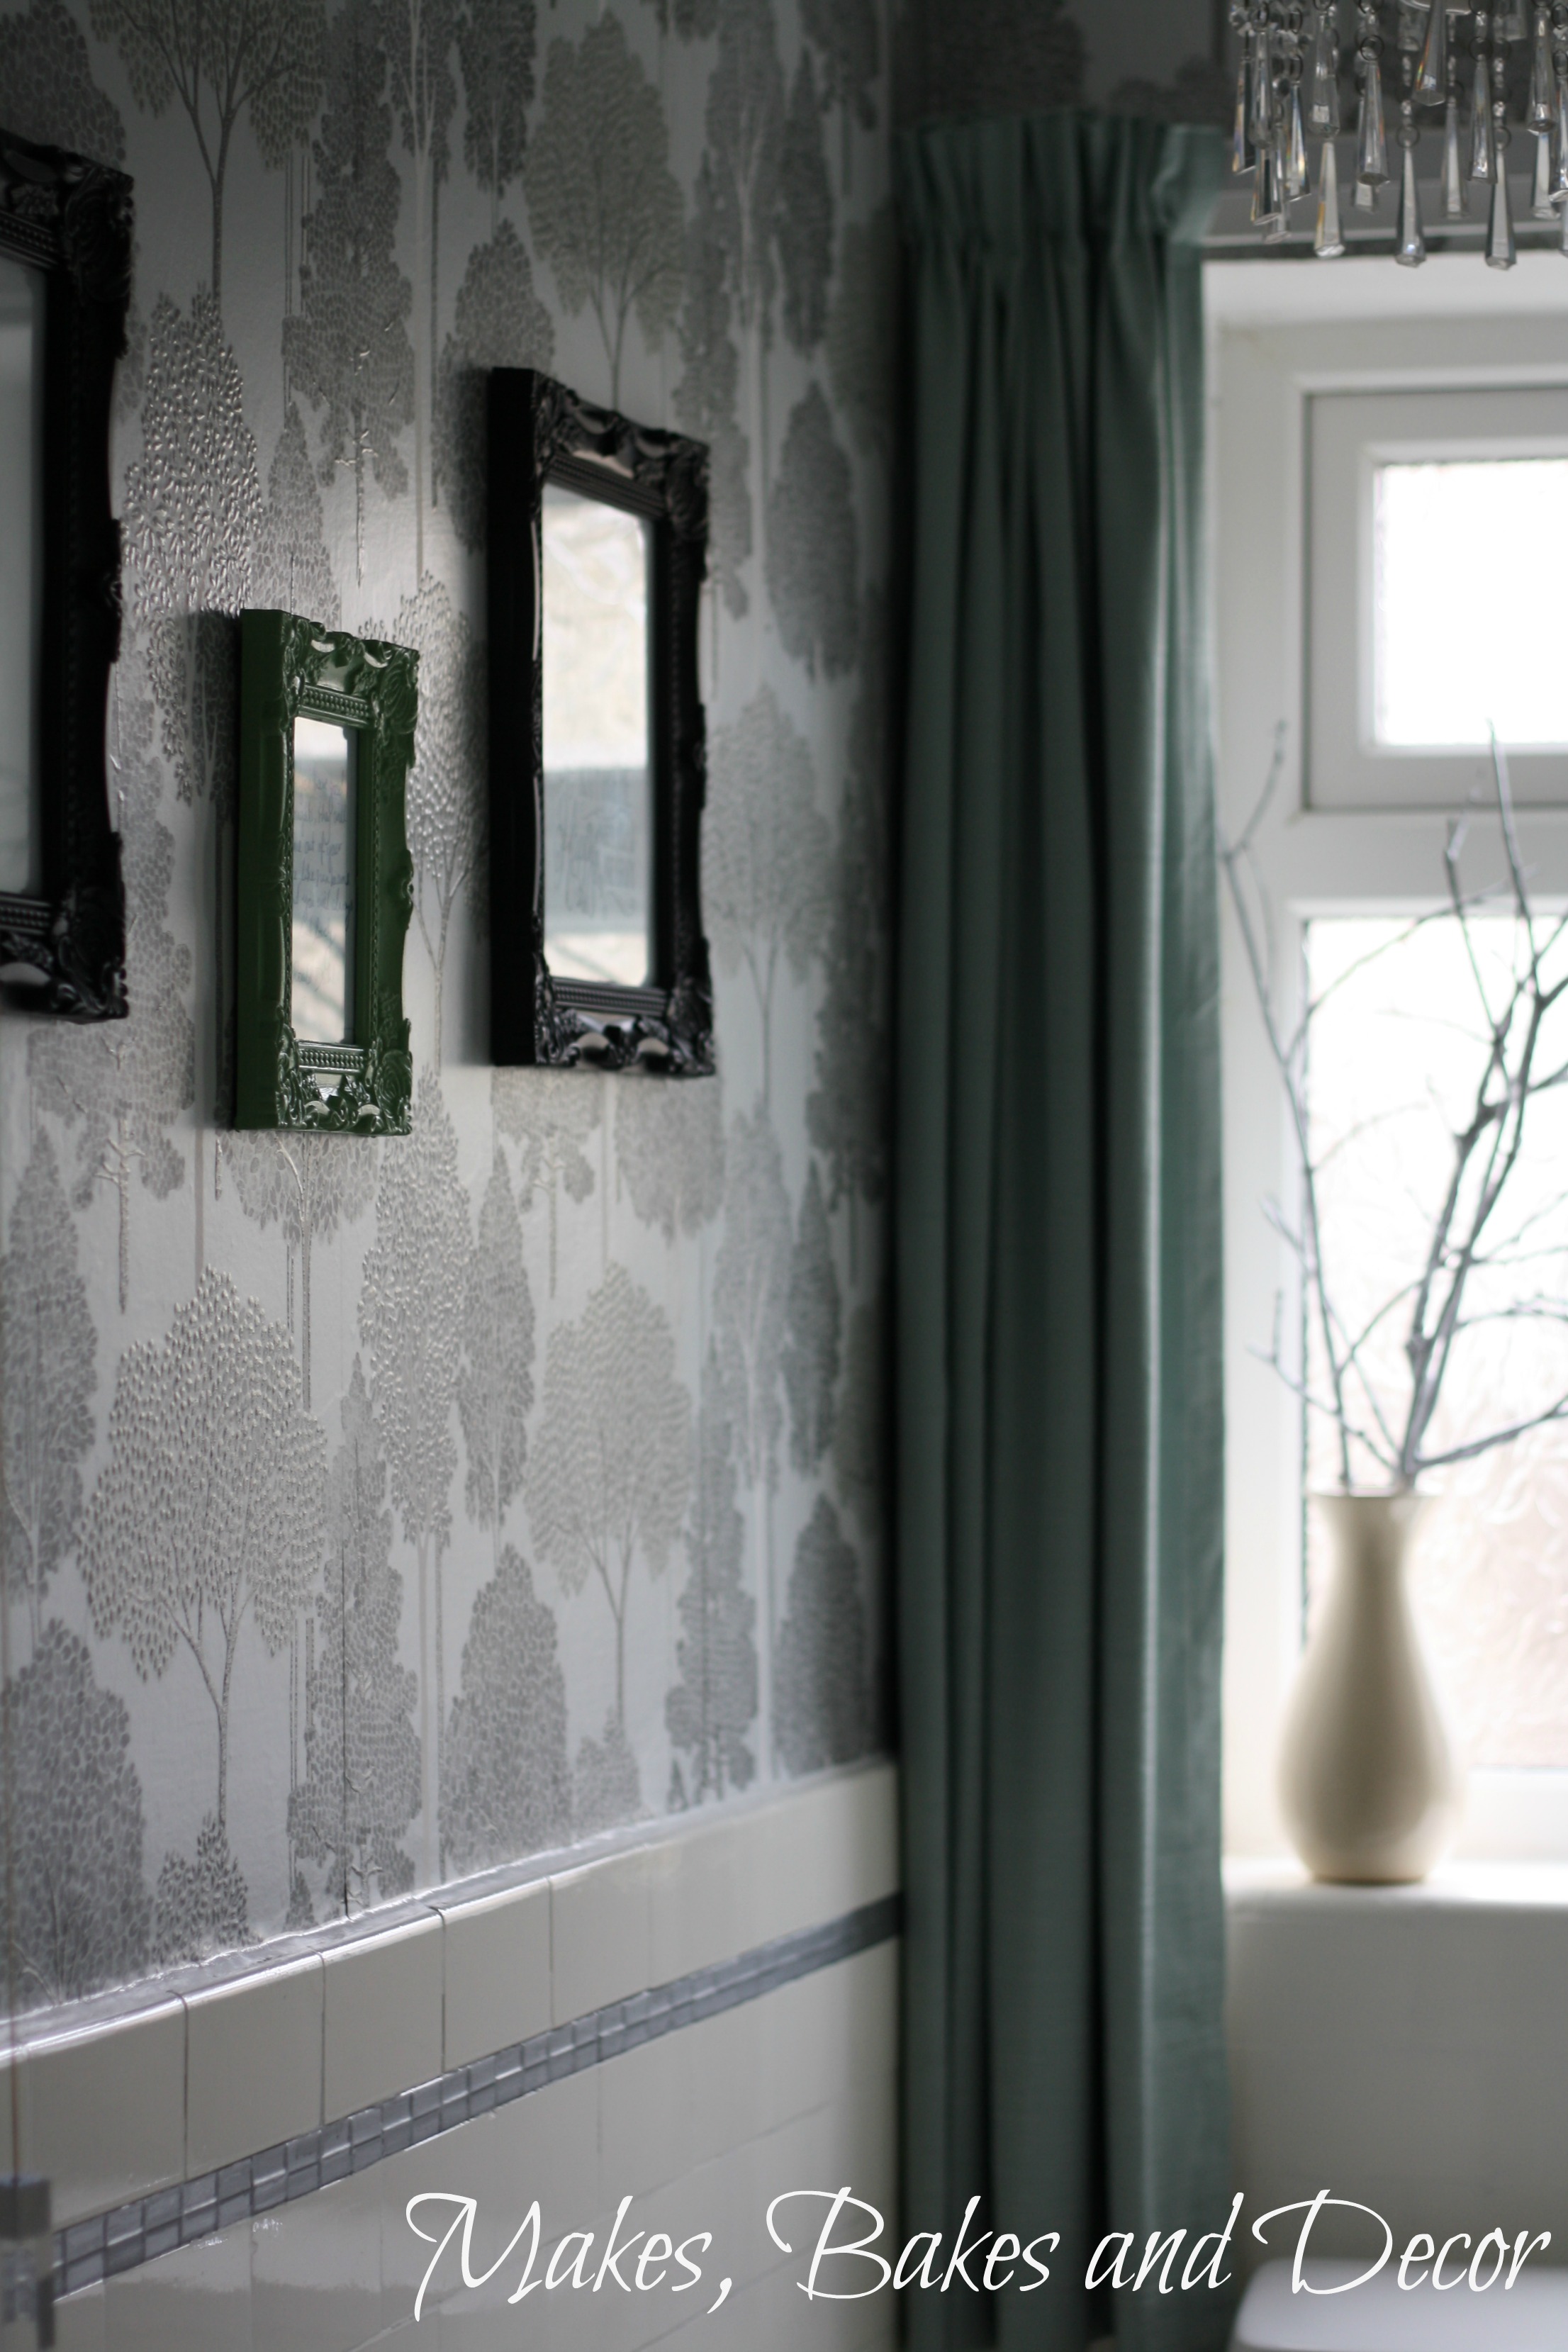
We choose this amazing tree print wallpaper from Wilko. It’s in shades of grey and silver and has silver glitter in it! I then decided to paint the small strip of tiles in silver to match it in.
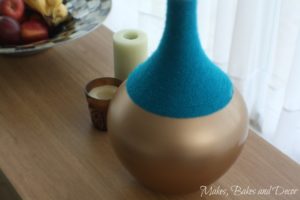
I wanted to bring some colour into the room with the curtains. We found these ones in Ponden Homes, I just love the colour and it goes great with the silver. I’ve had this cream vase for a while, it came from Wilko (it’s no longer available but they have this one that is similar) and unfortunately it got a hairline crack in it when we moved so I can’t use it for fresh flowers anymore but it’s perfect to hold the branches we collected and painted silver. The soap pump is filled with hand sanitiser as you have to go the bathroom next door to wash your hands, and sanitiser keeps the light pulls and door handles germ free! I love to use reed diffusers to keep my home smelling fresh, this one is from Tesco and cost only a pound.
The toilet roll holder, toilet brush and soap pump were all bought from Wilko. We were going to put lino down in here but as it was floor boarded it would have been a lot more work and we would have had to get someone in to lay it for us. So in the end we just picked up a carpet off cut for £20 that I laid myself. I love the light silver/grey colour and it’s really soft too.
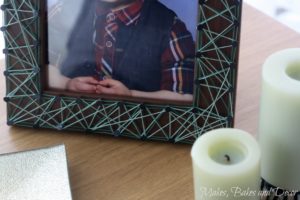
The photo frames came from Home bargains, £1.69 for the large black ones and 99p for the small one, which was originally red that we painted green to match it to the curtains. They just have printable quotes that I found online inside them.
The light shade came from my Dad’s house when he moved so it was a freebie! We added wooden doweling, that we painted white, around the ceiling edge, I think this just neatens things up and gives it a more finished look.
It was pretty difficult to photograph this room, one, because it’s so small and two, because the light in there isn’t great this time of year. Even so I’m sure you can see the massive change this room has undergone. I’m so happy with how it looks and can’t wait to get started on my next room! Let me know your thoughts and feelings in the comments section at the bottom of the page. I hope my post has given you a few ideas and tips for your own budget friendly home makeovers.
Lianne x
Pin Small Toilet Makeover Reveal to save it for later!
I find so much inspiration on Pinterest! Follow my Small Toilet | Brainstorming board for lots more ideas!
[bws_pinterest_widget type=”board” width=”360″ height=”60″ thumbnail=”60″ url=”https://uk.pinterest.com/makesbakesdecor/small-toilet-brainstorming/”]
Or just follow me! There are lots of boards full of decor ideas, crafts, DIY and recipes!
[bws_pinterest_widget type=”profile” width=”360″ height=”60″ thumbnail=”60″]
Here are some previous posts that I’m sure you will love!
Before and After Occasional Tables






Wow what a transformation! It looks so beautiful in there. Tile paint sounds like such a good option!
Author
Thank you! It’s great for those on a budget!
Woow what a difference, the toilet look so cozy and modern now! Well done x
Author
Thank you 🙂
This is awesome. You have done a really good makeover and it’s very inspirational. Thanks for sharing. We need to update our bathroom!
Author
thank you! hopefully it won’t take as long to finish our second room as it did this first one HA HA
Thats a wonderful transformation. It looks like some 5 star hotel restroom. Brilliant transformation.
Xo,
Shreya
Author
thank you so much!
The result is incredible. Well done.
Author
thankyou!
Wow’!! This looks great, so was the commentary.
Author
thanks!
Oh my goodness! What a difference!! Looks amazing!!
Author
thankyou!
Wow, such a beautiful change. Your hard work paid off!! Your finished bathroom looks amazing.
We just bought our house in September. We are still gutting places here and there – so I understand the constant renovations. I think that we will finally be fully done with all of ours next year. Sigh.
Home owning is hard. Lol. Once again – the bathroom is beautiful.
Author
Thank you so much 🙂 It’s hard when I know exactly how I want every room to look but I have to wait till we have the money and the time! ha ha
Hello Lianne, The toilet is looking so modern. It’s a great idea to make your toilet beautiful in your budget. Tile paint sounds like such a good option. I love your bathroom decoration and lighting. I want my bathroom like this. I love your blog. Thanks for sharing.
Can’t believe you found those stunning tiles underneath! That would have saved a fair bit of money and time.
We recently had our bathroom redone (https://dreamofhome.co.uk/2017/05/14/finished-bathroom/ ). It’s the only one in our house, so we needed it to be nice for guests as well as ourselves. We got there in the end!
I haven’t actually moved in yet, but I can’t wait to get plants for it, and other nice bits.
Author
Thanks so much! I was so happy to find those tiles! I’ll go take a look at your bathroom now! 🙂
That’s an amazing transformation. You surely put a lot of work in designing your toilet in such a small place. I wonder which toilet seat is that?
Author
Thank you! I’m afraid we didn’t purchase the toilet and seat ourselves so I don’t know what make it is.
How, gorgeous! I think that would be my dream style bathroom! You have great taste. Enjoy it!
Author
Thank you Jessi 🙂
The results are impressive! How long did it take?
Author
Thank you! It was a few years ago now so I can’t really remember but I would say about two to three weeks maybe to do everything. That would have been around work and being mum too though 🙂
Wow! Great work. I am impressed. Looks good!
Author
Thanks!
Great makeover! I love the result!
Hello Lianne, The toilet is looking so modern. It’s a great idea to make your toilet beautiful in your budget. Tile paint sounds like such a good option. I love your bathroom decoration and lighting. I want my bathroom like this I hope Tiling Services Baulkham Hills can do the same. I love your blog. Thanks for sharing.