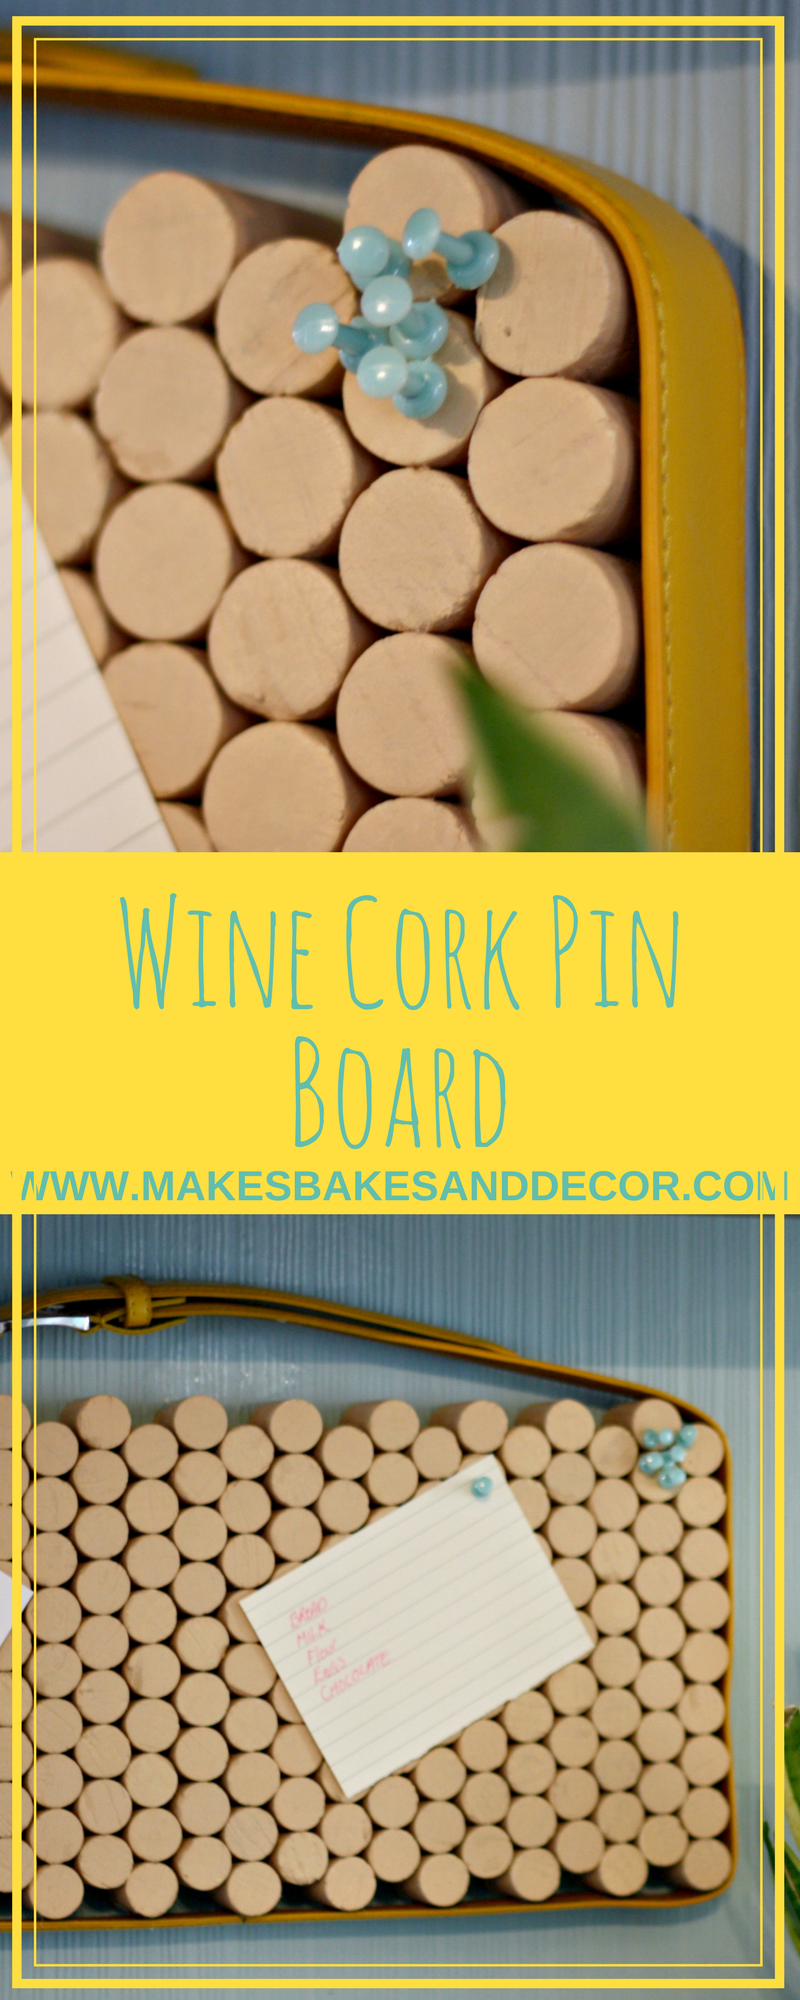
Once I started sorting out my work space (unusually for me) I wanted to finish it! One of the things I wanted was a Pin Board for notes and lists and somewhere to put all those scraps of paper I seem to have. I’ve seen lots of boards made from wine corks and I thought it was such a good idea that I made my own version. Here is my Wine Cork Pin Board.
This post may contain affiliate links, find out what that means here.
For this project I purchased new unused wine corks but using recycled wine corks would look great, it just depends on the kind of look you’re going for. I also purchased two belts to frame the corks as my Wine Cork Pin Board is approximately 20cm by 45cm so quite a size. You might only need the one if you were to make a smaller pin board or find a longer belt.
Here are the links for what you need!
For my 45cm by 20cm Wine Cork Pin Board I ordered 2 packs of corks (so I had 200 in total) and 2 belts. You will also go through quite a few glue sticks for this project so make sure you have enough before you start.
It’s best to plan out what you want to do before you get the glue out. I lined up my corks to see how many high and across I would need to get it the size I wanted. The picture above is how I originally planned to arrange the corks, which is why I say to make sure you know what you’re doing before you start sticking. I realised that I didn’t want those big gaps and decided to stagger the corks like in the photo below.
So now I knew that my board would be 9 corks high and 23 across I got my glue gun out.
Please excuse my complete lack of a manicure in these photos!! LOL. I just added a line of hot glue to one side of a cork.
Then stuck another one onto it. Keep repeating this until your row is the right length.
I made 23 rows of 9 corks.
I then stuck these rows together by adding a long line of hot glue.
Then holding another row on top until it’s set. You need to keep going until your board is done. This method will work for any sized rectangle or square board. If you wanted to make a round one you would need to start in the middle and work your way round and out.
Work out how you want the belt to go. Do you want a big loop above the board or a small one. I needed it to be small as I only had a small space for it to fit on my wall. Don’t worry too much as you will be able to tighten it by the buckle later on.
Start to stick the belt to the outside edge of the board.
Add some glue than hold until it’s set, Keep going until you get half way. PLEASE NOTE IF YOU ARE USING TWO BELTS ONLY STICK AS FAR AS THE MIDDLE OF THE BOTTOM OF THE BOARD.
Do the same thing on the other side with the other belt only this time start sicking at the hole end of the belt not the buckle end. You will get to this point where you have the two belt ends at the bottom. Cut the belts so they meet in the middle at the bottom.
Use hot glue to join the ends as neatly as you can.
I used some strong tape on the back to give the board more stability. Buckle your belt and your board is finished and ready to hang.
It fits perfectly in the spot that I wanted it for! If you want to see the rest of my office area check out my Personalised Office Supplies post.
Lianne x
Pin Wine Cork Pin Board to save it for later!


I really liked the idea ☻♥
Author
Thank you!
Love this! Love the use of the belt. Visiting from Link It Up Wednesday party.
Author
Thank you for visiting, I’m so happy that you like my Pin Board 🙂
Oh wow, what a cute idea. I love the final look and the belt is a really nice touch!!
-Lauren
#linkitupwednesday
Author
Thank you! I’m really pleased with it so I’m glad others like it too! 🙂
Okay, so this is officially my new favourite craft idea. Love the use of cork and the fun pattern it creates. I’m going want to try this – or something similar. Thanks for the inspiration!
Author
Thank you so much! I’m so pleased with my finished project so I’m glad others like it too! 🙂