Hello! I hope you are all well, time seems to be flying by and I can’t believe that we are in May already. This is a busy and exciting month for me so it’s sure to go by fast too 😀 Today I’m sharing the Neutral Landing Reveal or at least part one of it as I have concentrated on the section immediately as you come up the stairs.
This post contains gifted items and affiliate links, find out what that means here.
It isn’t a massive landing but the reason I have broken it up into sections is the banisters. Because we are sanding them back and staining them, it’s a long and time consuming process that feels so much more manageable this way.
So the hallway and stairway is already painted and decorated and I know that I haven’t shared that on the blog yet and it’s a post that I need to get photographed and written up soon! The same colour we used in the hallway will be continuing on the landing and all the way up to the top of the house.
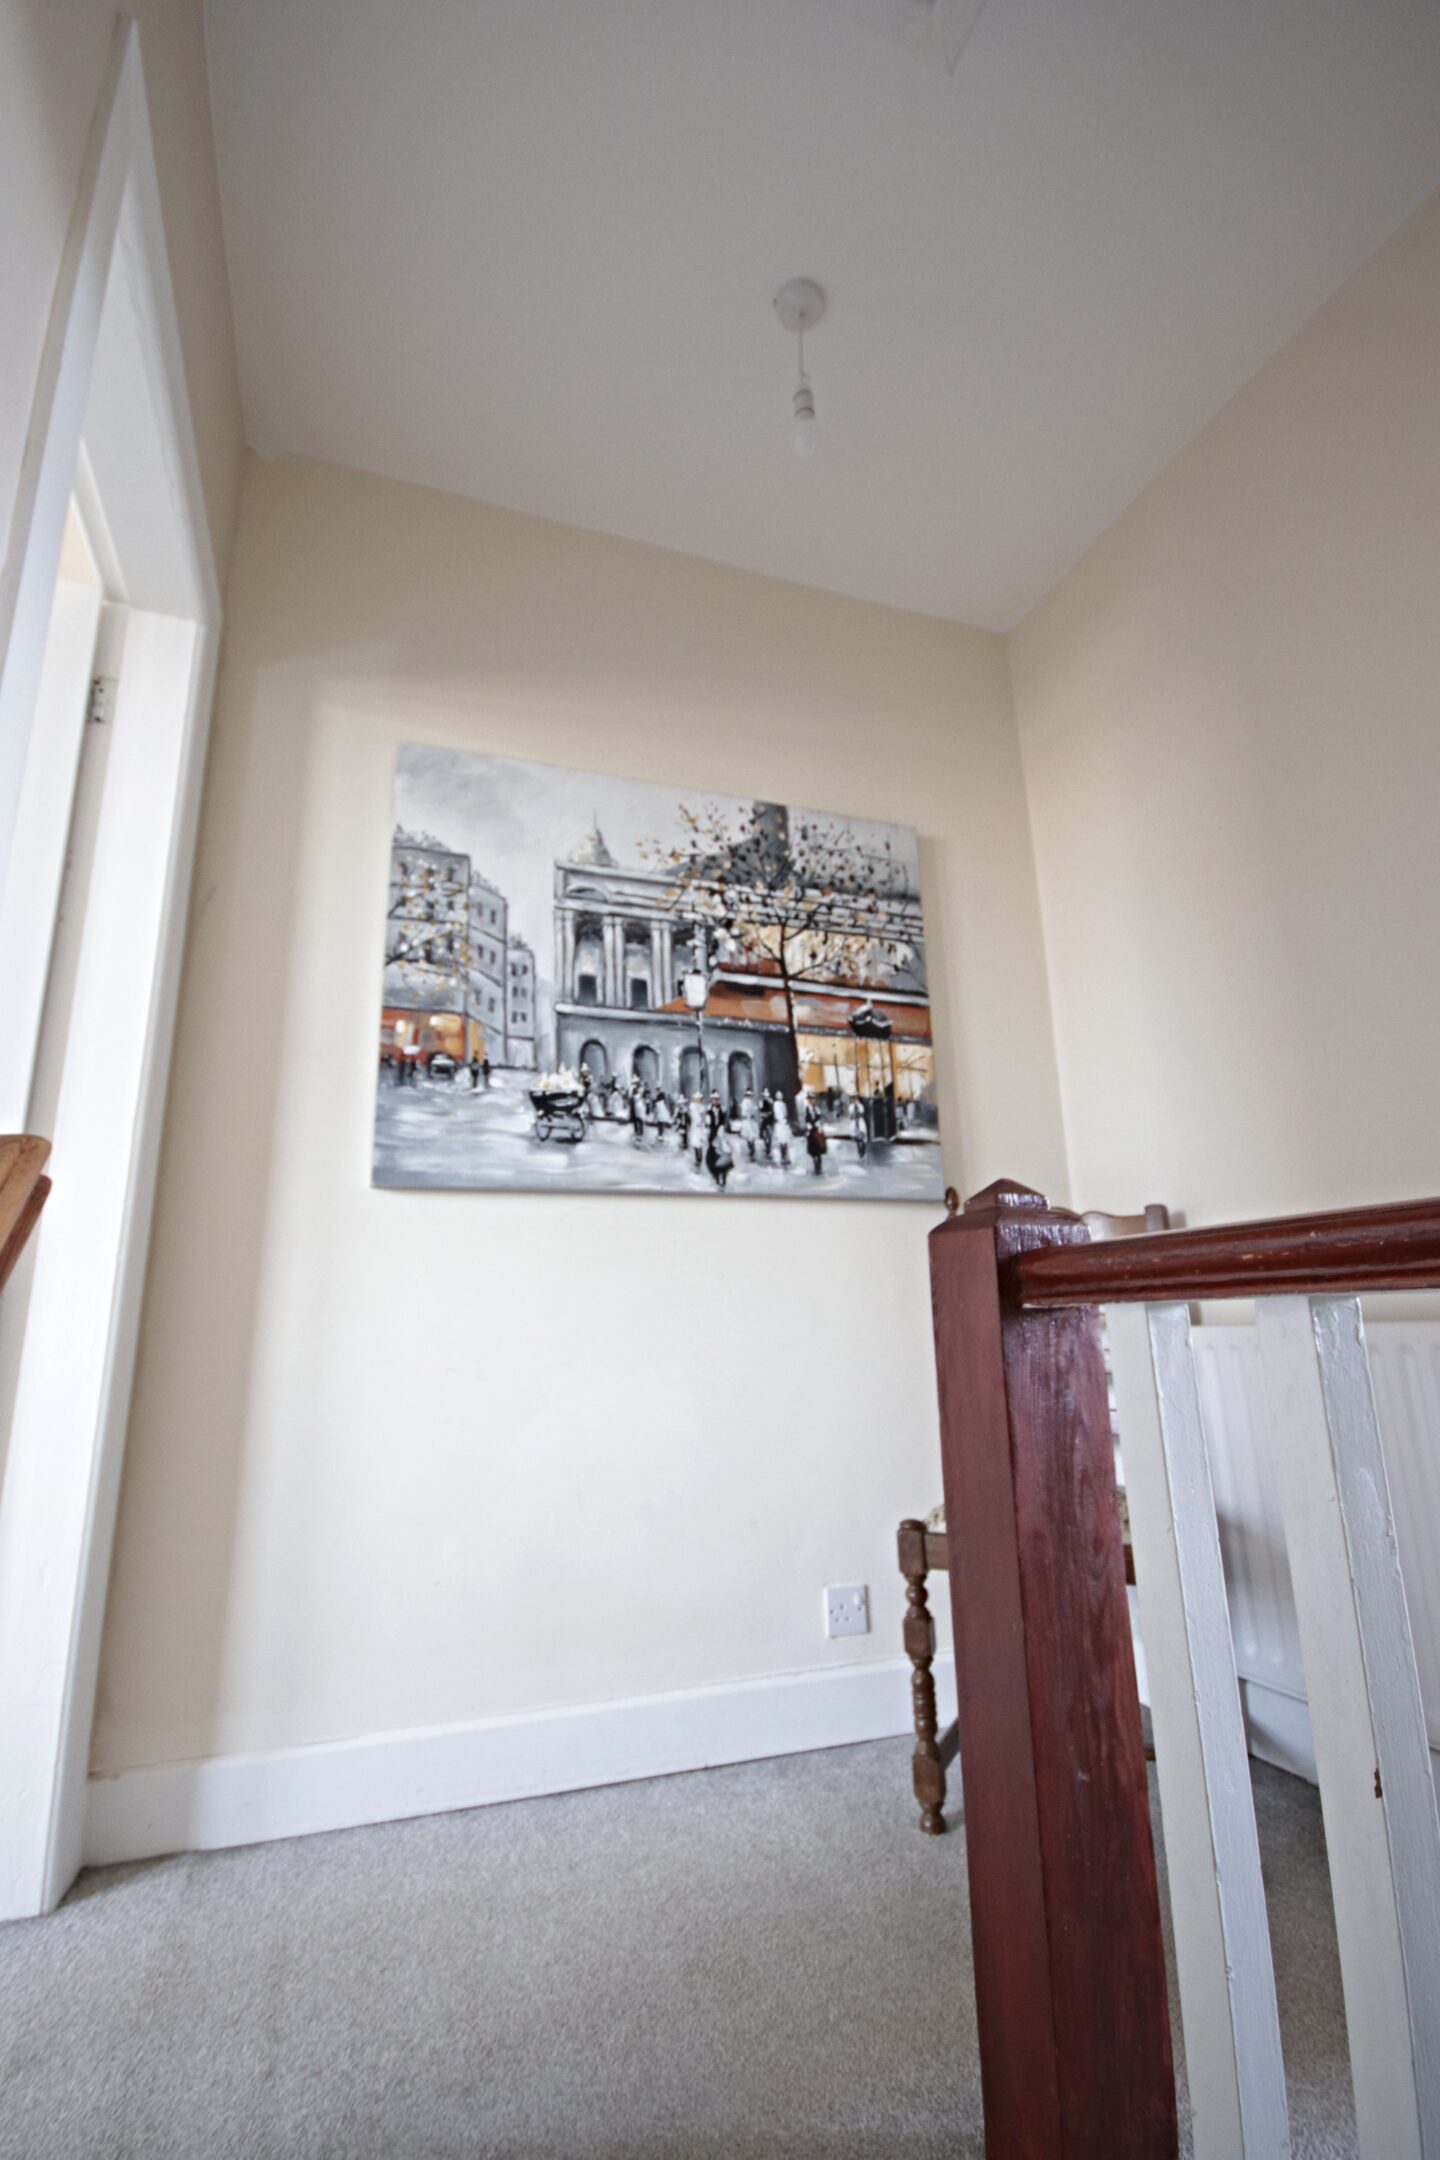
This is the before picture of the landing that I’m sharing today. You might have seen this area before as it was included in the upstairs home tour. My thoughts about the before? The skirting needs fixing and the banister sanding. I do not like the red varnish at all! The walls needed painting and more decor adding to make it feel put together and less neglected.
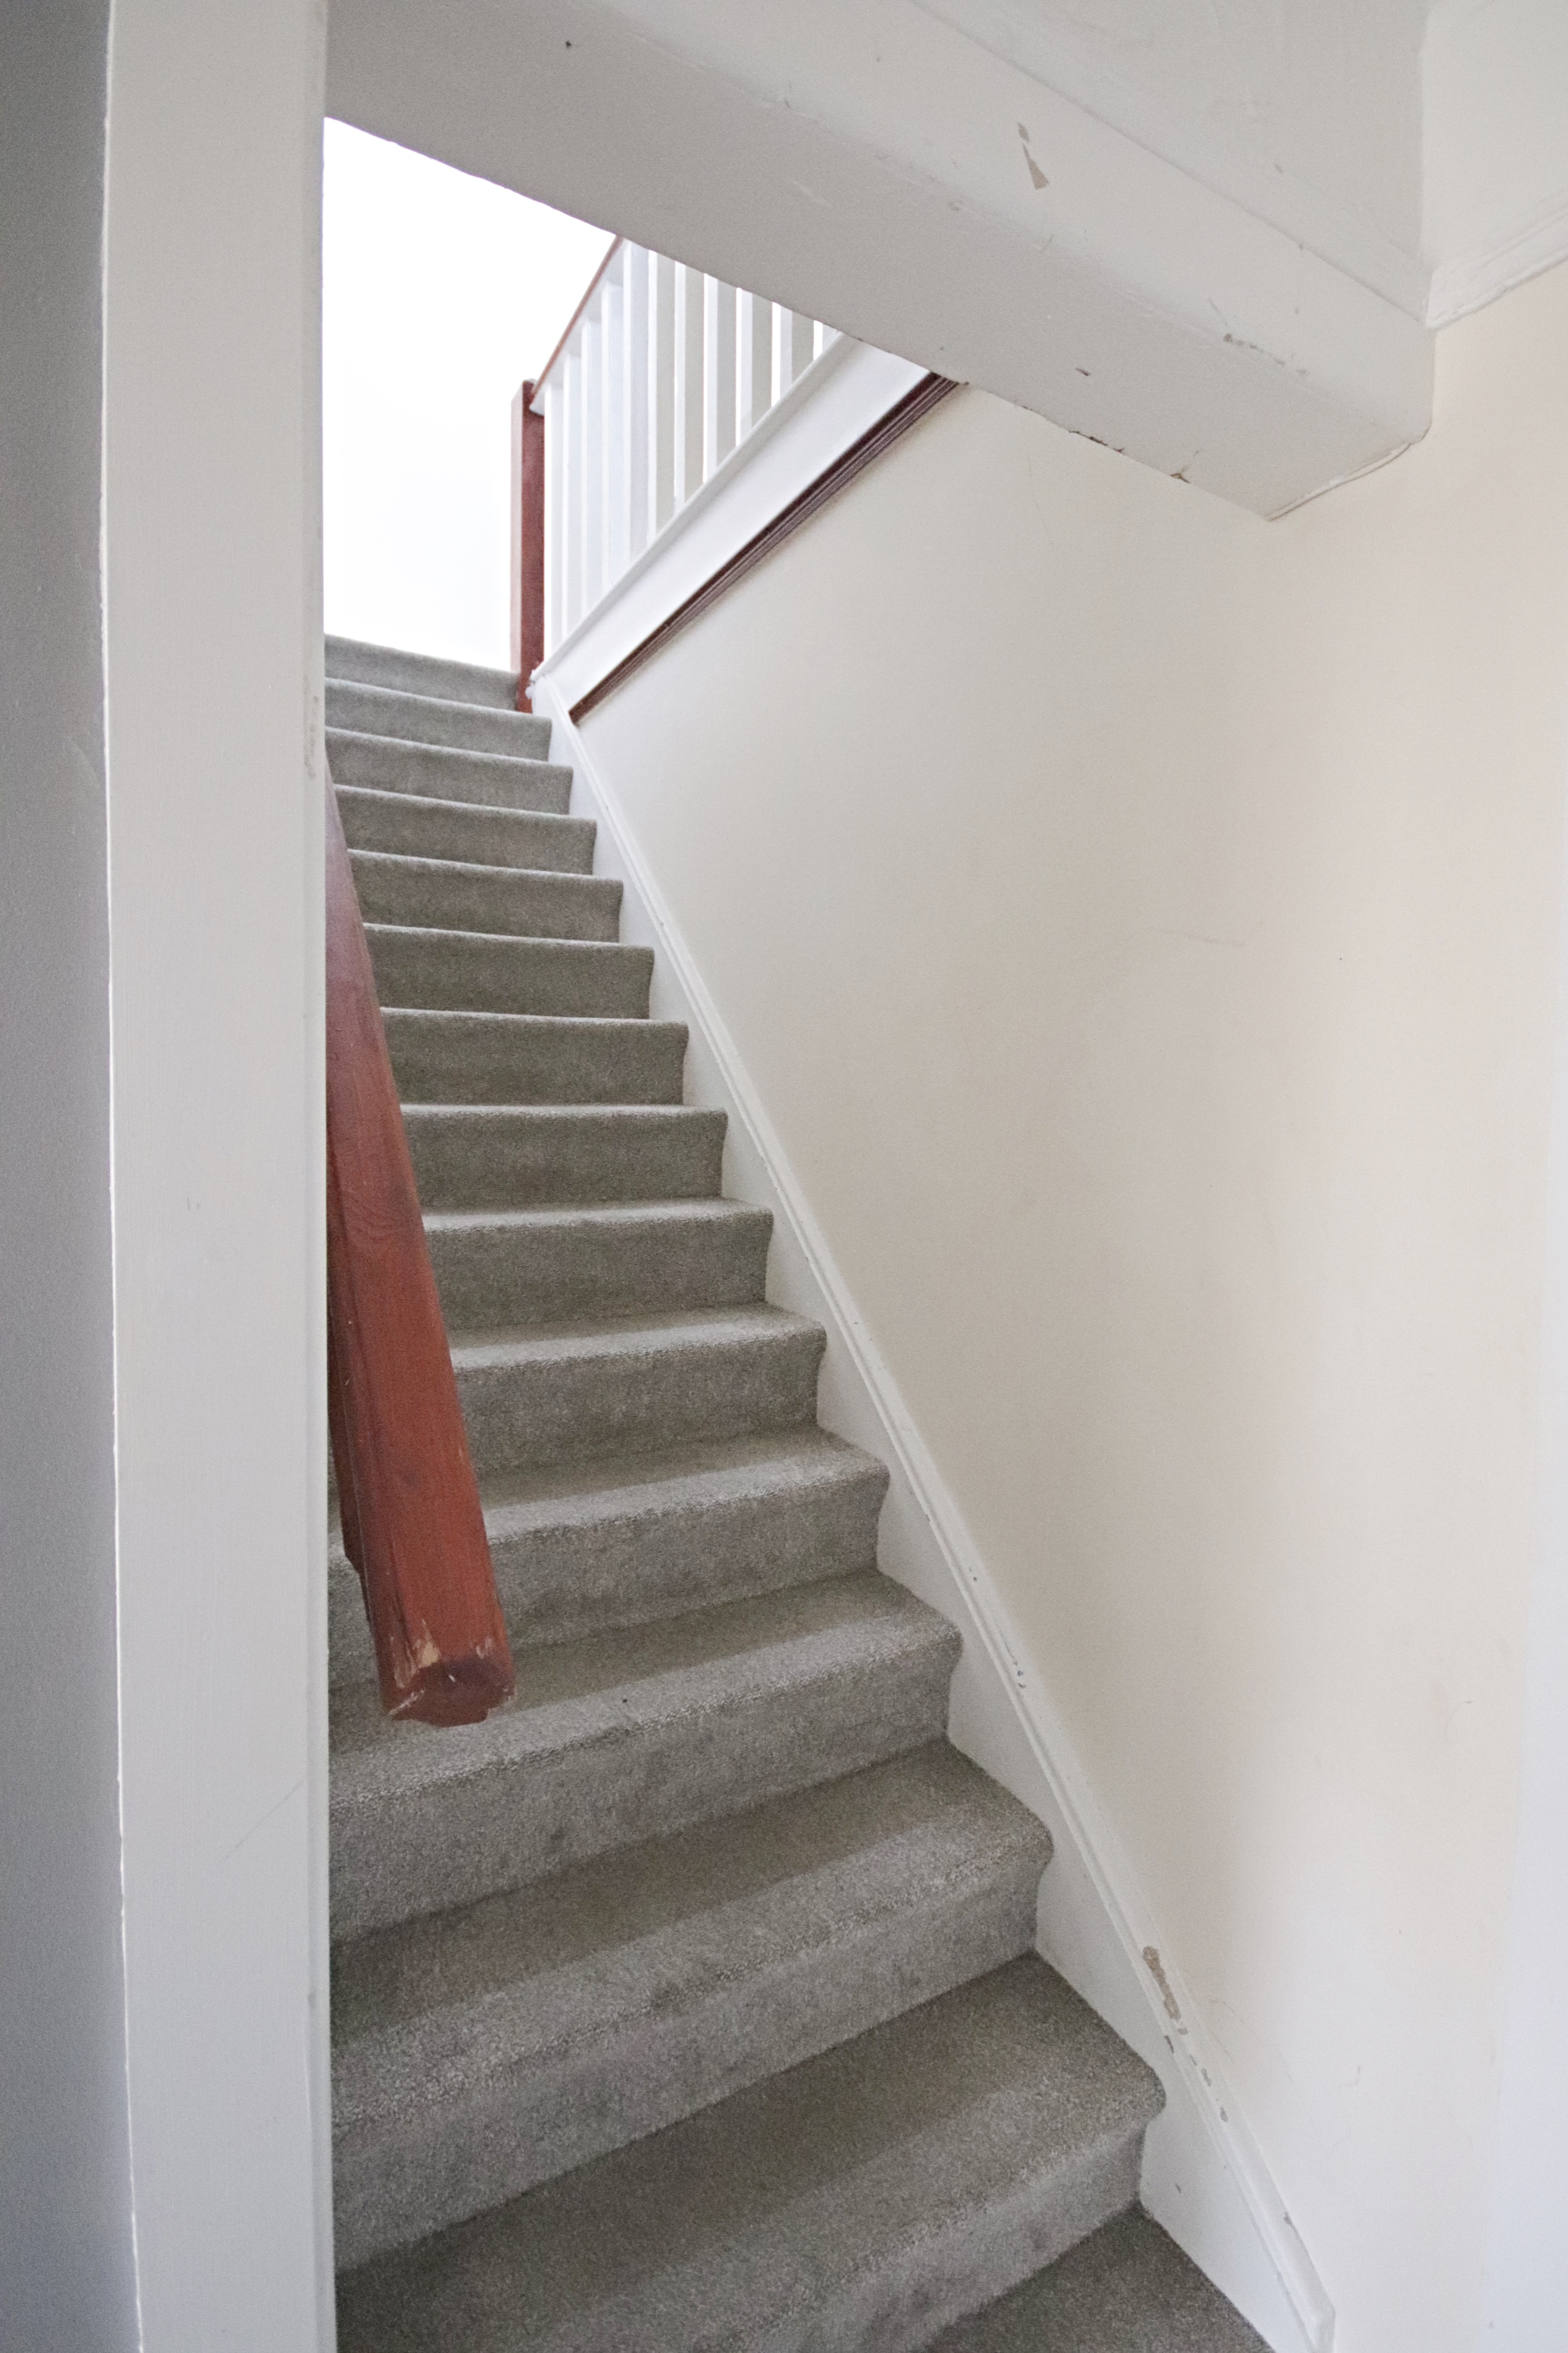
Although this picture is more of a before of the stairway I’ve included it as you can see the underneath of the handrail on the banister at the top of the stairs. For some reason, although the actual rail is in the red varnish the underneath was painted in the white like the spindles.
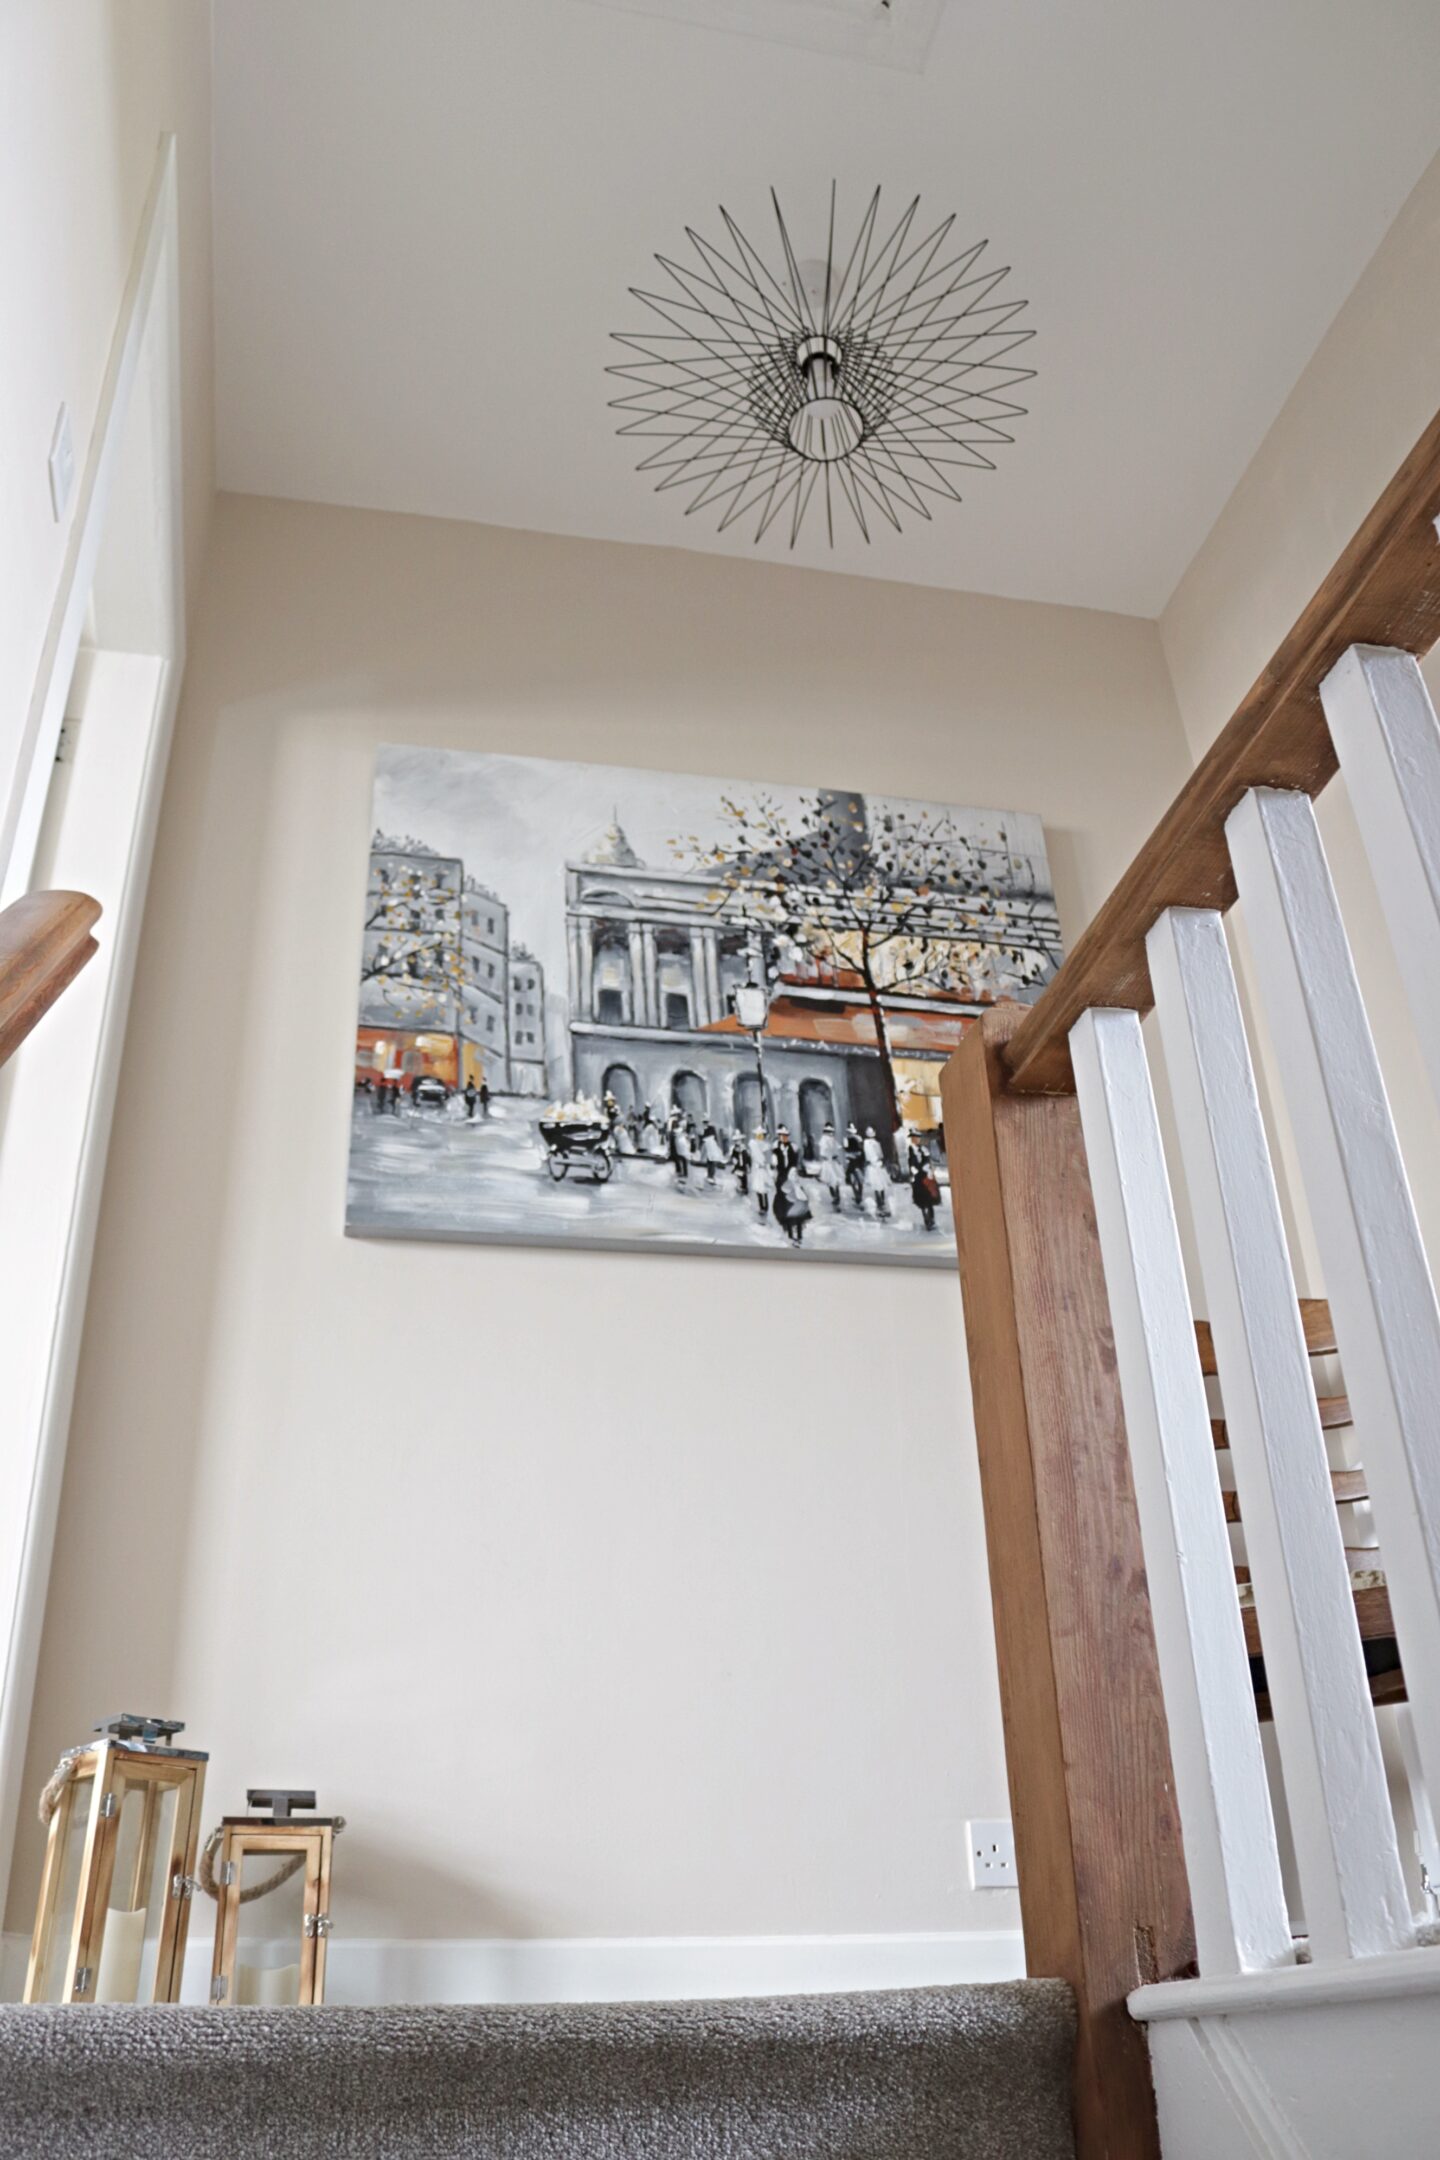
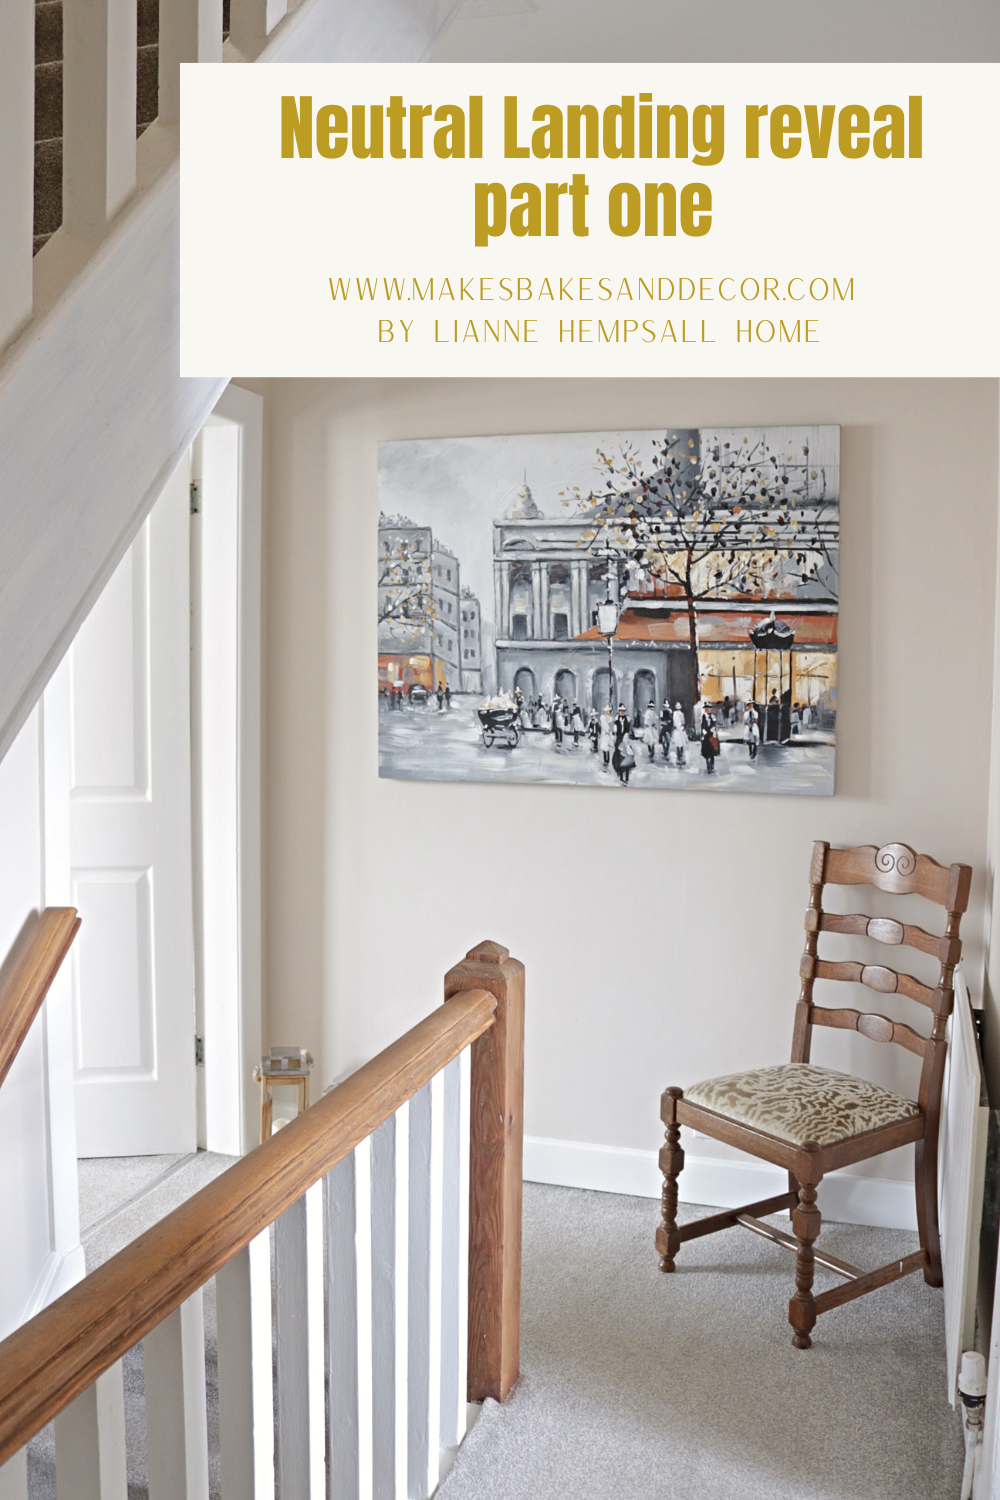
And here is the after! The differences are much more obvious in real life but the first job was to fix the skirting board. I removed the old caulk, re-glued it to the wall and then used filler in the gap. The paint we used on the wall is Natural Hessian by Dulux. Again, not a massive change but the tone is much warmer than the magnolia that was there before and also the wall before was marked and scuffed.
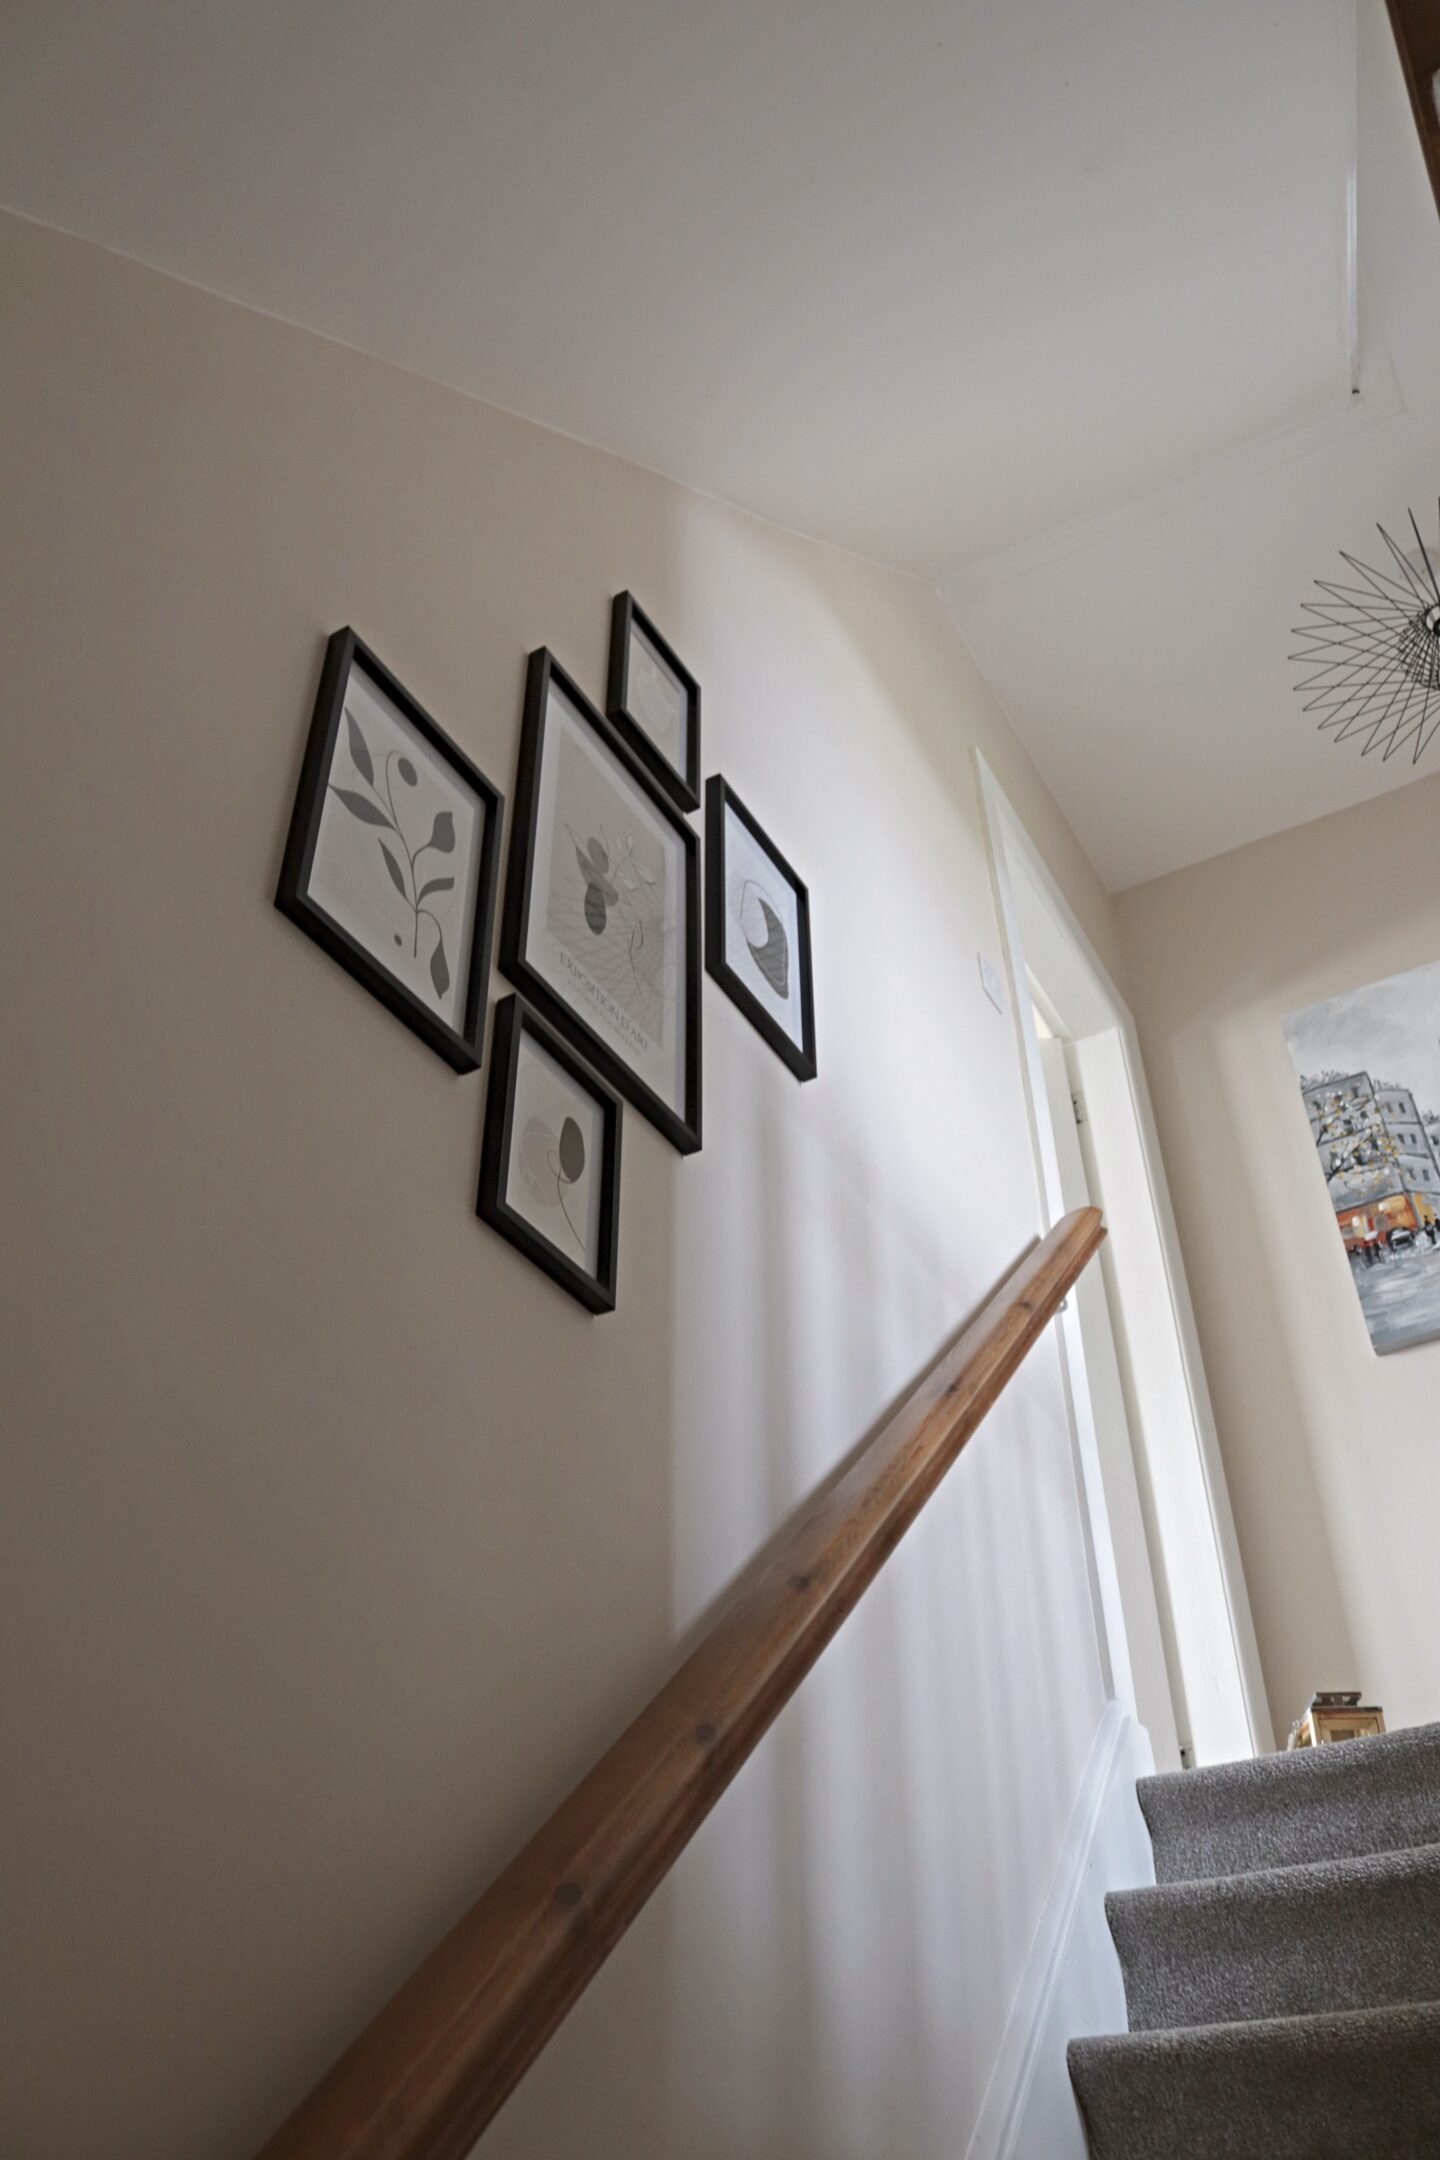
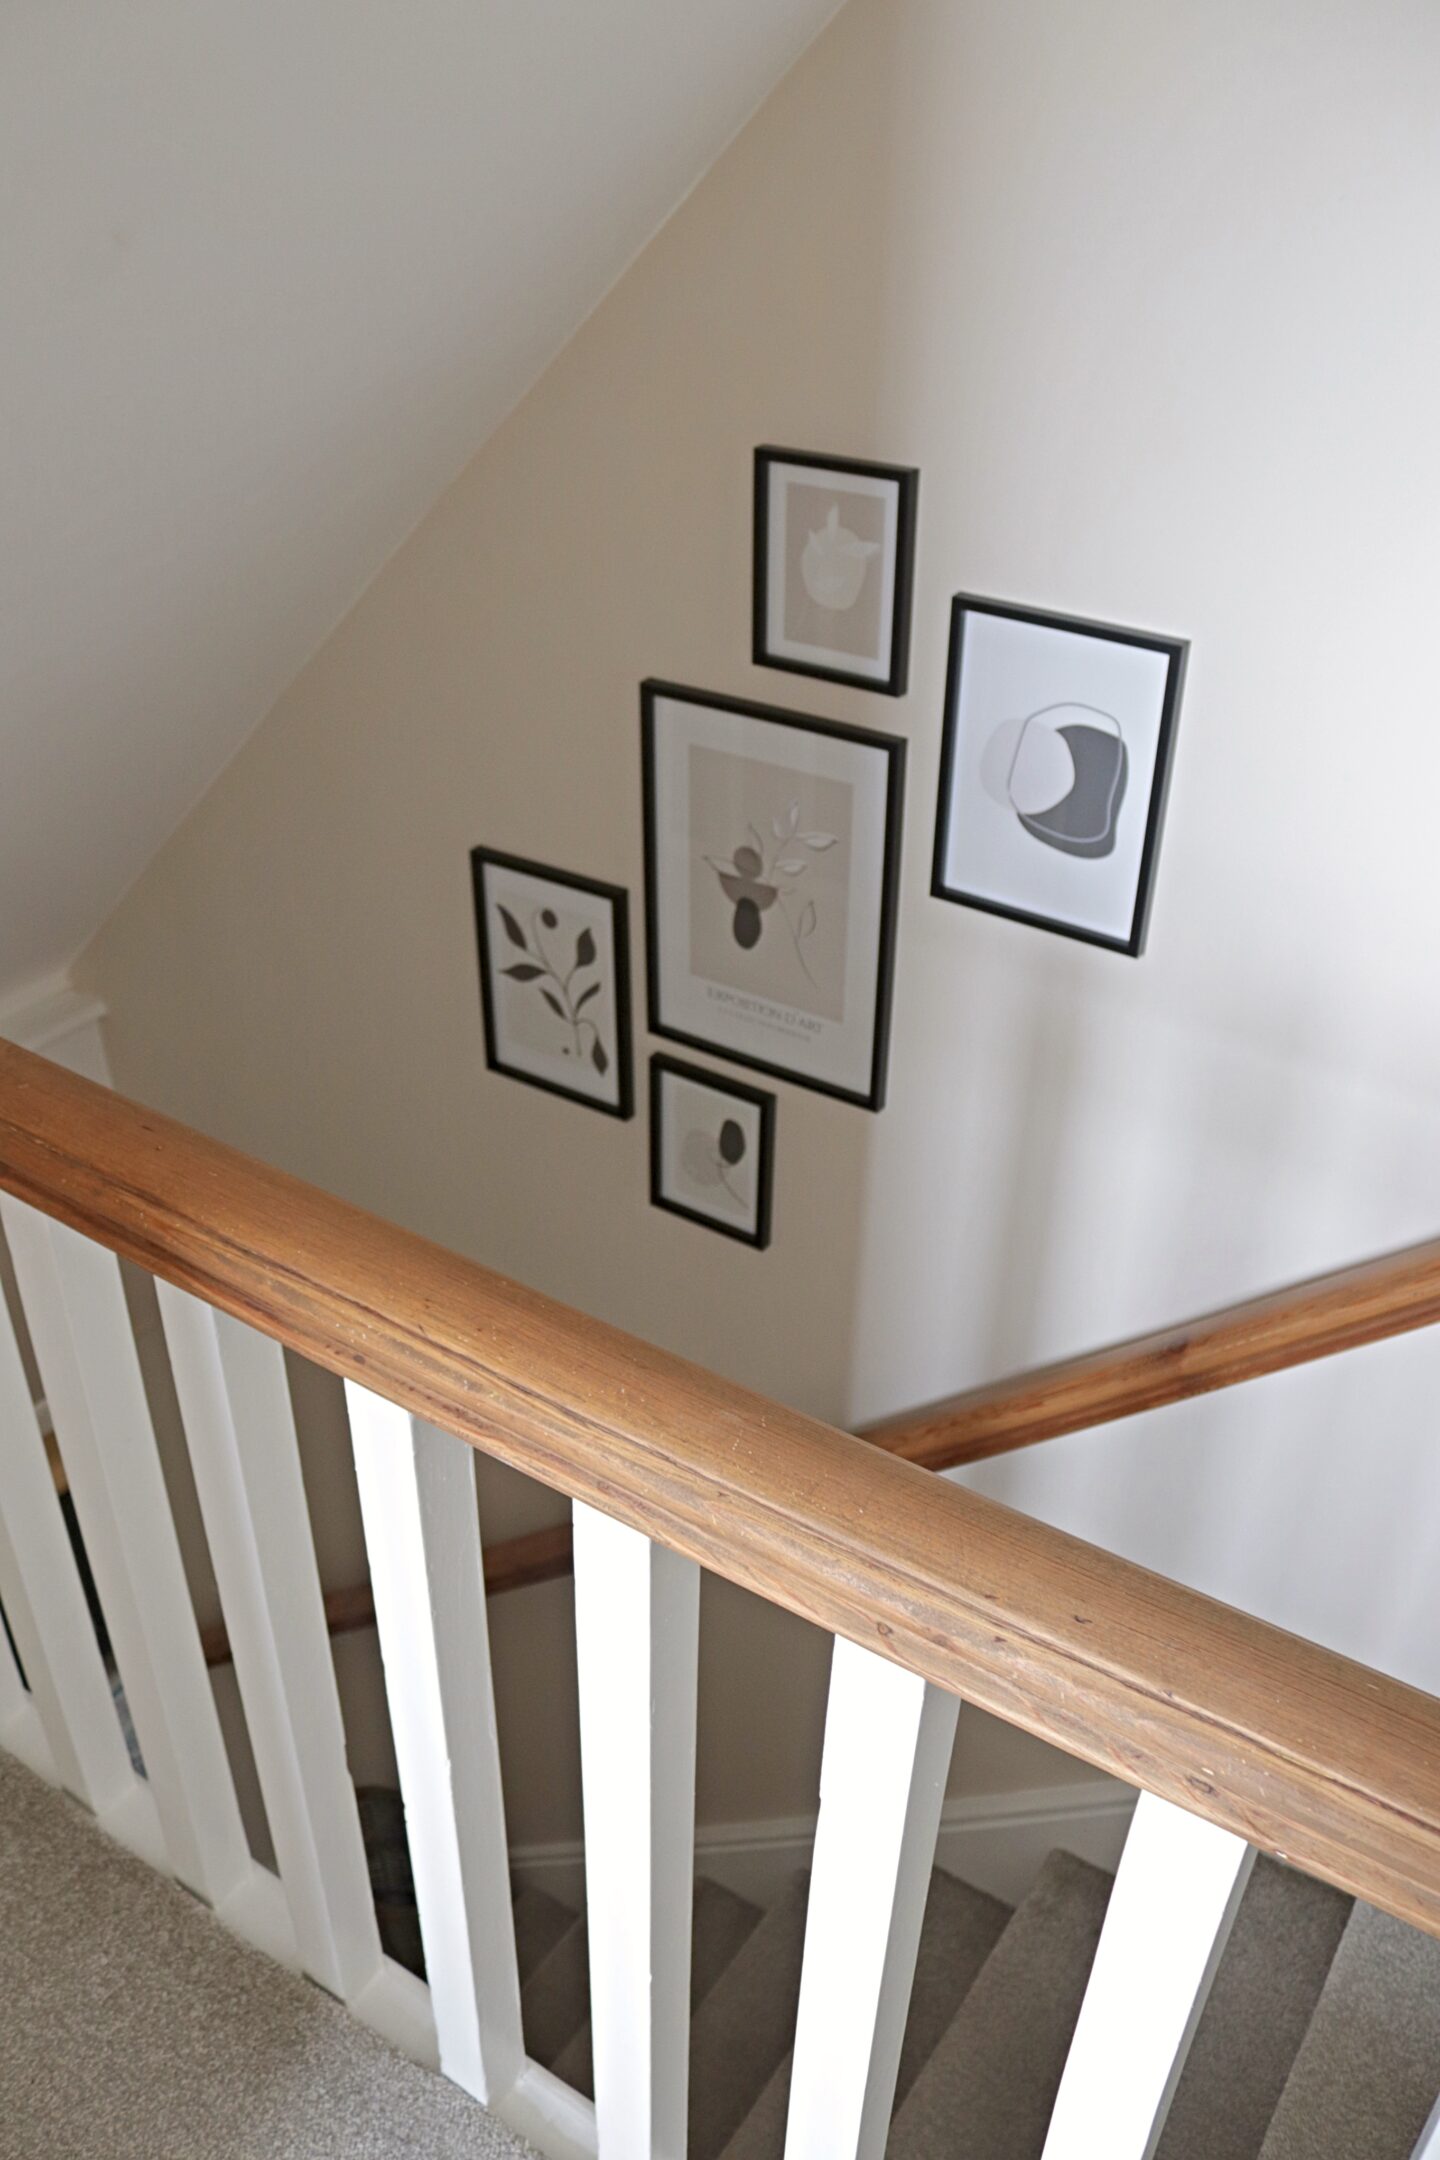
This set of prints was from George at Asda and was just £20 for the set which I think is a great price. They make the stairway feel more finished and as a gallery wall we can add to it in the future if we choose to.
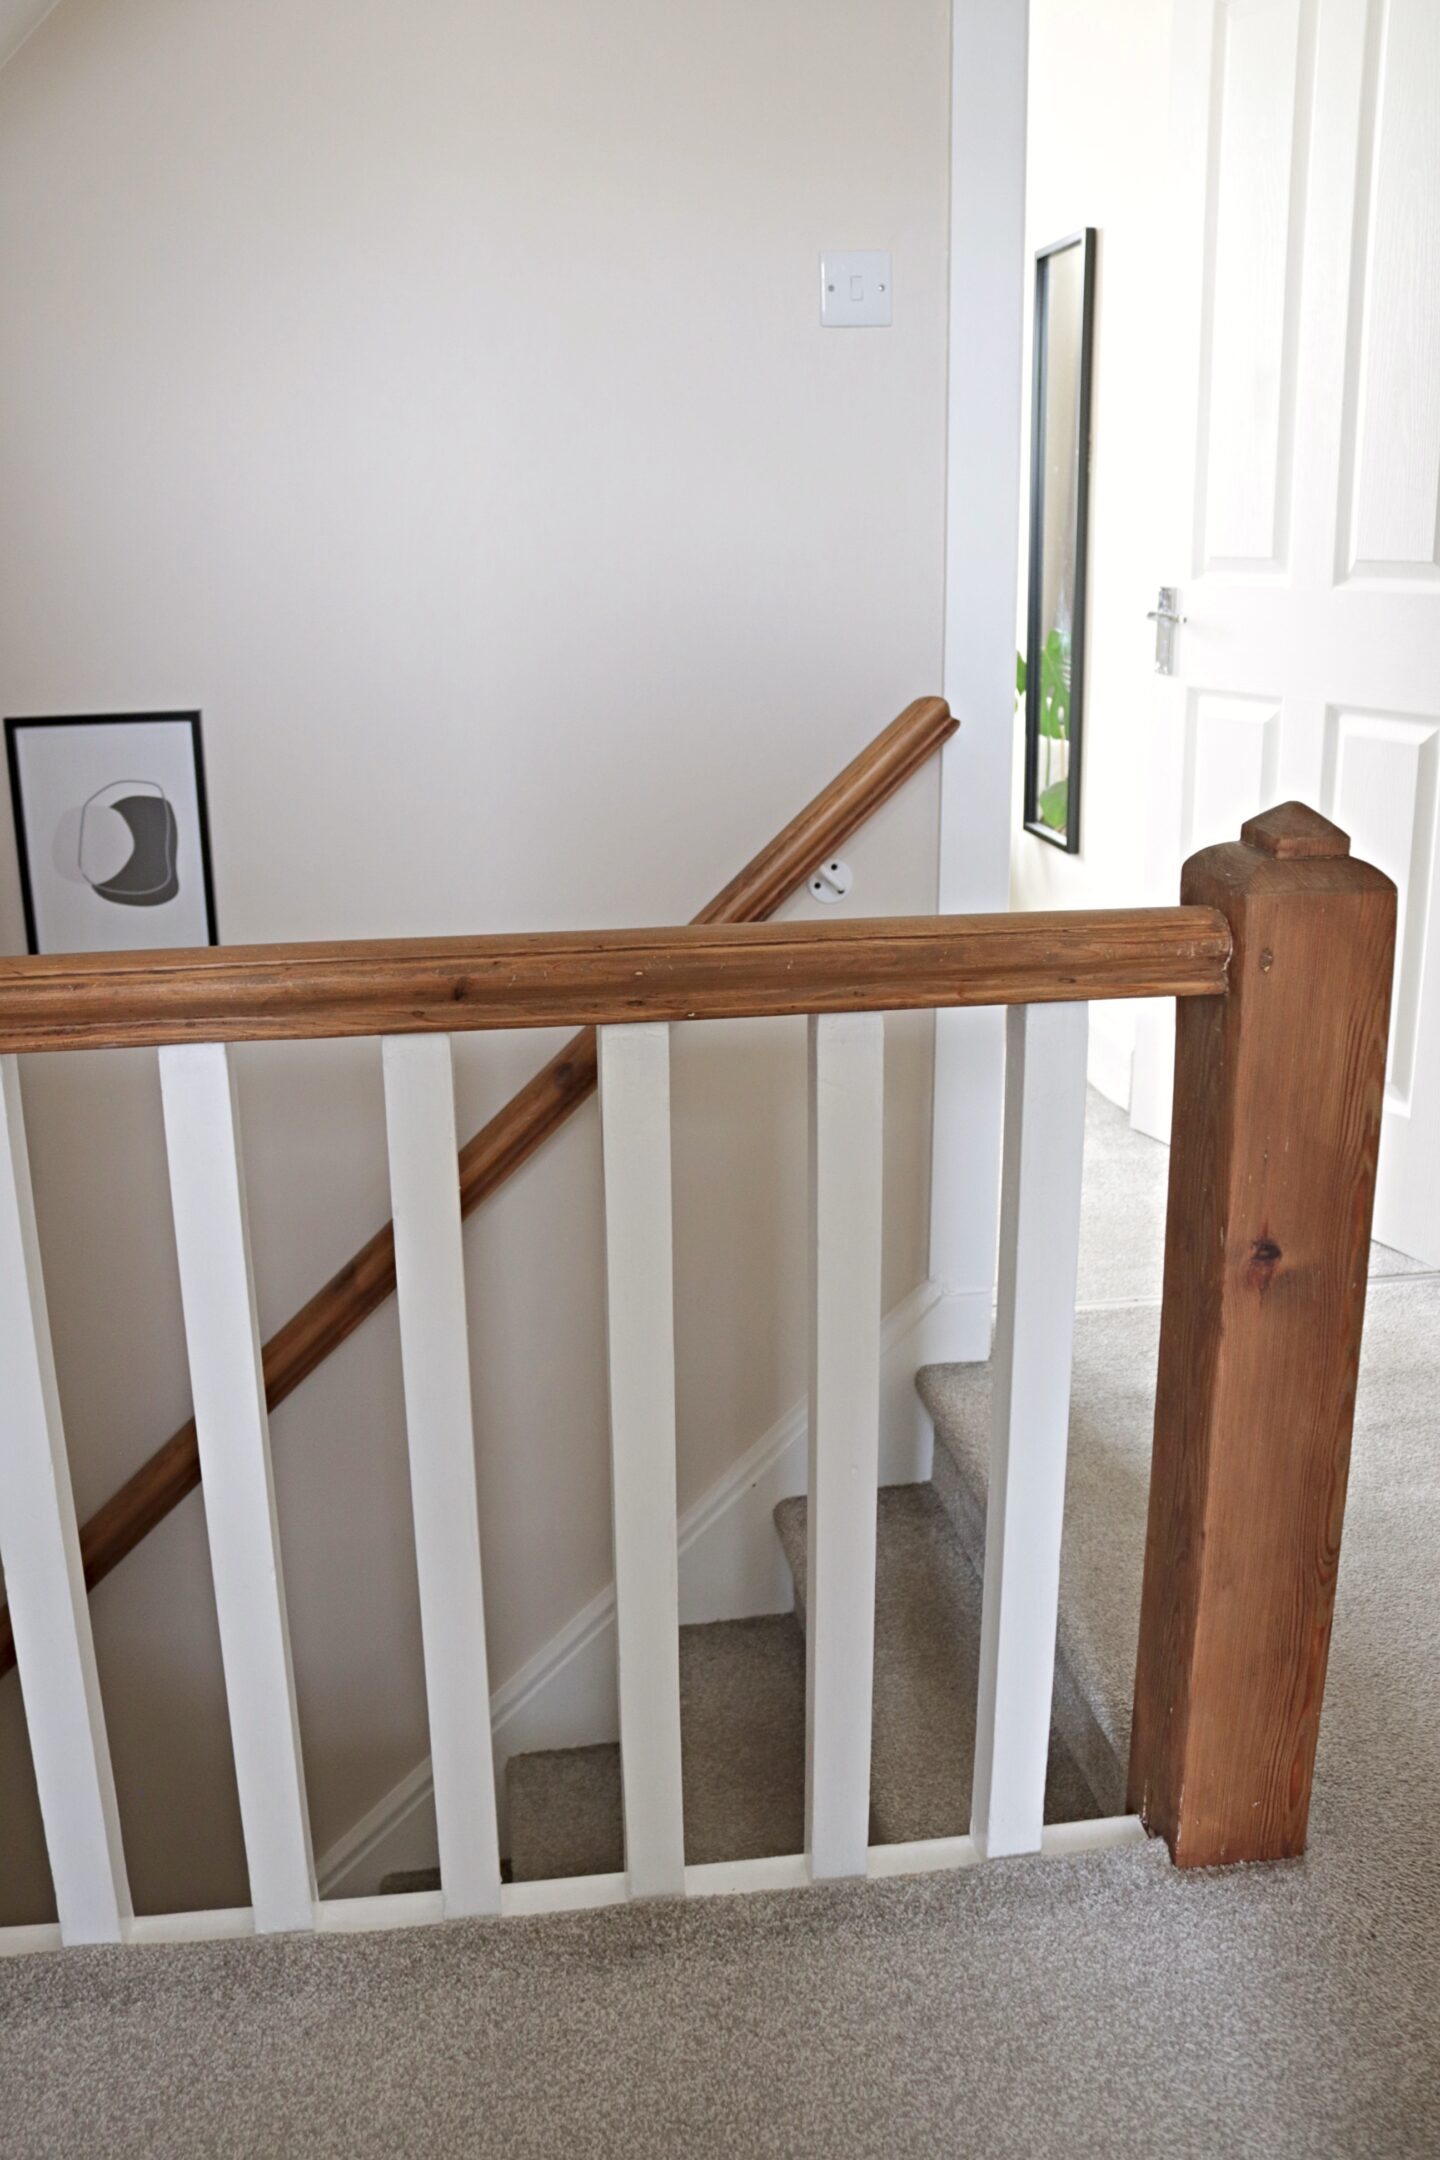
The biggest change is of course the banister and I am in love with it now! It took so much sanding and I questioned my decision to start this many times but it was all worth it. We first used a varnish stripper to remove the majority of the red varnish and white paint from underneath the handrail. Once most of it was removed it was then onto the sanding. I used a mouse sander and started with 40 grit pads. It was the kind of job that you have to keep coming back to and that you think will never be done 😀 I also sanded the spindles but I didn’t need to take them back to wood as we knew these would be repainted in white.
Once fully sanded I used a medium oak stain on the post and handrail. The spindles were primed and then painted in Dulux satinwood pure white.
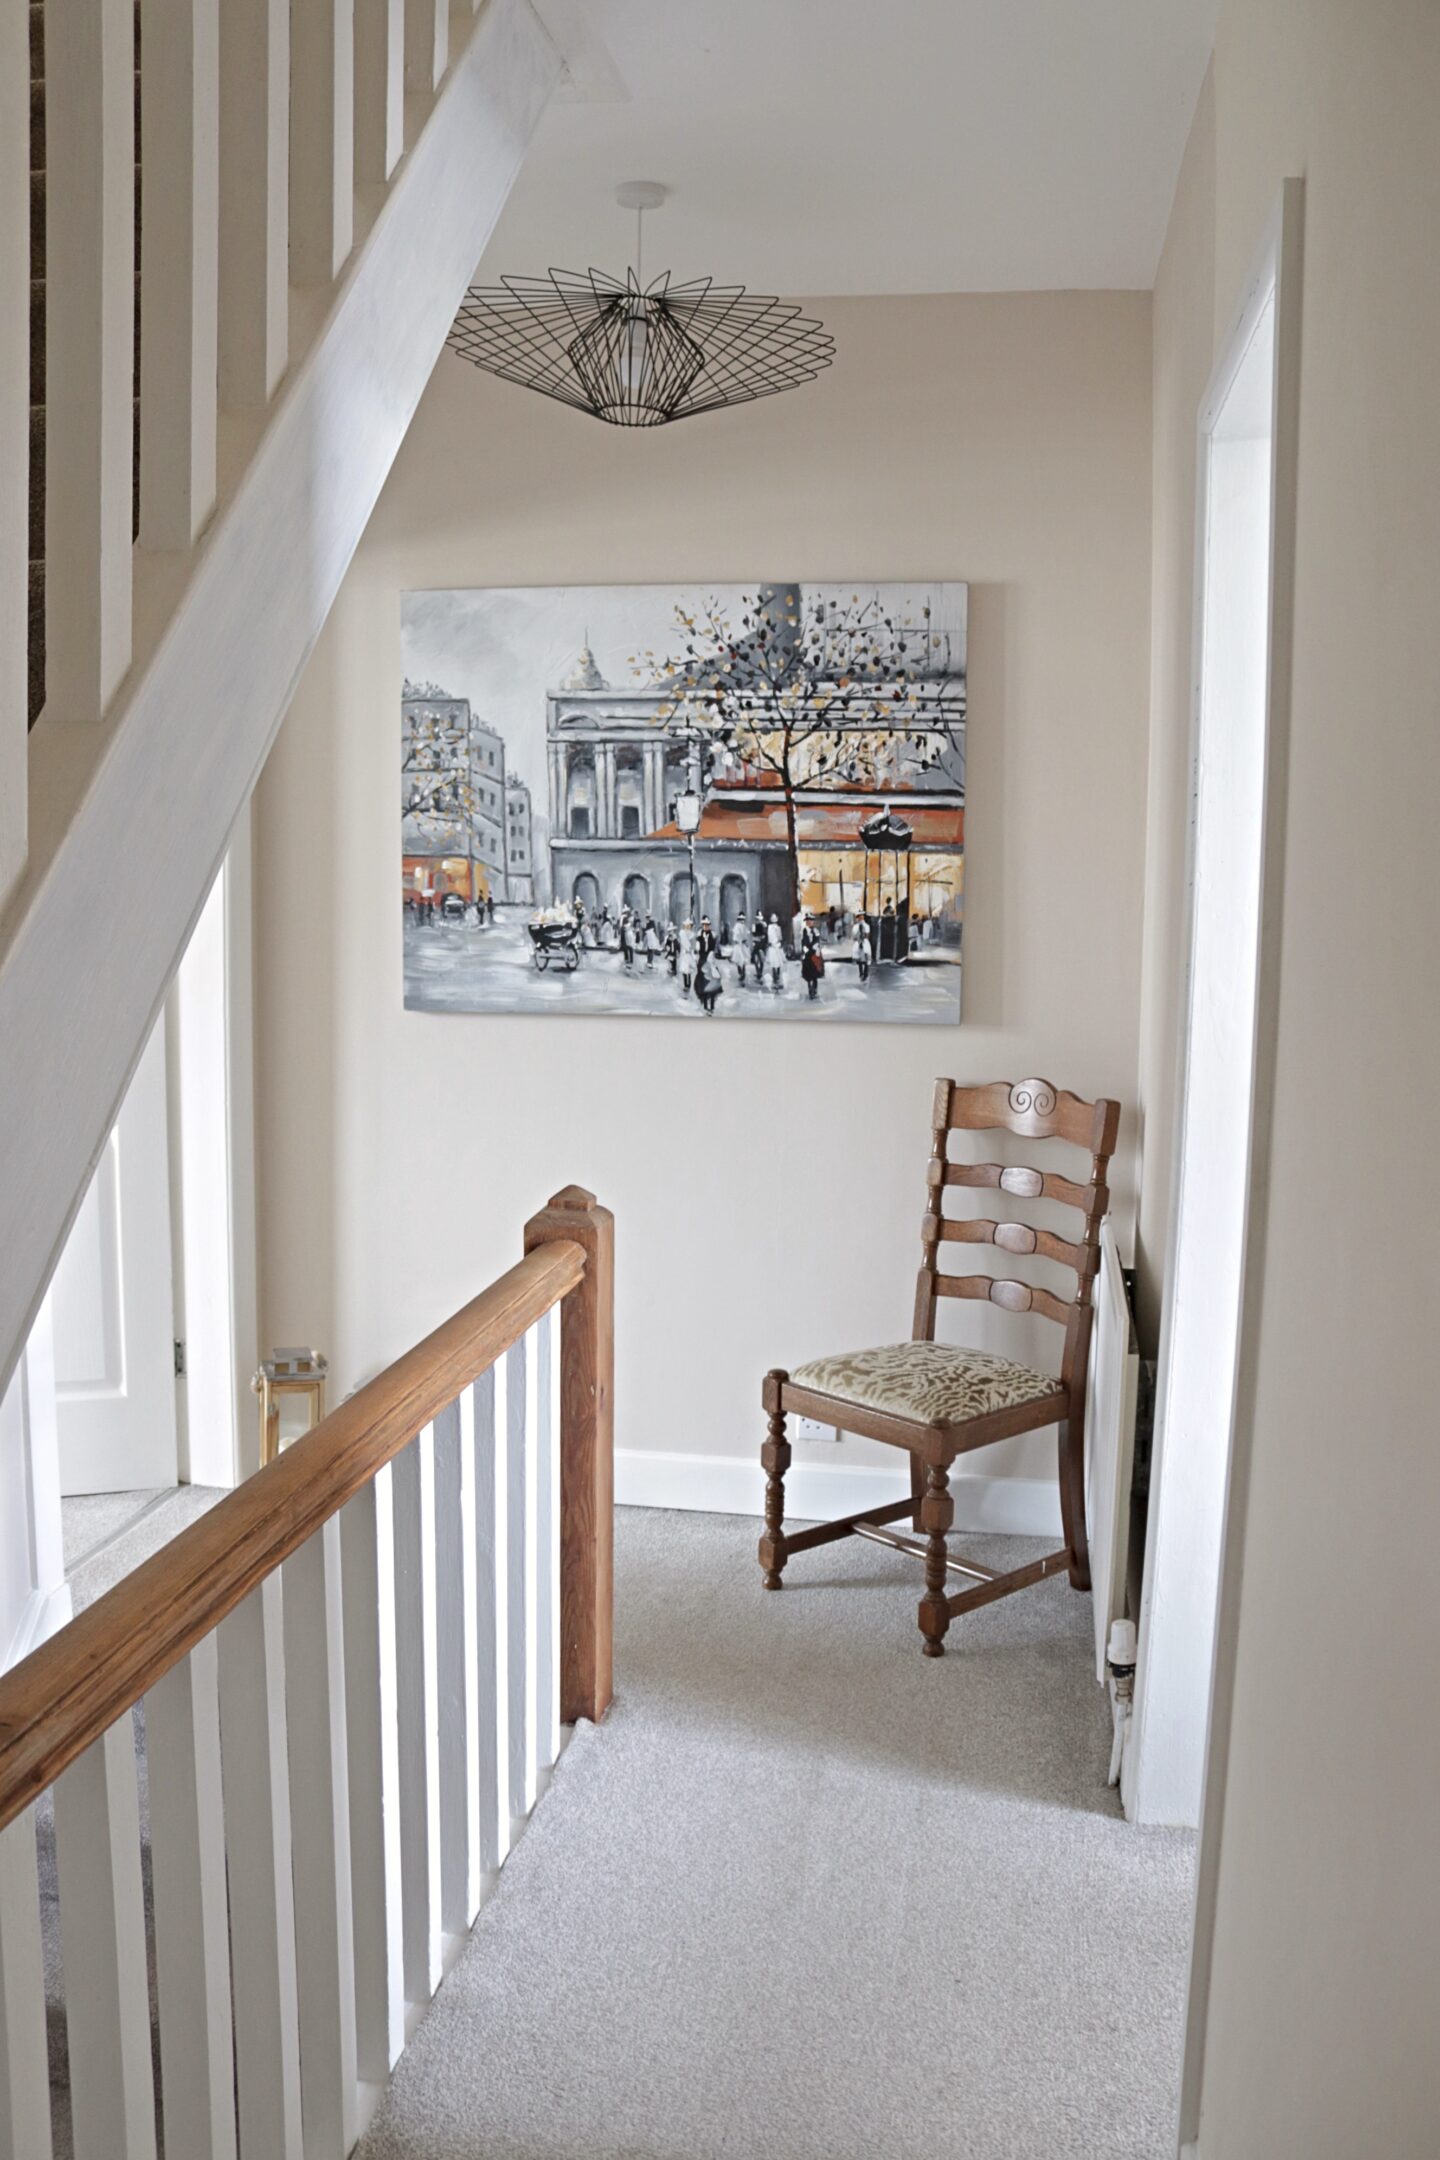
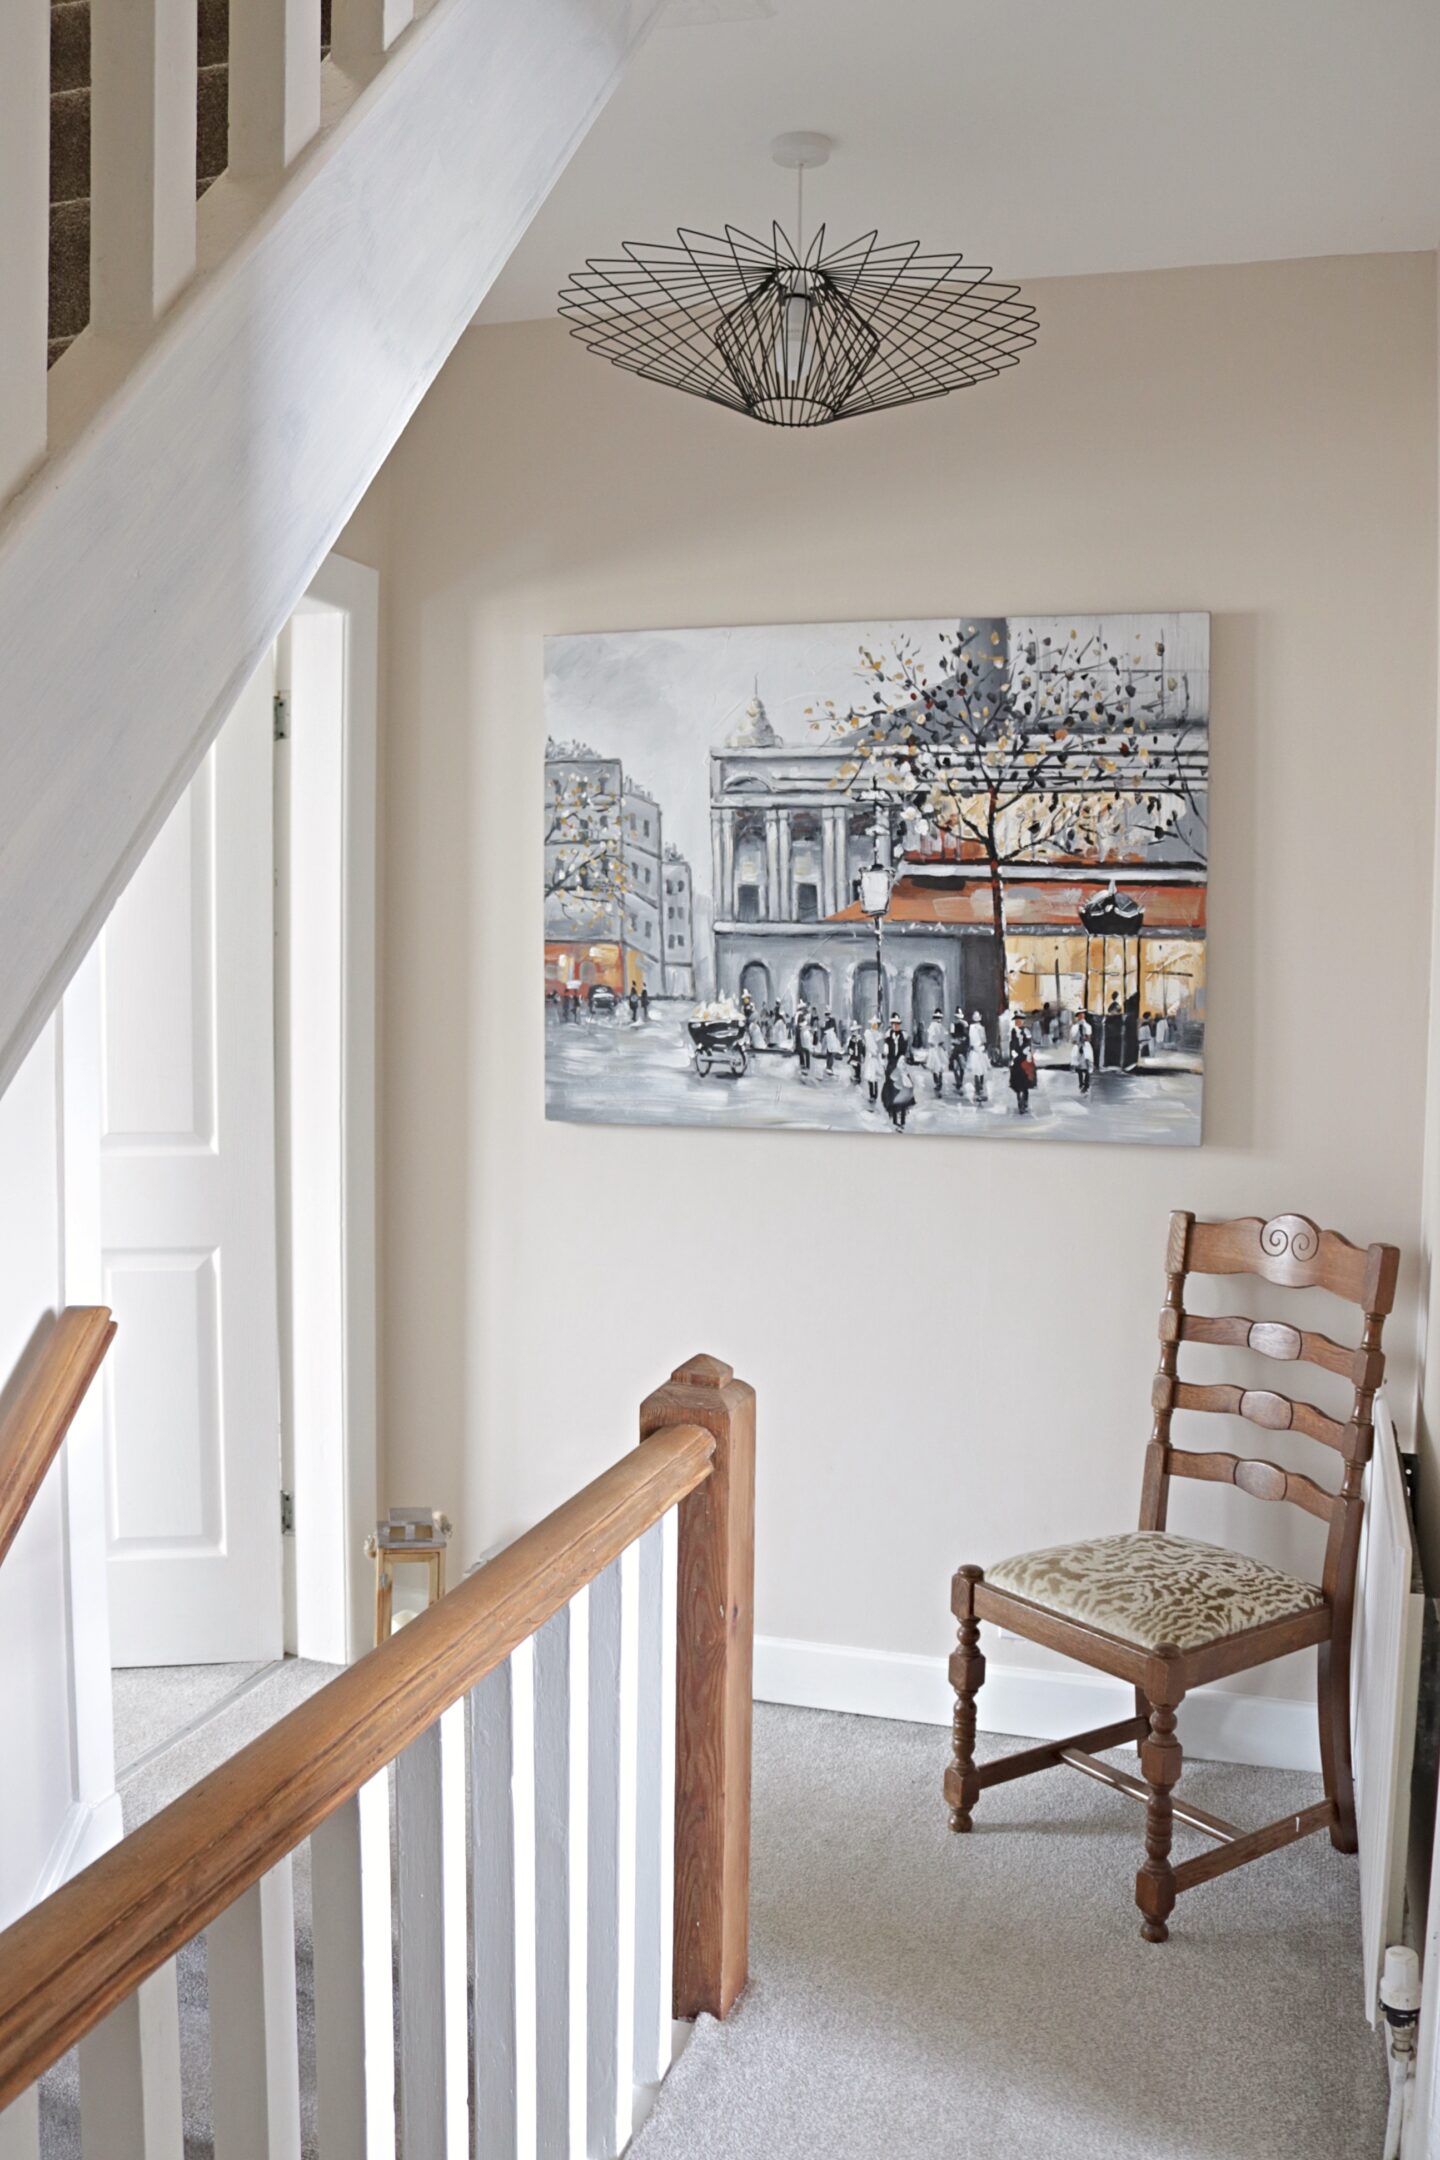
The picture and the chair remain in this space from before. The chair is a spare dining chair but I do like it here. The picture is one that we have had for years. We purchased it for our first home together and it has been used in every home that we’ve lived in.
I really wanted a bold light fitting that was a bit of a wow factor when you looked up the stairs. As renters I din’t want to go to the trouble of buying a whole new light fitting and having to wire it so I searched for light shades. I found this one from Value Lights. It’s 69cm across so quite large and I love it for this space.

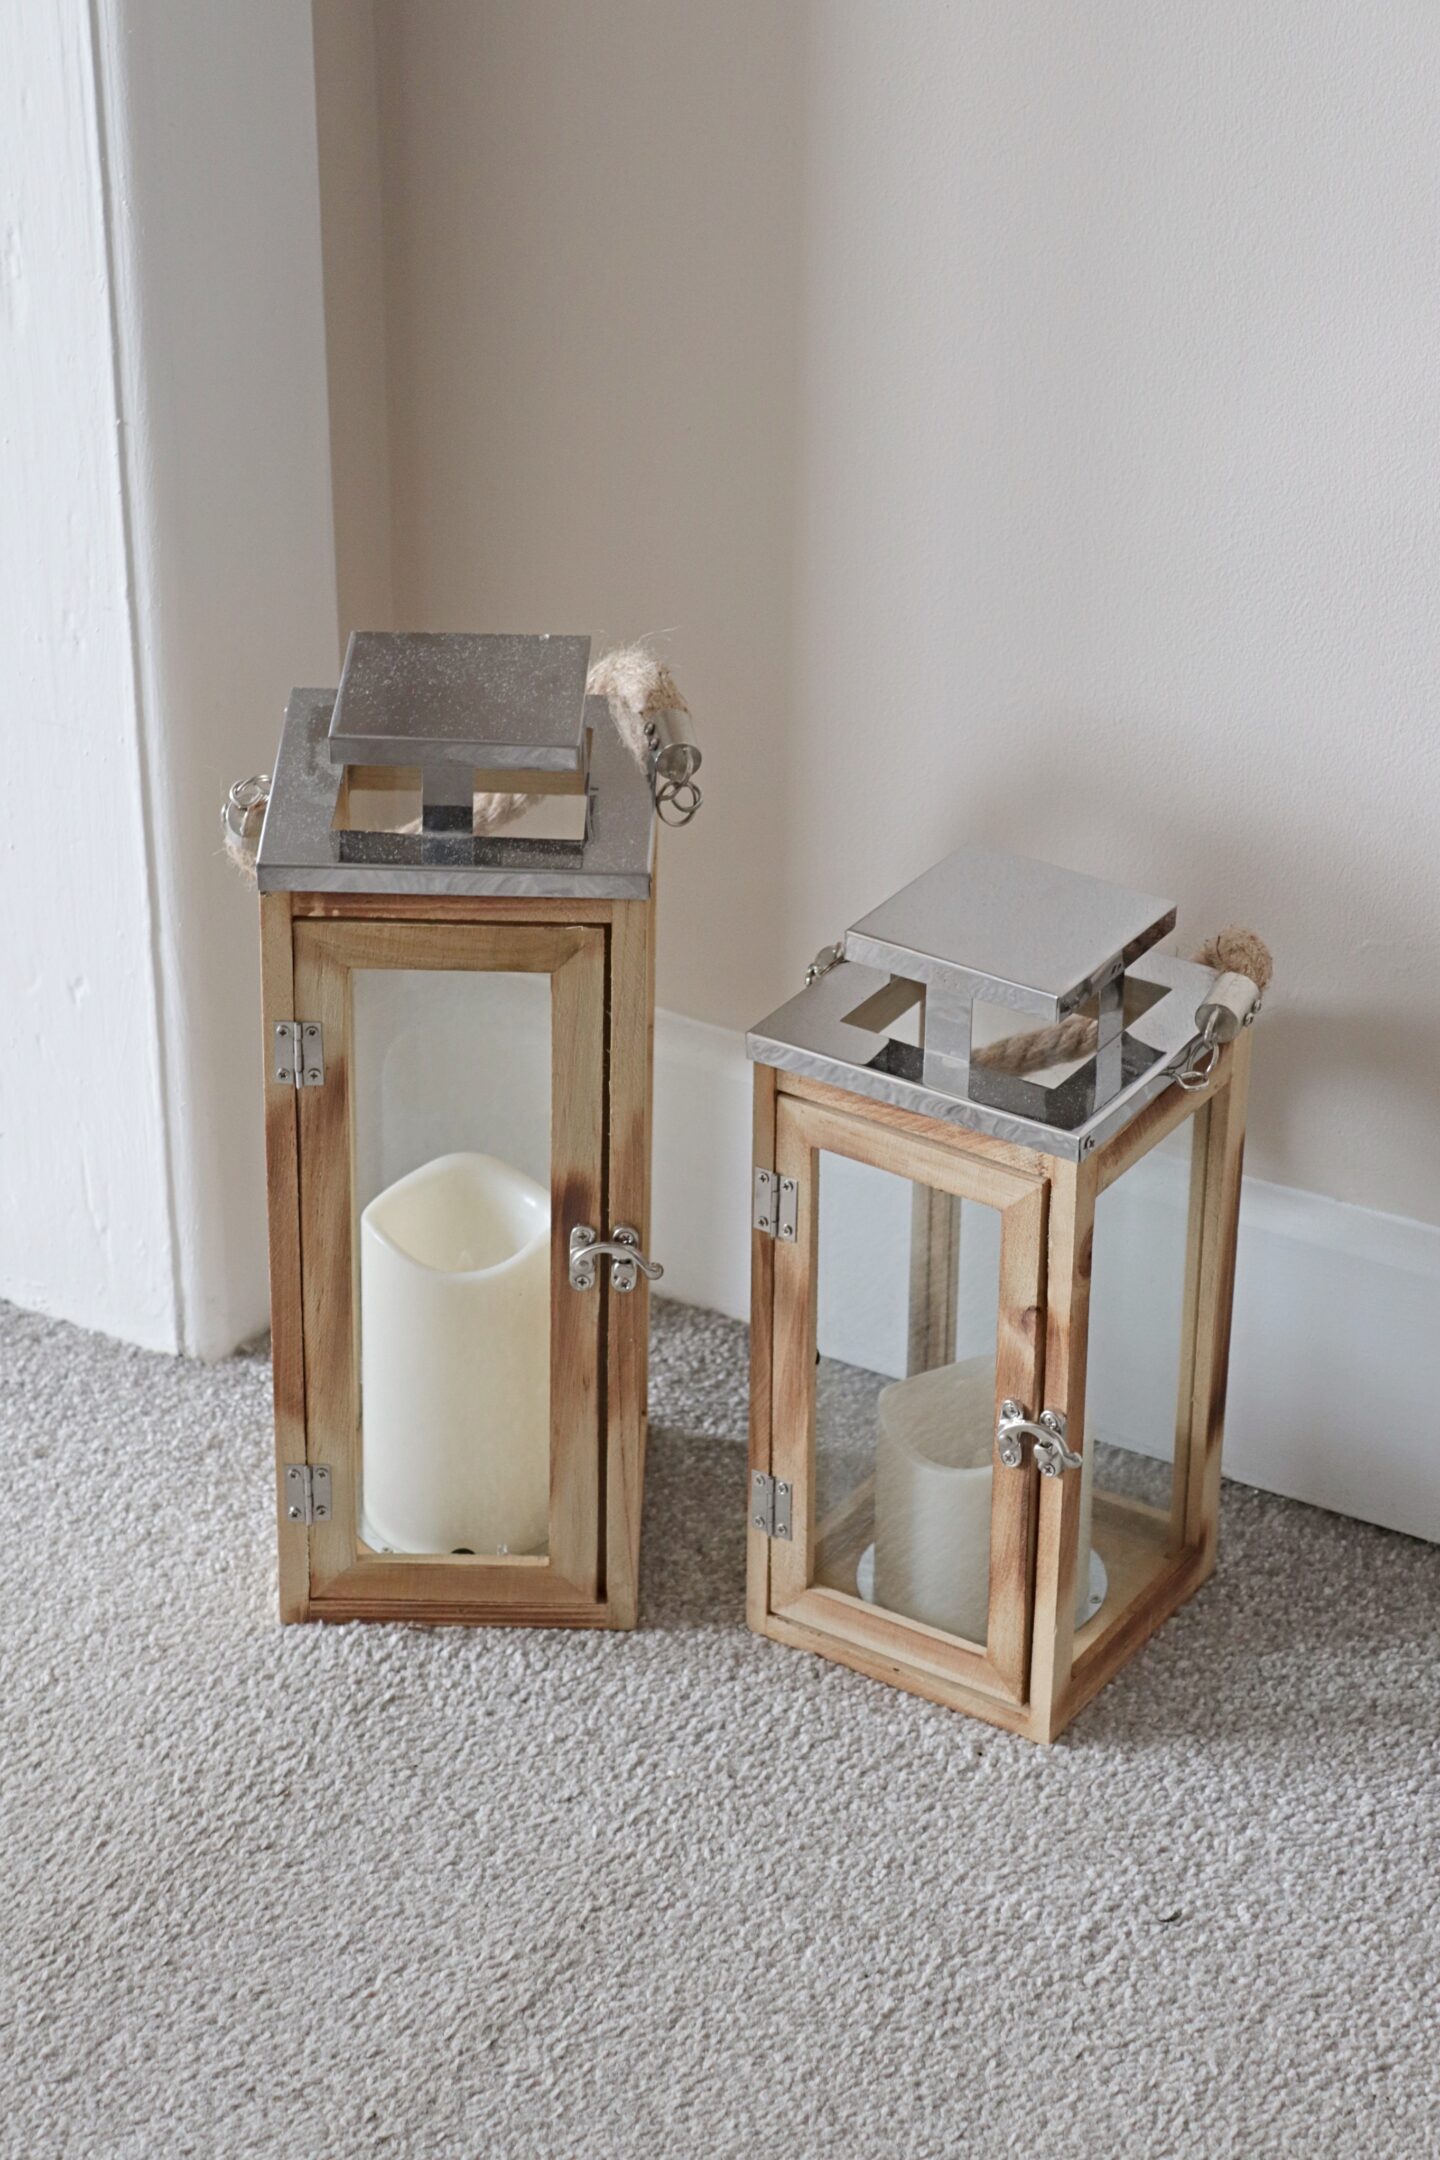
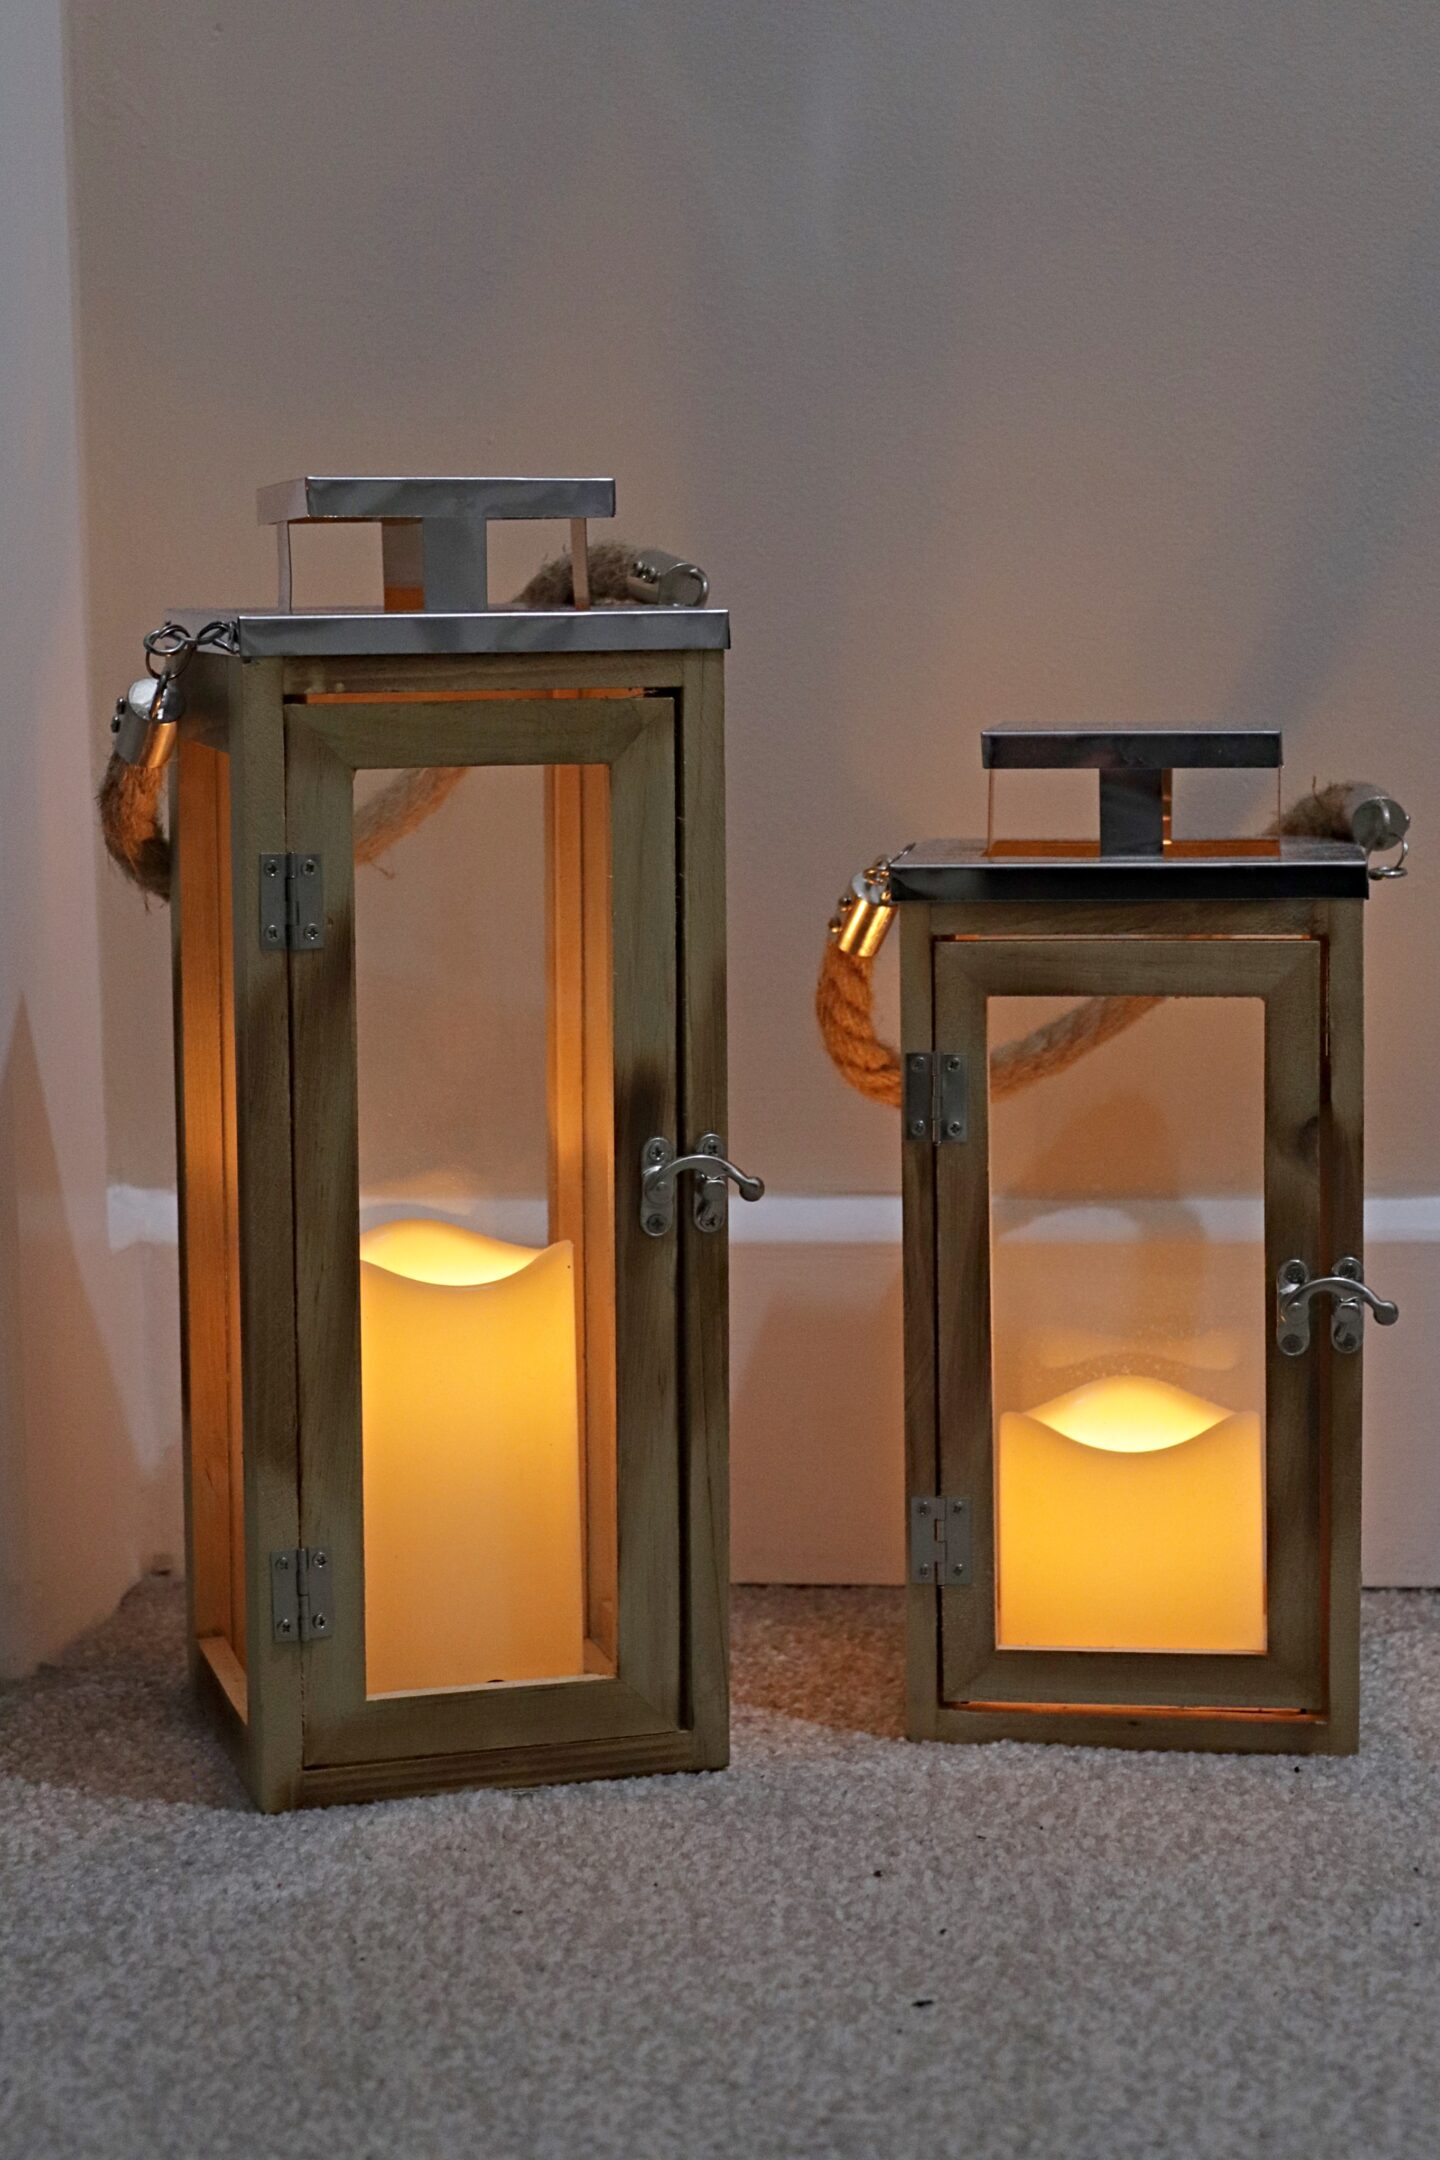
Lights 4 Fun were kind enough to gift me these Battery operated Lanterns from their Indoor light collection which are perfect for this space. They fit in this little corner without getting in the way of passing traffic 😀 . I love that you can see them as you come up the stairs and they look so lovely lit up in the evening.
If you want to see me making over this space beginning to end you can watch my YouTube video below.
Next we will need to continue to work our way around the landing. This first stage is all about making it look beautiful, clean and tidy but also keeping things simple. I have a few further ideas for the future. Adding storage and maybe some paneling or wallpaper? But I just want to get the majority of the house freshly painted at this point.
Thank you so much for taking the time to read my Neutral Landing Reveal – part one. I do love to share the progress we are making in our home and I’m going to aim to get the hallway makeover post up next. Follow me on Instagram @liannehempsallhome for more up to date progress 🙂
Lianne x
Pin my Neutral Landing Reveal – part one to save it for later!