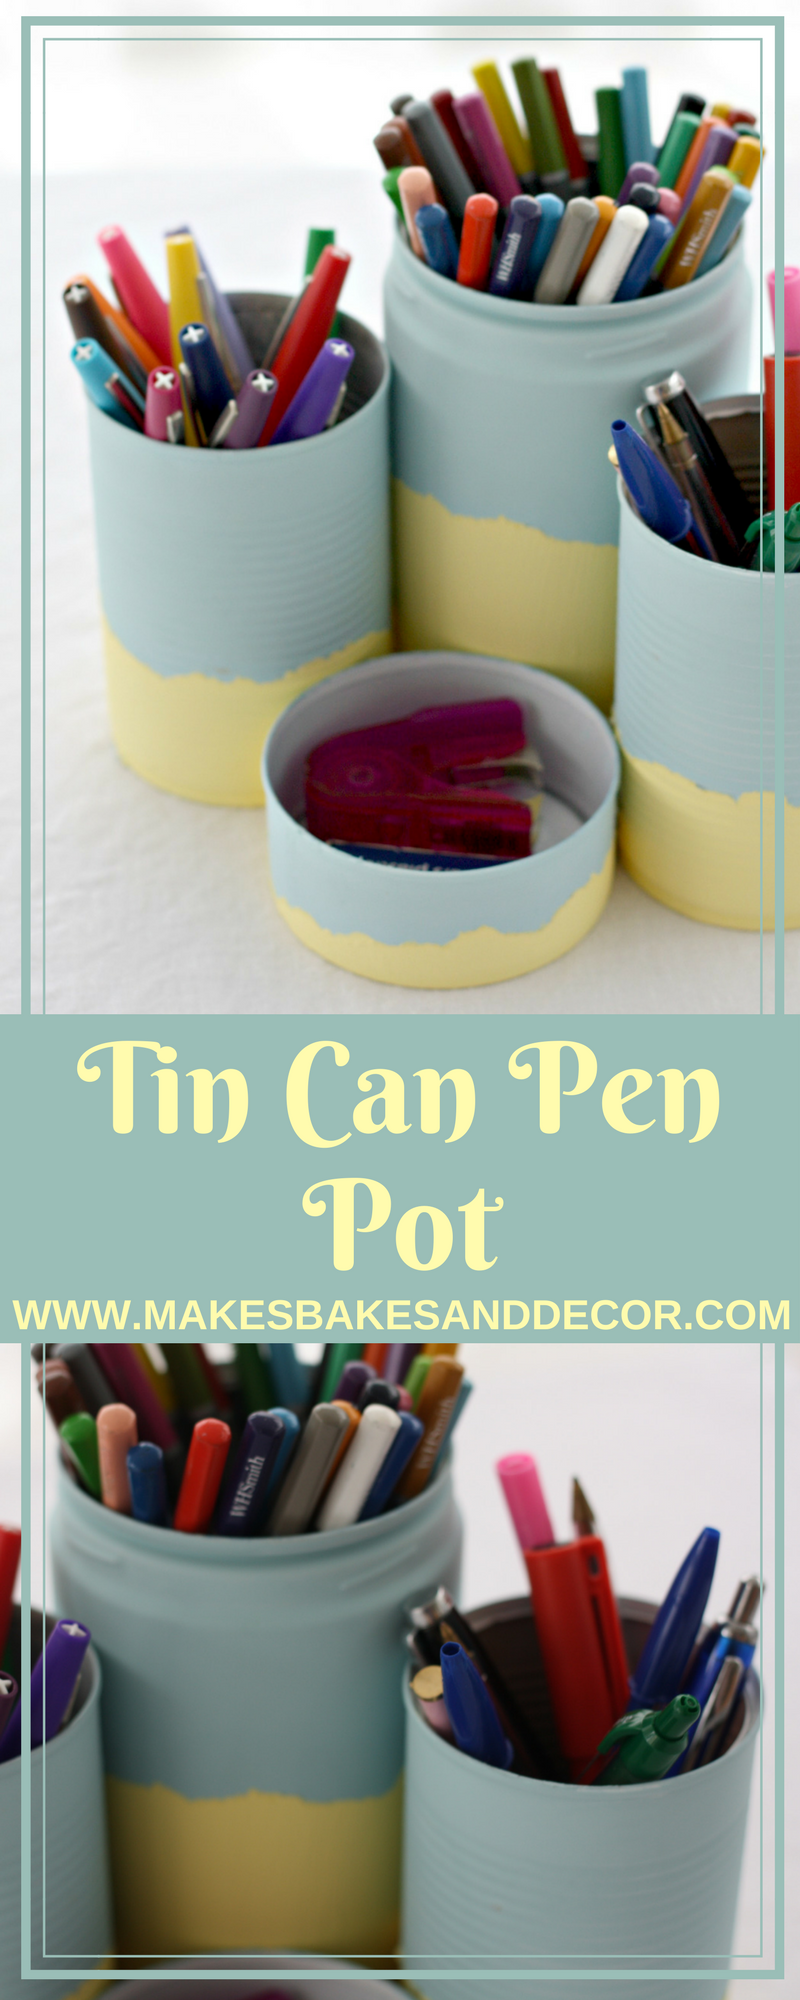
I know I say it all the time but I love a project that doesn’t cost anything! I love to use recycled items and a few things from my stash to make something new and that’s what I’ve done with my Tin Can Pen Pot. I made the actual pen pot using the cans about 6 months ago and it’s sat on my desk all this time completely un-decorated with my pens in. You can see it in the photo’s in my Personalised Office Supplies post. It’s been working very well for me LOL but I thought it was about time I made it pretty!
This post contains affiliate links, find out what that means here.
I think it looks really cute! Of course it’s in my office colours, yellow and duck egg. I’m getting closer and closer to my office space finally being finished. I just need to makeover my actual desk now and I’m done!
Do you remember those plastic pen pots everybody had at school? I remember when I was at primary school you were so cool if you had one of those pots instead of a regular pencil case! We were all so easily pleased as kids right?! Any way it was those I was thinking of when I made this. With the different sized tubes for pens, rulers, sharpeners etc. To decorate your own using the same technique as I have you need a selection of tin cans, masking tape, paper or newspaper, a glue gun and glue sticks,primer, a paintbrush and two different coloured paints. I just used leftover emulsion but any paint you have will work.
First off I covered the tins in a coat of primer to give them an even base, I also sprayed the inside top edge of the big tins and the inside of the smallest tin.
Using my first colour I gave all the cans a couple of coats. I didn’t paint all the way to the bottom as that’s where the second colour is going but it’s up to you.
Then take your paper and rip some strips. You need to rip against the grain. If you rip paper one way it will rip smoothly but if you rip the other it will be more ragged, this is what you want.
Use the strips and tape to mask off part of the can. You can do each can at different heights.
Then use your second colour to paint the bottom. Again it took a couple of coats to get a solid colour.
 Once the paint is dry, remove the paper and you’re left with this really cool effect! Then just use your glue gun to stick the cans together. You can stick them in a group or a line, whatever works best for you.
I love that something that you would have just thrown away is now pretty and useful! Let me know if you make your own and you can see my other office projects here and here.
Lianne x
Pin Tin Can Pen Pot to save it for later!


Those are pretty Lianne, and it’s so satisfying to use something you’ve made and decorated, isn’t it? I love the duck egg color too & love it combined with soft yellow as you’ve done. Using torn paper is a new wrinkle, but it looks good!
Author
Thank you Florence! I love these two colours together 🙂
Creative way to use ripped paper to get that effect.. well done! These look amazing!
Author
Thank you! I’m really happy with it and I’m glad you like it! 🙂