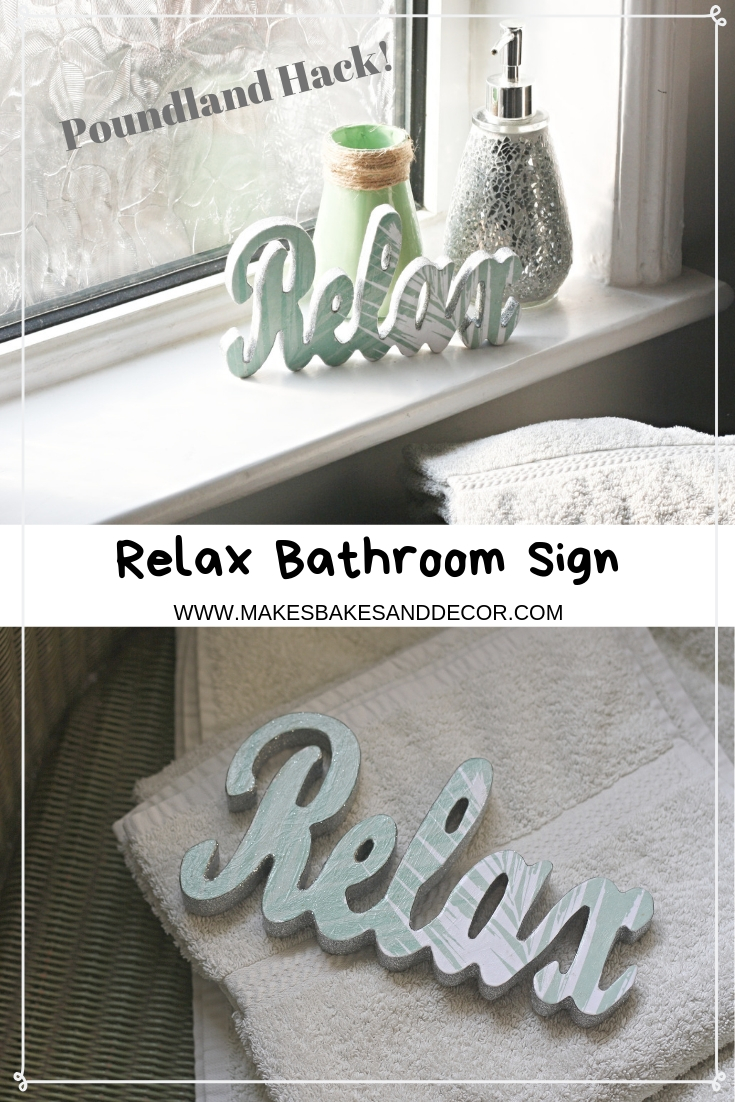
As I’m sat here writing this I’m baffled as to how I used to add two new posts consistently every week. Now I really struggle to add one post a week and my posting schedule is far from consistent! I have such good intentions but it’s just not working out for me at the moment 😀 Anyway, this Relax Bathroom Sign might be a little late but it’s here and I hope you like it.
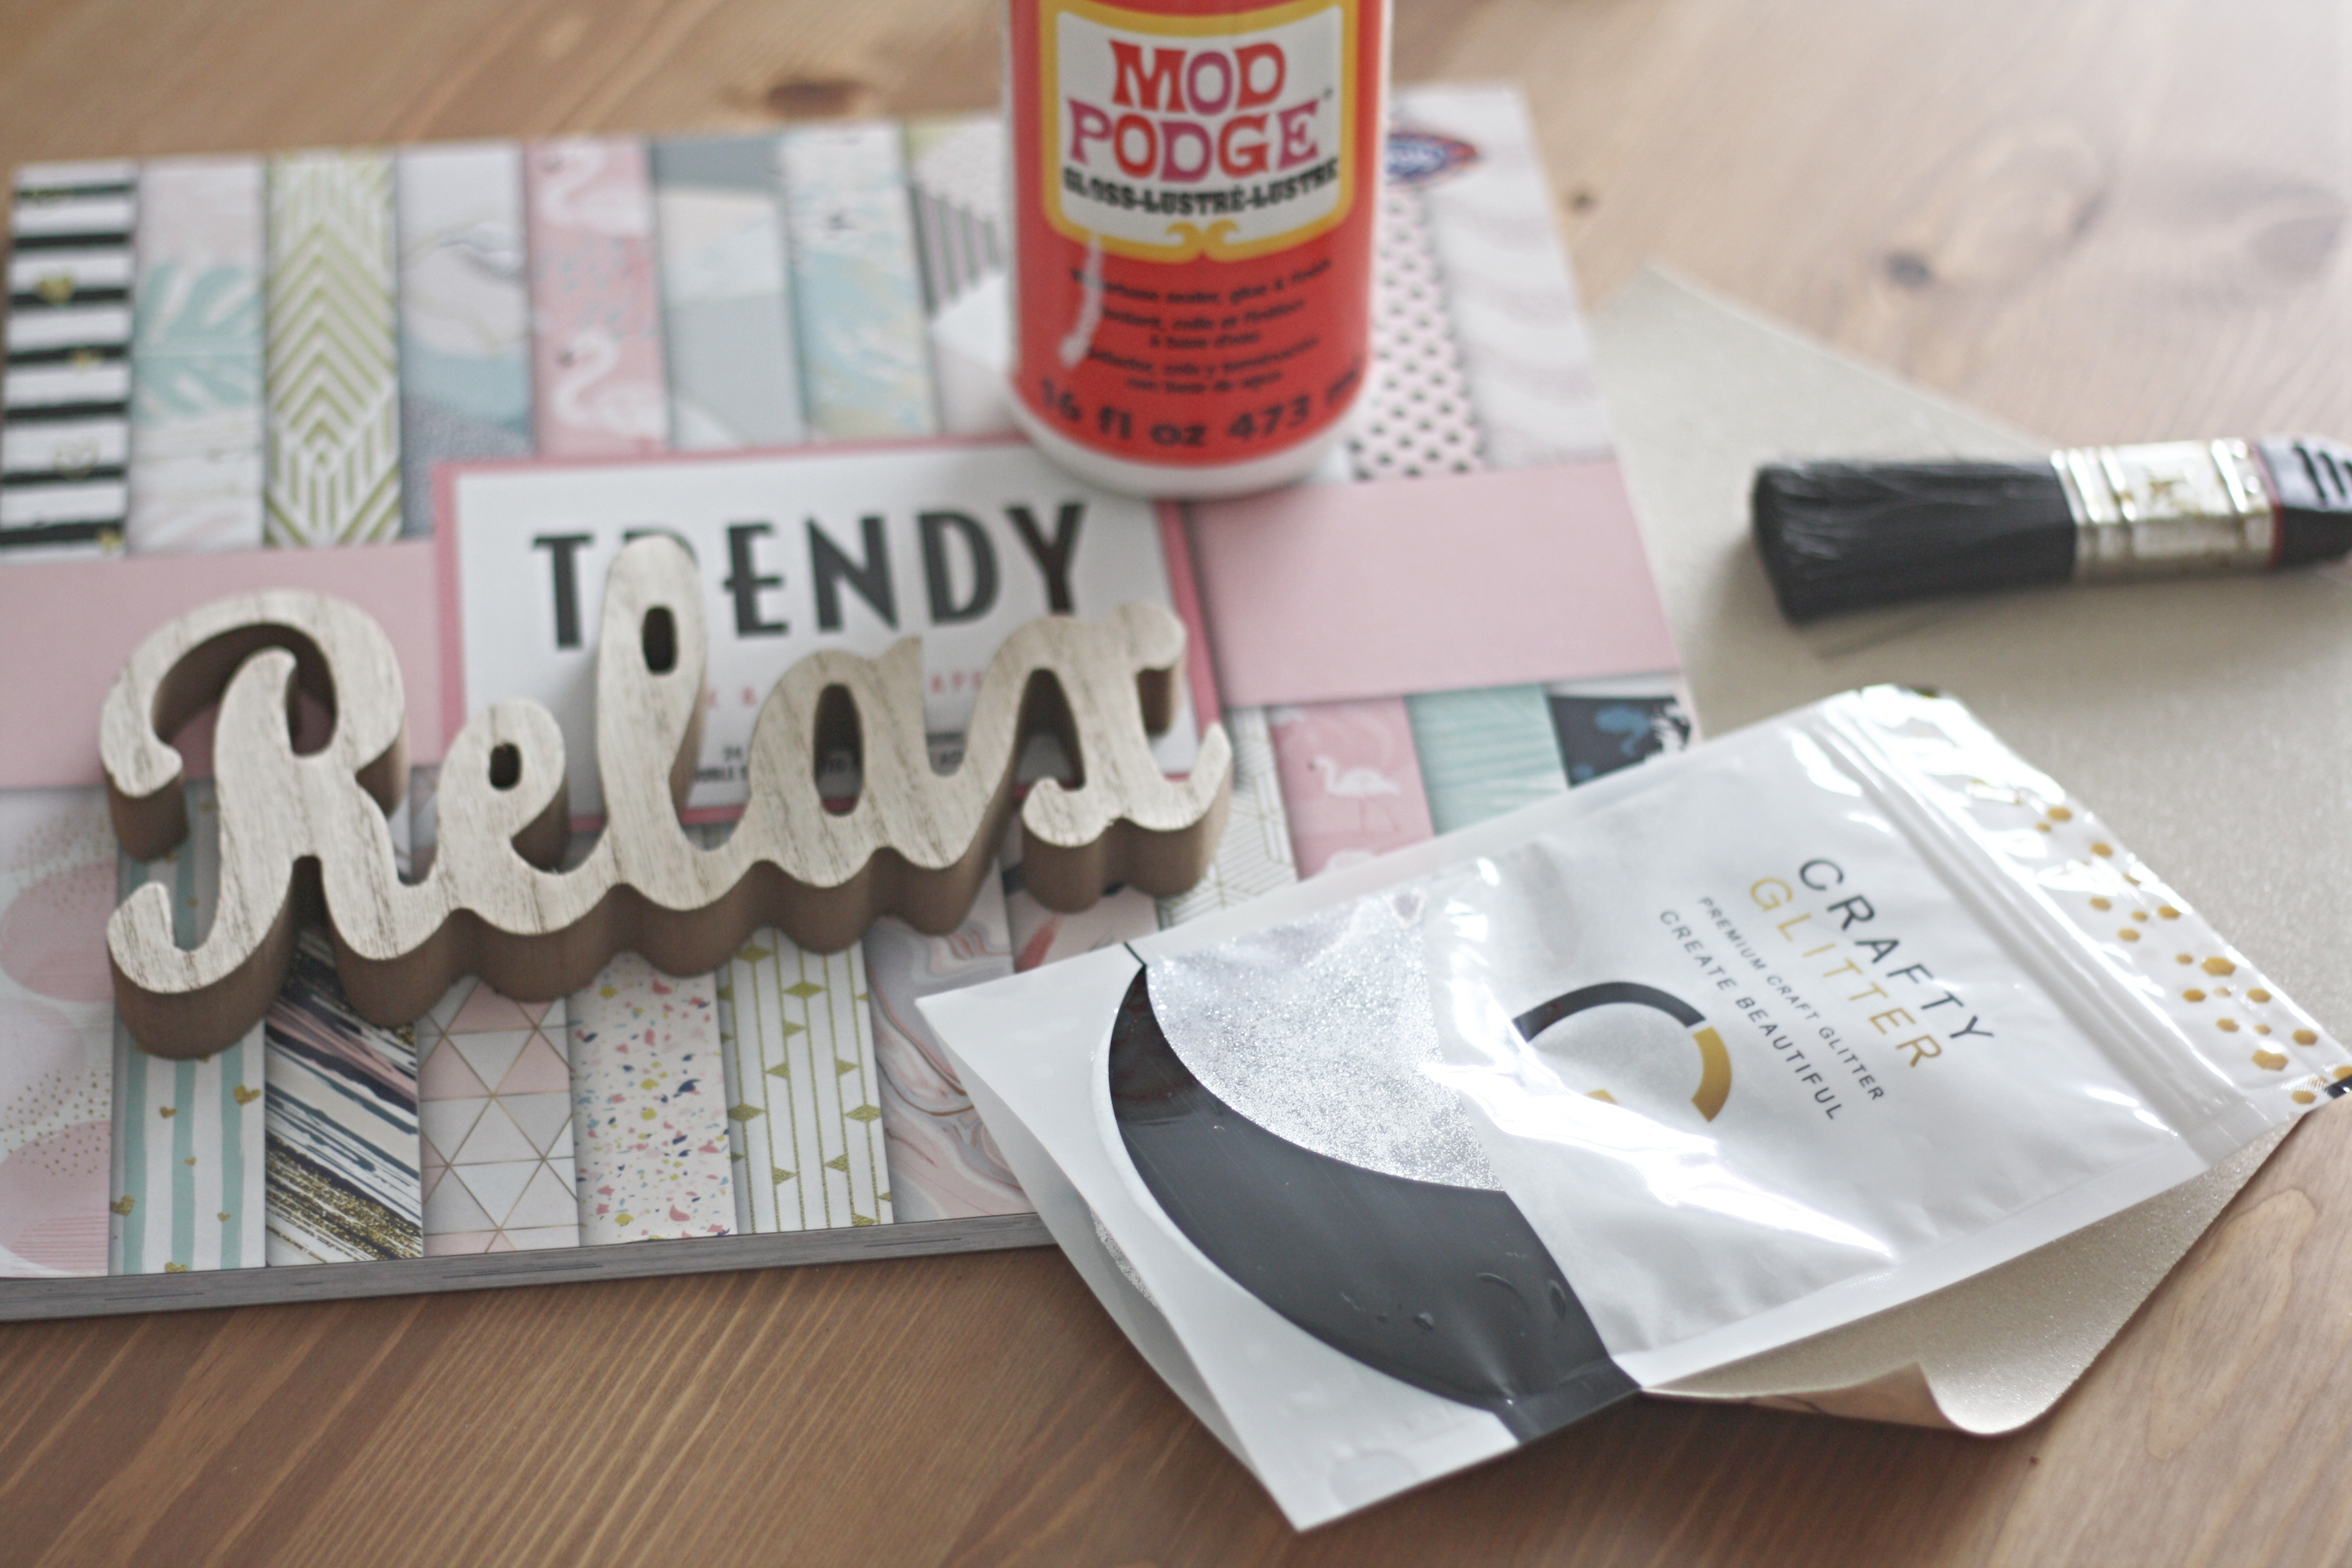
So this is a little Poundland hack for you. I love picking up little bargains and making them my own. I spotted this wooden relax sign a couple of weeks ago. I found it in the mother’s day section in Poundland but I’m sure it will still be in stock. The bathroom at Seaways didn’t really have anything decorative in it. I hated it so to be honest I didn’t really try and make it look better 😀 . So we need a few little bits for the bathroom and that is where this will be going. For this project you need an undecorated wooden sign, decorative paper, glitter, gloss Mod Podge, sandpaper, a small paintbrush, pencil and scissors/craft knife.
The items below could help you with this project and are affiliate links, find out what that means here.
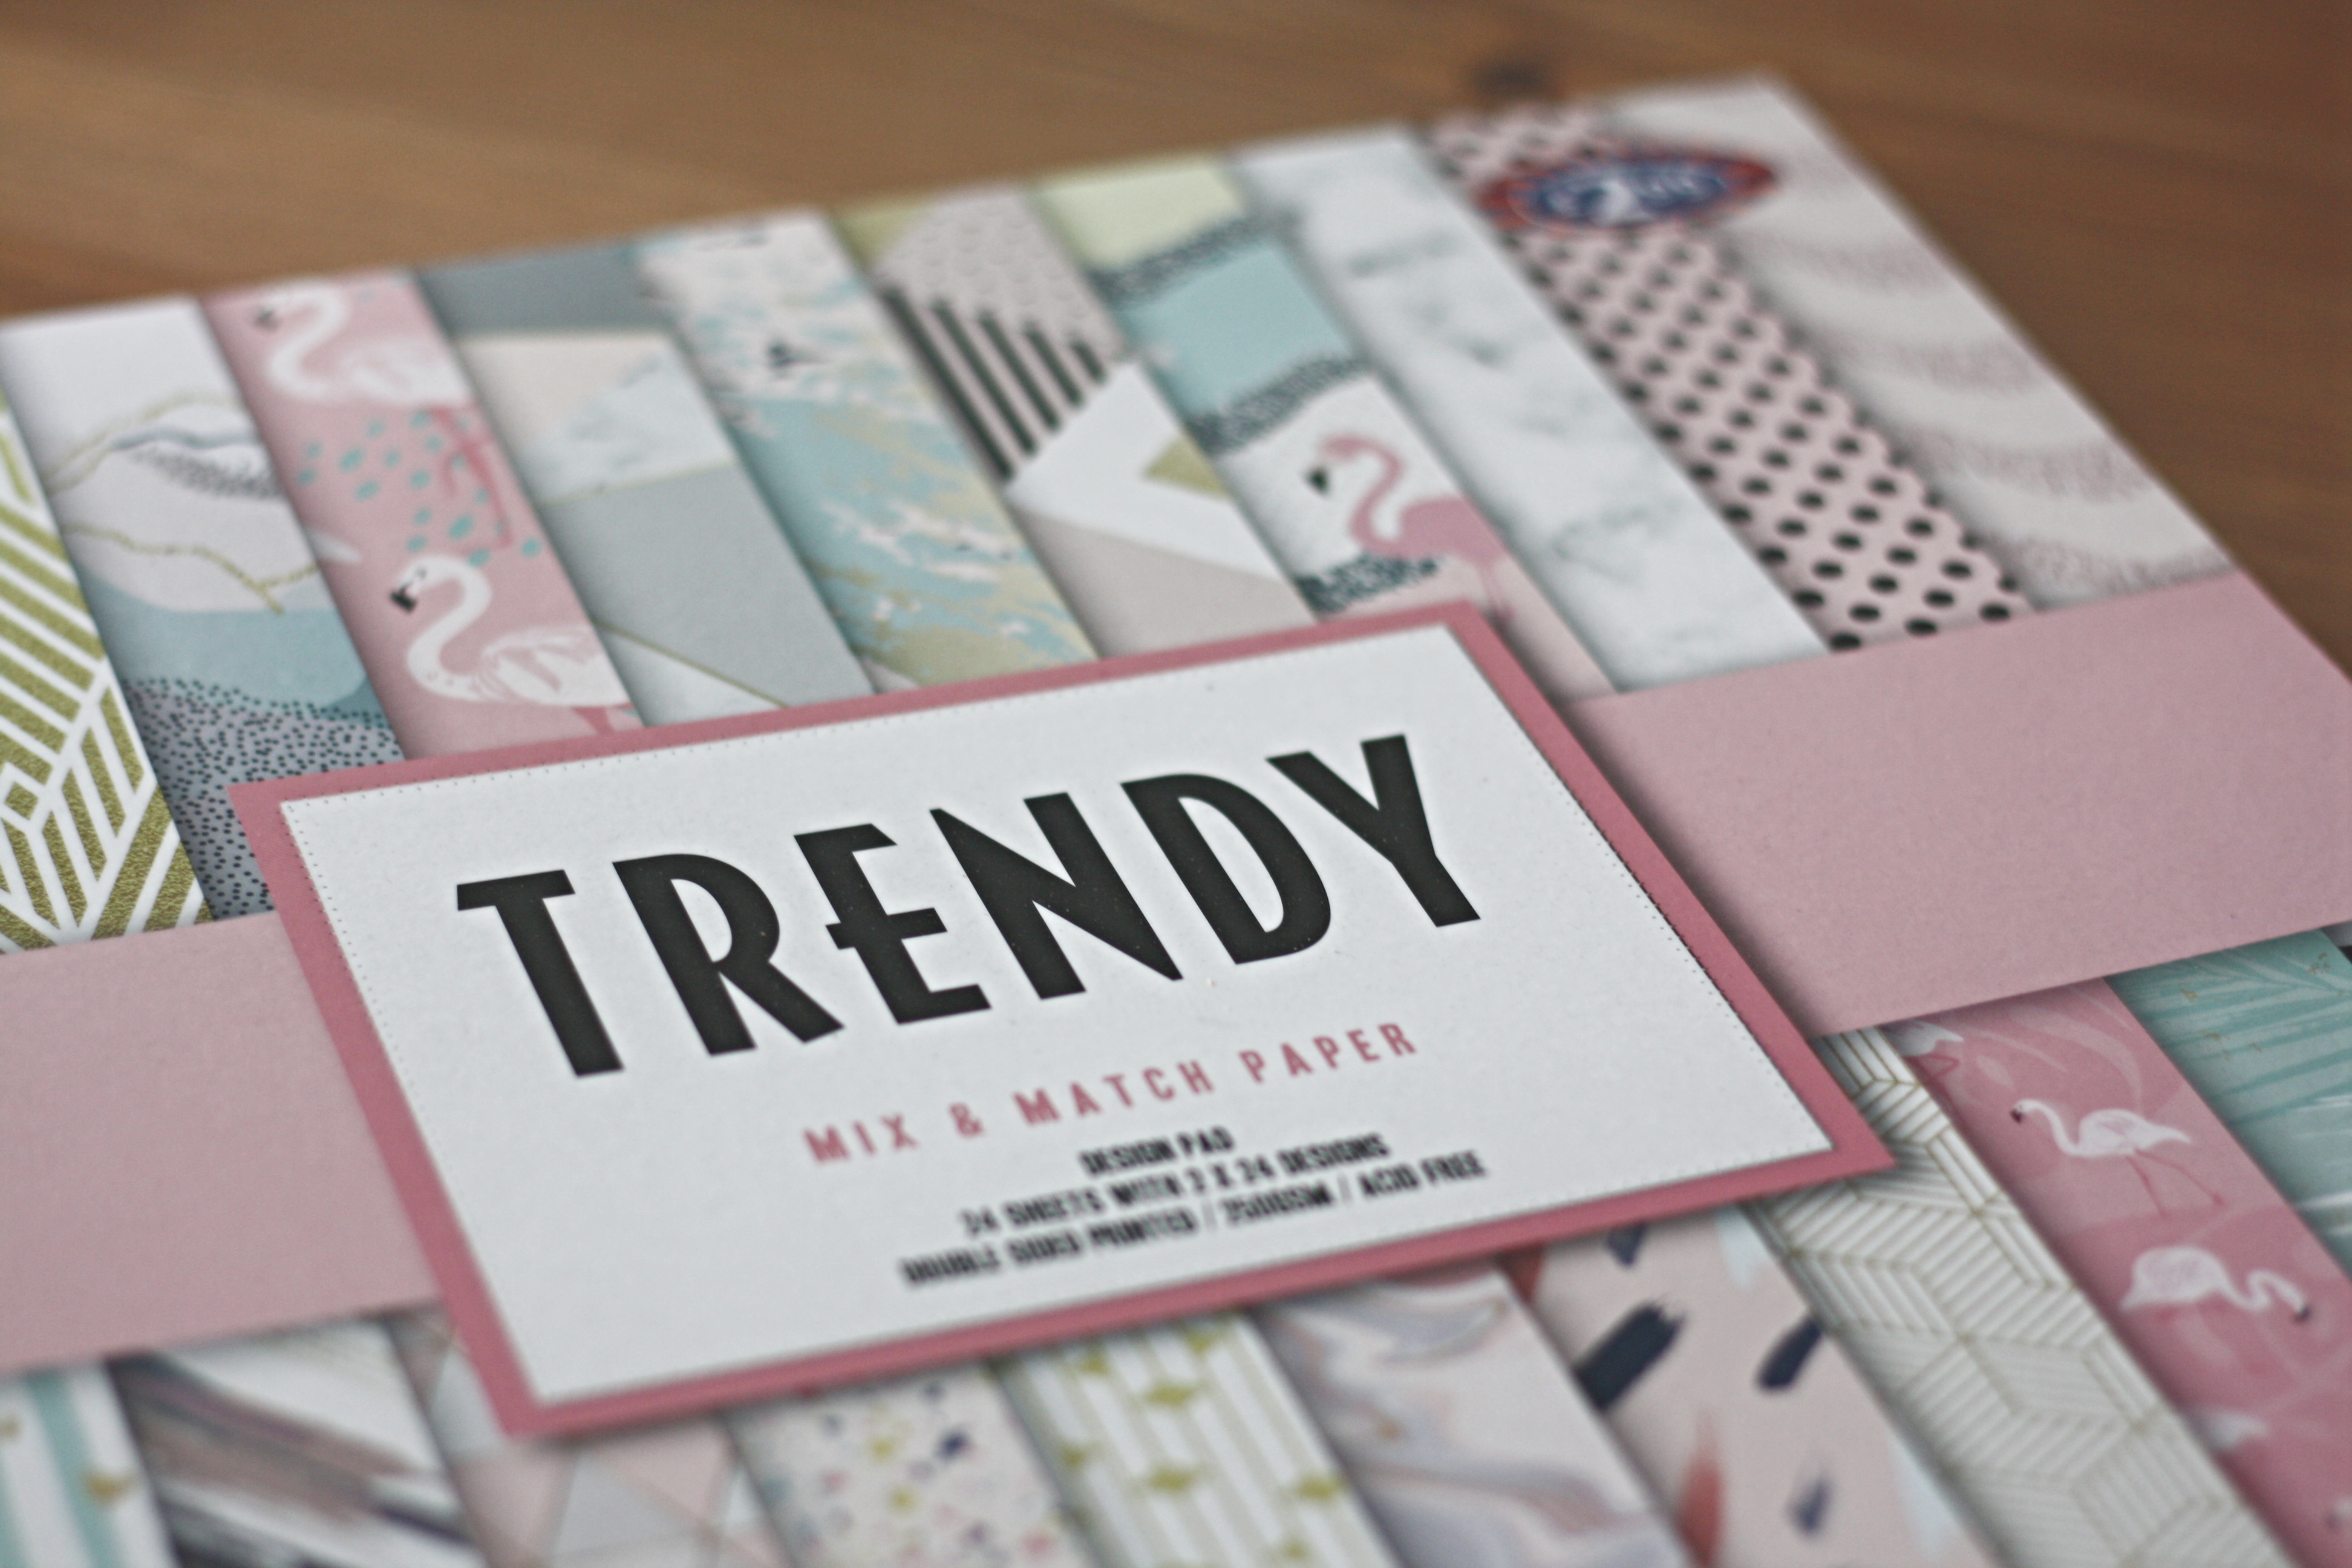
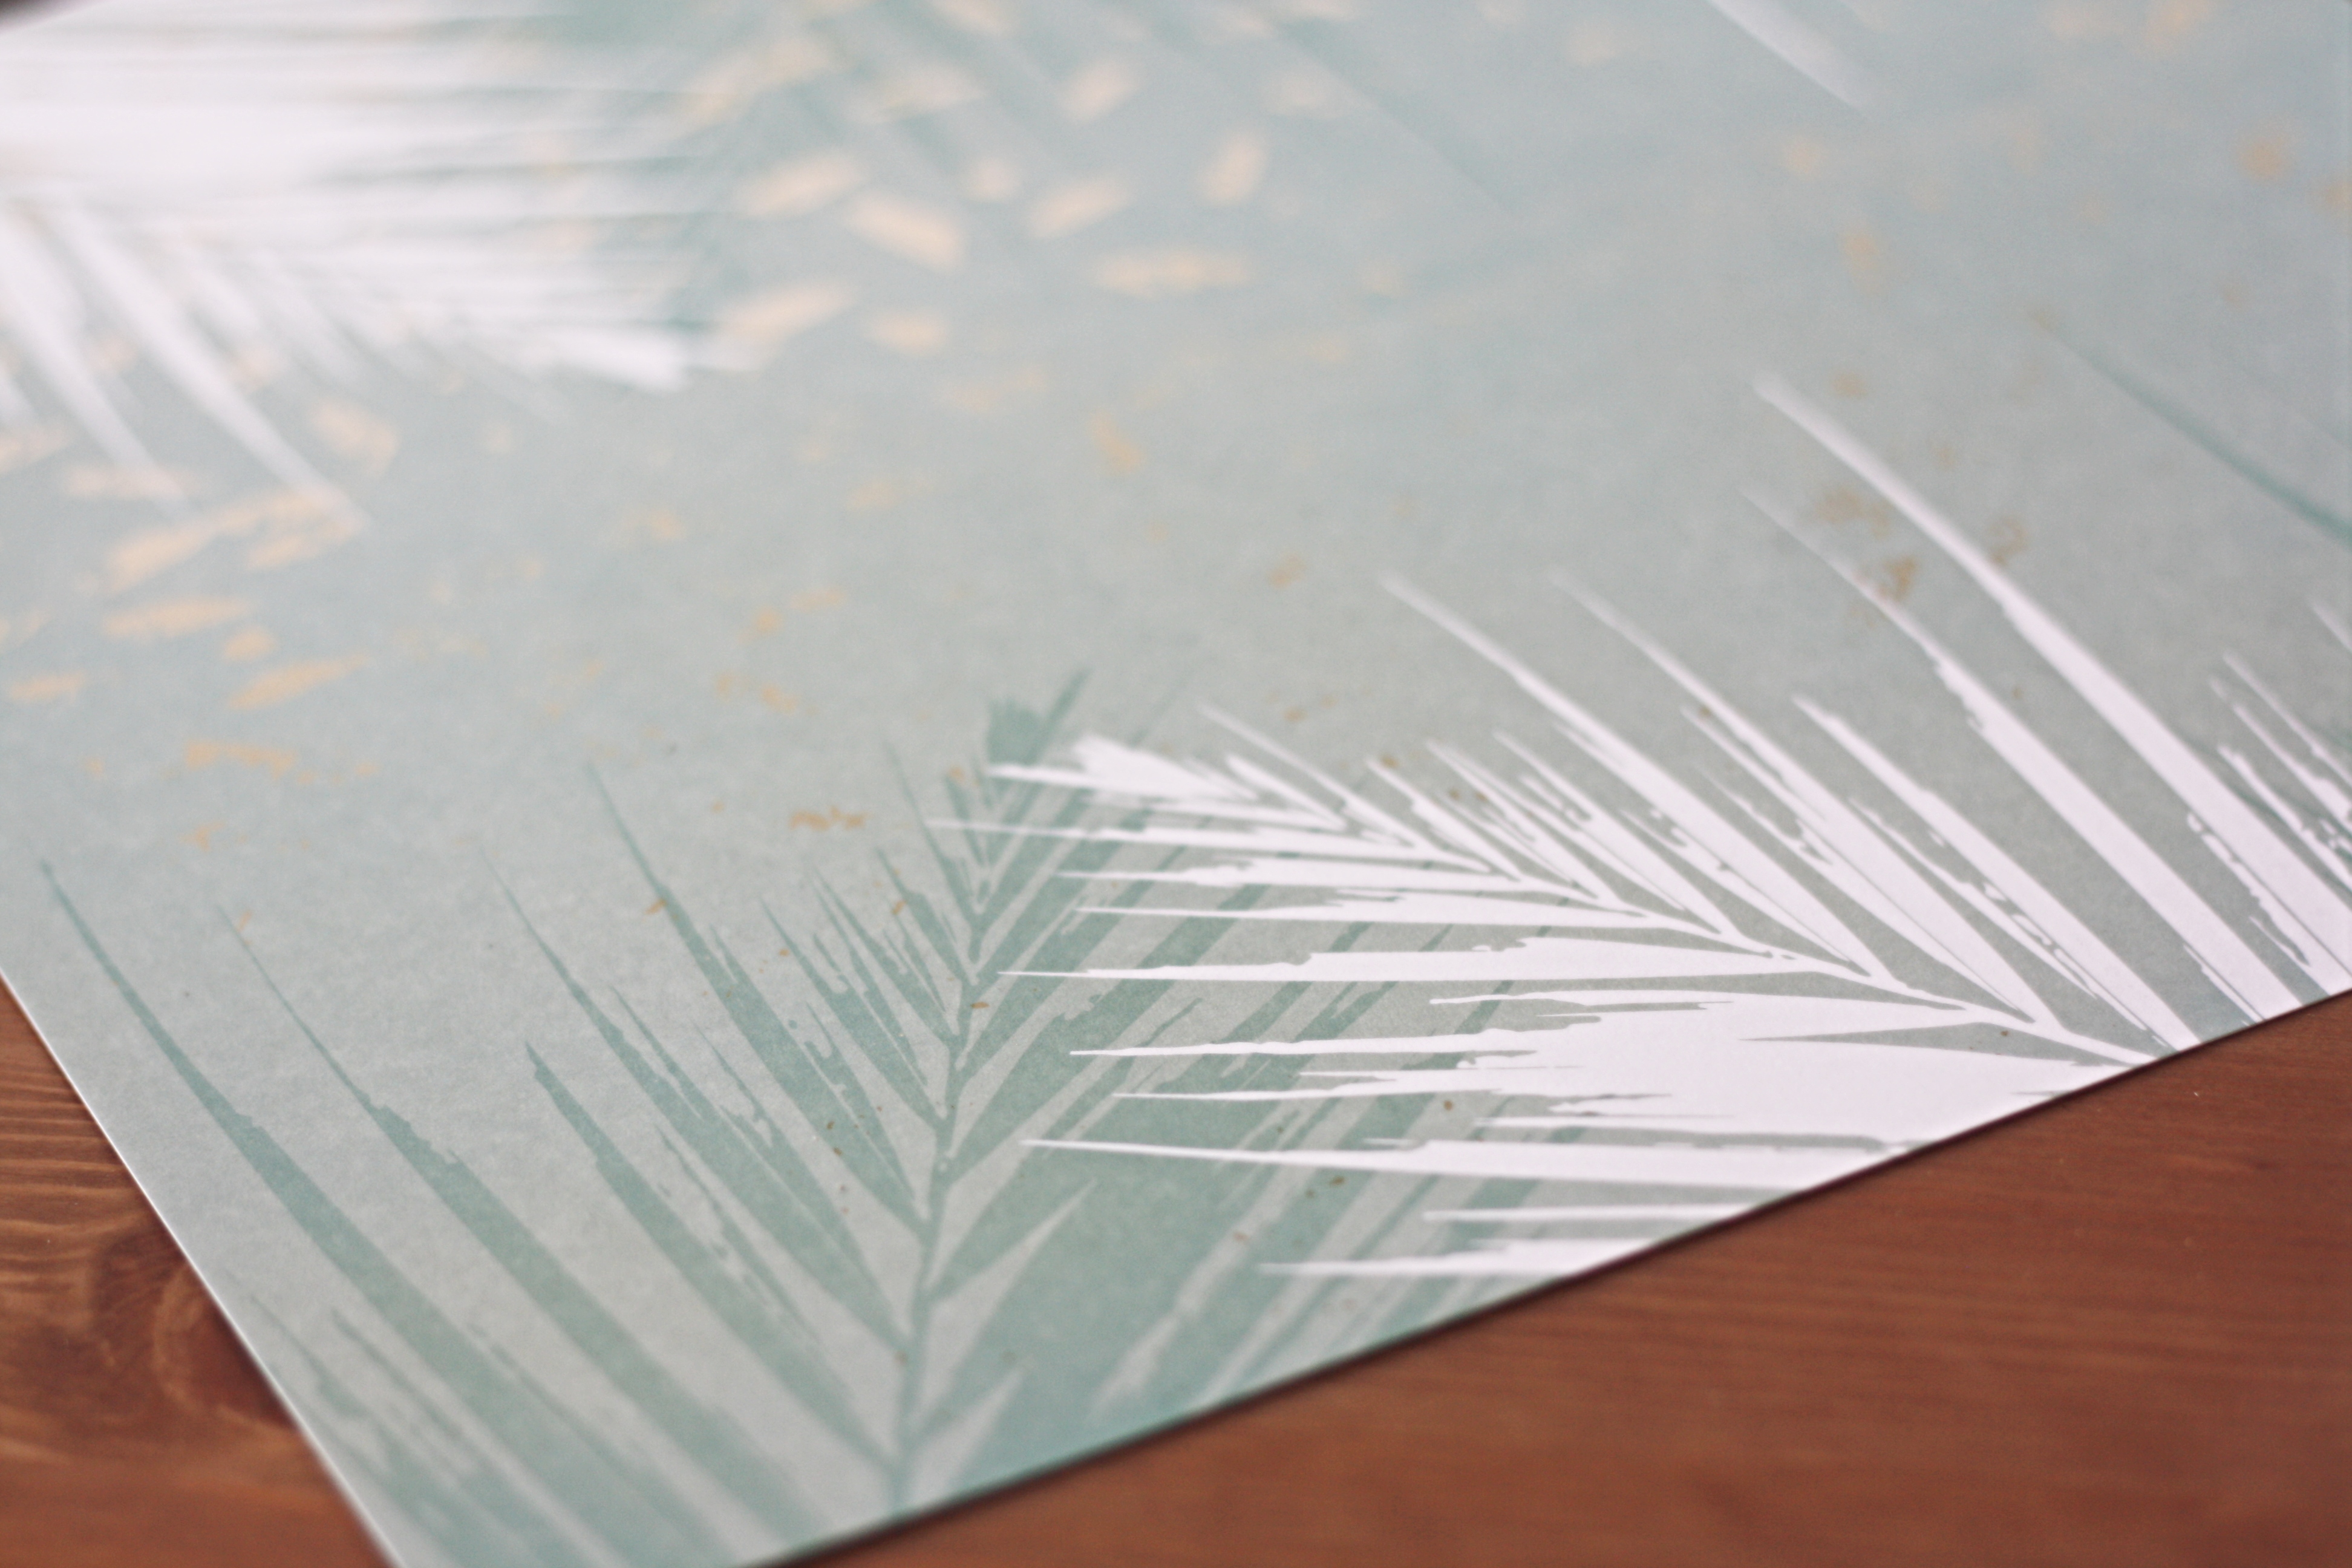
The bathroom is grey and white and the suite is white with silver taps so we think we are going to add touches of green with silver highlights. This way we can utilise the things that we had in the small toilet at Seaways. That’s why I went for this green paper that I picked up from B&M. It was only £2.99 for a pad of 24 sheets so a bargain.
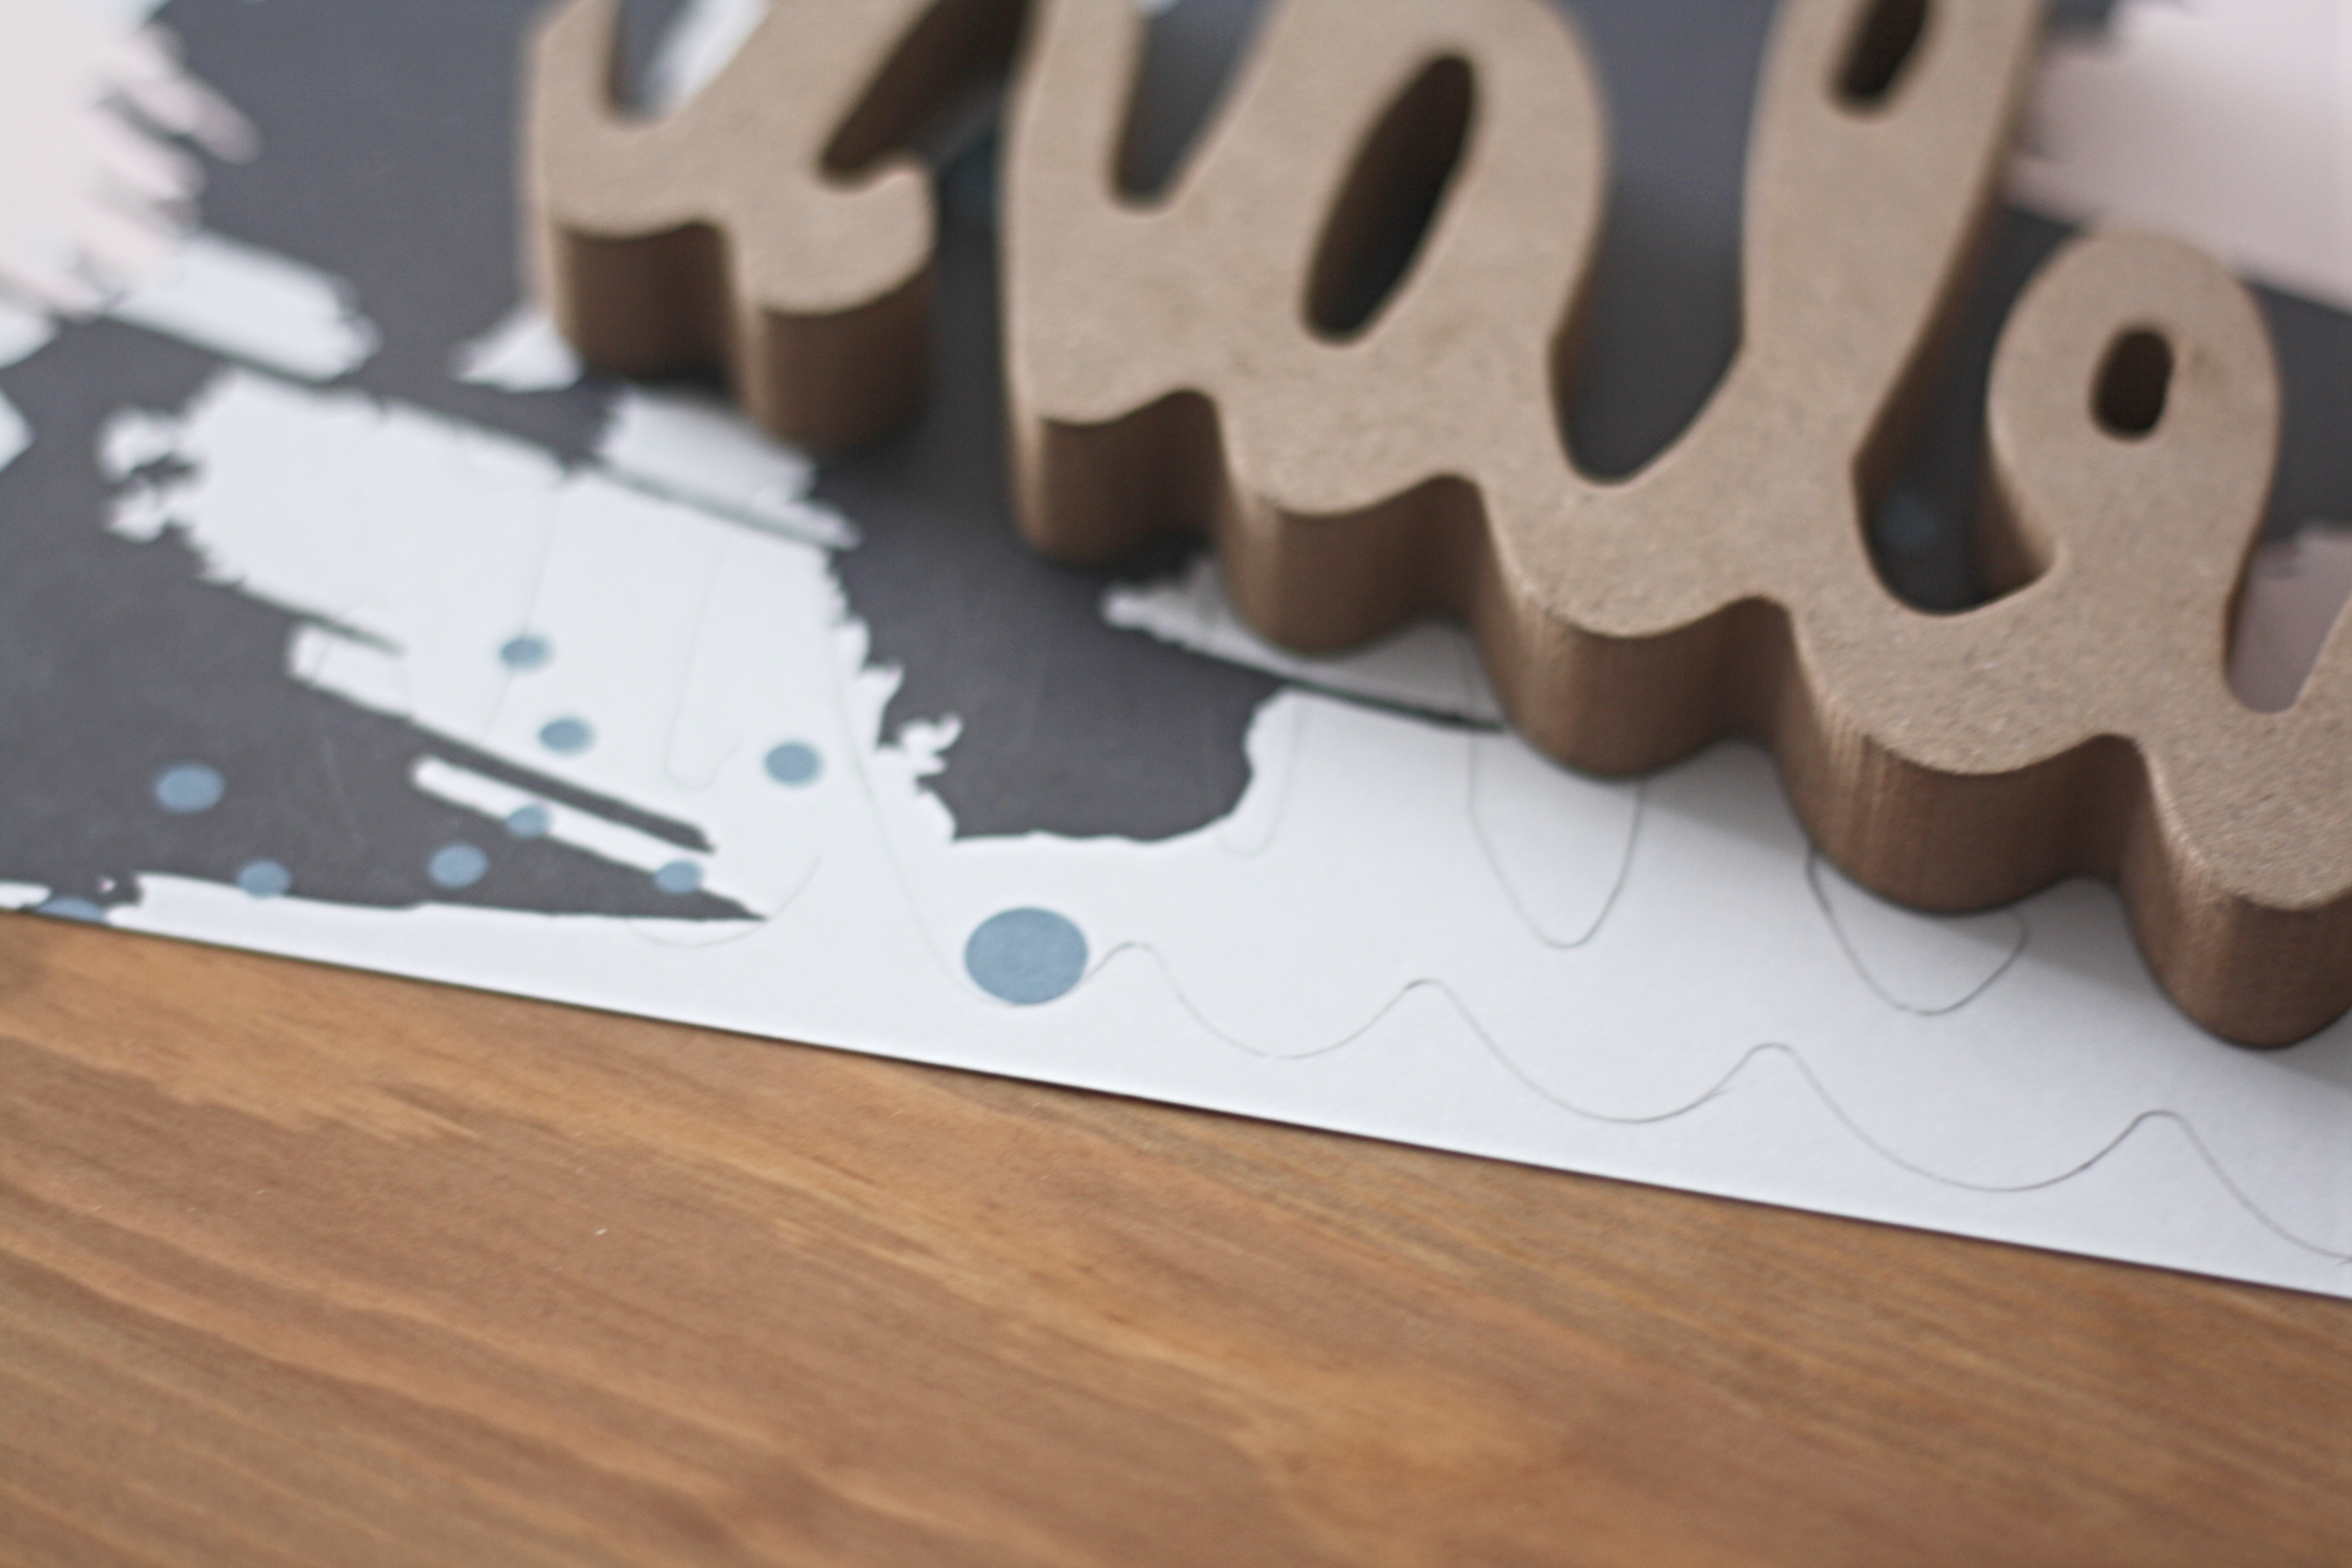
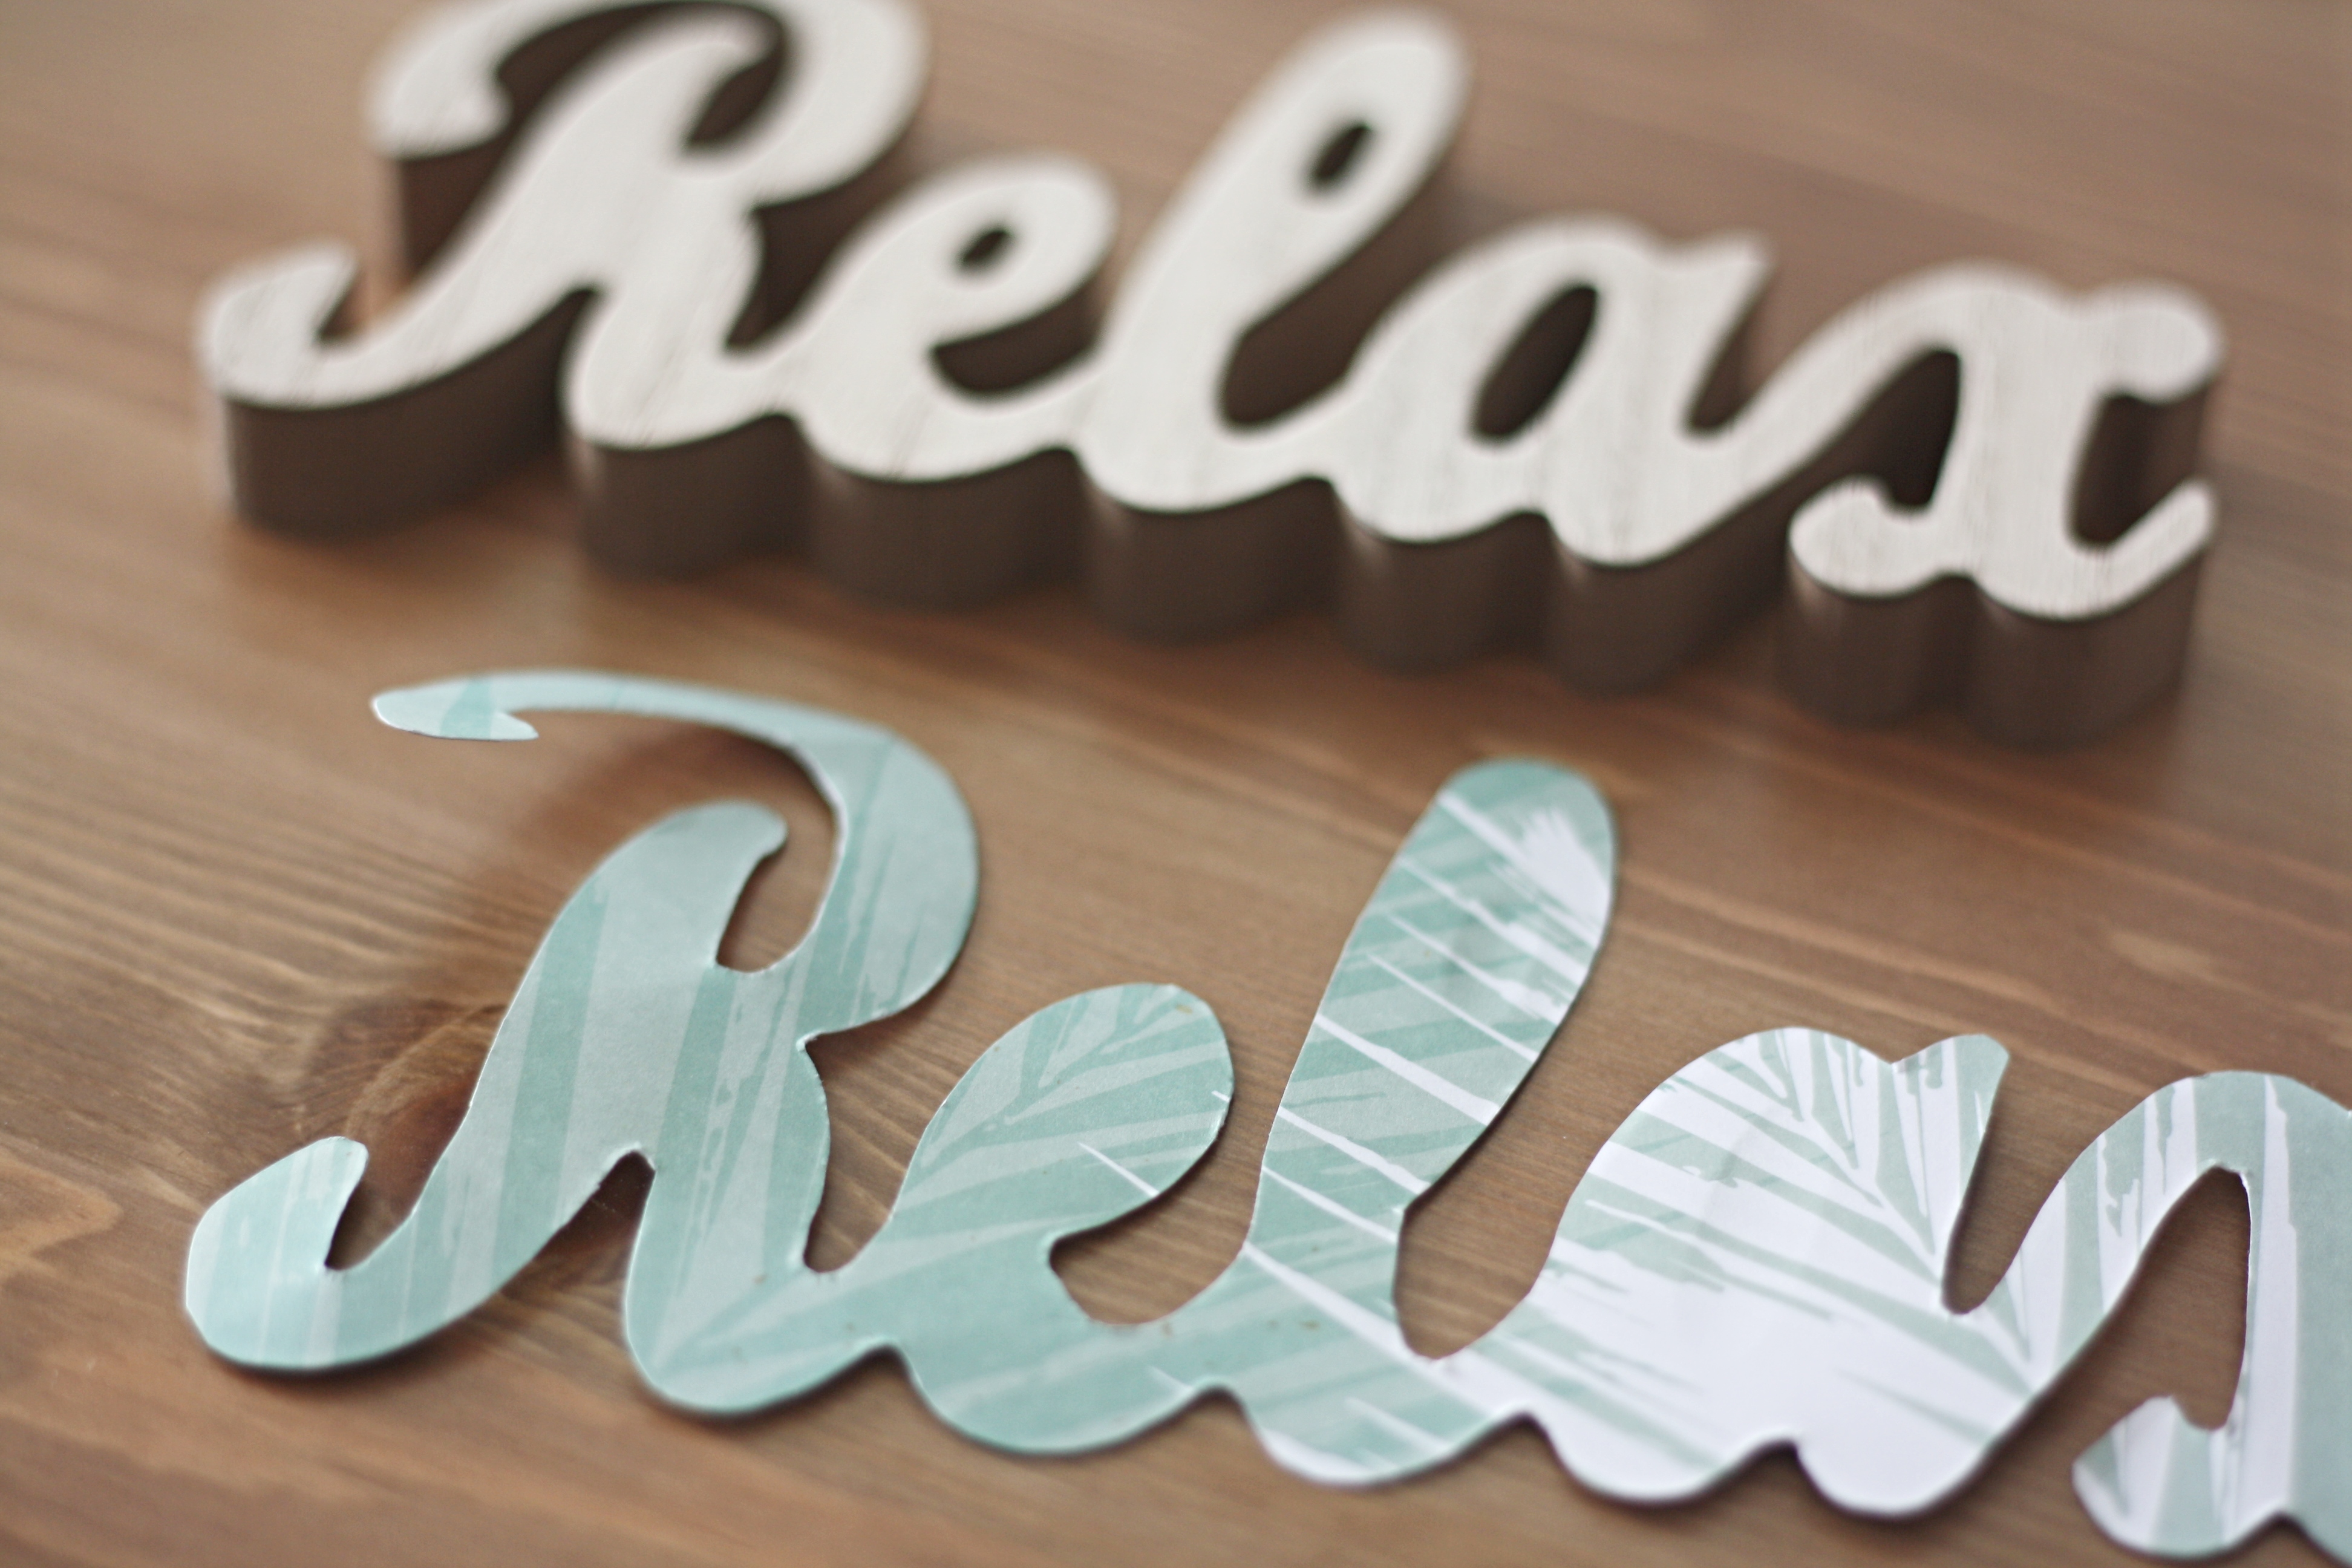
Step one was to draw around my sign face down on the reverse of my paper and cut it out.
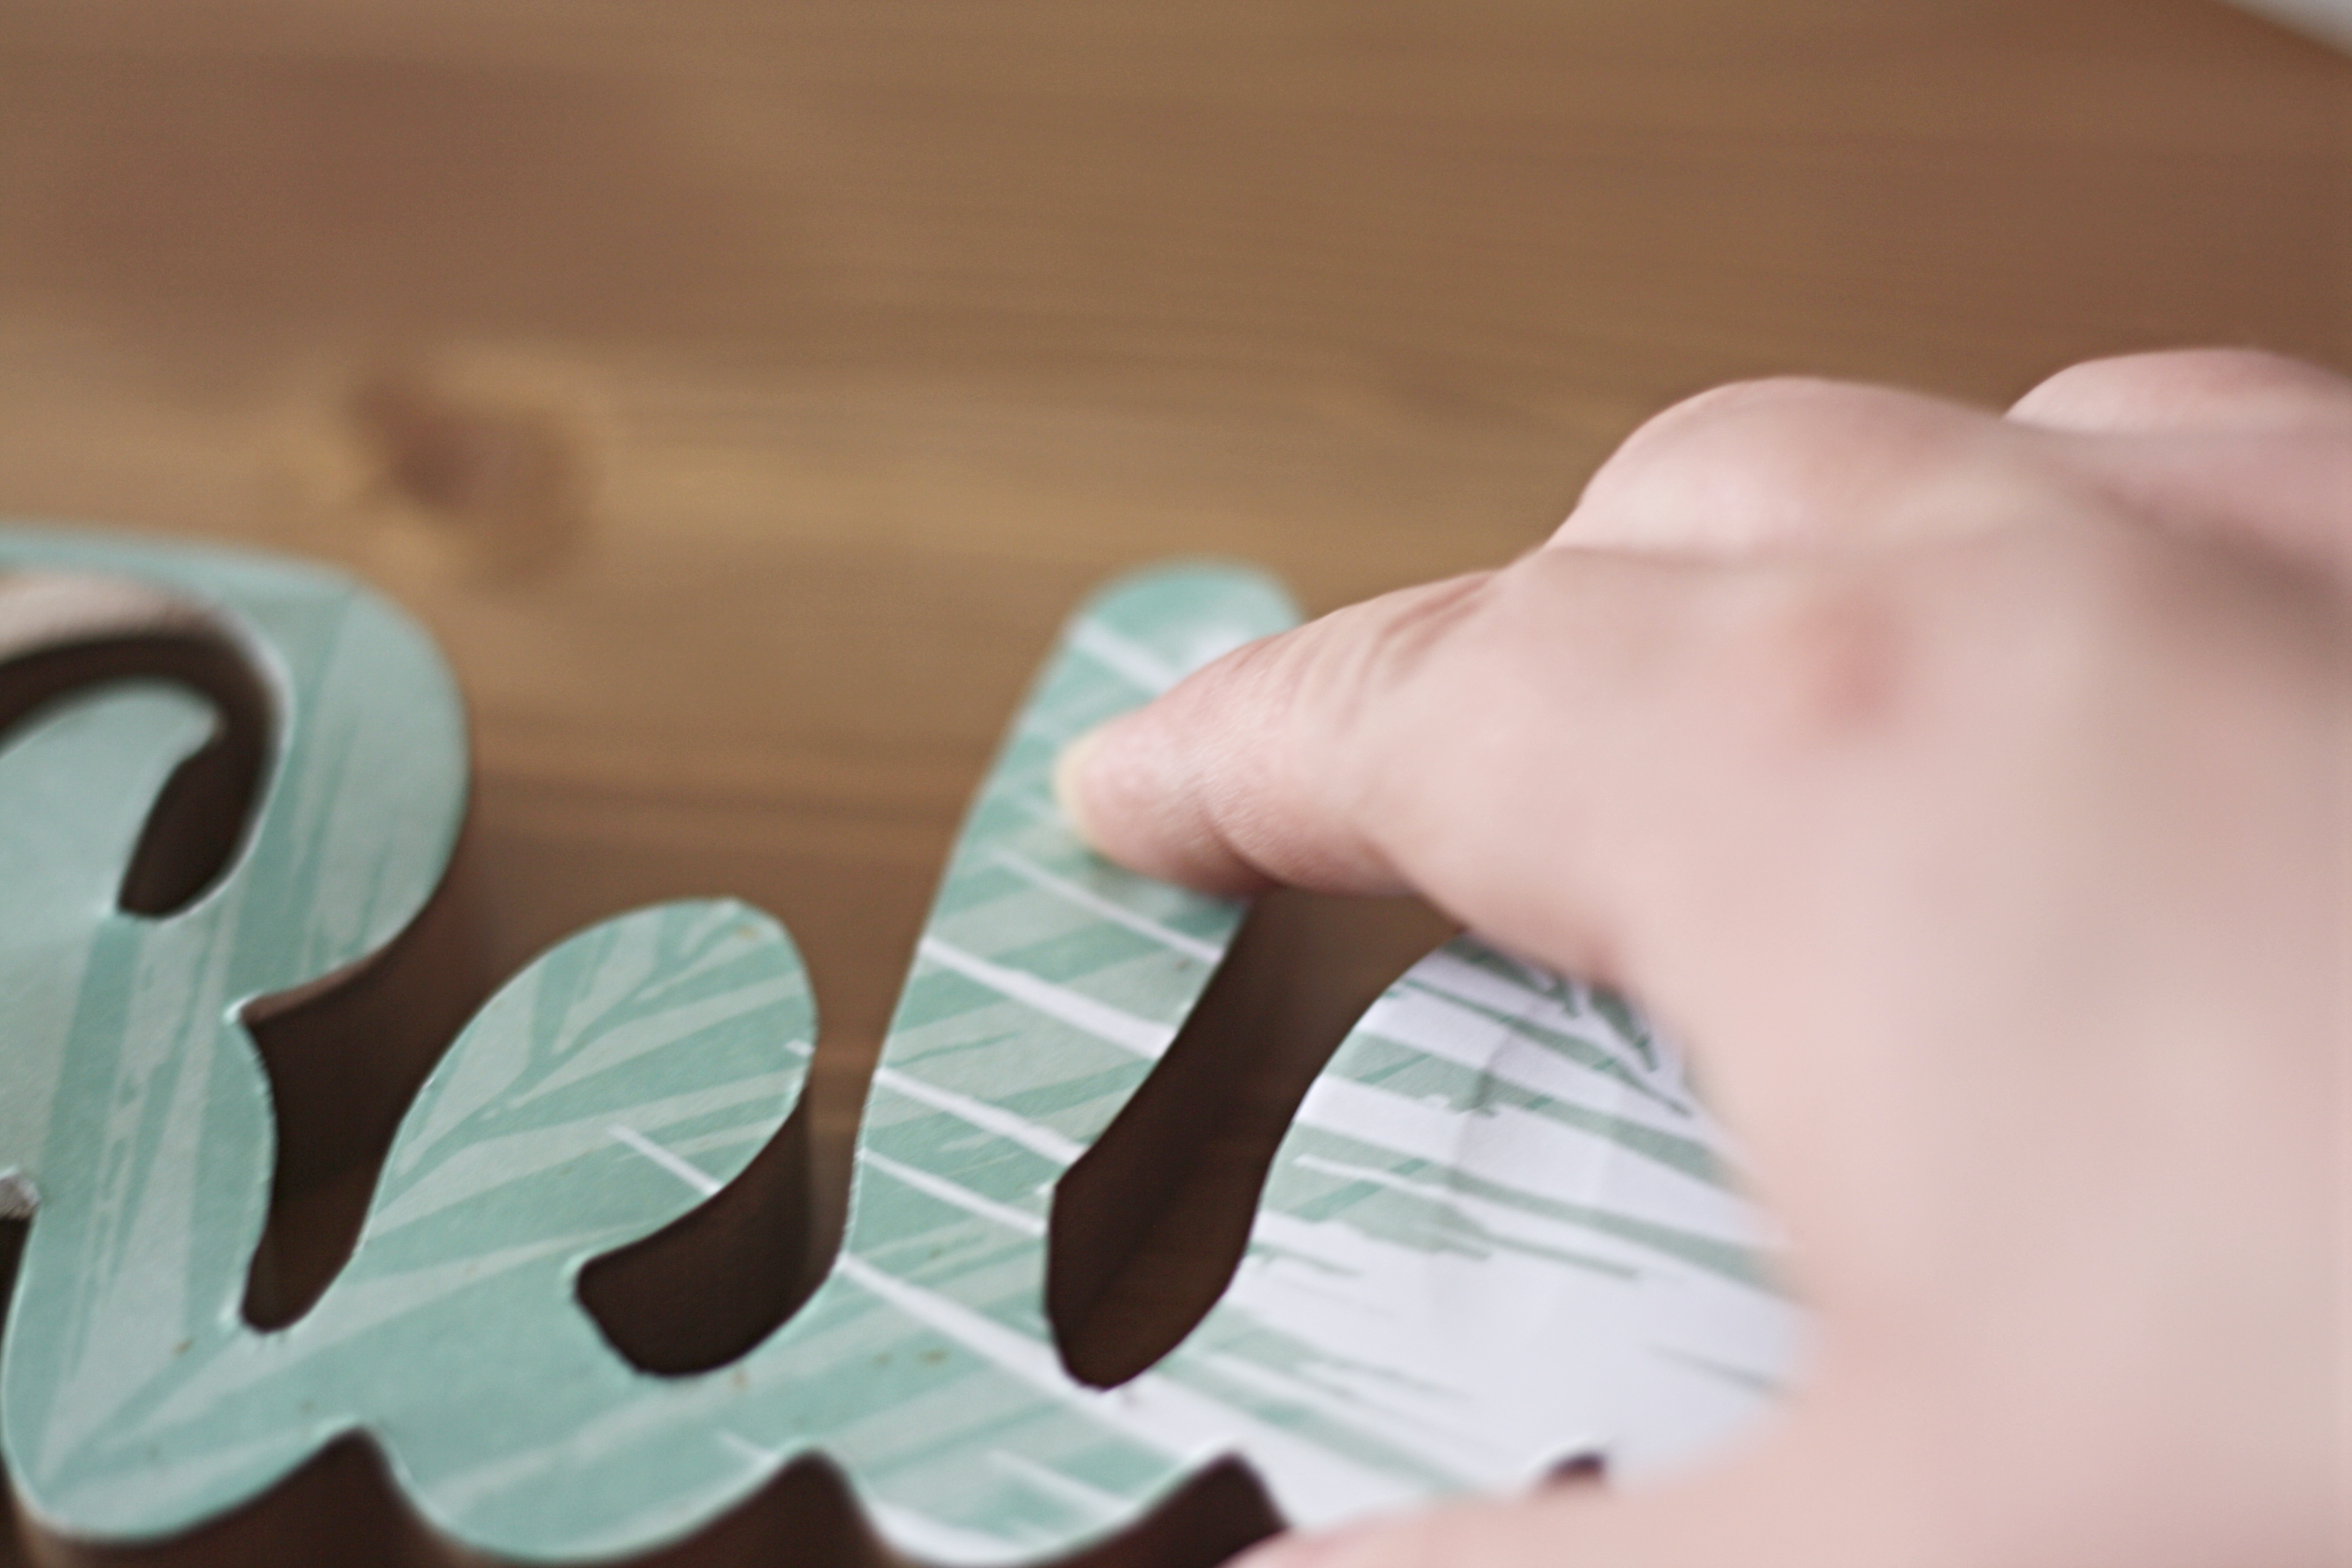
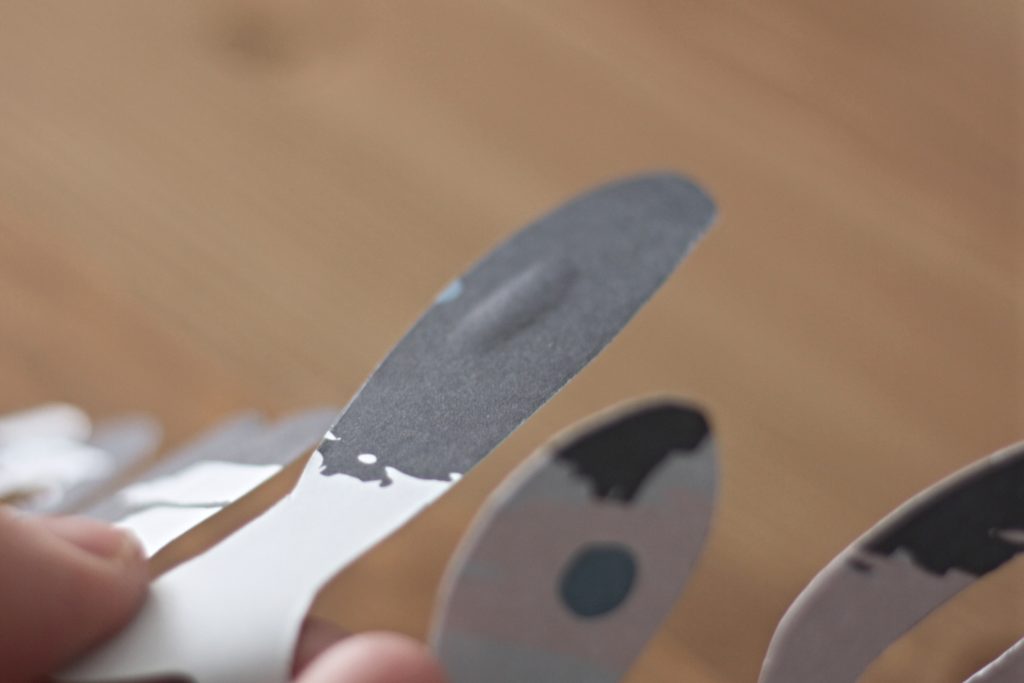
The centre parts of the letters were too small for me to fit the pencil in, so I marked where to cut them out by placing the cut out relax, on top of the wooden relax and rubbing around the edges of the cut outs with my finger. This left an indentation on the paper that I was able to use to see where to cut.
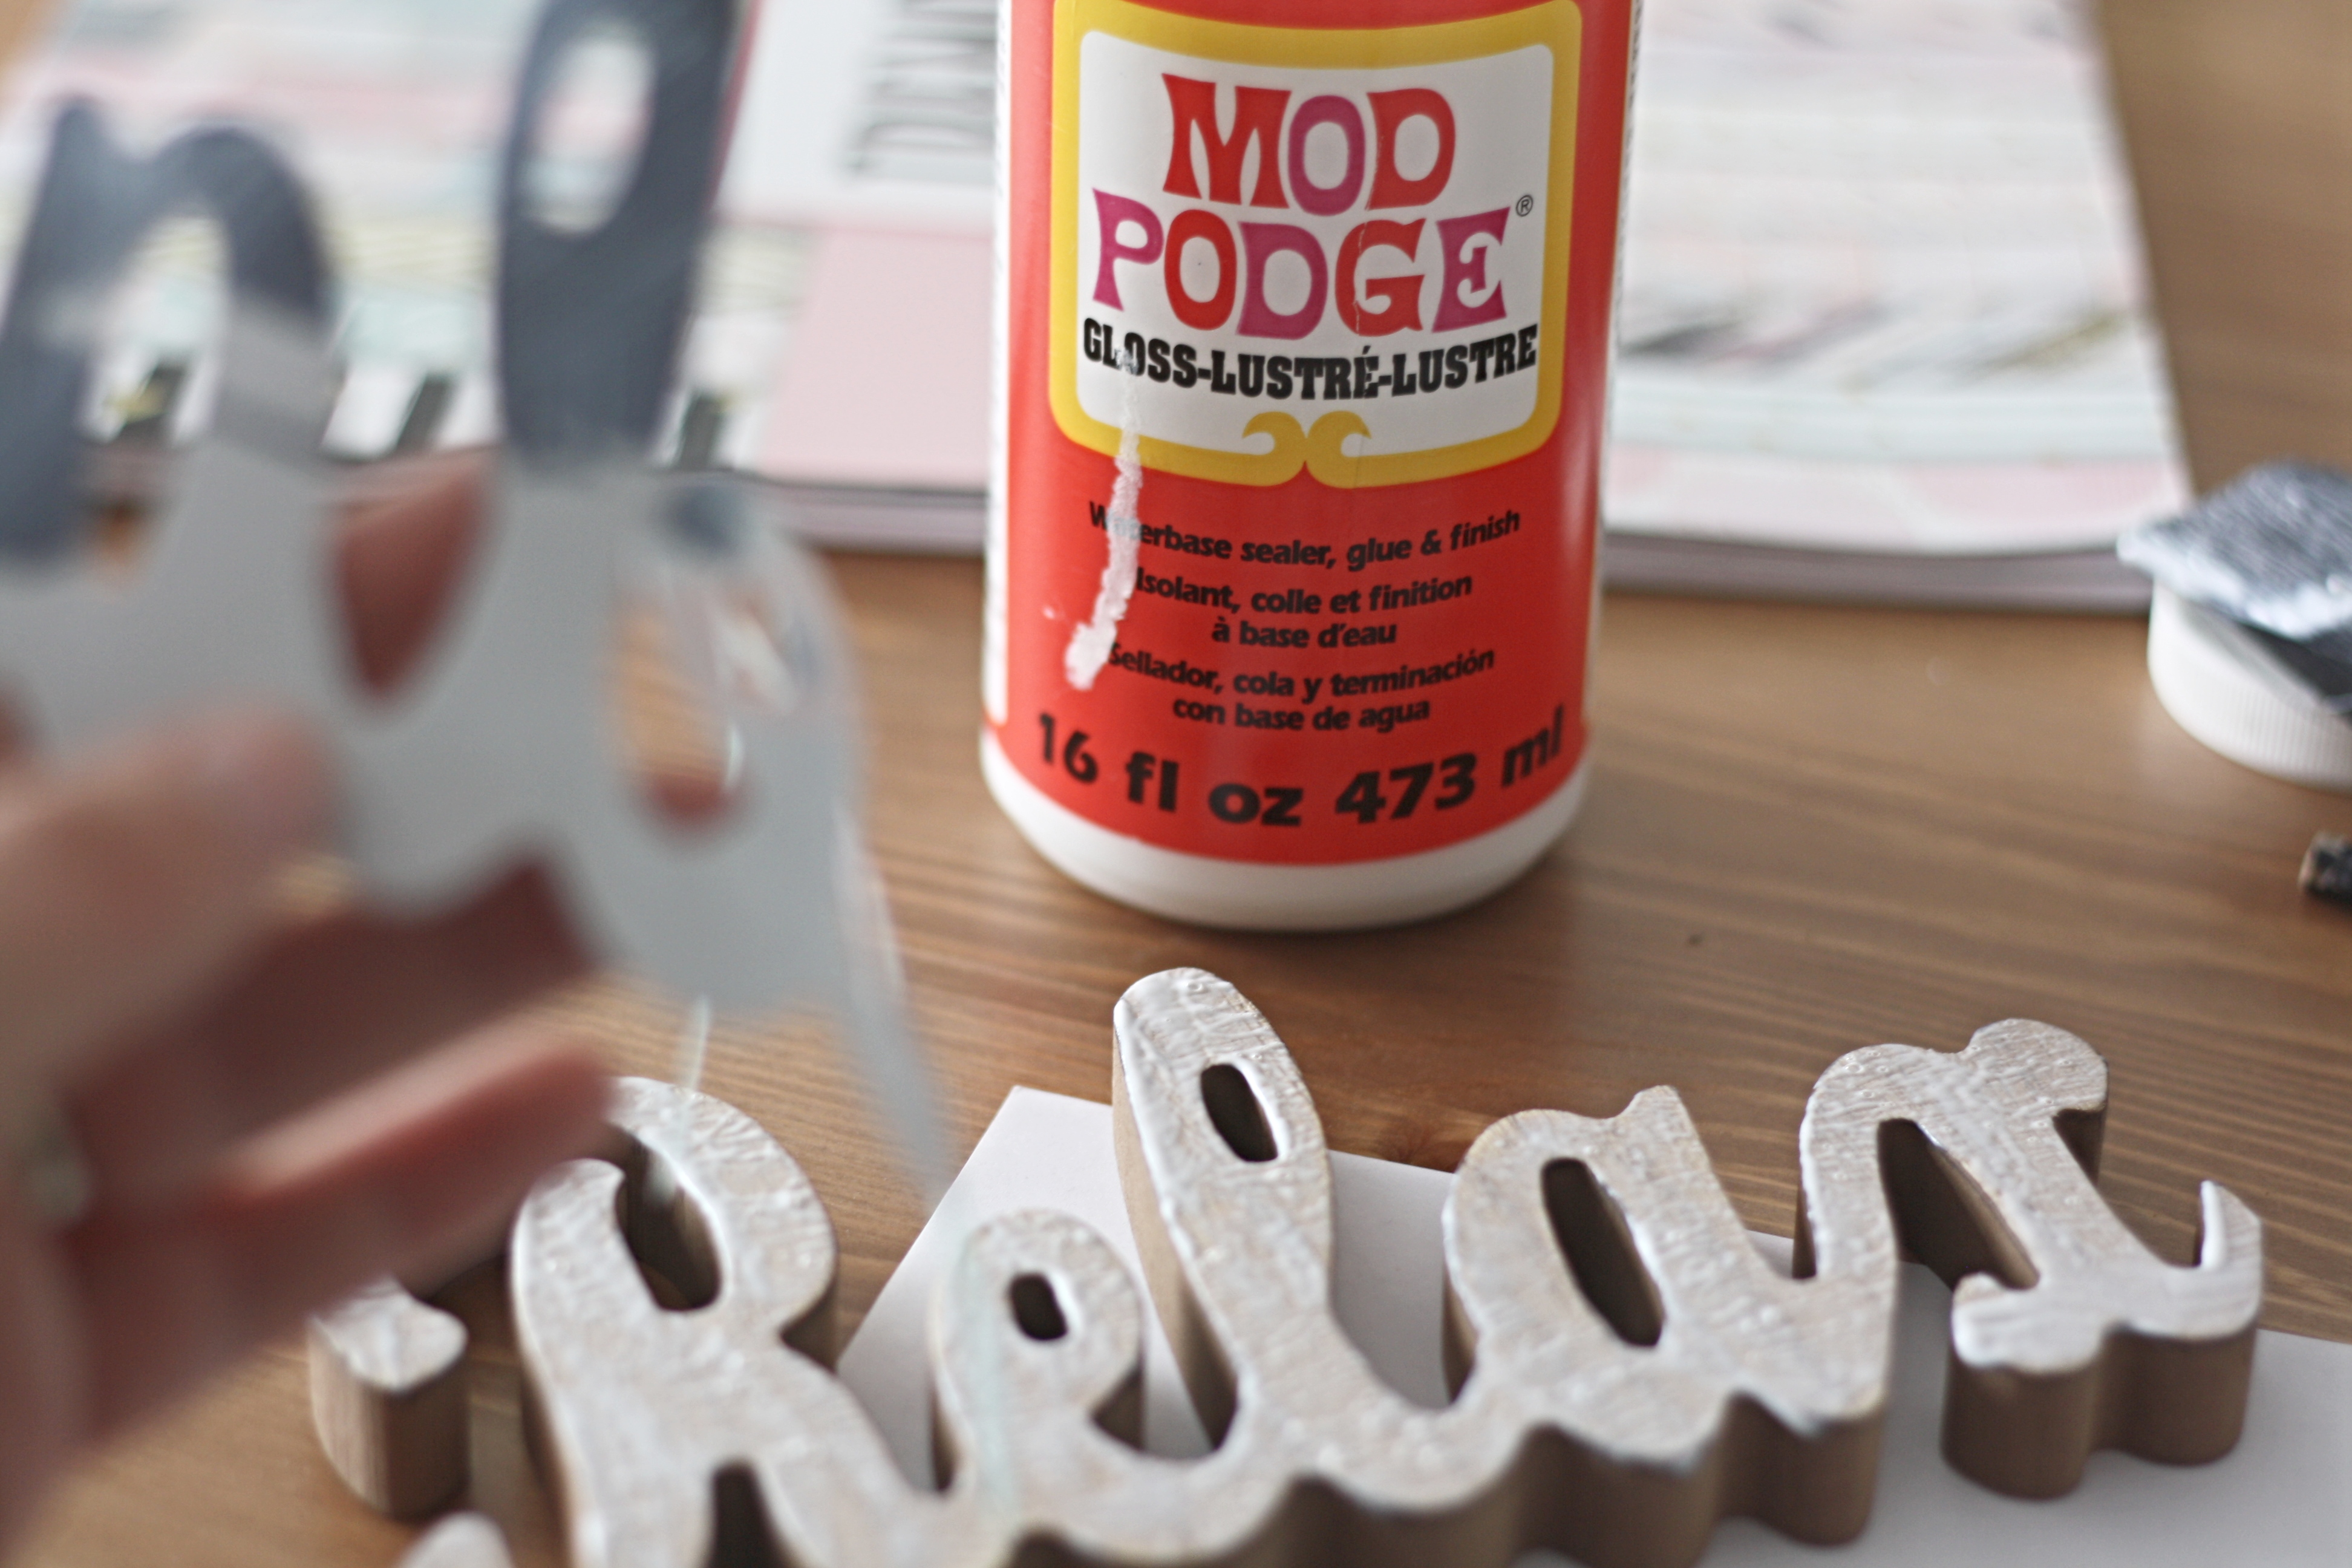
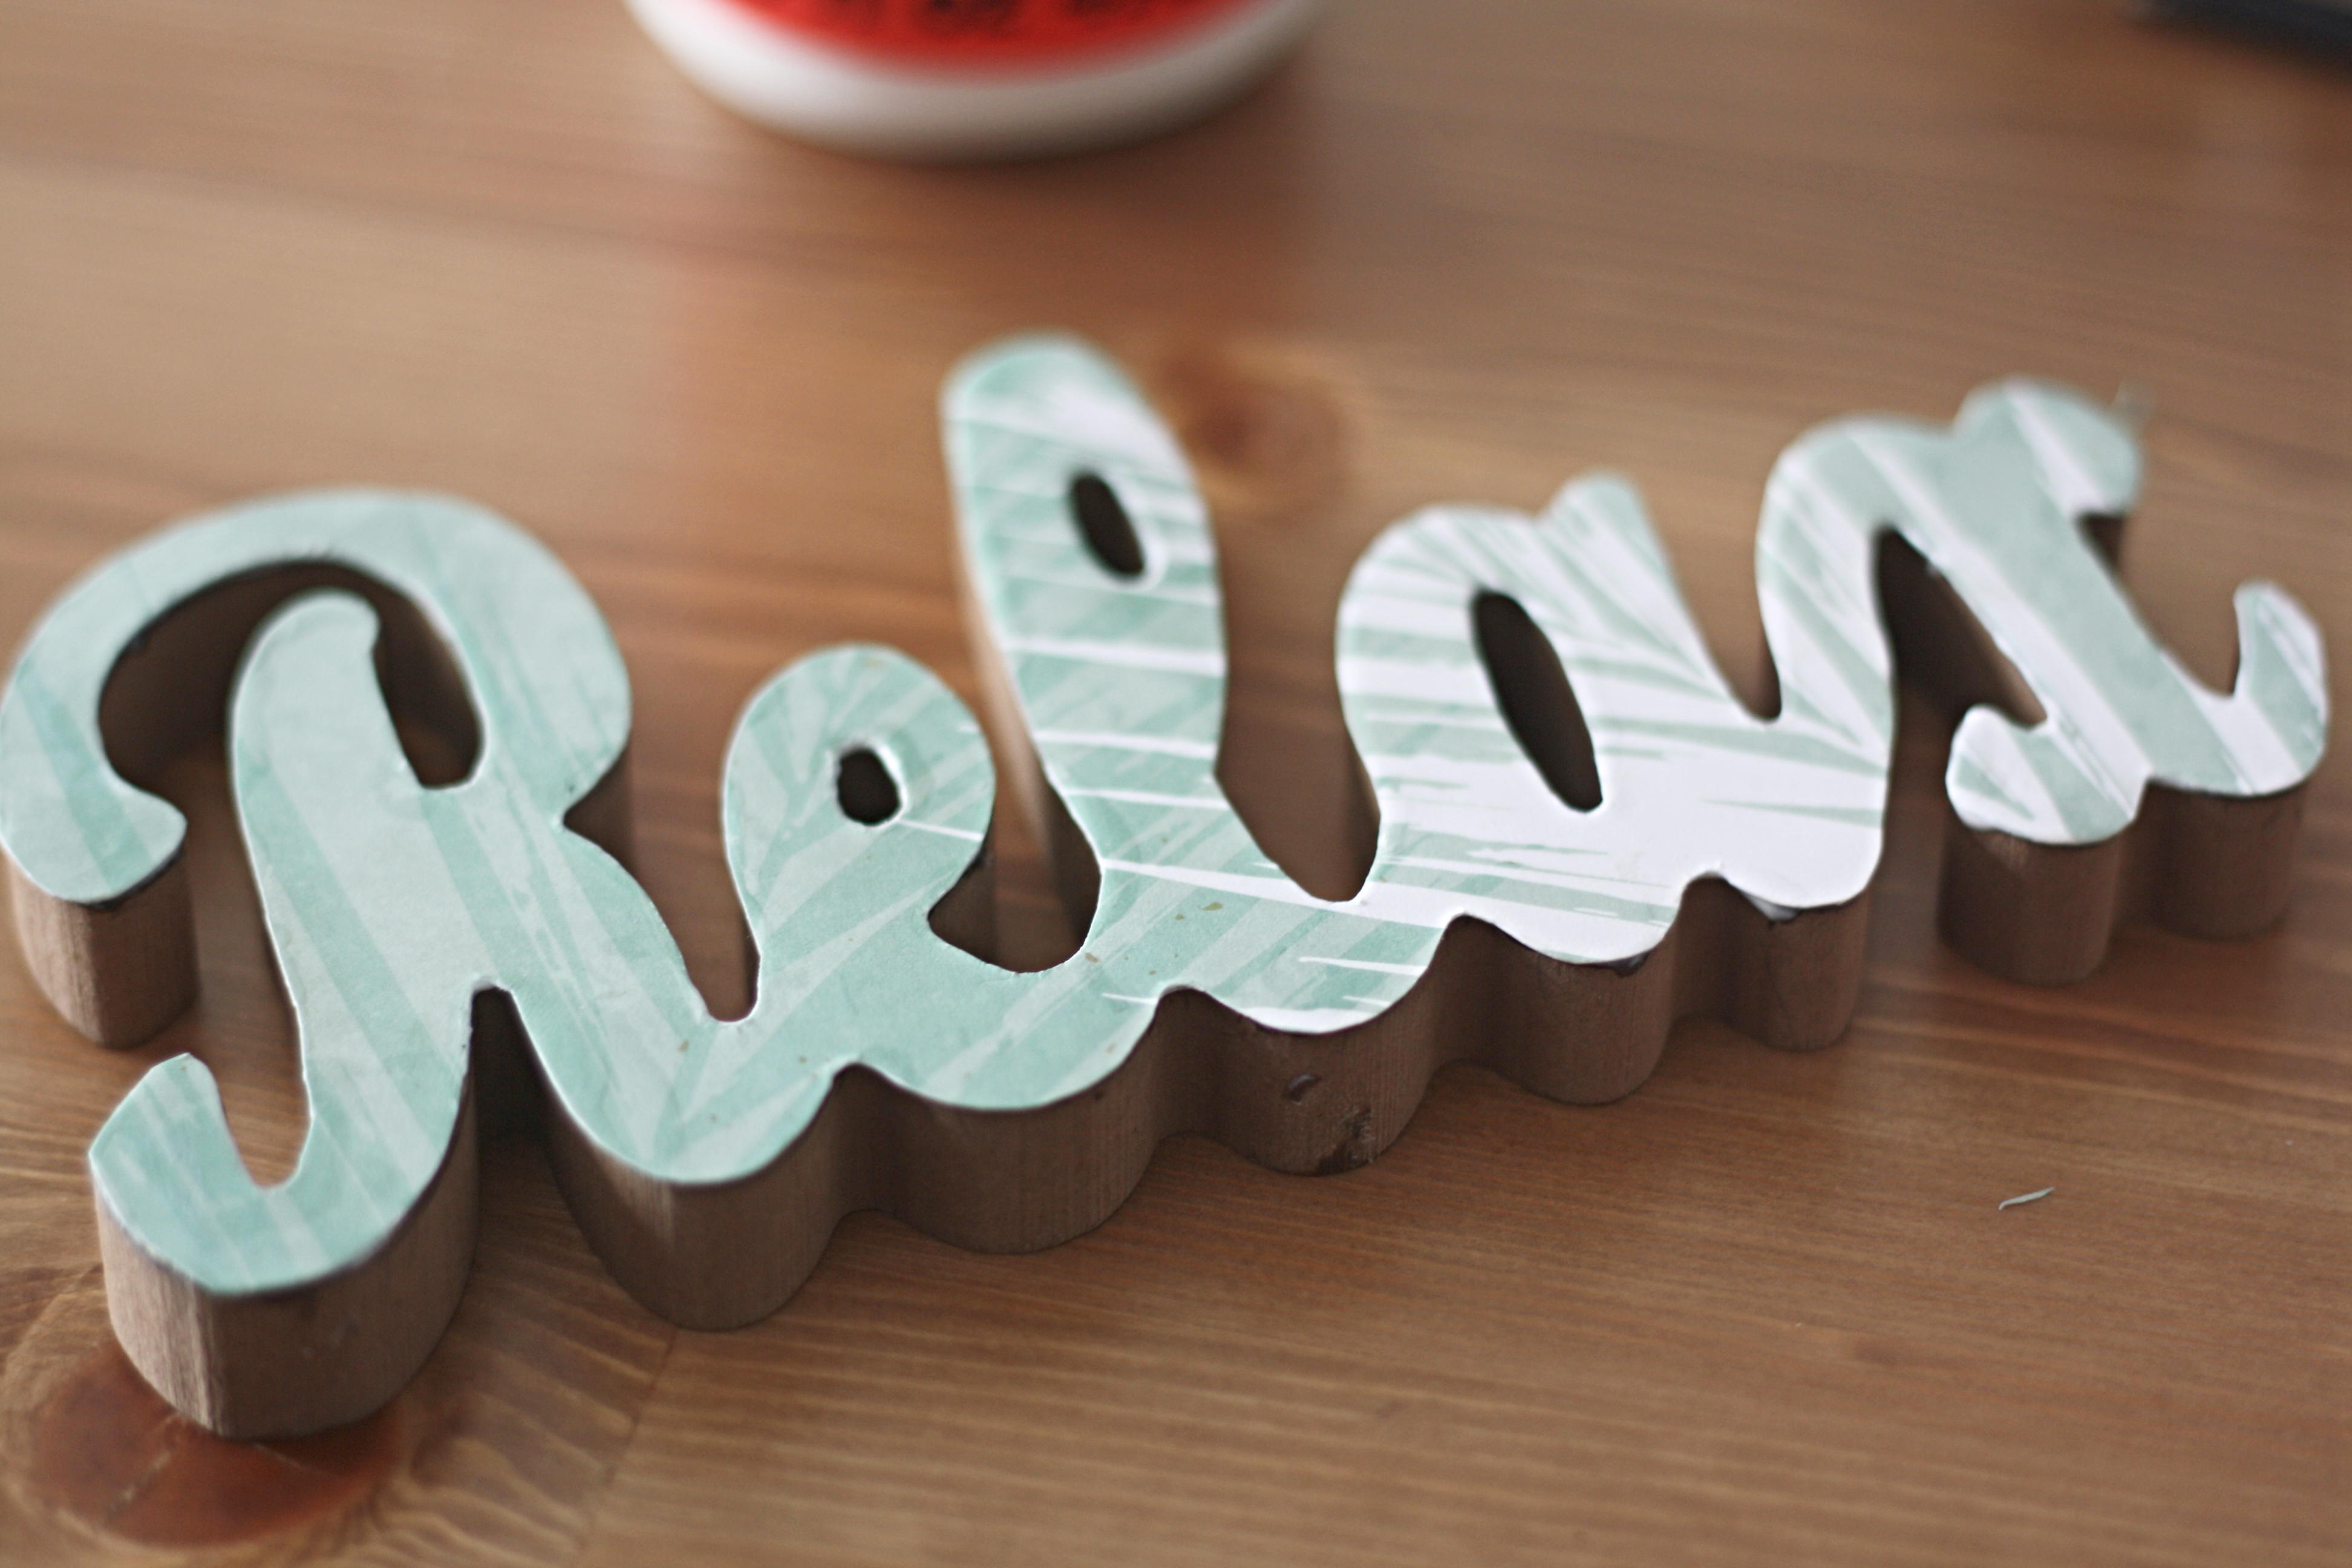
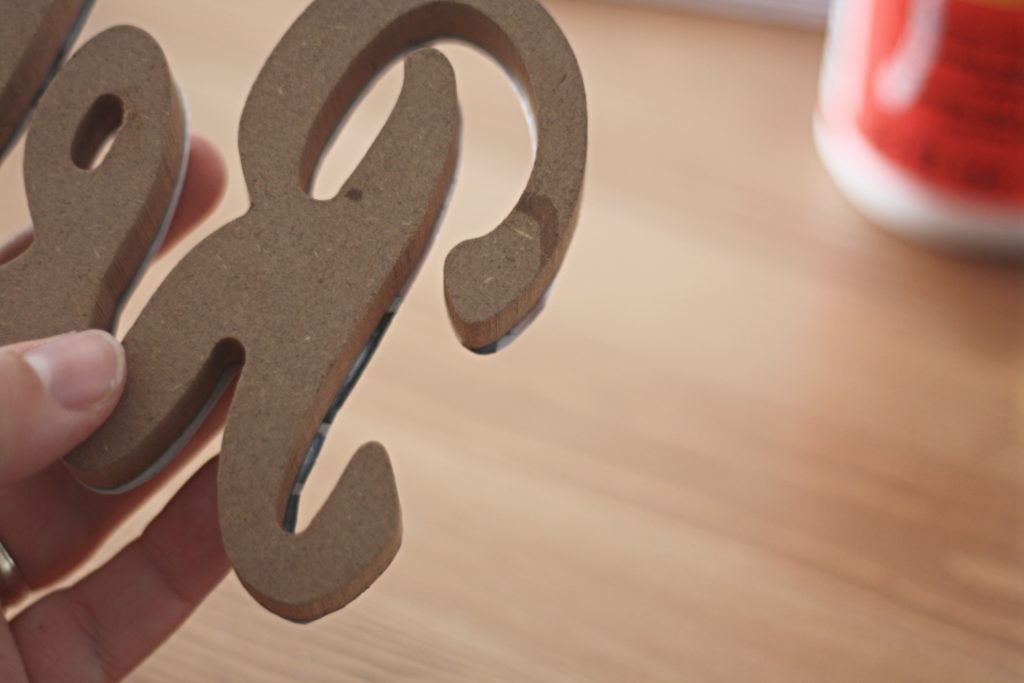
To stick the cut out to the sign I painted a thin coat of Mod Podge to the back of the paper and the front of the sign. Line it up and then stick it down. Leave it to dry.
There were a few edges that over-lapped the wooden sign so I trimmed these off using a craft knife.
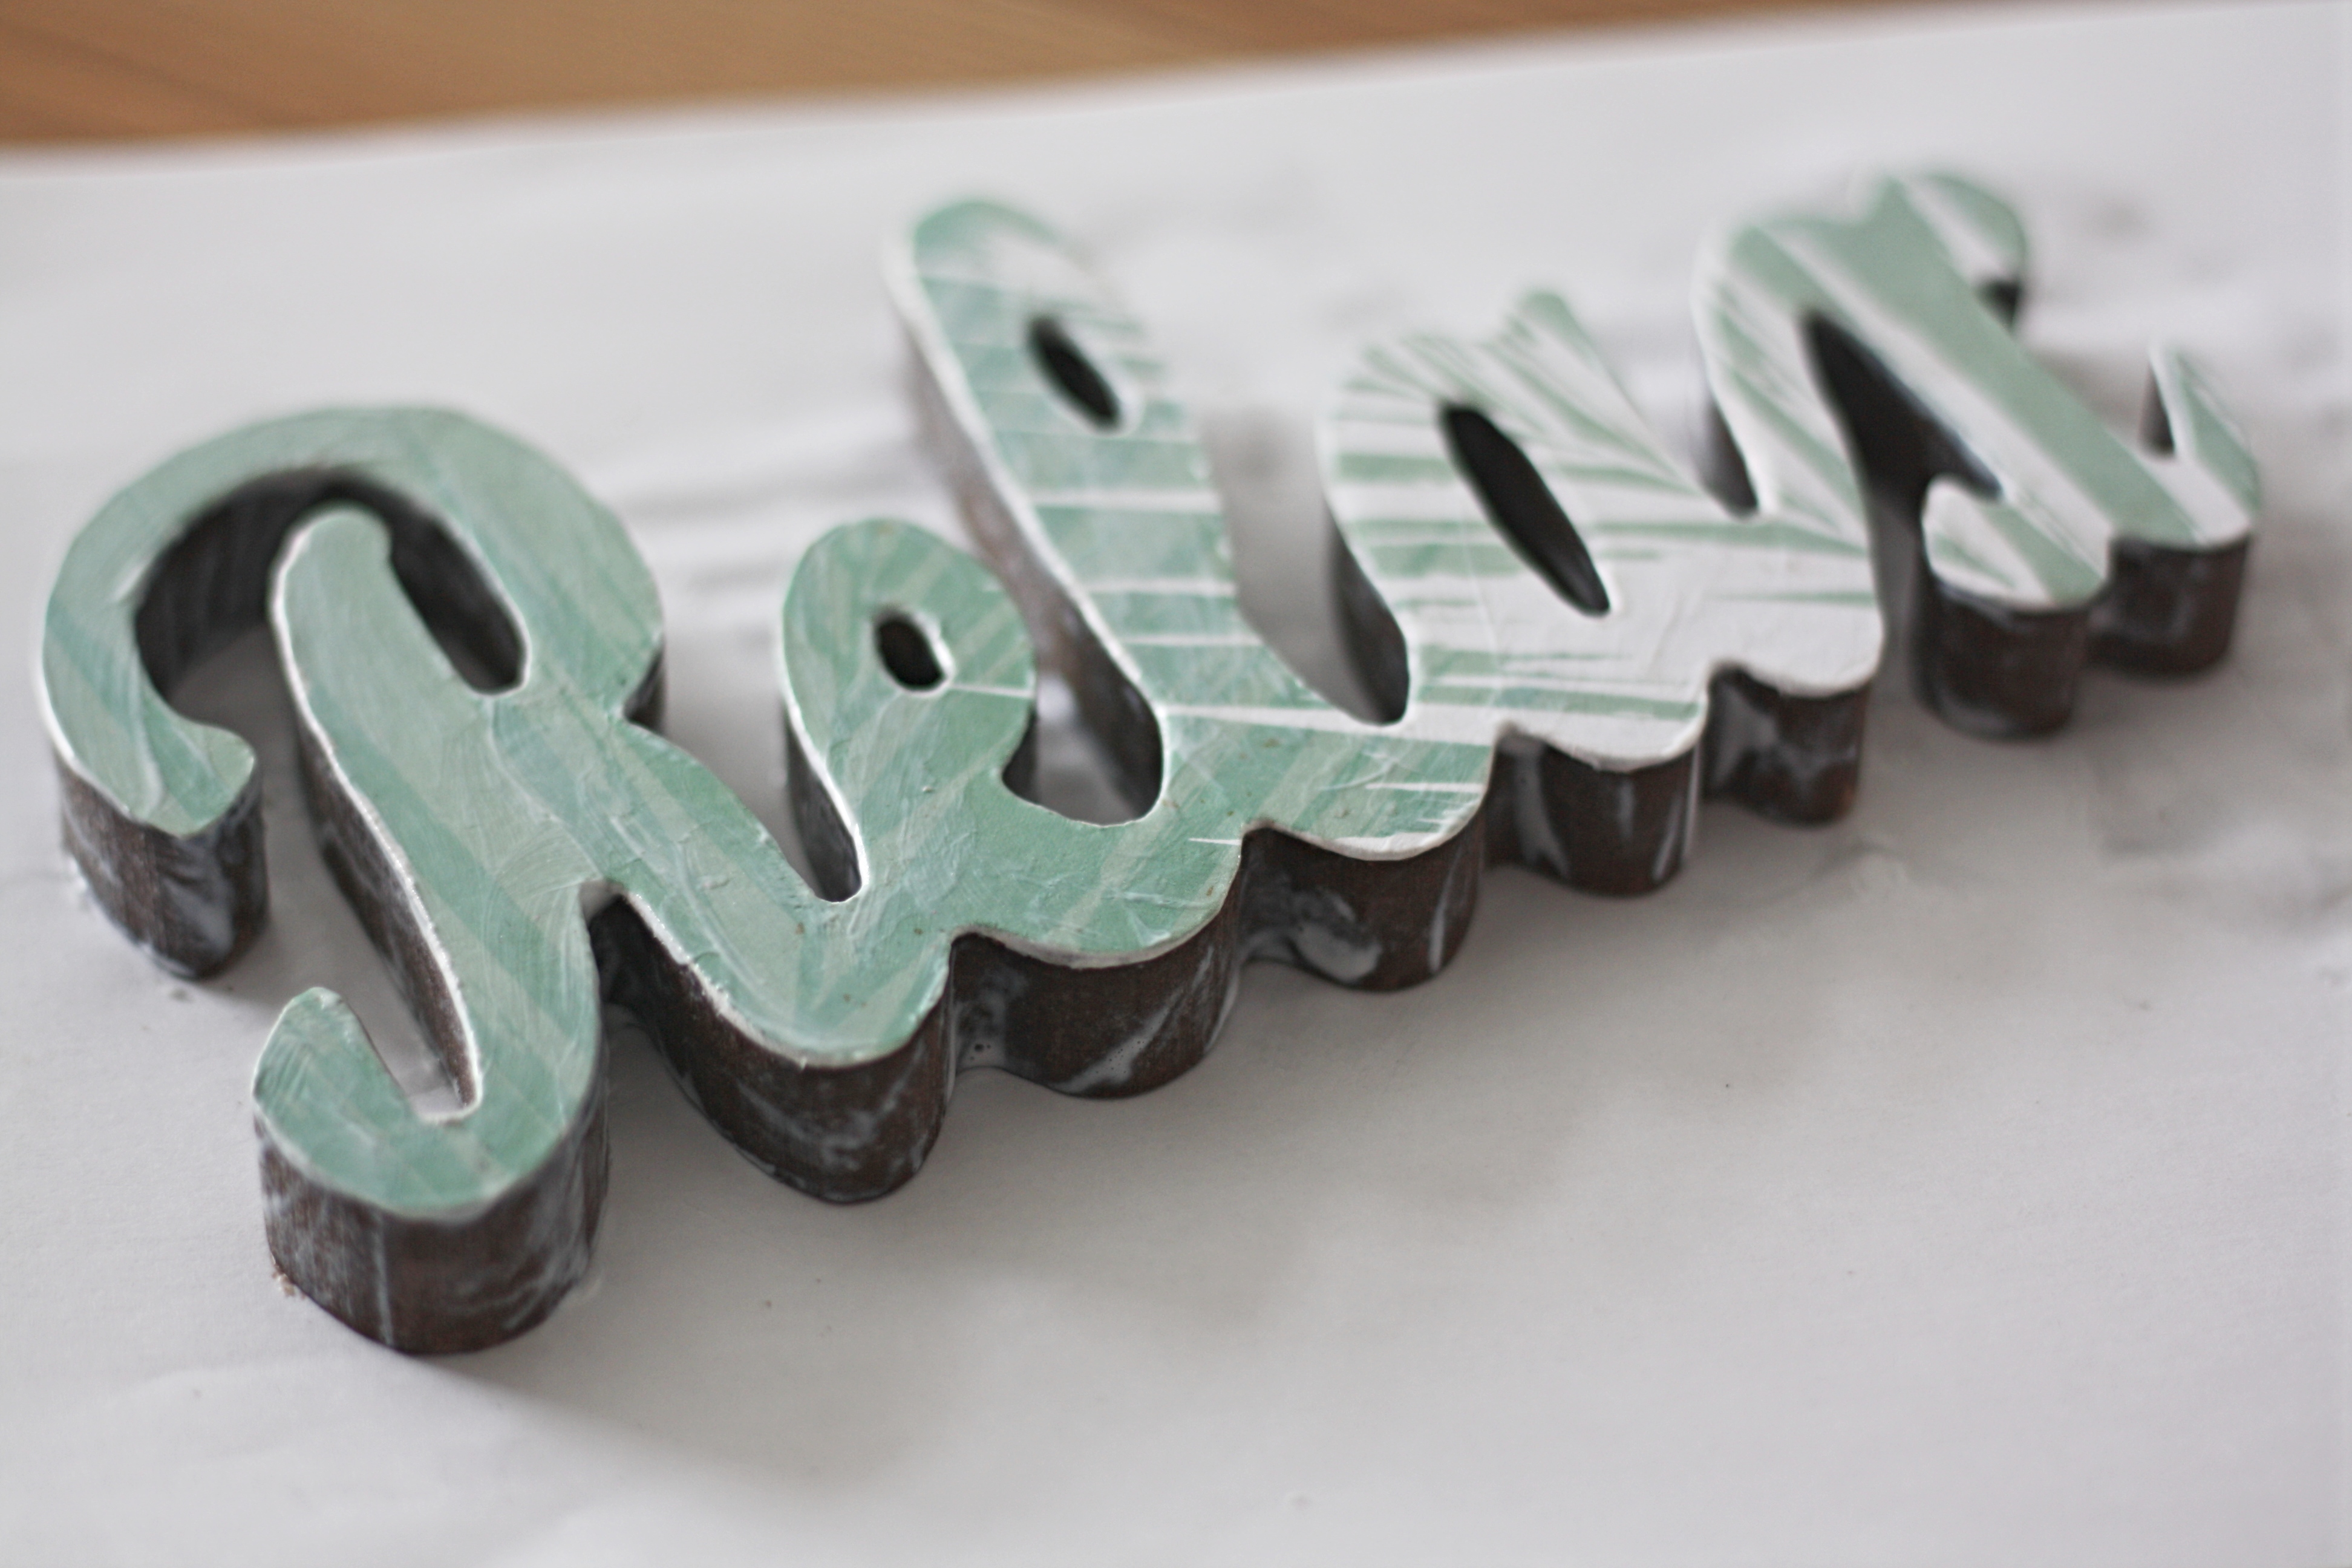
The front and edges then got a thin coat of Mod Podge to make sure the paper was fully stuck and sealed. Make sure that it is completely dry before moving on to the next step as you do not want any glitter on the front of the sign.
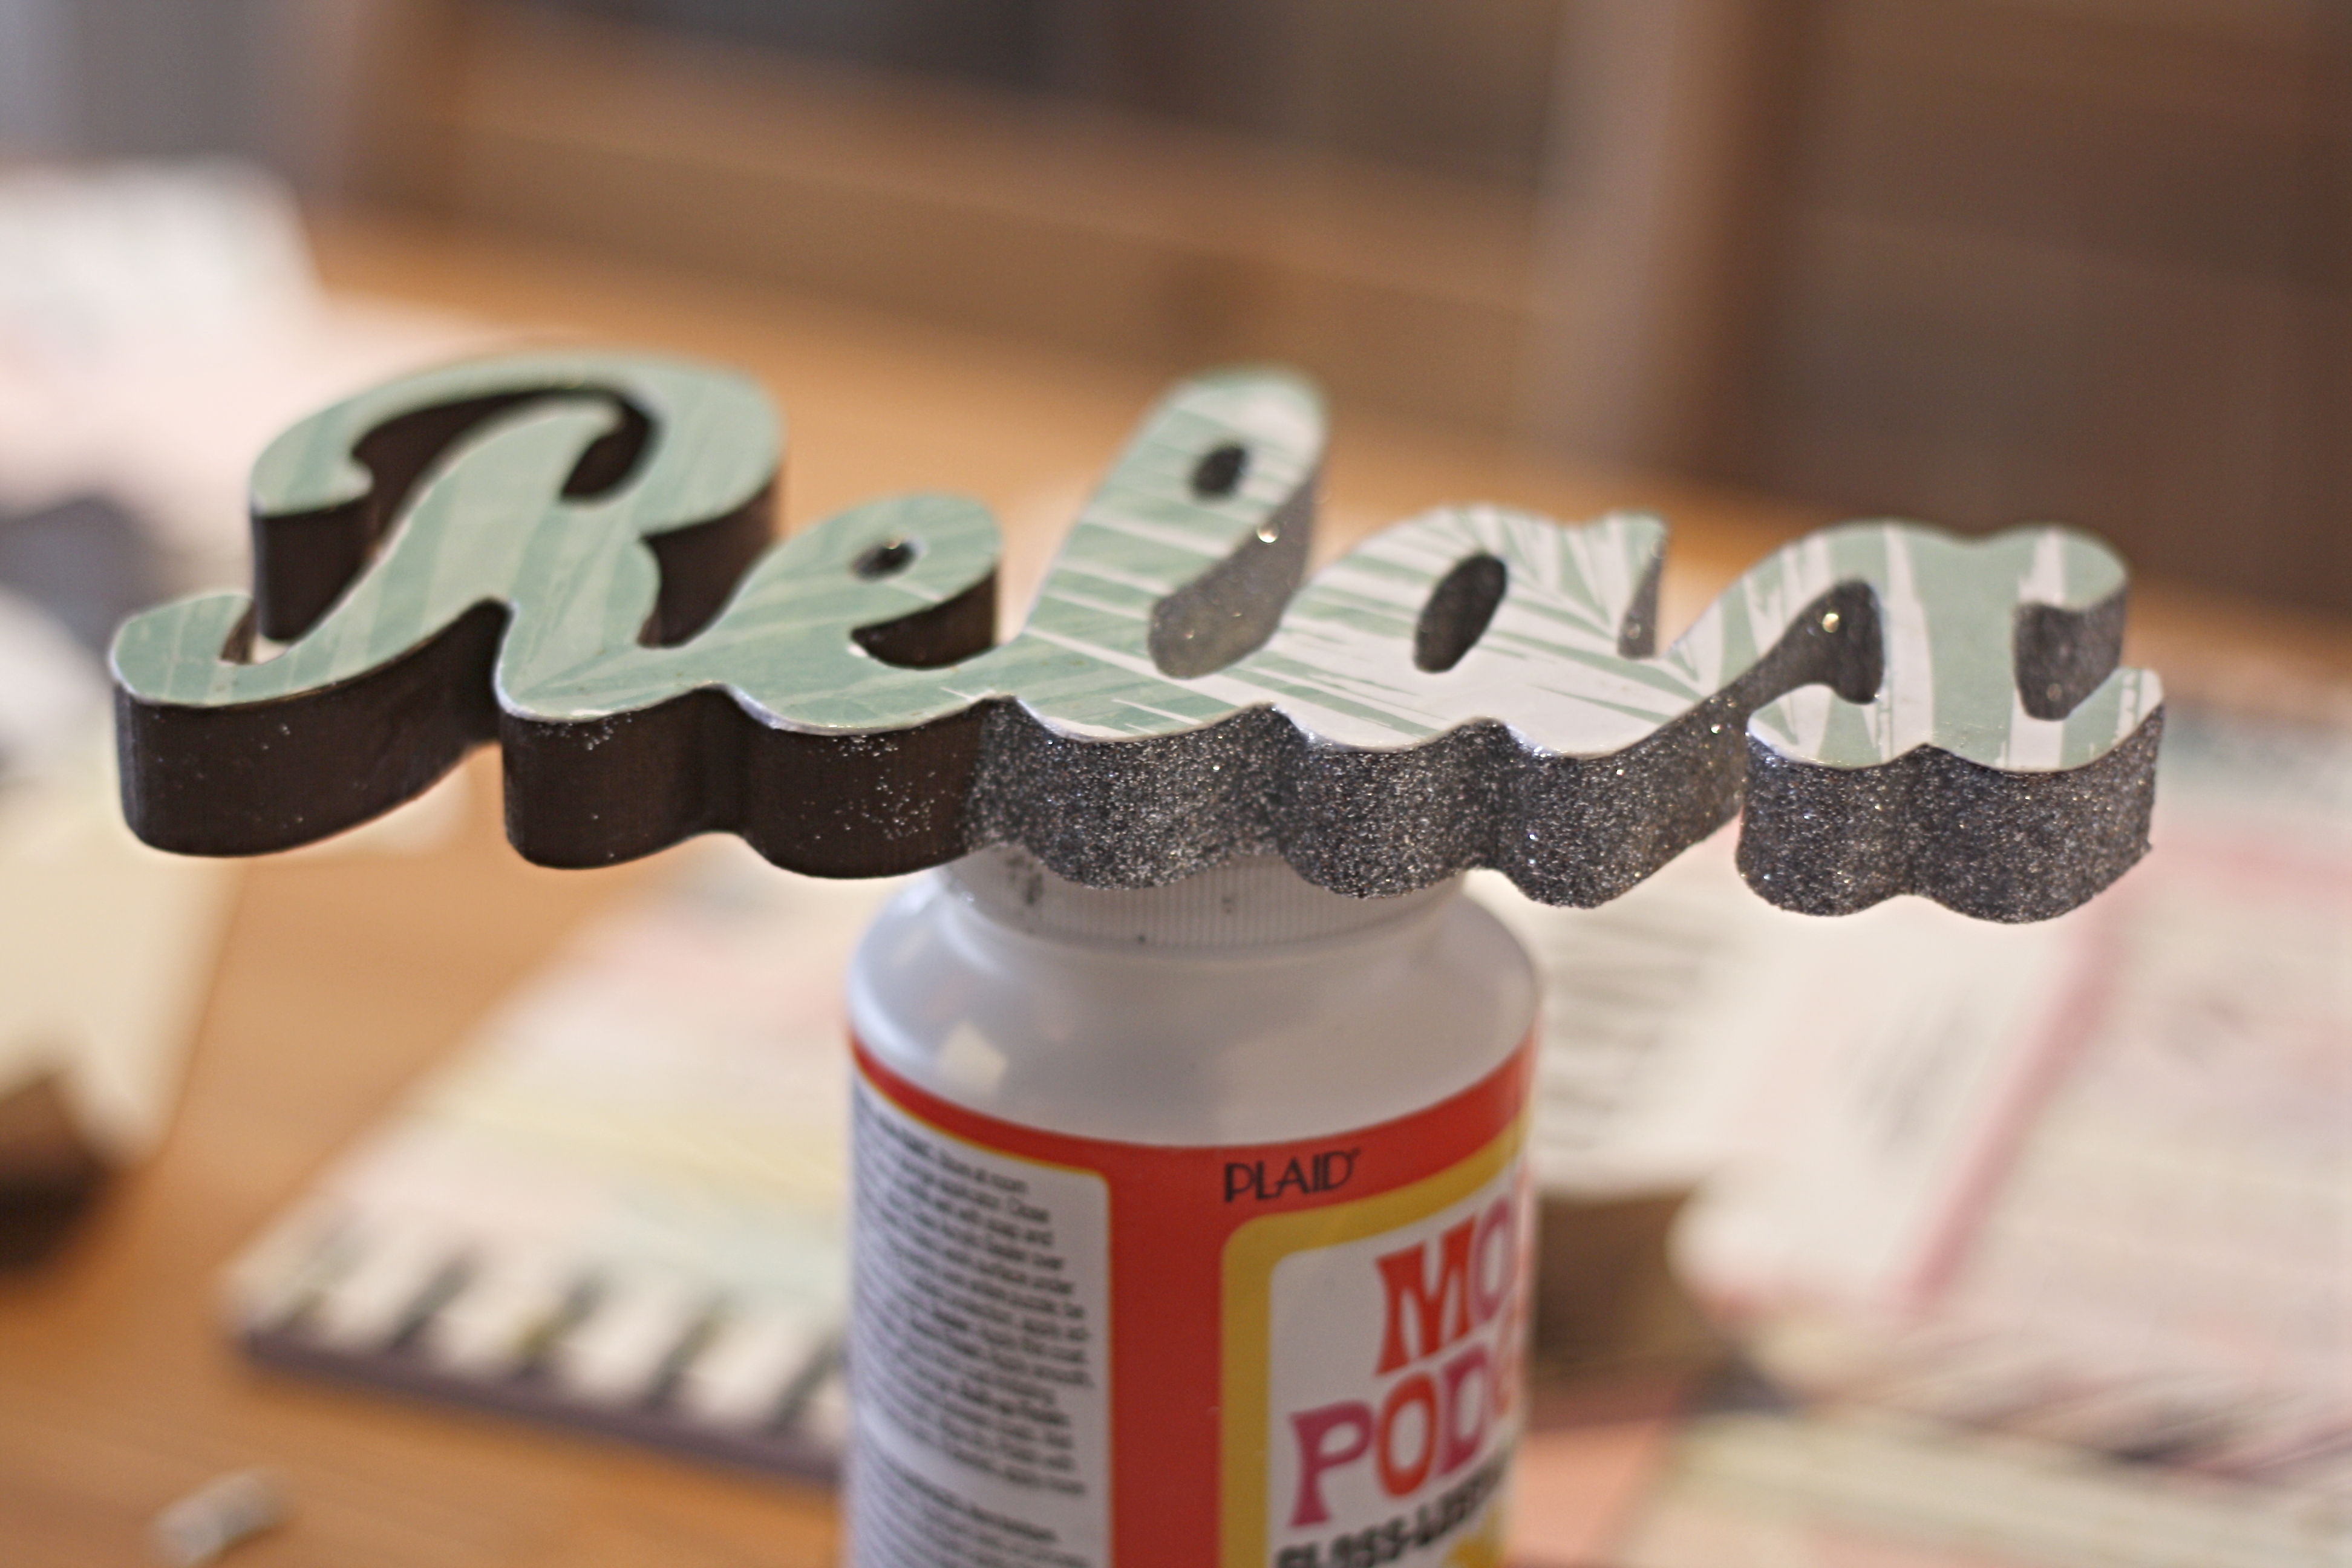
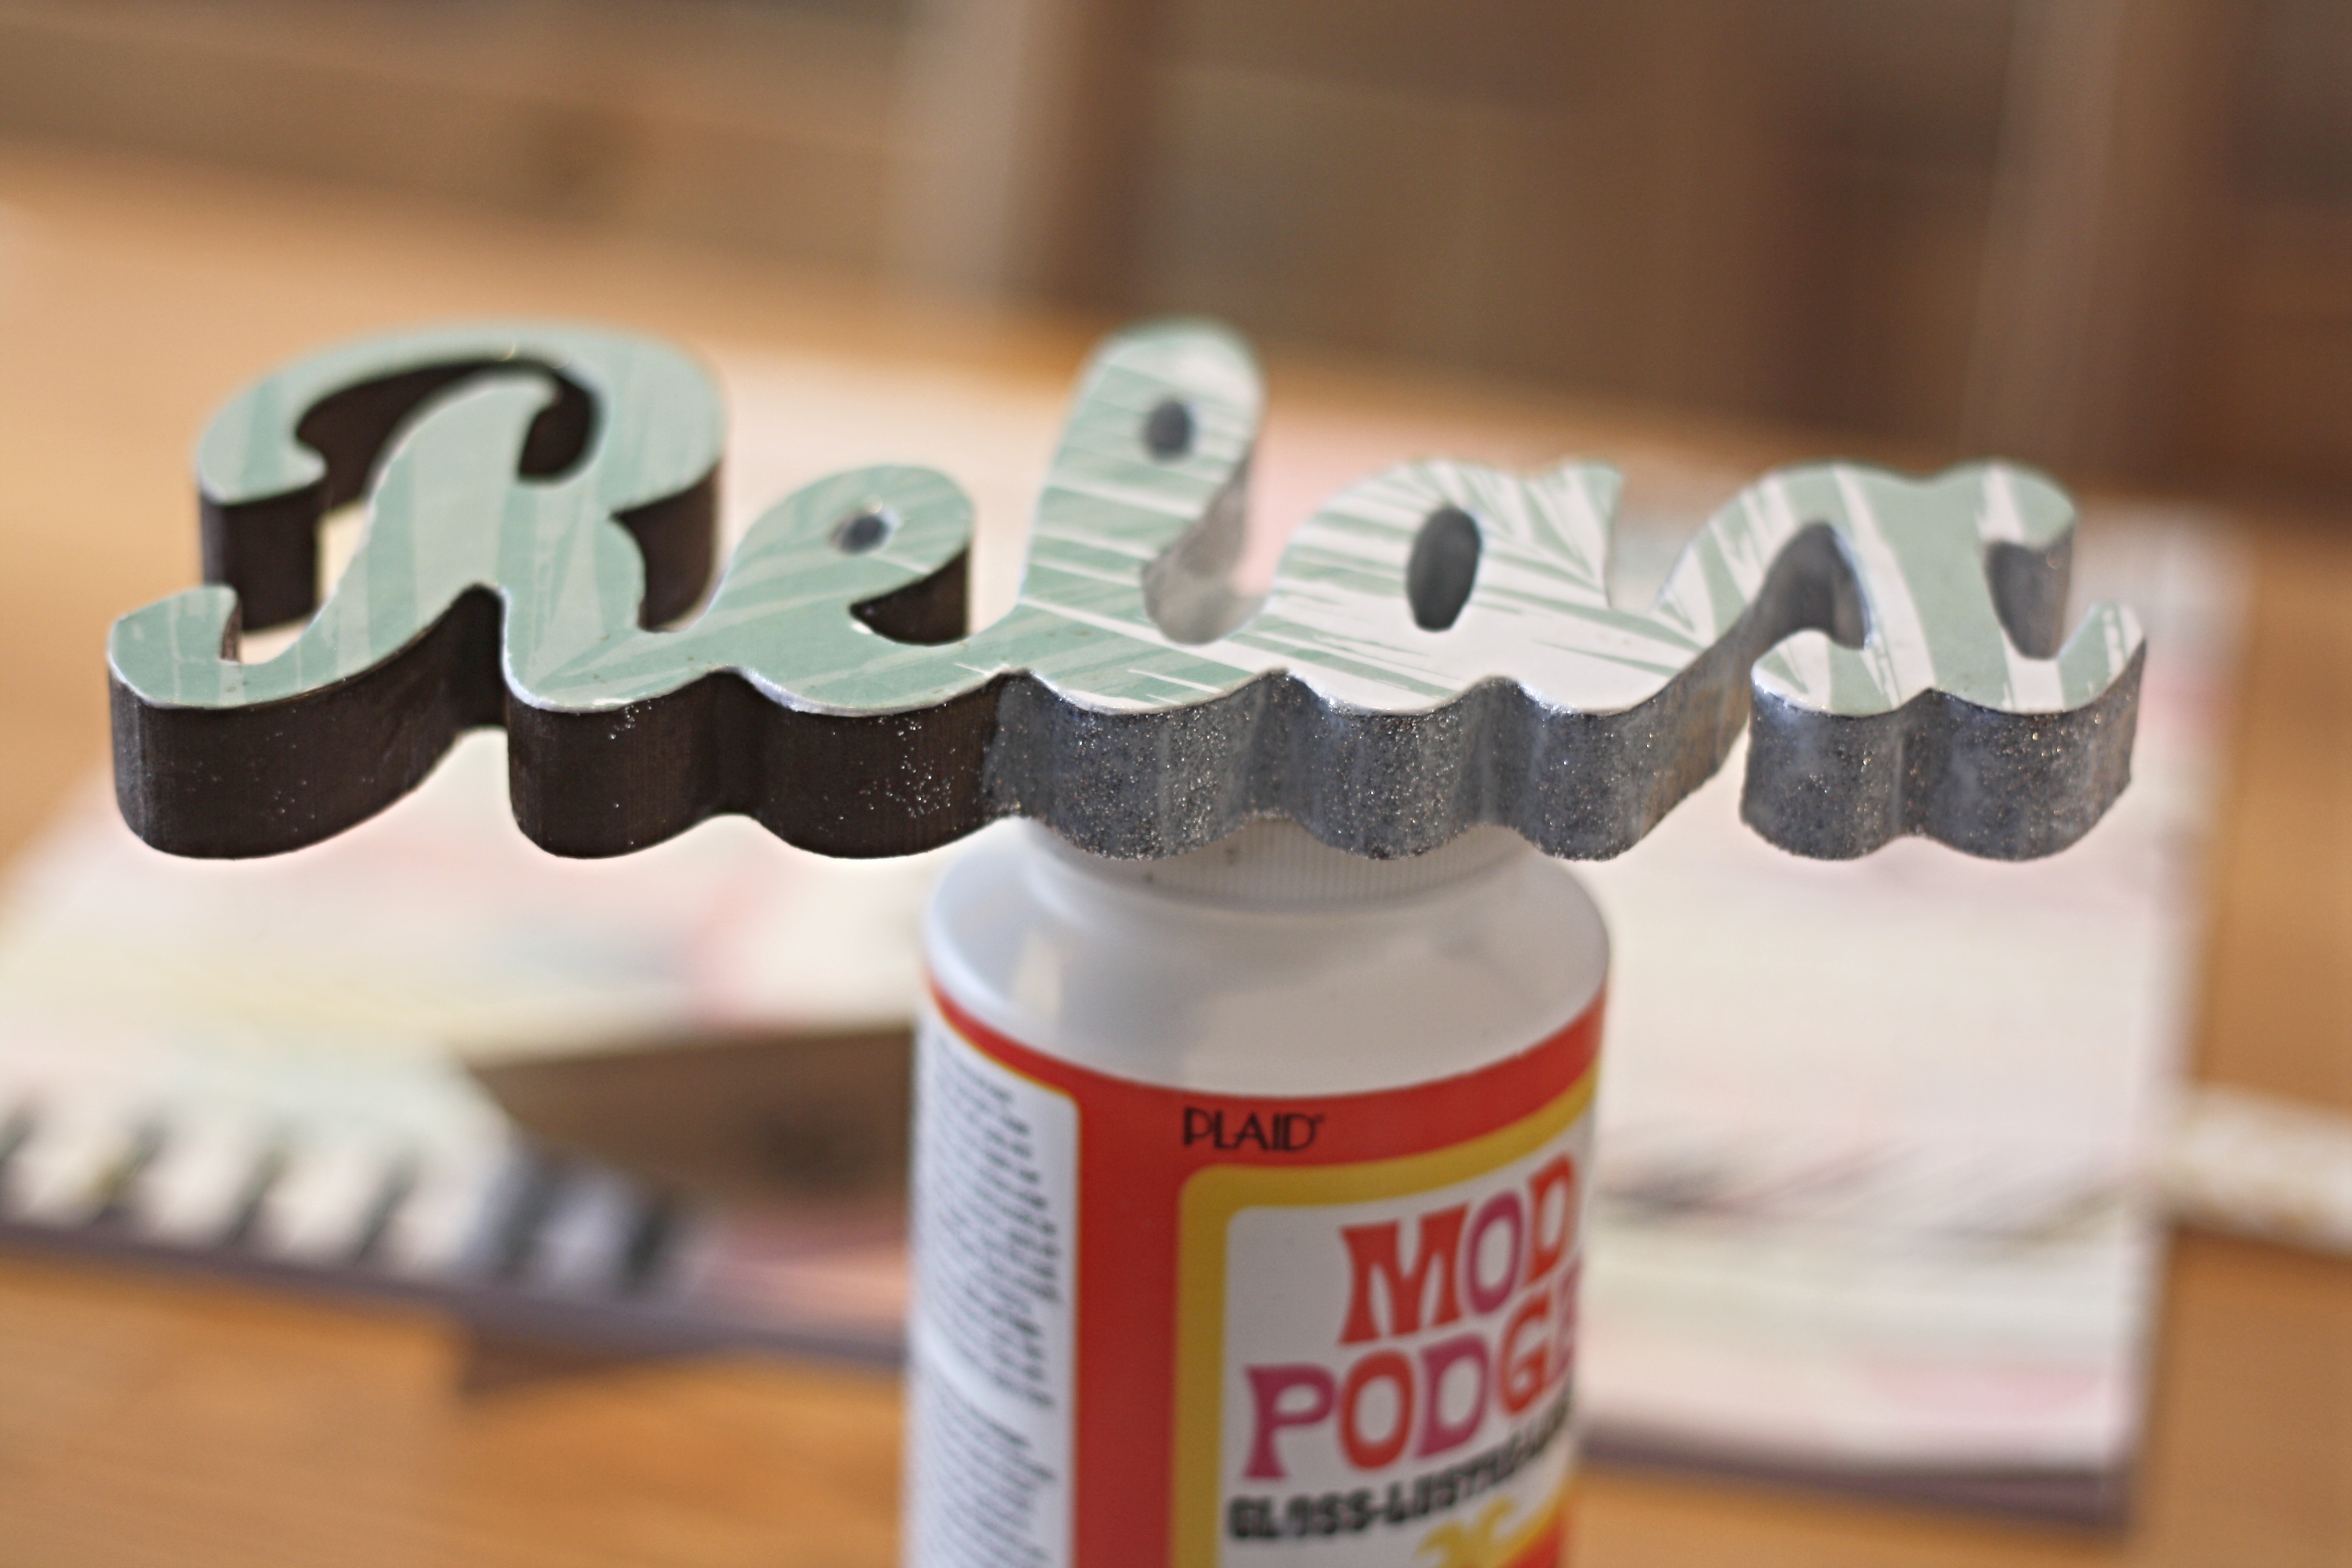
iI then glittered the sides of the Relax Bathroom Sign. To make it easier and so I had somewhere to hold the sign I glittered one half and then, when that was complete I glittered the other. You can see what I mean by this in the pictures above. To glitter the item I painted the sides with a thin coat of Mod Podge then added the glitter. Leave this to dry then add another coat of Mod Podge and then another coat of glitter and leave it to dry again. Finish it off with a last coat of Mod Podge to seal the glitter. You can read a more detailed step by step process of sealing glitter in my post, How to Seal Glitter Using Mod Podge.
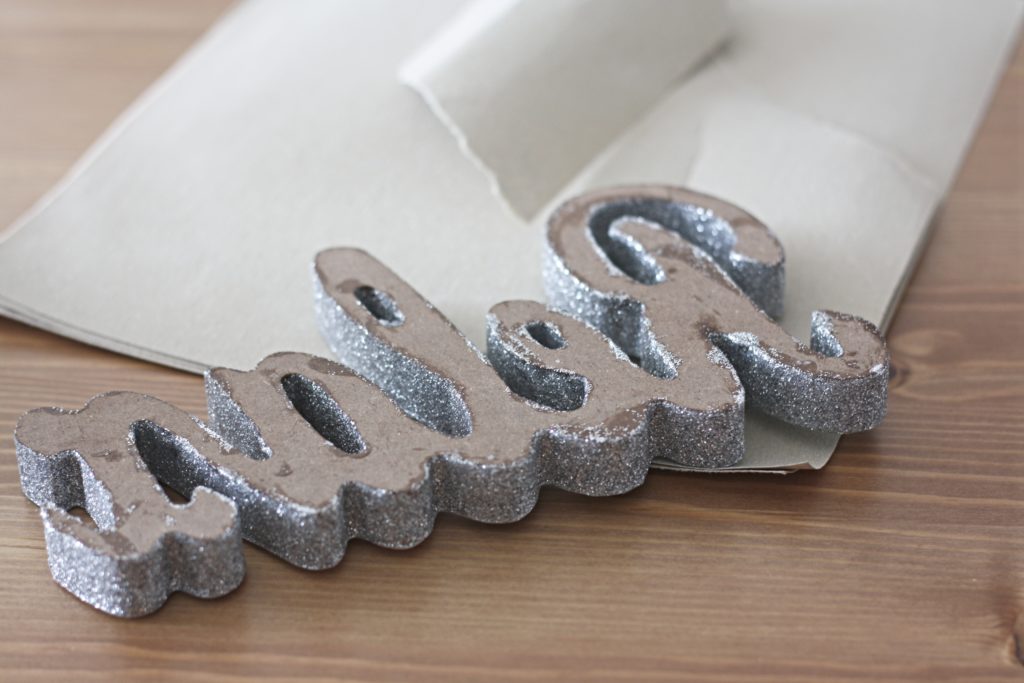
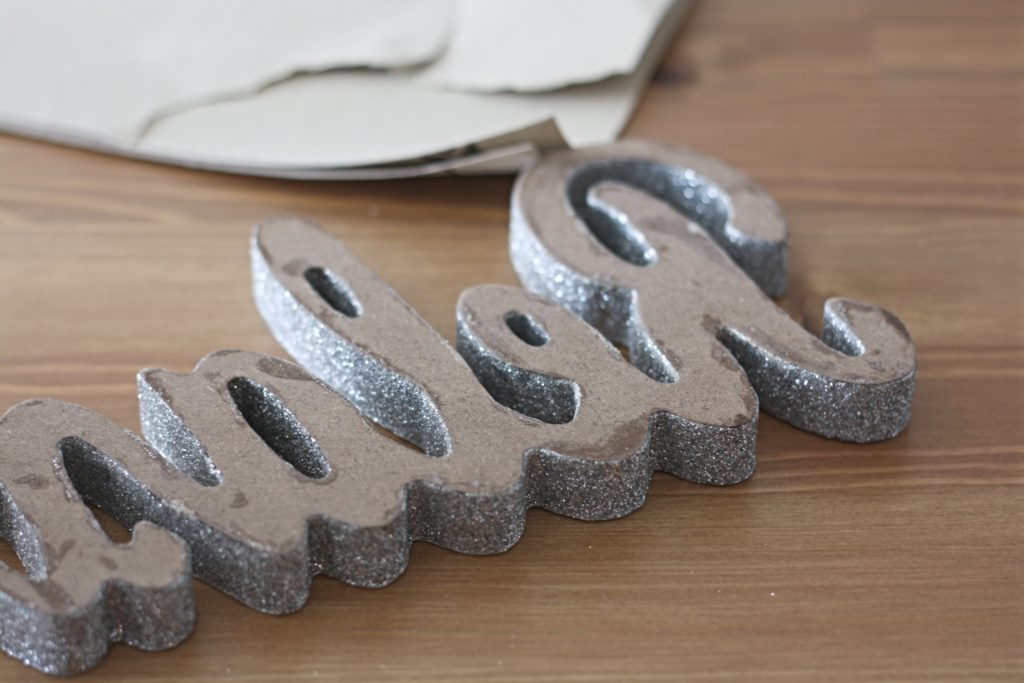
I had made a bit of a mess on the back of the sign with the glitter so I cleaned this up with some sandpaper. I then gave the entire sign a last coat of Mod Podge as my sign will be in the bathroom and I wanted to be sure that it wouldn’t be damaged from water splashes.
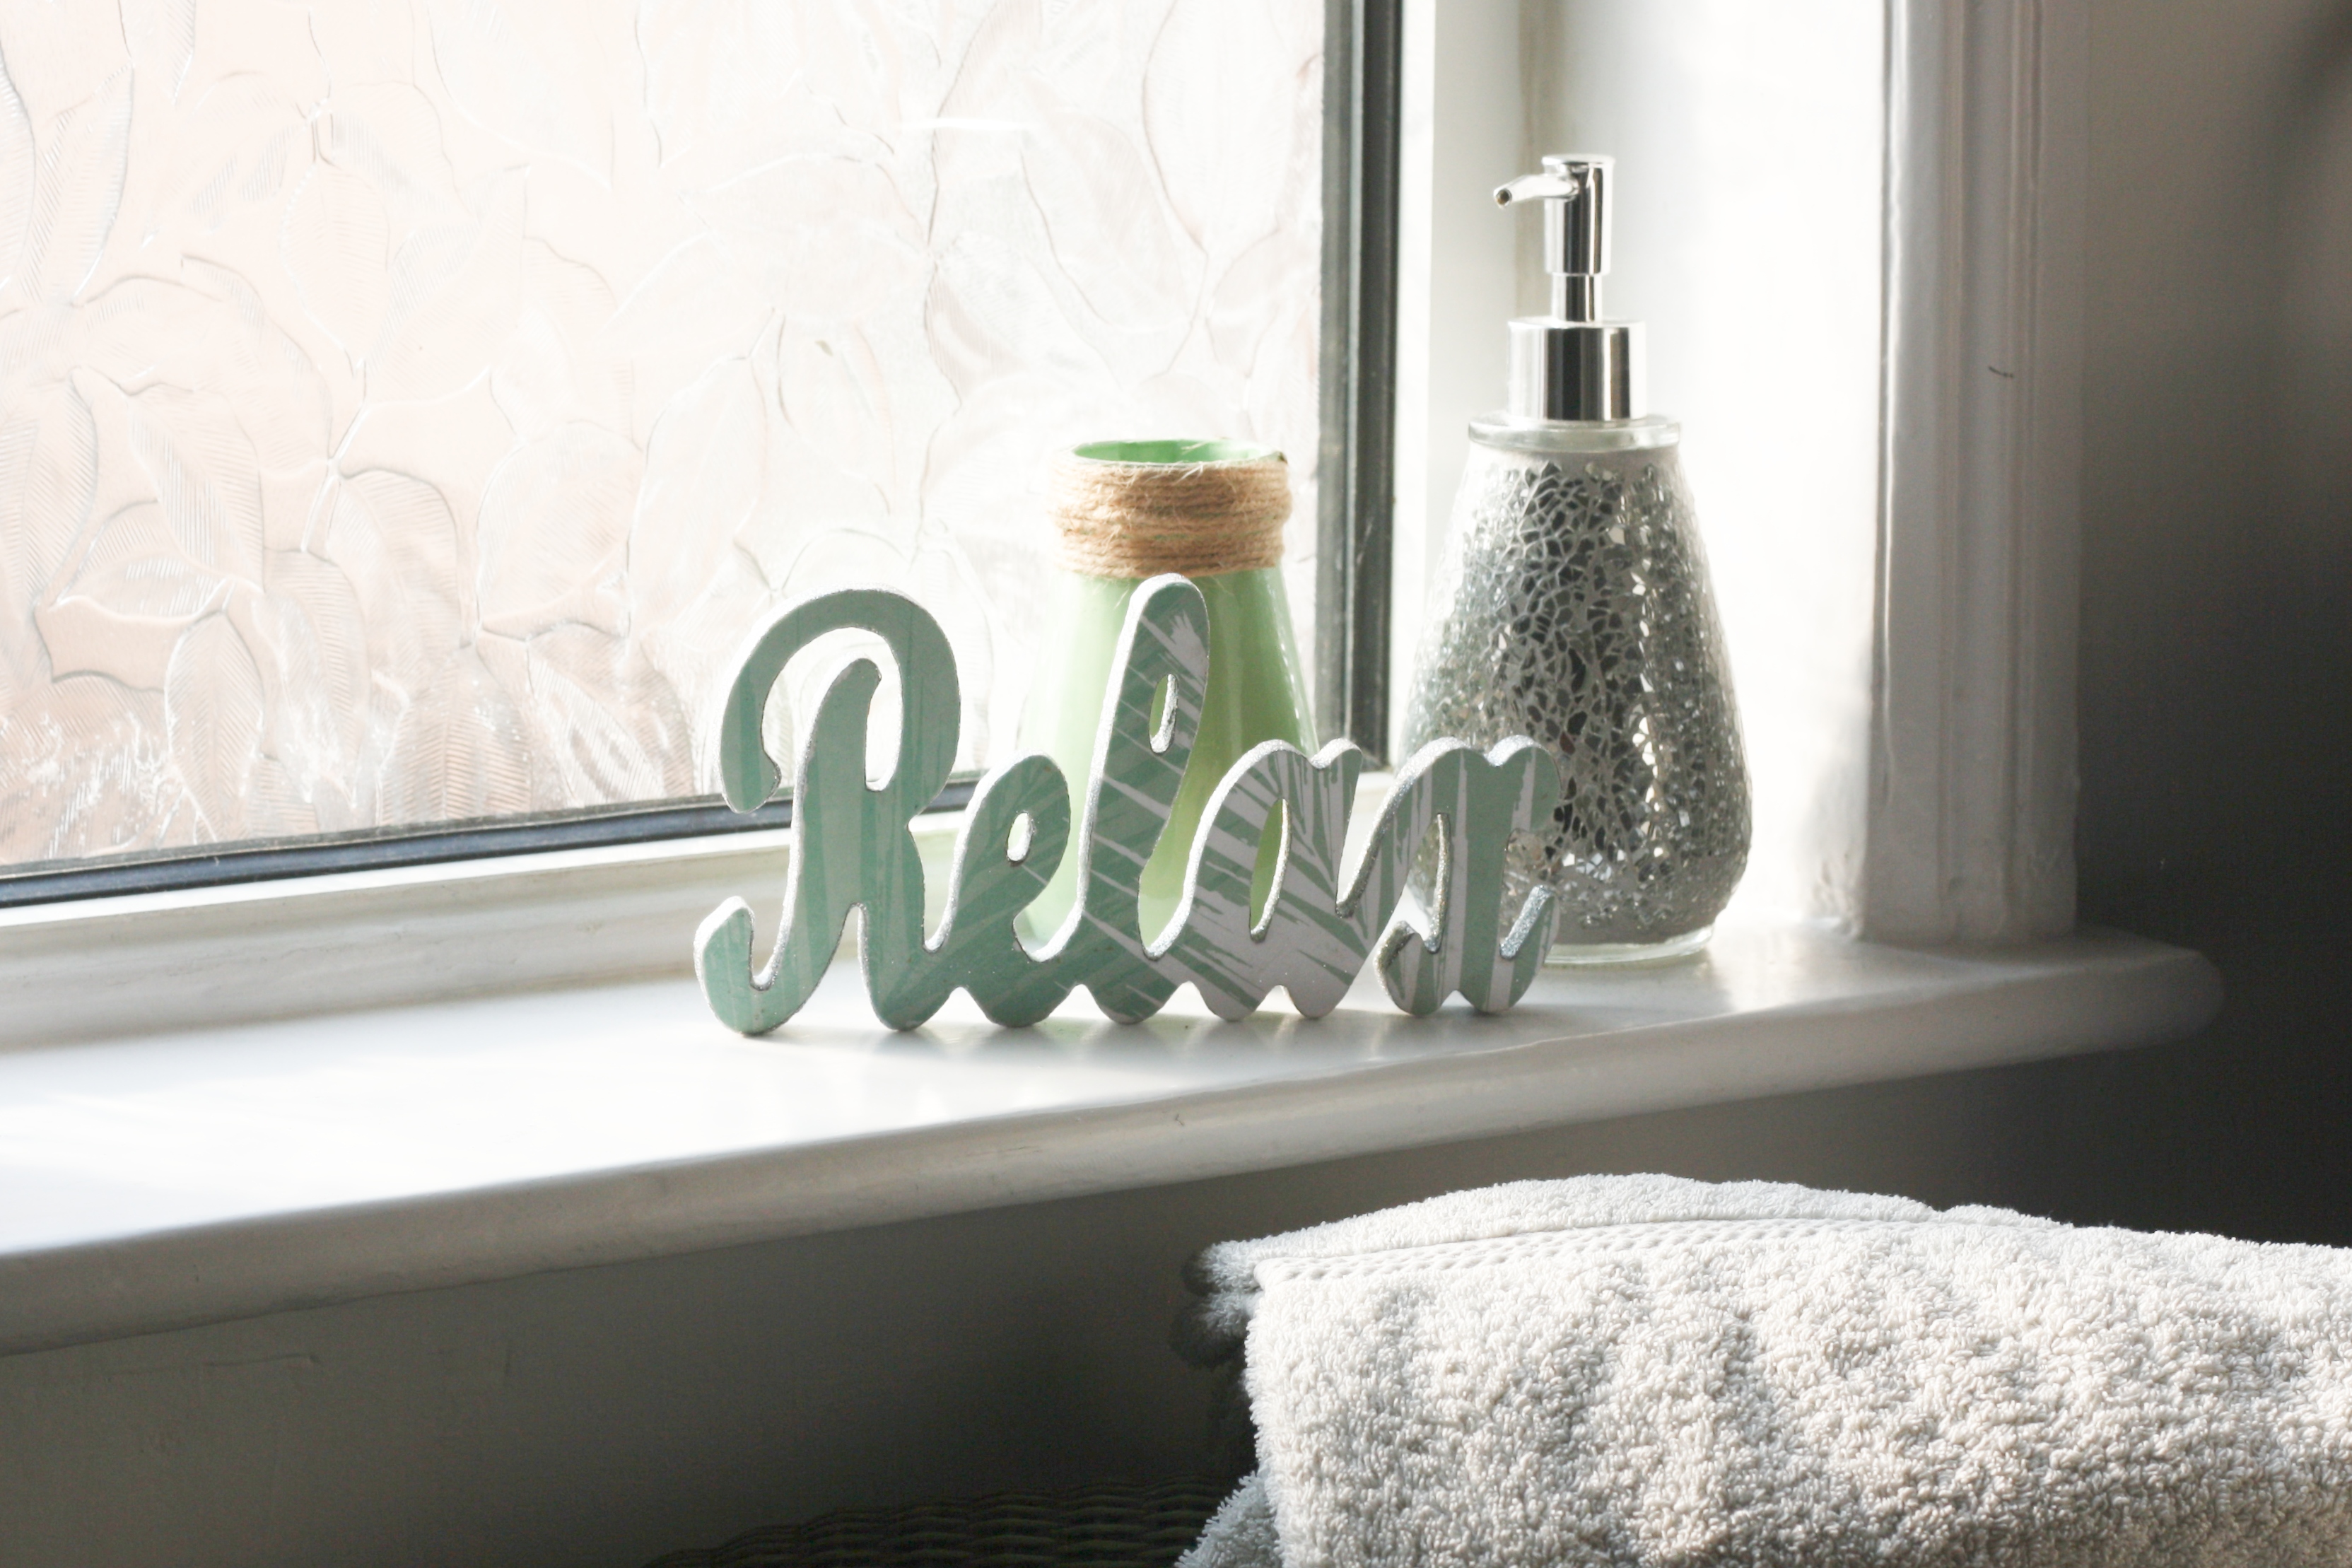
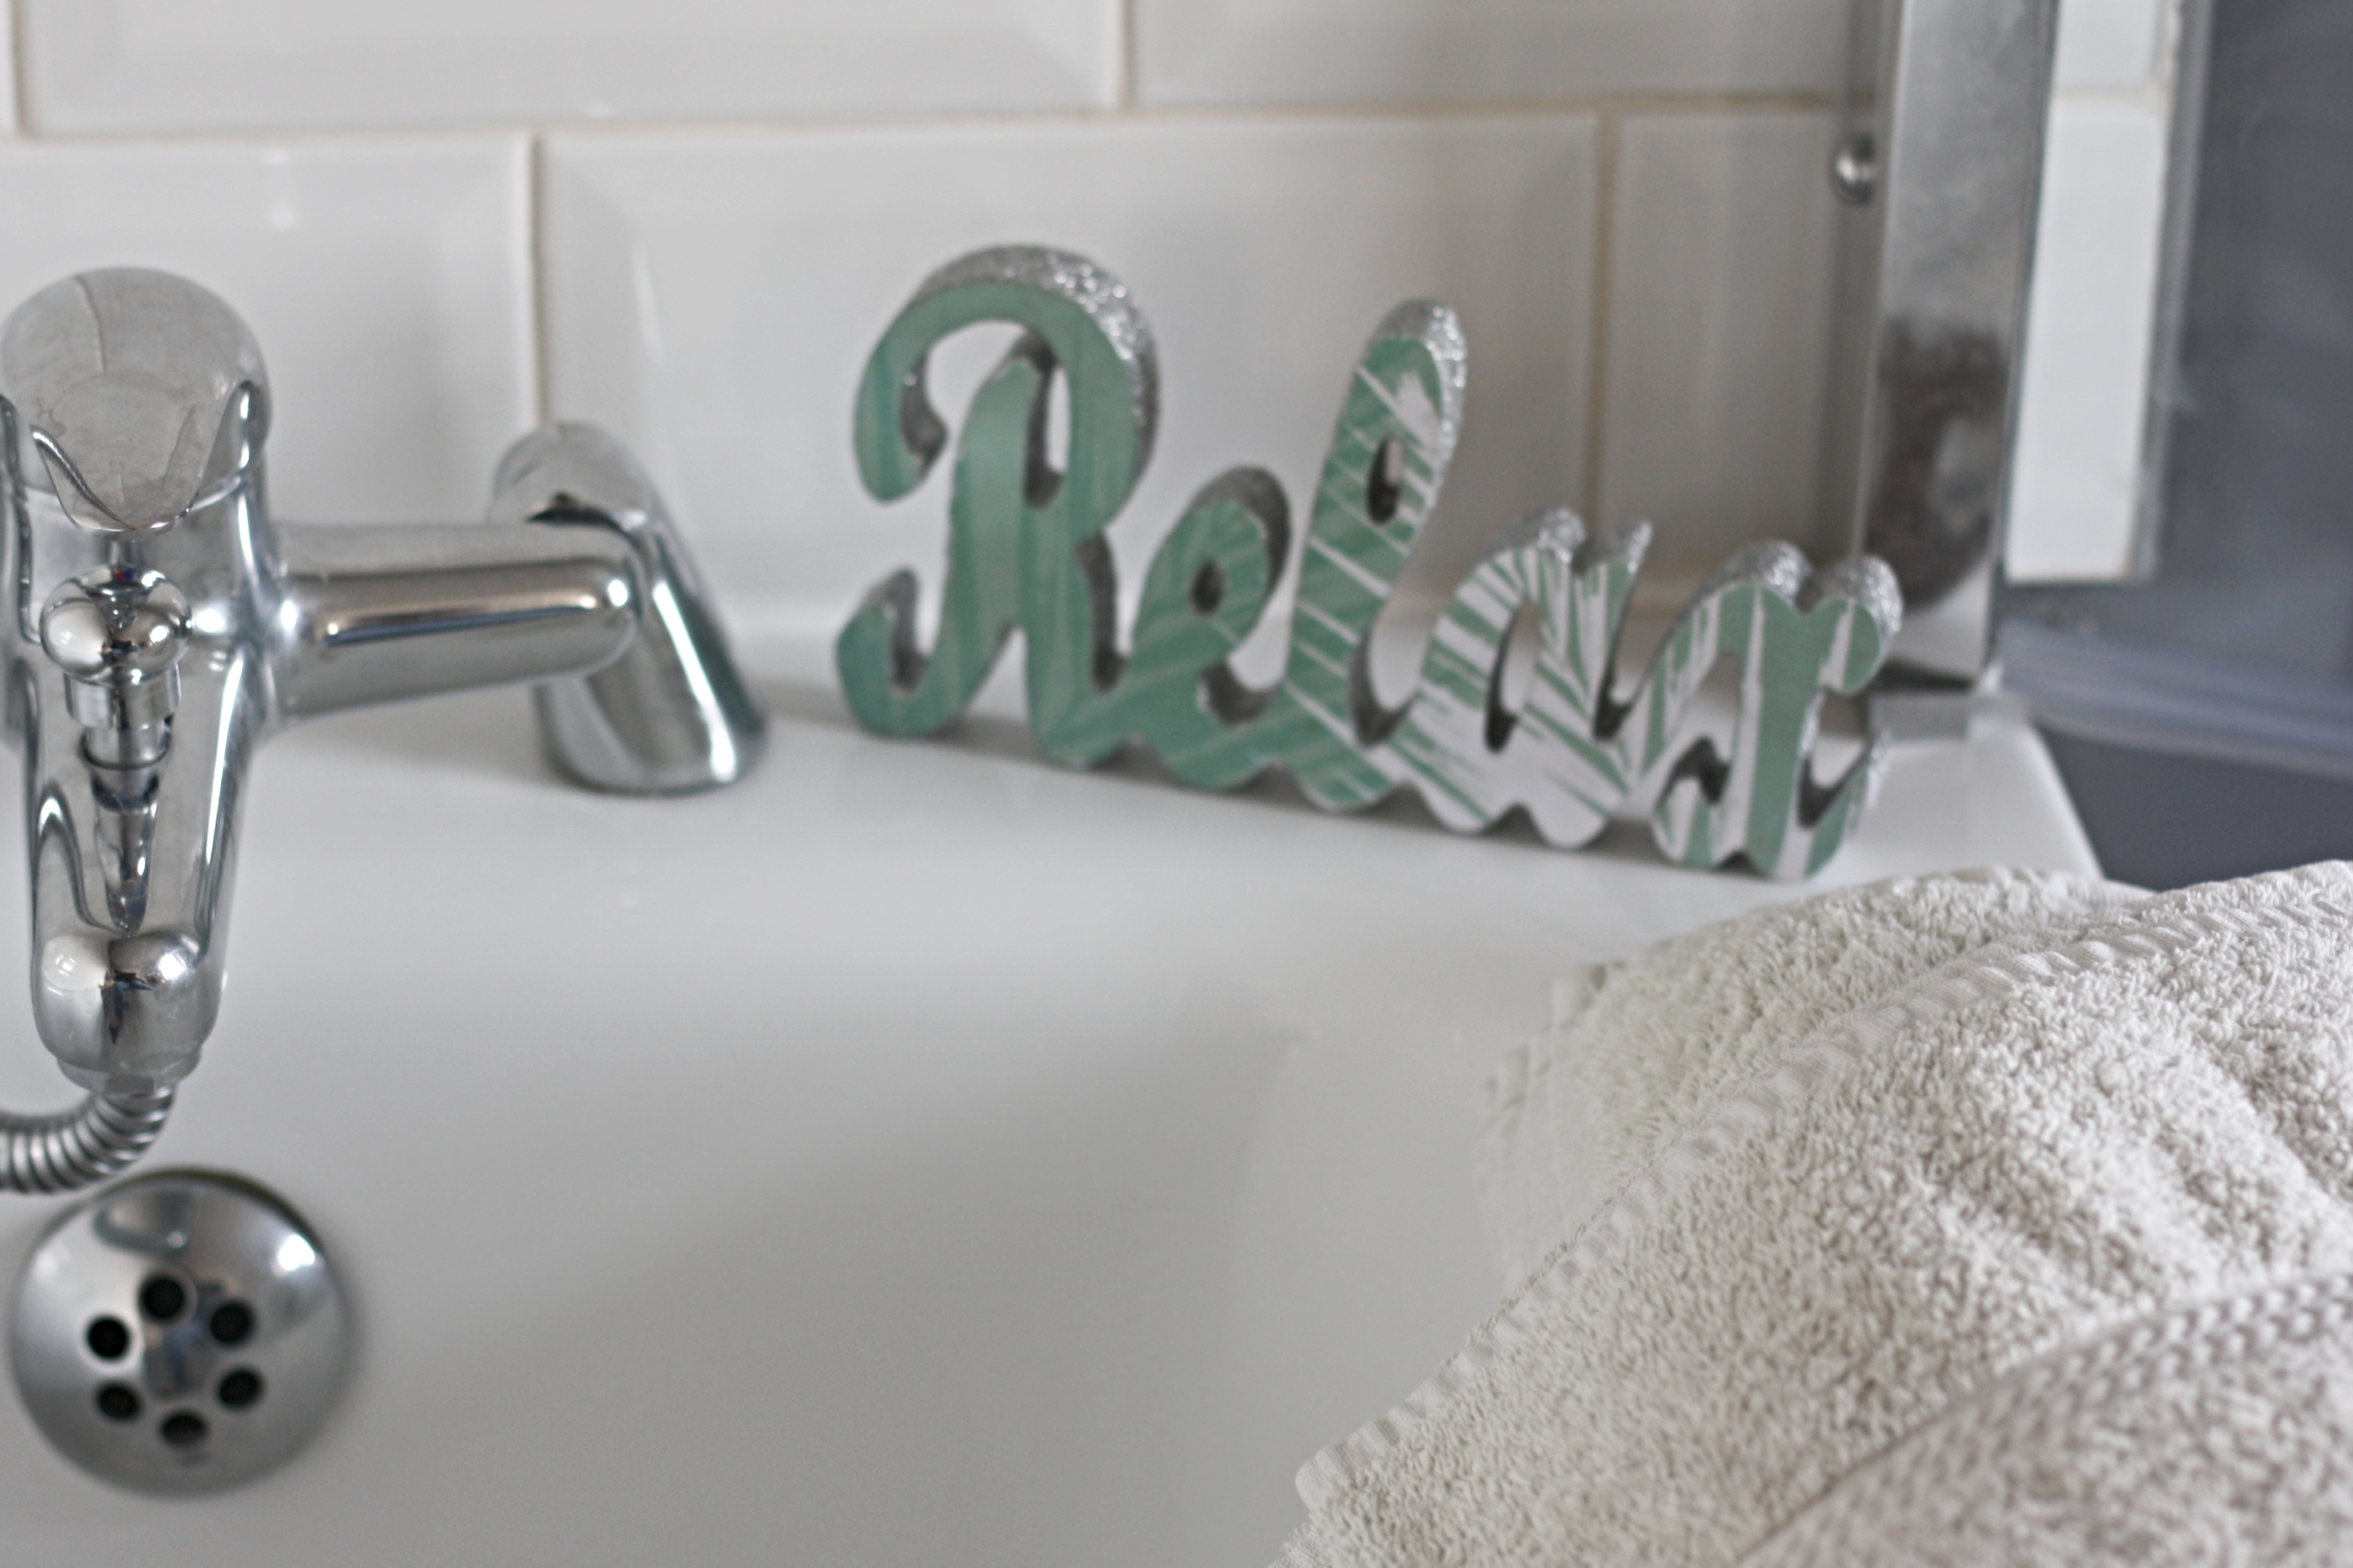
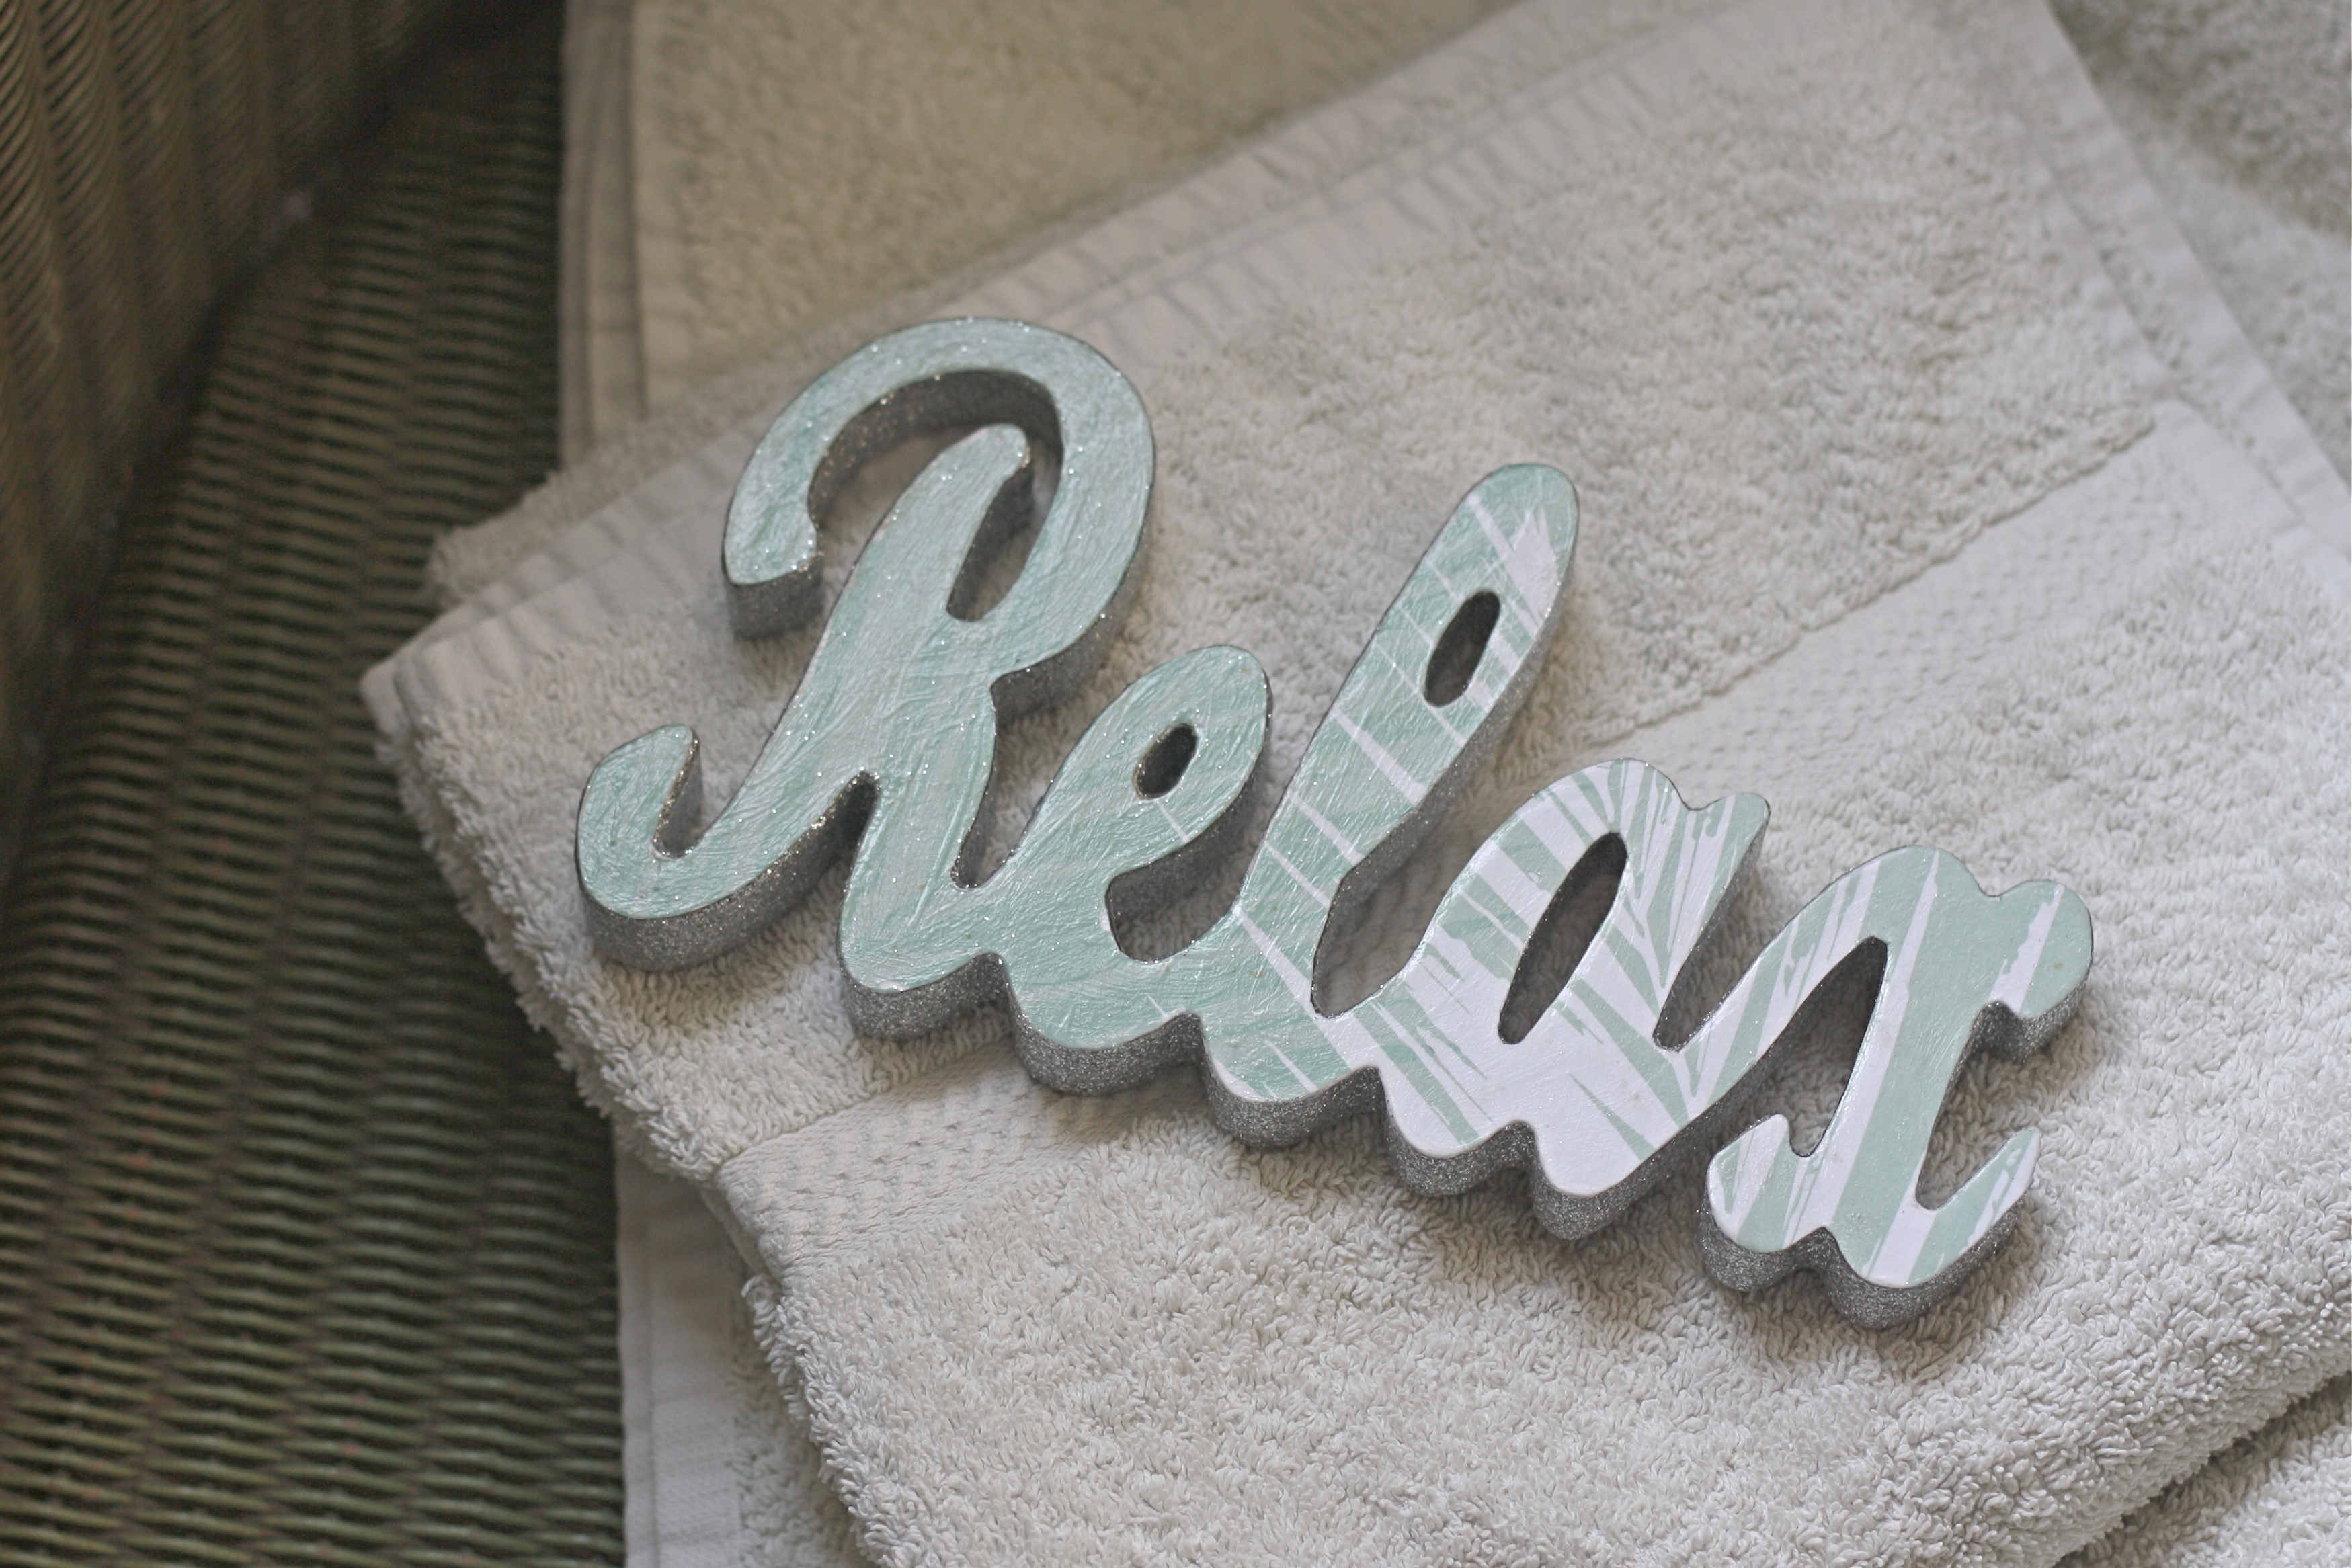
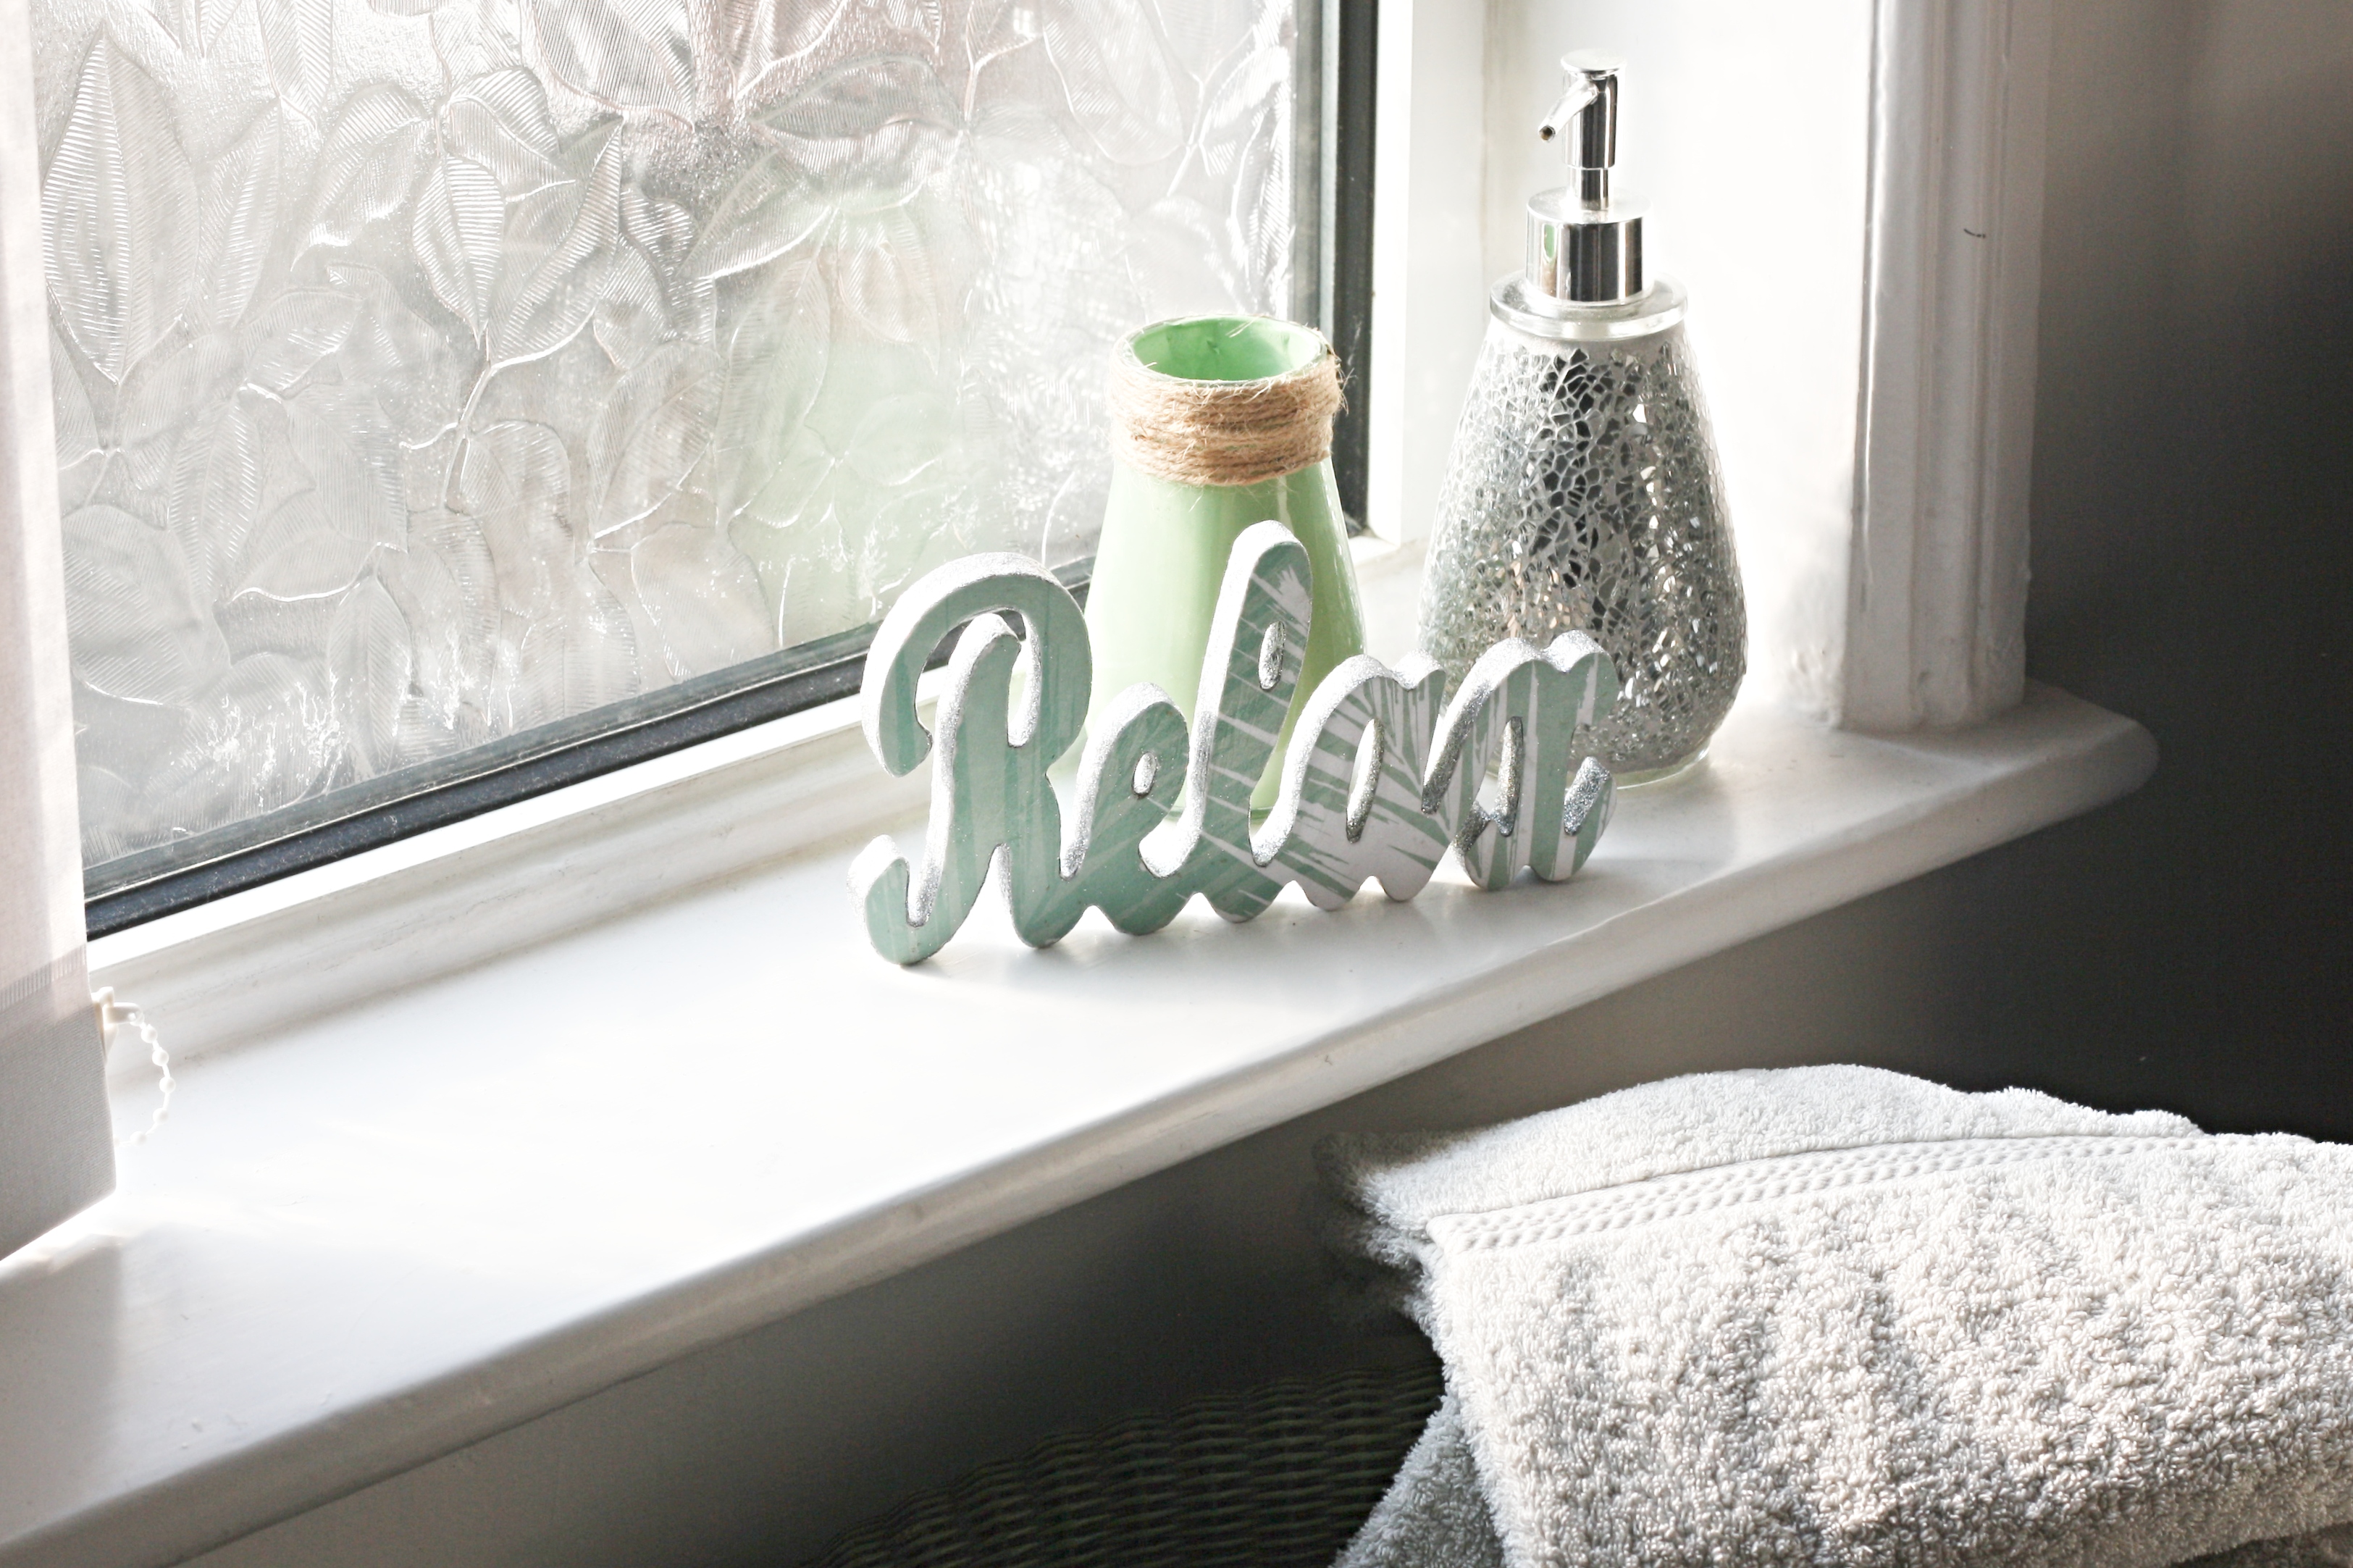
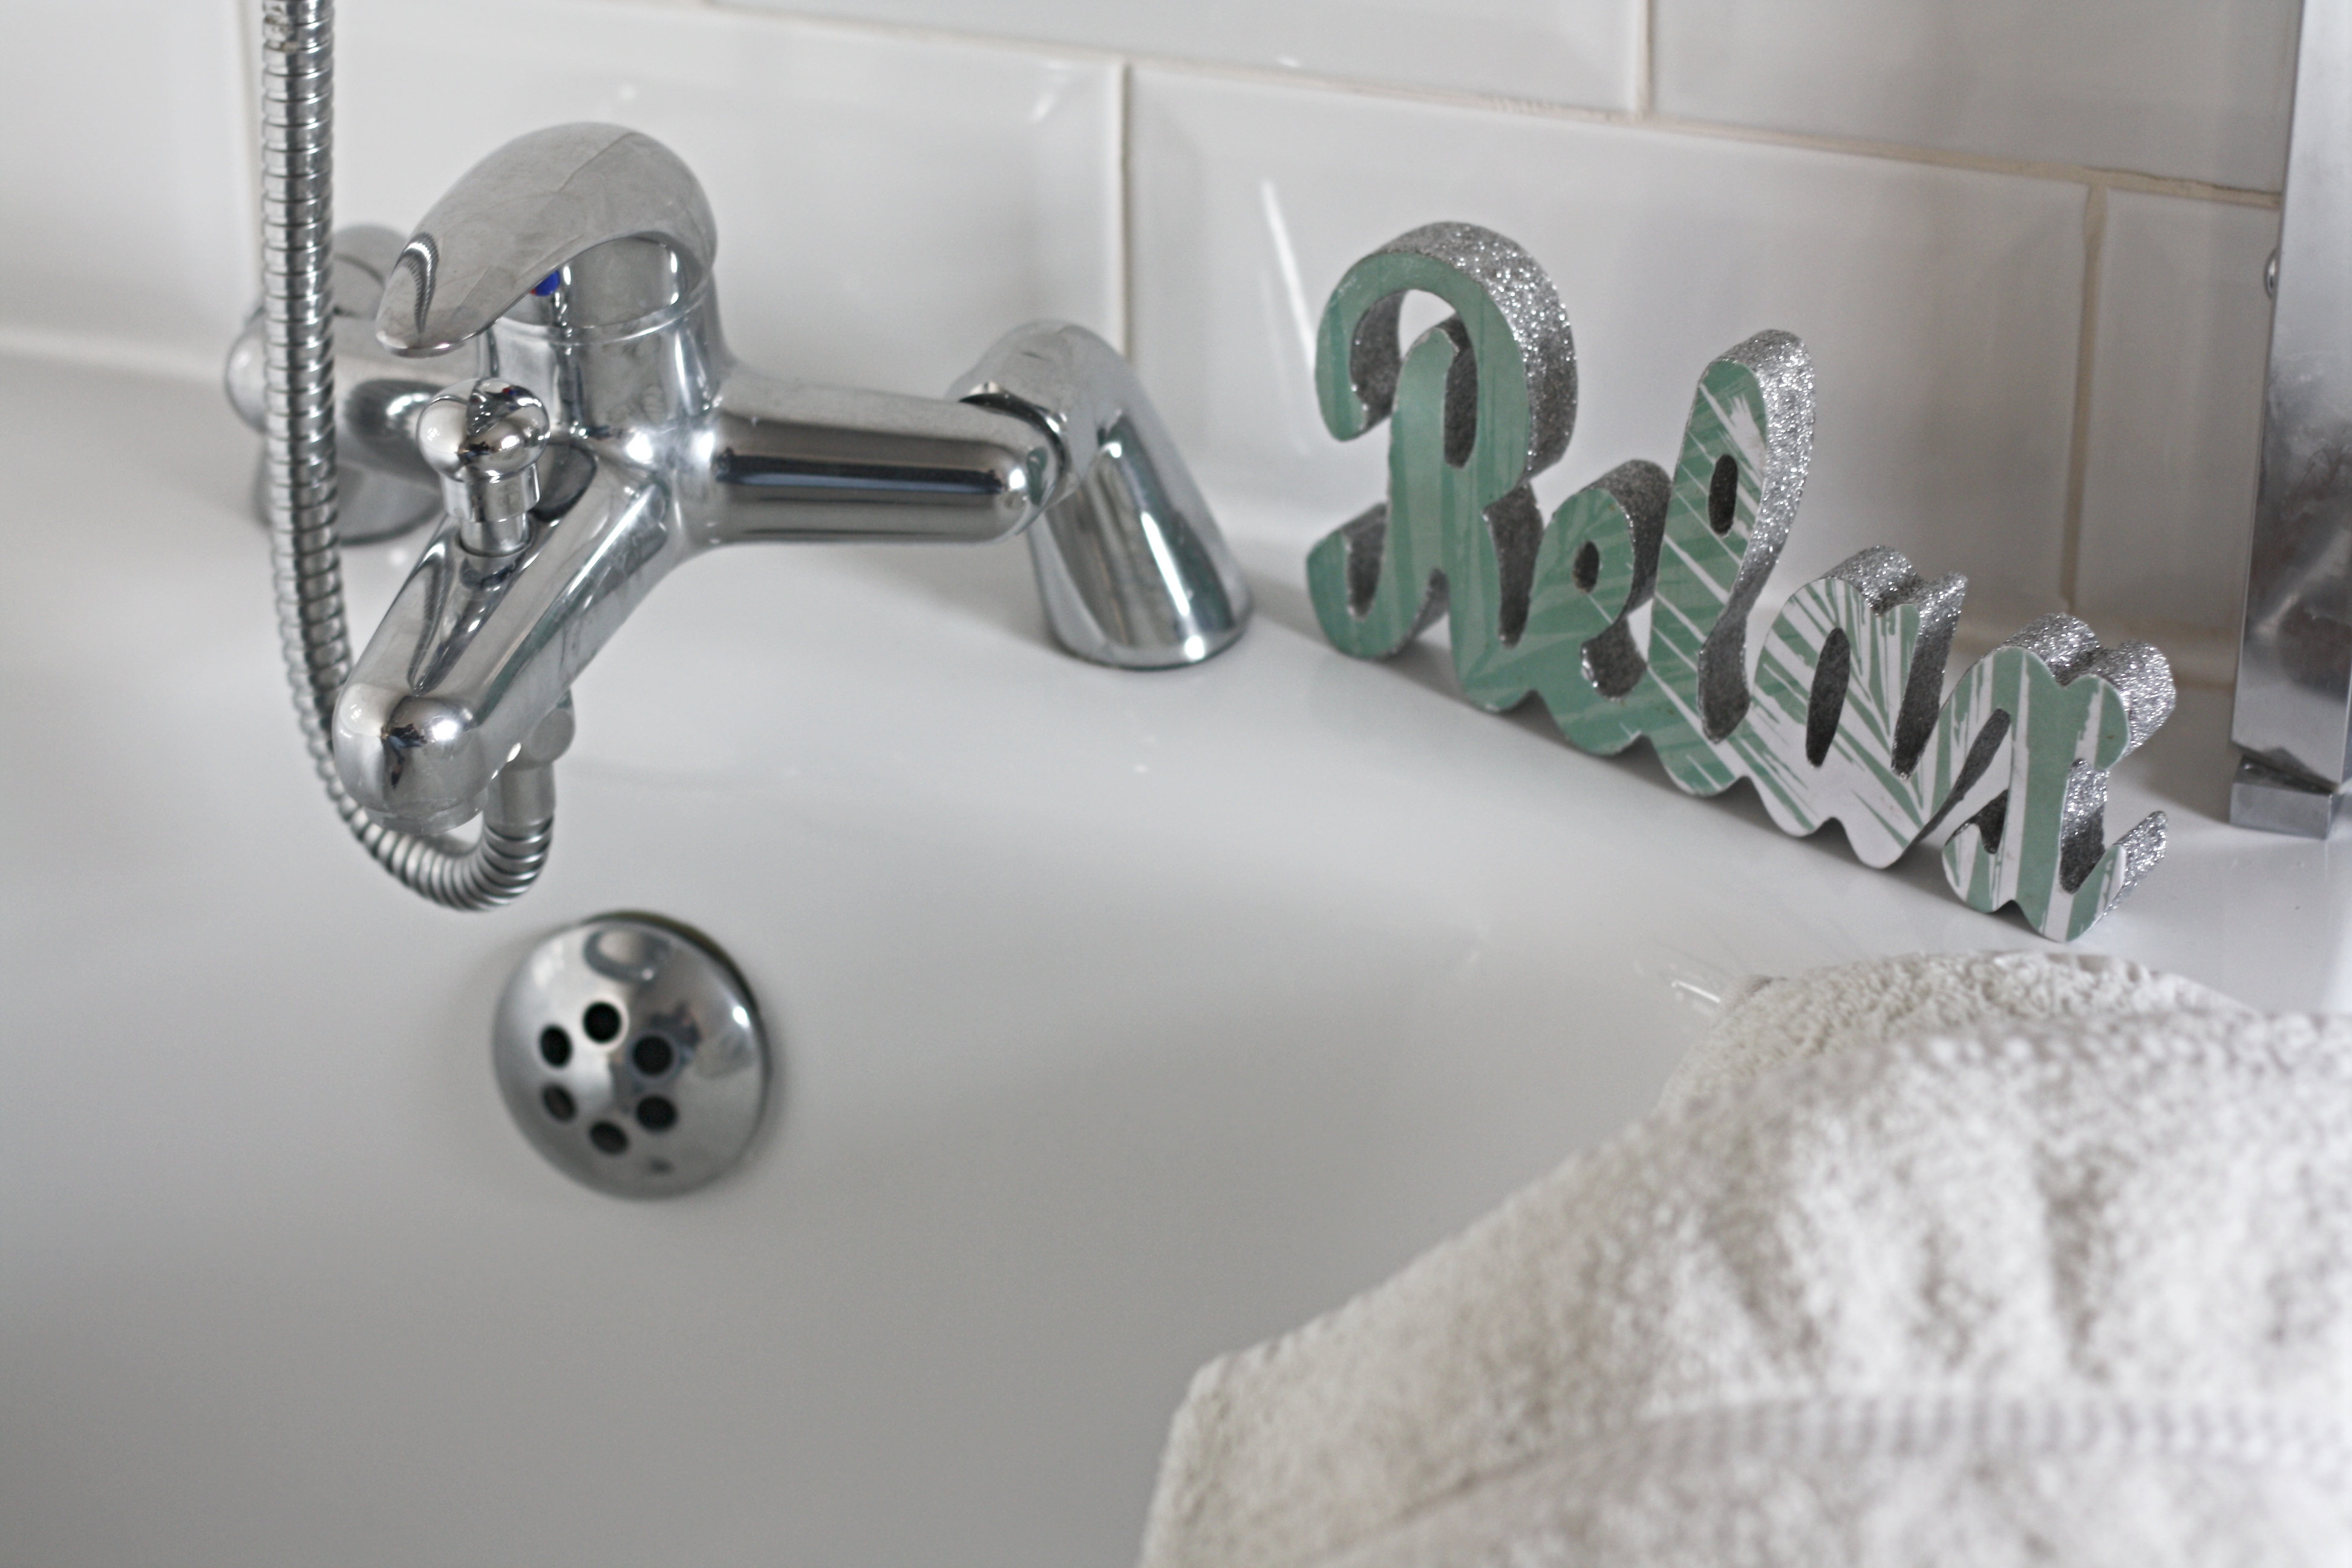
I think out of all the rooms we might work on the bathroom first. It really only needs a few plants and a couple of decorative bits so this sign is a good start. It’s on the side of the bath for now but I want one of those bath trays and it will go on there. What do you think? Not bad for a Poundland bargain hey?!
Lianne x
Pin my Relax Bathroom Sign to save it for later!
