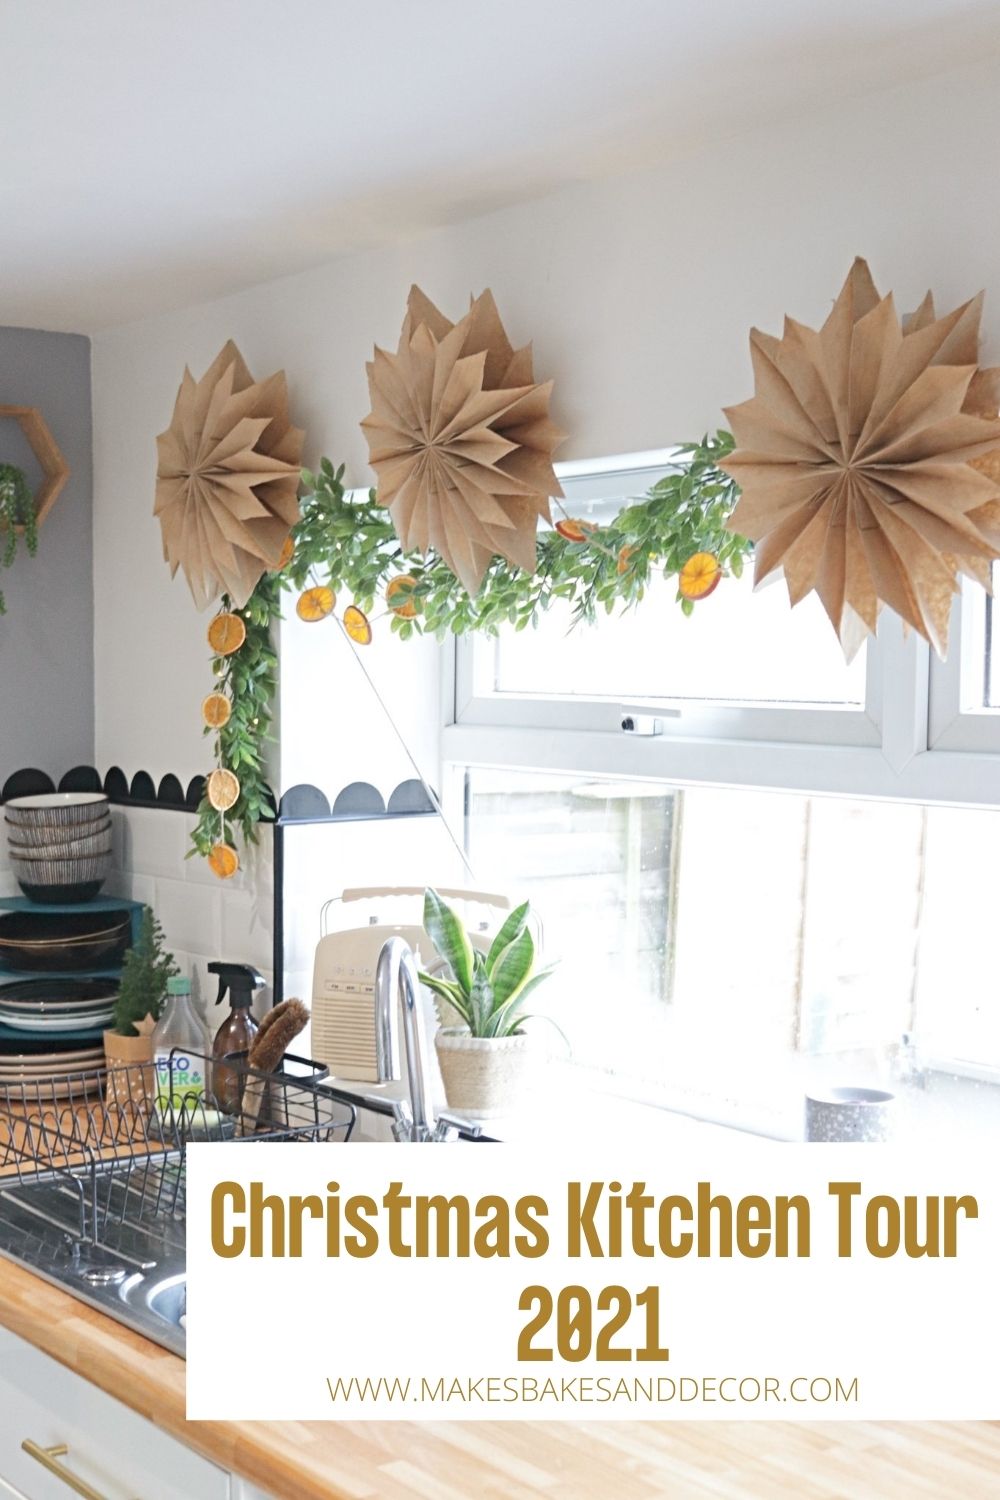
Hello! We are in December now and so the countdown for Christmas is on. Most of my home is now decorated and I wanted to share them with you. I actually haven’t shared a Christmas home tour for a few years and never one in this house so it will all look new and fresh compared to any Christmas home tours already on the blog. I have also decided to break it down into rooms instead of a full house tour and today we are in the kitchen. I’ve also included a mini tutorial on how to make dried orange slices that you can then use to make a garland. So welcome to my Christmas Kitchen Tour 2021.
This post contains affiliate links, find out what that means here.
If you follow KWendy Home on Instagram then you might notice that my kitchen decorations are heavily influenced by her kitchen from last year. I discovered her account a year ago and fell in love with her style and all the Christmas reels she created.
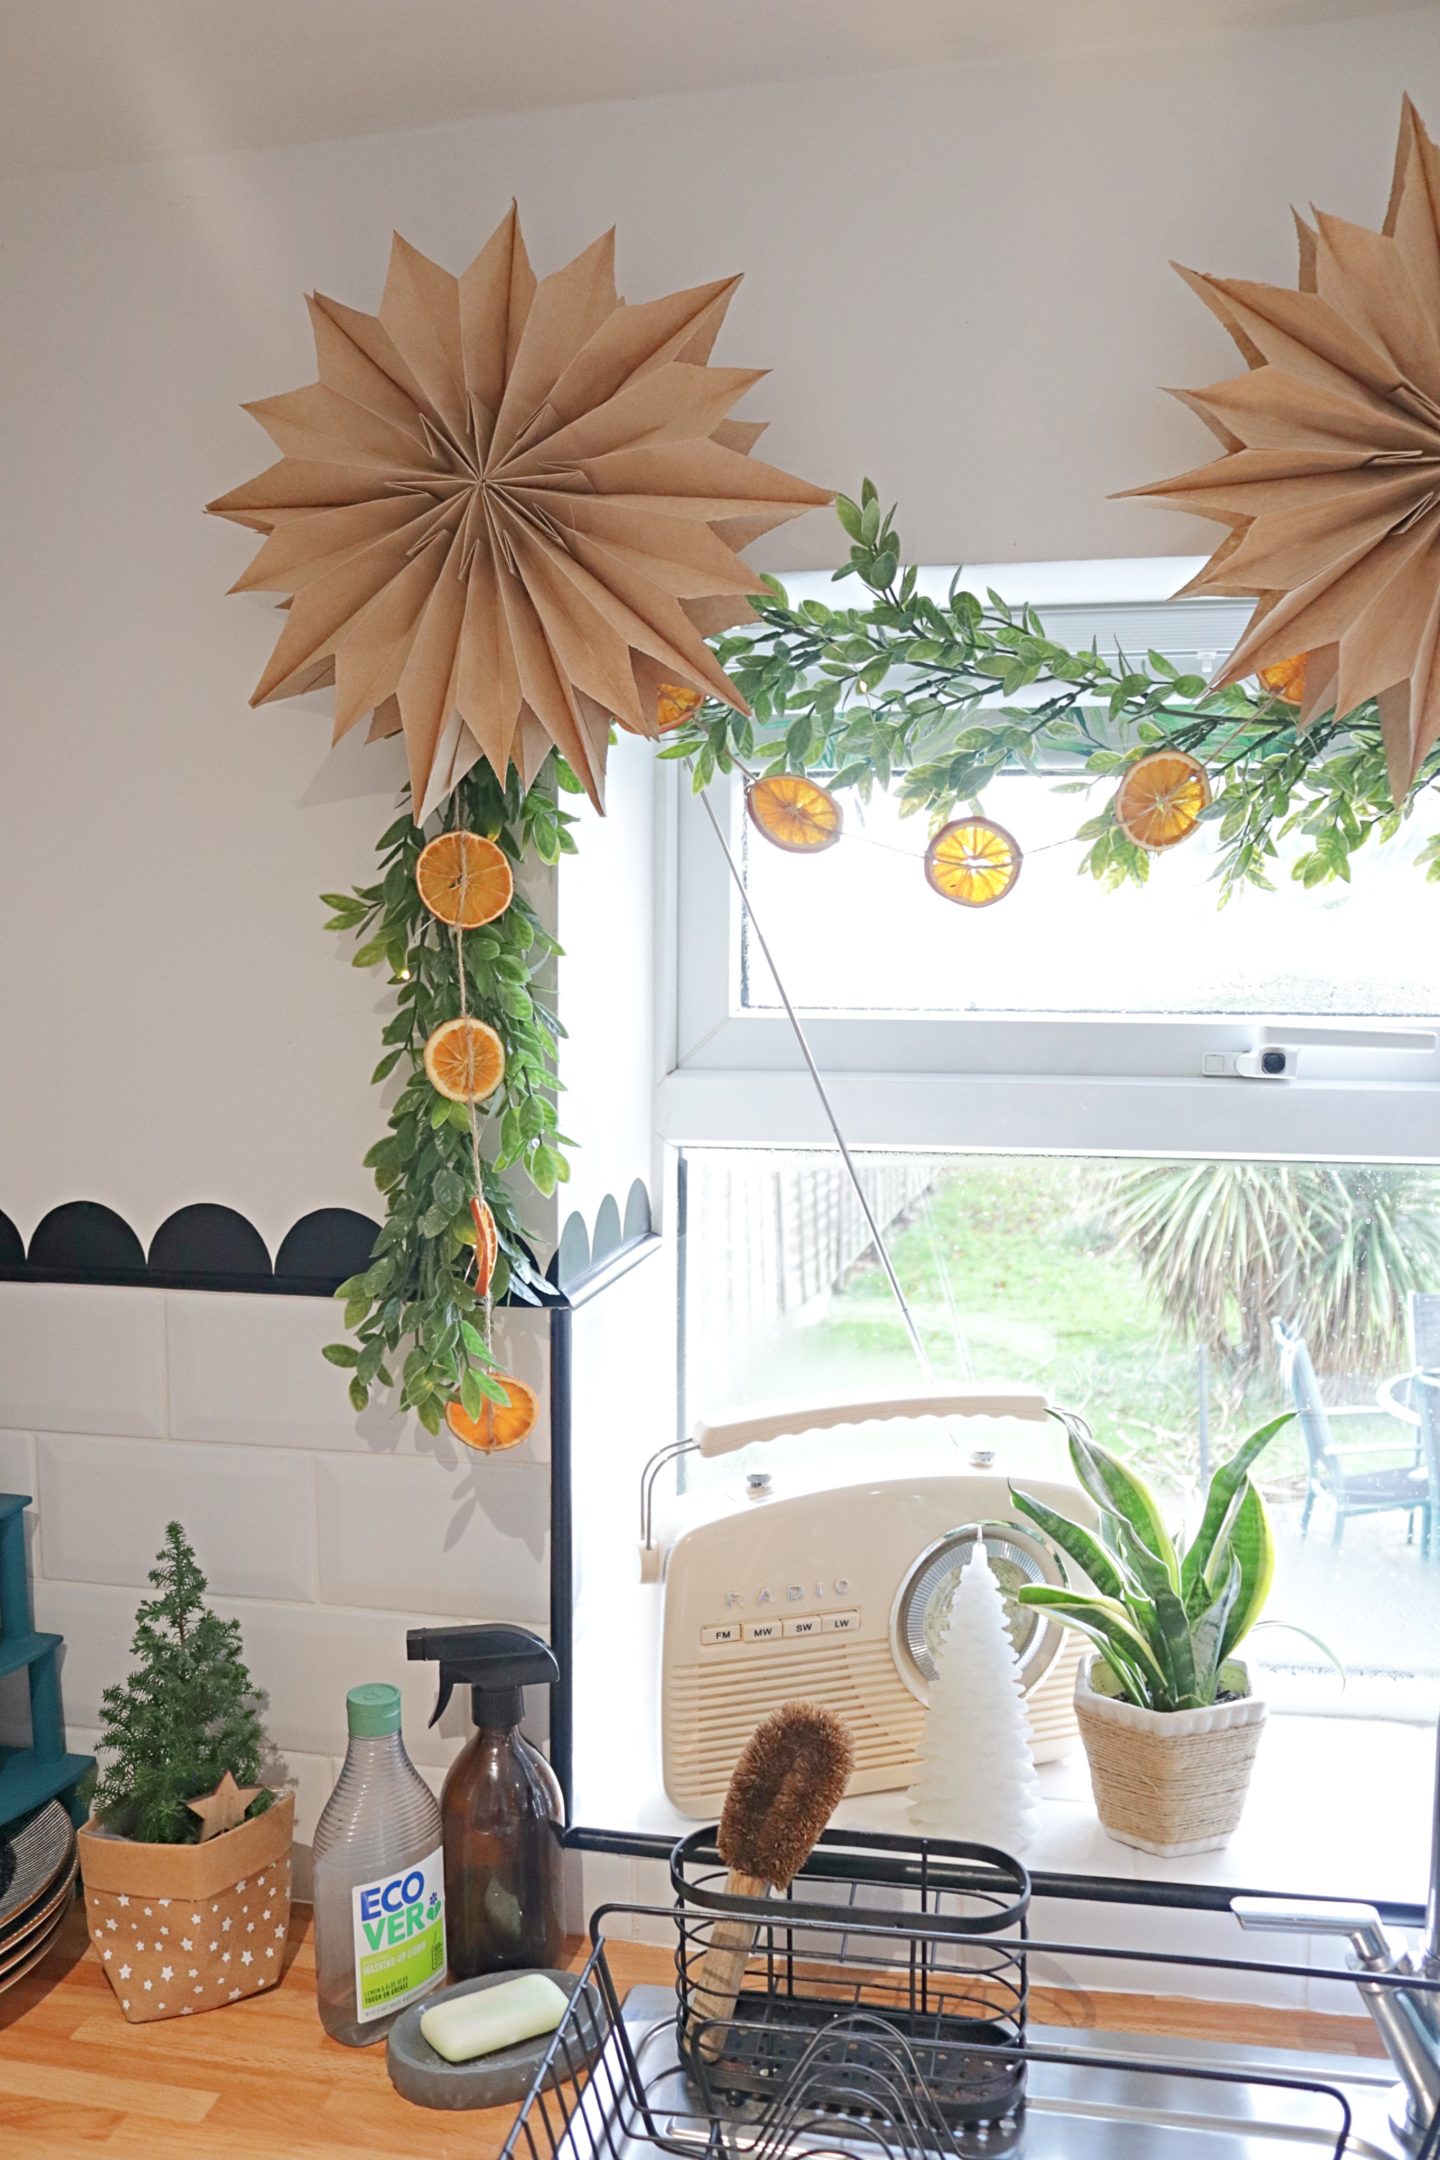
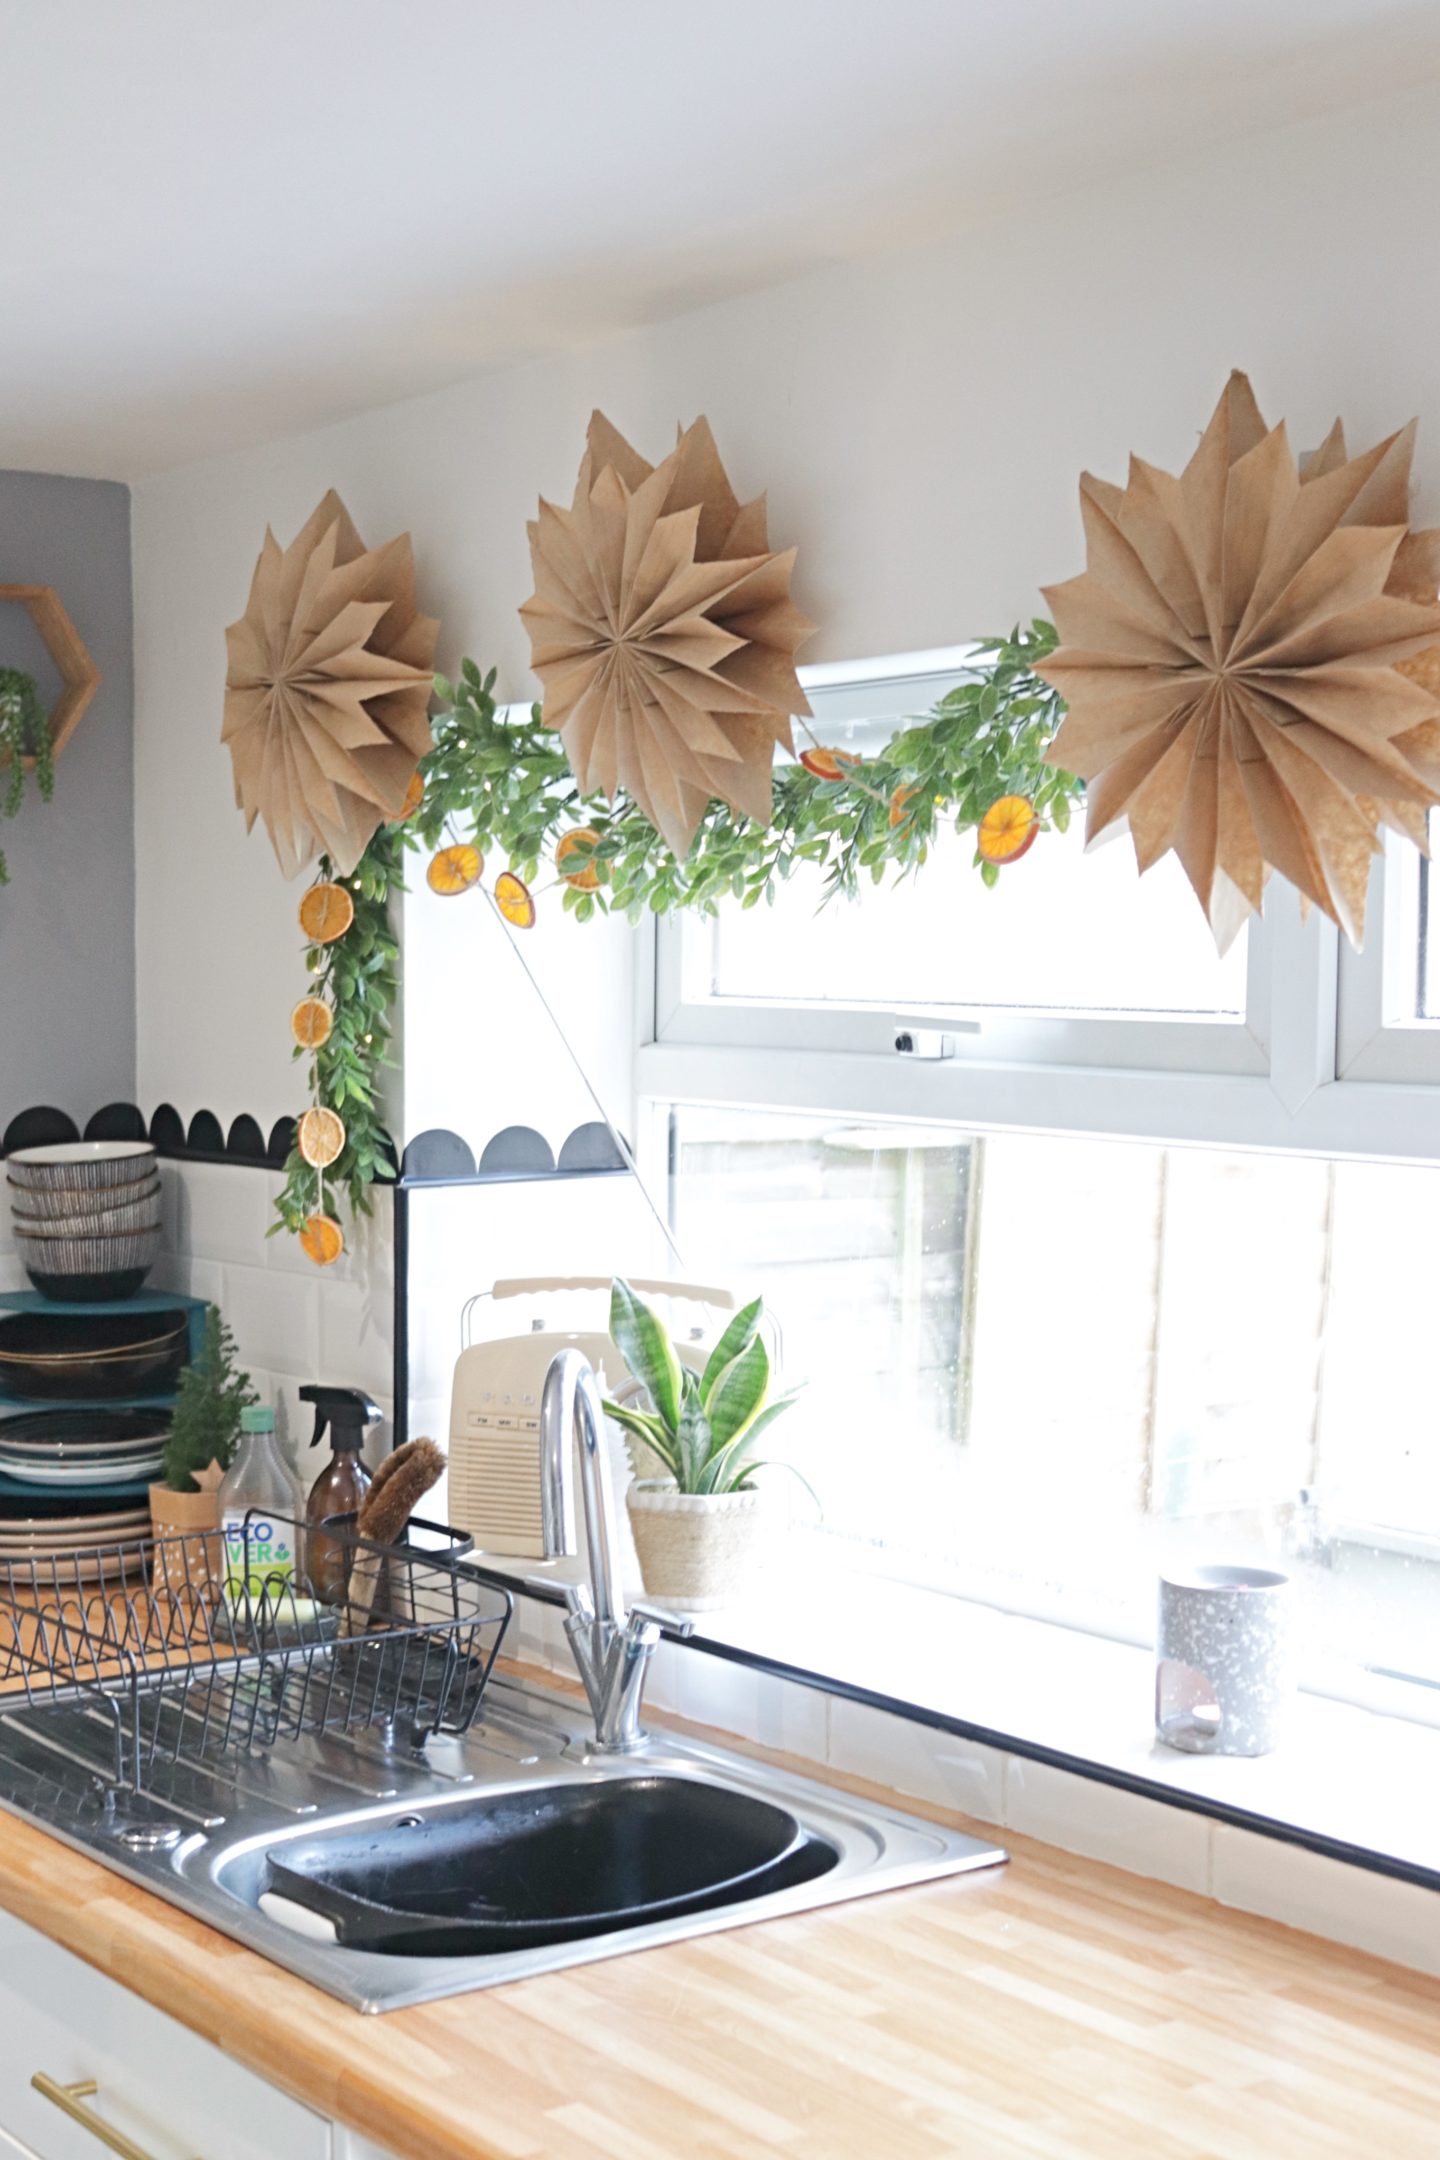
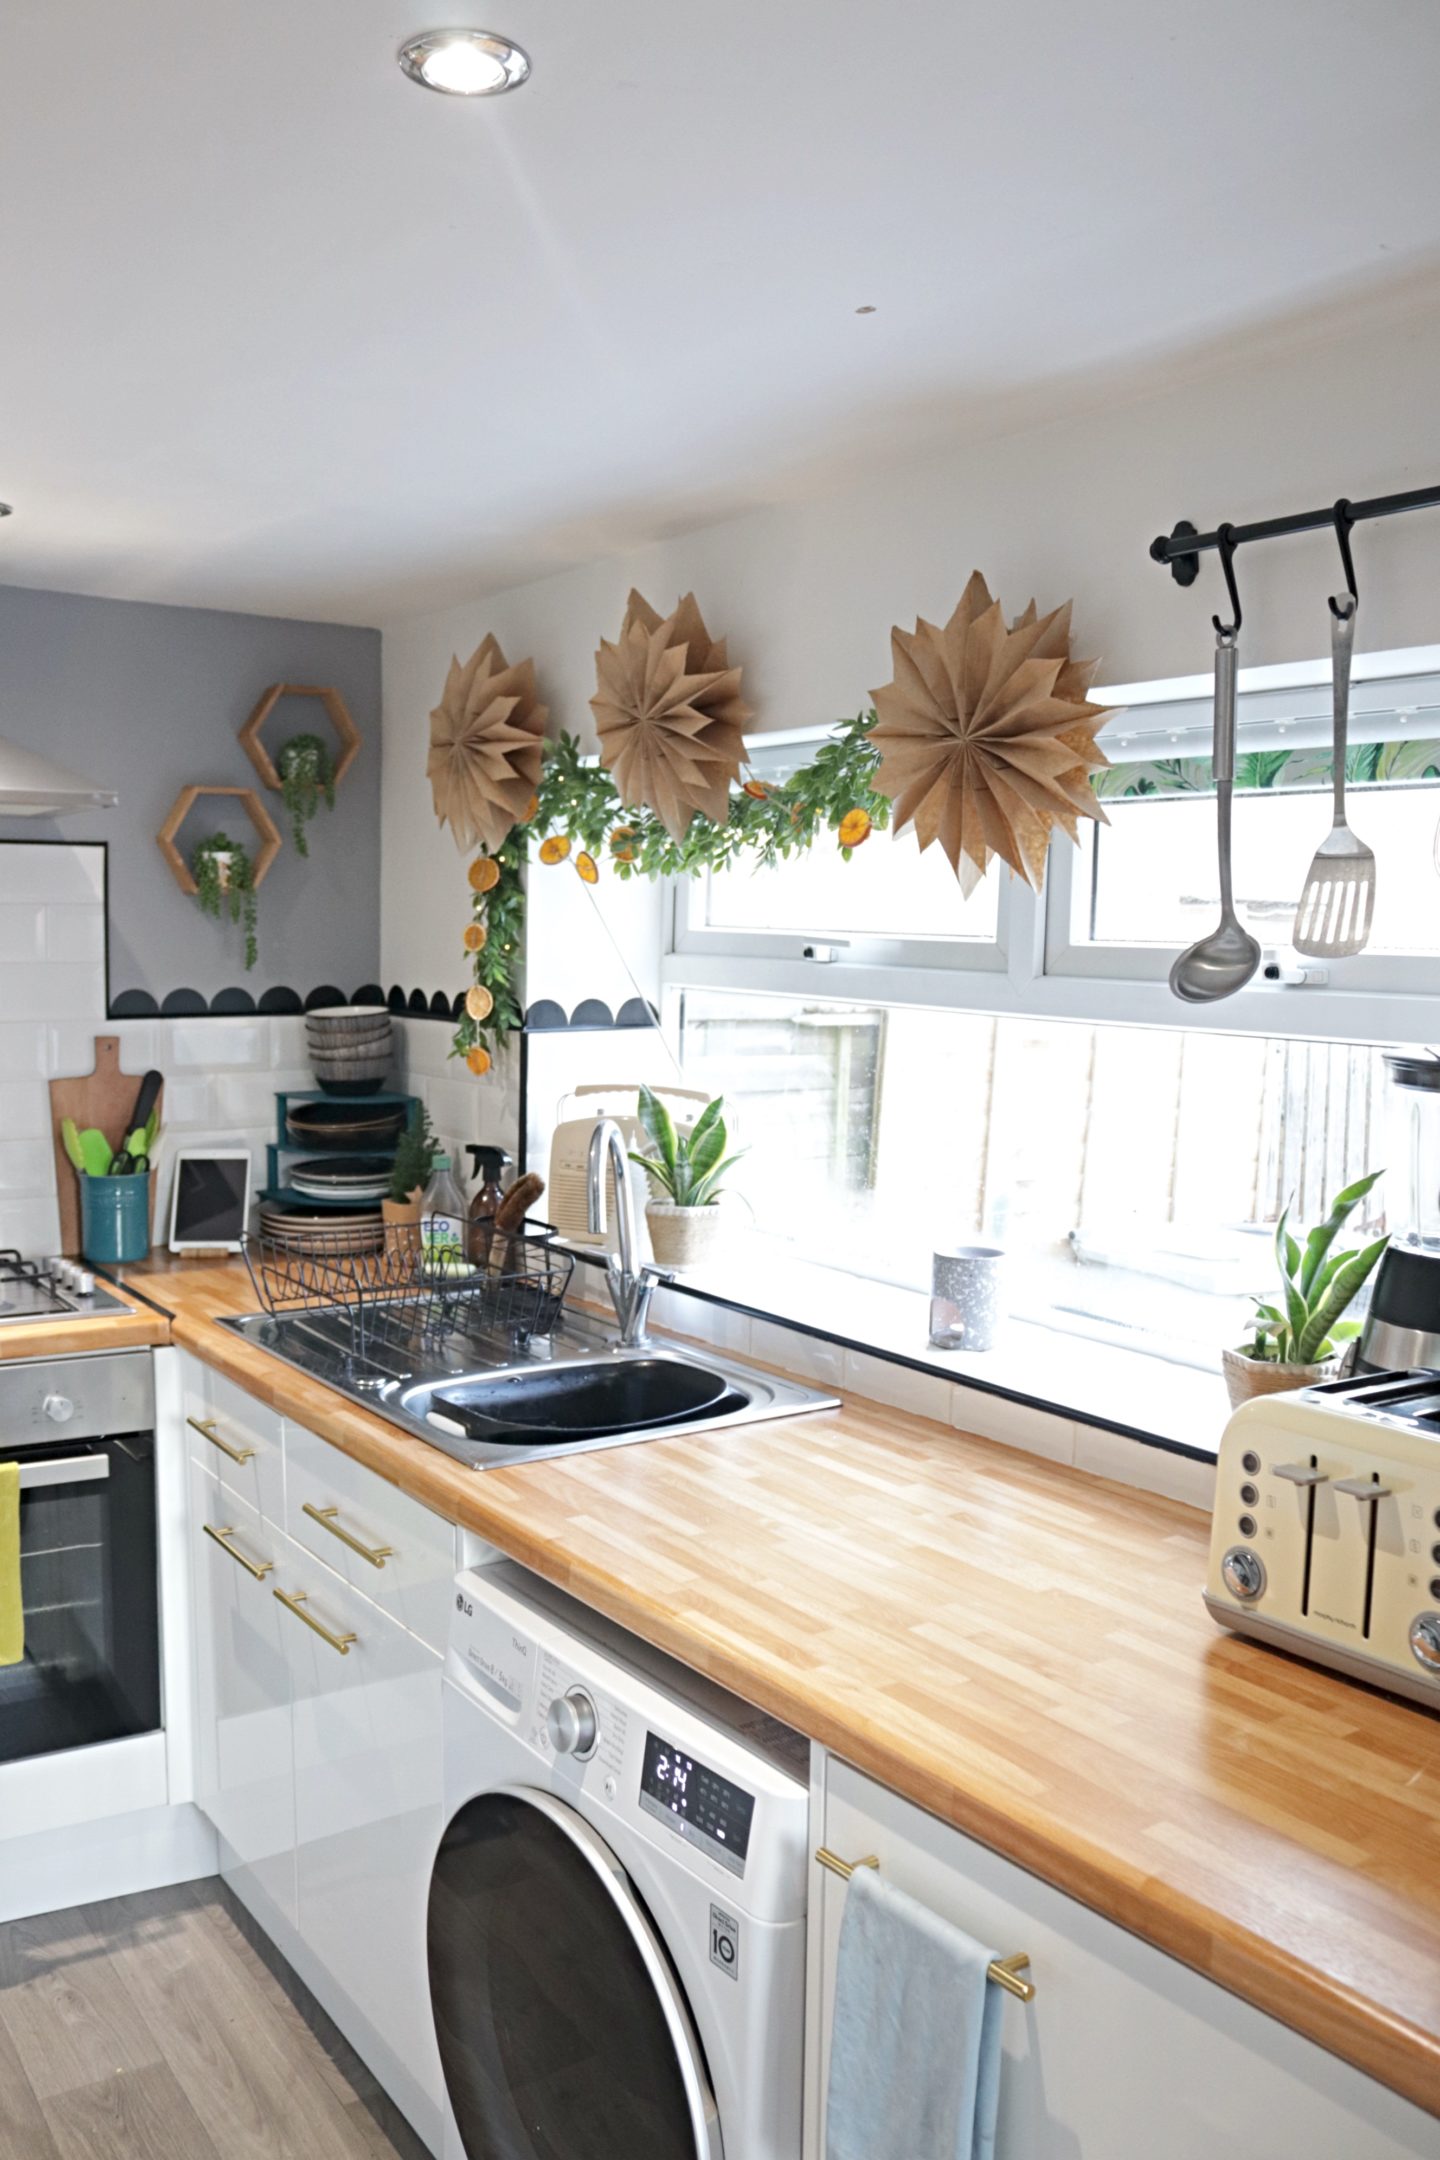
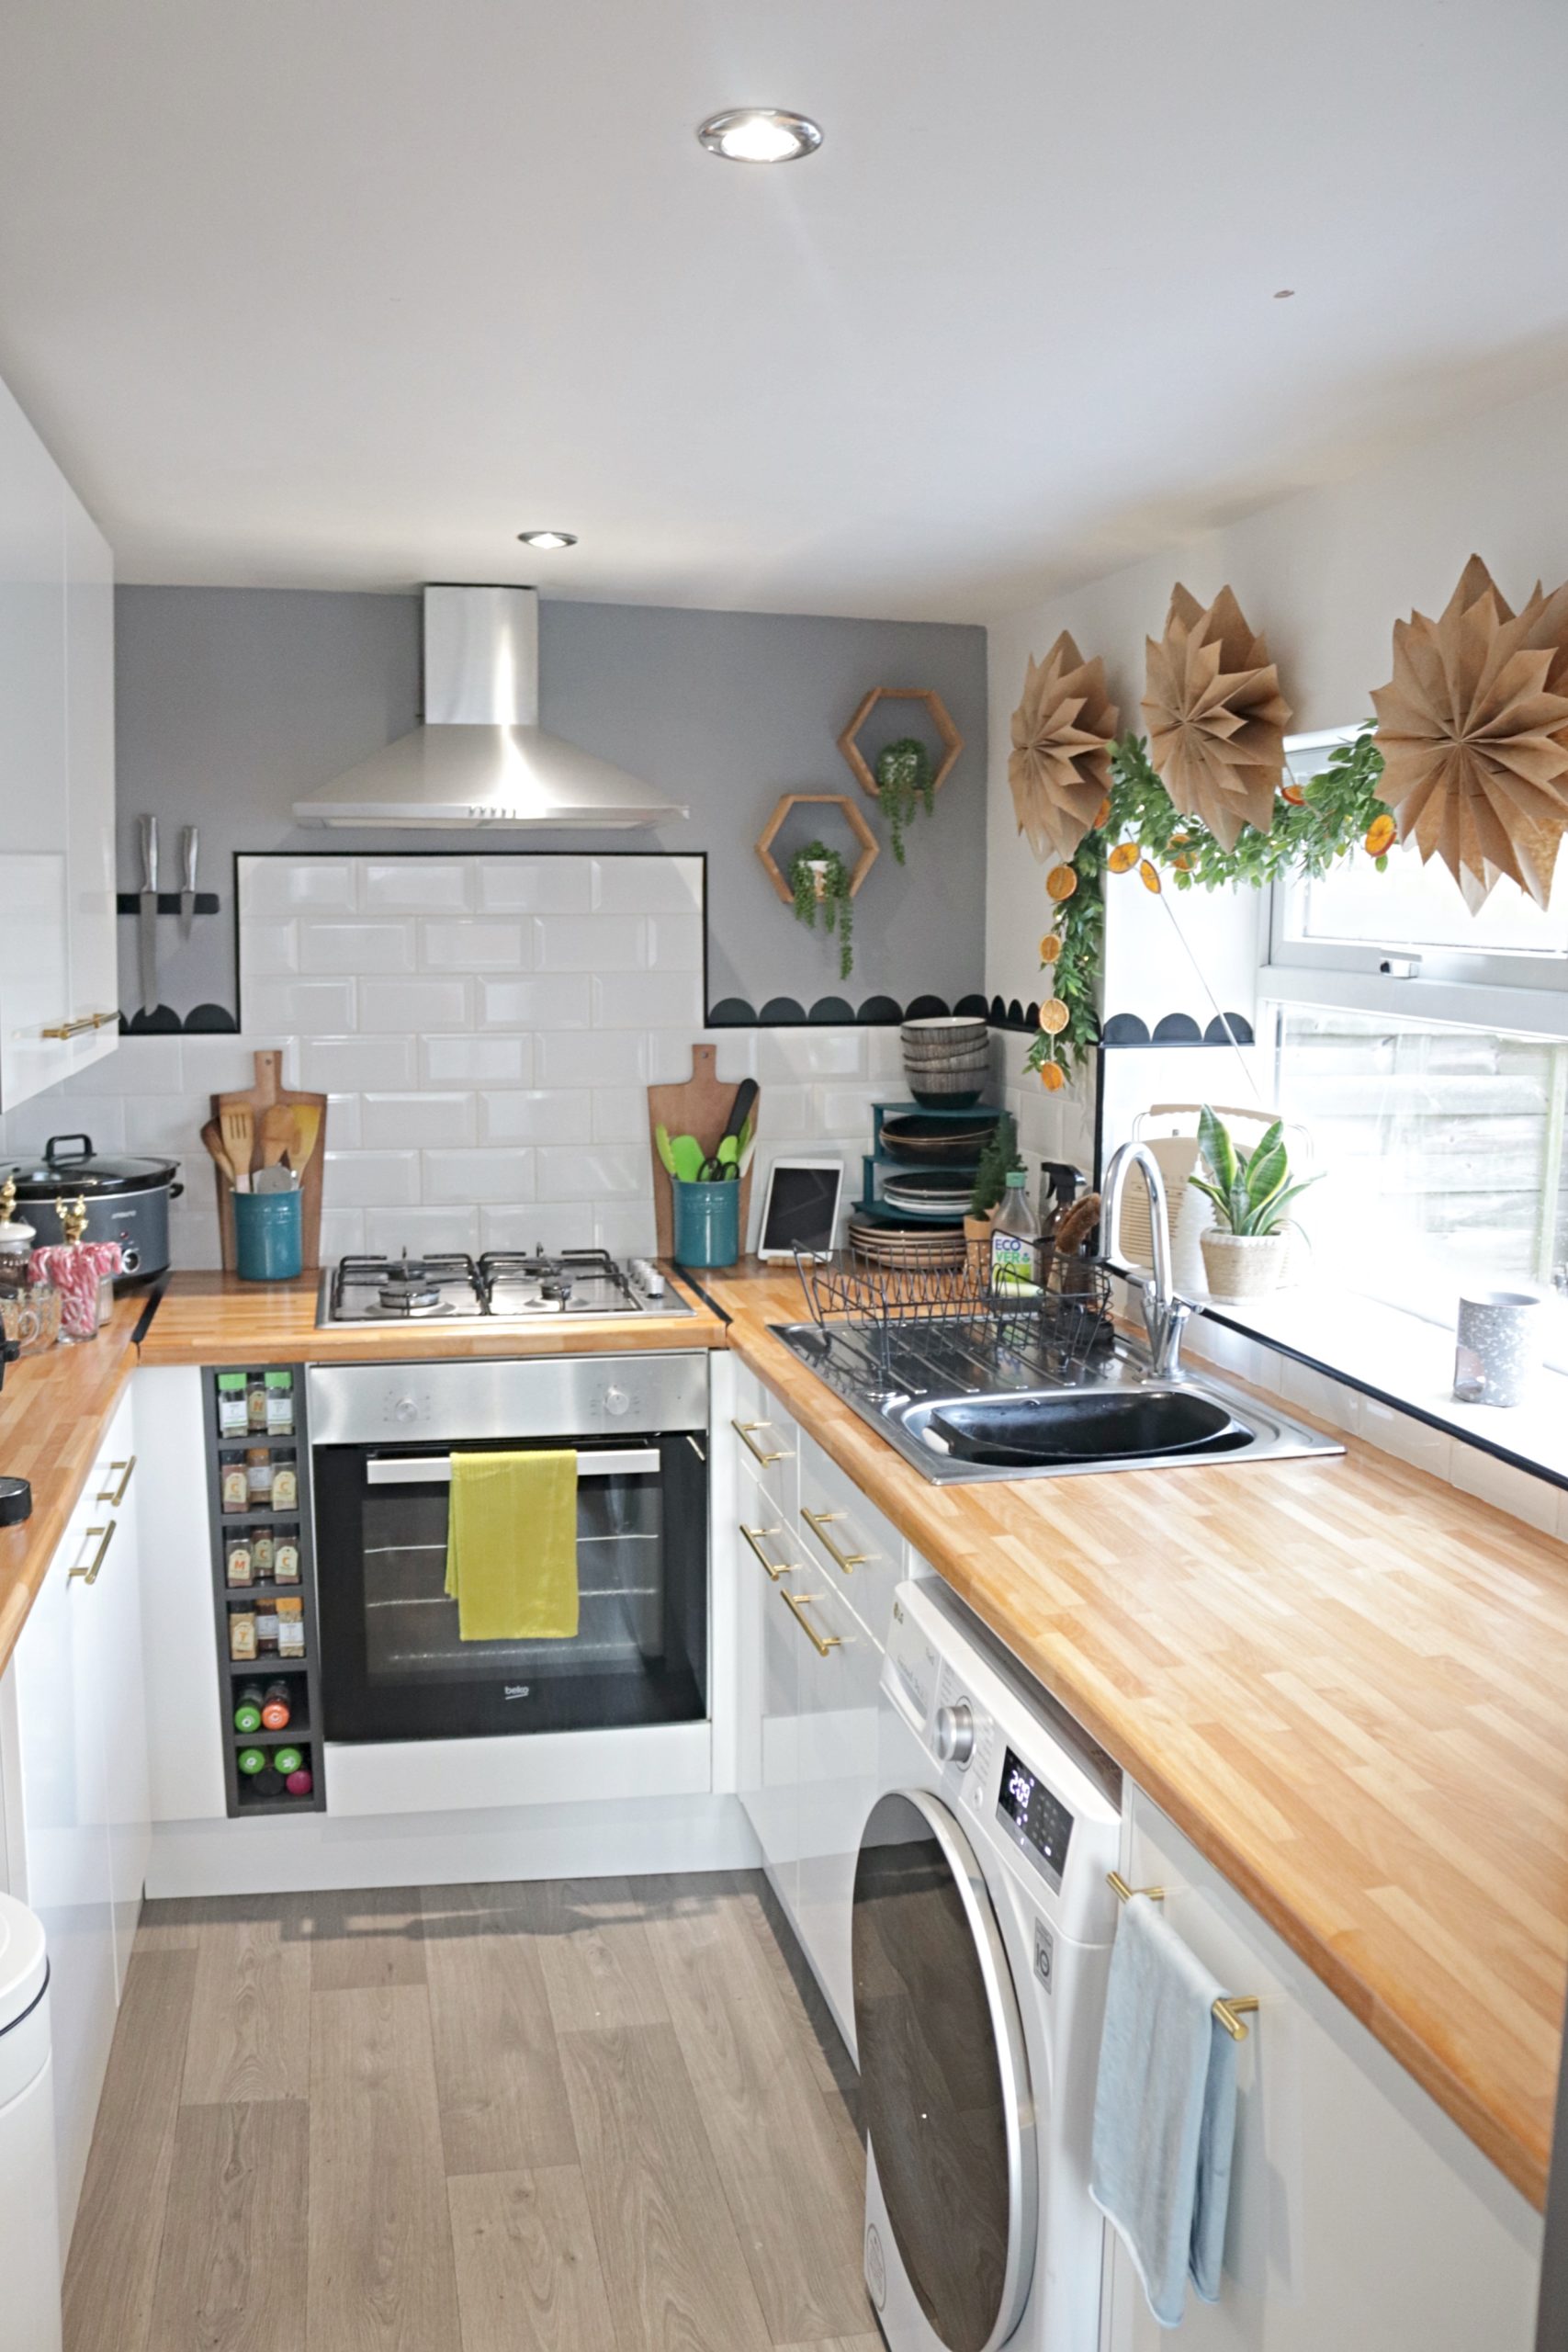
If you know my kitchen you know that it’s only small and I can’t afford to clutter up valuable counter space with lots of decorations so the majority of what I’ve added is hanging or on shelves with just the odd item dotted on the counters. This garland that I have hung over the window was included in my Christmas decor finds 2021 and I also wrapped some led string lights through it just to give it a little something extra. I used command hooks to hang it and the orange slice garland (I’ve included instructions on how I made this below). I also made these paper bag stars, they are very easy to make and I’ll be sharing them in a separate blog post soon. I just attached some jute string to the back of them and hung them on the same hooks as the garland.
Dried orange garland
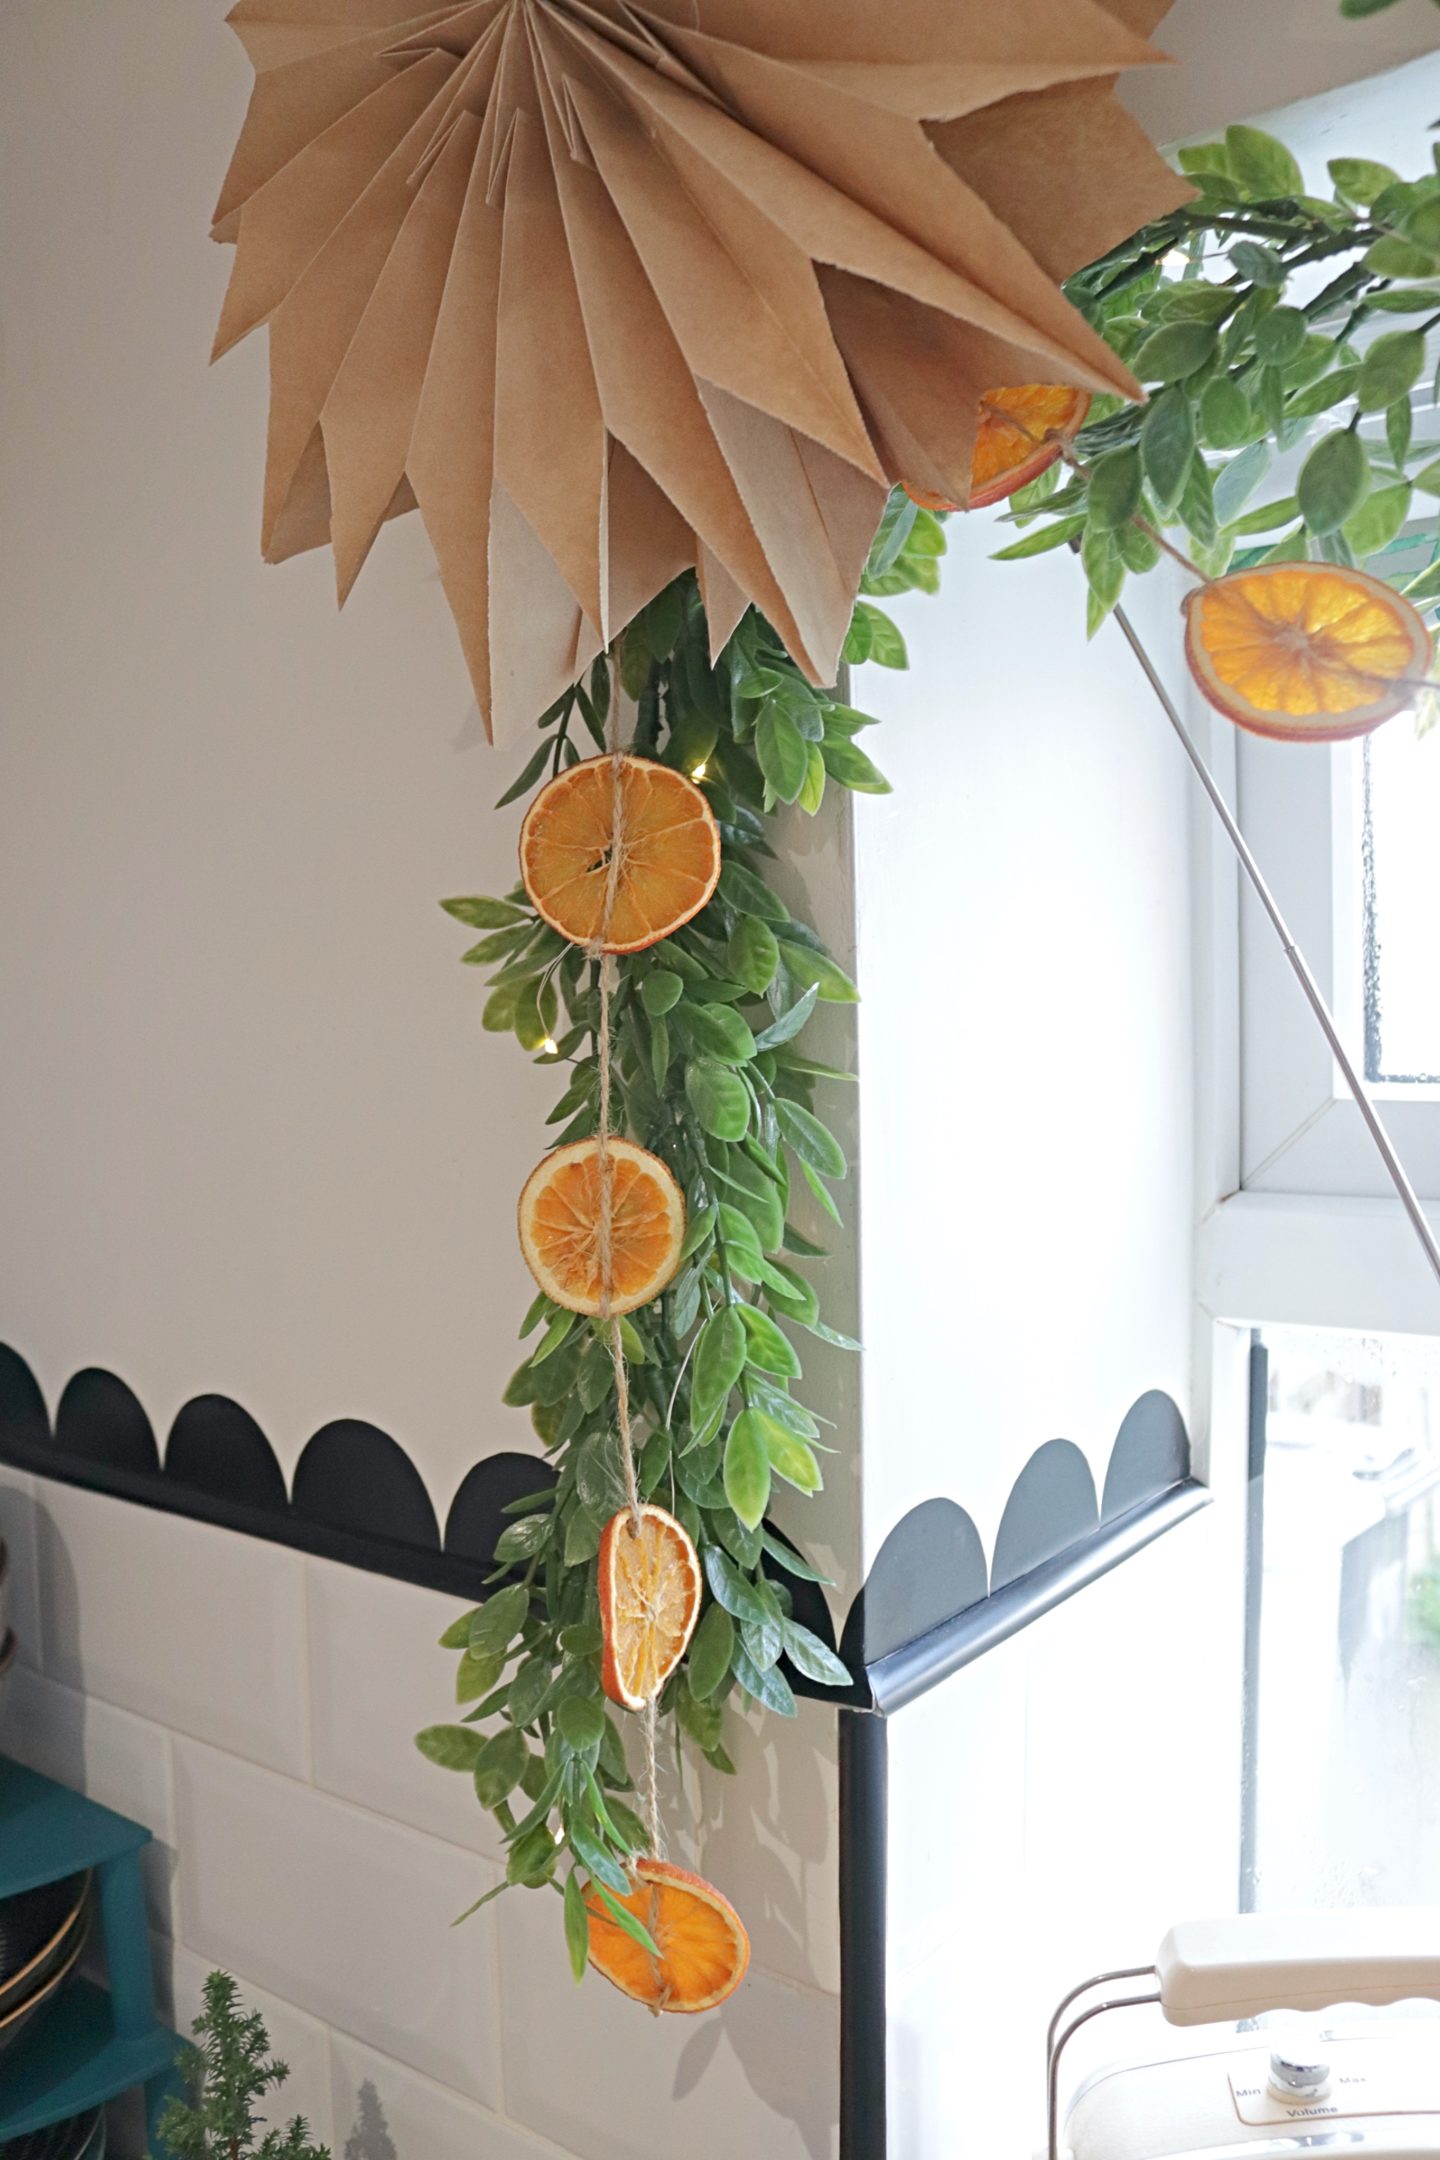
I wanted to share how I dried the oranges and made this garland but it didn’t really warrant a blog post of it’s own so I thought I would include it here. So you need to heat your oven to 120c and take a couple of baking trays and line them with baking parchment. You then need to slice your oranges, I sliced mine into 1/2cm slices. Use a towel to blot off any excess juice and then lay the slices on the baking parchment. Put them into the oven for 30 minutes, then take them out and turn them all over. Put them back in for a further 30 minutes. They were not completely dry at this point but I found them dry enough to sting them together. If you wanted yours a little dryer I would turn them again and put them back in for another 20/30 minutes. Just be careful not to burn them. Once done I left them to cool completely before stringing them on some jute twine. You could use anything really but I like the look of the jute. In the garland pictured above you can see that I threaded the jute through both sides of the orange but you will see later on that I made another garland where I just threaded the jute through one side so the oranges hang down from the string. And that’s about it really, apparantly they last quite well if you pack them away properly but they do darken with age.
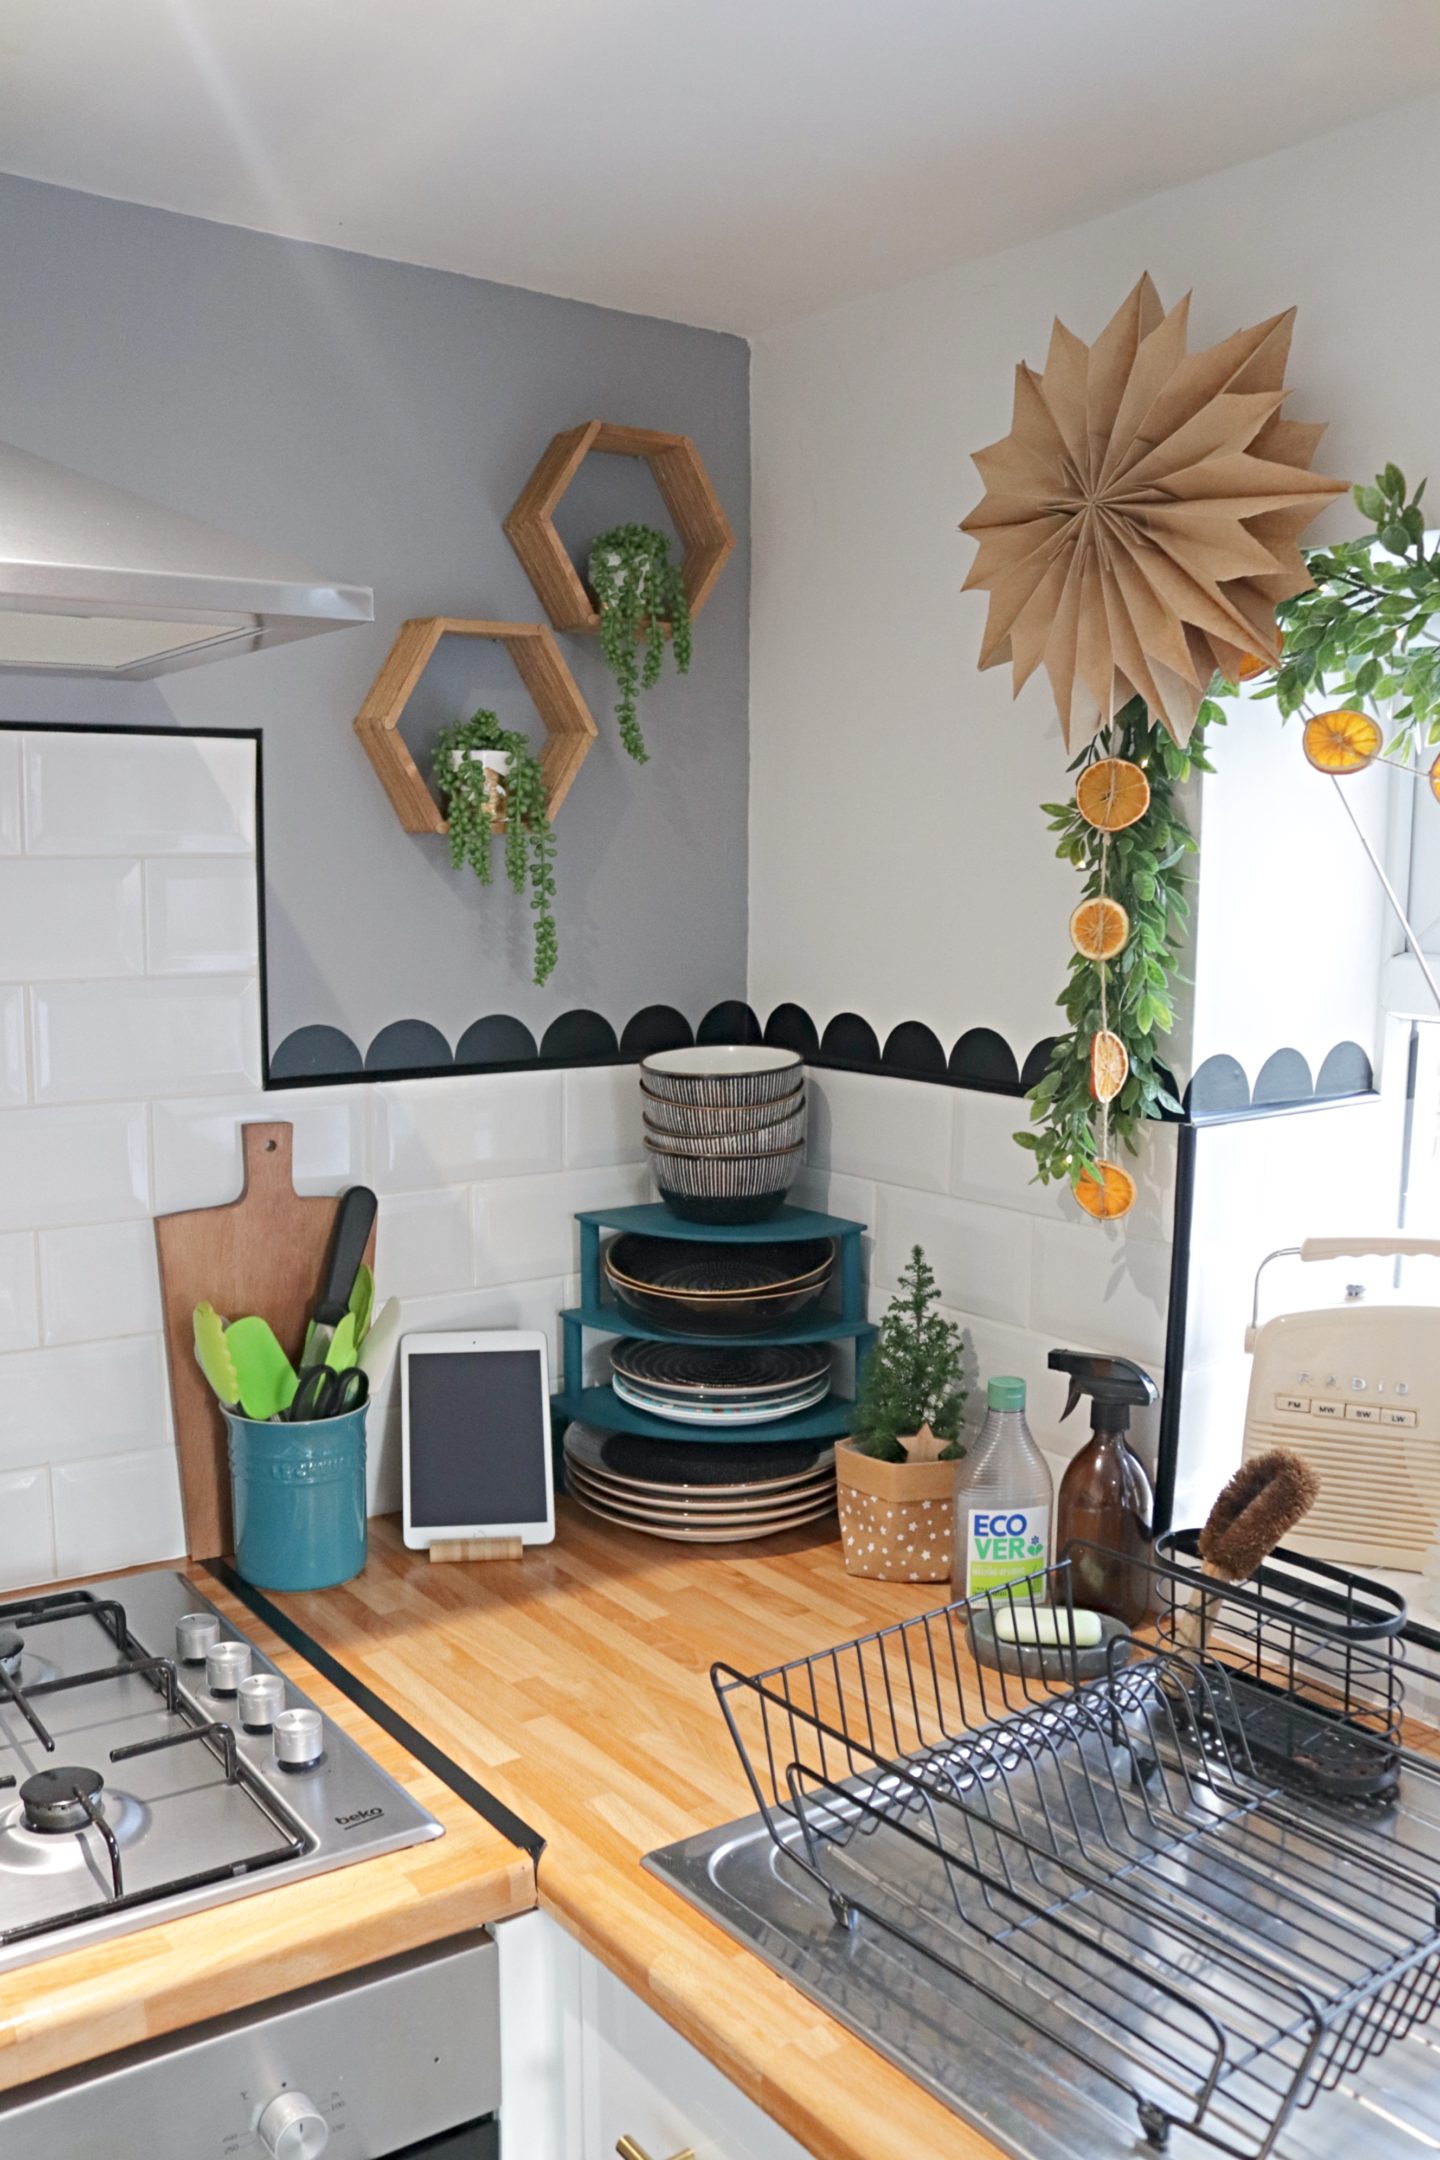
The eagle eyed of you might notice that my counters have changed colour! I had an itch to switch and used some dc fix to cover them and I’m loving how much brighter the kitchen looks now.
The last little touch to this area is the mini Christmas tree that I picked up from M&S, the little paper bag it comes in just fits my theme perfectly.
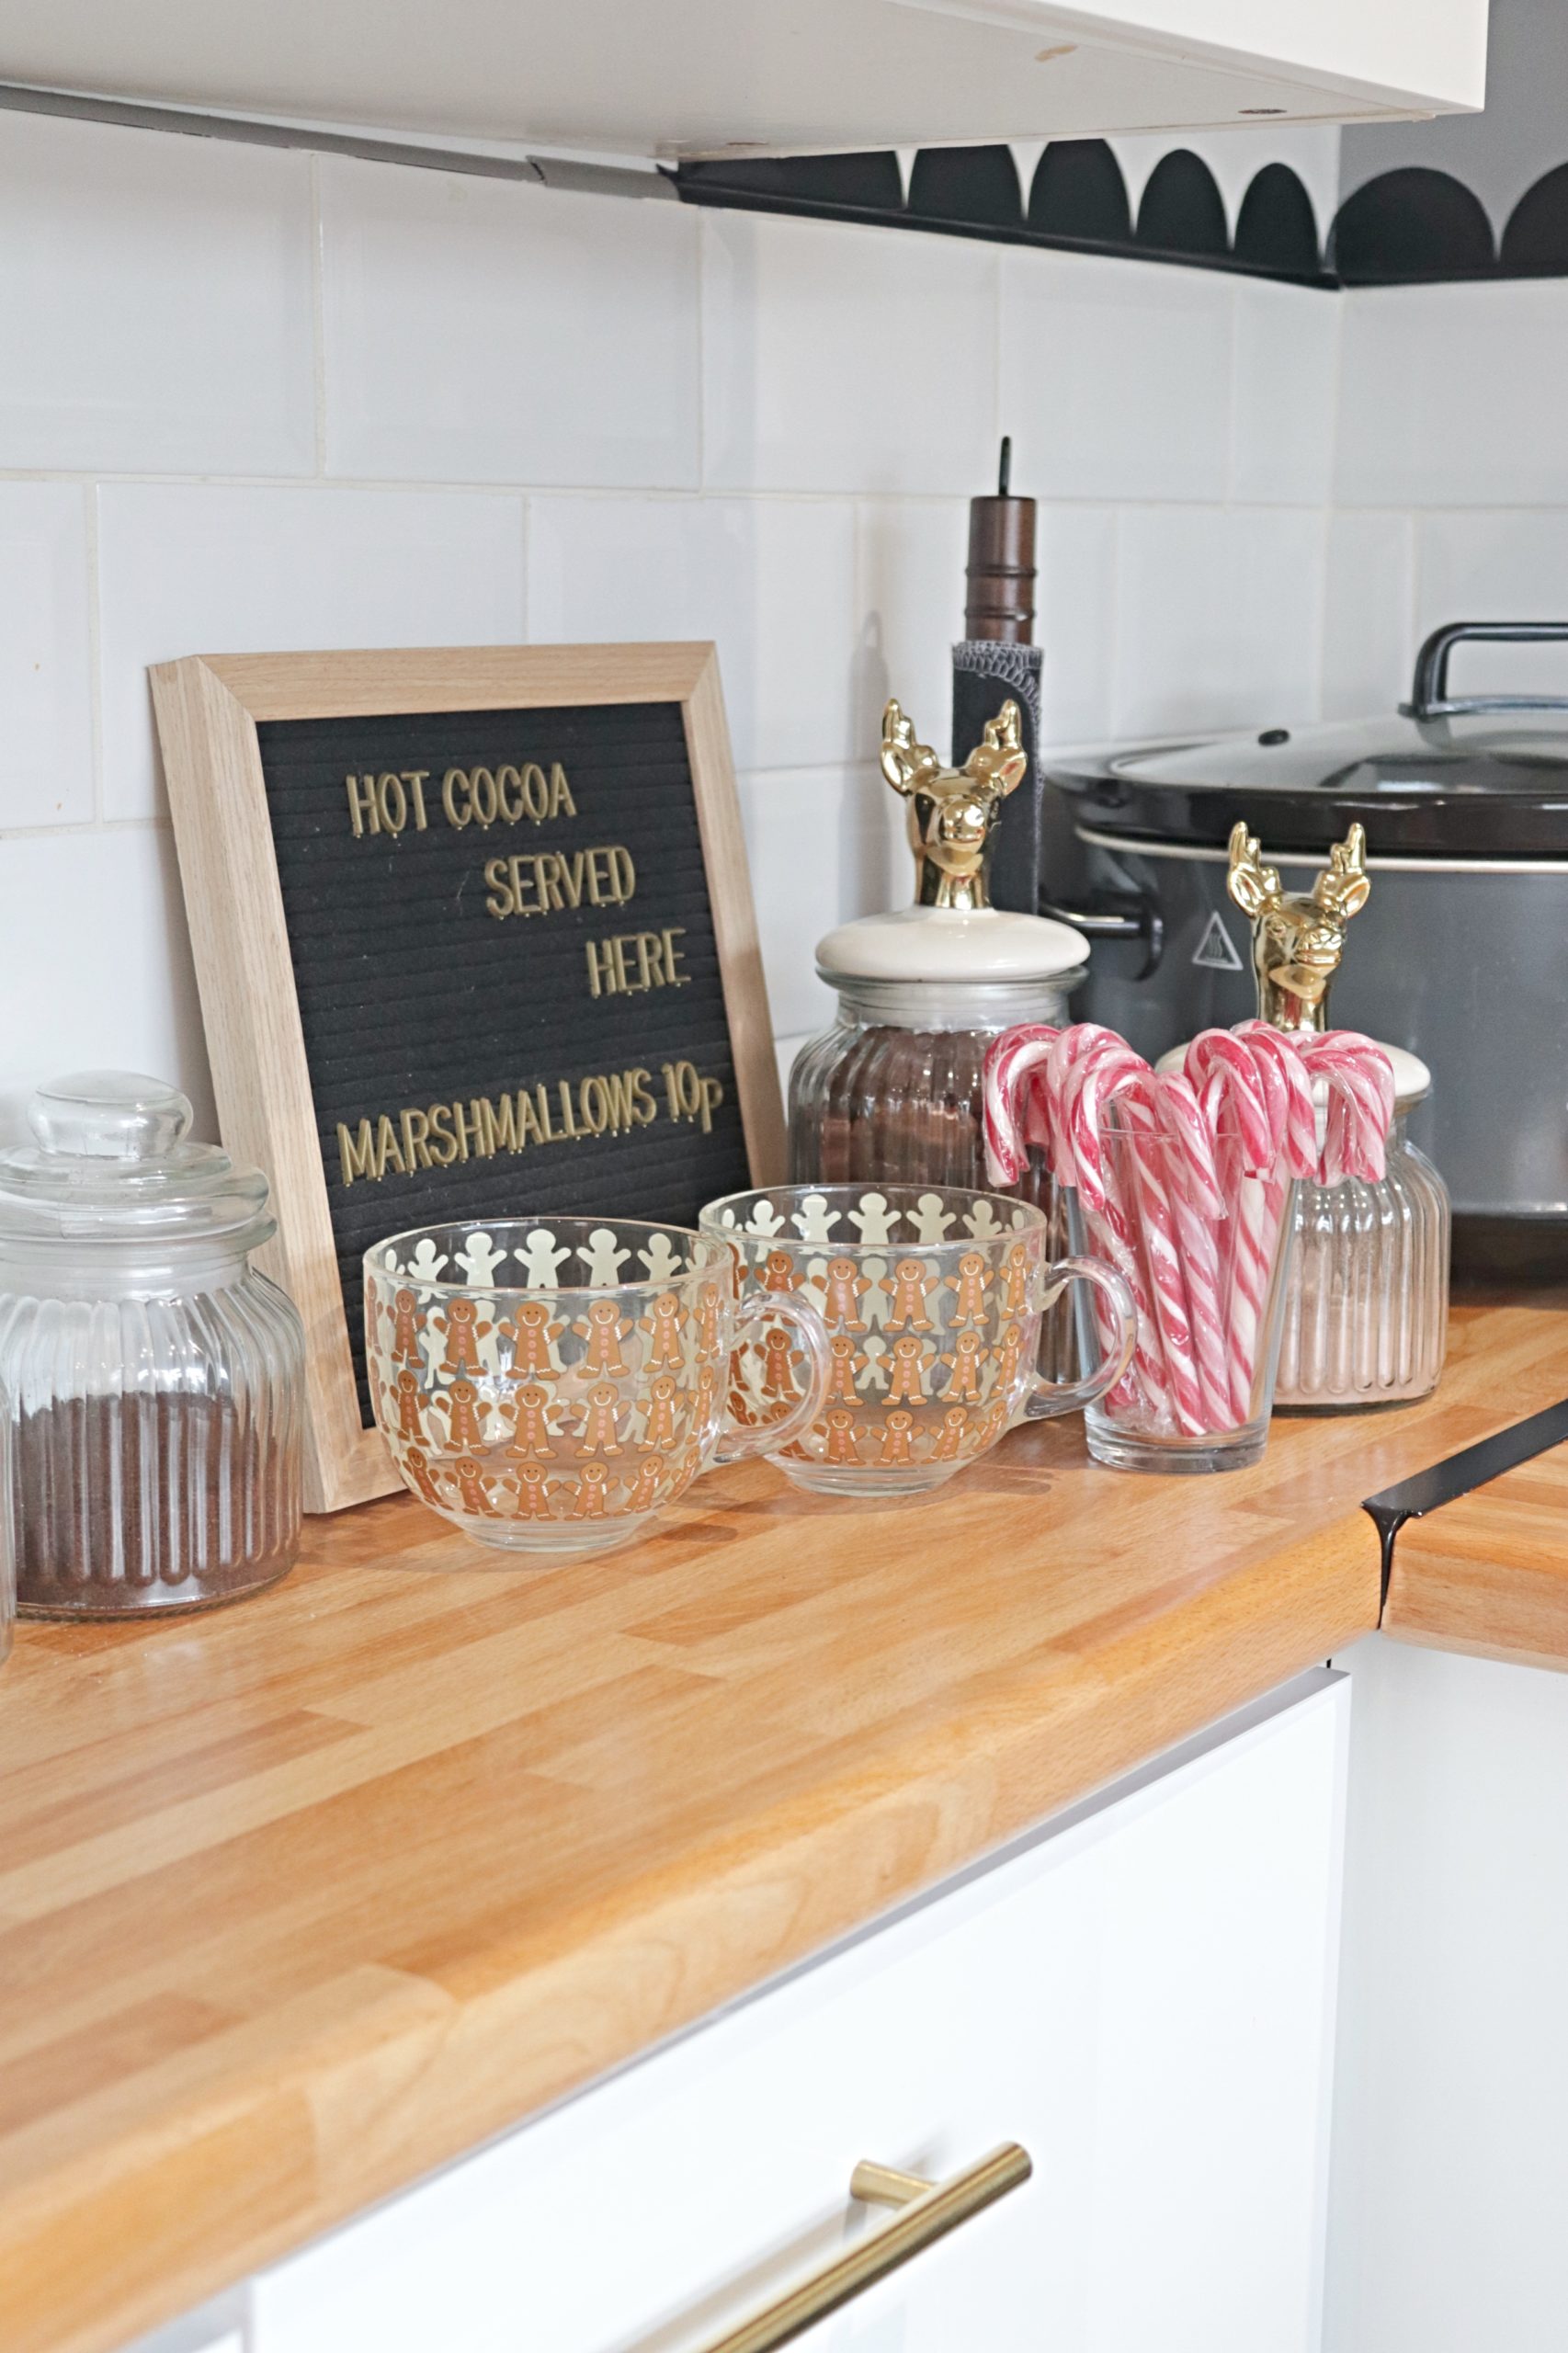
Moving over to the other side of the kitchen, I wanted to create a hot chocolate station. I couldn’t go too big as I don’t have the space but I think I’ve added just enough to make it look fun and the kids love it.
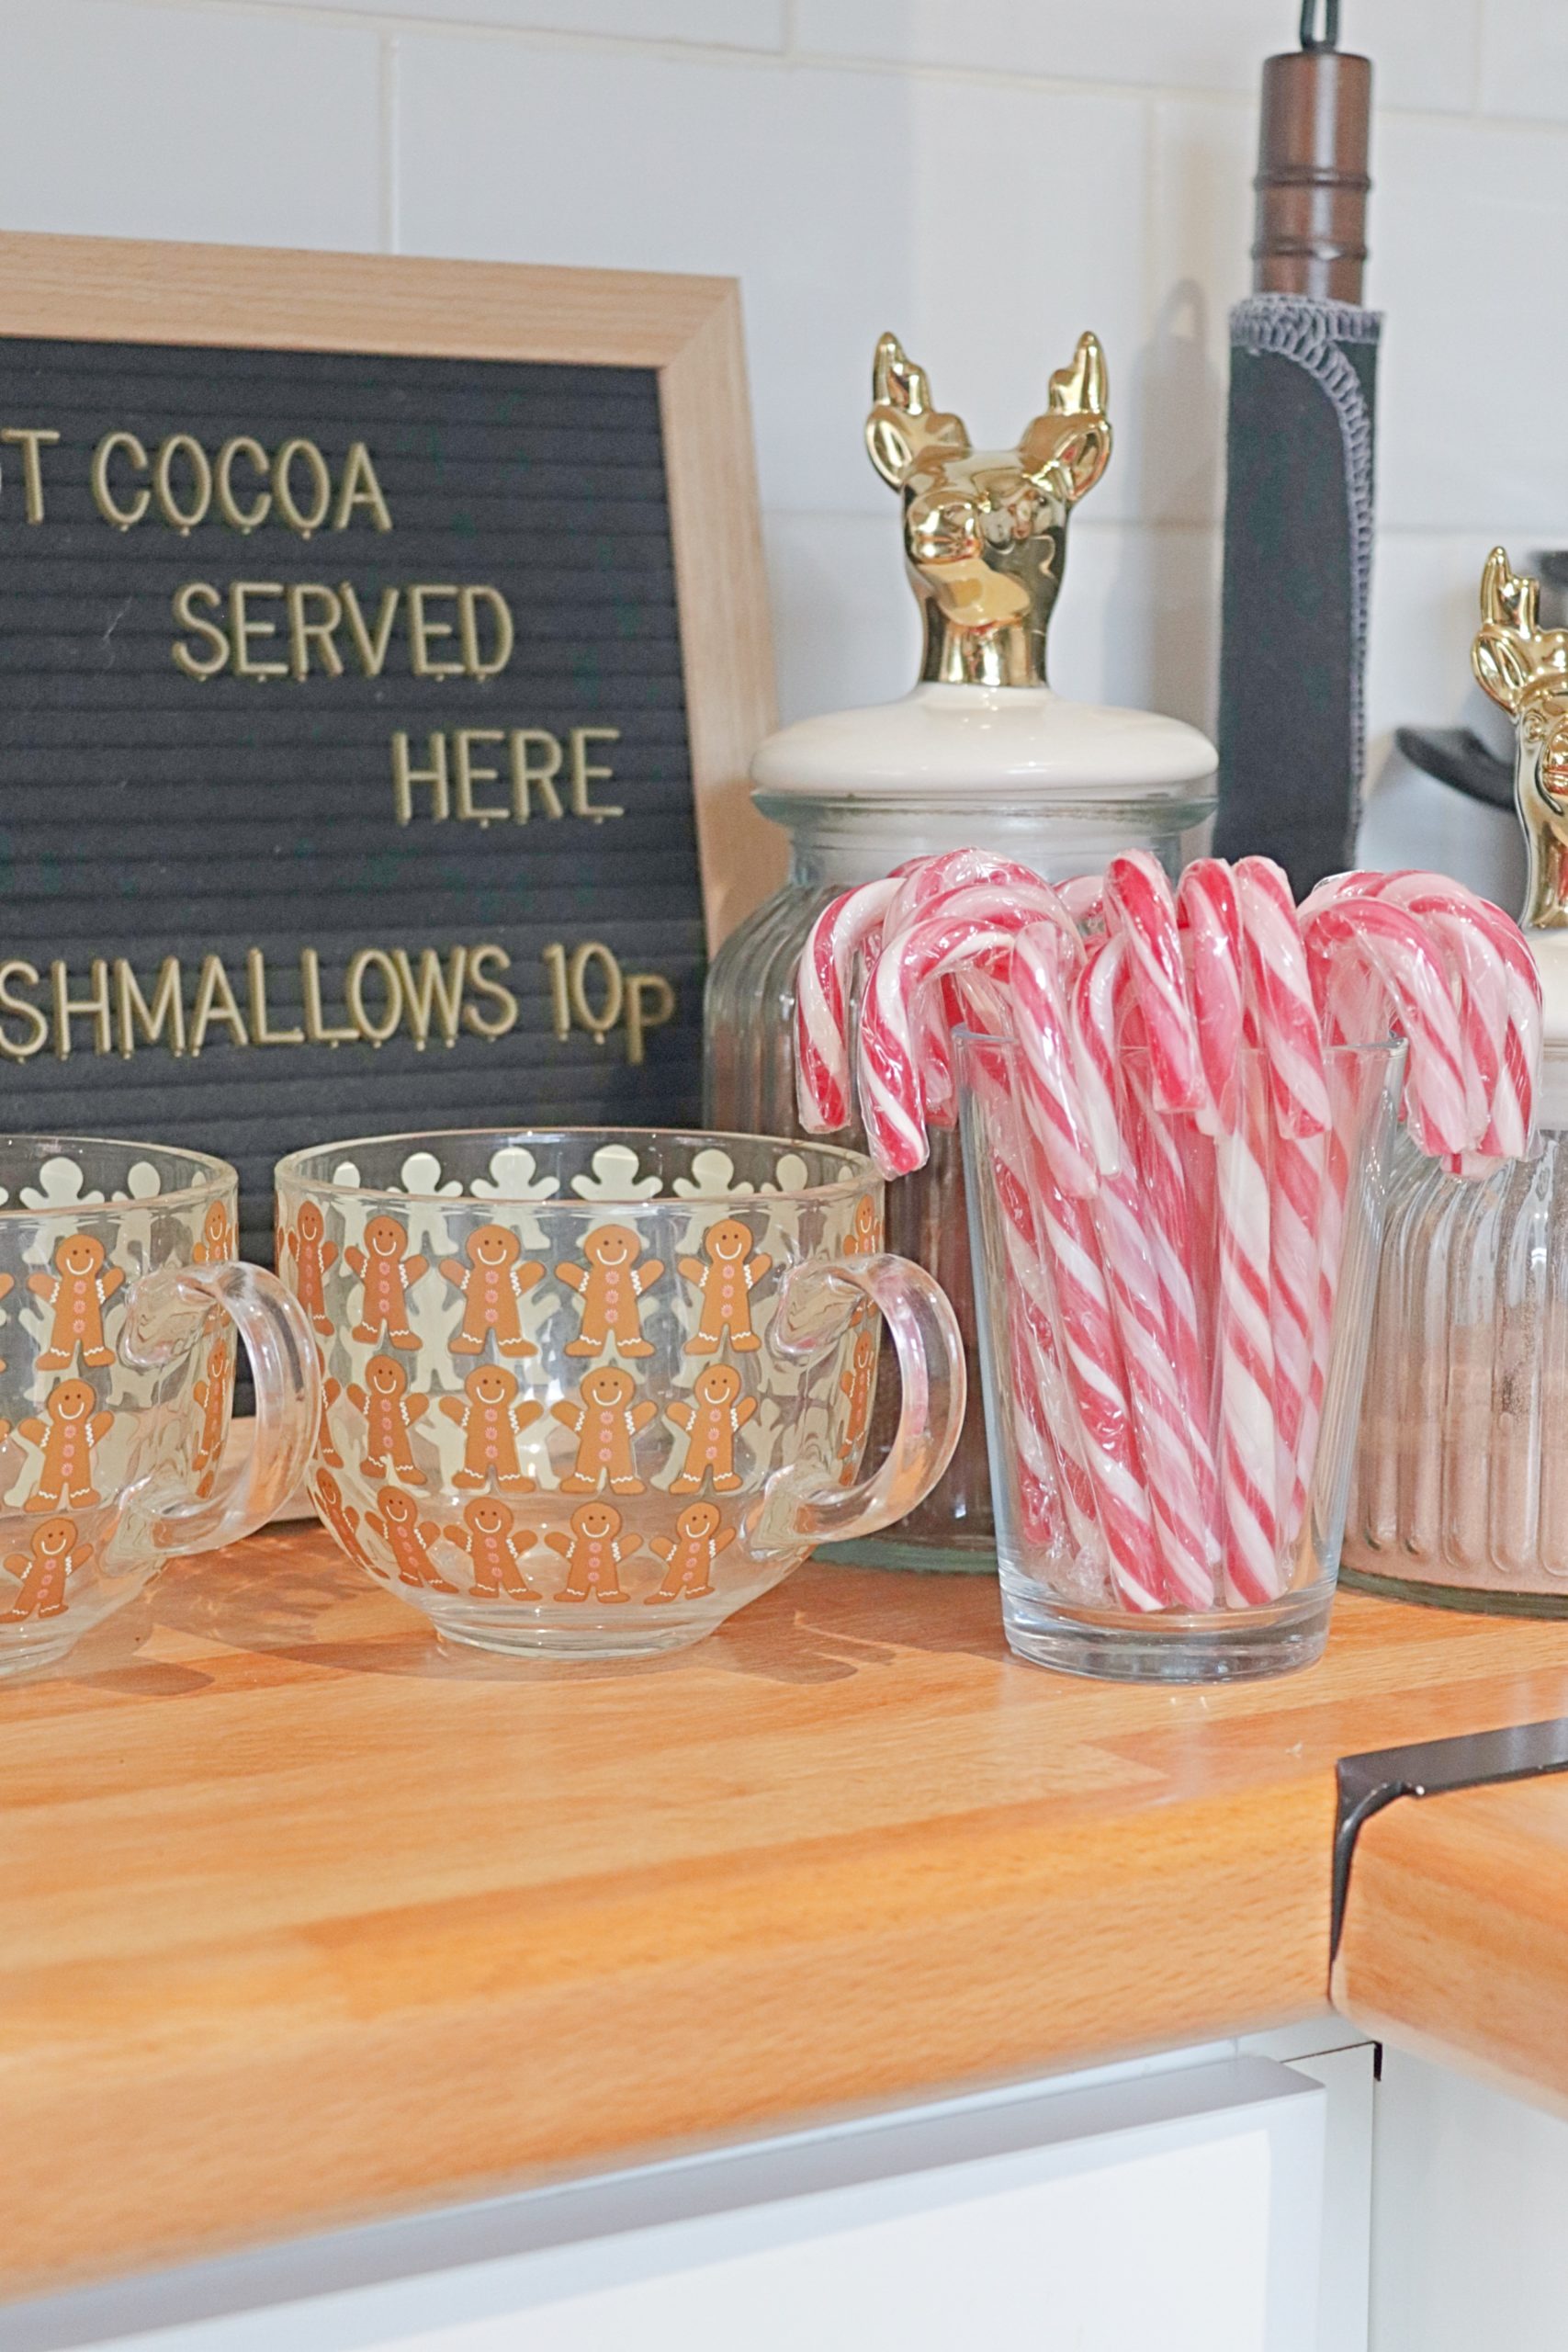
The letter board is from Amazon and I’ve had it for a few years now and it usually lives in the dining room but I’ve moved it in here to make a fun hot cocoa sign. The stag head storage jars are from B&M and were really well priced at £3.99 for the small and £4.99 for the large. I’ve put hot chocolate powder in the small and chocolate covered marshmallows in the large one. The gingerbread men mugs are my favourite Christmas mugs I’ve ever had and I found them in Asda, they are just too cute. Lastly I just added some candy canes to a glass, I can’t wait for lot’s of yummy Christmas hot chocolates.
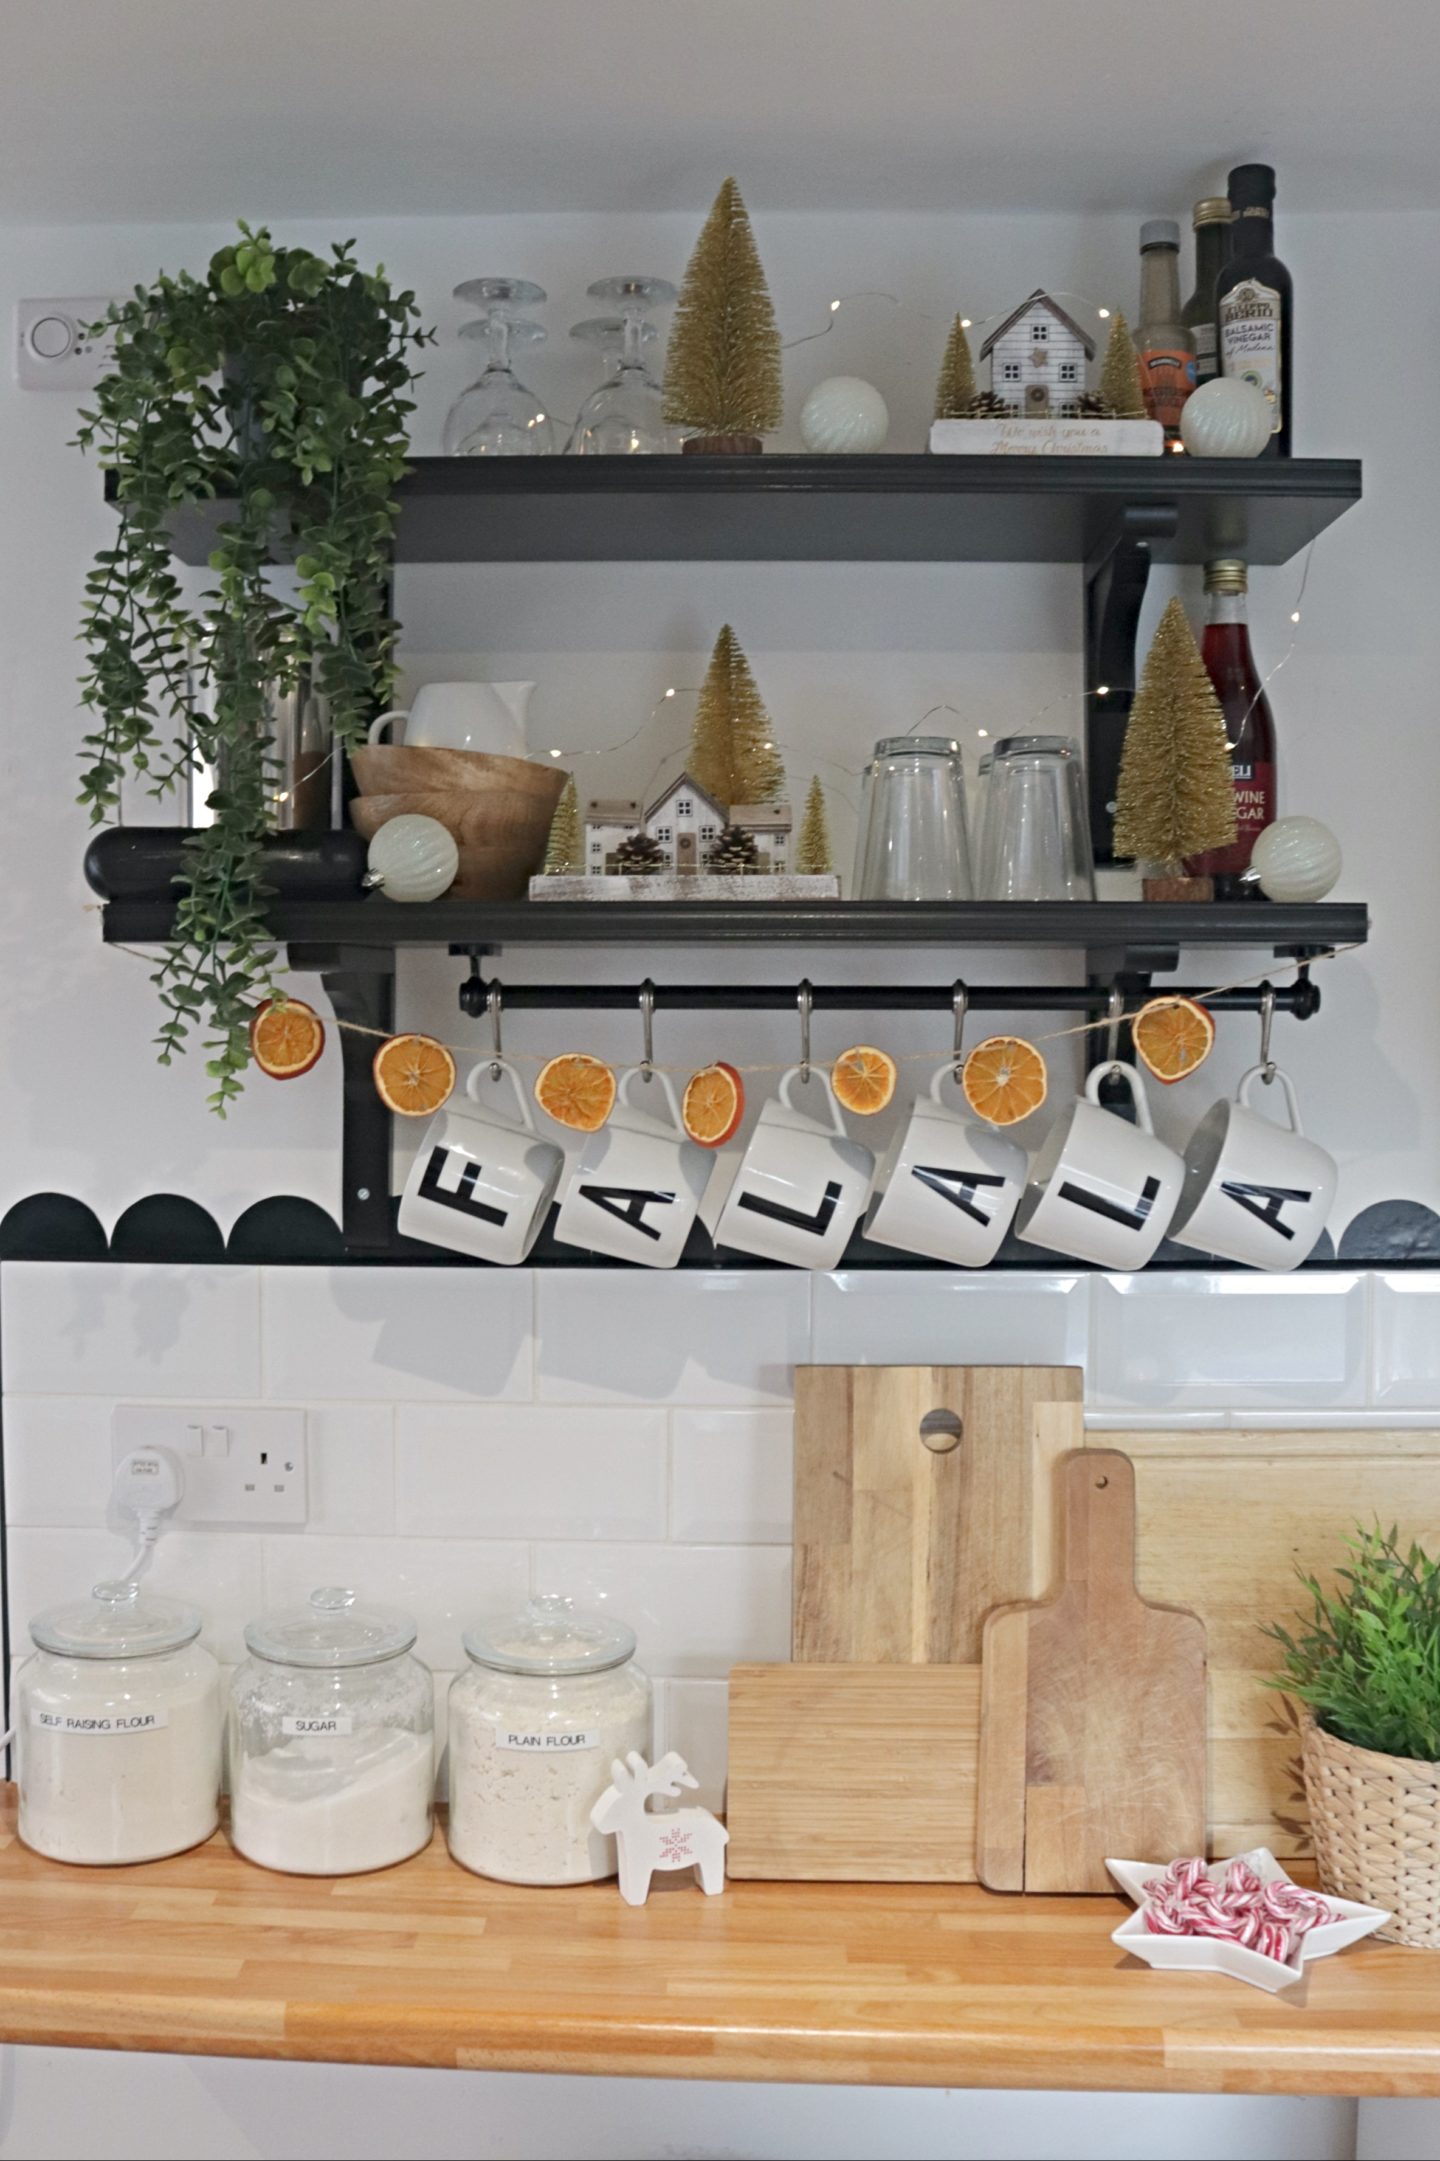
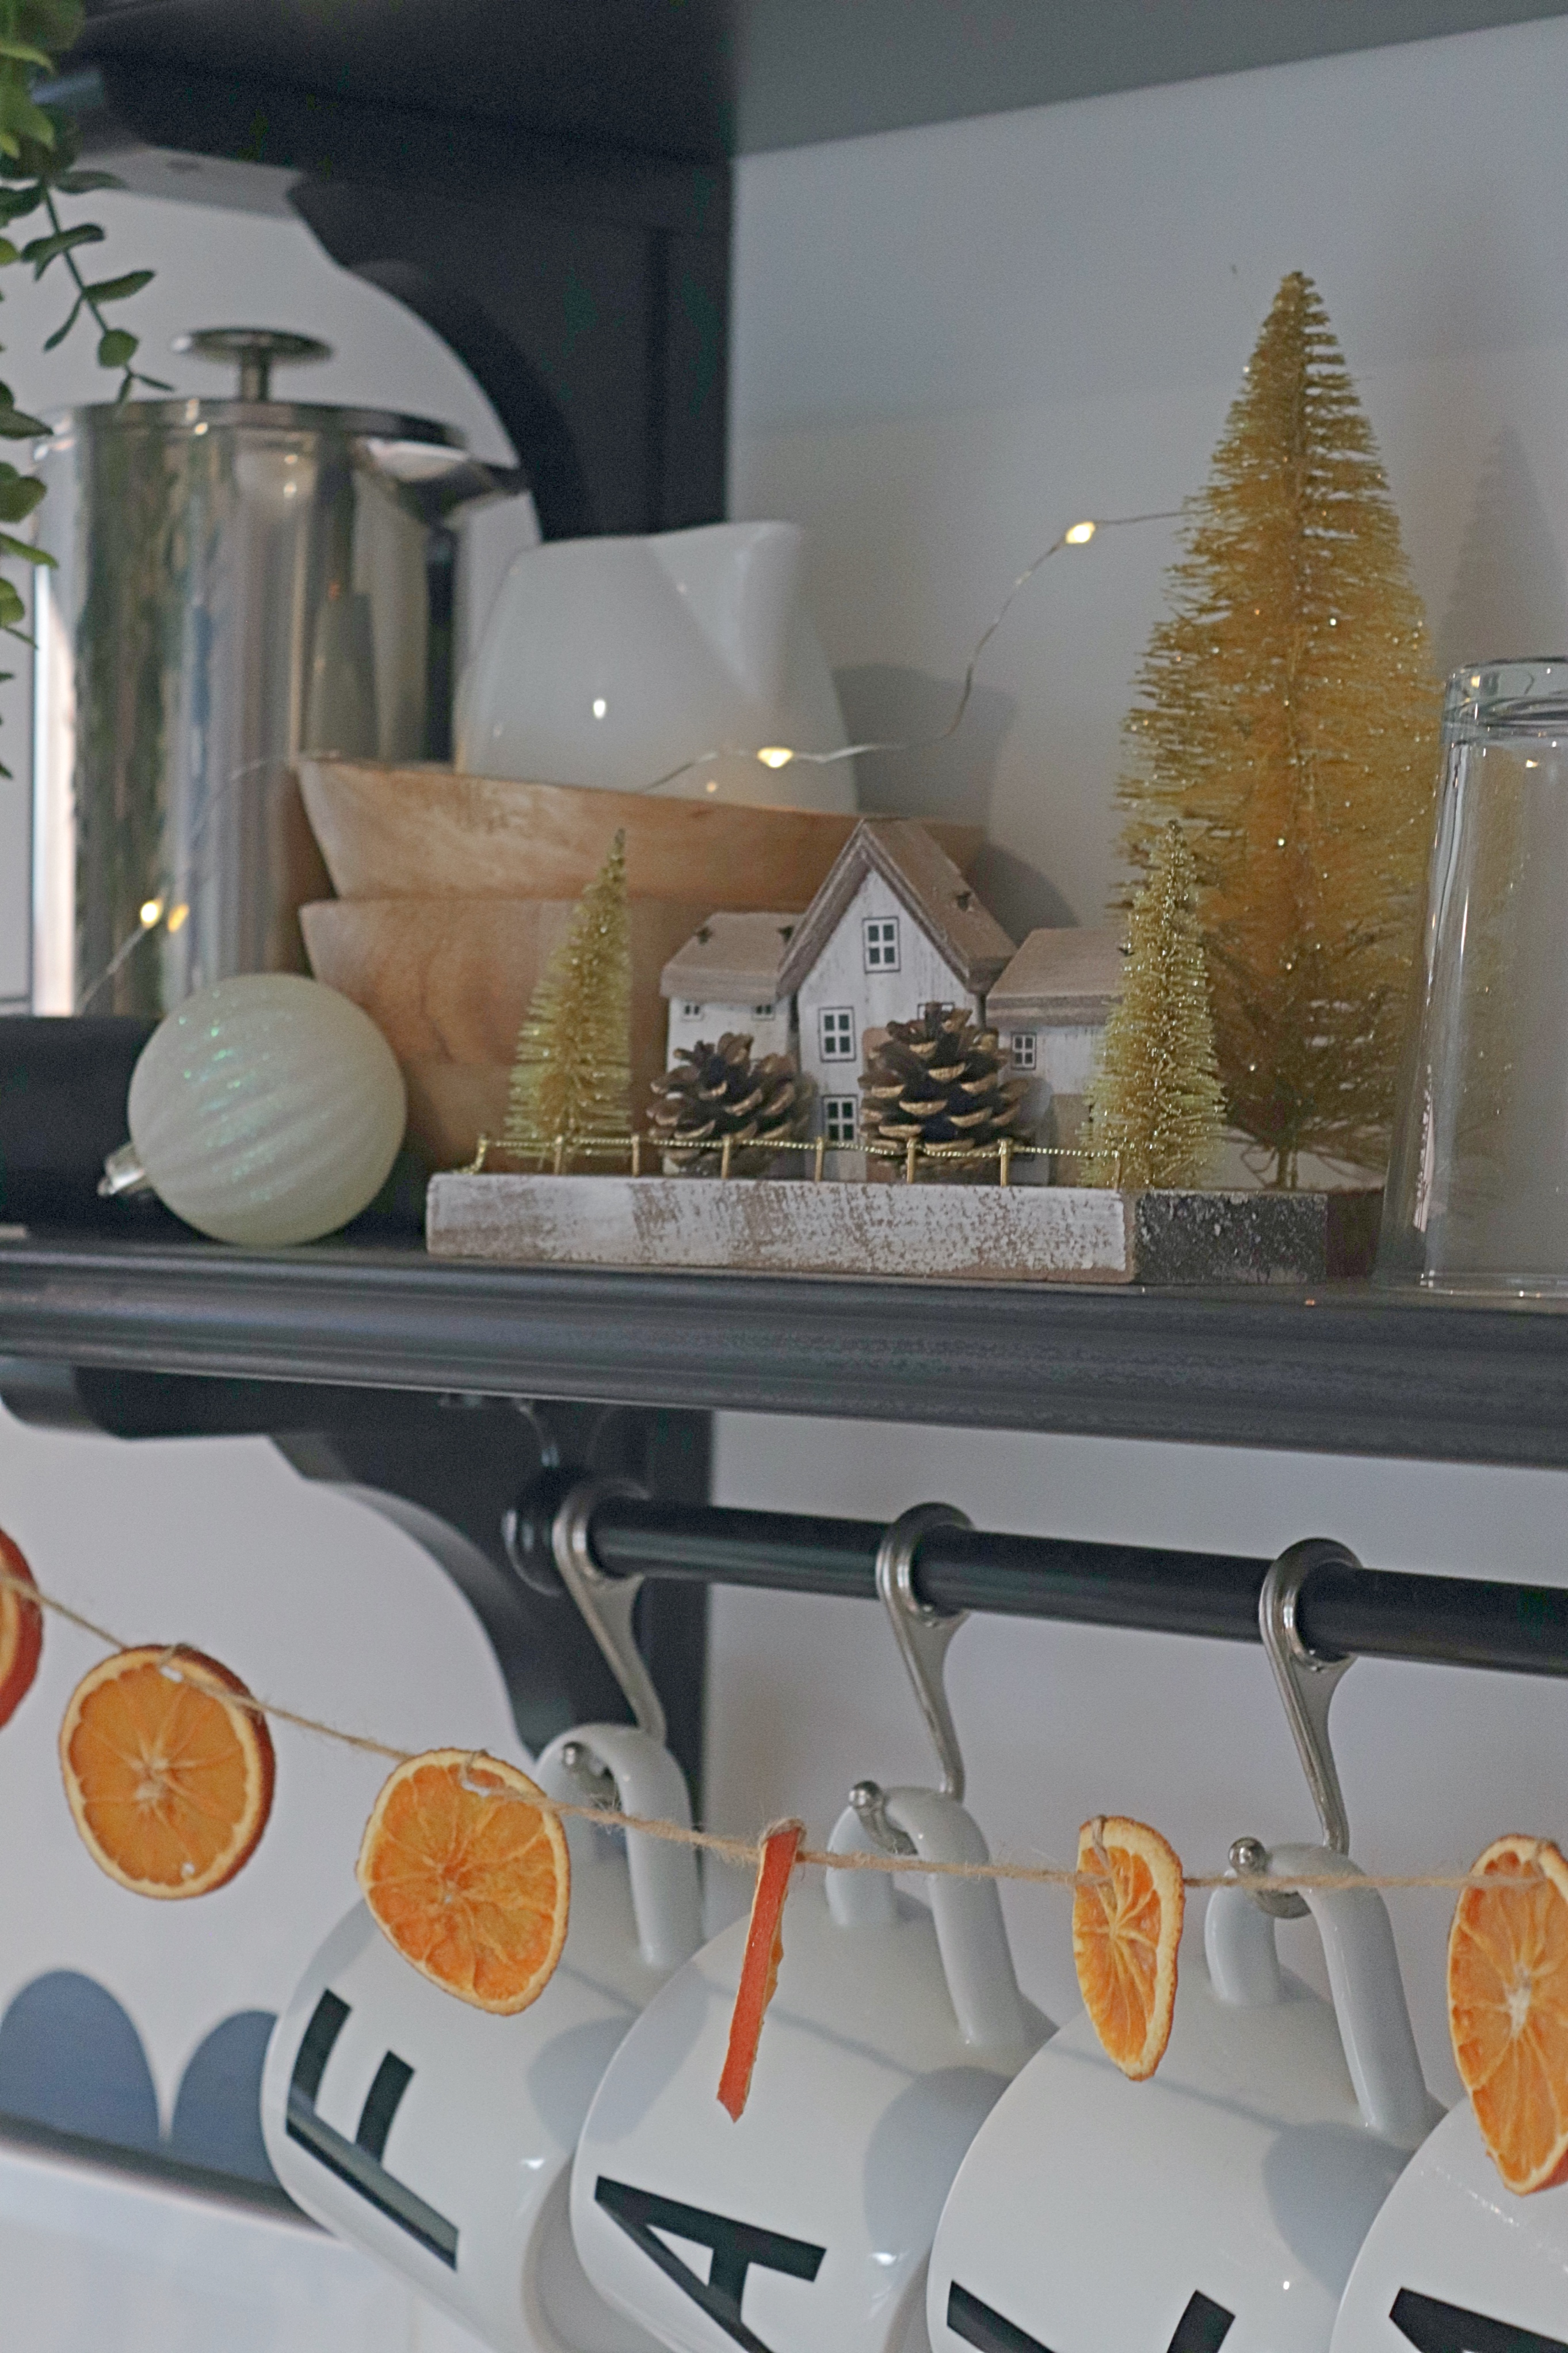
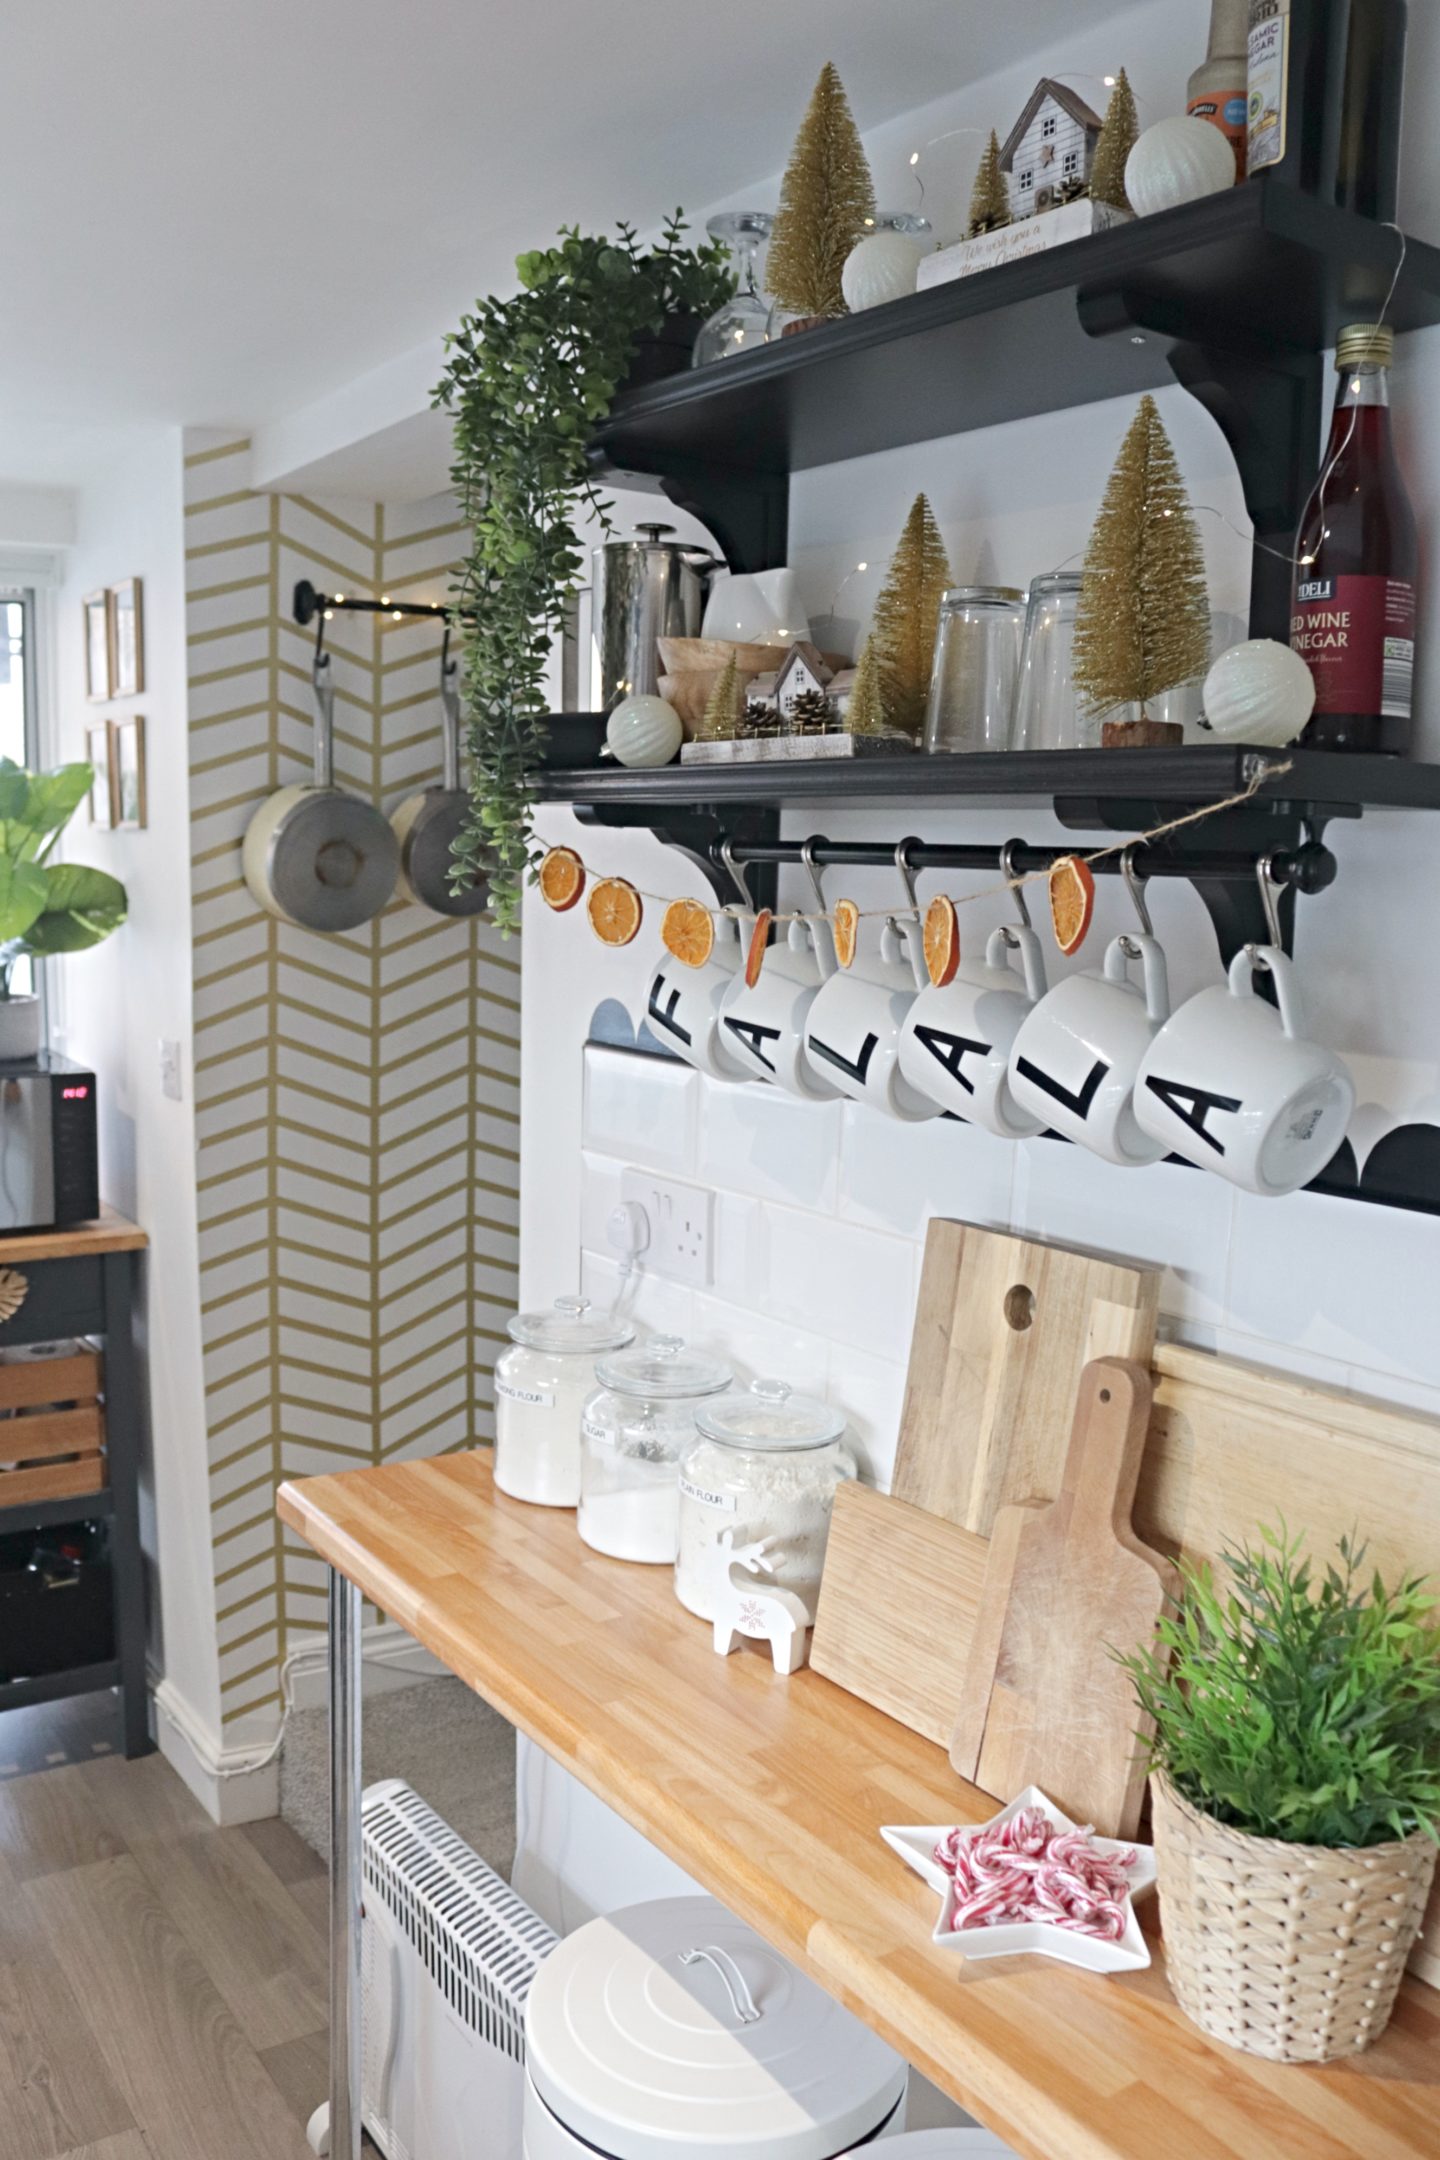
I really love how my shelves turned out. Again heavily influenced by KWendy home, she had Fa La La mugs hanging from her shelves last year. These mugs live here all year round and I ordered the letters from The personalised label storage lady on Instagram. Here is the other style of orange slice garland that I mentioned before, again hung using mini command hooks (I’ve found these so handy this year).
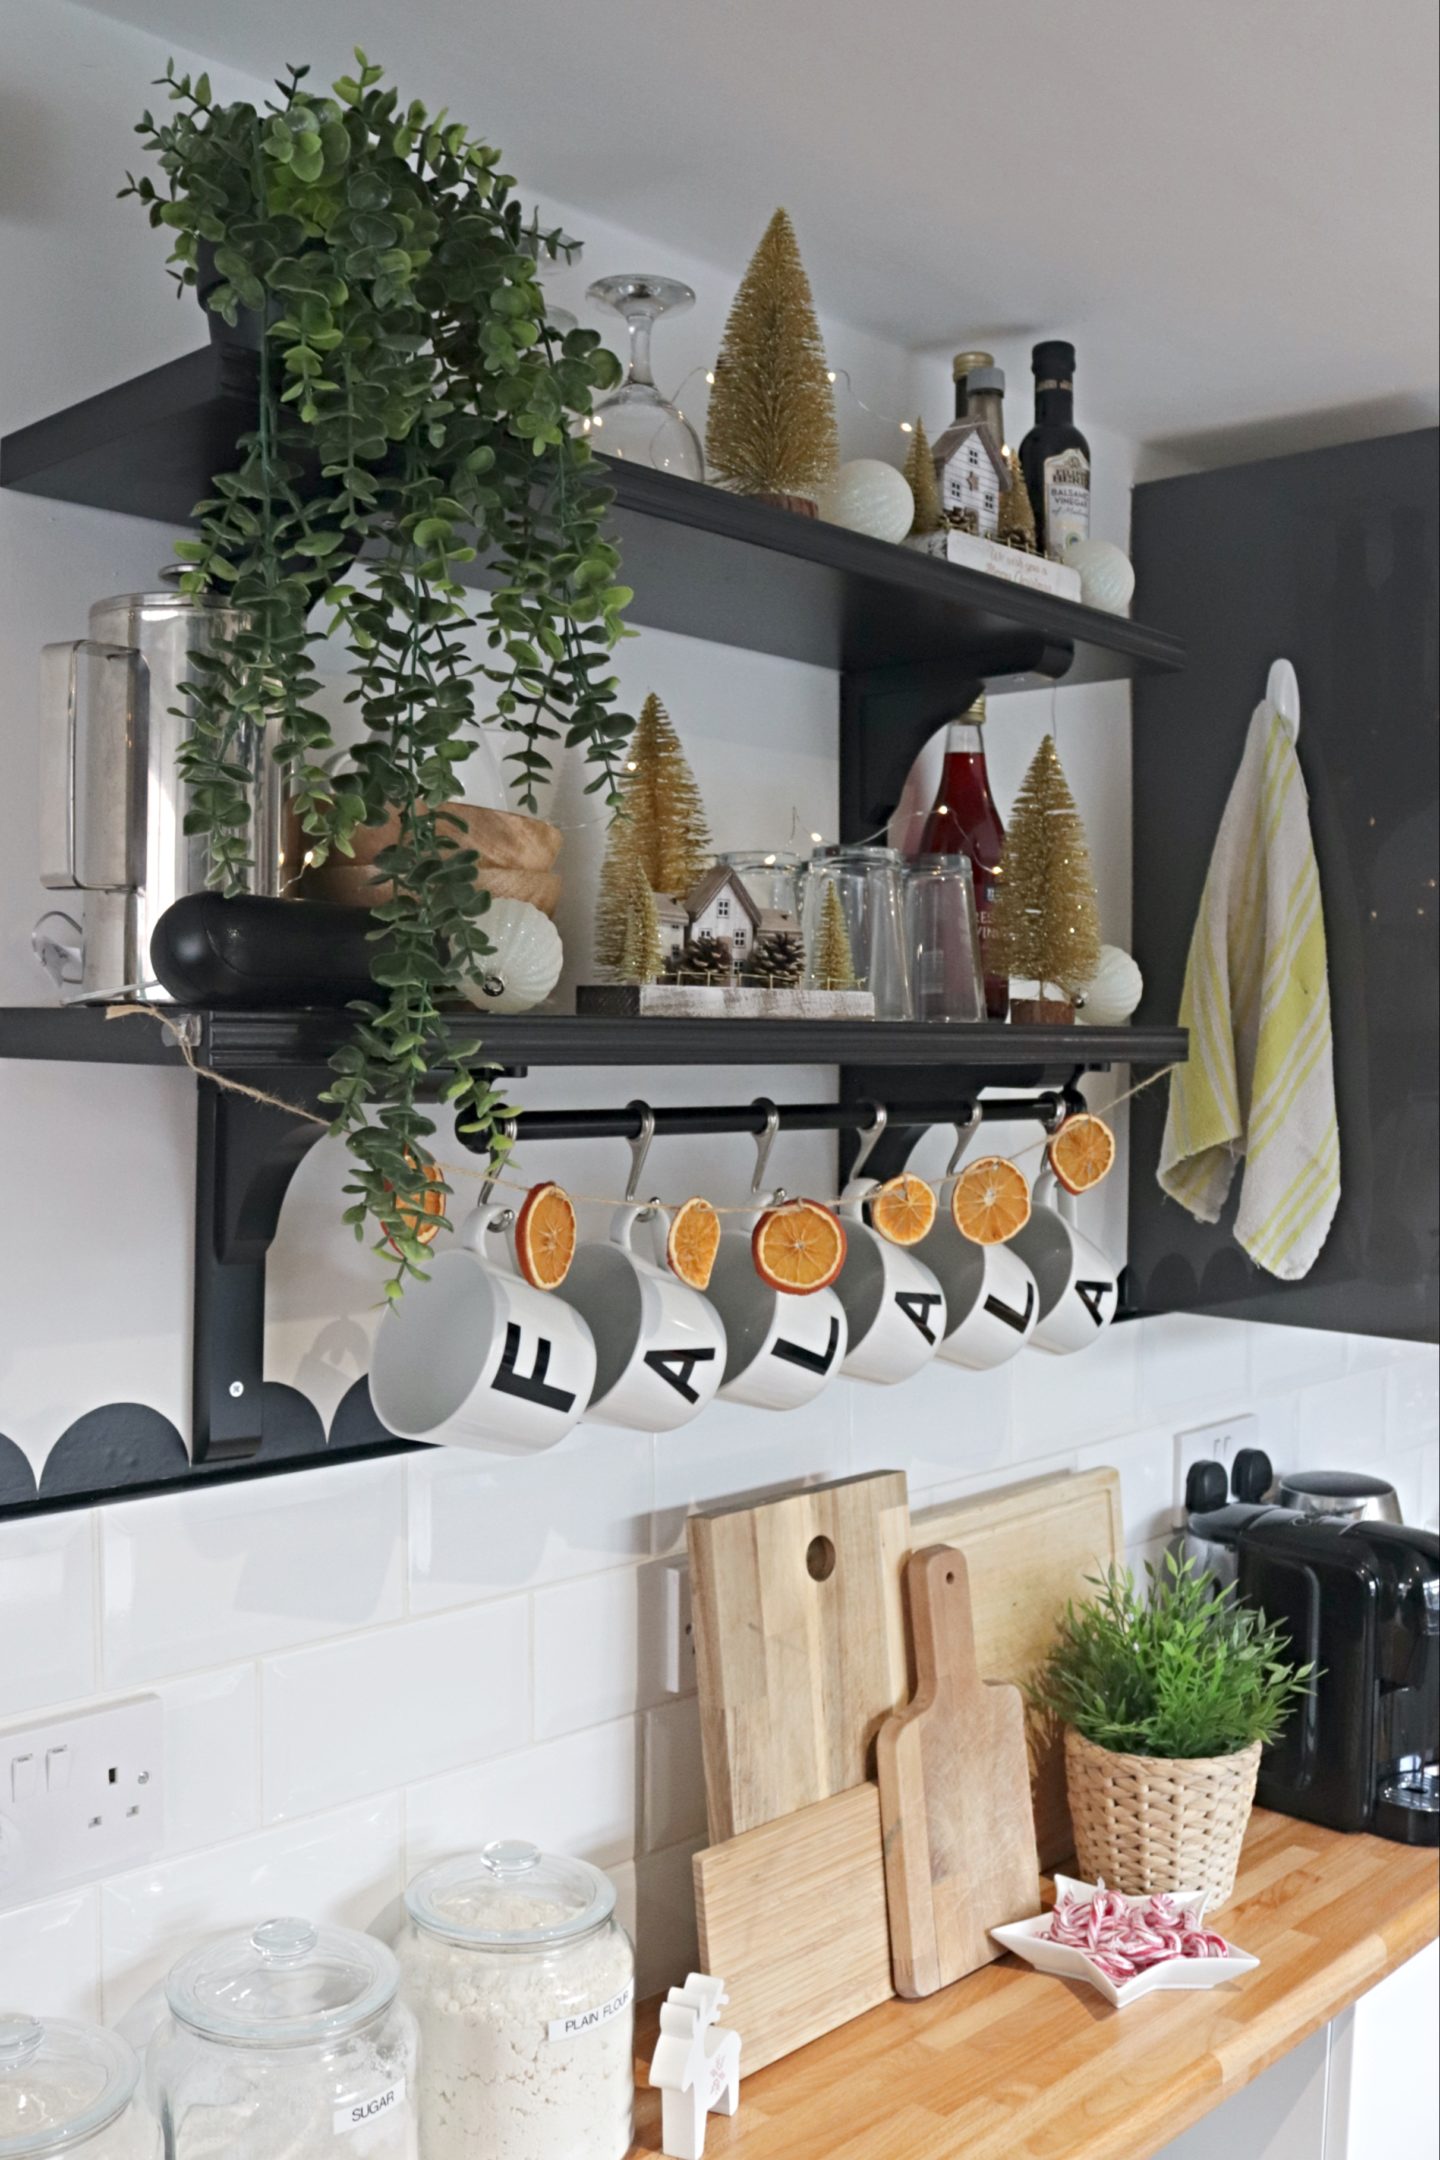
I really wanted some white ceramic houses but I couldn’t find any for a good price so I picked up these wooden houses instead. I think they look very cute, they were from a local home decor store. The gold bottle brush trees were then from Poundland, they had a few different colours but you know that I love me a bit of gold. The little reindeer on the counter I have had for years, I think it came from Wilko but I’m not sure they make them anymore. I have seen similar from a small business called The Little Magpie Shop though and you can find those here. The star dish is also old but from Home Bargains and I think they have them in every year, the mini candy canes are from there too.
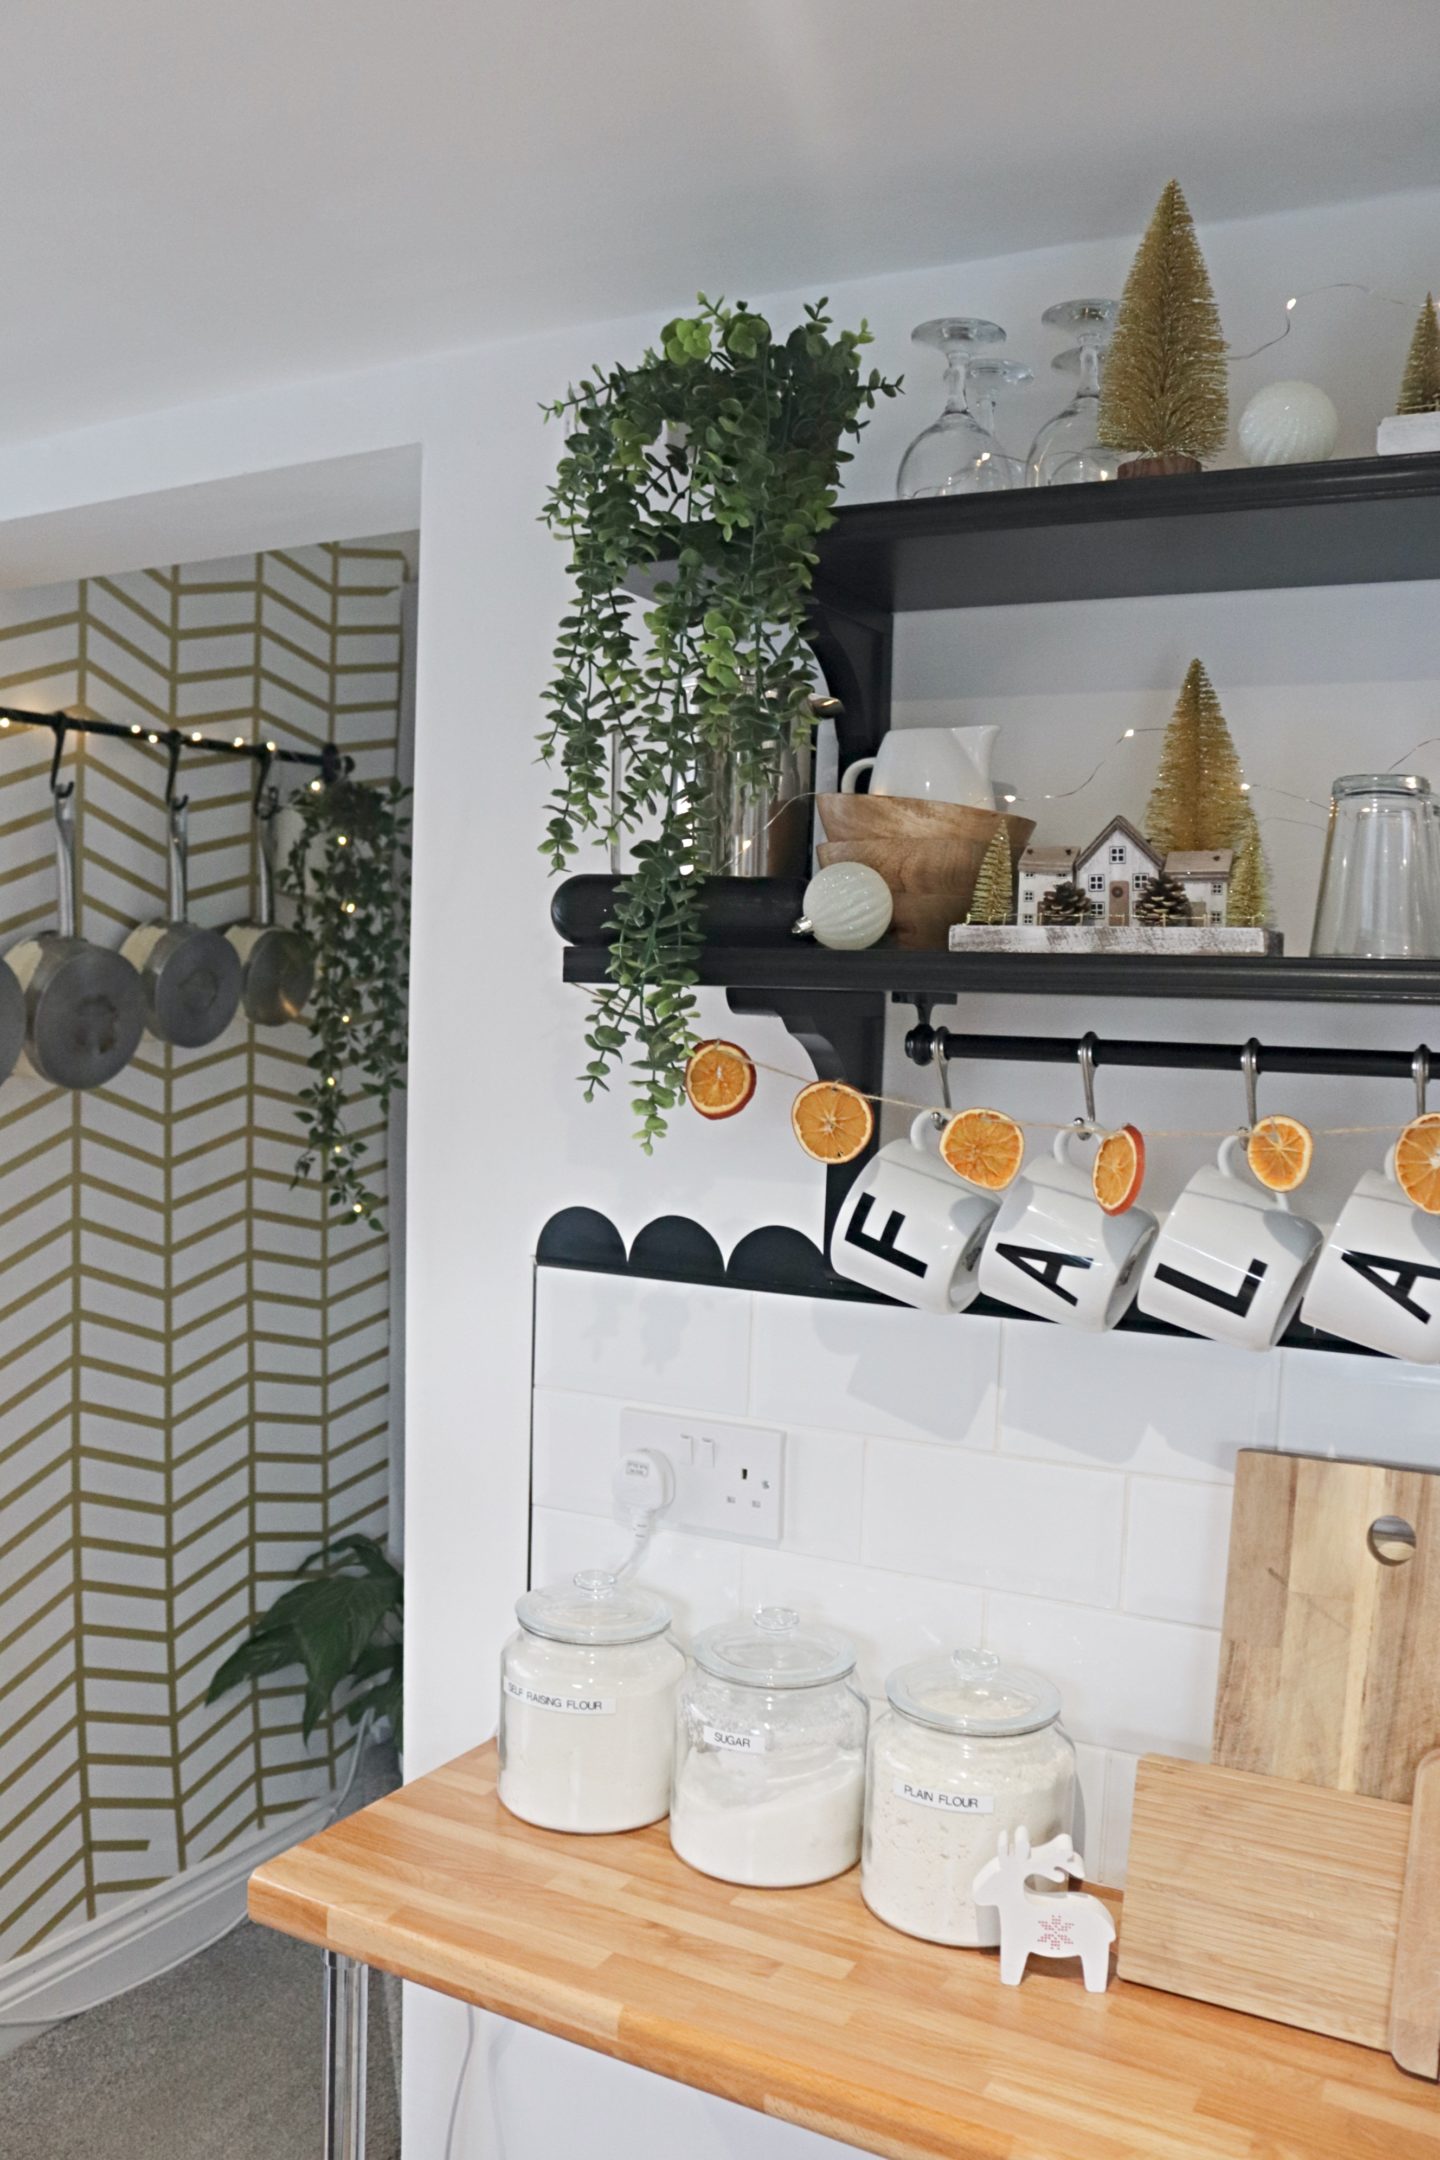
The final touch was adding more of the led string lights ( you get 6 sets in a pack) I also added a set to the sauce pan rail as you come into the kitchen. Because they are on a wire it’s so easy to manipulate them and get them to sit where you want.
So that’s my Christmas Kitchen Tour 2021 complete. Even though it’s a very small room I think I’ve managed to add enough to make it feel festive. I spend quite a bit of time in here on Christmas Day after all! Do you decorate your kitchen at Christmas? Hopefully I’ve given you a few ideas and I’ve got you looking forward to the rest of my Christmas tours. The living room tour is coming on Friday and I’m so excited 😀
Lianne x
Pin my Christmas Kitchen Tour 2021 to save it for later!
