
I have been thinking about creating a play nook somewhere downstairs for Noa for a while now. It’s not something I ever had to think about before. Since we had Mason, before we lived here, we always lived in bungalows so everything was on one level. Mason had his bedroom in both places with his toys in and he could just go and play in there no problem. But now we are in a house Noa is too small for me to leave her on her own upstairs whilst I am downstairs so where to put her toys became an issue.
This post contains affiliate links, find out what that means here.
Makes, Bakes and Decor has been nominated in the 2019 Amara Interior blog awards! If you have enjoyed this post please could you take a minute of your time to vote for me! Just click on the badge below to vote and everyone who does vote is also entered into a competition to win a Lecia camera!

I really hate things to be out of their place so everyday I was bringing a few toys downstairs for her to play with and then I would have to take them upstairs at the end of the day. I knew I needed a solution but I didn’t know what that solution was. I didn’t want my downstairs looking like a play room!
Then about a month ago Medina from Grillo Designs shared a house tour on her How I Rent series. The tour was of Teri Muncey’s home who blogs at The Lovely Drawer and in her home she has a gorgeous work area that has a beautiful play nook that fits into the room perfectly. This is her play nook in the image below.
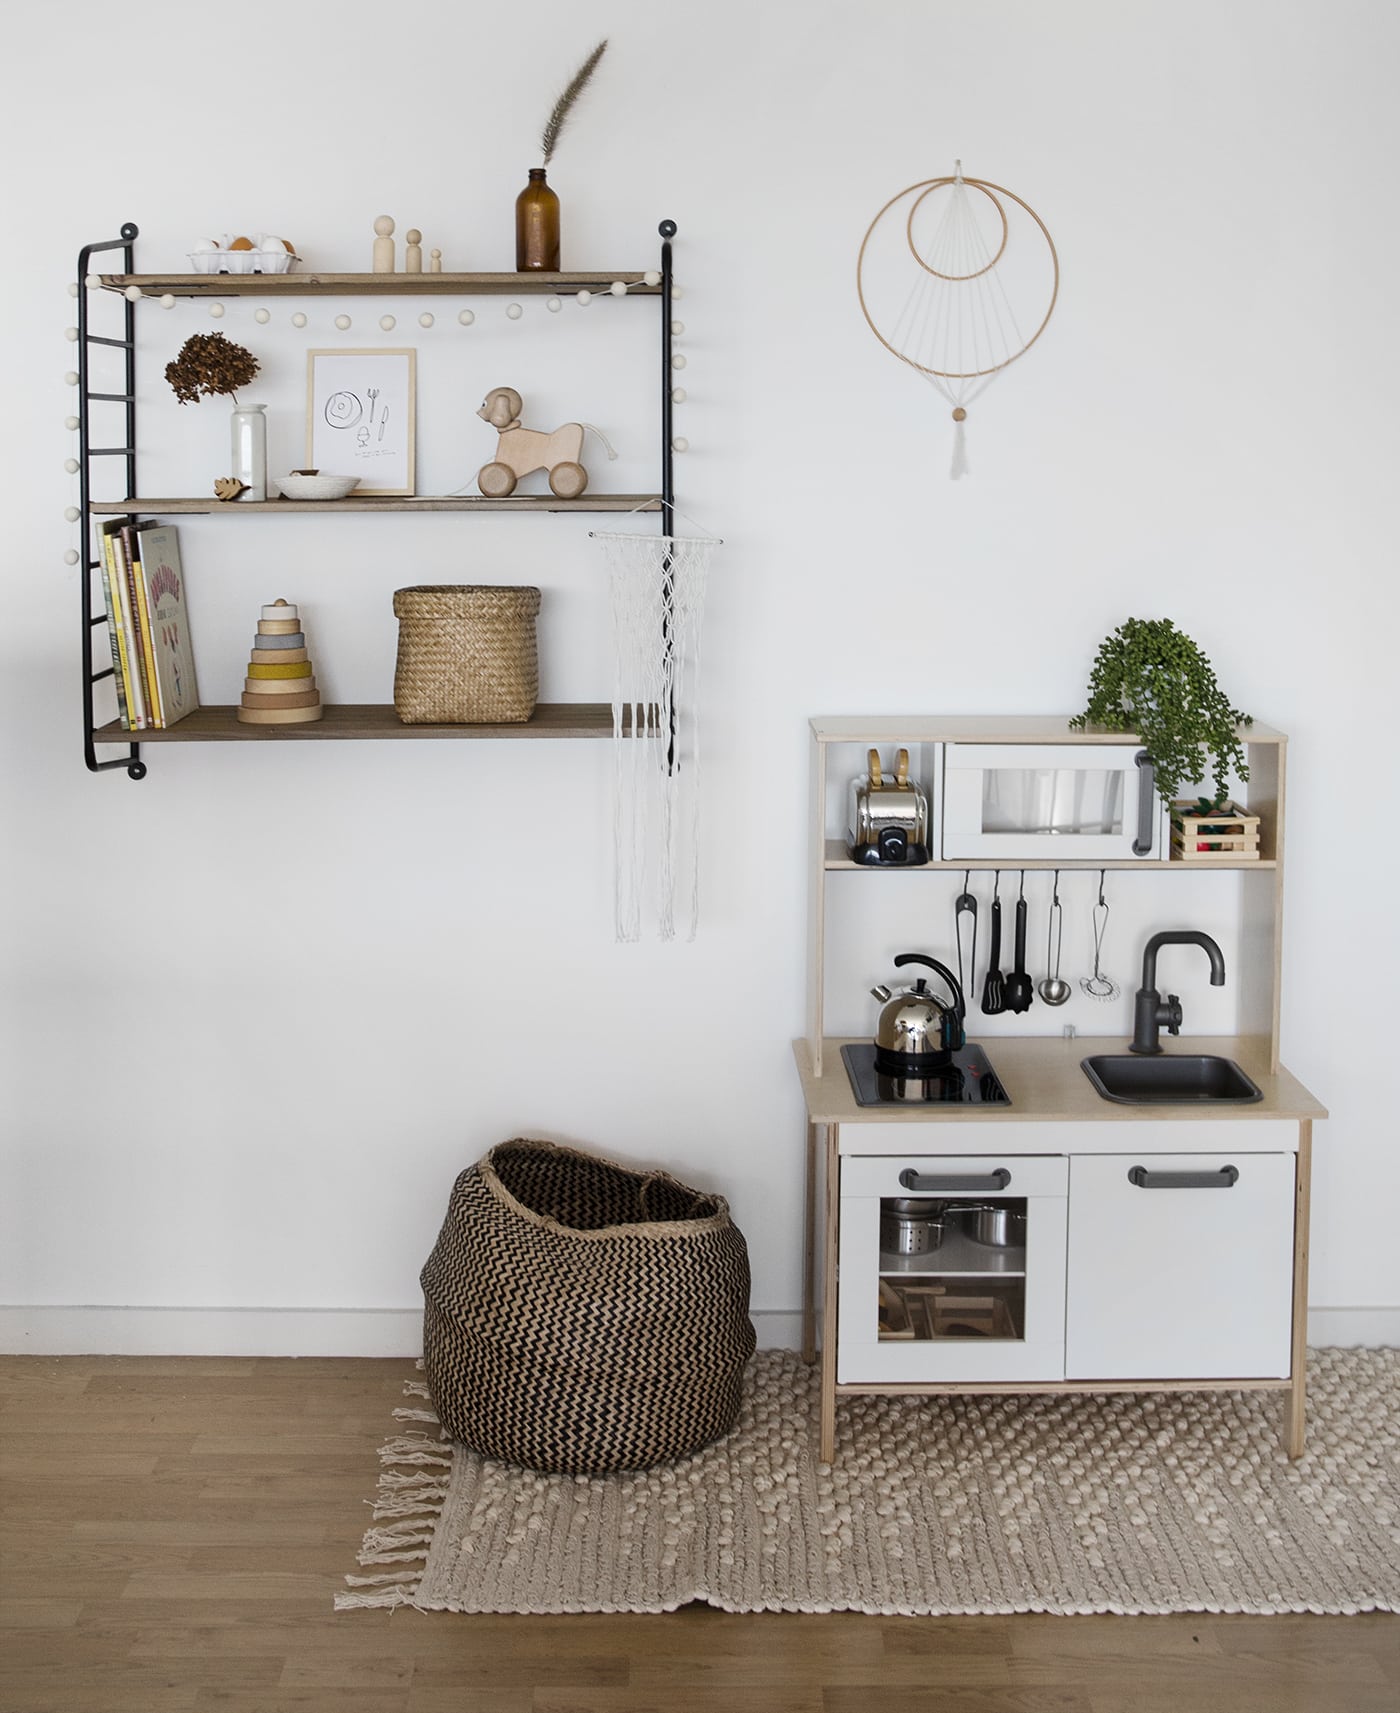
I loved how everything fit in with the room so that it didn’t look out of place. This is exactly what I wanted to create! An area for Noa that meant she can play downstairs. But one that still fit in with my decor so that it didn’t make my eyes hurt every time I walked into the room. 😀 I mentioned in my post last week – How to plan and Hang a gallery wall, that the decor for this room developed naturally. We bought the table, bookcases and shoe rack out of necessity when we first moved in and then we had the sideboard from our previous home. So on it’s own there was a lot of wood and natural elements with a white background. Below is the space that I had to work with in our dining room.


You can also see where the space is in context to the rest of the room. It was only a small space and I also have to store the pram on that wall because there just isn’t anywhere else for it to go. We had curtains up at this window but they had fallen down the week before (we had used the wrong sized wall plugs) so I had those to put back up too. I wanted to use items that we already had as much as possible. I didn’t want to be spending any money at all really. Here is what I had to work with.
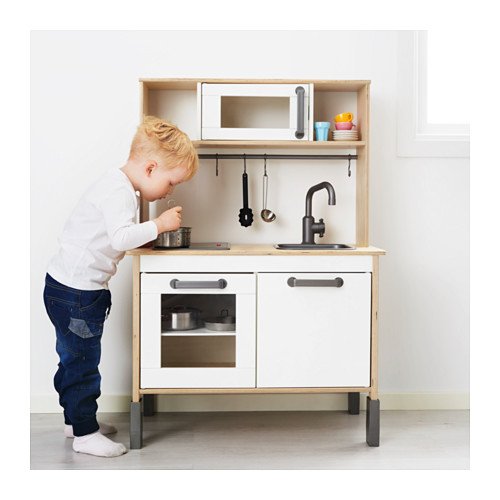
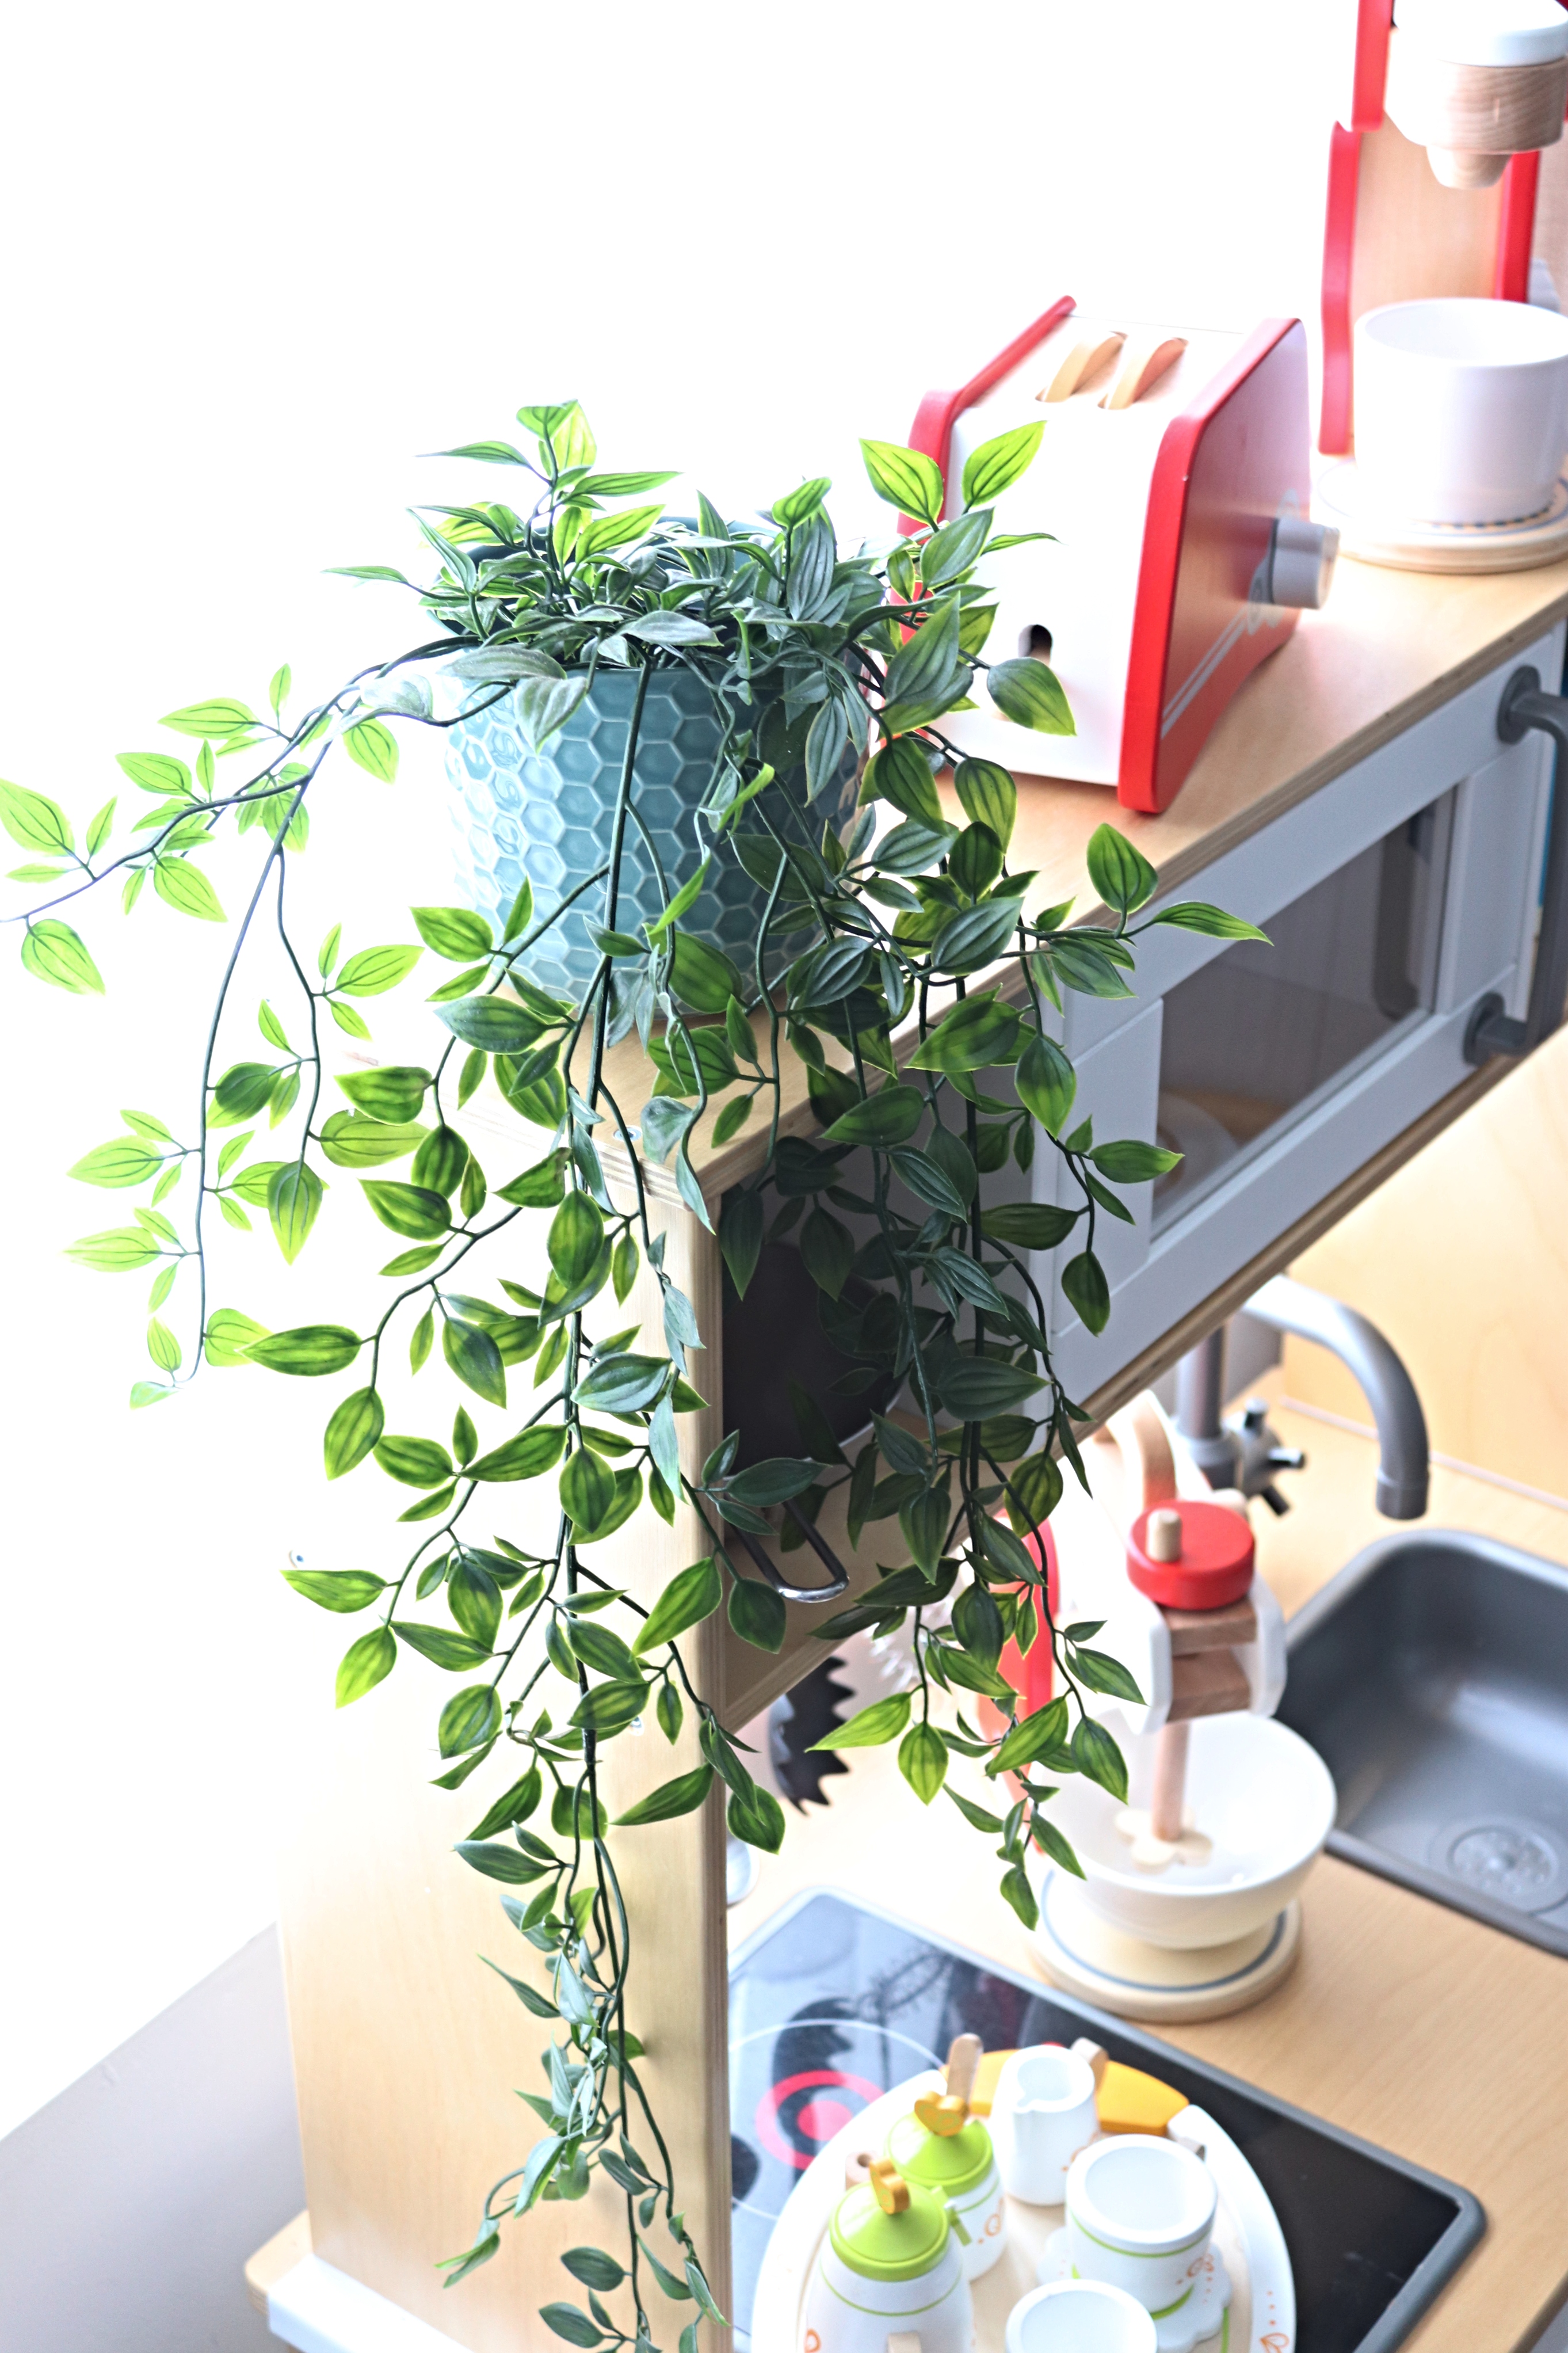
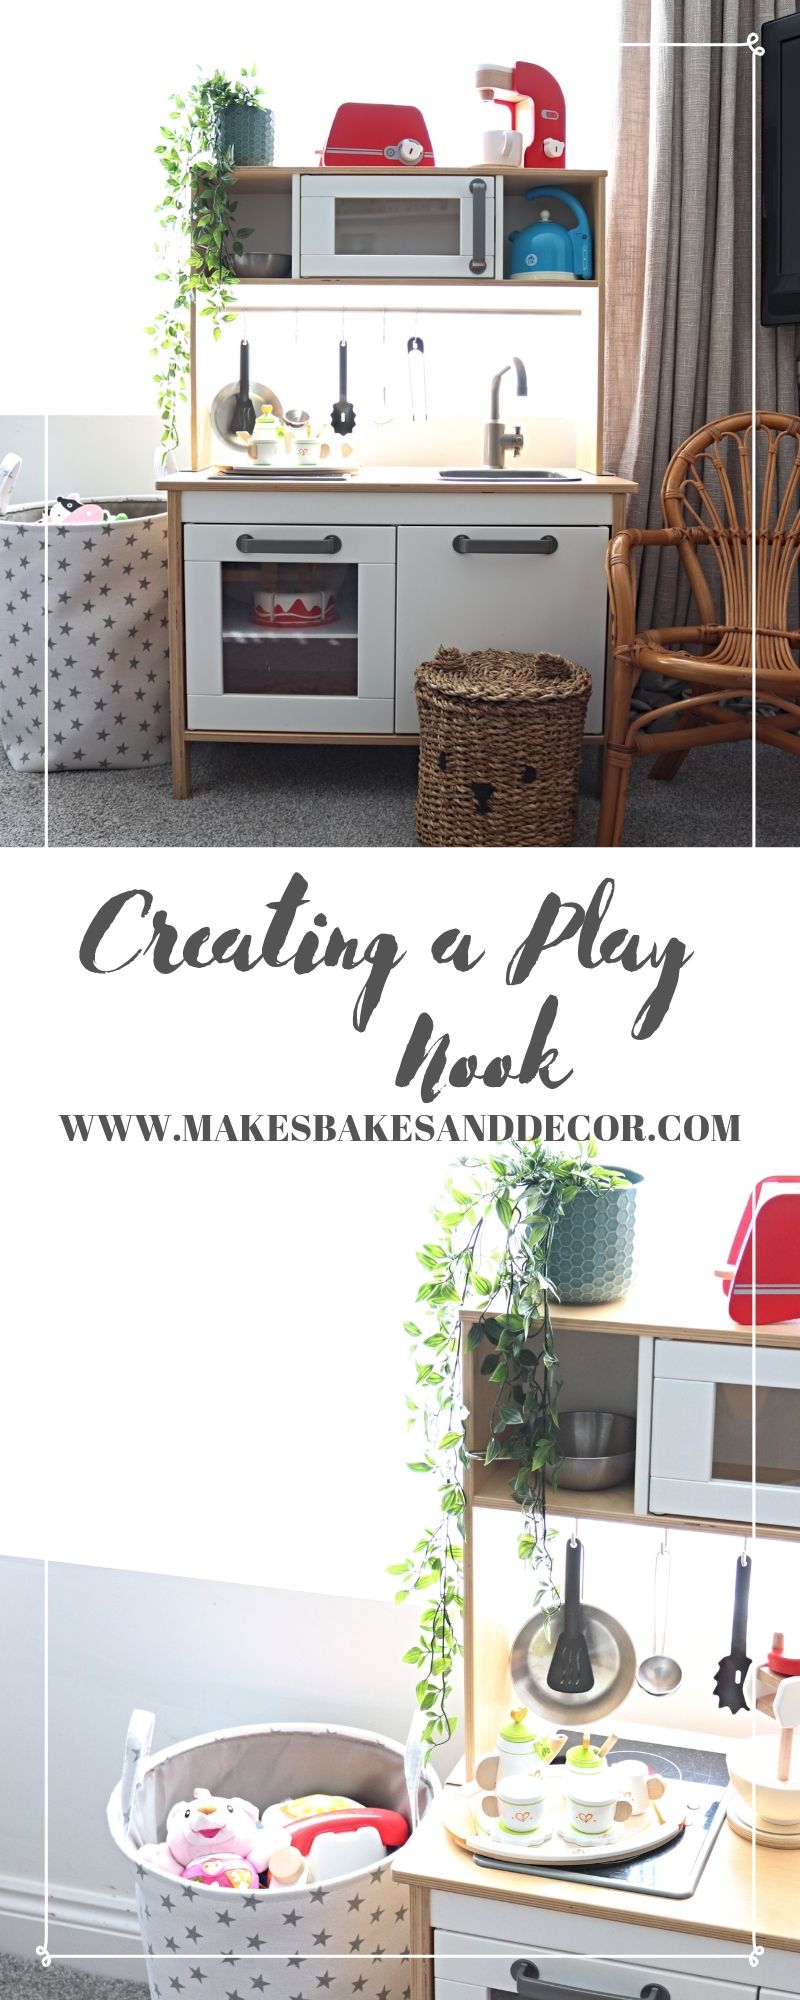
This is the Ikea DUKTIG play kitchen. We had this from when Mason was younger but he didn’t really play with it anymore.
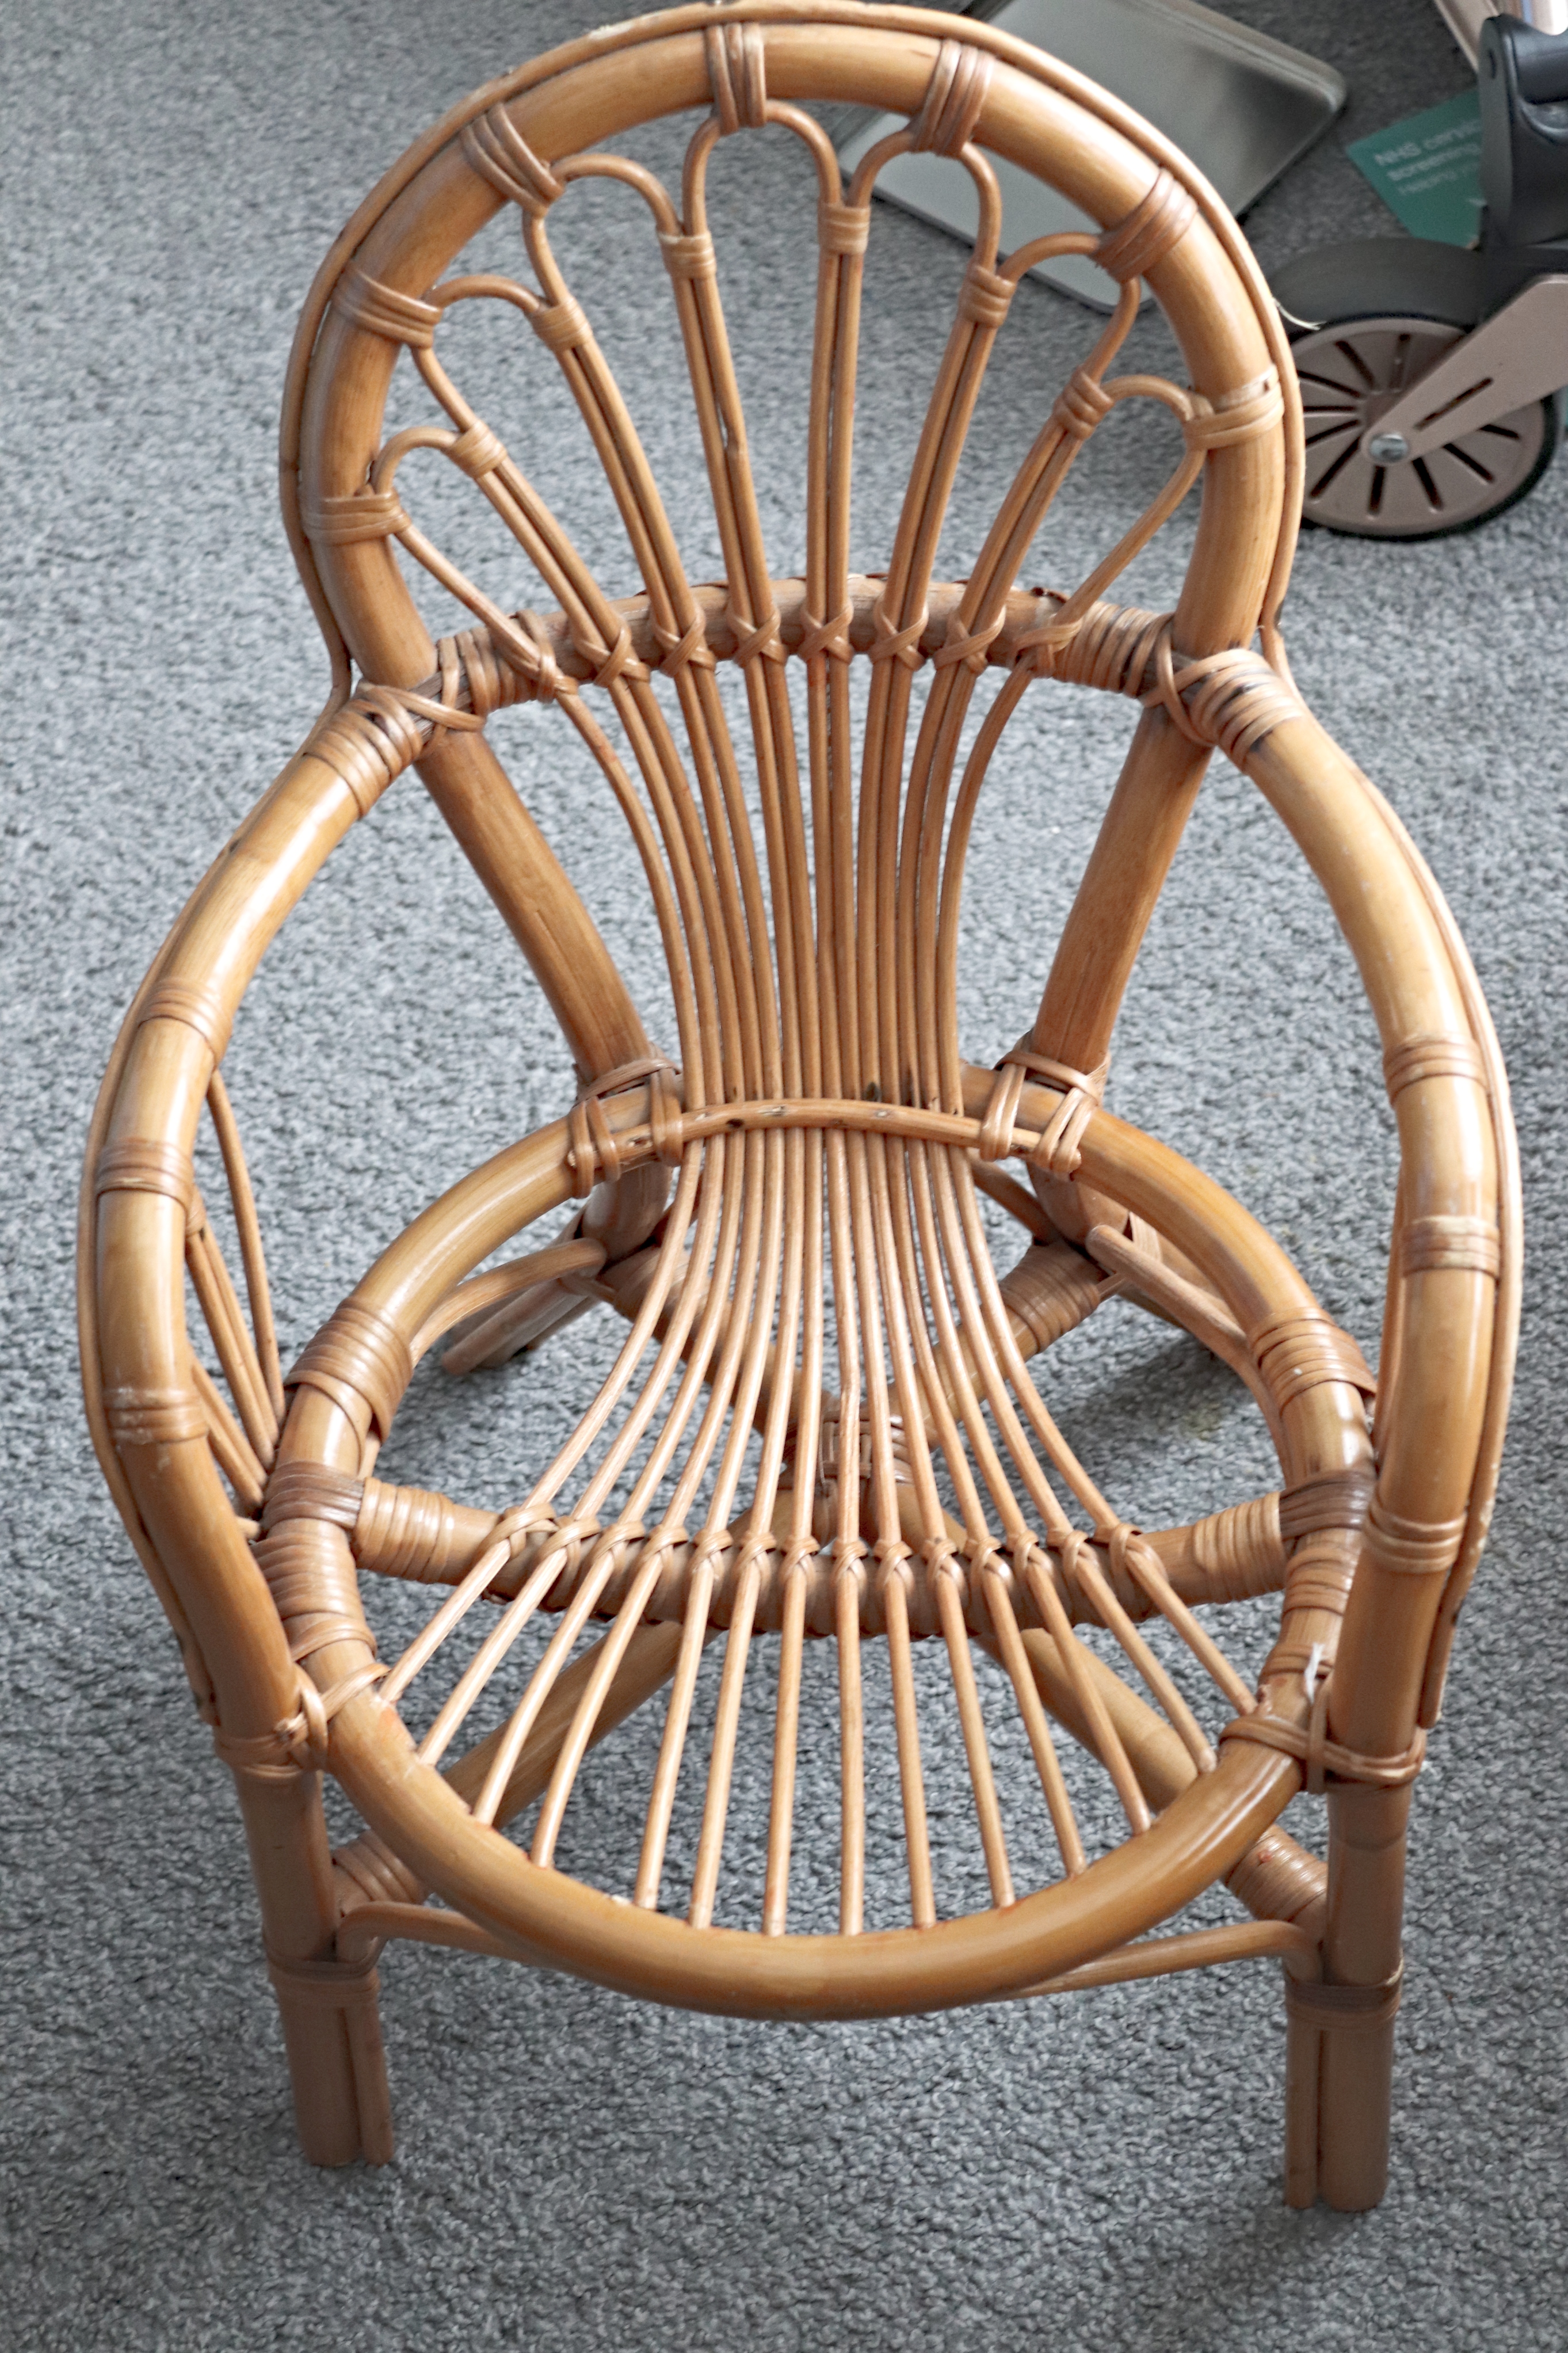
This little cane chair was bought by my Mum for Mason’s nursery but hadn’t been in use since we redecorated his bedroom. I hadn’t ever got rid of it as I like to keep anything that my Mum bought. She never had the chance to buy anything for Noa so this way Noa still gets to use something that was from her Nanny.
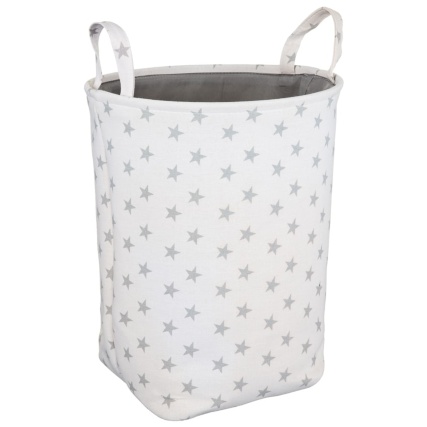
We also had this basket from B&M upstairs with toys in so I planned to bring this down and use it in creating a play nook.
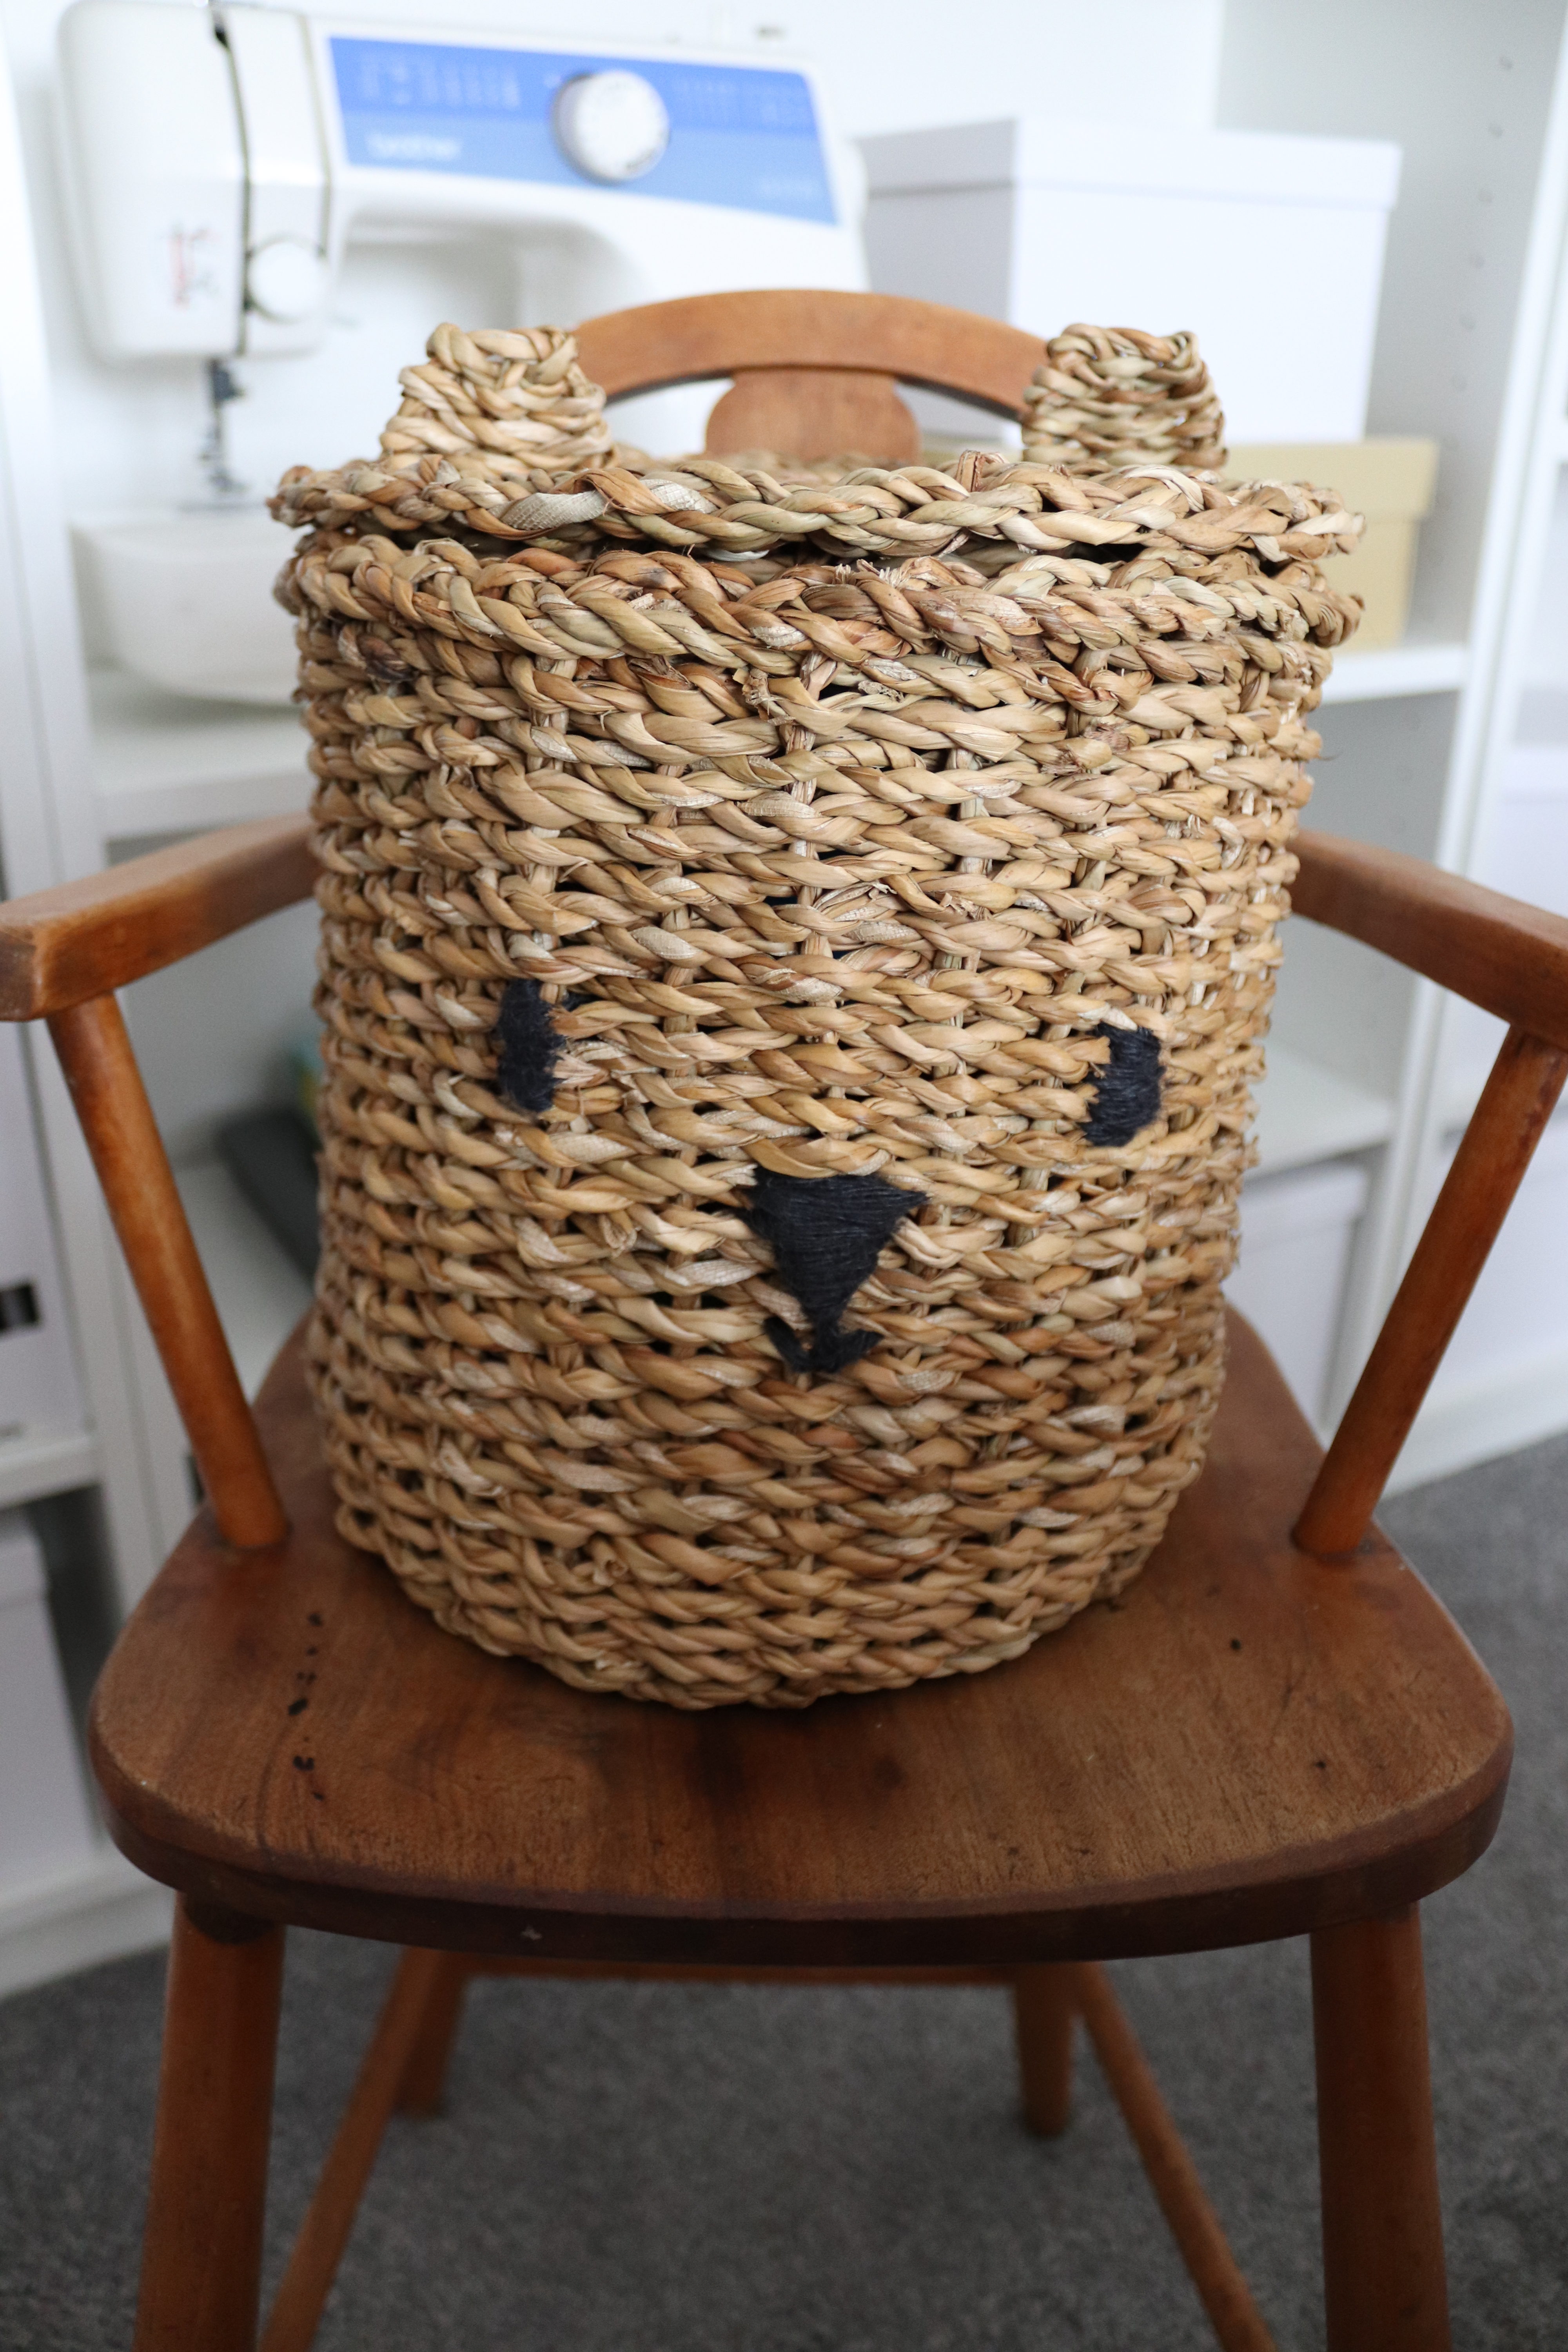
This is the only non toy purchase I made for this area because it was just so cute! It’s from H&M Home but I’ve just checked and it is out of stock now. 🙁
Lastly, I bought some new wooden toys for the kitchen with her birthday money, here are the links.
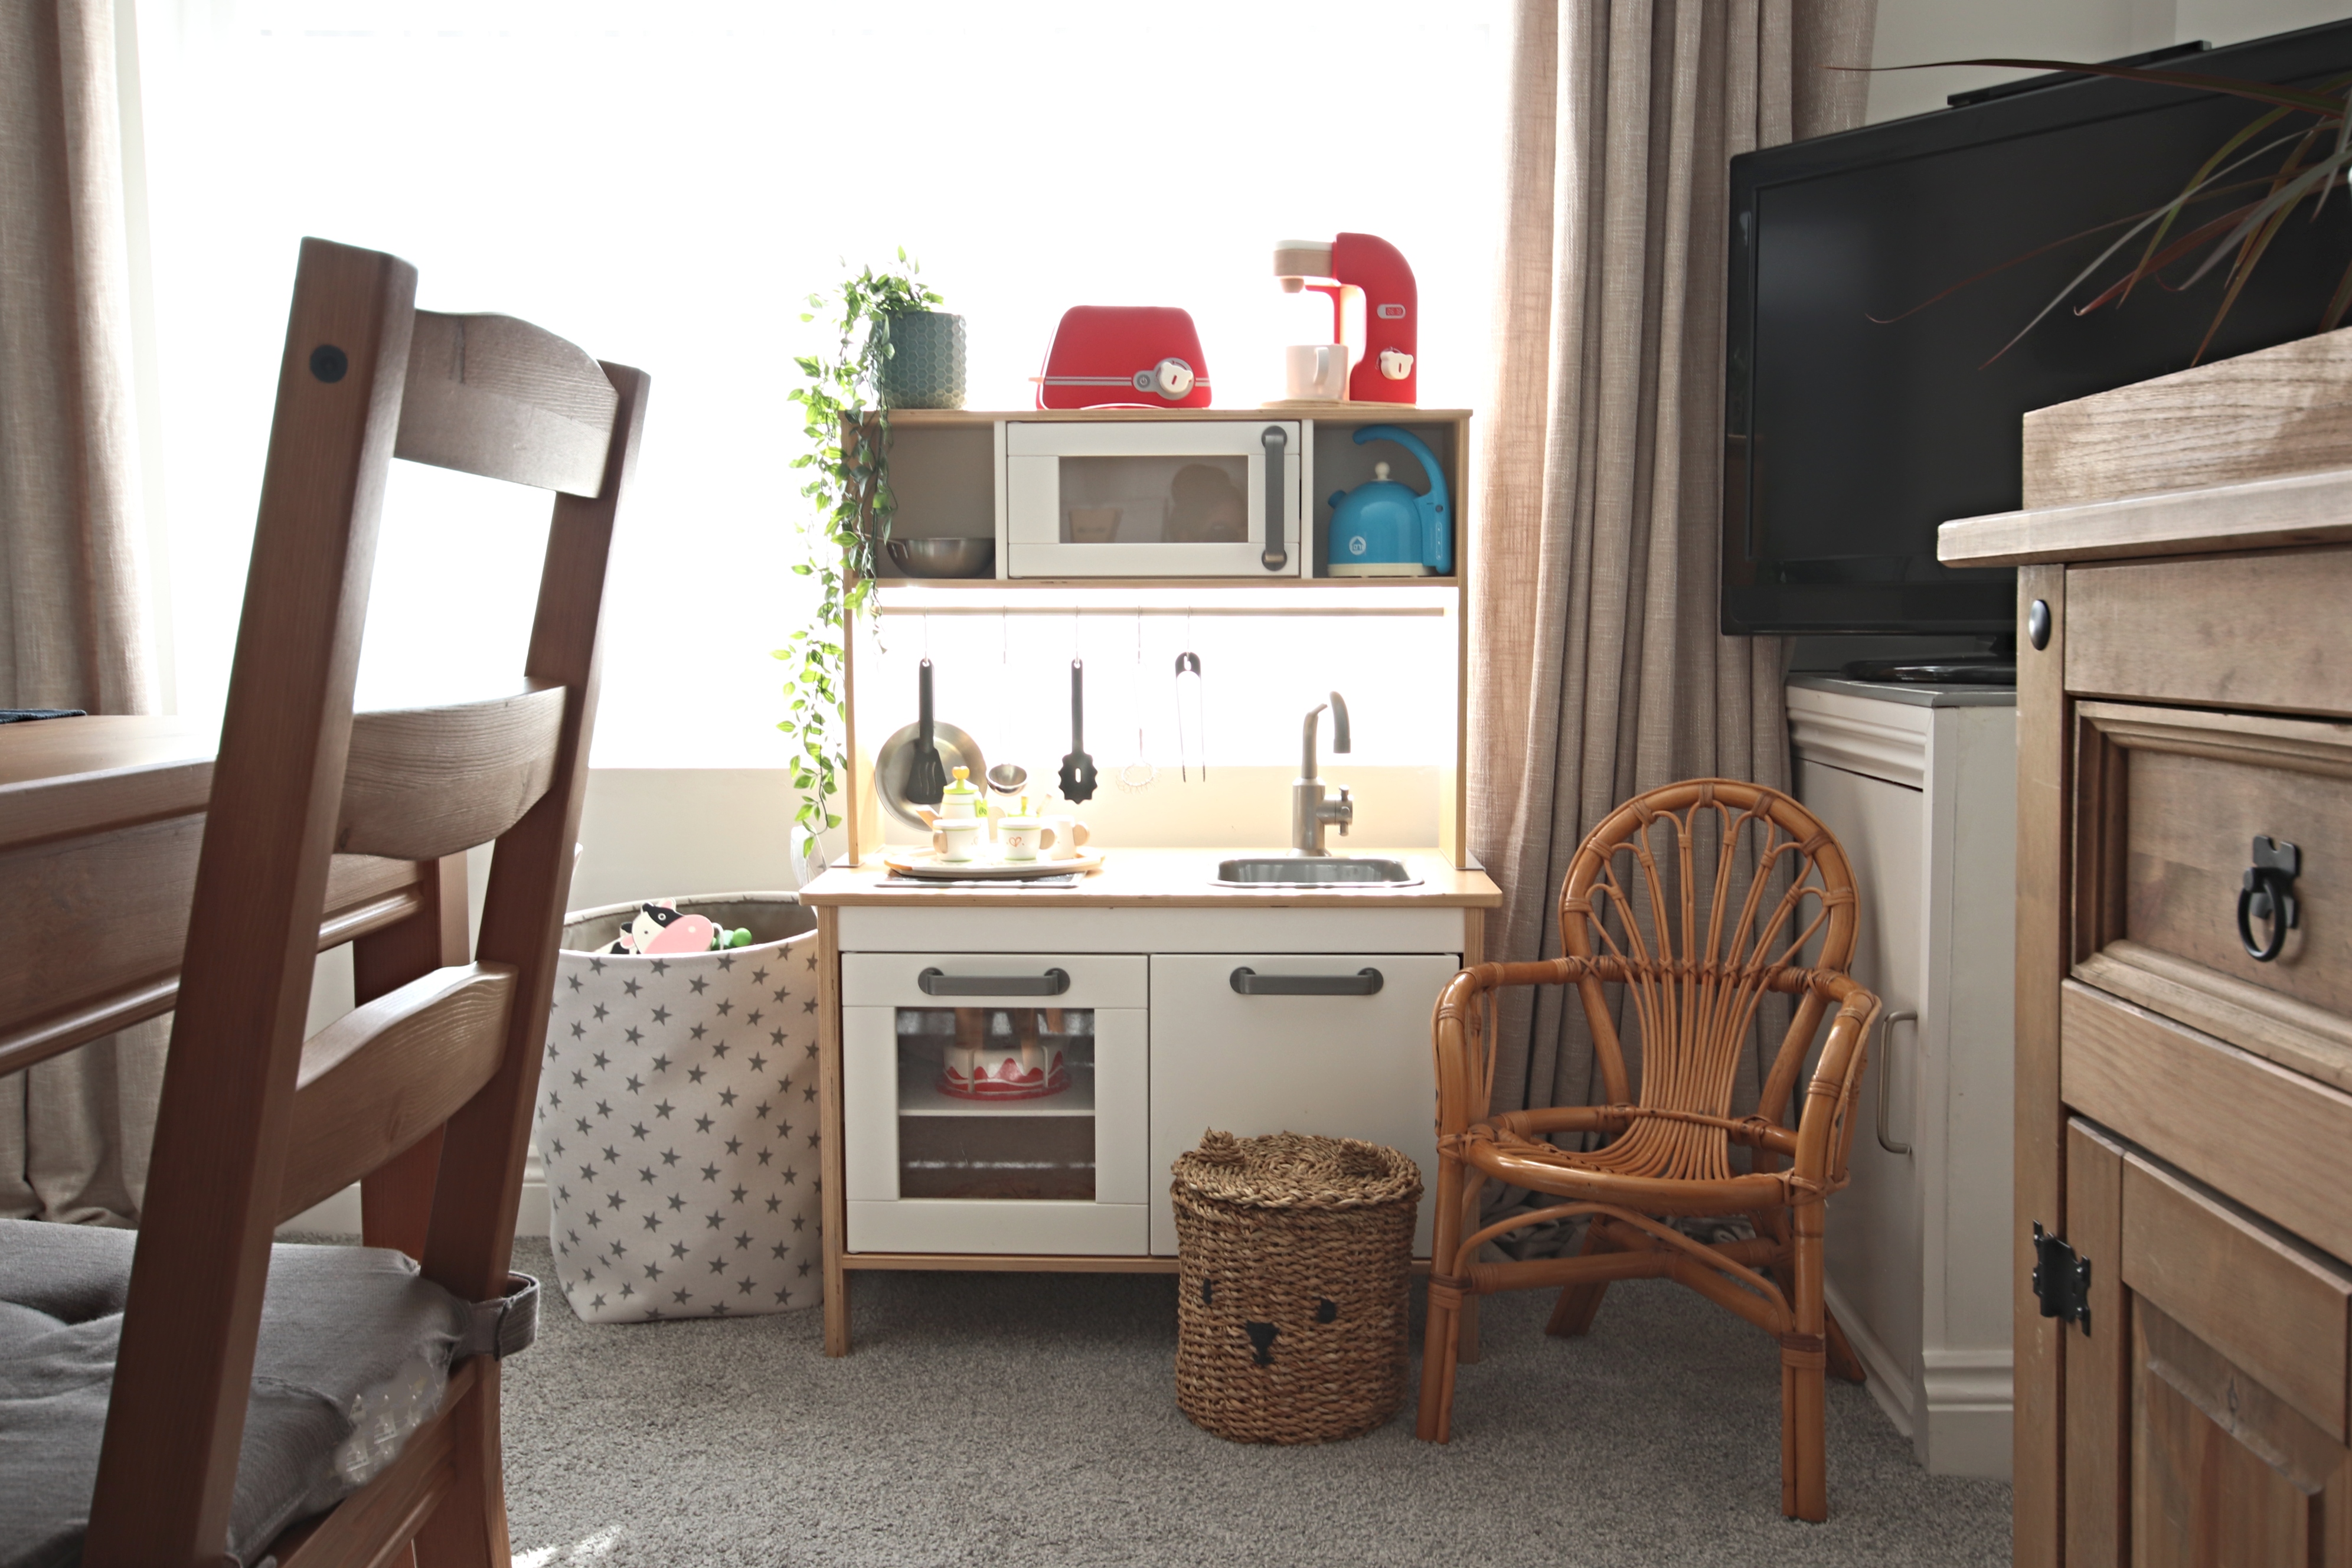
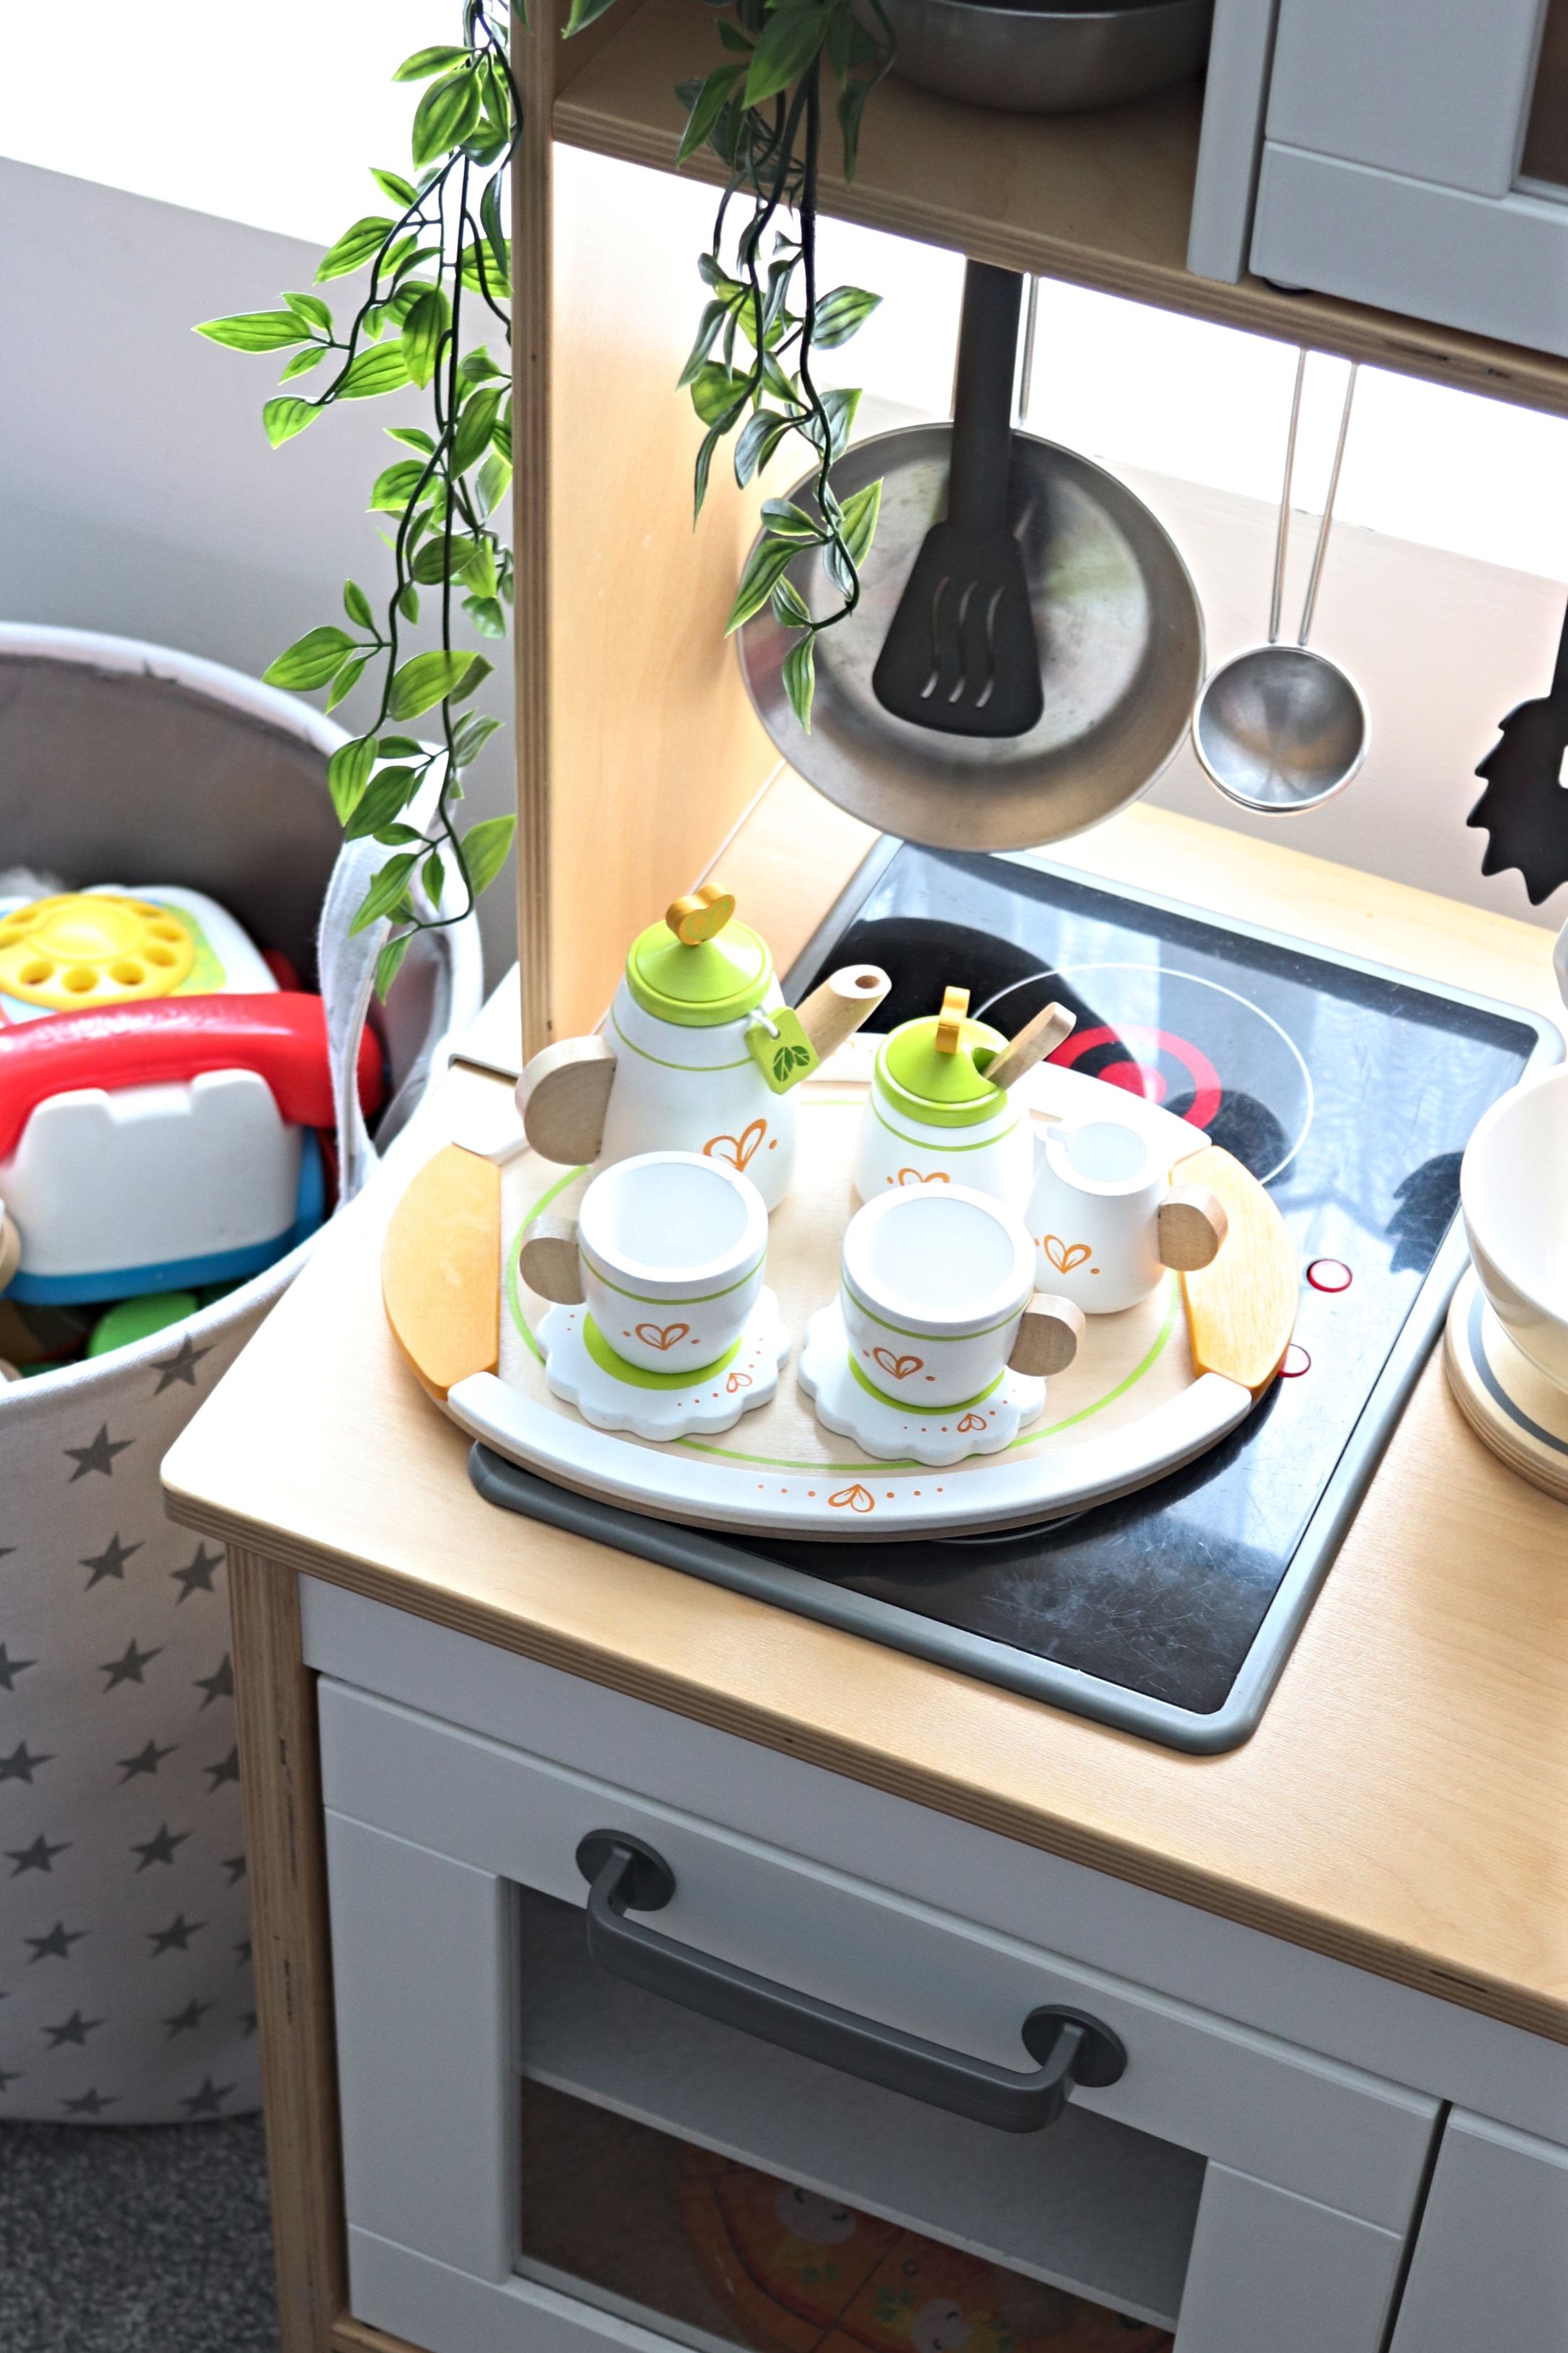
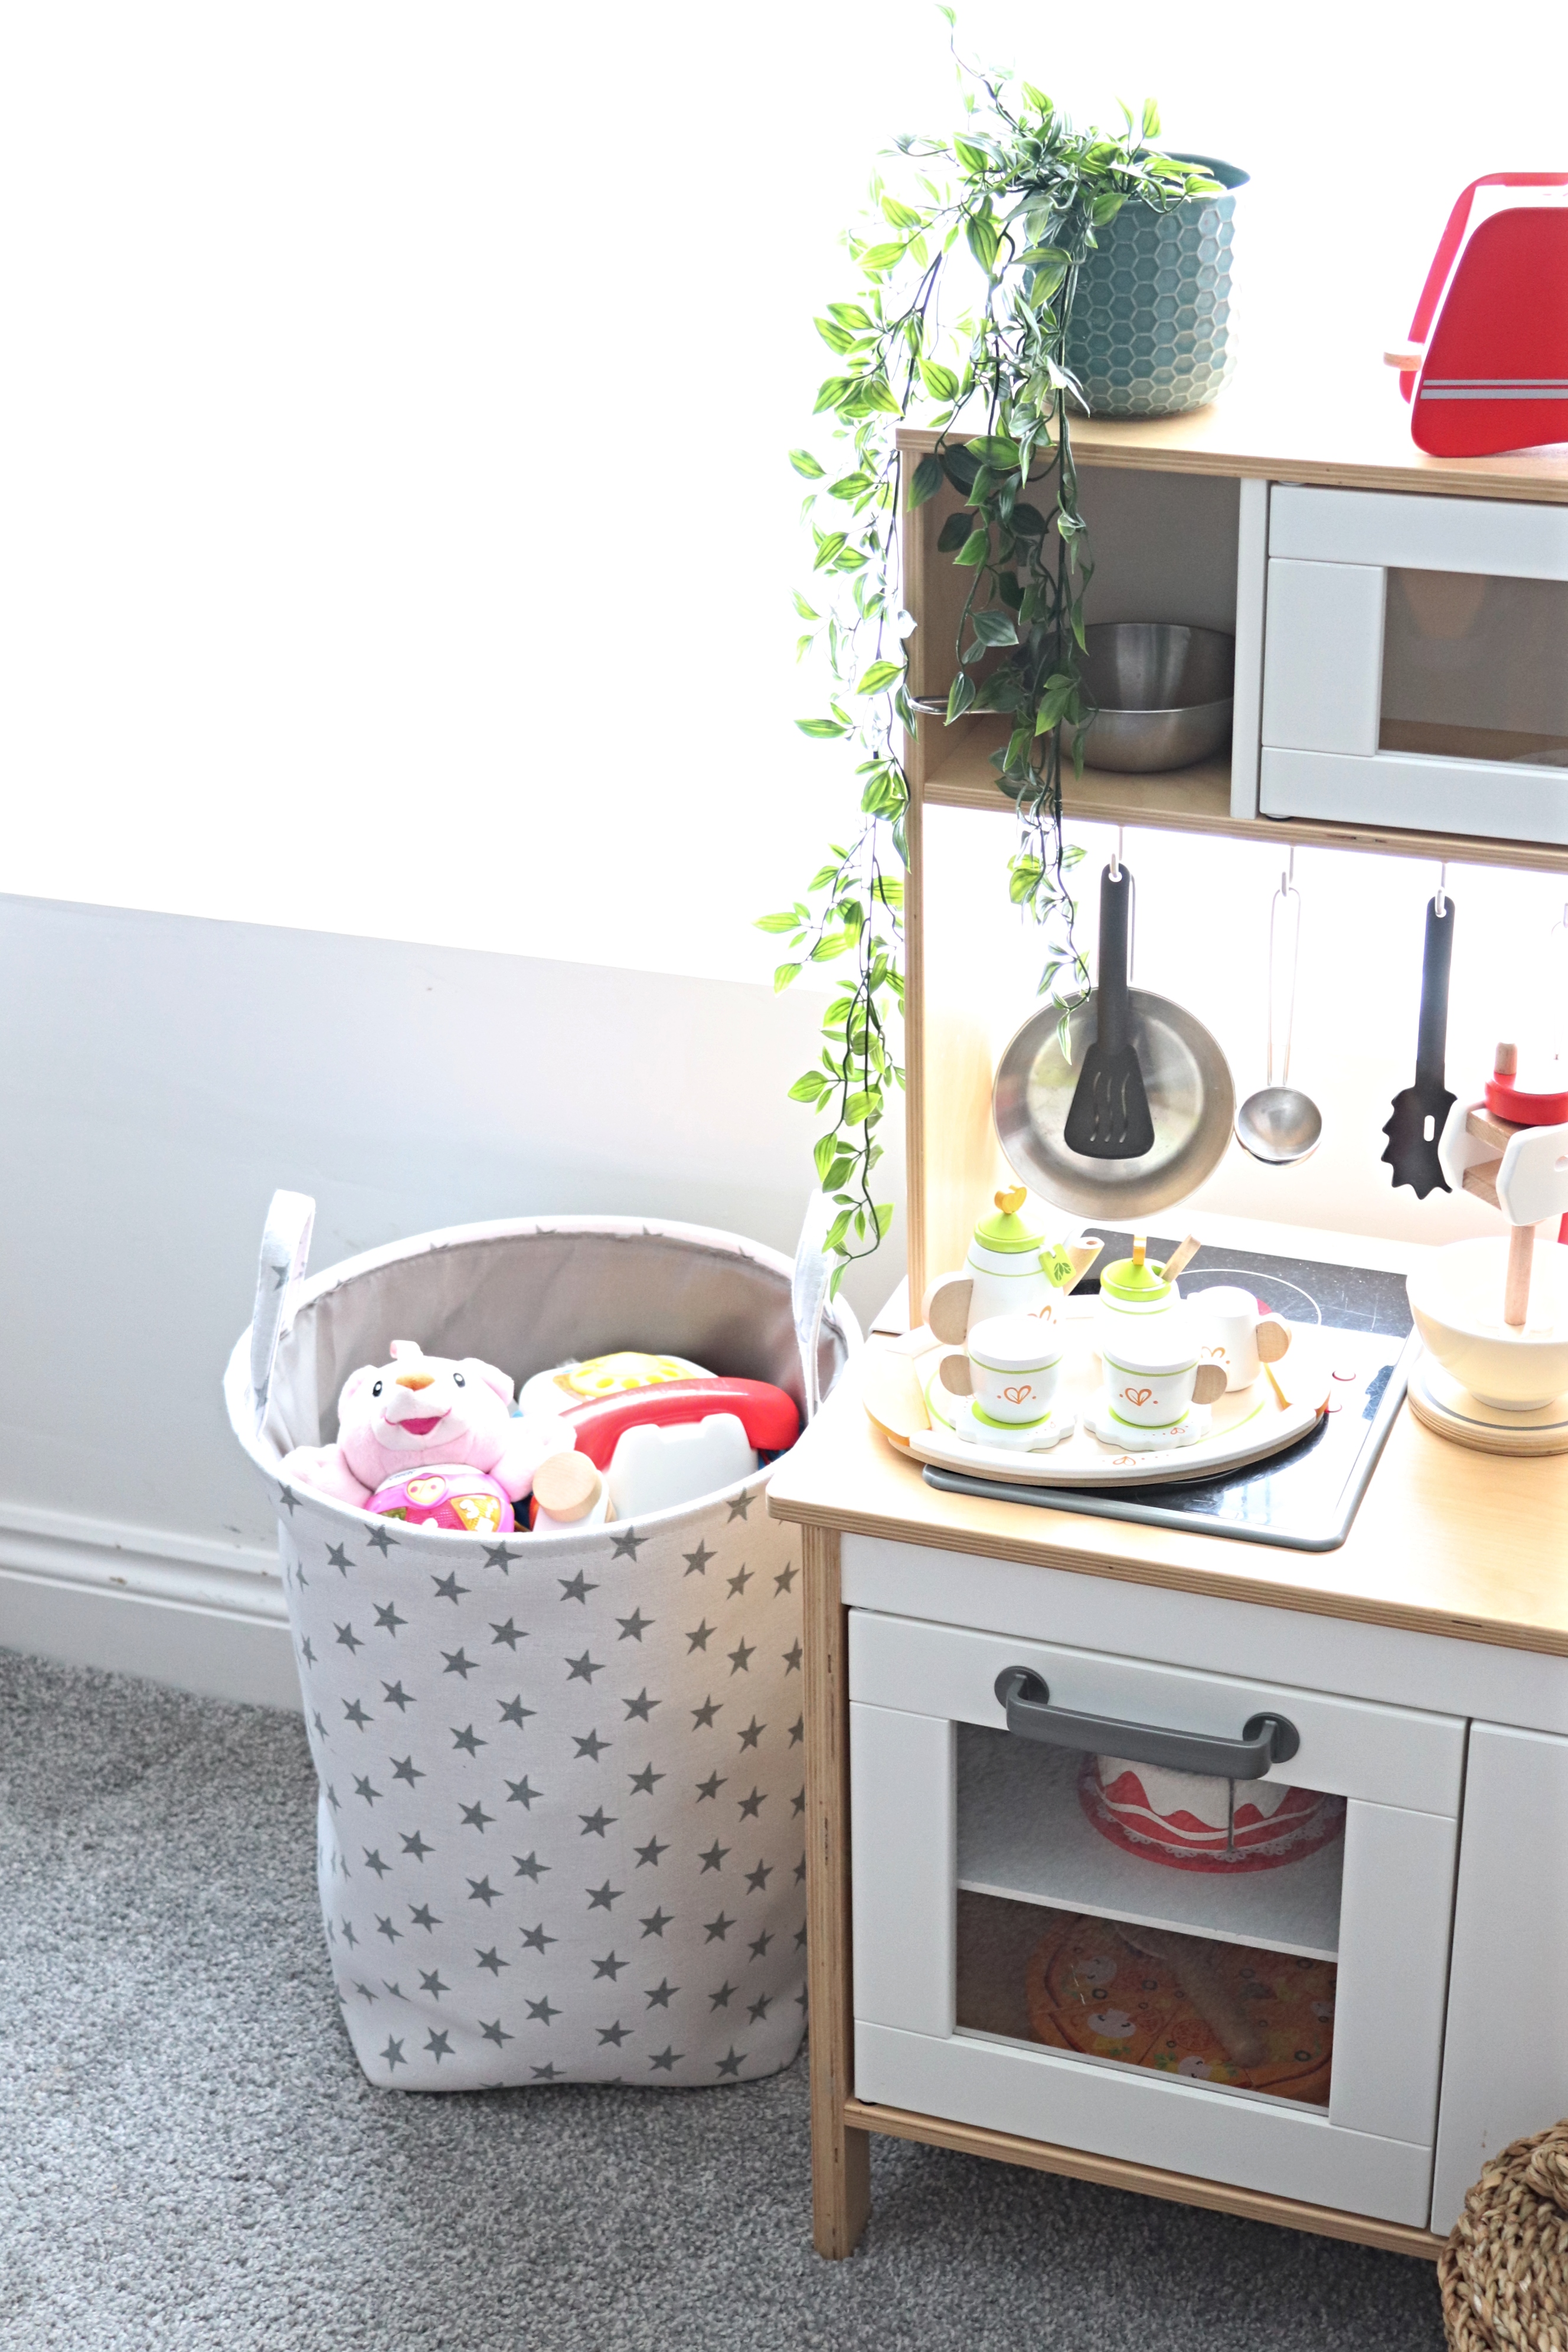
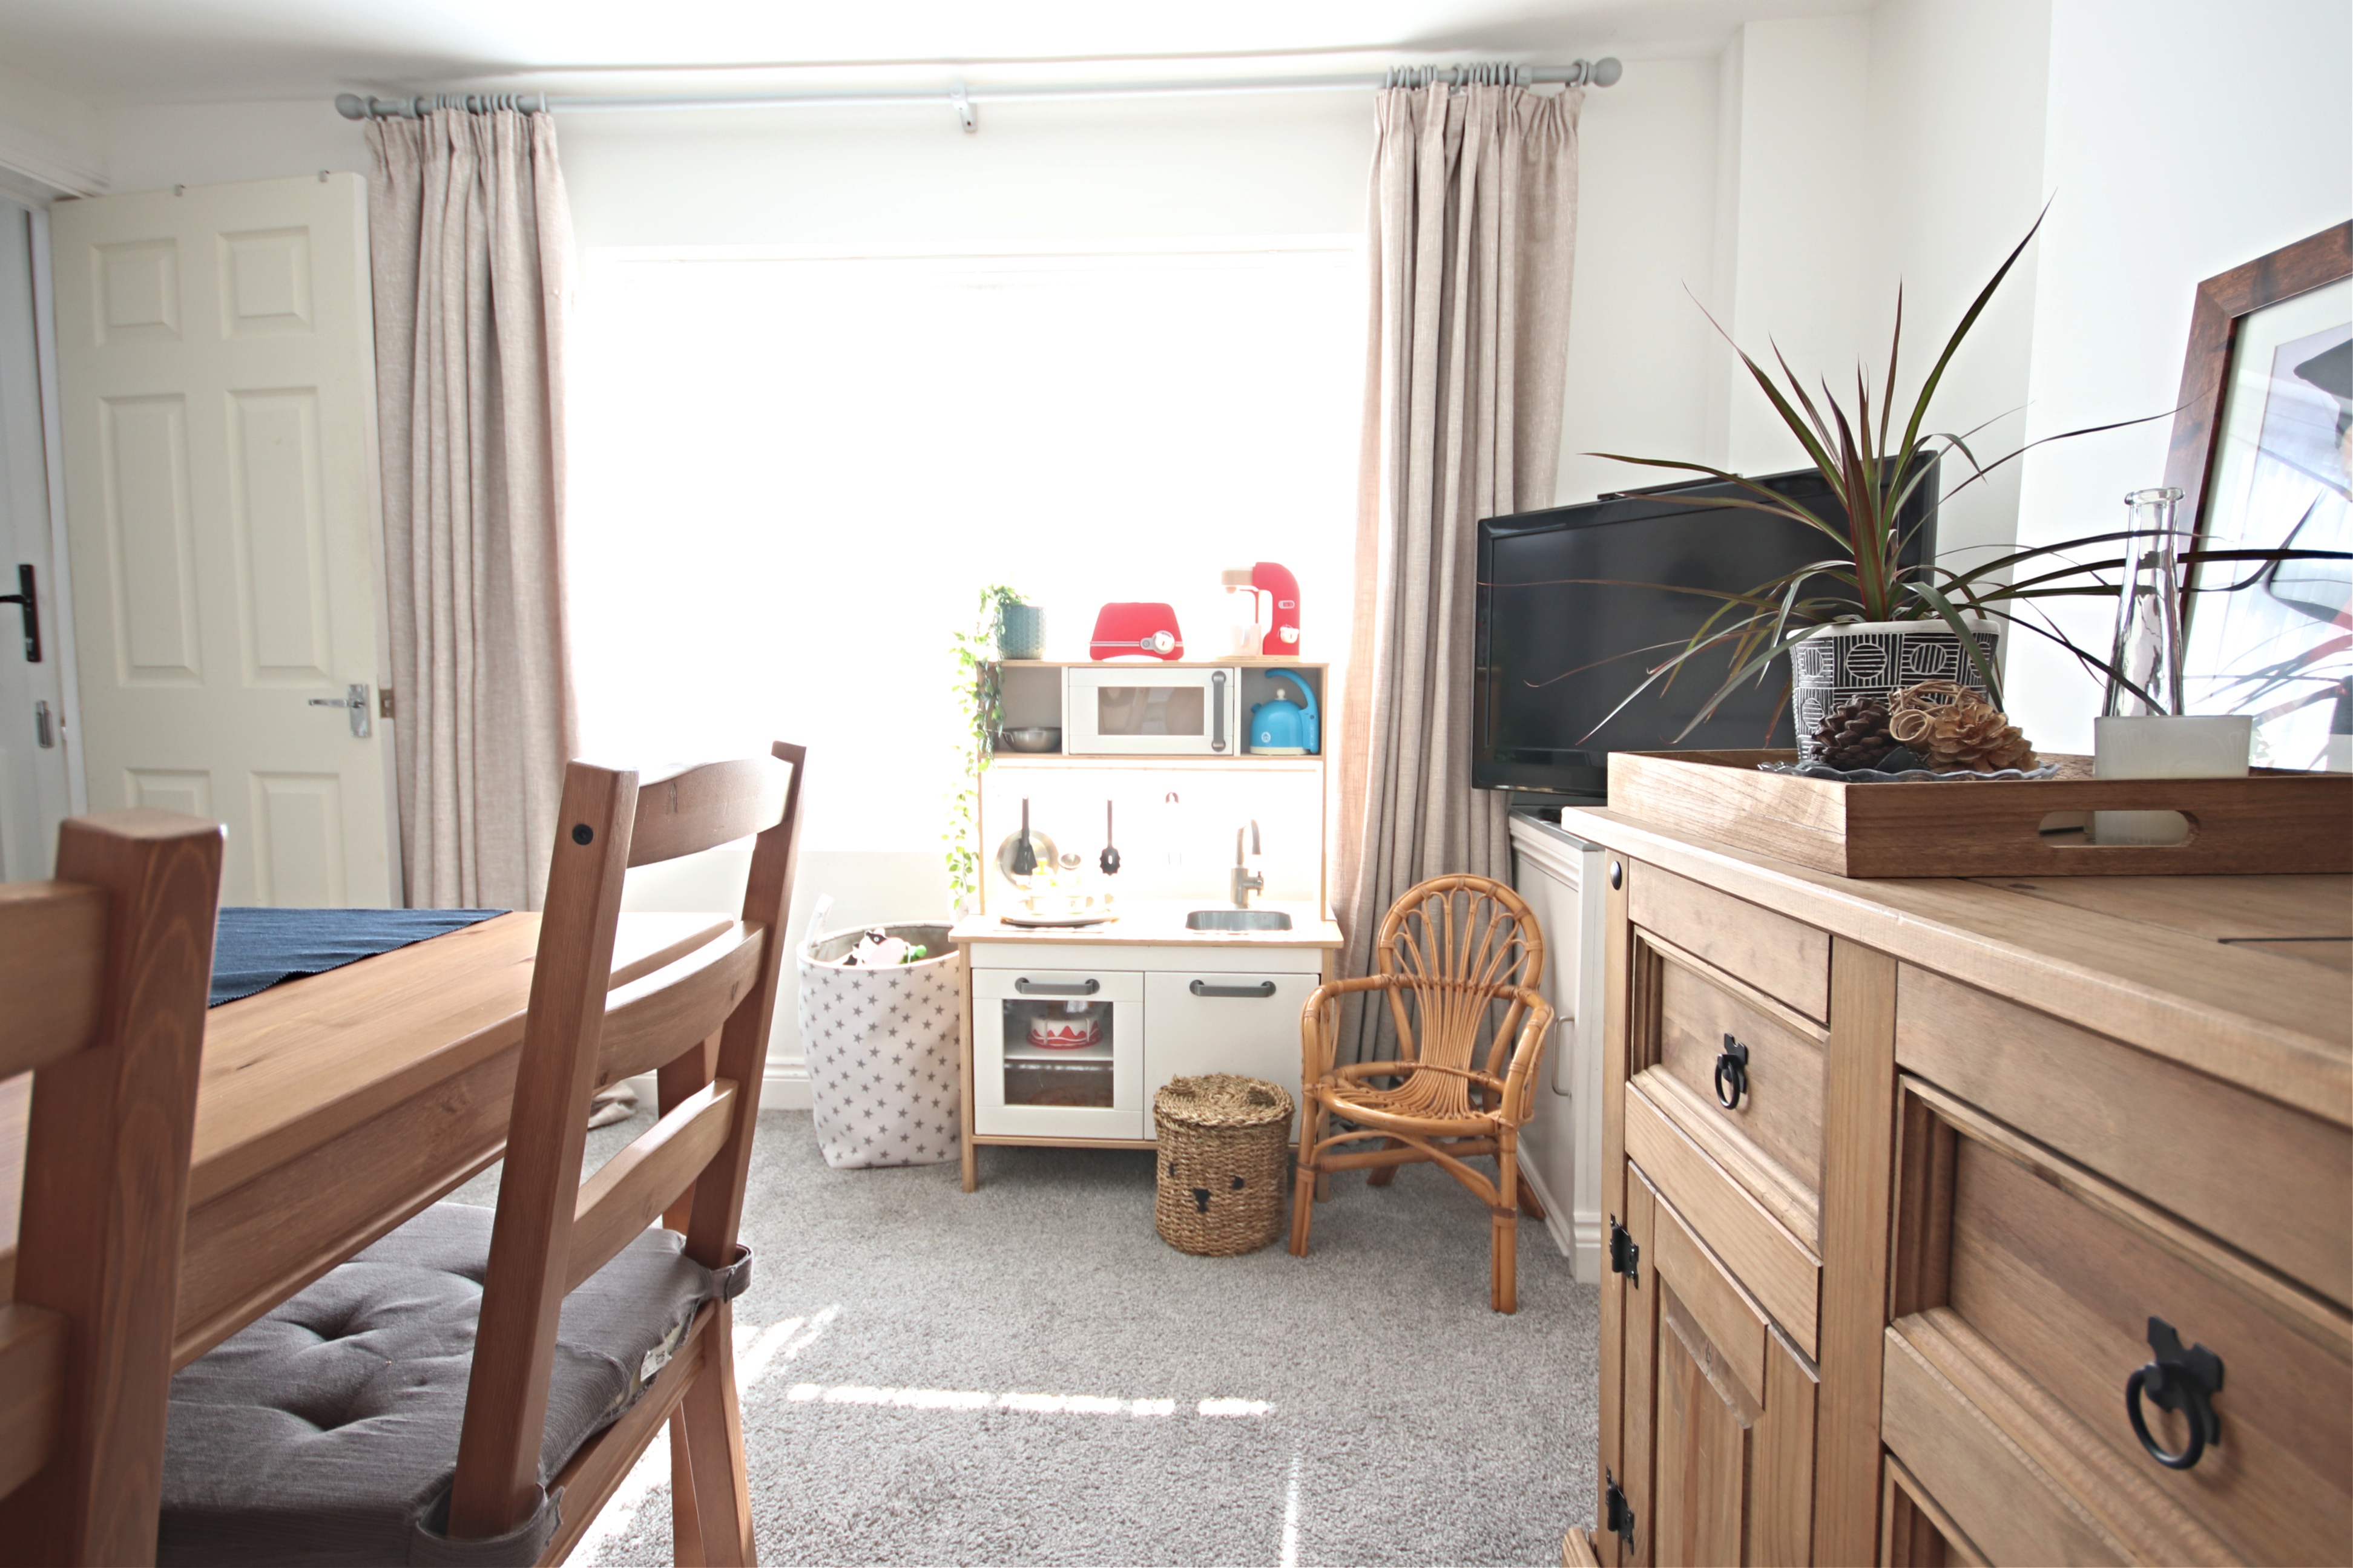
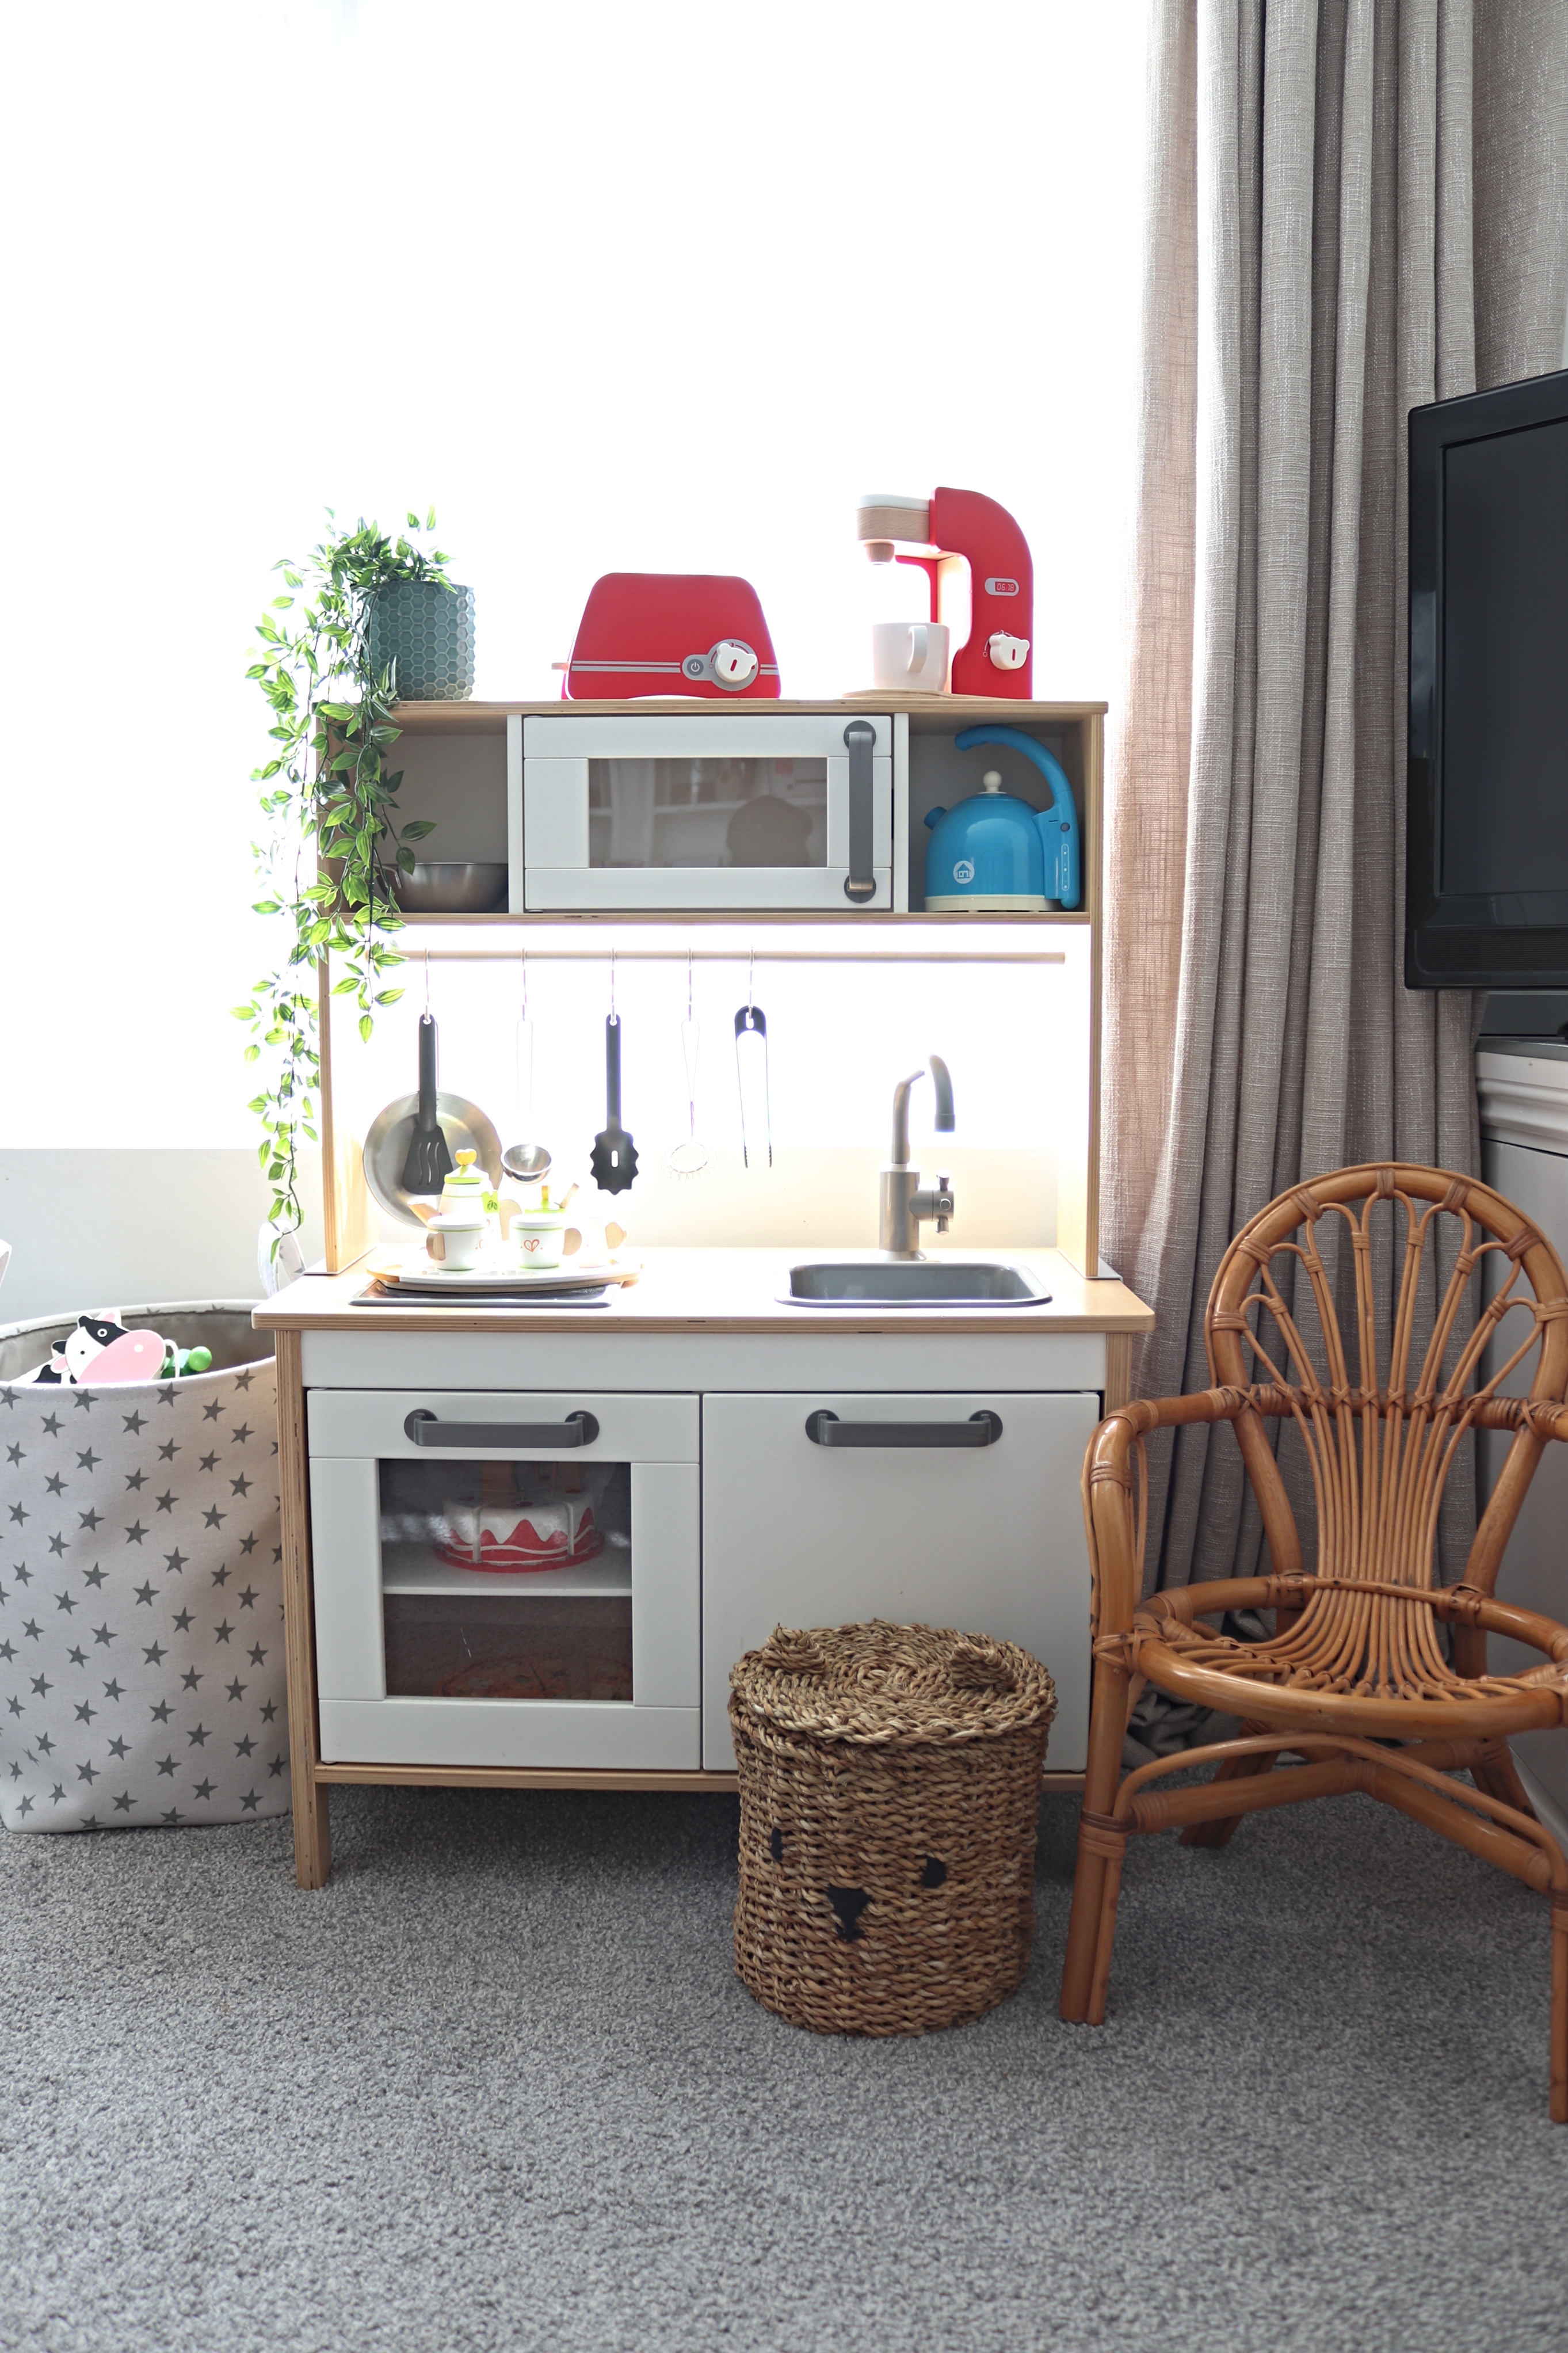
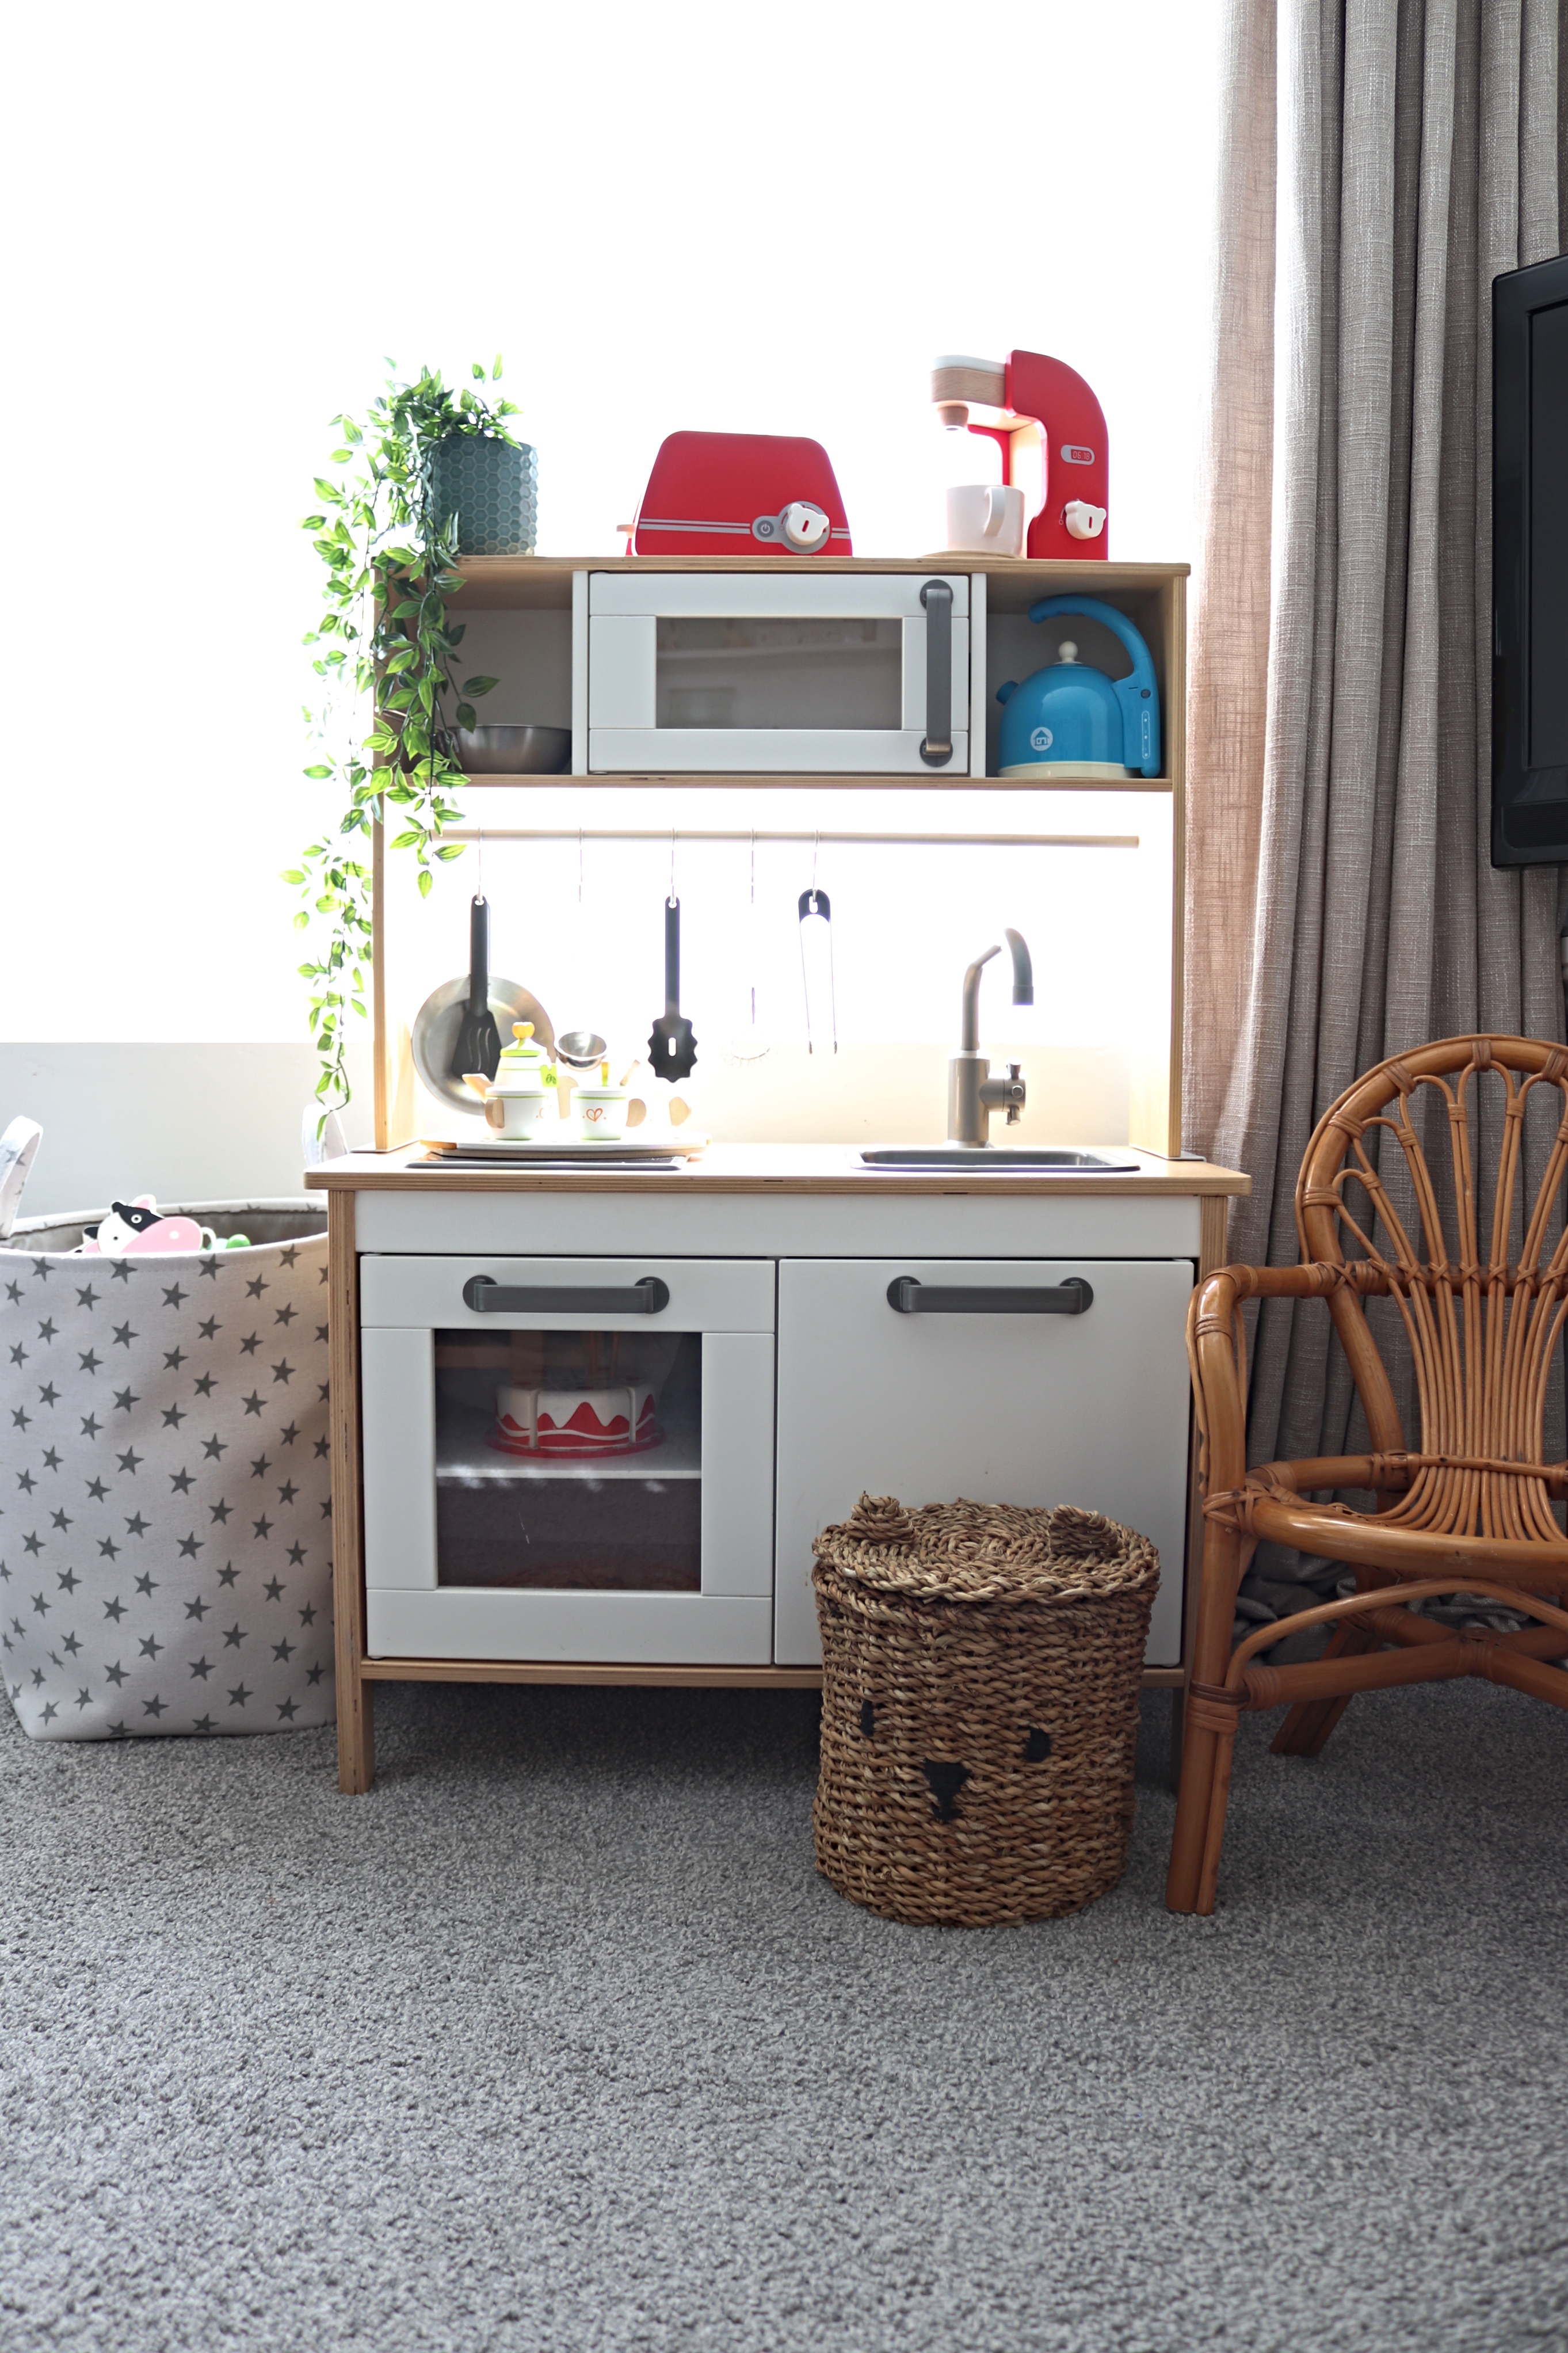
I can’t tell you how happy I am with how this looks. The colours and materials of the items used are in keeping with the overall look of the room. Eventually I would like to switch the grey basket out for a sea grass one but its a great way to keep the more brightly coloured toys hidden. Noa loves playing in this corner and Mason has a new found love for his kitchen again because he enjoys playing here when Noa is napping and he can’t play in the bedroom!
Lianne x
Pin Creating a play nook to save it for later!

Great Blog! I love this post and found it very amazing. Thanks a lot for sharing.
Great ideas! Your ideas are very helpful. Thanks a lot for sharing.
Author
thank you!