
Since I first viewed our current home I knew that I wanted to do an Ikea Billy Bookcase Hack for our Living room. We had two bookcases in our hallway at Seaways that were full of books so I knew they would need to go in the living room here. We also had some display shelves in our Seaways living room that I really loved so when we said yes to this property I came up with a plan.
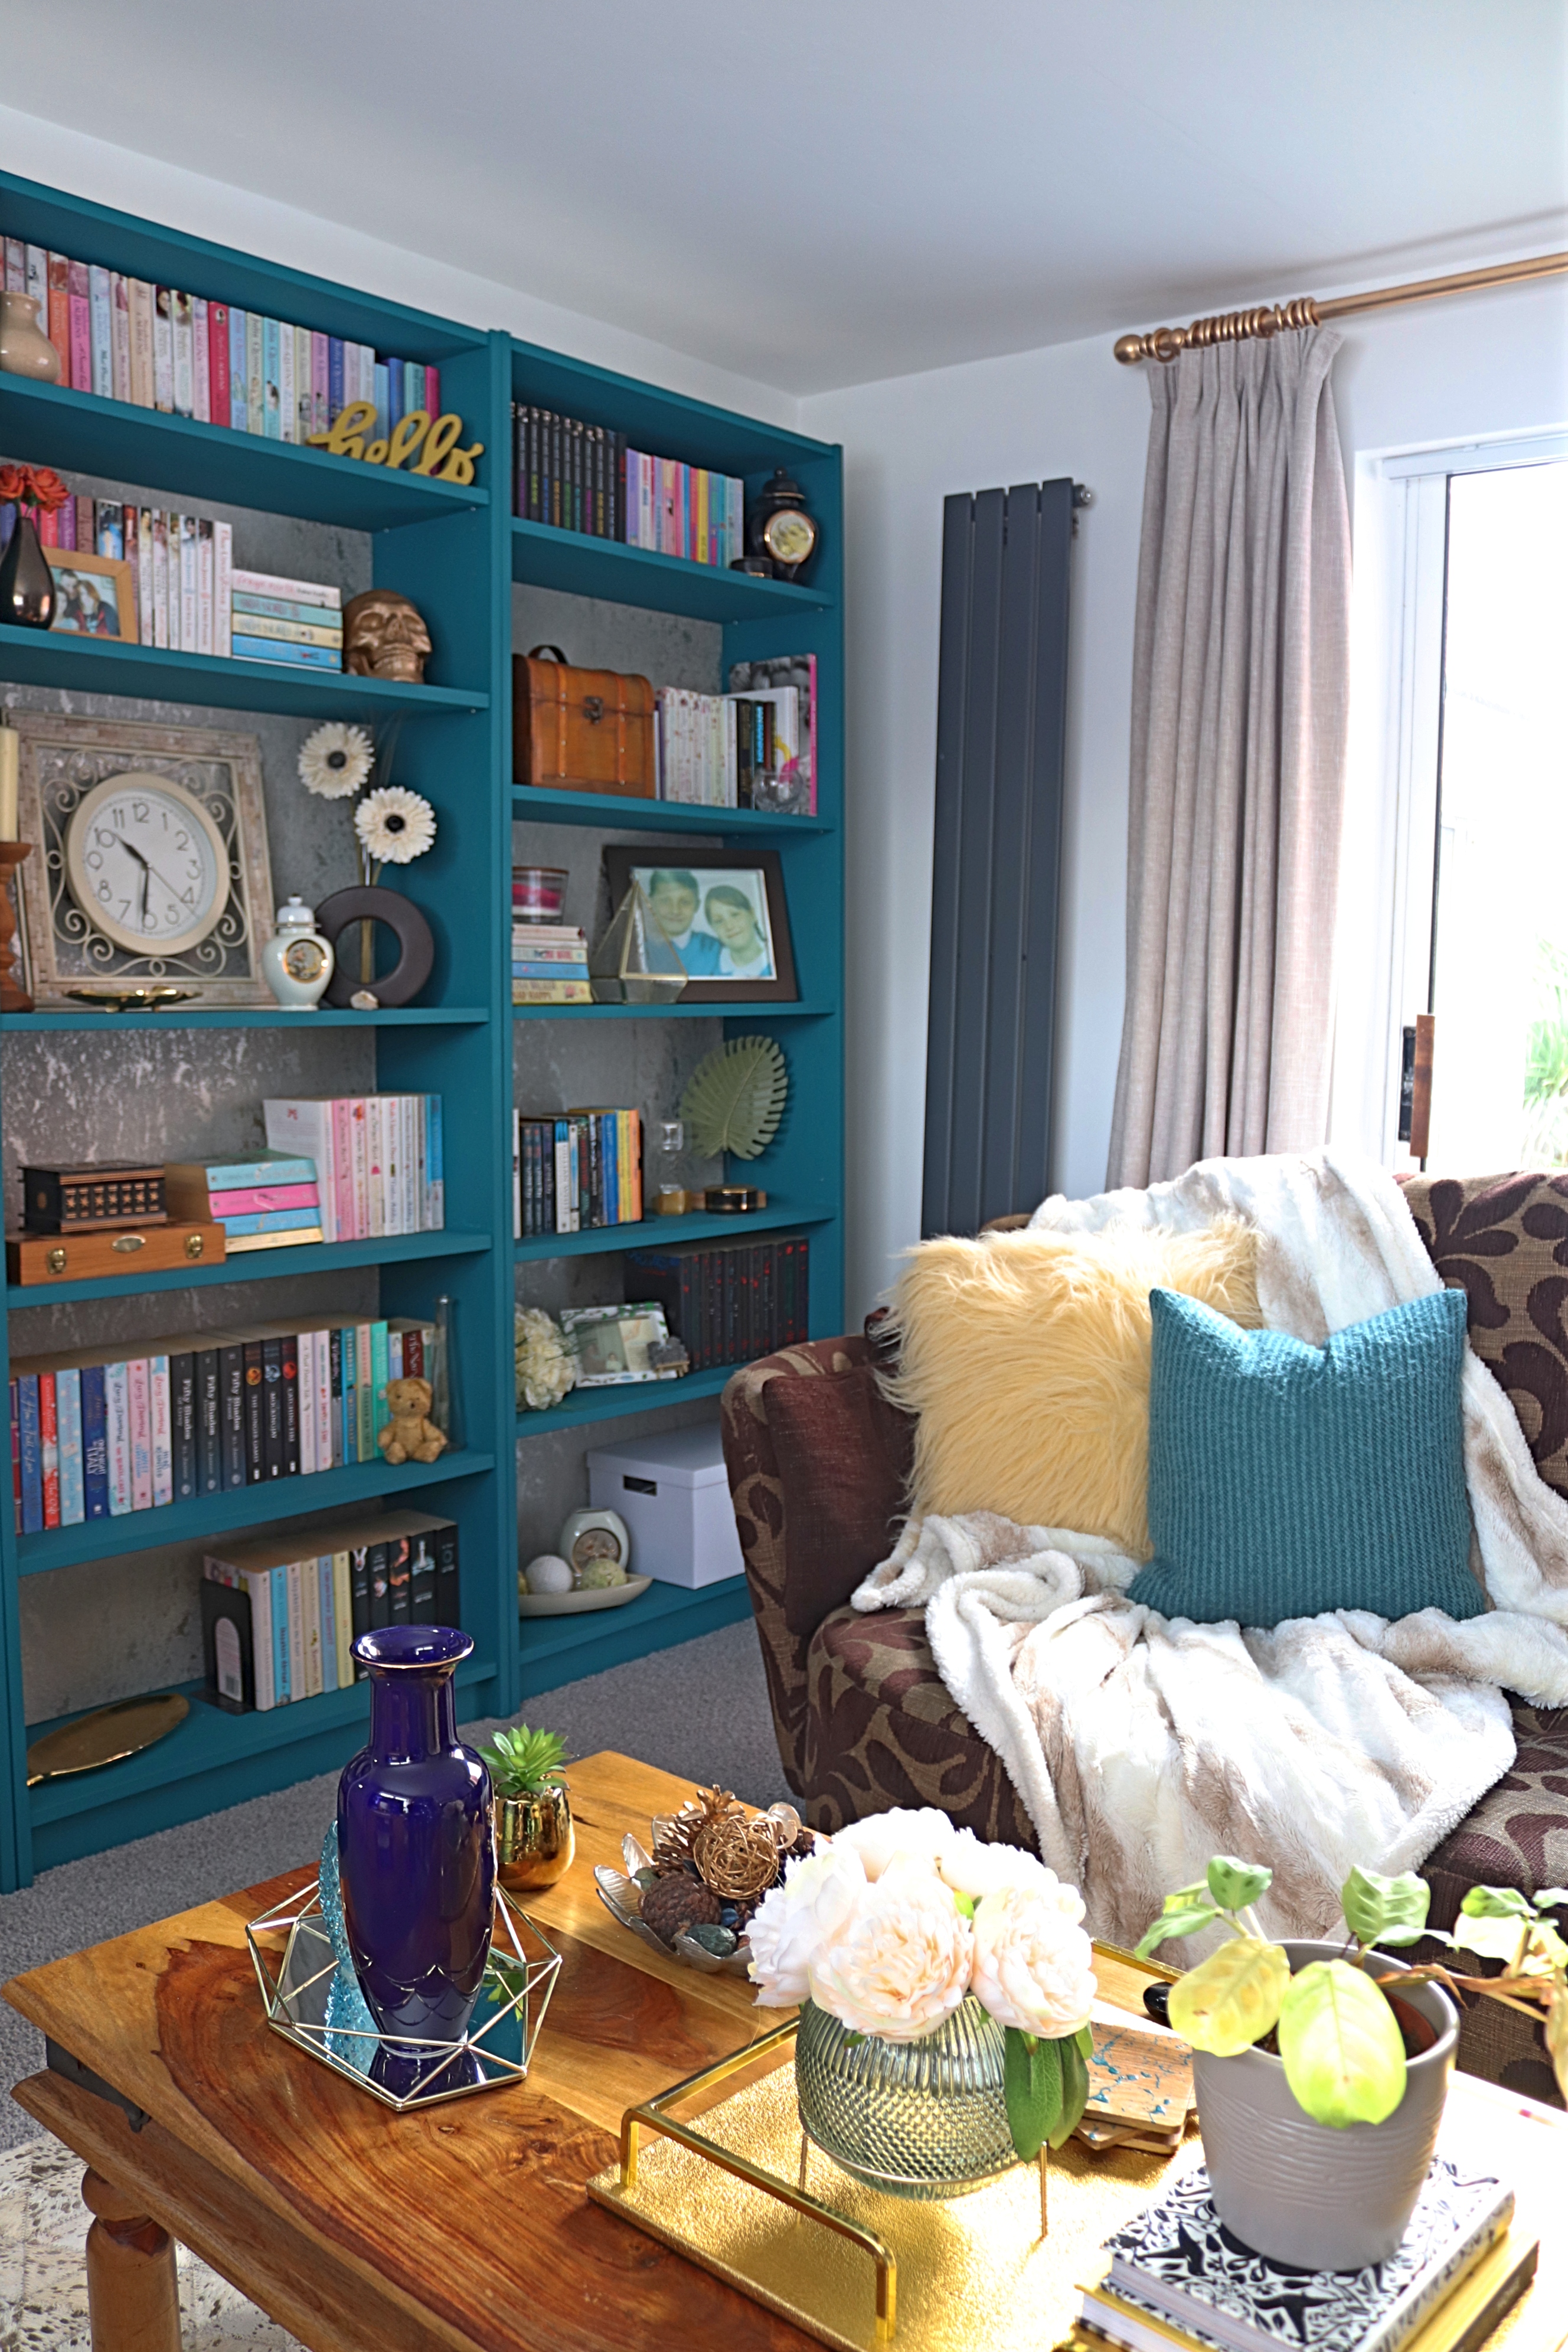
The plan was to purchase three new Ikea Billy Bookcases to go along one wall in the living room. I would have the space to store my all my books and because I would have an extra bookcase than before there would be spare shelves to put some decorative home decor items.
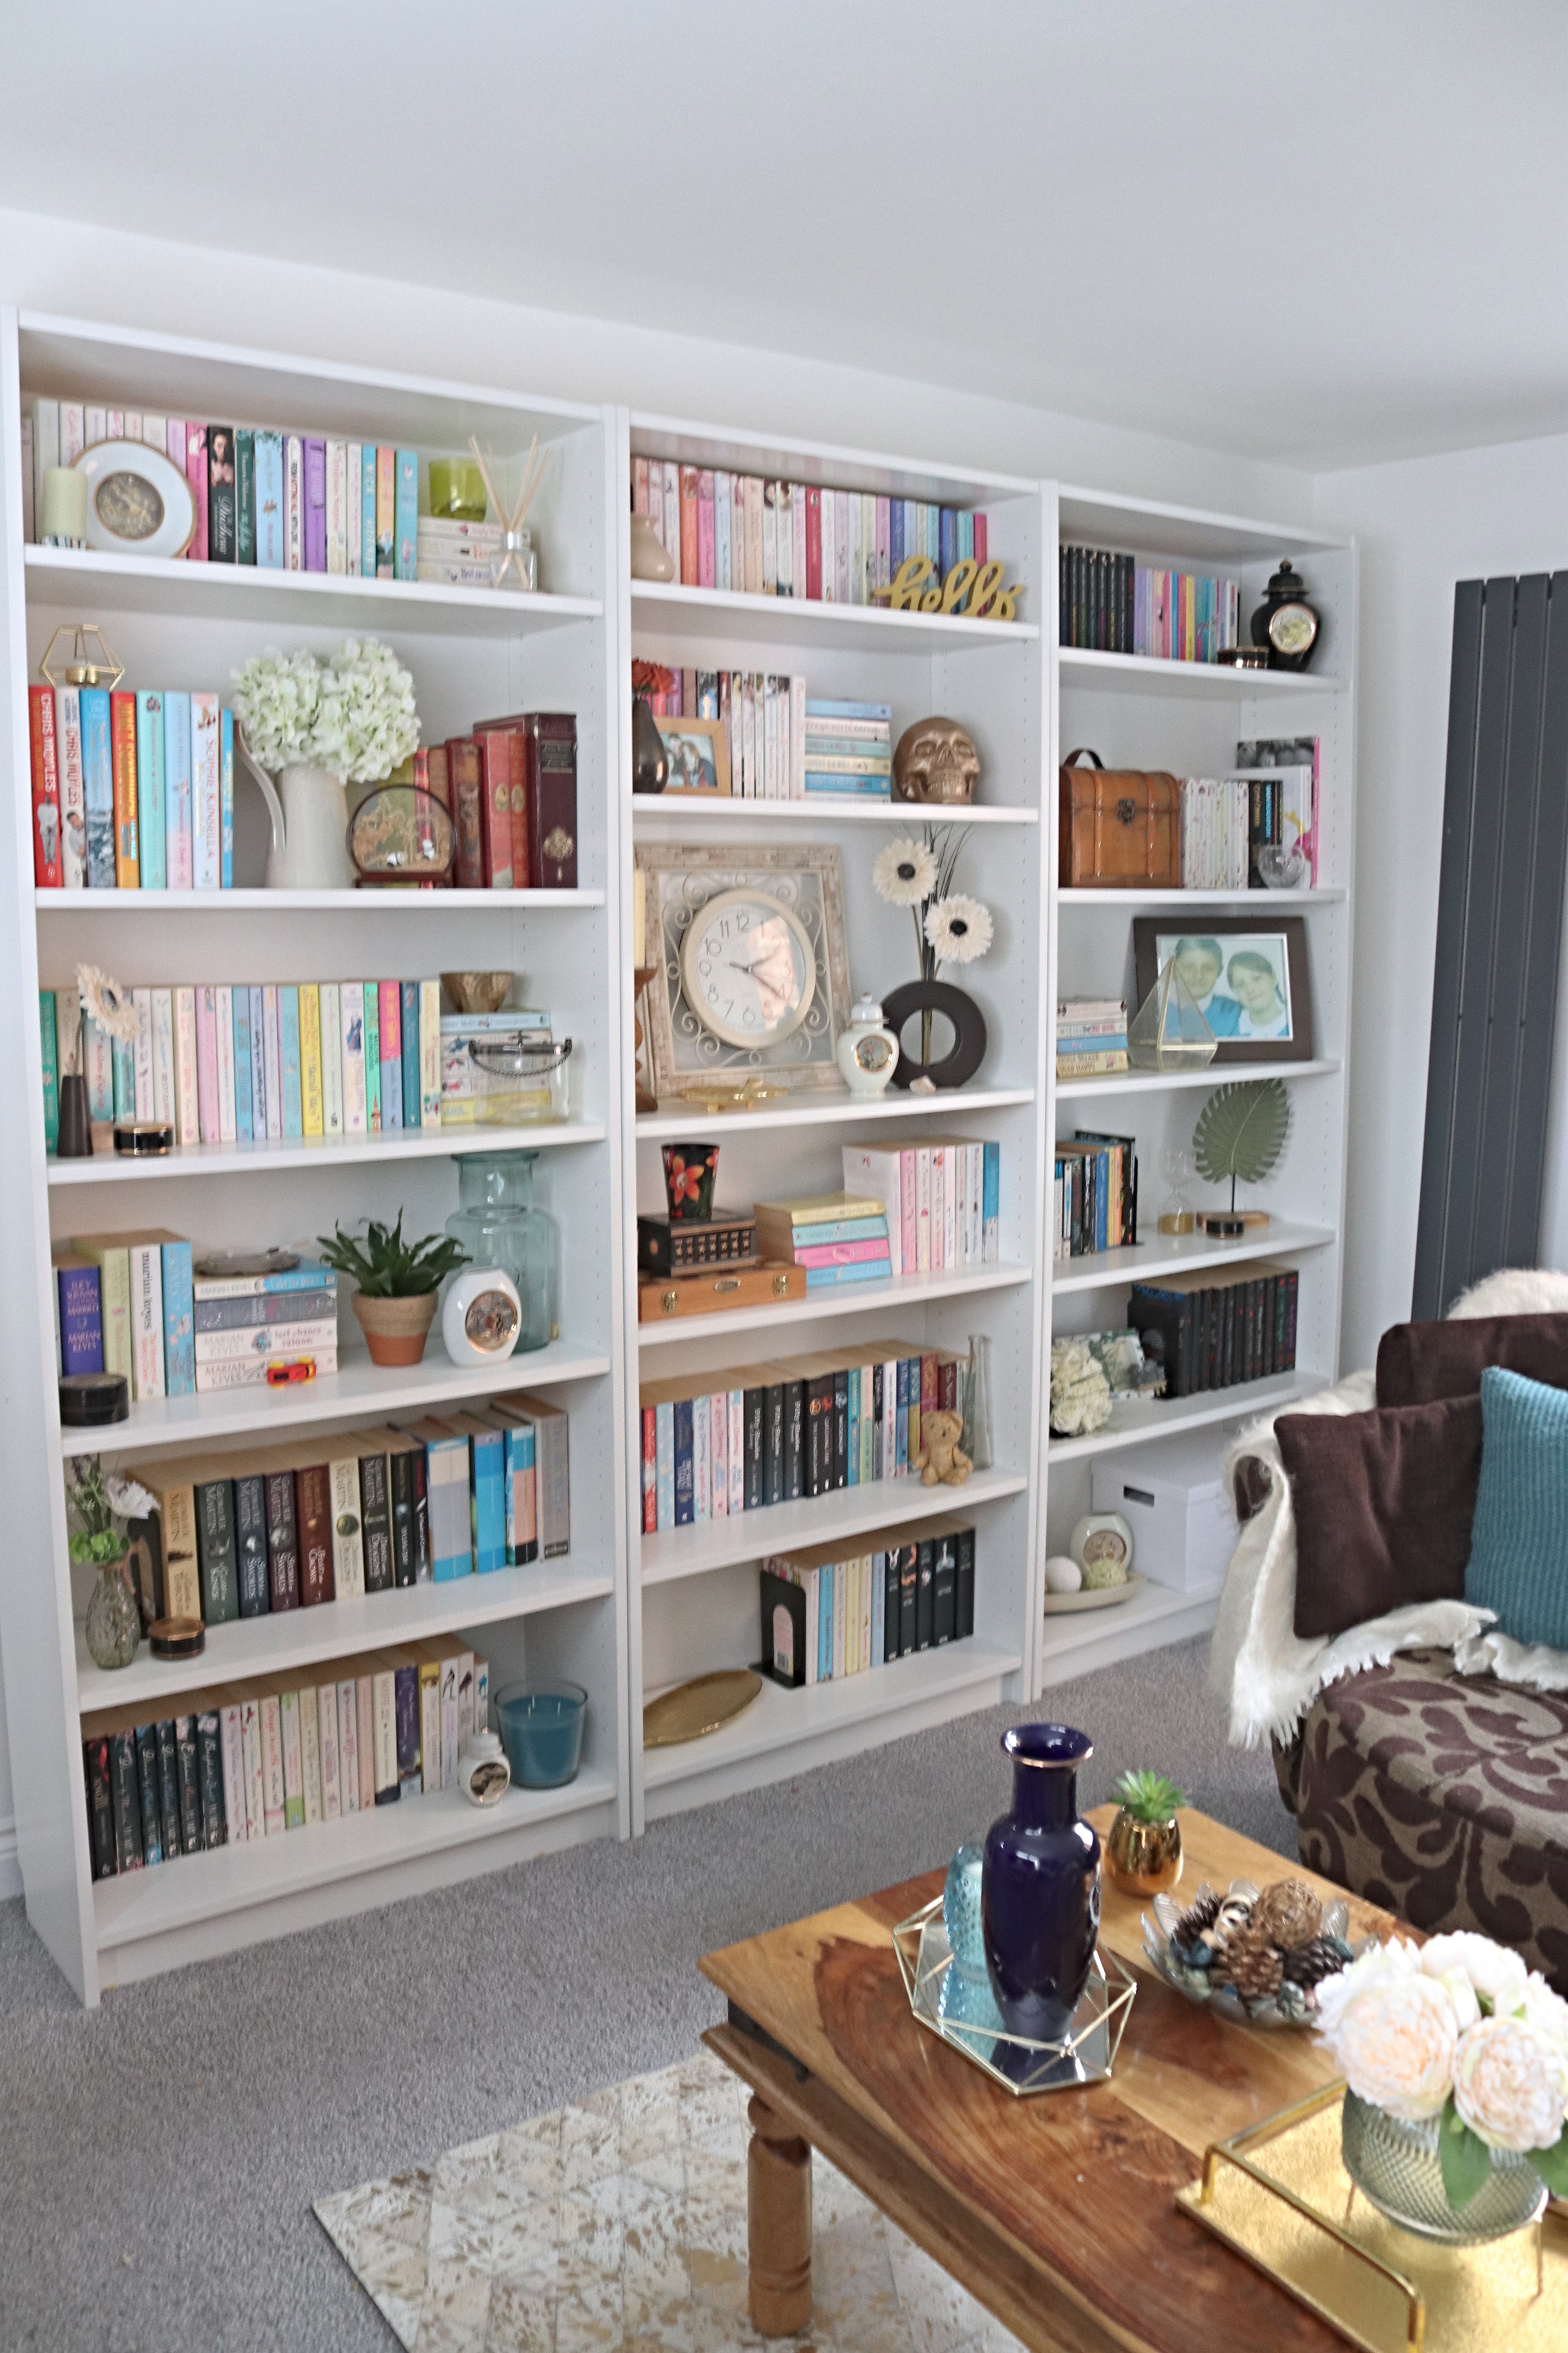
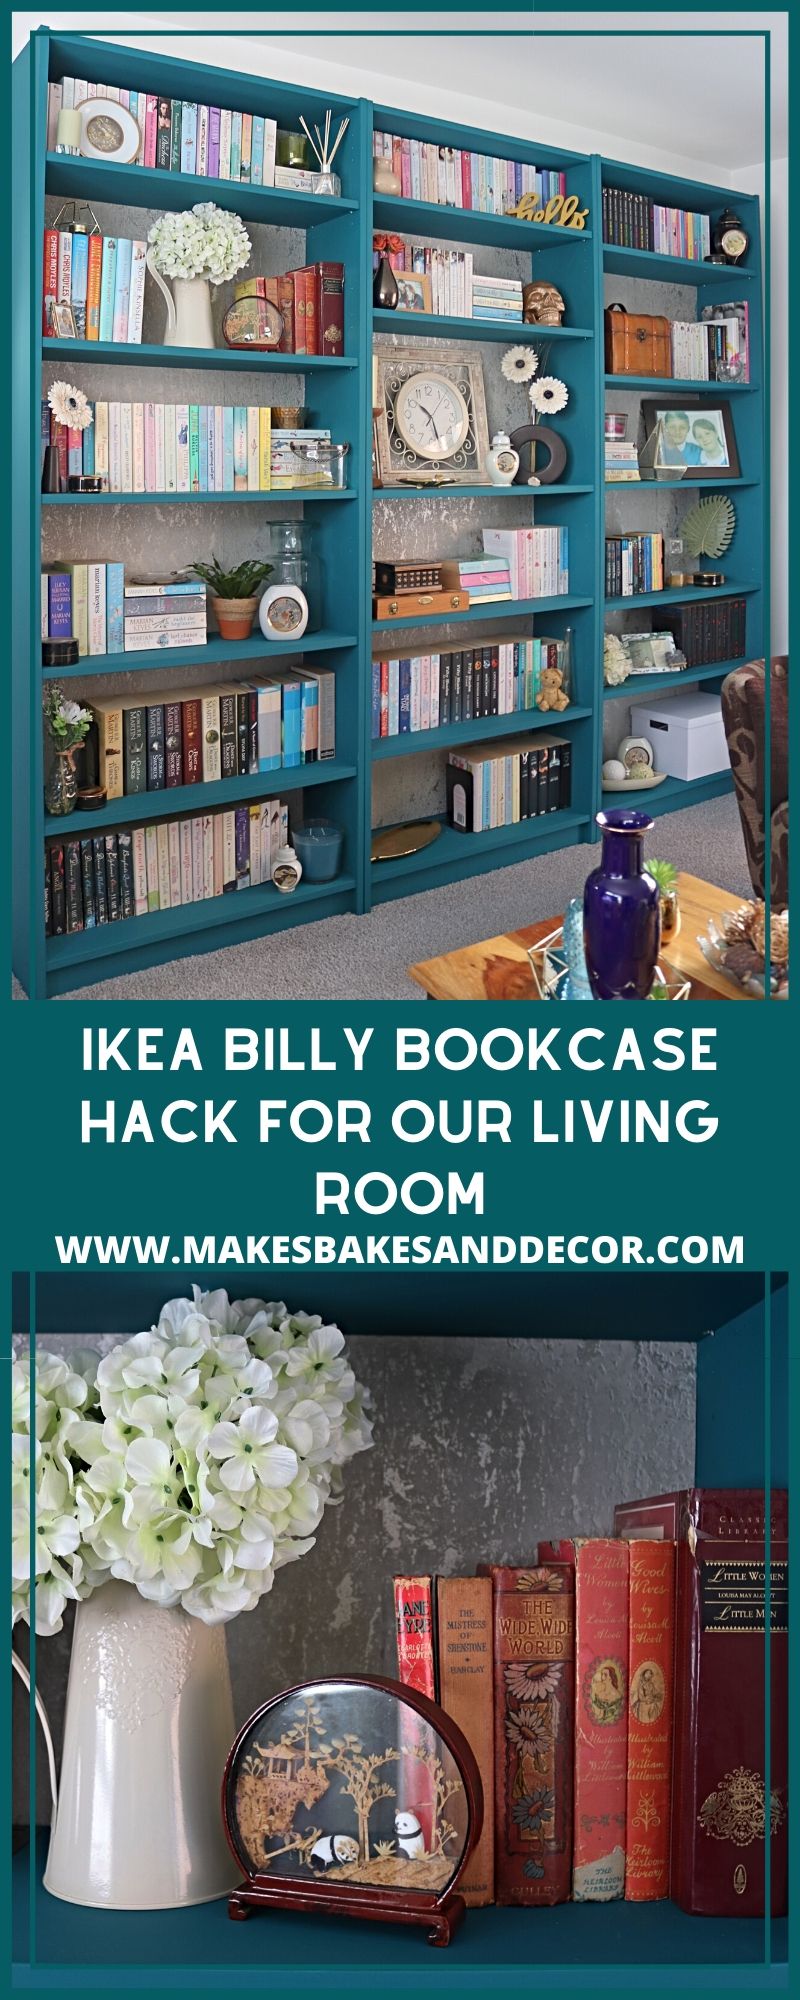
You can see how they looked for the first 8 months of living here above but a few weeks ago I decided to make a list of all the changes I wanted to make in this room and get as many of them done before Christmas as I could. You can visit my Living Room Plans post to see all of the changes I wanted to make and also see what we managed to get ticked off. This Ikea Billy Bookcase Hack was the change I wanted to make the most as I knew it would make the biggest difference to the room.
So job number one was to get the shelves emptied of all the books etc and let me tell you living with them piled up in the living room for a week was no fun! We then took the adjustable shelves out and primed them and the bookcase frame separately. My advice to you after doing it this way is don’t! I will explain why later but I would definitely say the best way to do it is to pick where you want your shelves to be and prime and paint the bookcase as a whole.
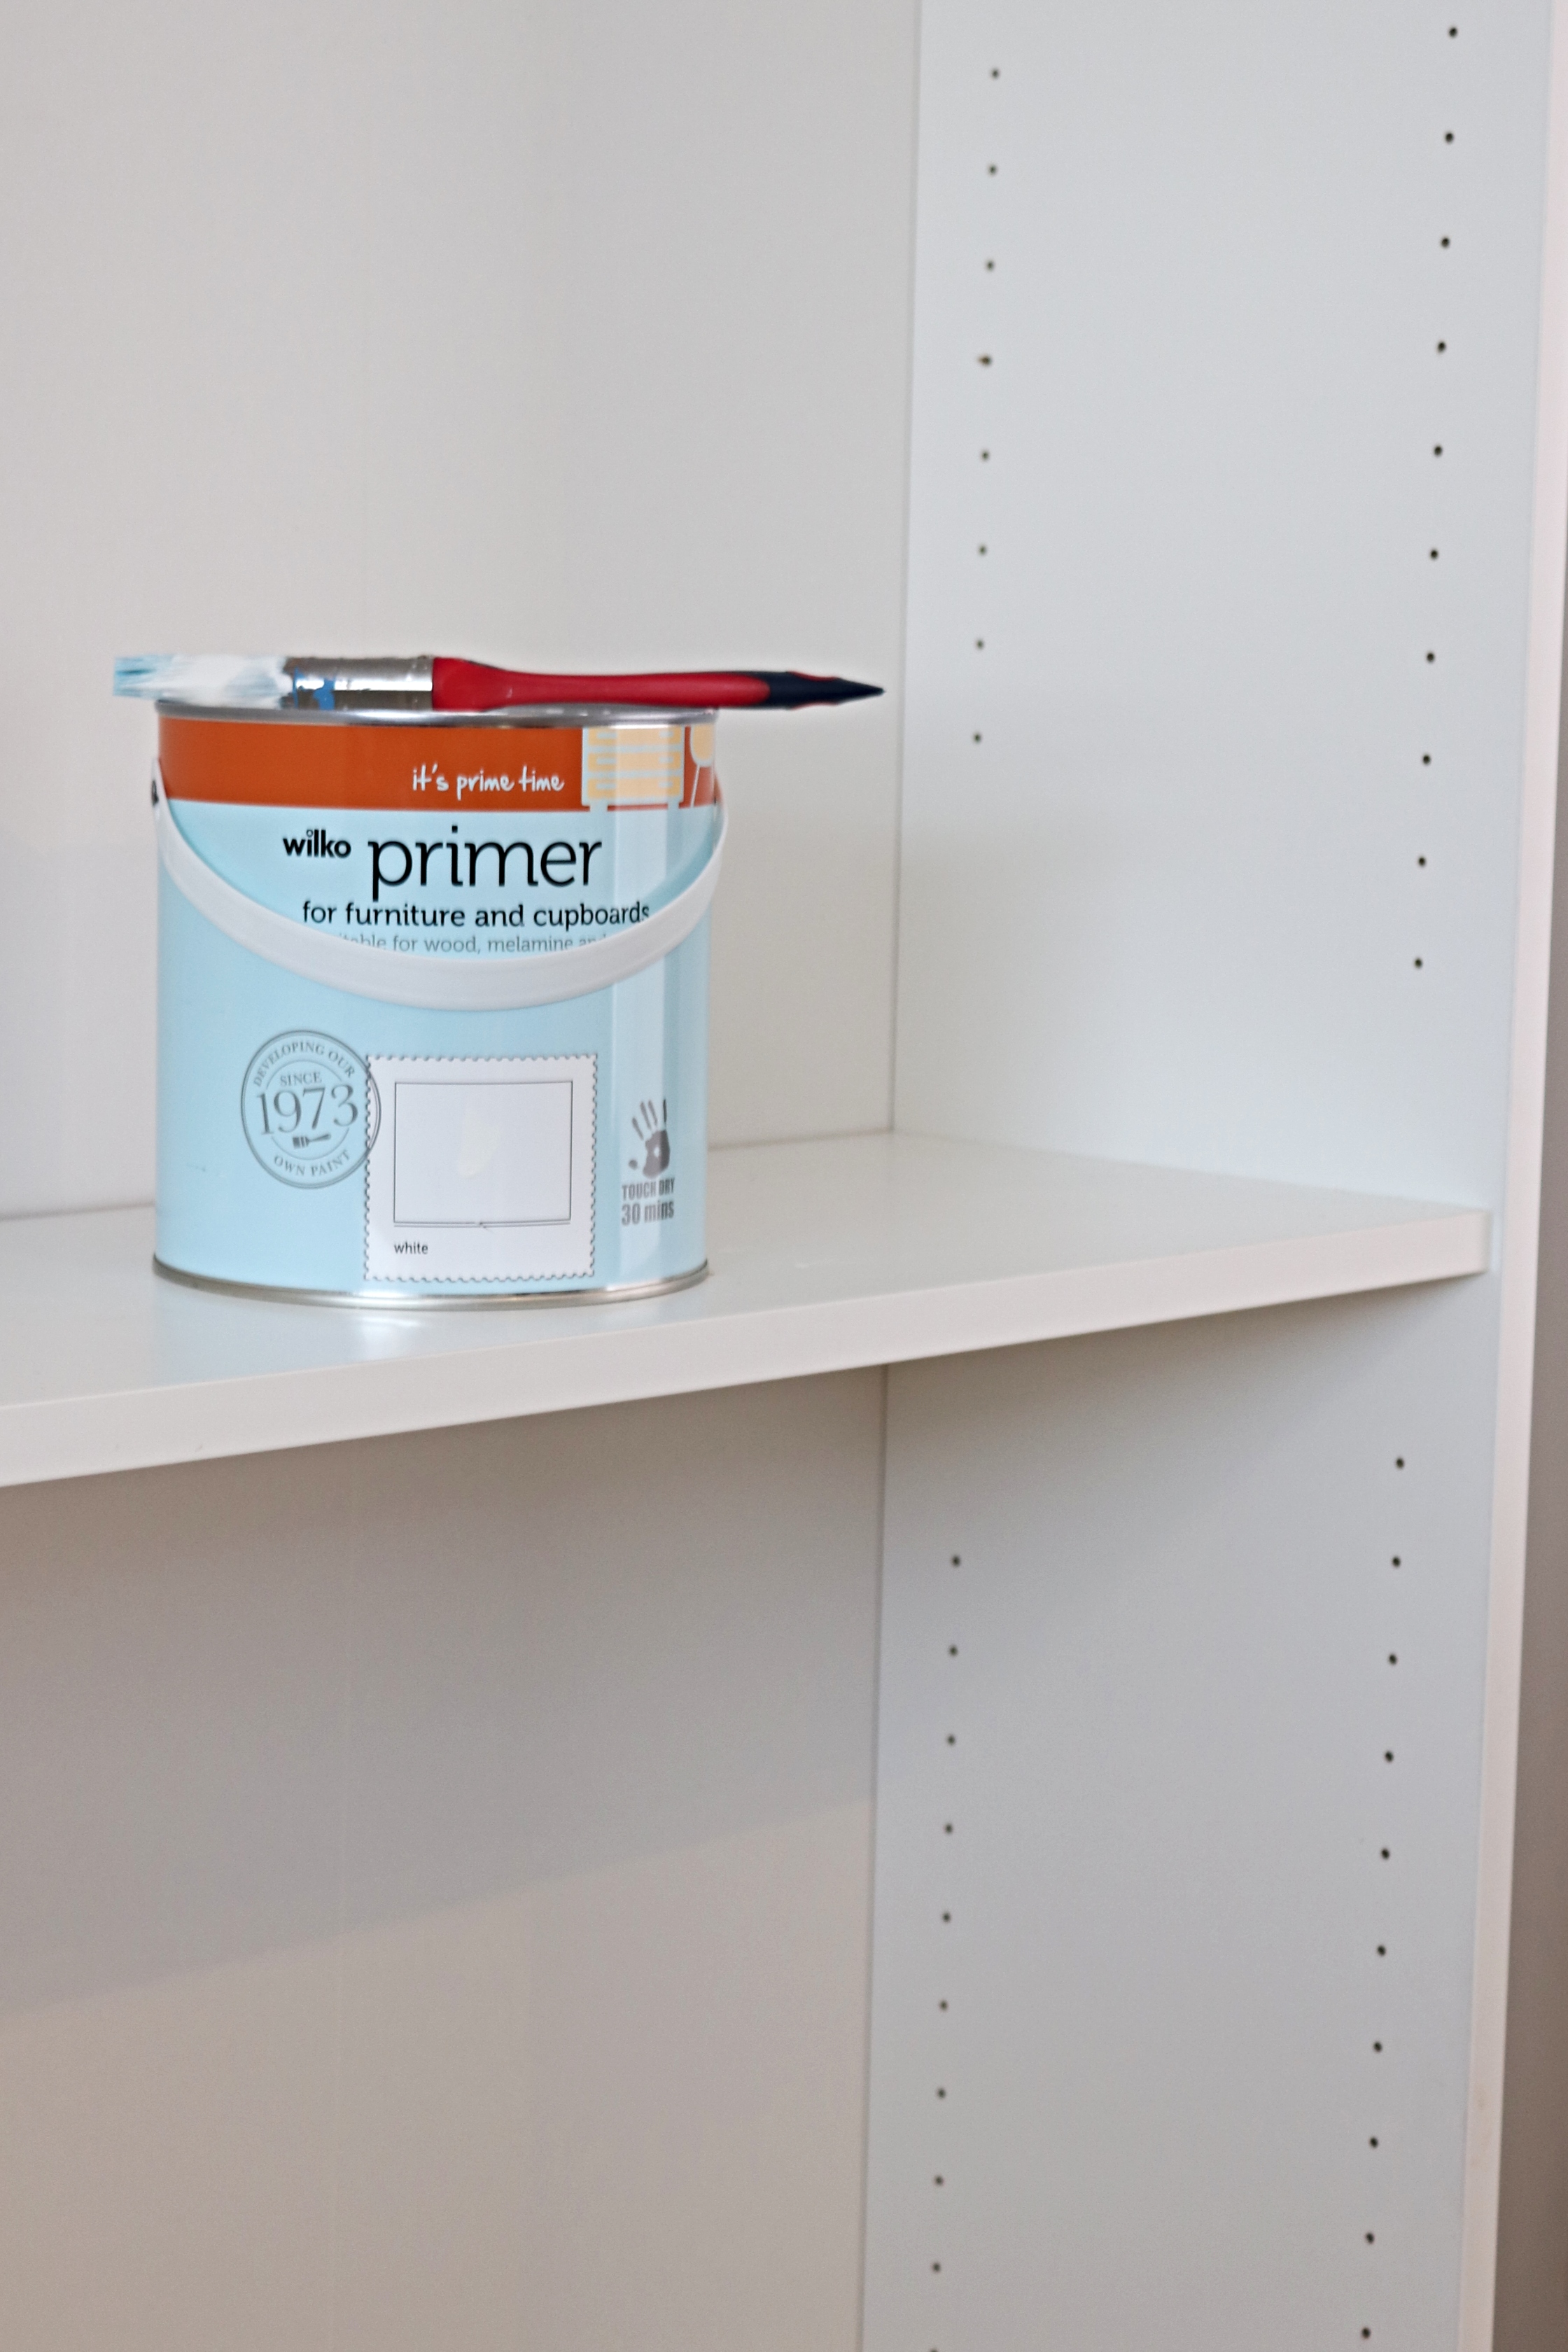
This is the primer that we used from Wilko. It’s their own brand and I knew it works well from using it when we painted a melamine wardrobe. My advice when painting furniture is to always use a good primer and to read the instructions. Waiting for drying and curing times can be annoying and make a project take longer but it’s worth it to get the best possible finish.
Once everything was properly primed it was time to move on to the paint. We went with a regular emulsion because I wanted a specific colour and these won’t be high traffic surfaces. Once items are on there I will very rarely be taking them on or off. Because it is a matt finish I will only be able to dust it with a dry cloth/duster in future so these are things you want to think about before choosing your paint. If you were wanting to paint a coffee table for example you would need to use a proper furniture paint or if you were to use an emulsion you would need to seal it after so you could easily clean it and protect it from constant use like I did when painting my occasional tables.
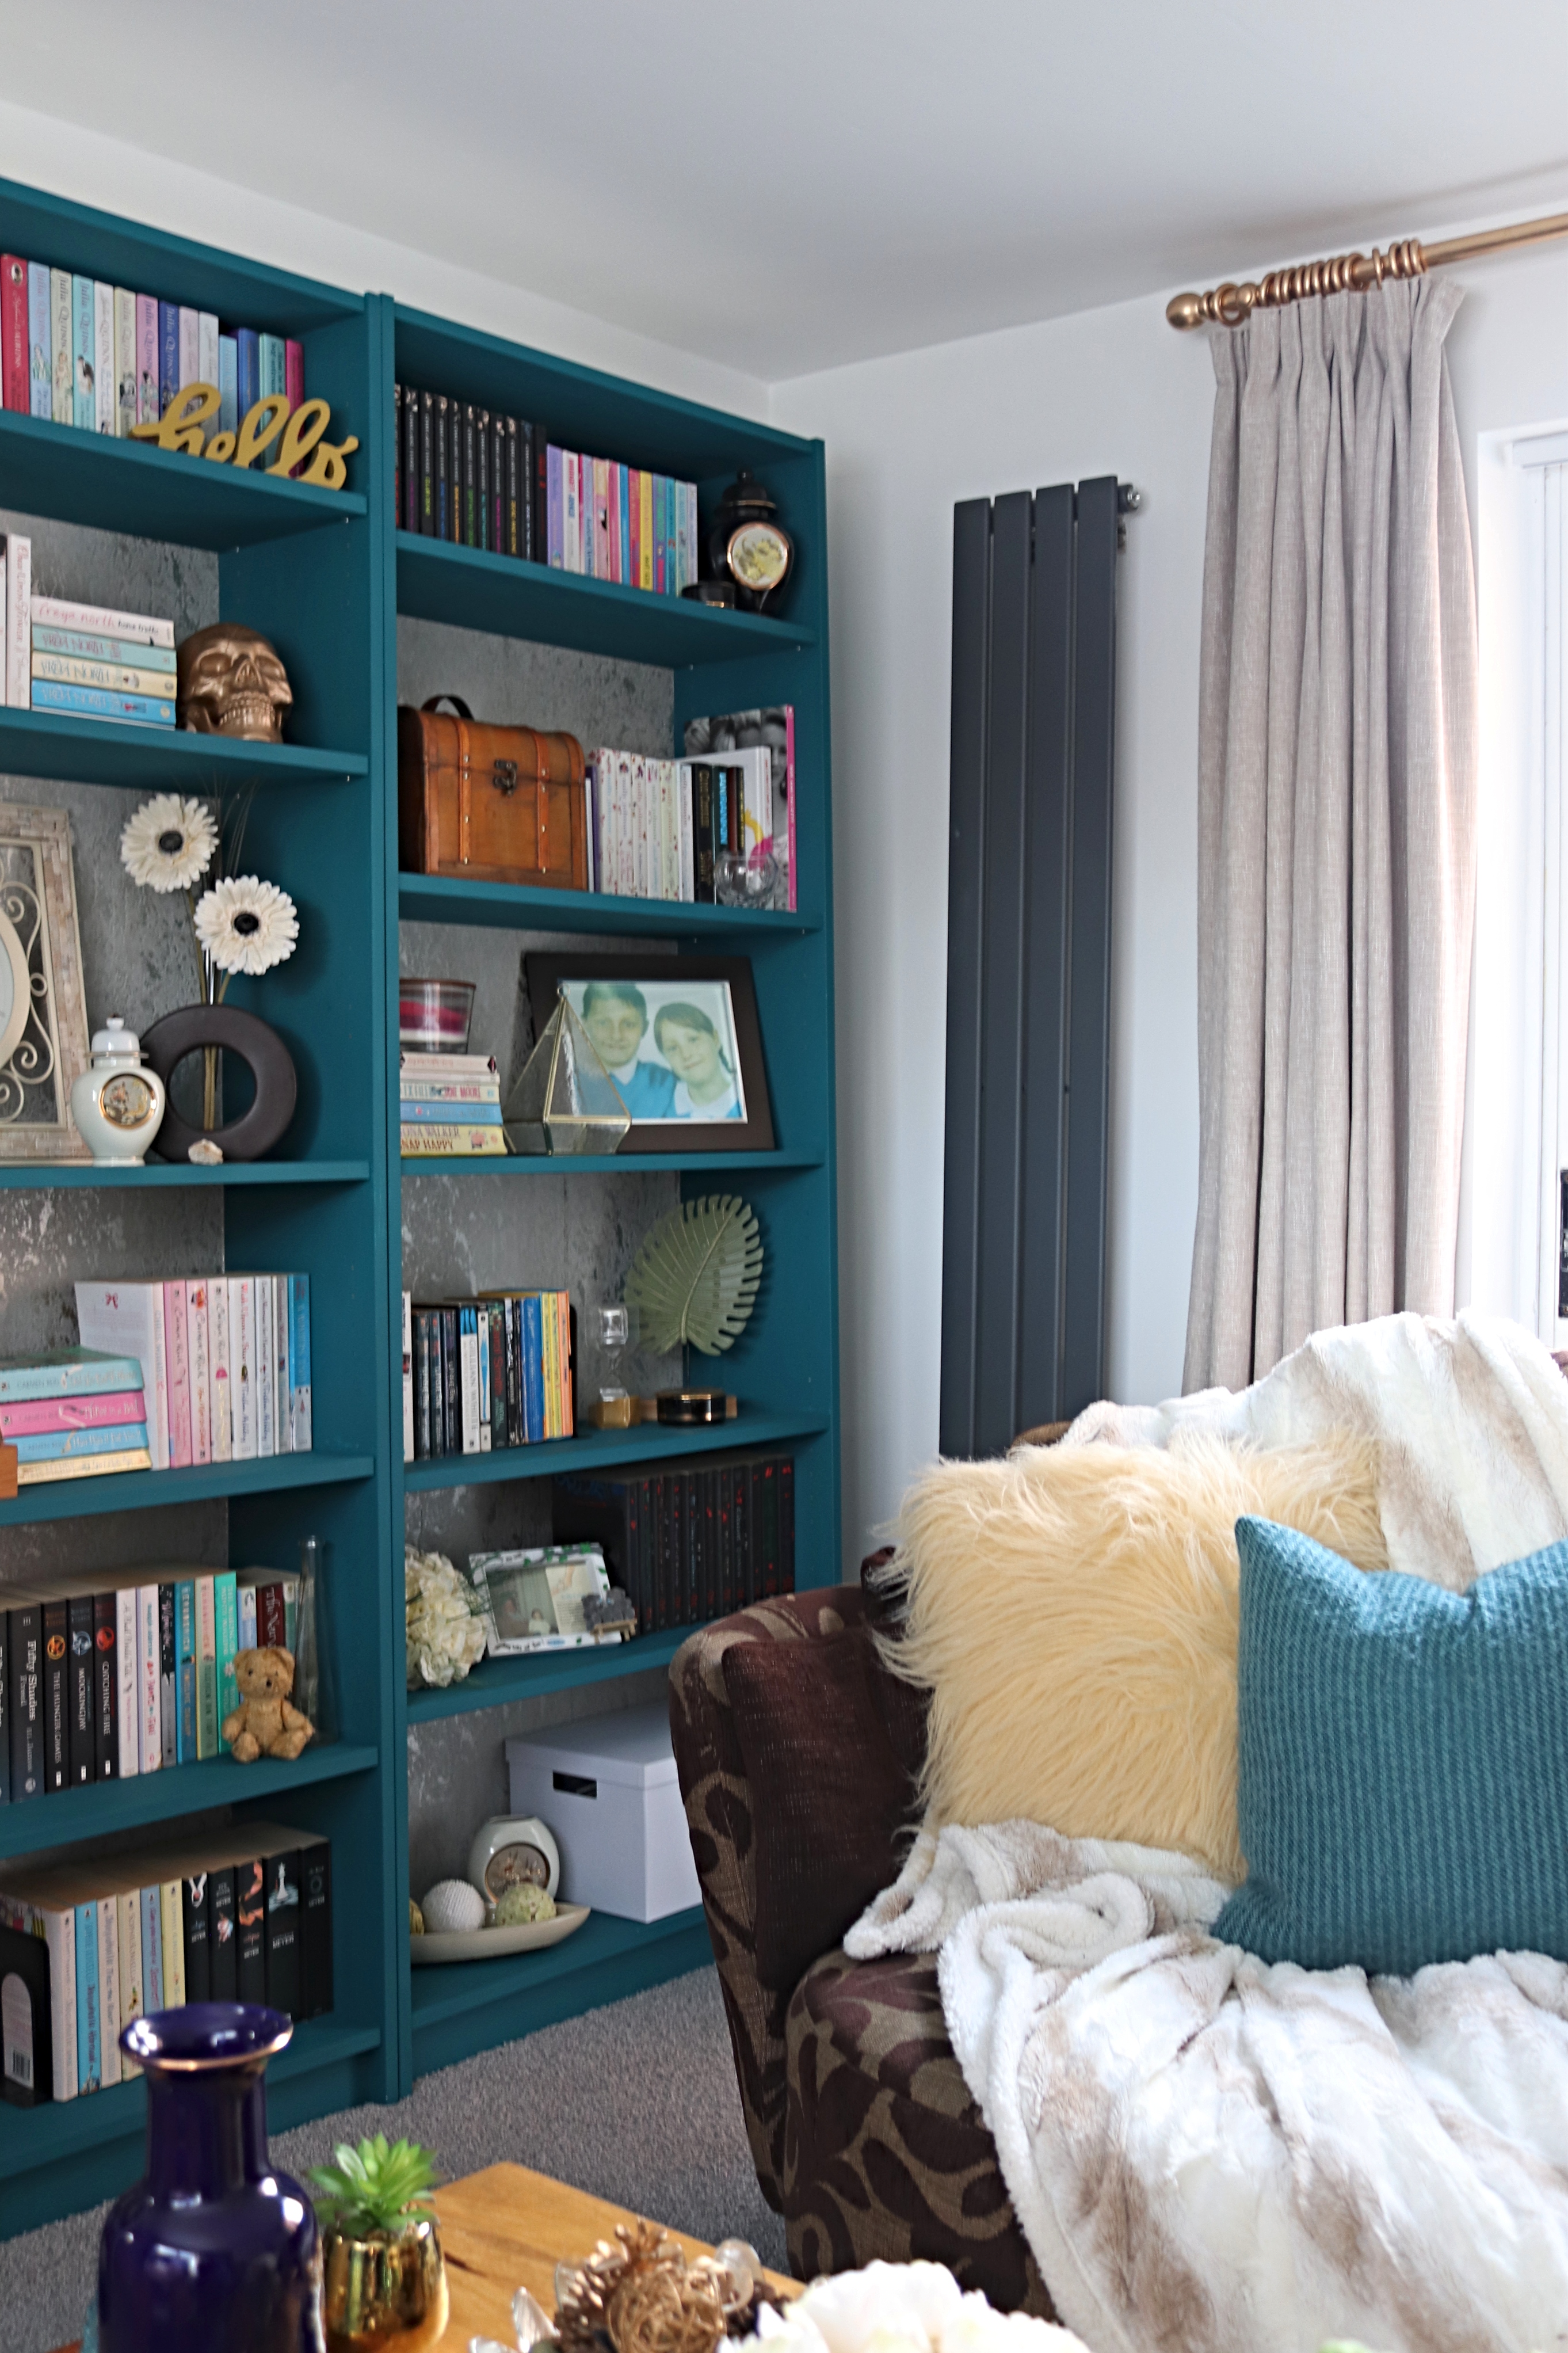
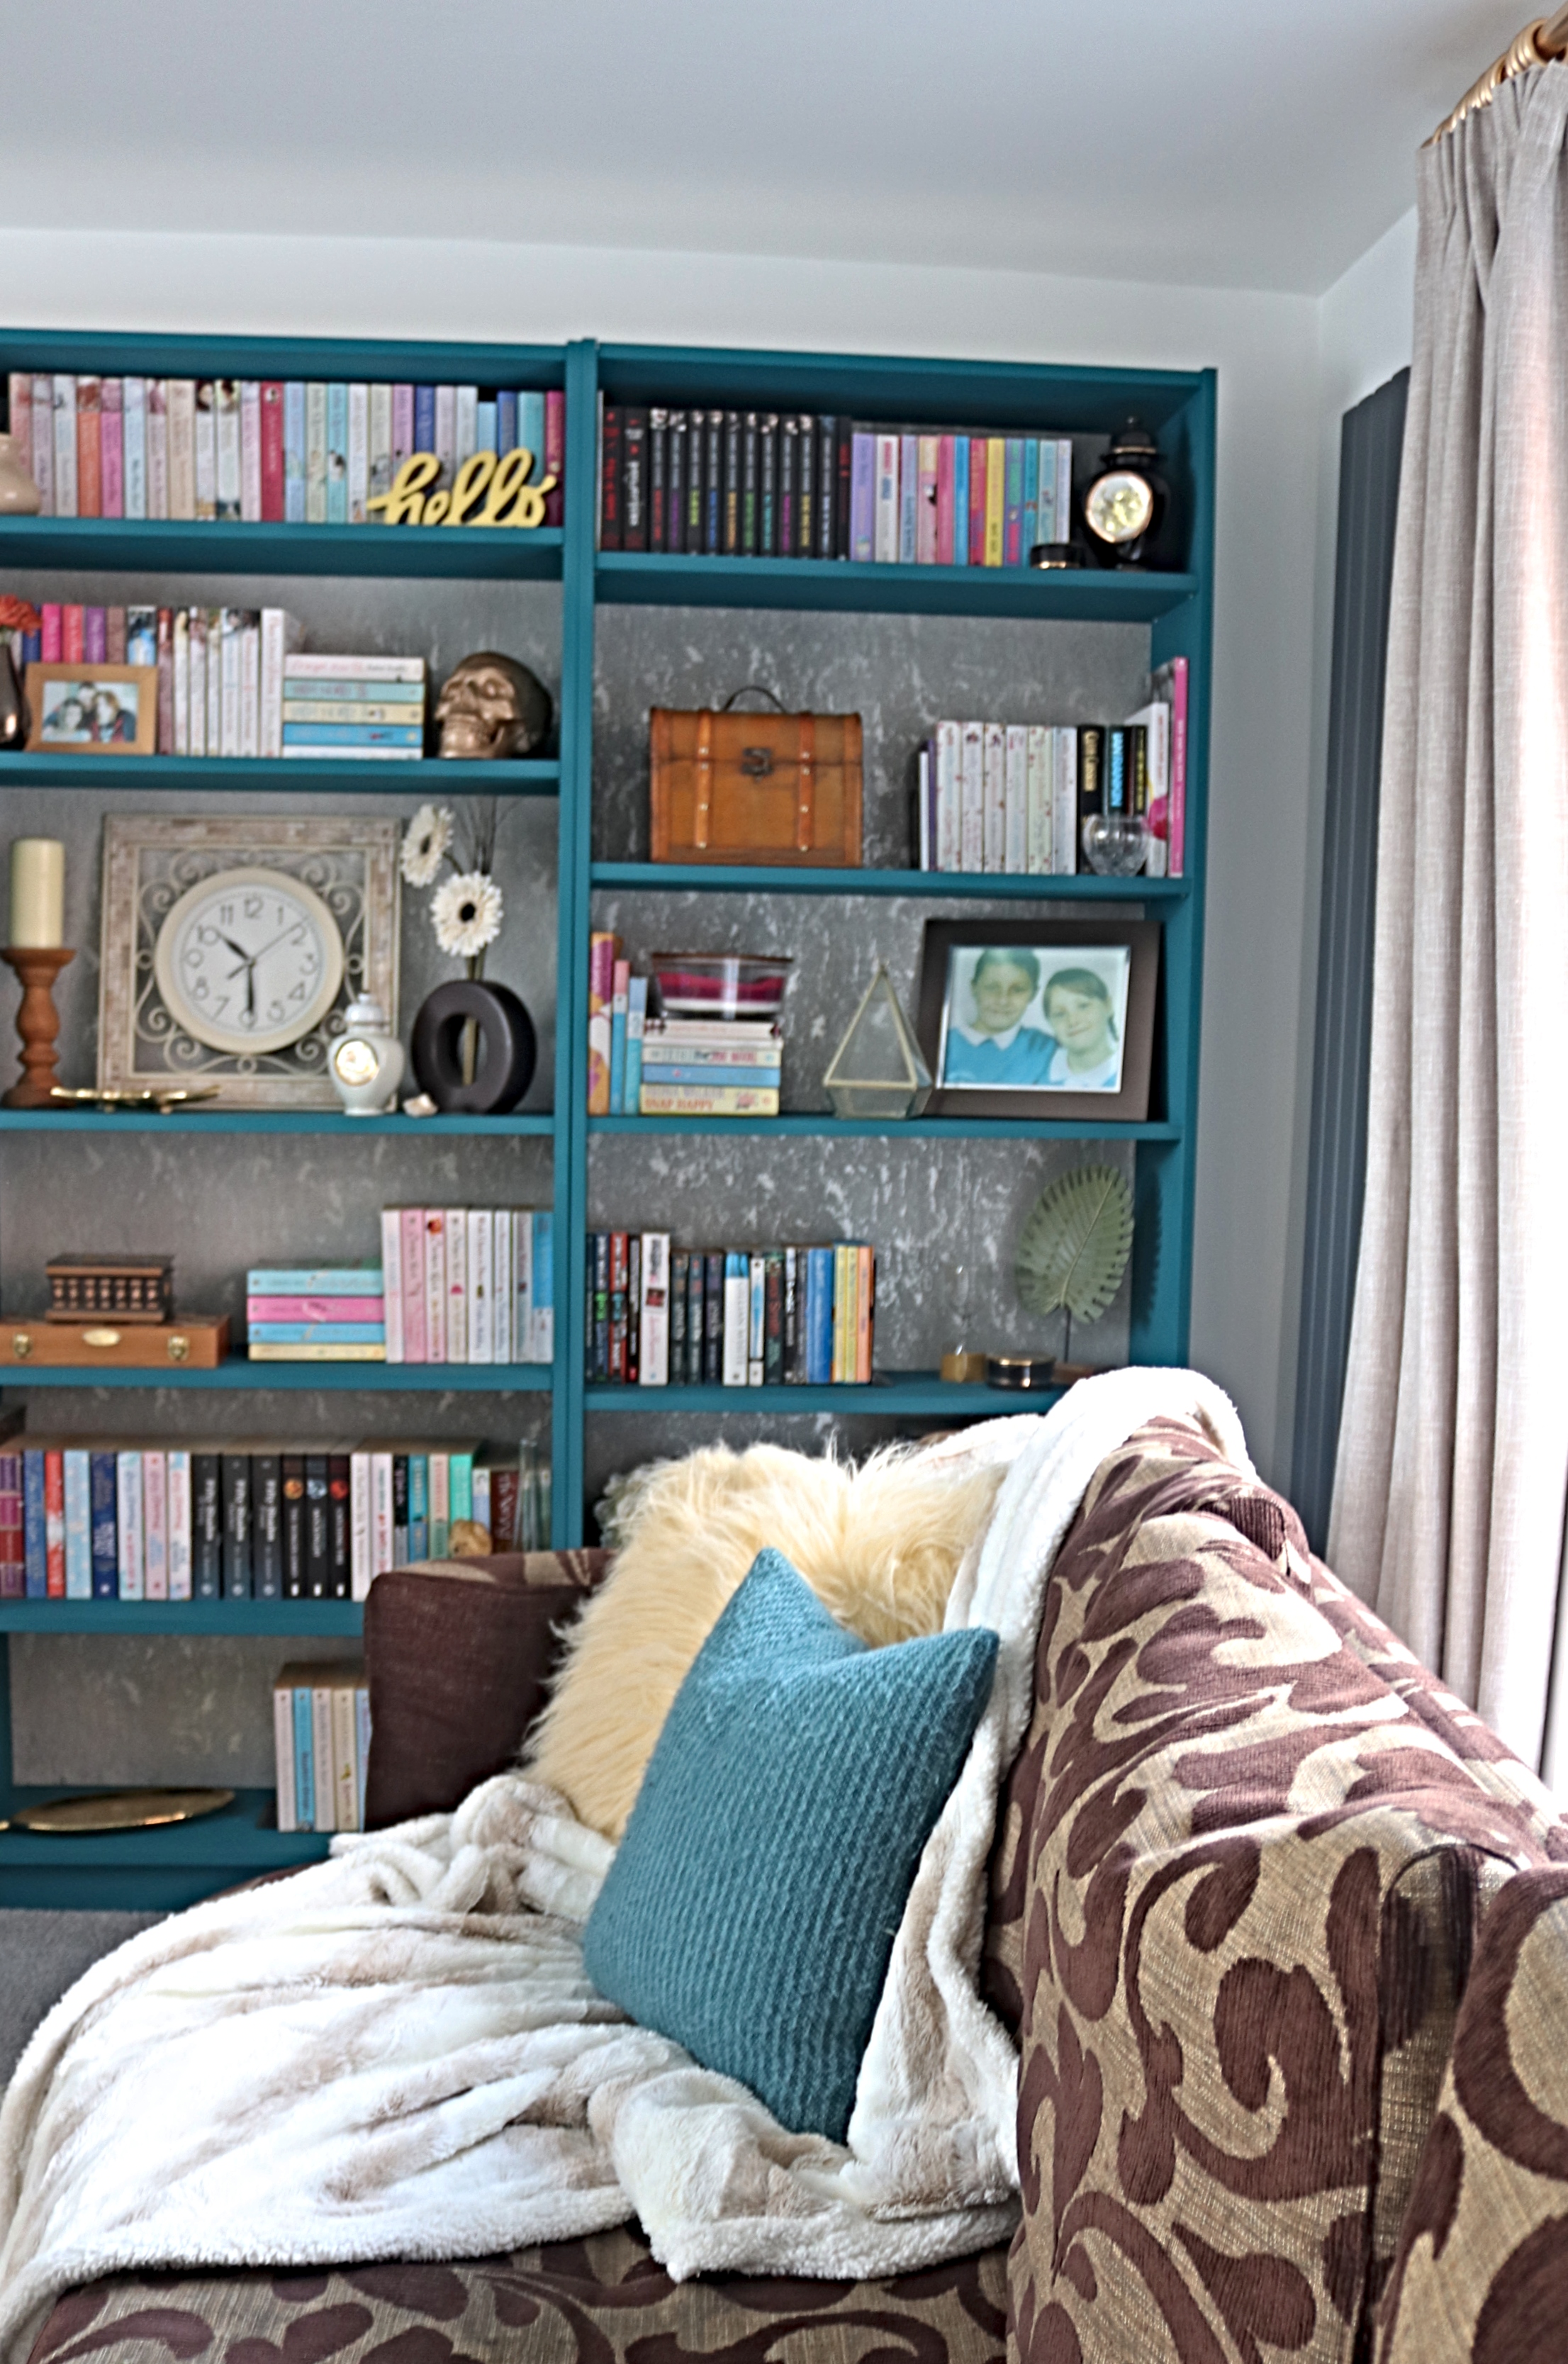
So we went with the colour Jaded Teal from Wilko that I’ve used before (many times) for the shelves and sides. It took 4 coats to get a good solid colour so it took us a while (and a lot of patience) to get it done. Talking of patience I’ve made you wait long enough to see the after (unless you scrolled straight to the pics of course 😀 ) so here you go.
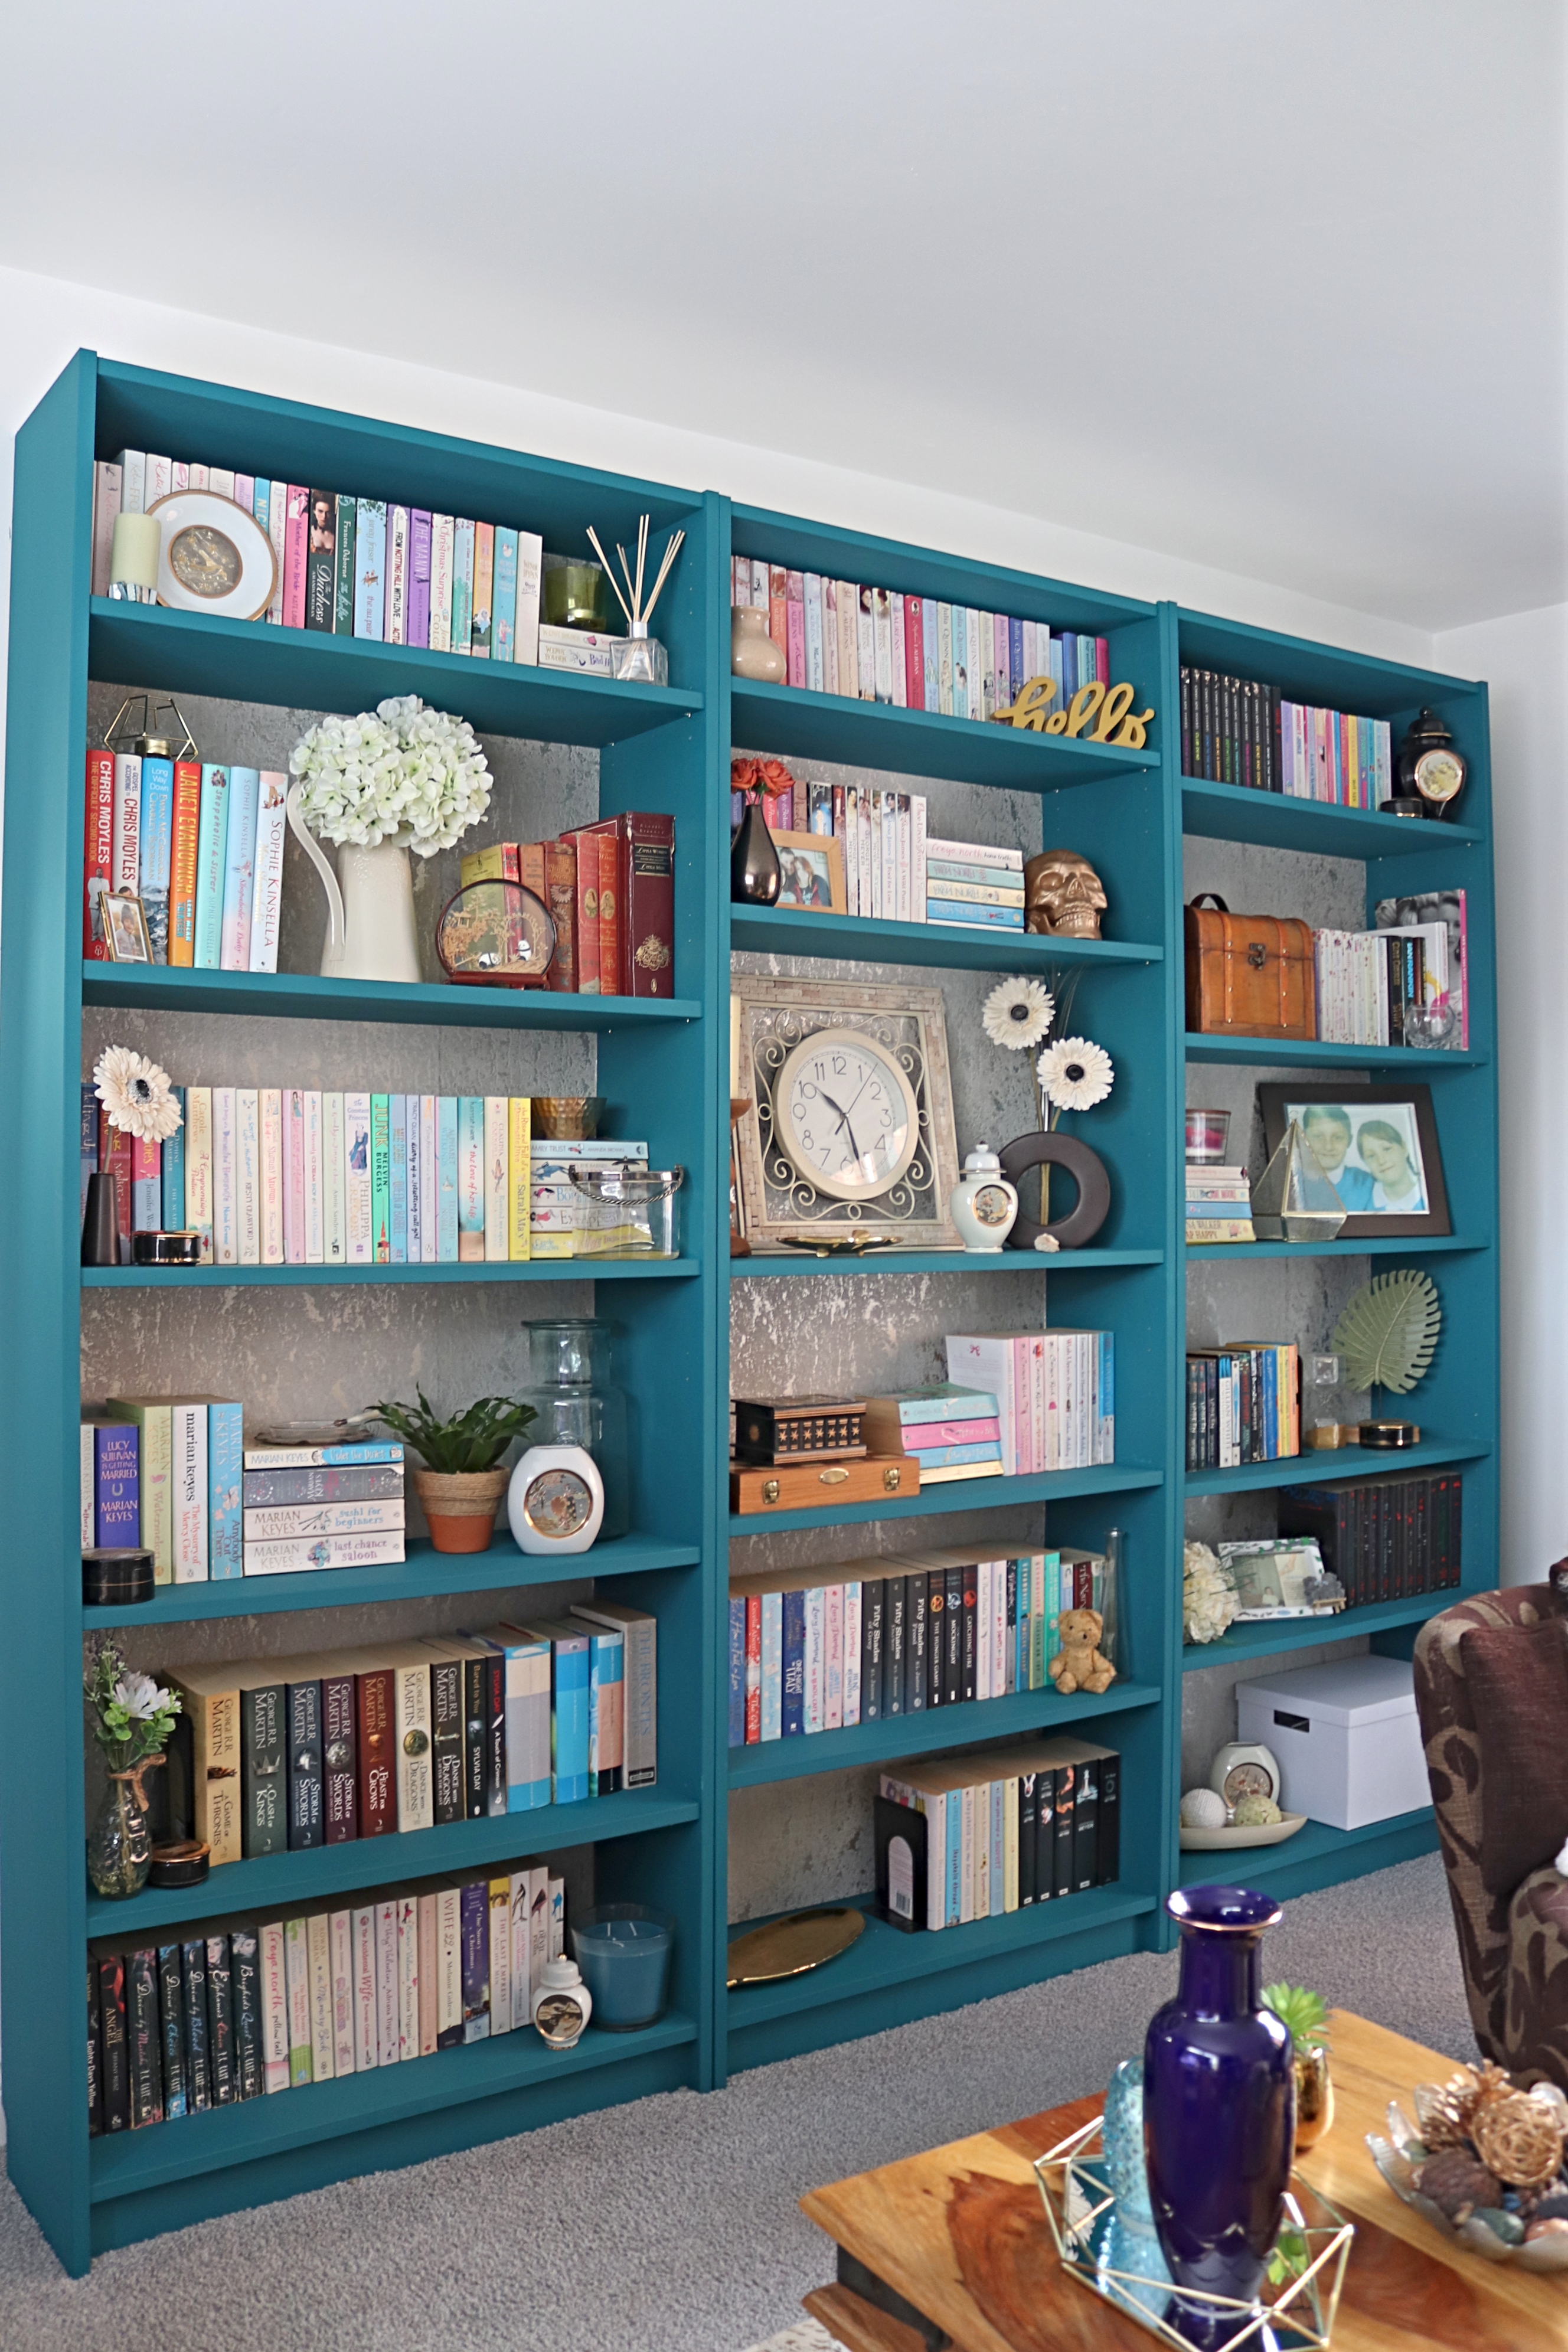
What do you think? I am in love with them and just smile every time I see them. This colour is so difficult to capture as it always photographs more blue but in reality it is a teal green. This picture gets the closest to it’s true colour but it’s just a little bit greener!
Those of you who visit my blog often might notice a distinct lack of progress shots and that’s because this project really stressed me out and the last thing on my mind was stopping to take pictures! I spent the whole process just wanting to get it done but the finished project more than makes up for all the problems we encountered!
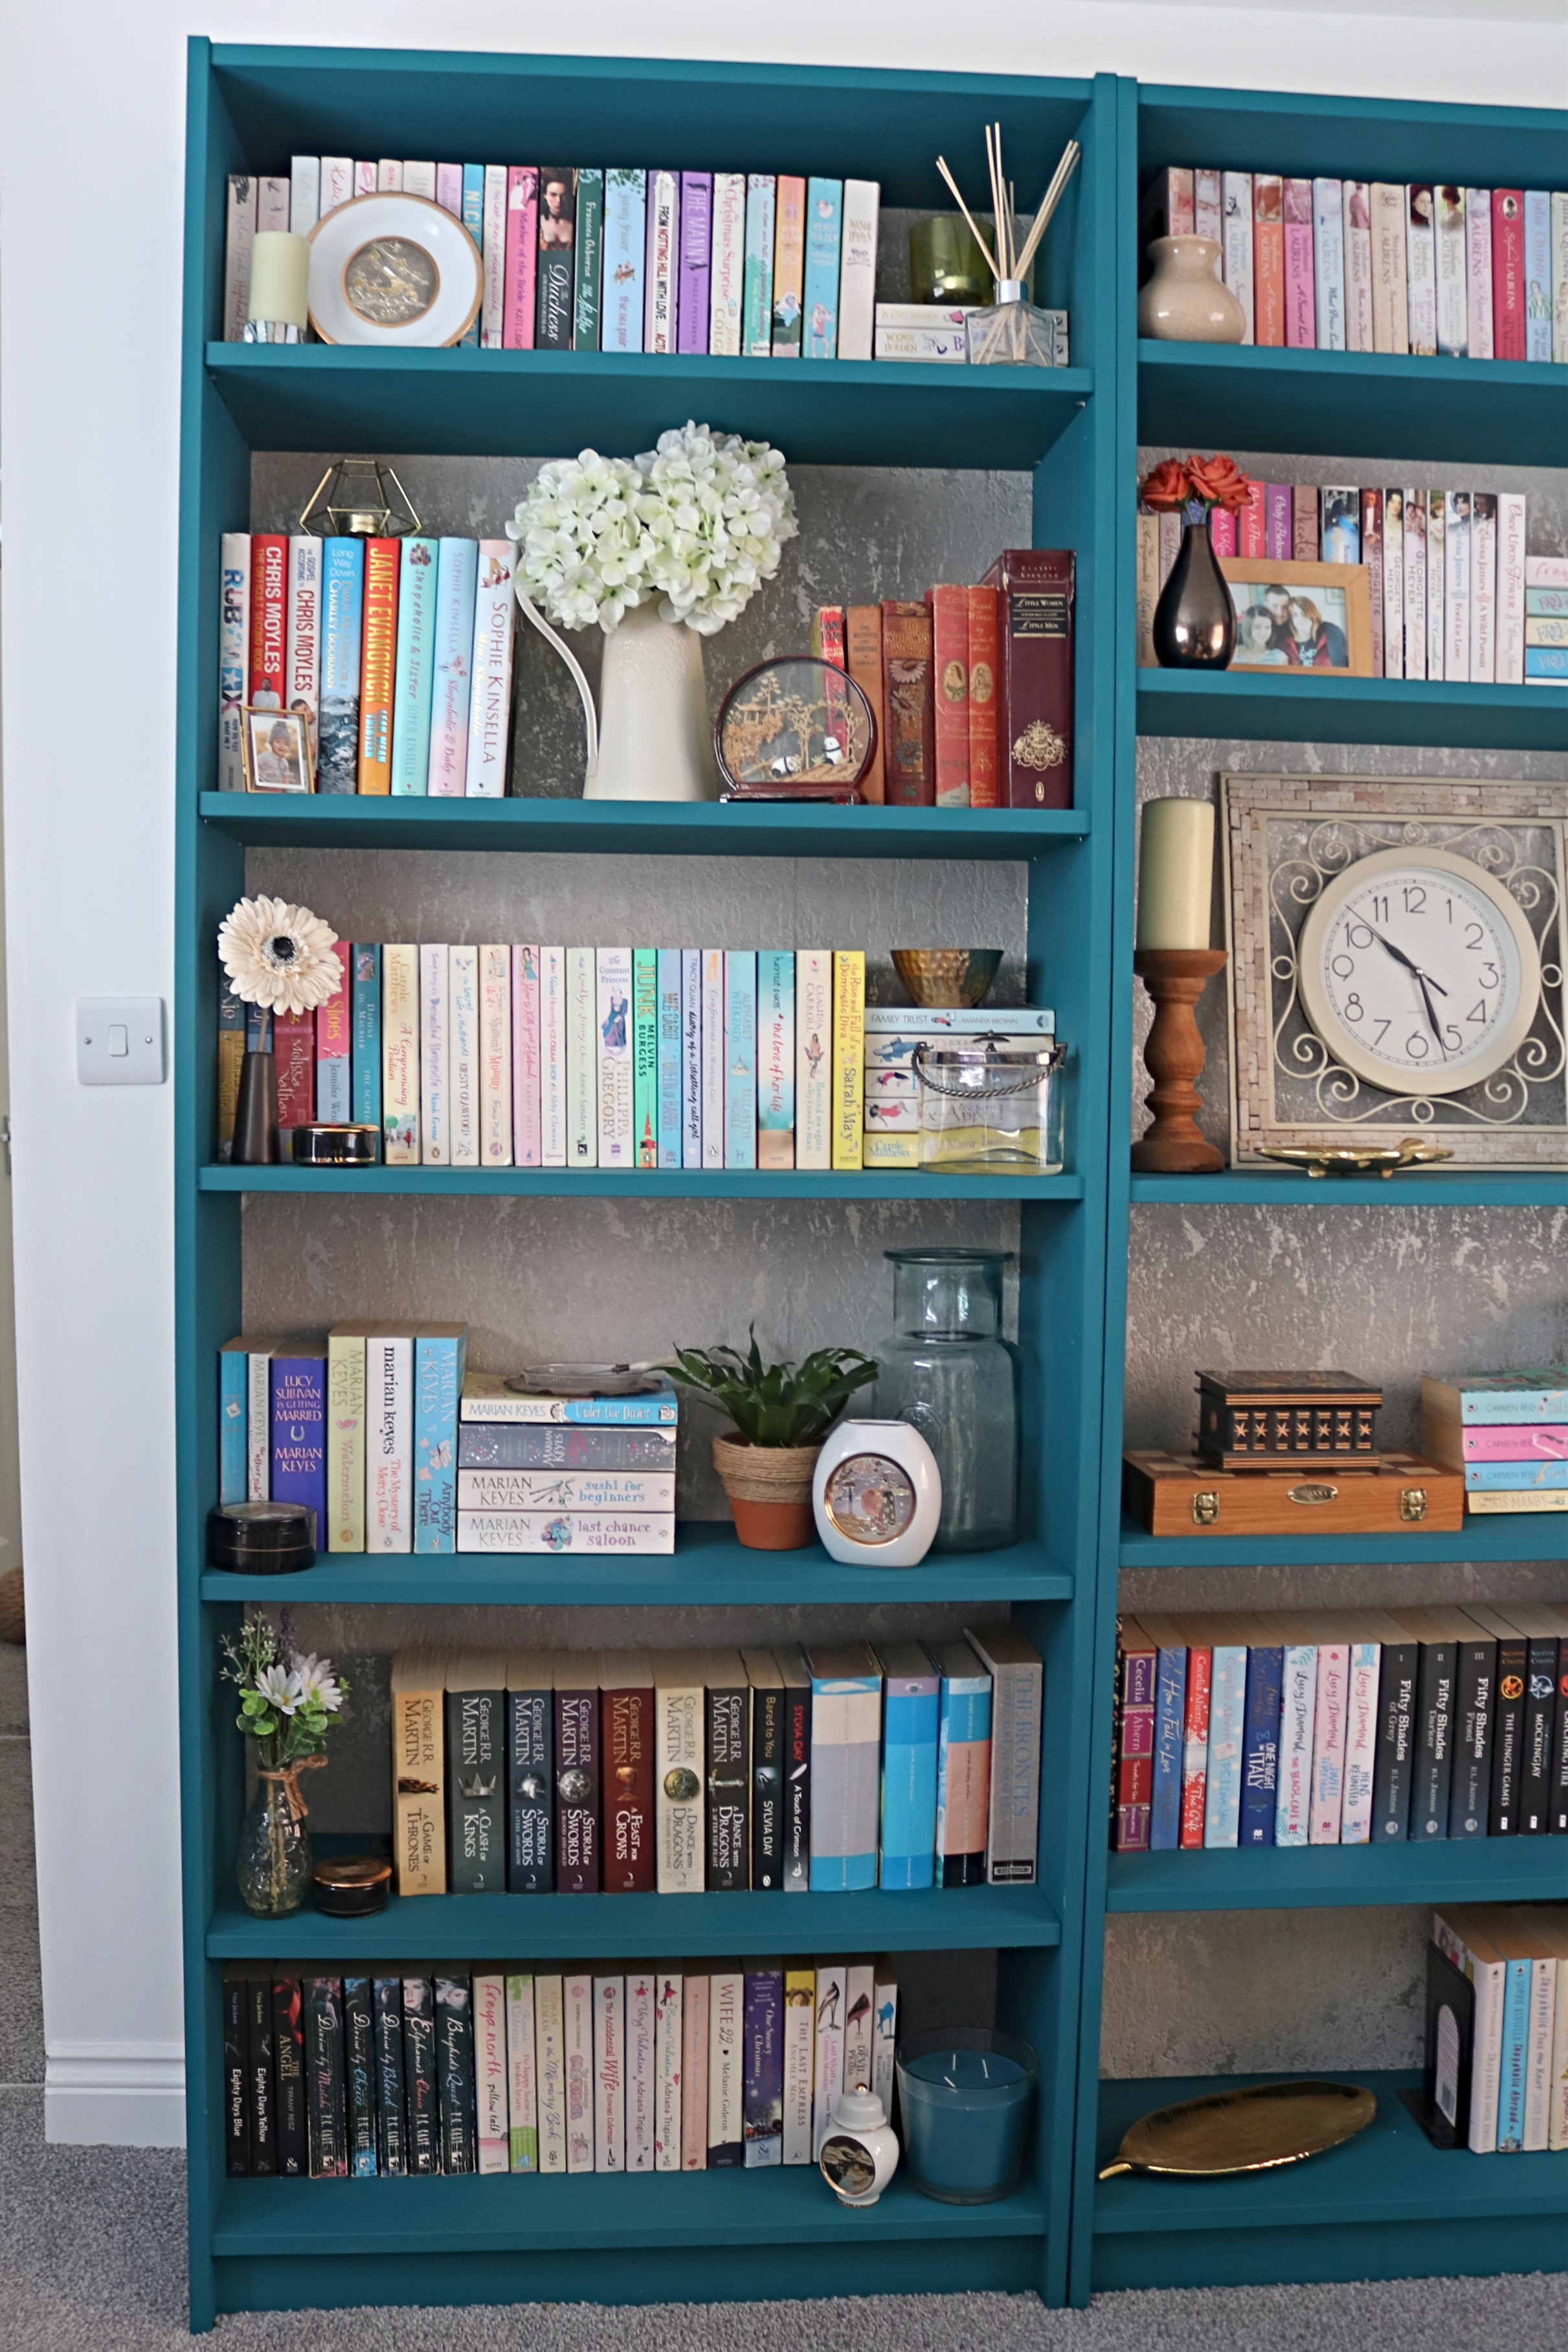
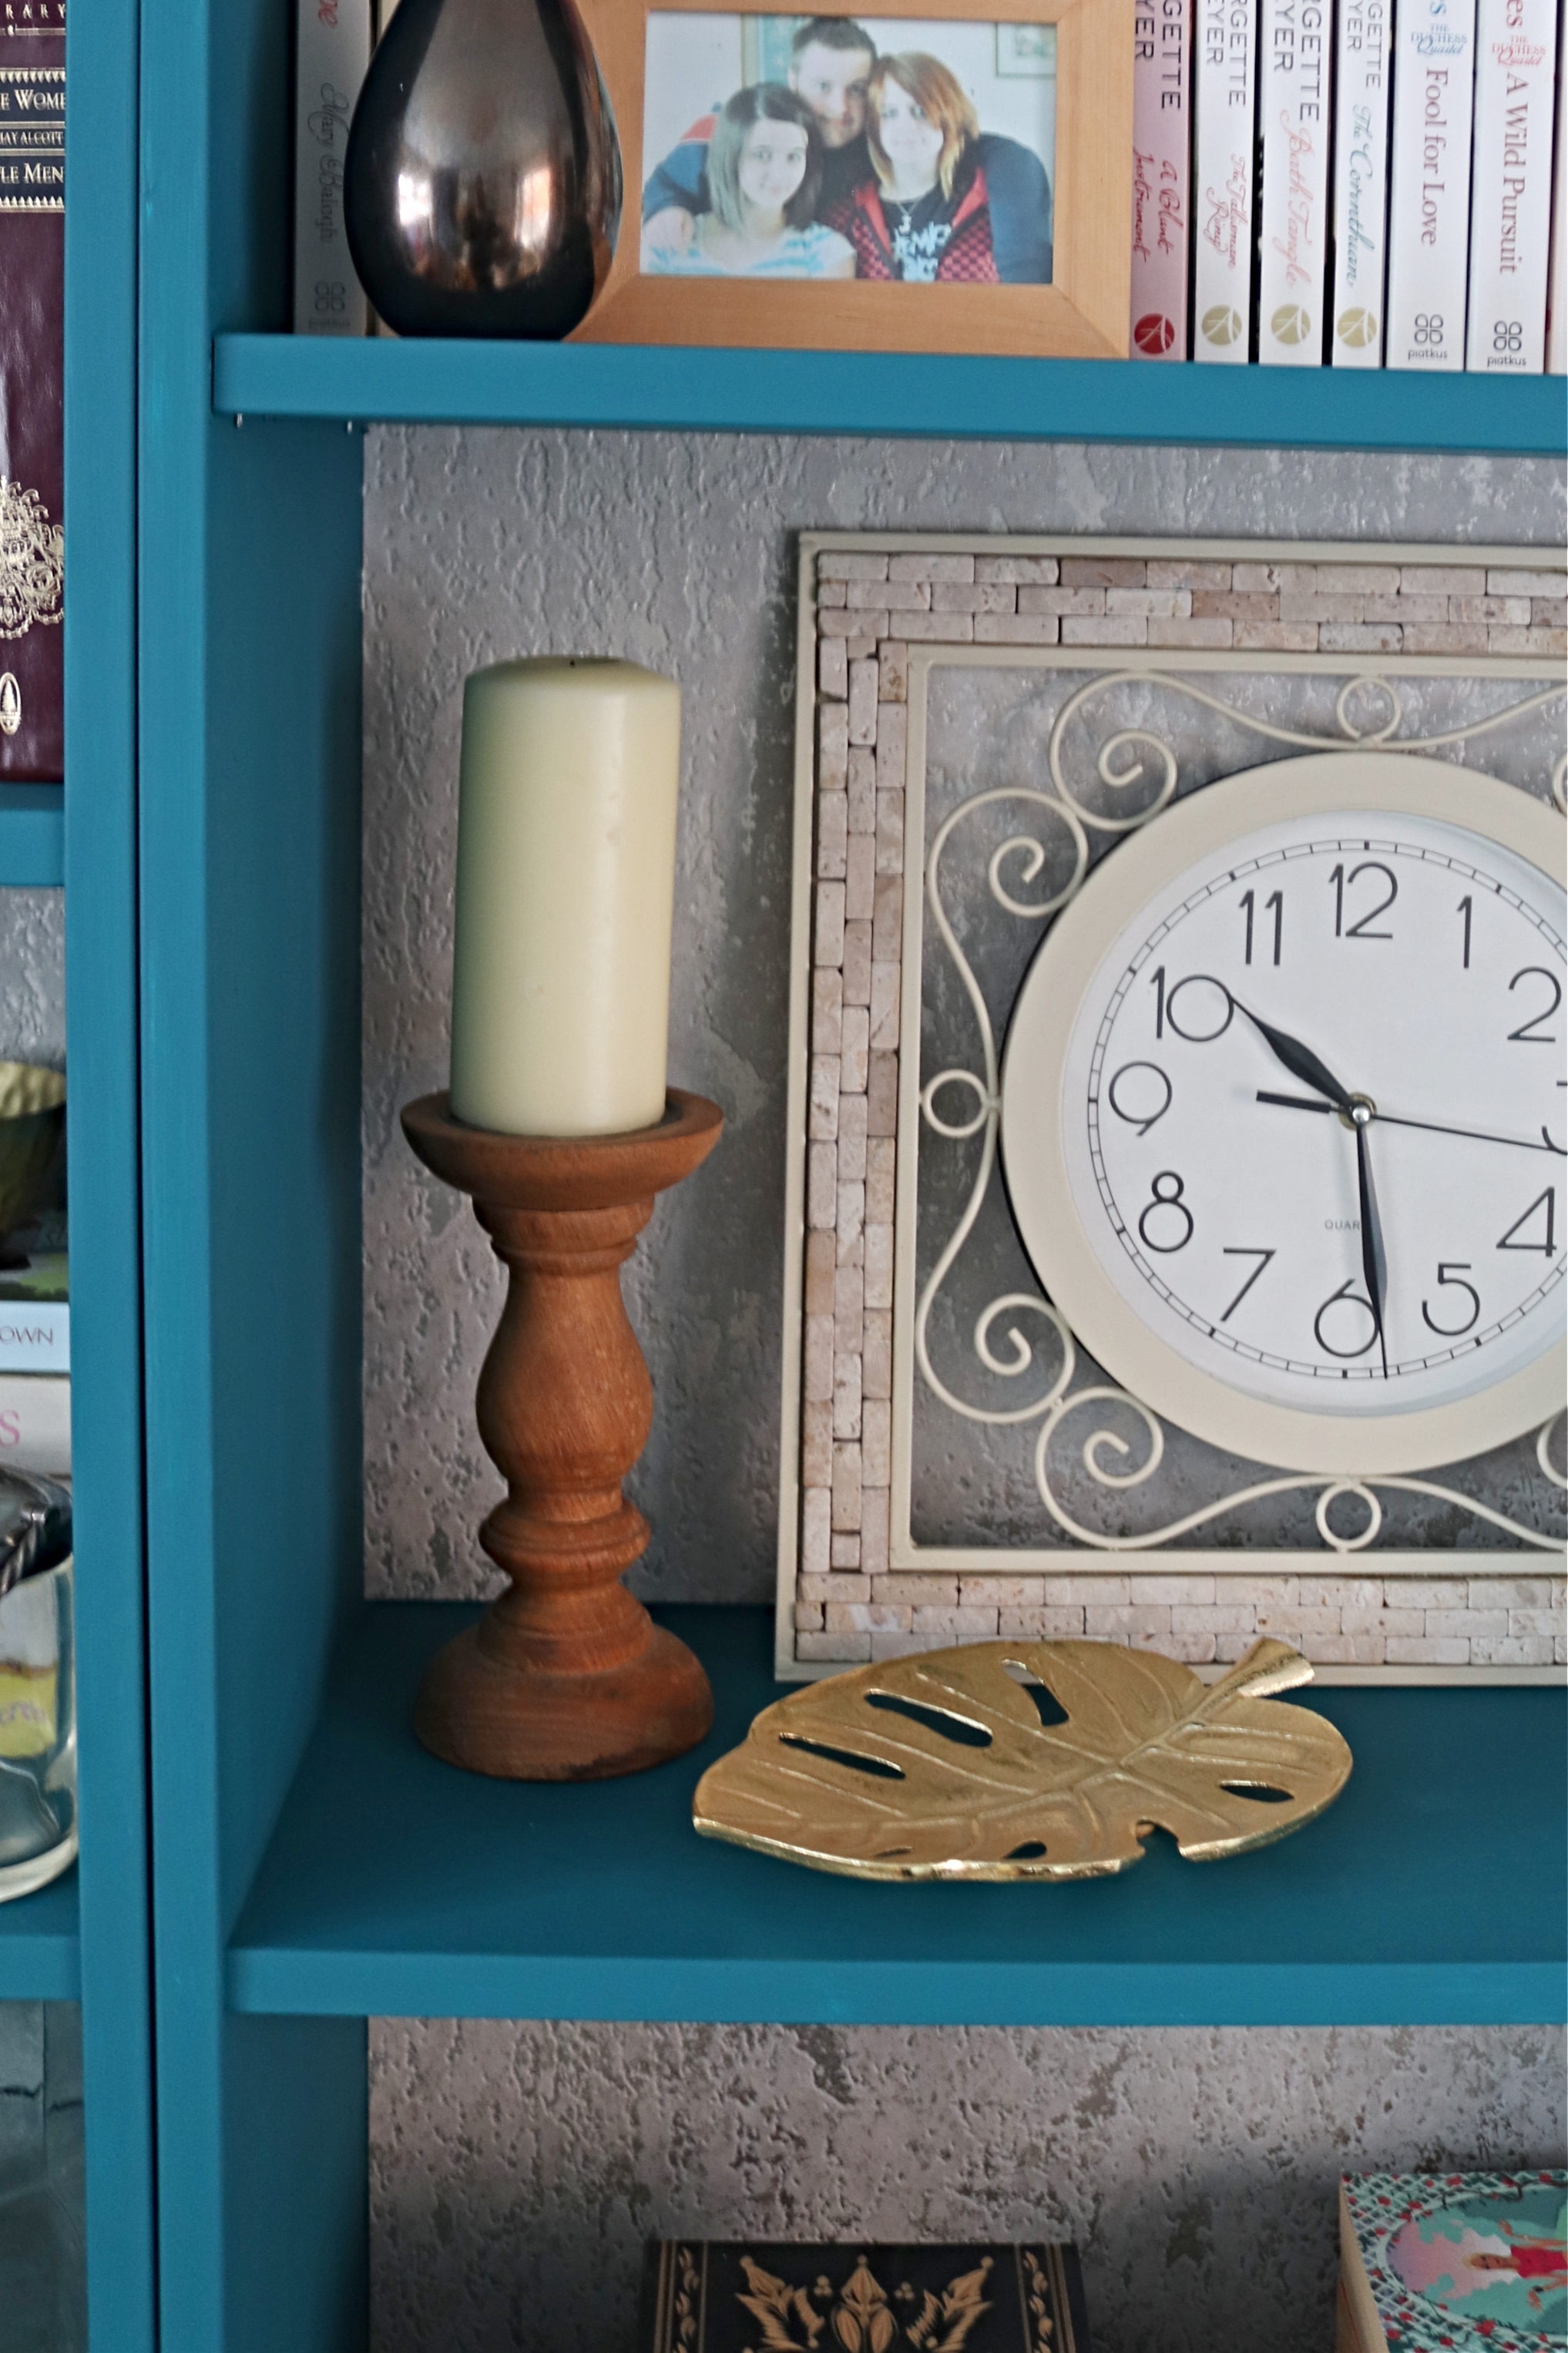
So once the shelves and cases were all primed and painted we wallpapered the backs with a gold wallpaper also from Wilko. I had originally wanted to use the wallpaper left over from Seaways living room but there wasn’t enough and I couldn’t find it in stock anywhere any more. To be honest though I think this one worked much better in the end as it’s lighter and I like how the design on it catches the light.
To wallpaper it we literally just measured the backs, cut the paper to the right size and the stuck it on using regular wallpaper paste.

The main problem we encountered when doing this project is that after four coats of paint on every side and shelf, when we came to putting the shelves back into the frame the fit was so tight that it scraped the bloody paint! This is also the reason why I would recommend that you prime and paint your bookcase and shelves as a whole if you ever try this for yourself. I can’t tell you how disheartening it was when we were so close to finishing to have all this paint to touch up and repair.
But repair it we did and I was so very happy to put the lid on that paint for the last time 😀 . Have you ever attempted a Billy Bookcase hack? They are a great piece of furniture at a great price that you can really make your own. Kimberly from Swoon Worthy and Melanie from Melanie Lissack Interiors have both completed an Ikea Billy Bookcase Hack of their own and there are so many more versions on pinterest.
Lianne x
Pin my Ikea Billy Bookcase Hack for our Living Room on Pinterest to save it for later!

What a great makeover Lianne! I especially love the wallpaper in the background!
Author
Thank you Mindy, I was so happy with how they came out even though I wondered why I started halfway through 😀
I need the Book Case.
Author
I’m glad that you like it 🙂
Did you sand it down before priming it?
Author
Hello, no I didn’t sand it. I just used the primer mentioned in the post and made sure I followed the cure times. B.I.N Zinsser is also a very good primer if you can’t get the Wilko one
Looks fabulous!! And totally love the colour! If you’d recommend painting it all with the shelves in place, would you do the wallpaper first? And if so, how would you make sure it wouldn’t get paint on it?? Thanks so much!
Author
Hello, thank you so much! If I was to paint it without removing the shelves I would still wallpaper after painting but just cut the wallpaper to fit the smaller sections. If you feel like you might change the position of the shelves in the future though I would recommend doing it the same way as I did in the post. You just have to accept that the paint might need touching up. Hope this helps 🙂
I love the creativity behind this Ikea Billy Bookcase hack! It’s amazing how such a simple piece can be transformed into a stylish and functional addition to your living room. Tall bookcases like this not only provide ample storage but also add height and elegance to the space. Thanks for sharing this inspiring idea—I’m excited to try something similar for my own home!
Author
Thank you so much!