
Hello! I hope you are ready for the best cheesecake you will ever taste Haha. Biscoff biscuits are my favourite biscuit ever. I’ve used them before in a cheesescake base for my Coffee and Caramel Biscoff Cheesecake but this fully Lotus Biscoff Cheesecake is even better.
This post contains affiliate links, find out what that means here.
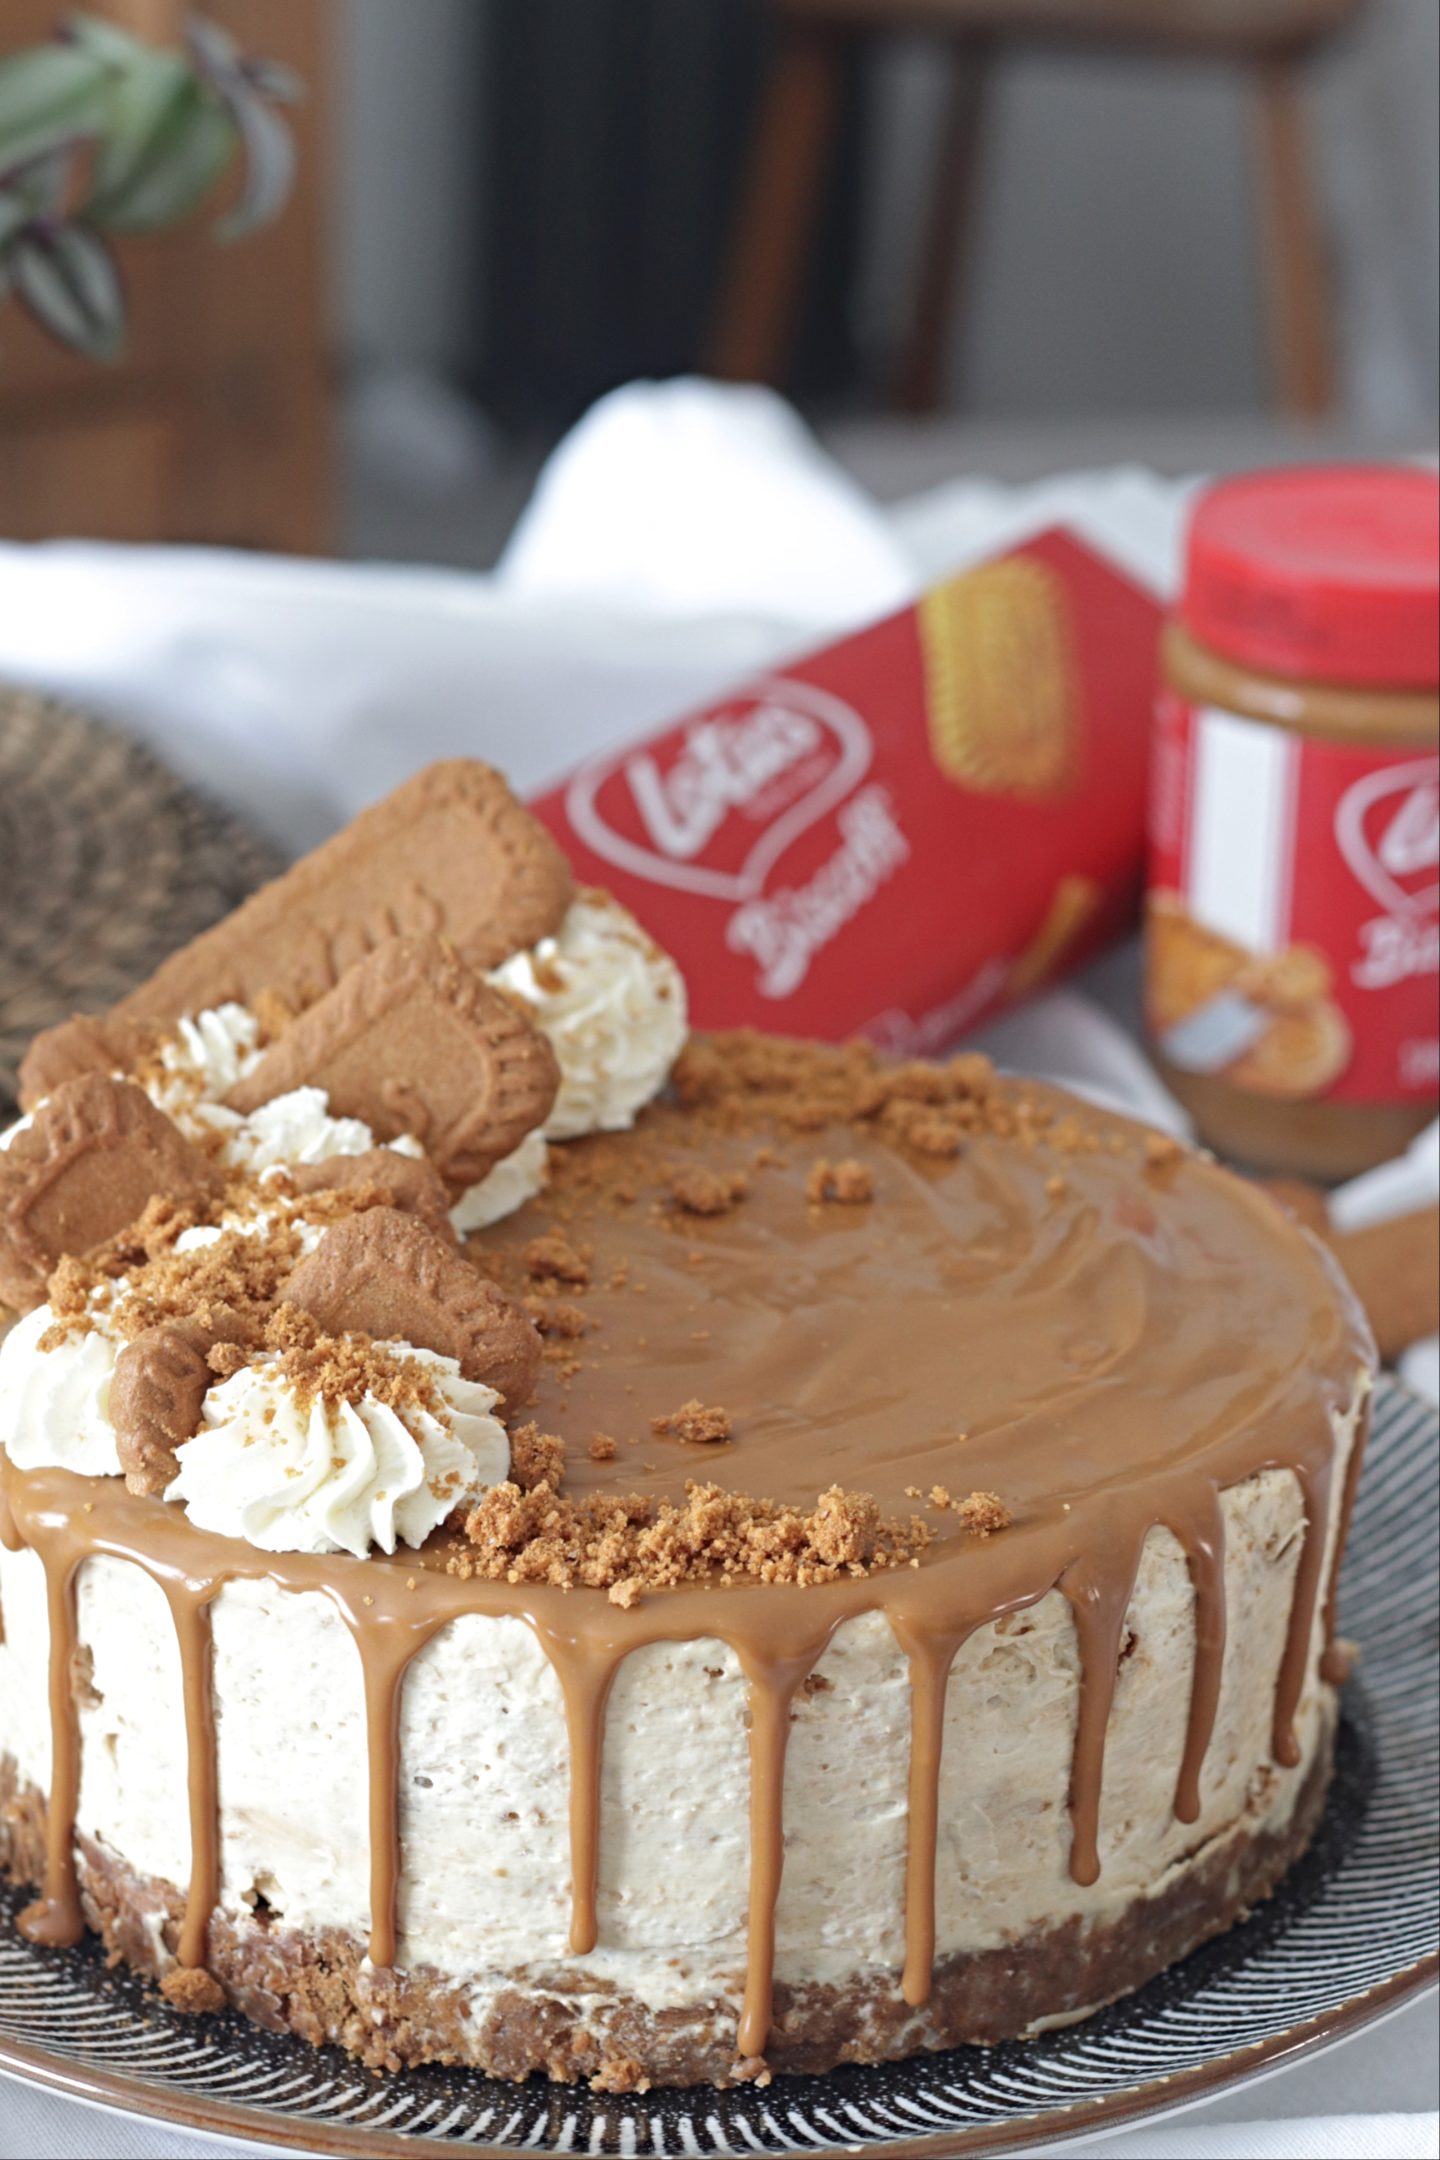
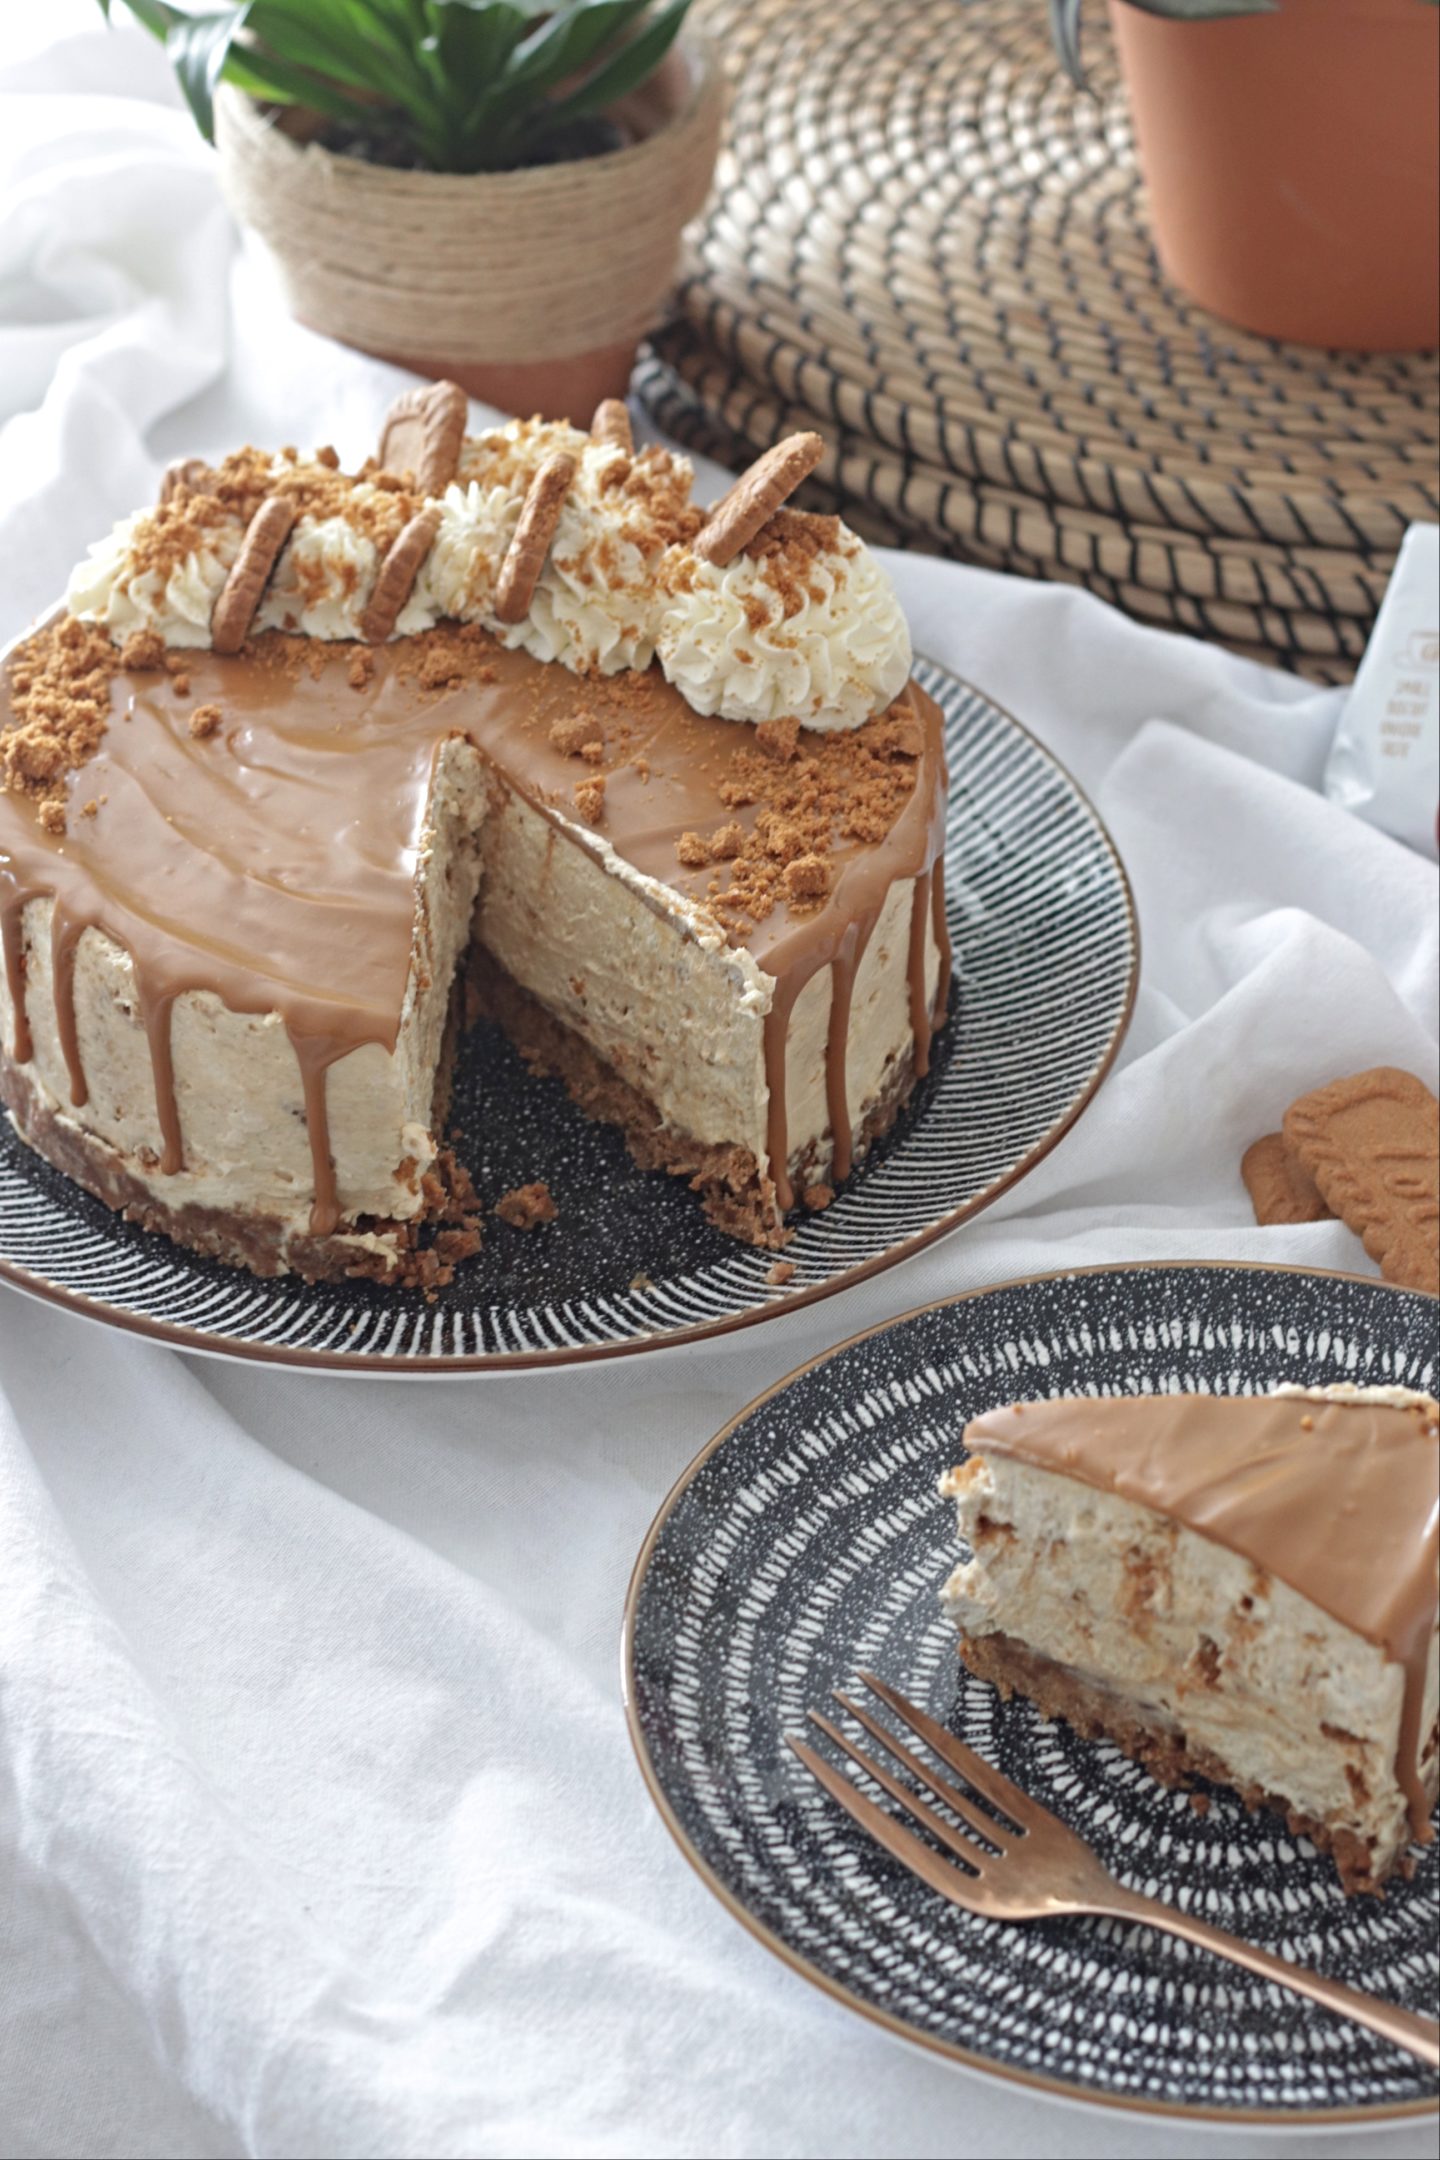
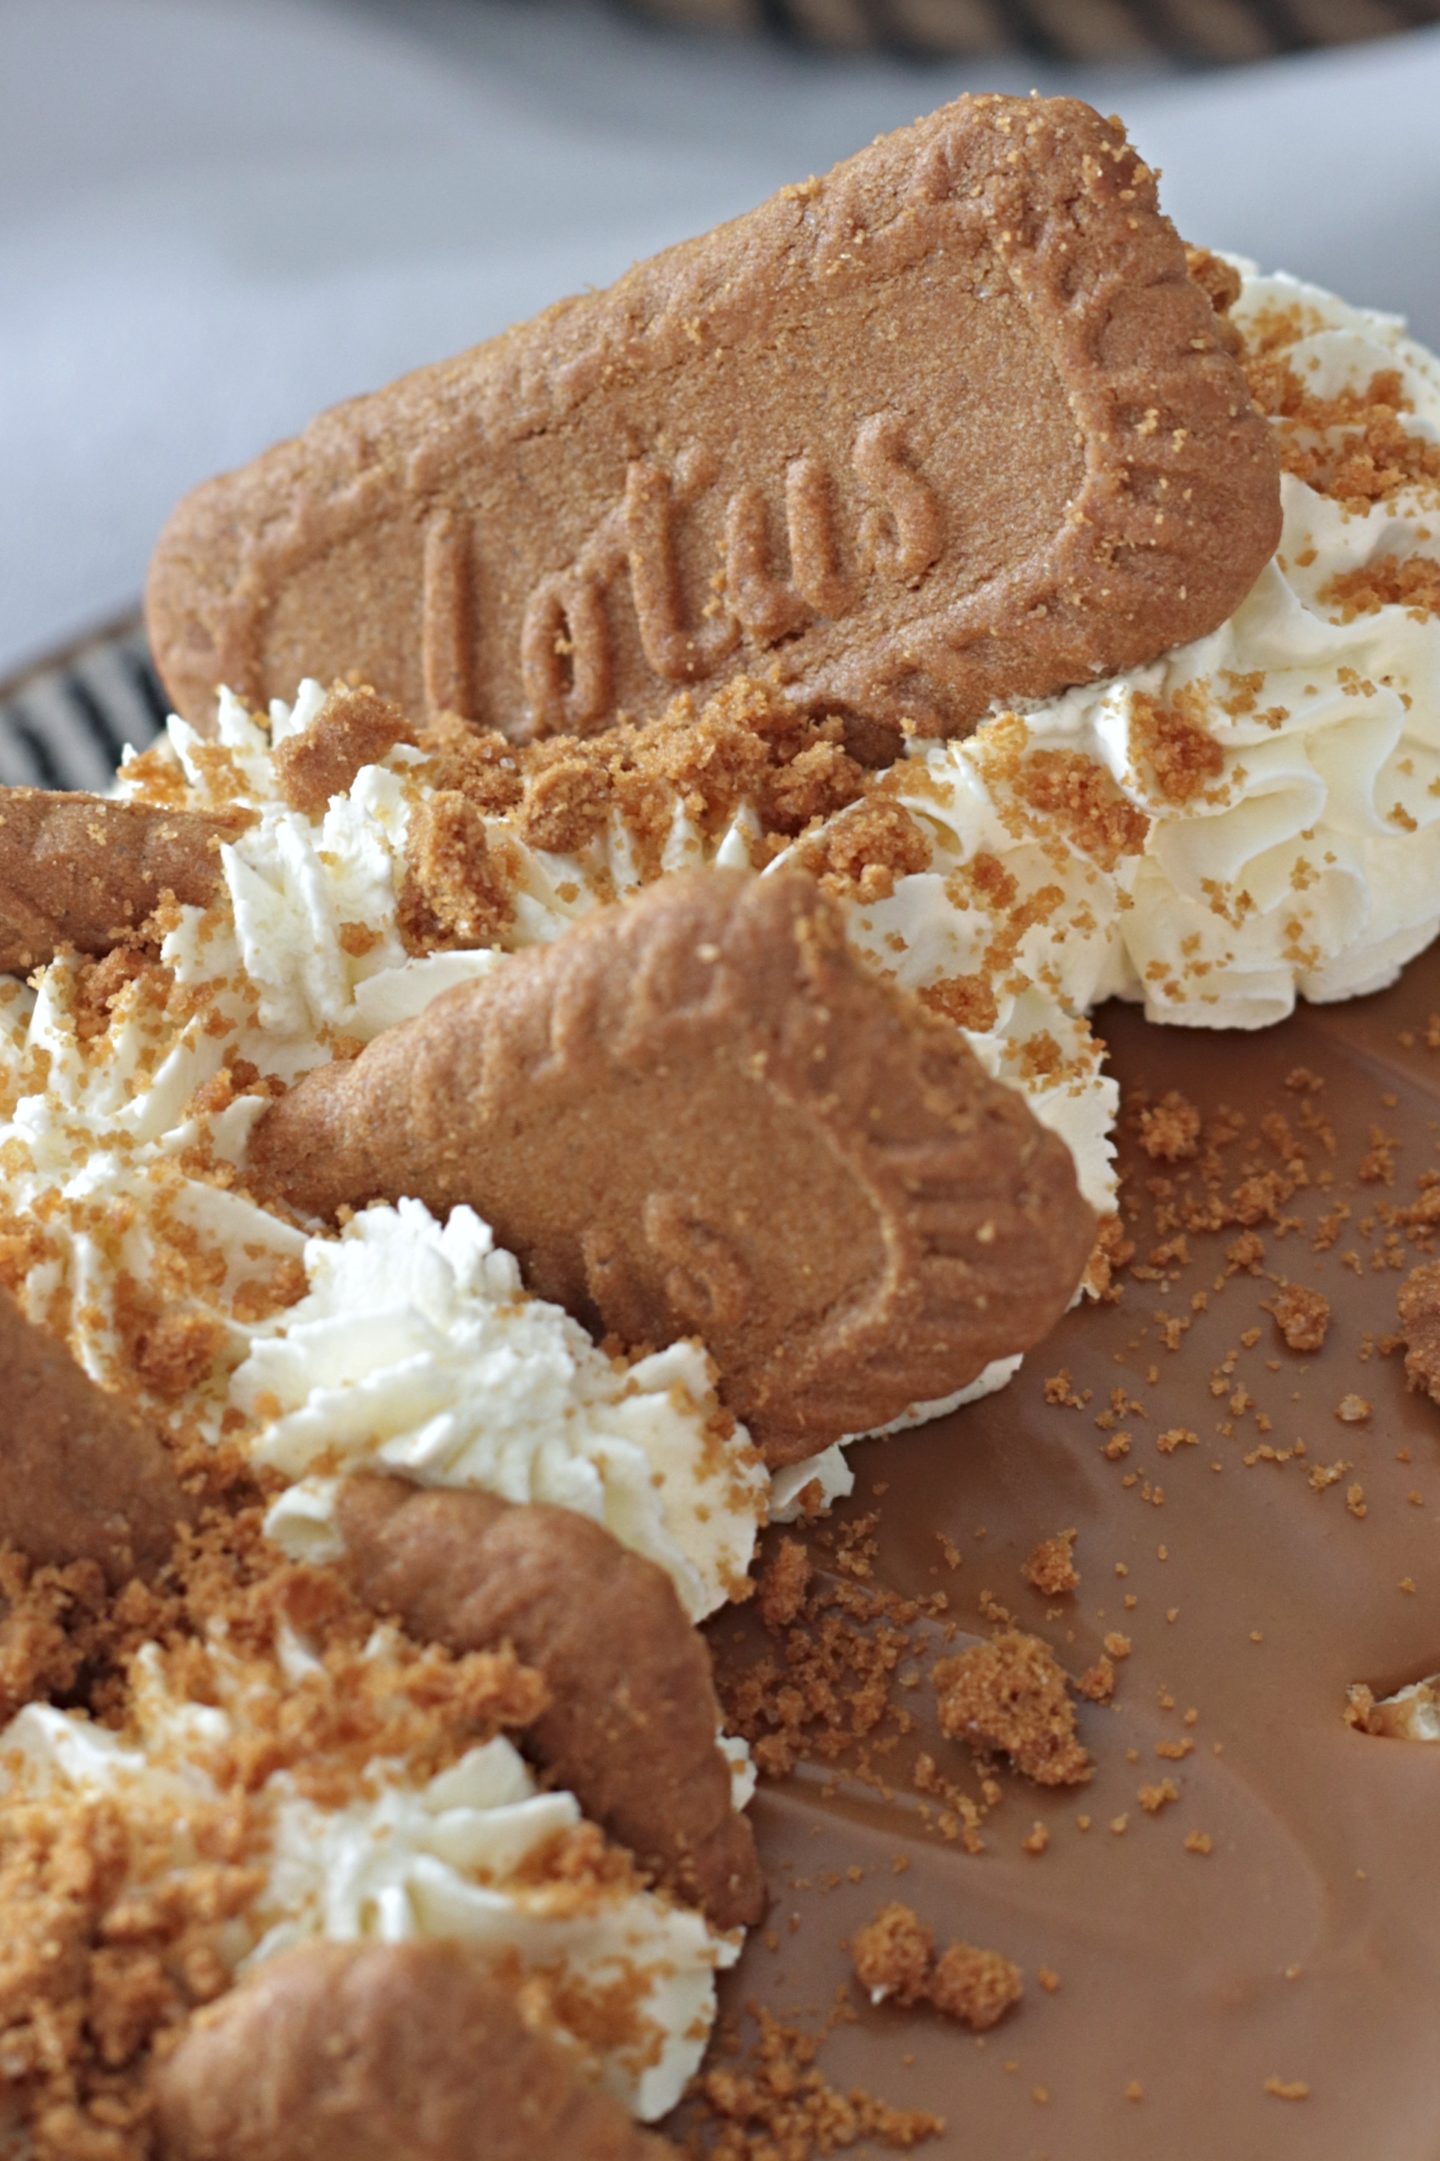
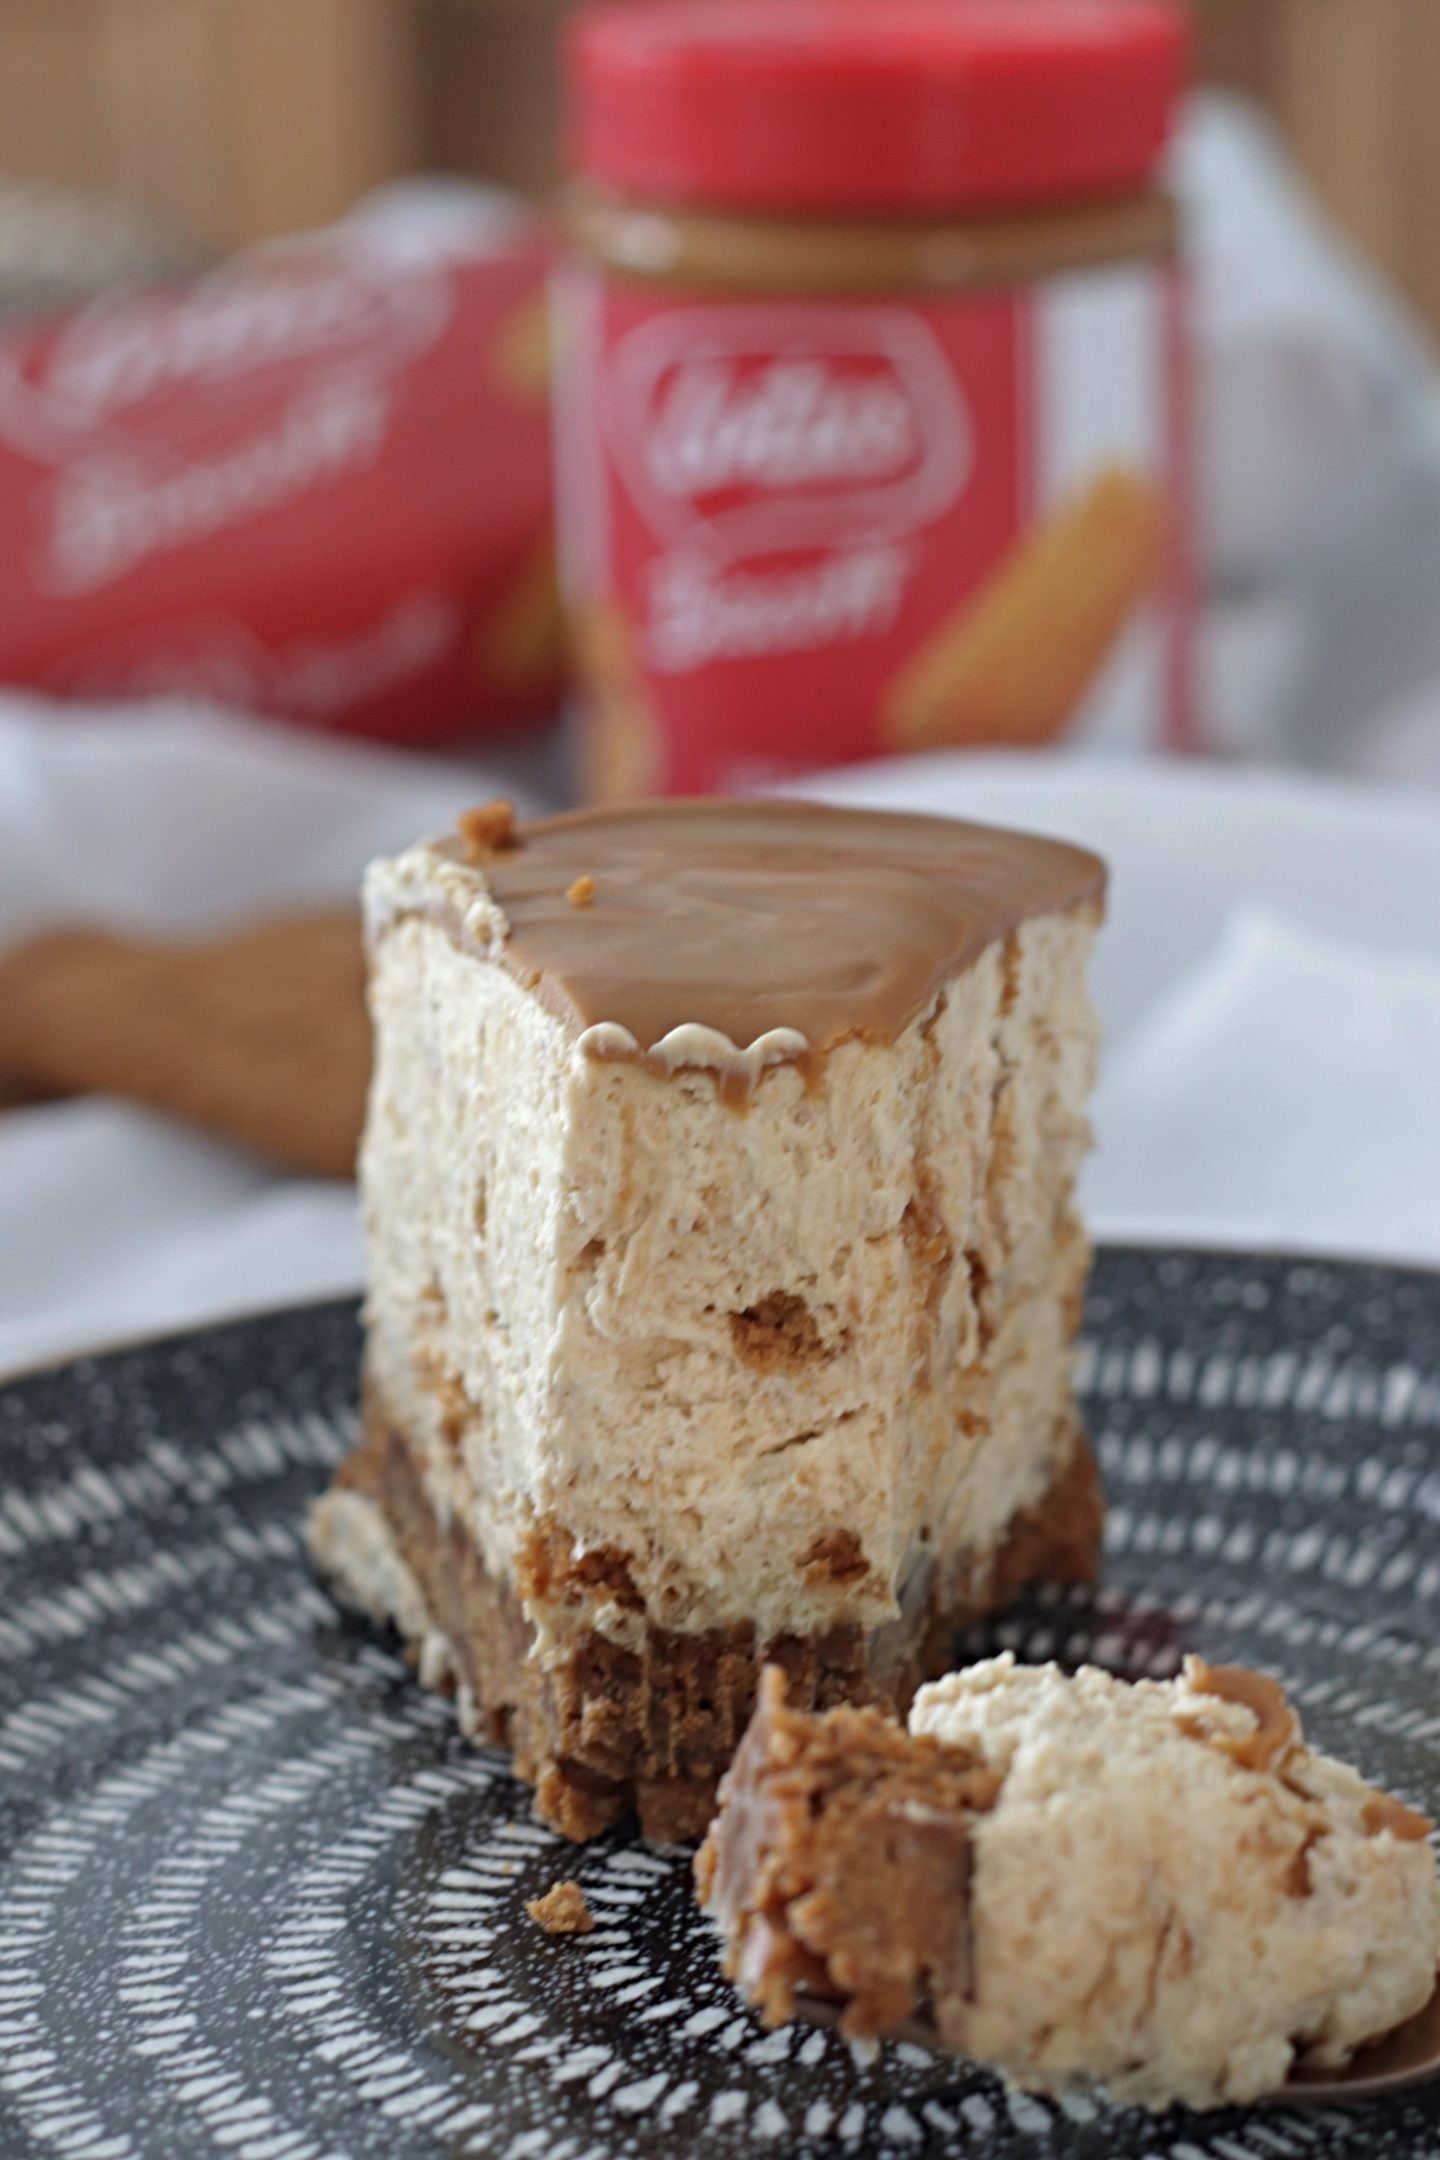
It has a buttery biscoff biscuit base and the cheesecake is swirled with Biscoff spread and Biscoff crumbs. It is then topped with more Biscoff spread, whipped cream, Biscoff biscuits and Biscoff crumbs. I think this is a real showstopper of a cheesecake that you will want to make again and again.
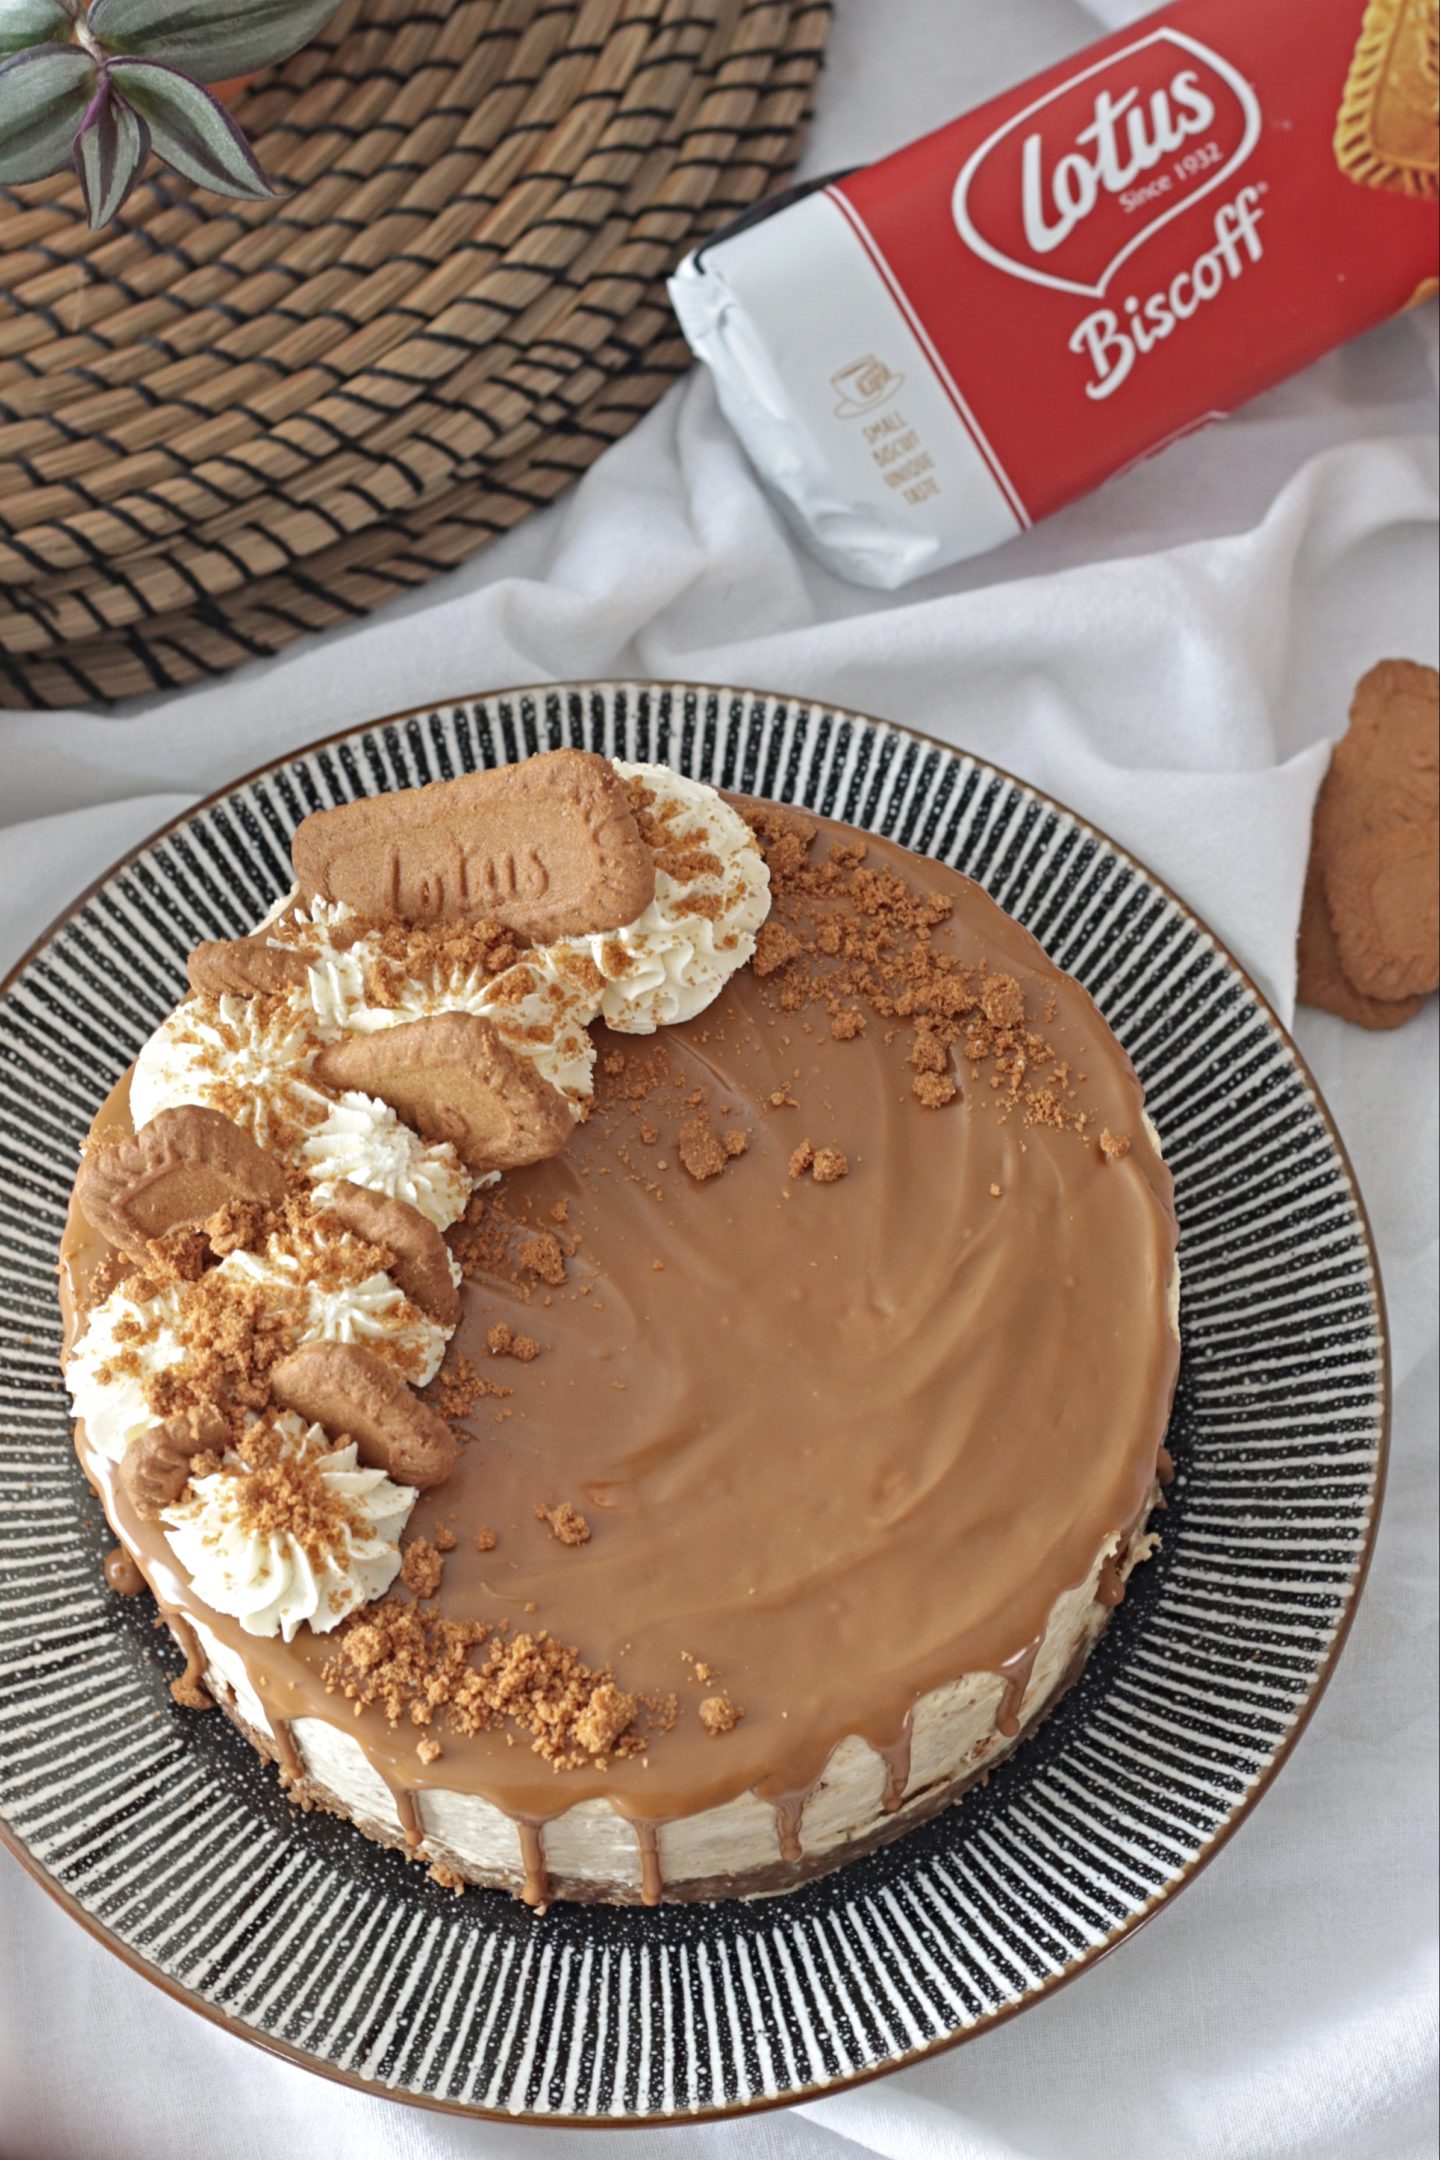
I really love this asymmetrical style of decorating cakes/cheesecakes (as you can see from my Jaffa Cake Cake too) but the decorating part is completely up to you. Some people like the decorating to be all around the outside edge so there is some on every slice and of course you don’t even need to bother with it at all! The cheesecake will still taste just as good without the frills.

I probably shouldn’t have made this during lockdown though, it’s been our dessert for the past couple of days and there’s still loads left. Although saying that I have really enjoyed being in the kitchen for myself over the past few weeks. Before lockdown I was spending so much time in the kitchen working on orders for other people that I never really baked for us because I didn’t want to be spending more time in there than I had to.
Equipment used for this Lotus Biscoff Cheesecake
Lotus Biscoff Cheesecake Video
As always if you make this Lotus Biscoff Cheesecake I would love for you to share it using the hashtag #makesbakesanddecor I love to see them 🙂 I’ve also made a video for this recipe and I’ve included it below for you.
Lianne x
Lotus Biscoff Cheesecake
Ingredients
For the base
- 250 g Lotus Biscoff Biscuits
- 120 g butter melted
For the cheesecake
- 500 ml double cream
- 130 g icing sugar
- 400 g cream cheese
- 100 g Lotus Biscoff Spread
- 80 g Lotus Biscoff biscuits crushed into crumbs
For decoration (optional)
- 100 g Lotus Biscoff Spread
- 100 ml double cream
- 2 Lotus Biscoff Biscuits crushed into crumbs
- 8-10 Lotus Biscoff Biscuits
Instructions
-
Add your Biscoff biscuits to a blender to turn them into crumbs. You can also do this by putting them in a bag and bashing them with a rolling pin.
-
Put the crushed biscuits into a bowl and pour in your melted butter. Stir until combined and then tip them into and 8 inch baking tin. I like to use a loose bottomed one. Spread them evenly and then press them into the tin using the back of a spoon. Put this in the fridge to chill.
-
In a clean bowl add your double cream and whisk until soft peaks form. Then sift in the icing sugar. Add in the cream cheese, biscoff biscuit crumbs and biscoff spread then fold it together until well mixed.
-
Get your cheesecake base from the fridge and spoon your cheesecake mixture onto the top. Press it down to fill the tin and smooth the top. You know need to chill this in the fridge overnight preferably but for at least 6 hours.
-
Once your cheesecake is set run a hot knife around the outside edge and carefully remove it from the tin. Place it onto your serving dish.
-
Take your biscoff spread and heat it in the microwave for 10 second intervals until it is slightly runny but not hot as it will melt the cheesecake. Pour it into a disposable piping bag, snip off the end and pipe it around the edges so that some drips down the sides. pipe the rest over the top and smooth it out over the surface with the back of a spoon. If you do not have any piping bags you can just spread it out over the surface with the back of a spoon but carefully push some over the edges. This will give you drips around the side but they will not be as uniform as the piping back technique.
-
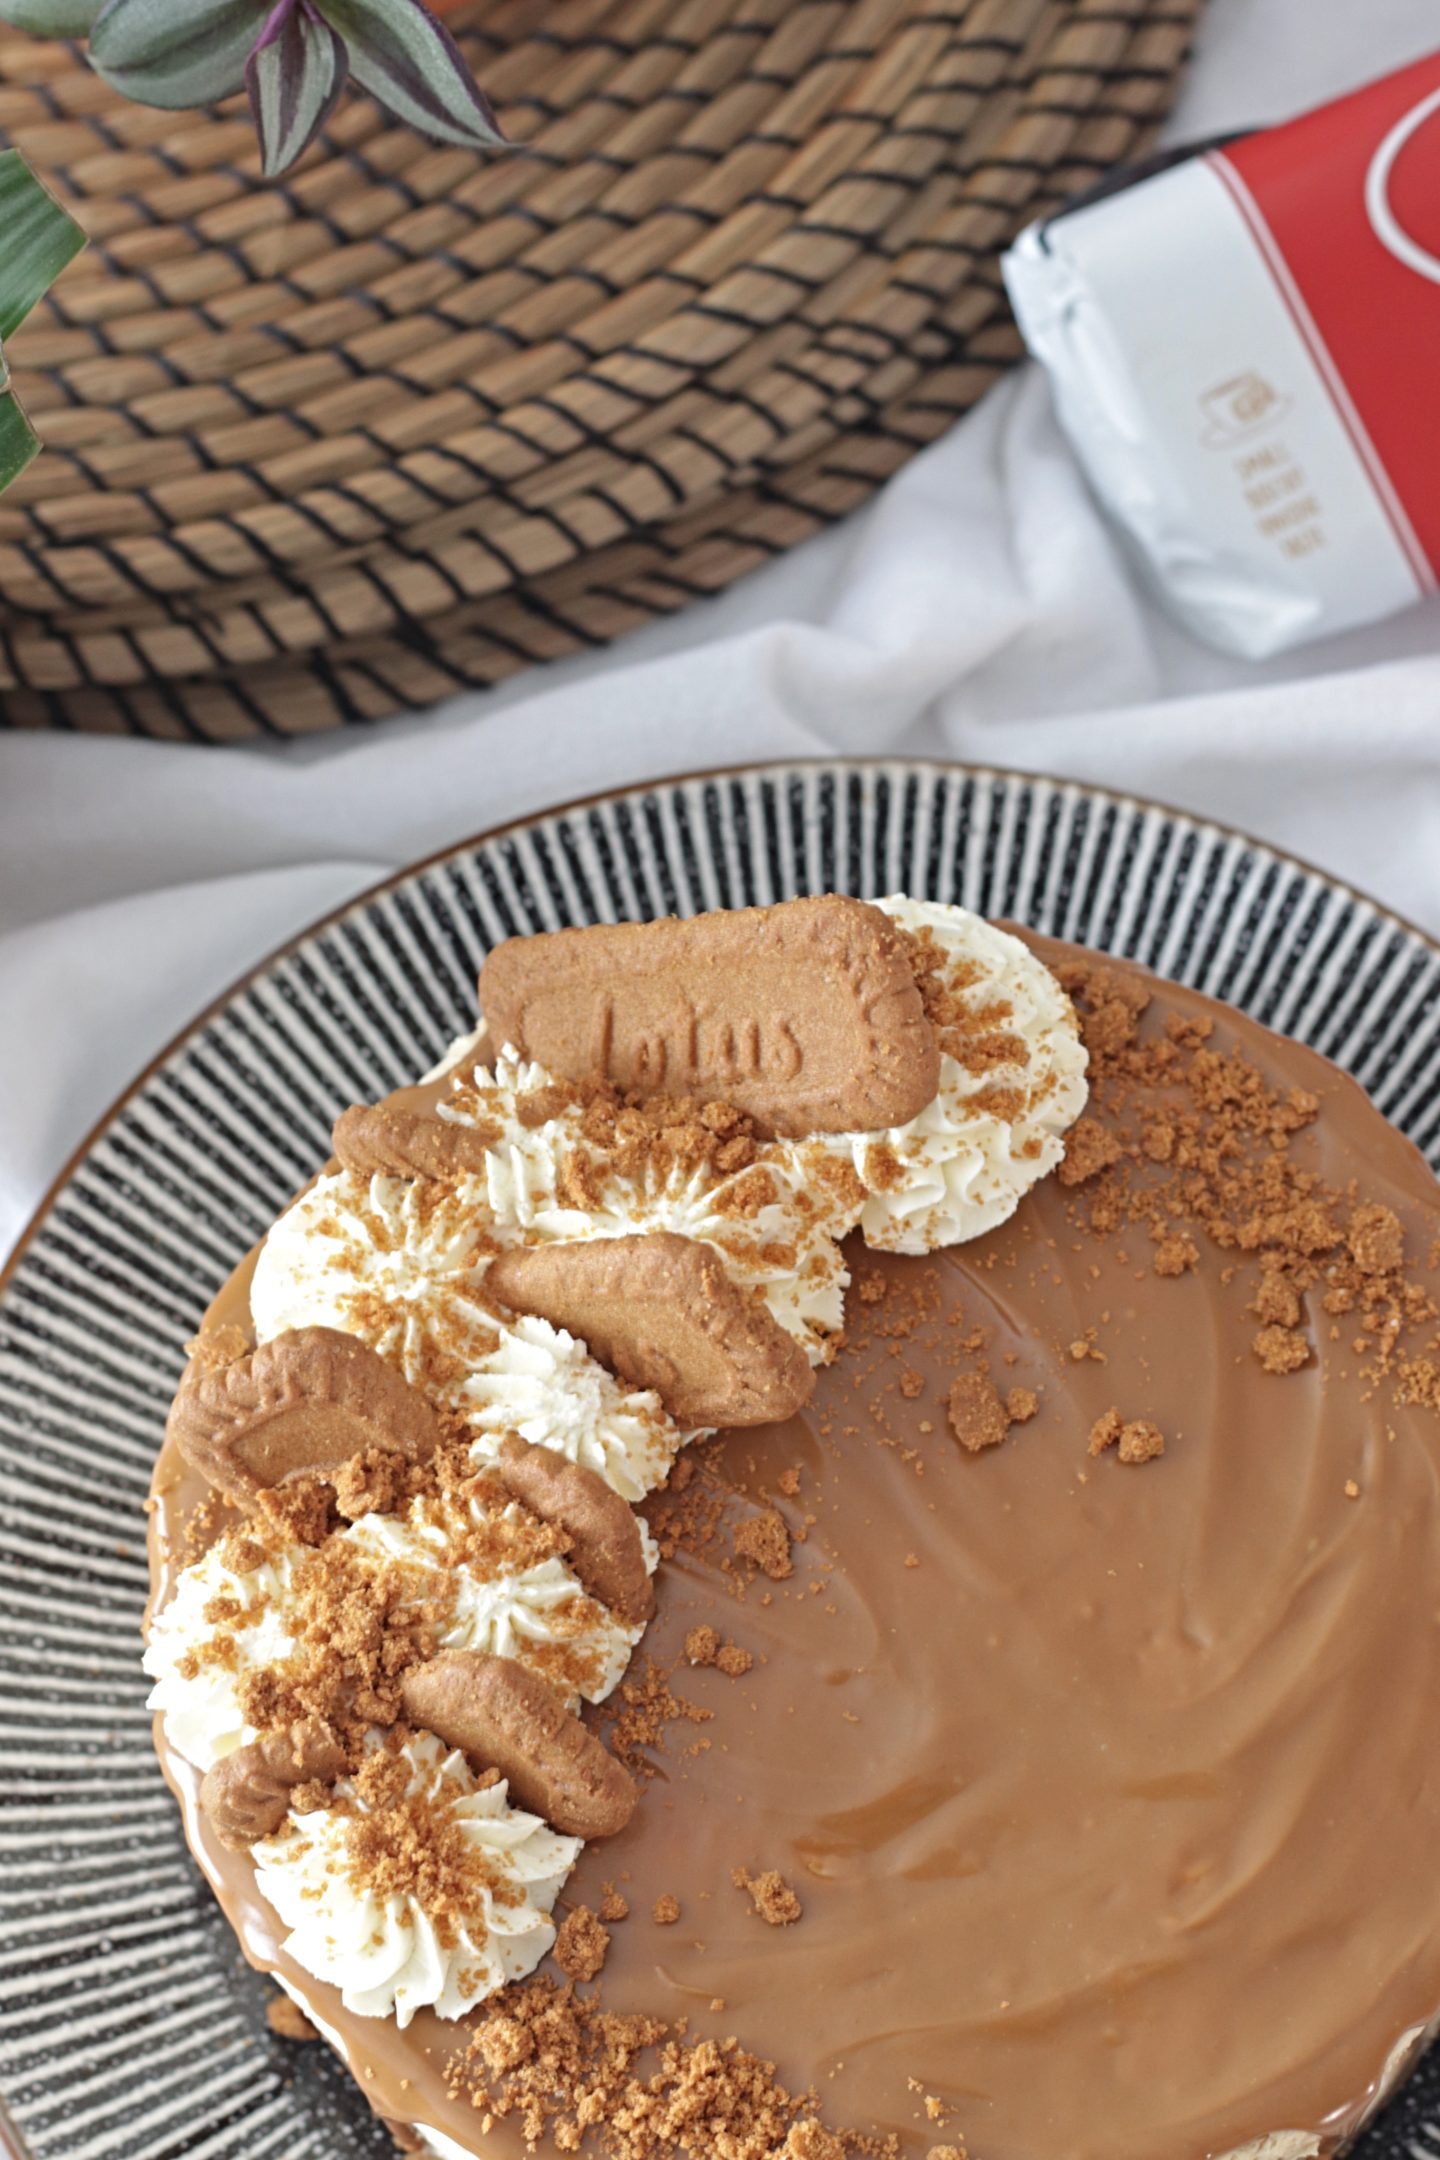
Whip your cream to stiff peaks and then put it into a piping back with a star tip and pipe swirls onto the top in whatever style you chose. Again if you do not have piping bags and nozzles you could put your whipped cream into a sandwich bag and snip off the corner, this will give you piped blobs rather than the swirled shape but it can still look good this way.
-
Next dot your biscuits in amongst the cream swirls, you can keep them whole or break them up. Finally sprinkle the biscuit crumbs over the top. Enjoy!
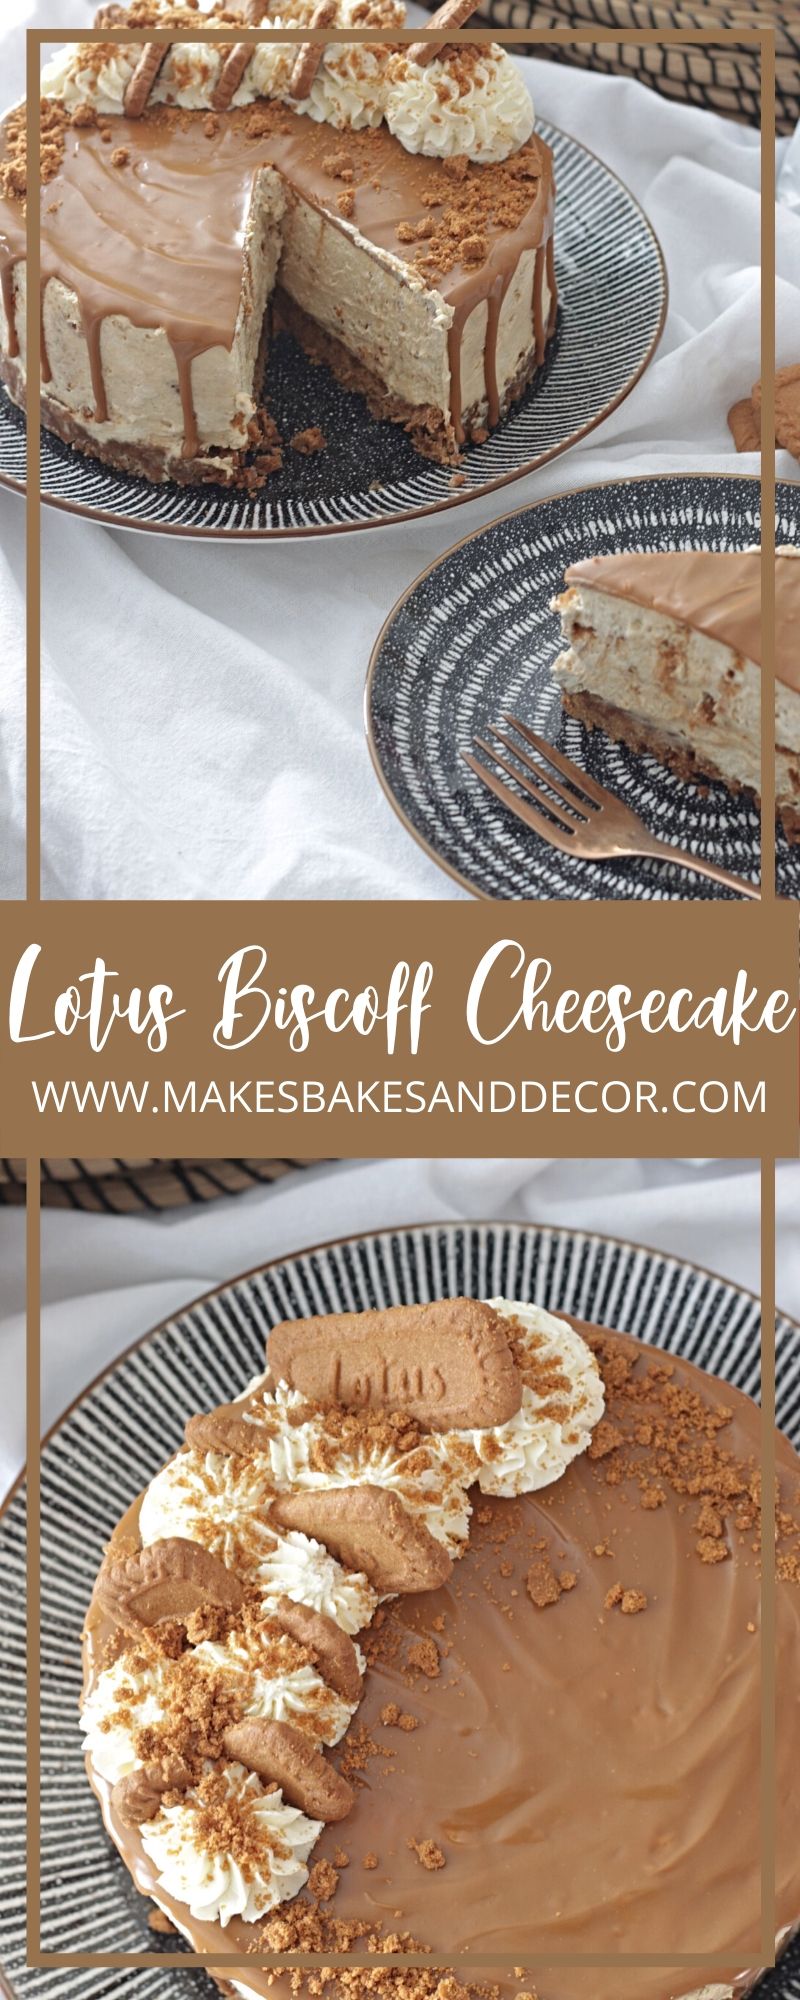
Pin my Lotus Biscoff Cheesecake to save it for later!
I doubt my baking skills but something I can’t resist not trying 🙂
Author
Thank you, I’m sure yours will turn out just as delicious 🙂
I’ve made this from your recipe for customers and they say it’s the best cheesecake they’ve ever tasted. Thank you for sharing
Author
I’m so happy to hear this! Thank you for taking the time to comment 🙂