
Hi guys! Today were back with another guest post. When I asked around if anyone would be interested in guest posting for me to lighten the load while baby was due, Sally, who blogs over at Life Loving kindly volunteered and provided me with this fabulous project! Her Mosaic Garden Mushrooms are just gorgeous and Sally shares how she made them below 🙂
Mosaic Garden Mushrooms

Hello all! I’m Sally and I blog over at Life Loving. My blog is my little piece of the internet aimed at inspiring others to enjoy life more. I live by the motto ‘ketchup tomorrow, relish today’. The wonderful Lianne has kindly let me put together a guest post about one of my most treasured crafts in our garden.
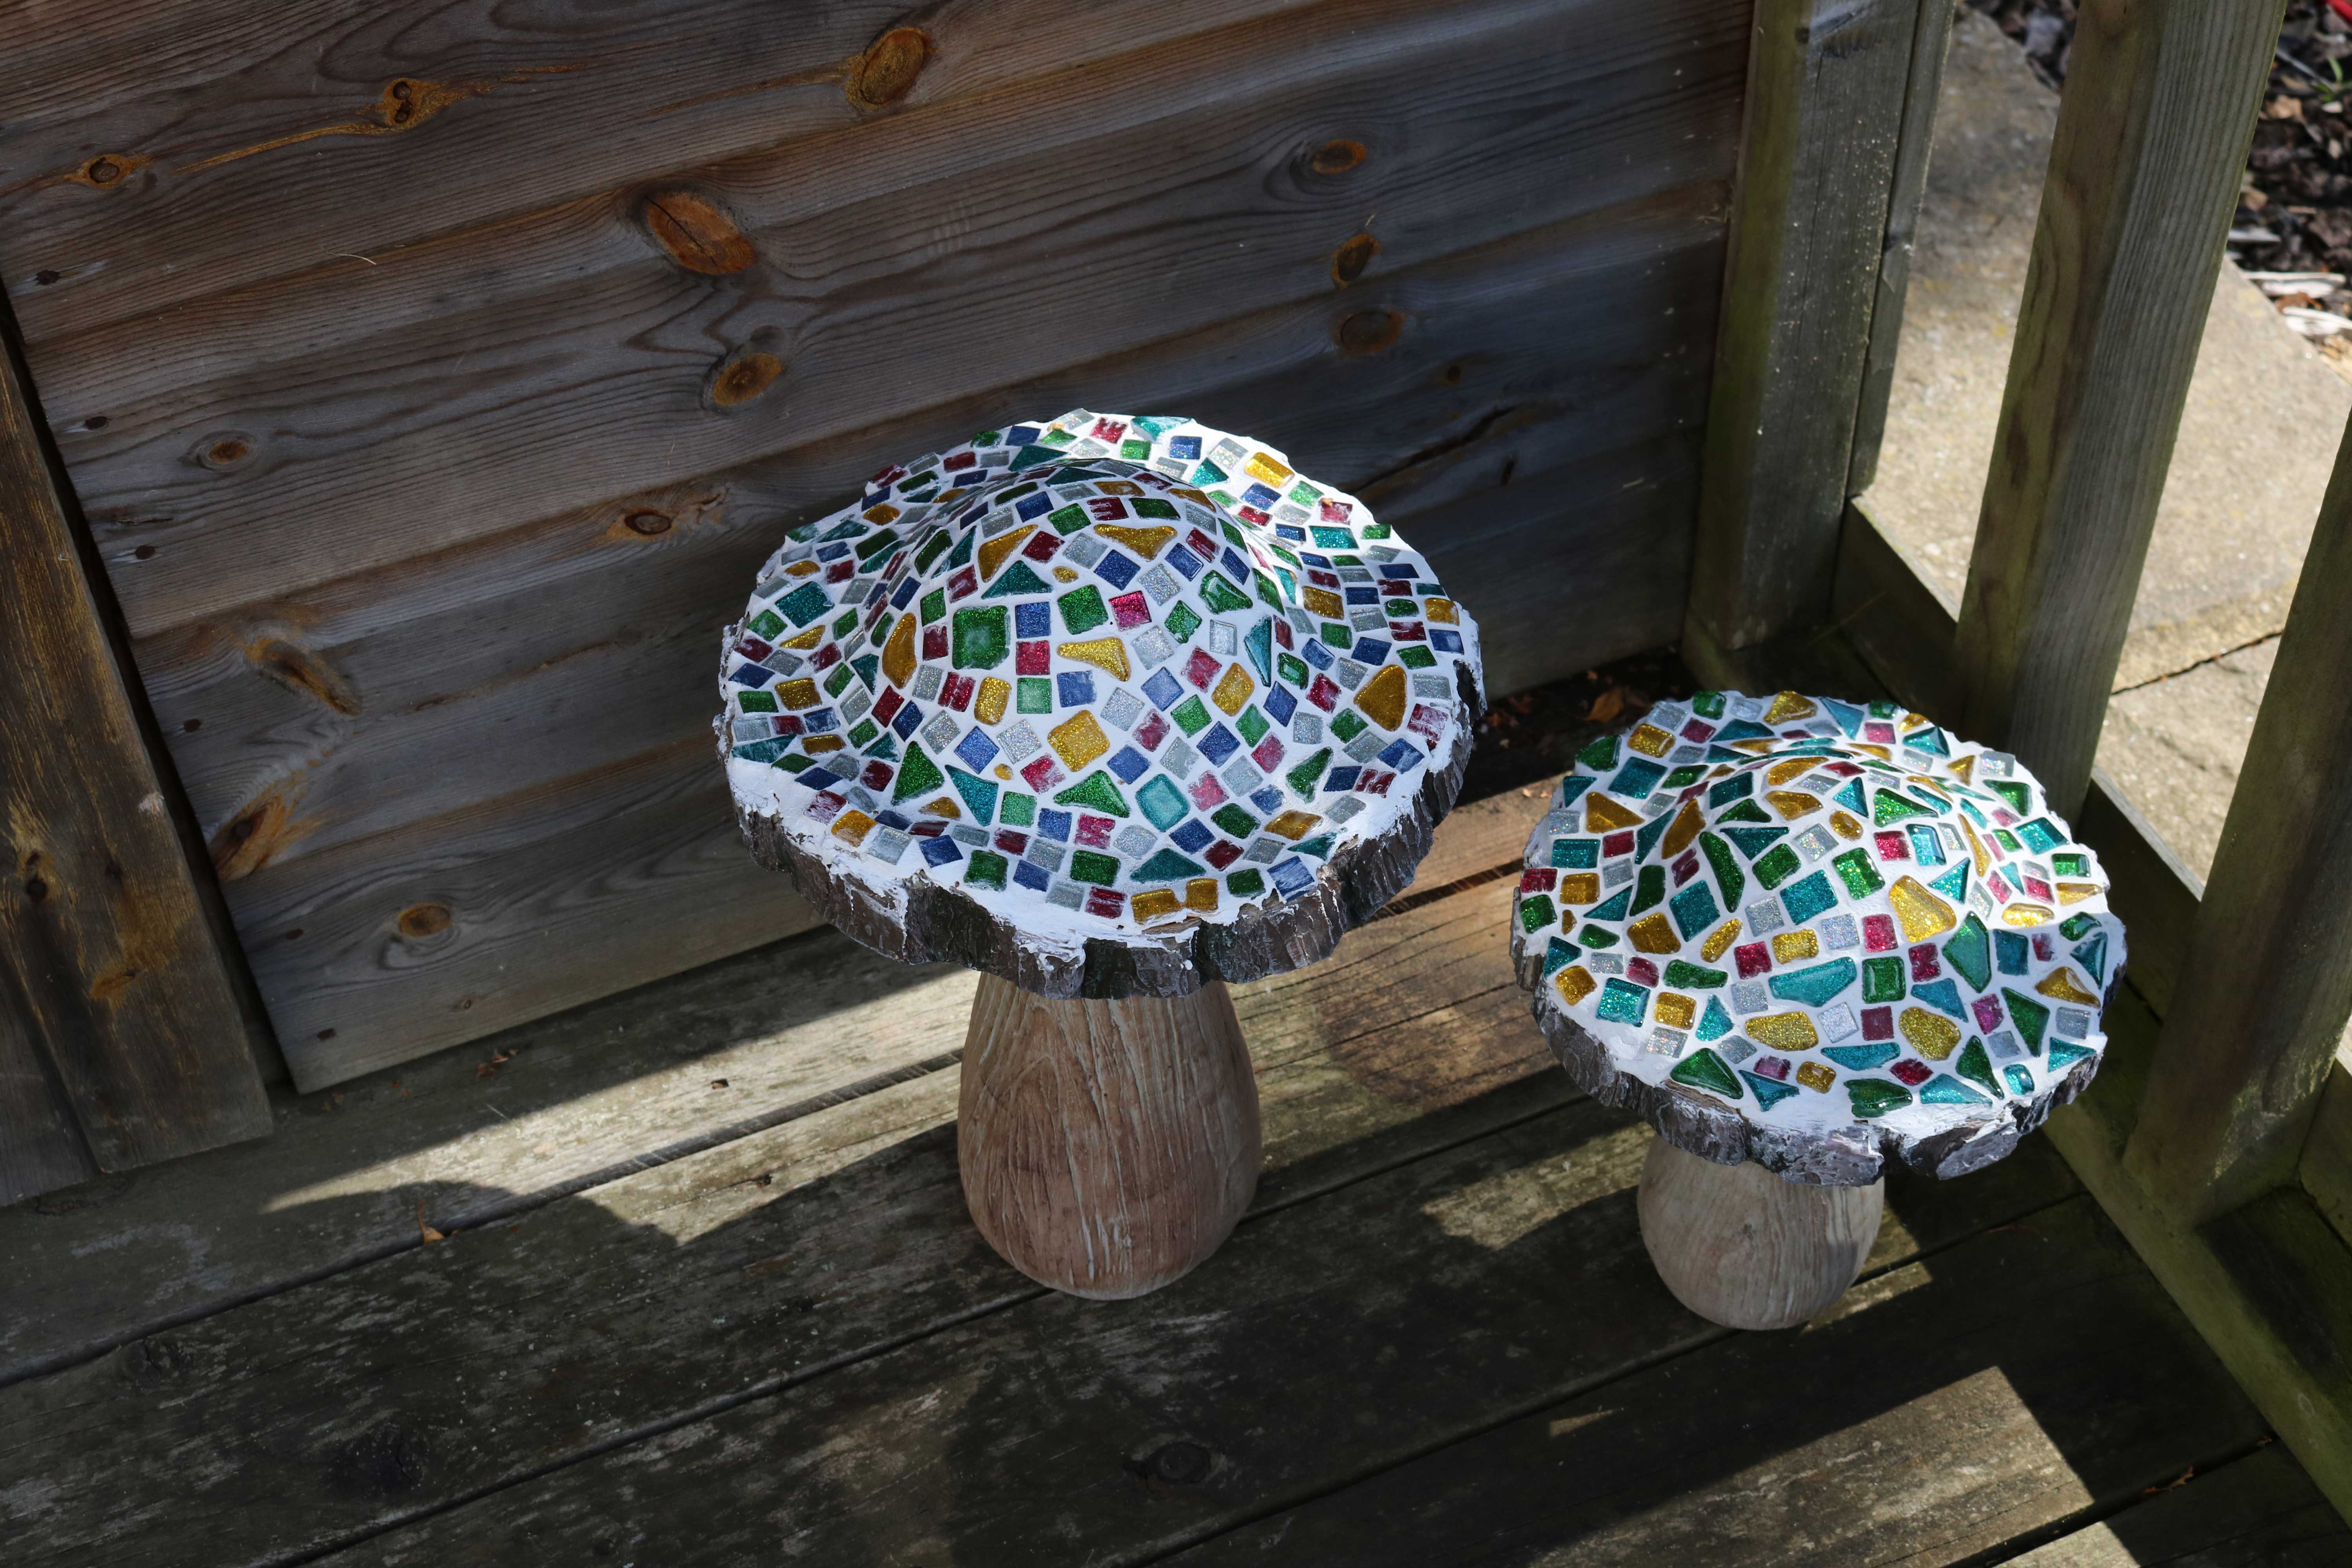
I’m really proud of these mosaic mushrooms, and when people come over they often comment on them. They are very surprised when I tell them I mosaiced them myself, as the finish is quite professional.
The first thing you should do, especially if you are making a garden craft, is to shop ahead and make sure you’ve got the mosaics, mosaic glue and grout. If you were making a piece for inside the house, I suspect you could also use any grout and glue, but I wanted my piece to be hardier so used the recommended glue and grout.
I chose to use mushroom shaped garden ornaments. I bought these in Wilkinsons for just a few pounds. My next piece to make is based on decorating wellington boots and turn these into a planter. I’ve seen these done online and they look fabulous.
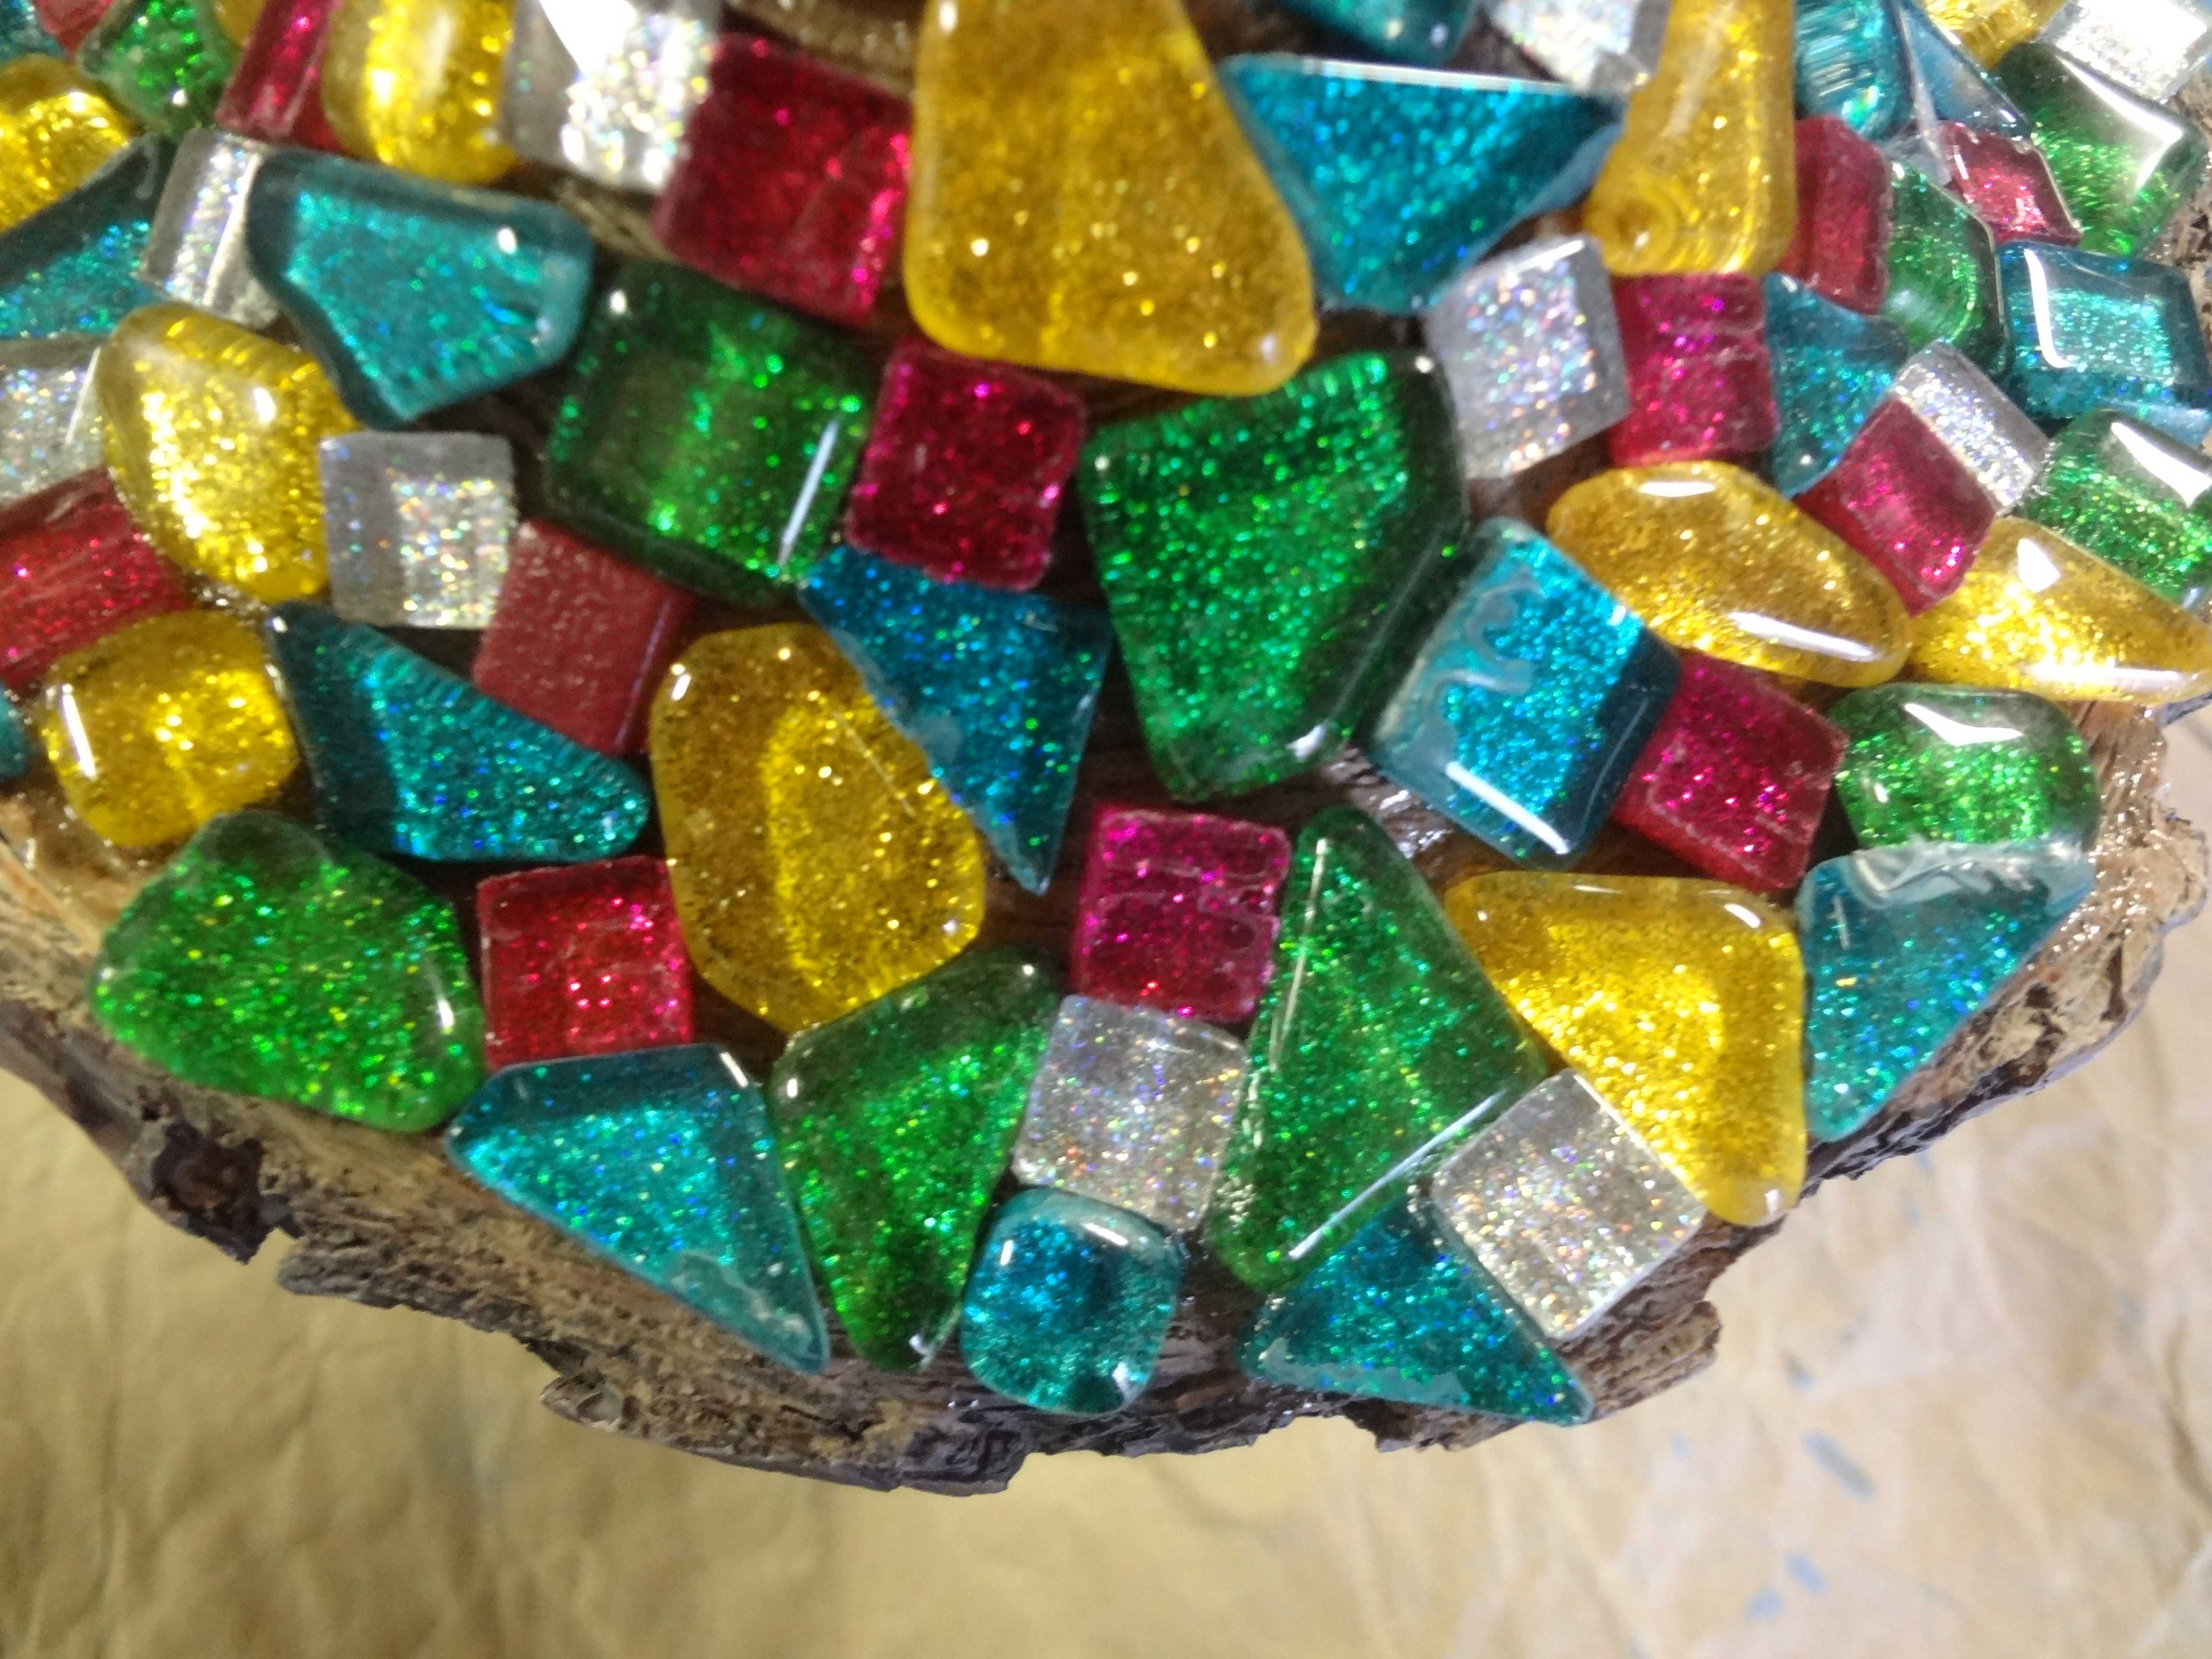
Using the mosaic glue, I started sticking the pieces to the top of the mushroom. I started from the middle and worked out. If you want a specific pattern on your piece, I would suggest drawing it out on paper, and then lining up the pieces in advance on the paper. That way you can follow the pattern on your item.
I used a chip and dip platter for my mosaics, as this allowed me to easily separate the pieces so I could easily see the colours I wanted to use. You could also use small Tupperware pots. I found it more useful to add glue to a larger area of the mushroom and then start adding the pieces. You have to wait until the glue is a little tacky, otherwise the pieces start to slide down the side of the piece. Allow the mosaic pieces and glue to dry for around 24 hours before grouting.
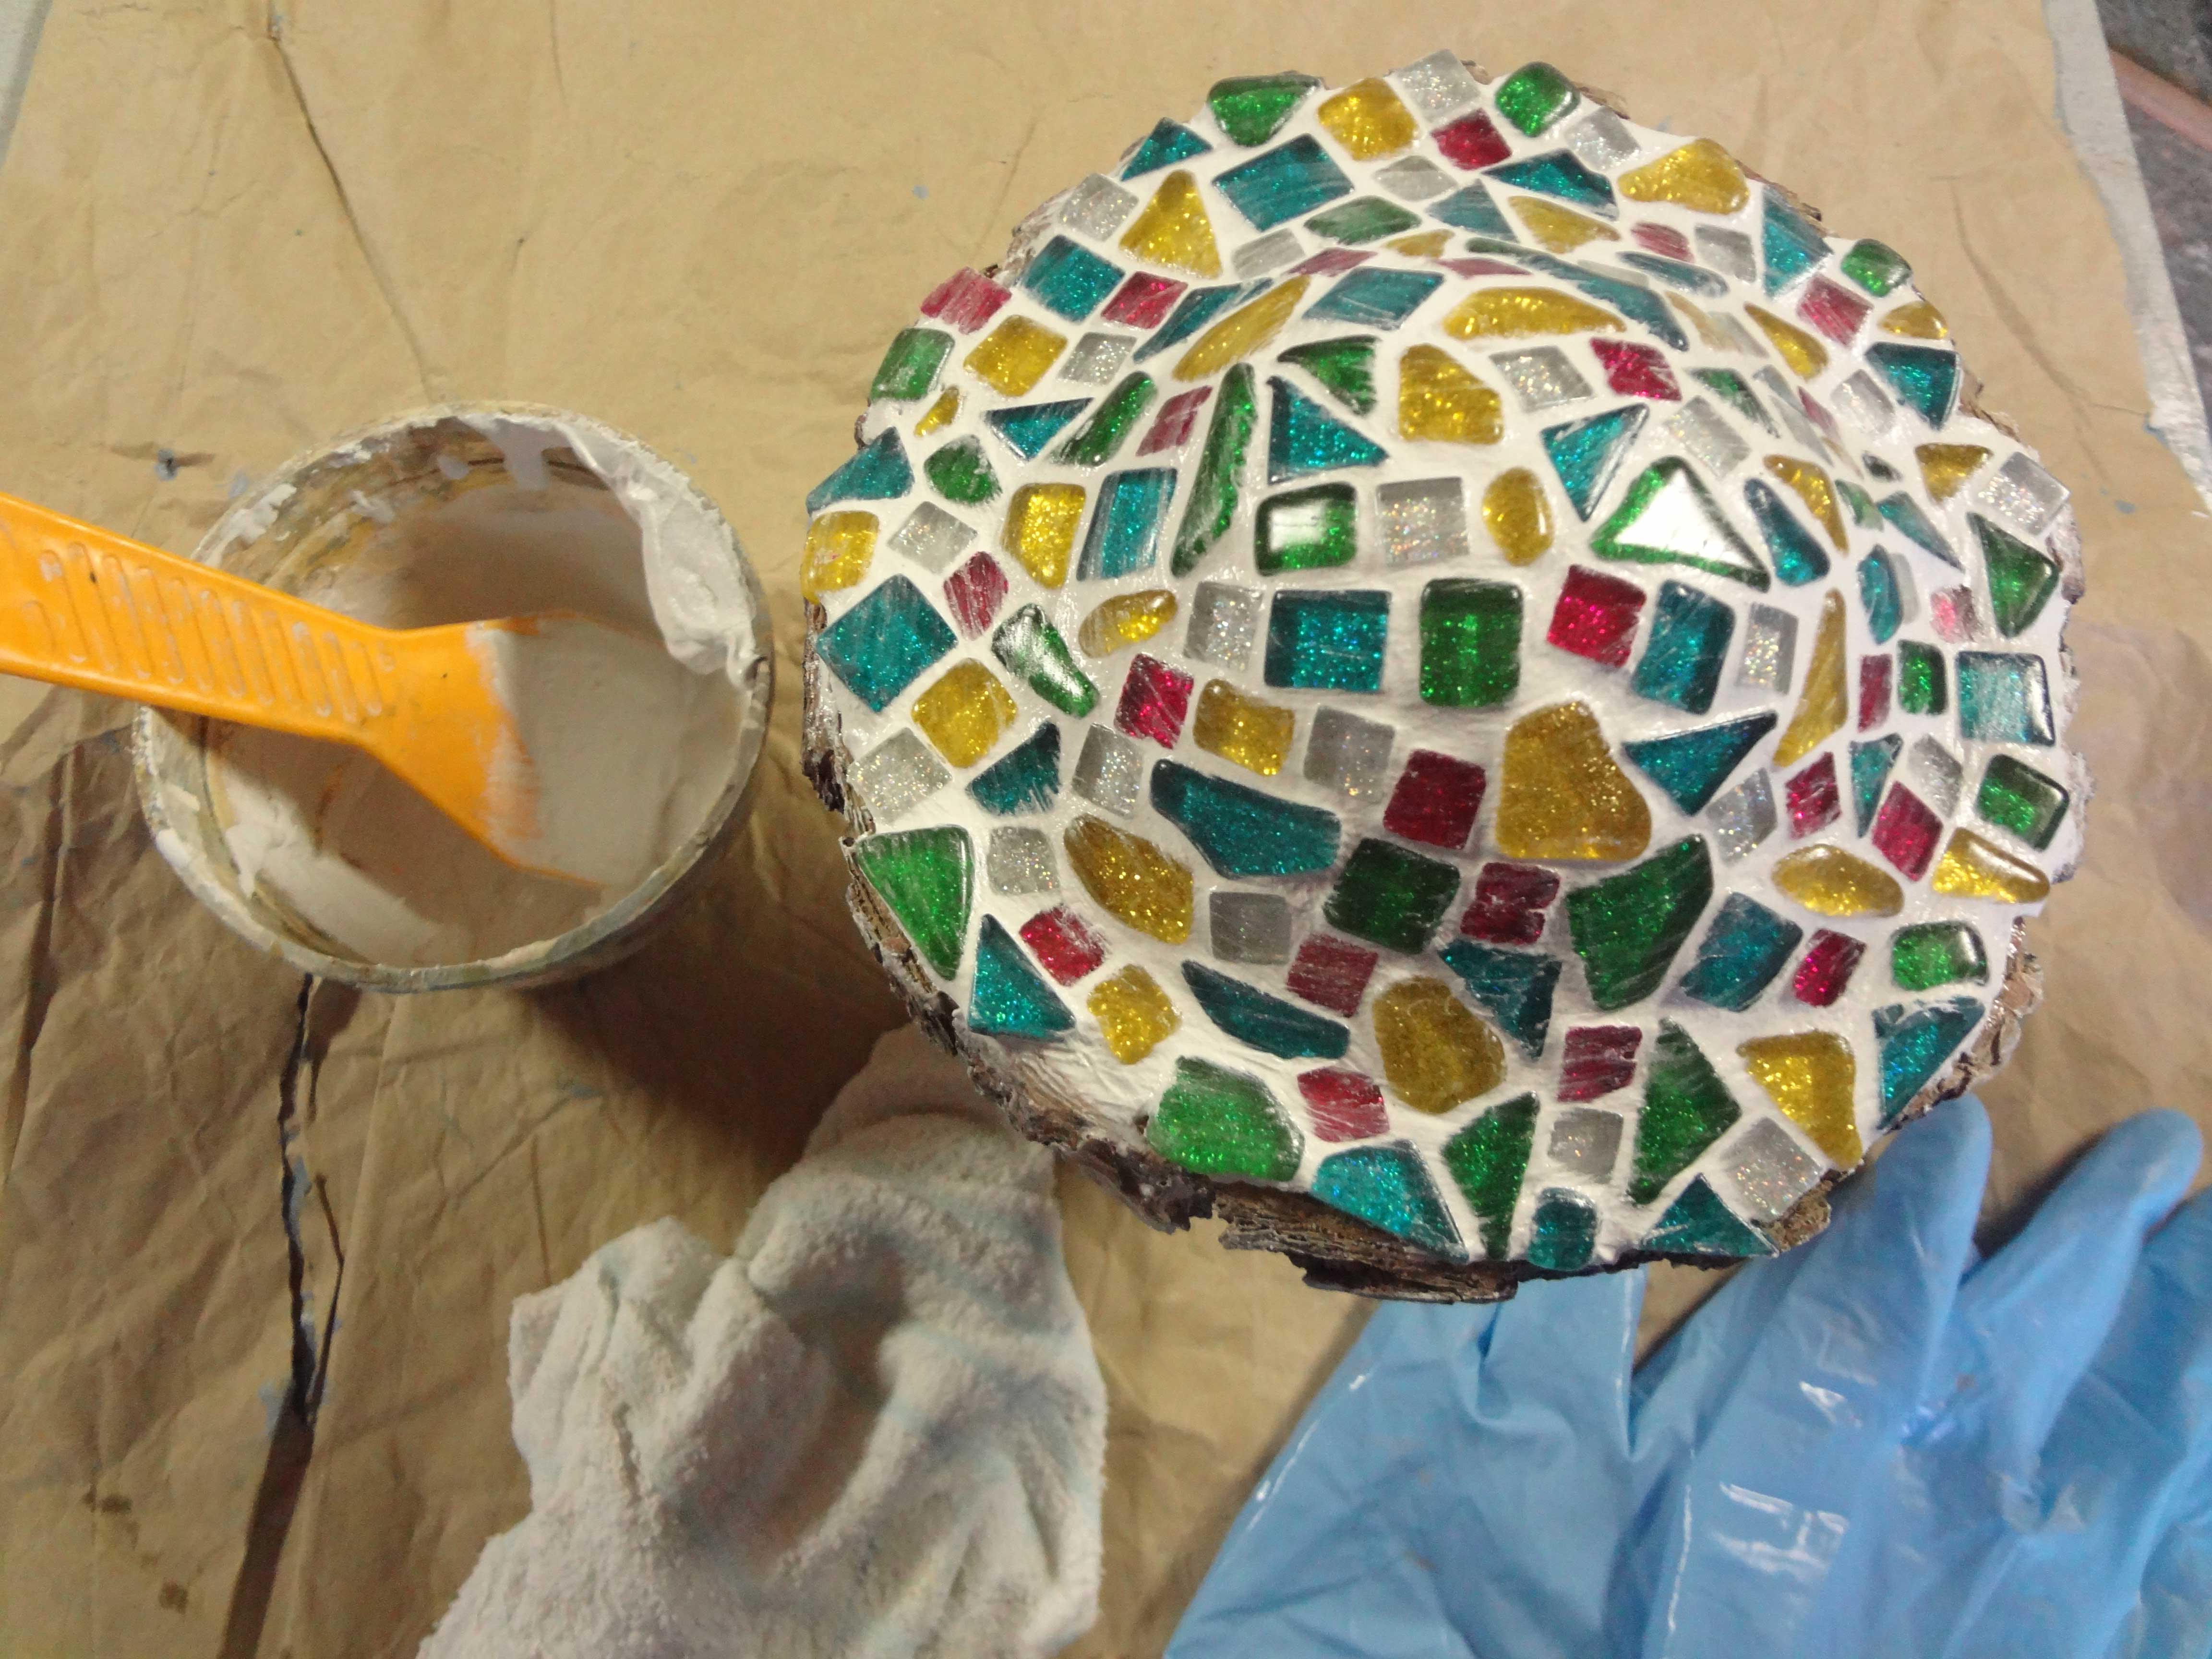
Follow the instructions on the grout packet to mix together a small amount of grout. Use a spatula to smear the grout into the cracks. I’d suggest removing any large amounts of excess grout before leaving it to dry. Don’t worry if there’s some grout left on the mosaics as you can clean these off. I left the piece to dry for about an hour and then went over the mosaics with a damp cloth, this brought them up to be nice and shiny. You should then leave to dry for another 24 hours.
If you like, you could choose to varnish your item. I didn’t as I knew I would only be leaving my mushrooms outside in the summer, and in the winter they would be put away. What would you like to add mosaics to? I hope my mosaic craft has inspired you to get crafty in the garden this summer.

Thank you again to Sally for writing this post and letting me feature it here on Makes, Bakes and Decor. You can find Sally over at Life Loving and on her social media accounts, Instagram, Facebook and Twitter!

Hi Lianne, your Mosaic garden mushroom is very nice! The chairs you have designed for your garden are amazing. Keep sharing such useful ideas.