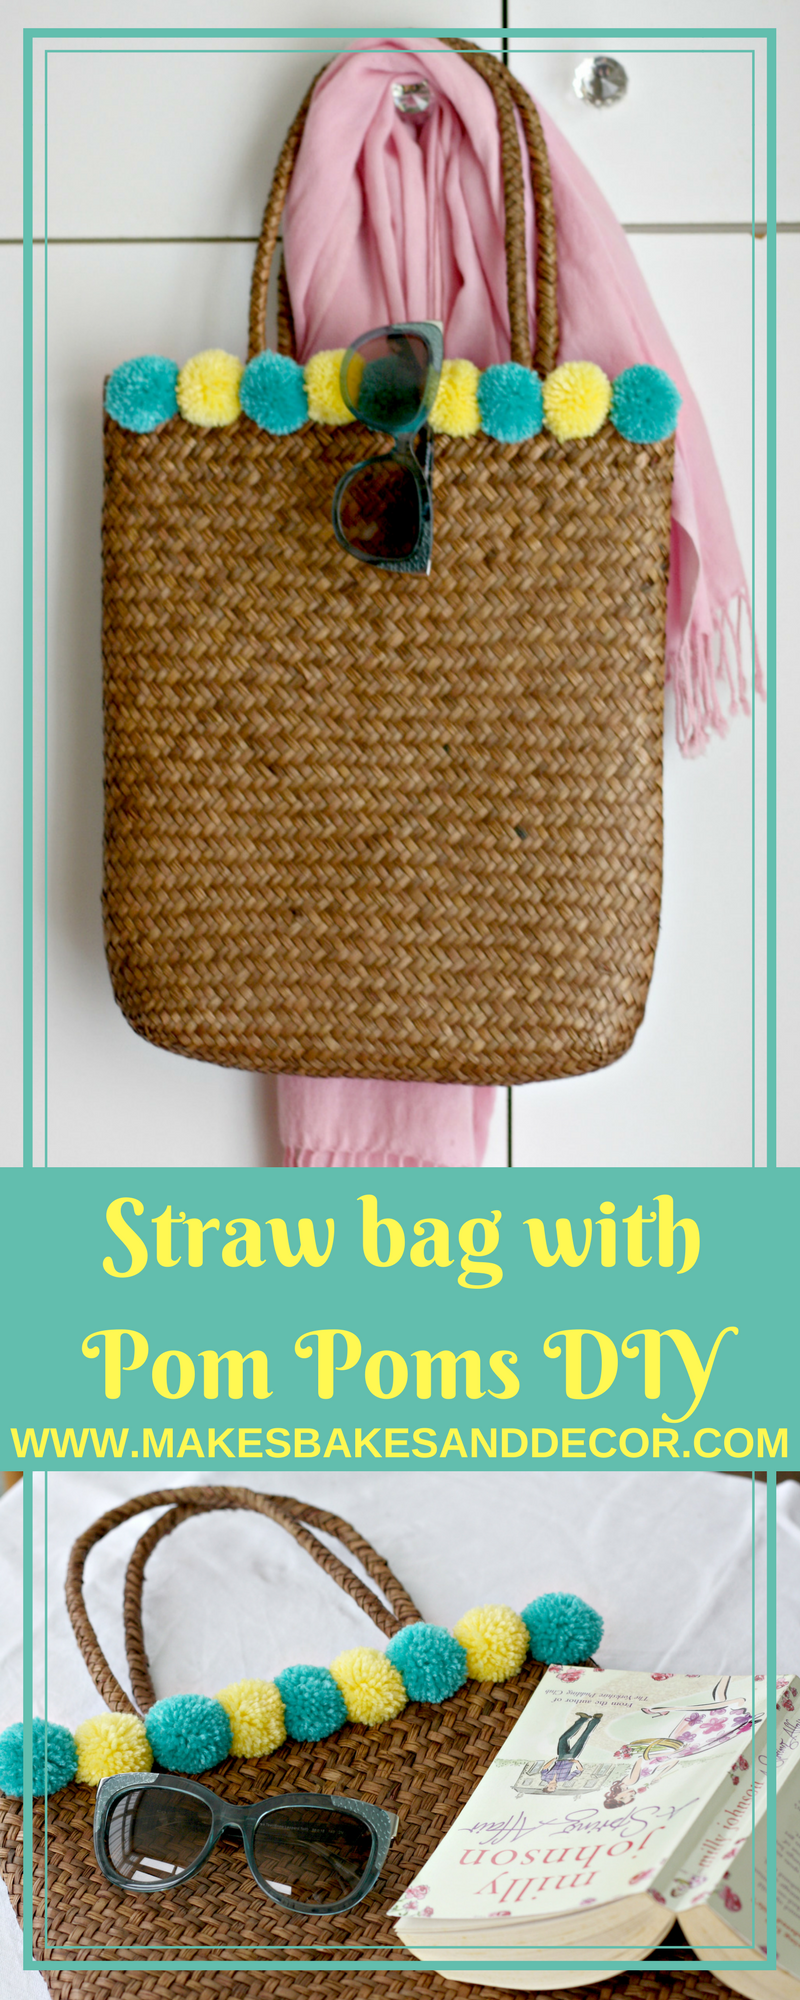
It’s been a while since my last post! This project was actually supposed to be for last month’s #DIYBlogChallenge. I didn’t get it finished in time and then I just decided to spend the rest of March getting posts ready so I can be back to my normal posting schedule for April. I cannot believe that April is here already, it feels like it was only just Christmas. This year seems to be flying by when I want time to go slow as we still have so much left to get ready for baby number two’s arrival! But April IS here and so is (supposedly) Spring and my Straw Bag with Pom Poms Diy is just perfect for this time of year. It’s the perfect finishing touch to any Spring/Summer outfit at a fraction of the price you would pay for a pom pom straw bag in the stores.
This post contains affiliate links, find out what that means here.
All you need to get started making this is a plain straw bag, wool in colours of your choosing and a small pom pom maker. Here are the UK and US links to some items on Amazon that will help you get started. I’ve included more than one style of bag (including the one I used) plus a few fun colour wool suggestions.
UK Links:
US Links:
Your first step is to make your pom poms. Below is a step by step guide with photos showing you how to make a pom pom using a pom pom maker.
The pom pom maker comes in two halves that slot together.
You can then open up the pom pom maker and start to wrap wool around. Keep winding the wool around until the half is full.
When it is full, cut off the wool, close the pom pom maker and repeat the process on the other side.
Once both sides are full, close the pom pom maker and cut through the wool around the centre.
When you have cut all the way around cut a length of wool and slot this around the middle tie it around tight to the other side.
Open up the sides. take the pom pom maker apart and remove the pom pom. Fluff it up and trim off any stray strands and your pom pom is finished.
Keep making pom poms in as many colours as you like until you have enough for your bag.
Decide how you want to attach your pom poms. I decided to add a row across the top but you could scatter them all over or attach them down the side. The style of your straw bag will also affect how you add the pom poms.
Use the strands left over from tying up the pom pom to attach them to your bag. Thread the end onto a darning needle and poke it through the bag. Do this with both strands of wool, but don’t thread them through the same spot. you want to thread the second strand about a cm from the first.
Pull the pom pom tight and tie the ends on the inside to secure it, then trim the long ends. The bag I used didn’t have any lining, if you use a different bag that does it’s up to you if you chose to unpick it to fix the pom poms behind the lining.
Keep adding your pom poms until your pattern is finished and your Straw Bag with Pom Poms DIY is complete.
This will be the perfect beach bag for when the weather finally starts to improve! If you have any questions or comments, just leave them in the comments section below and I’ll answer you as soon as possible.
Lianne x
Pin Straw Bag with Pom Poms DIY to save it for later!


This is a cute idea! I haven’t used my pom pom maker in a while. I’ll have to get it back out. ☺
Author
I’ve only recently invested in a pom pom maker! It’s a game changer lol! 🙂
Beautiful! Great step by step instructions!
Author
Thank you Darlene 🙂 It’s important to me to make my tutorials easy to follow!