
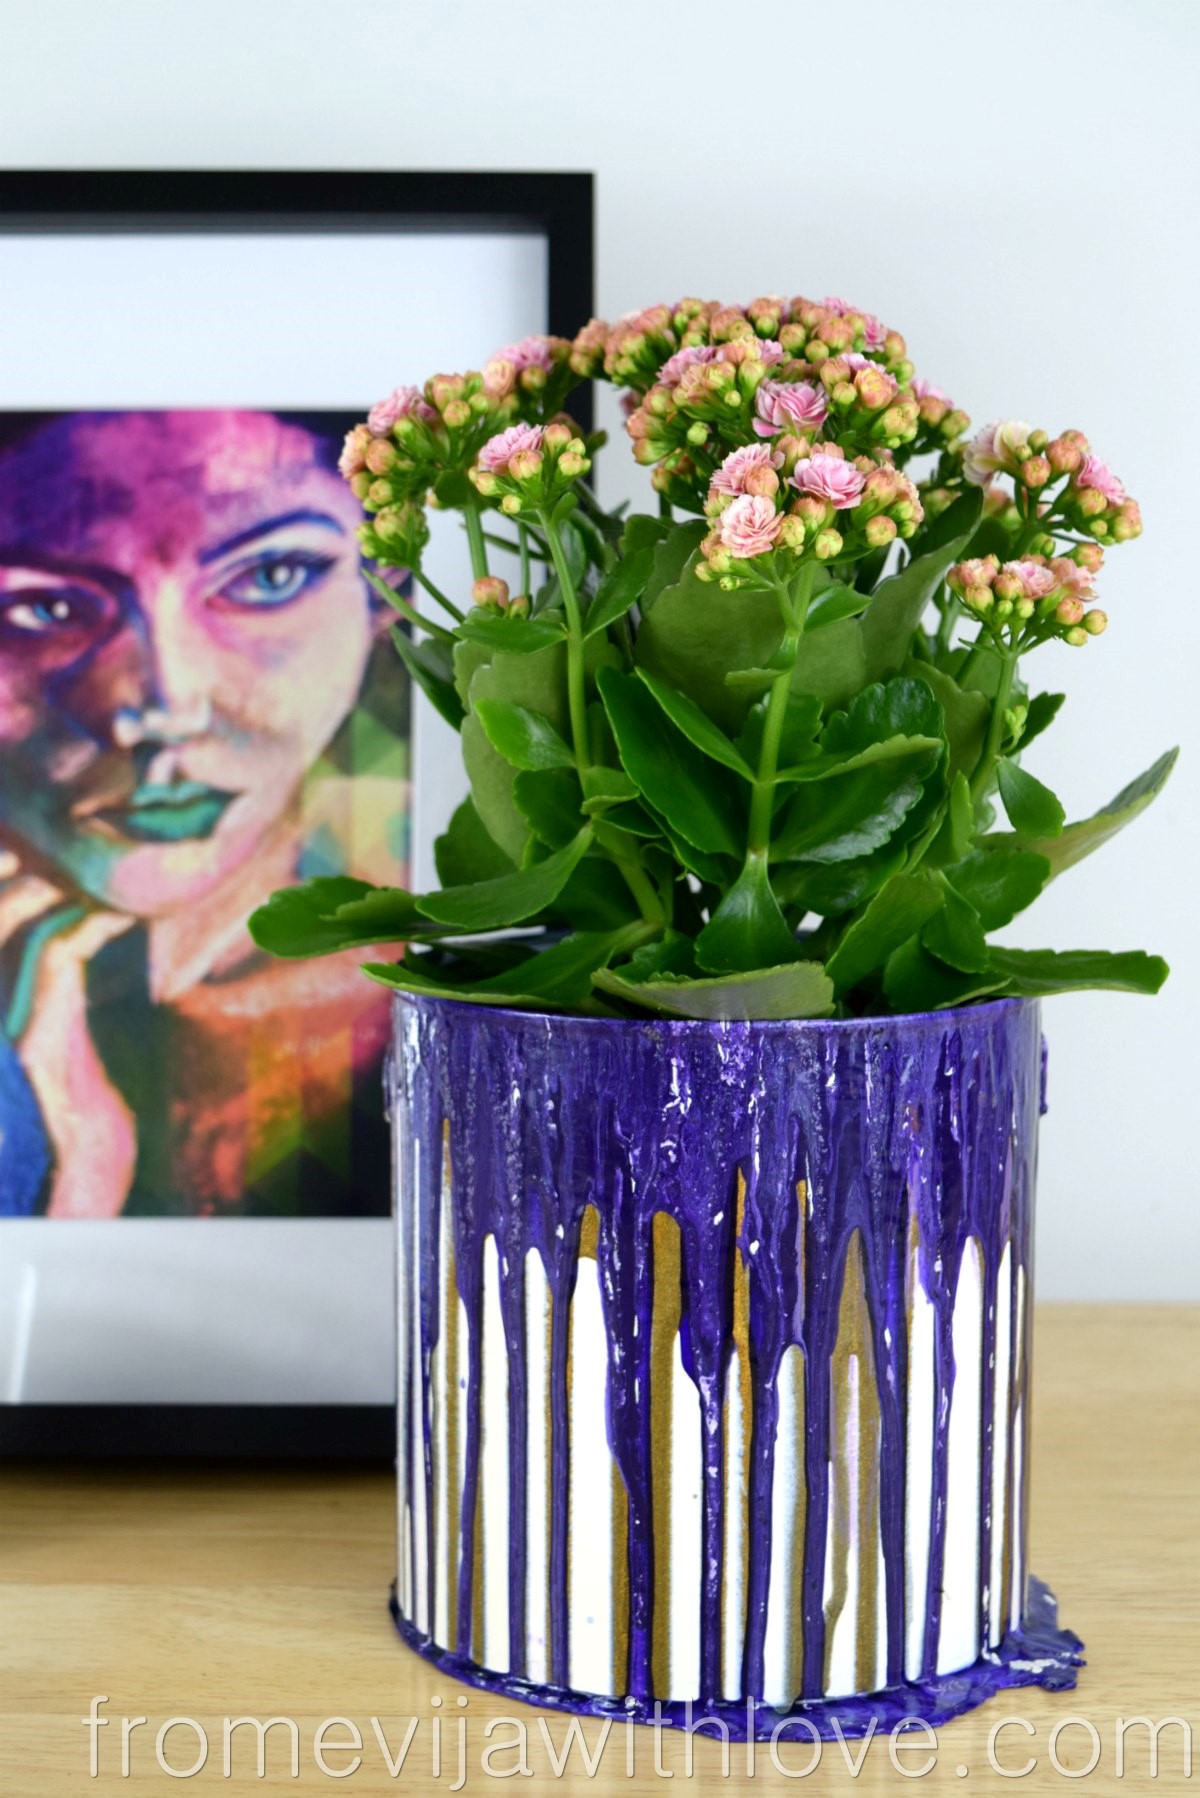
Hi guys! So it’s time for this month’s #DIYBlogChallenge and the theme for this month is tin cans. How the challenge works is that each month we pick a theme and then a group of us crafty bloggers each come up with our own project to fit the theme. This month It’s just me and my blogger friend Evija and you can see and visit her project at the bottom of this post. My project however are some simple Tin Can Hanging Planters.
Makes, Bakes and Decor has been nominated in the 2019 Amara Interior blog awards! If you have enjoyed this post please could you take a minute of your time to vote for me! Just click on the badge below to vote and everyone who does vote is also entered into a competition to win a Lecia camera!


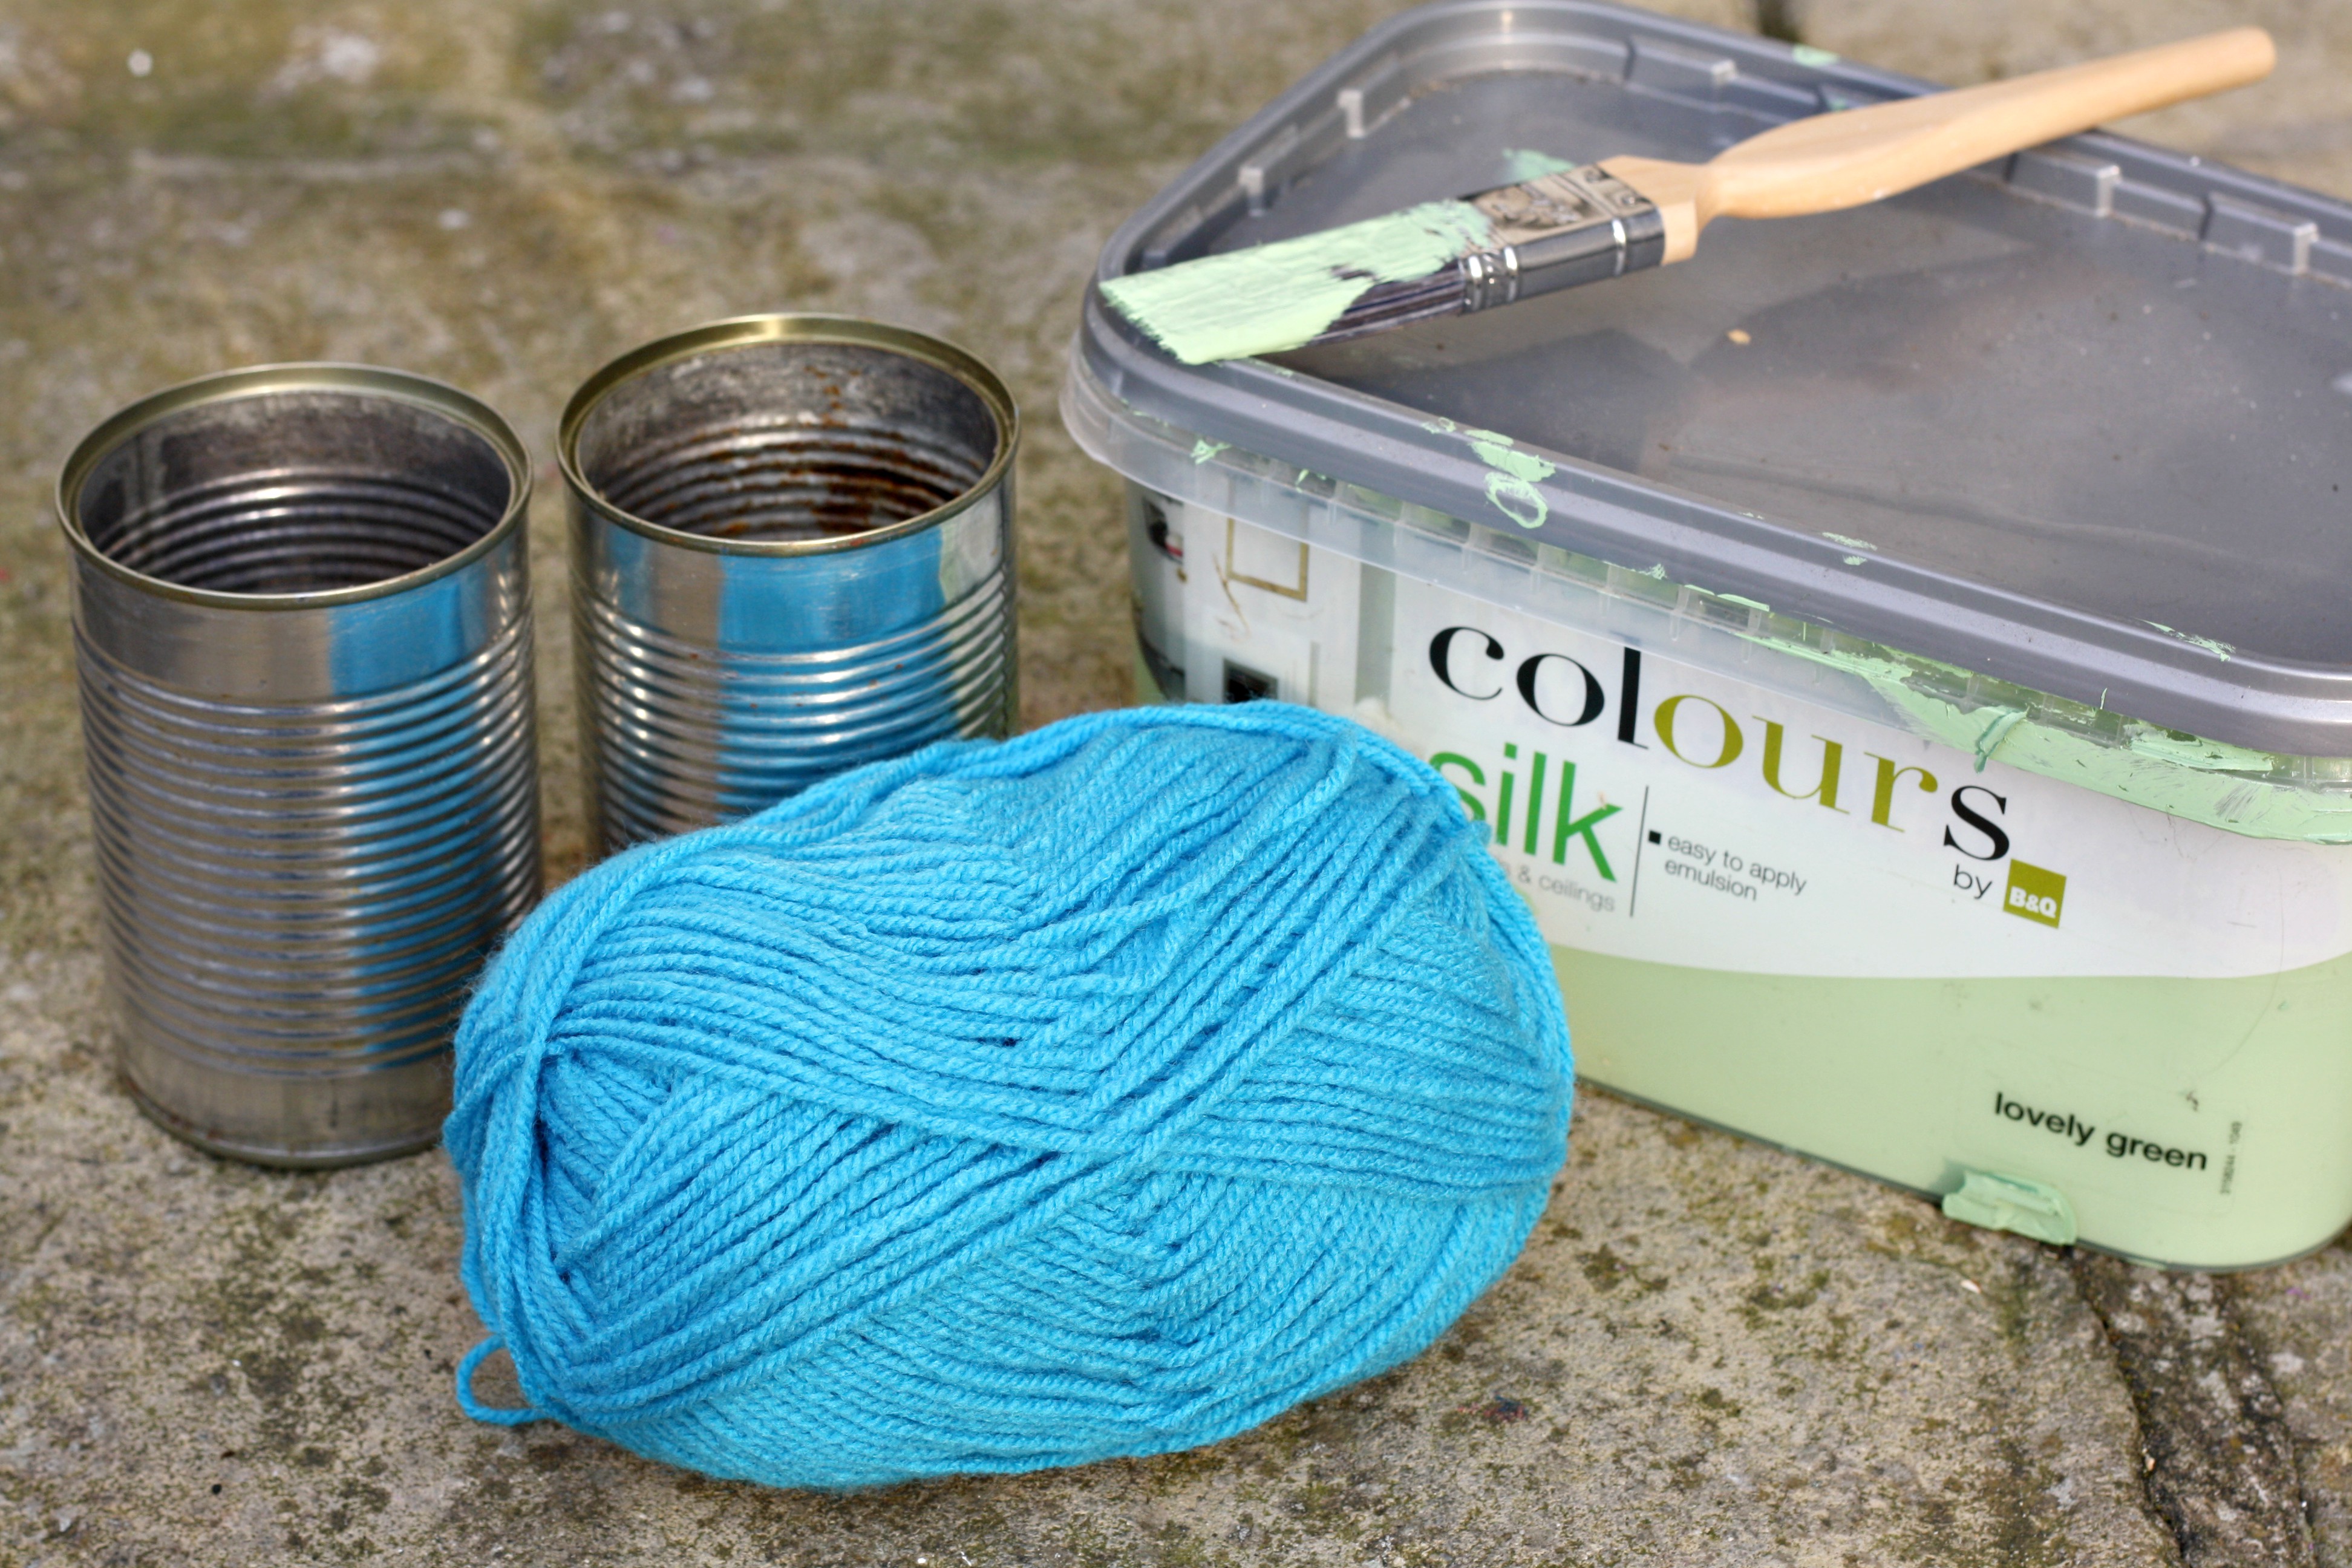
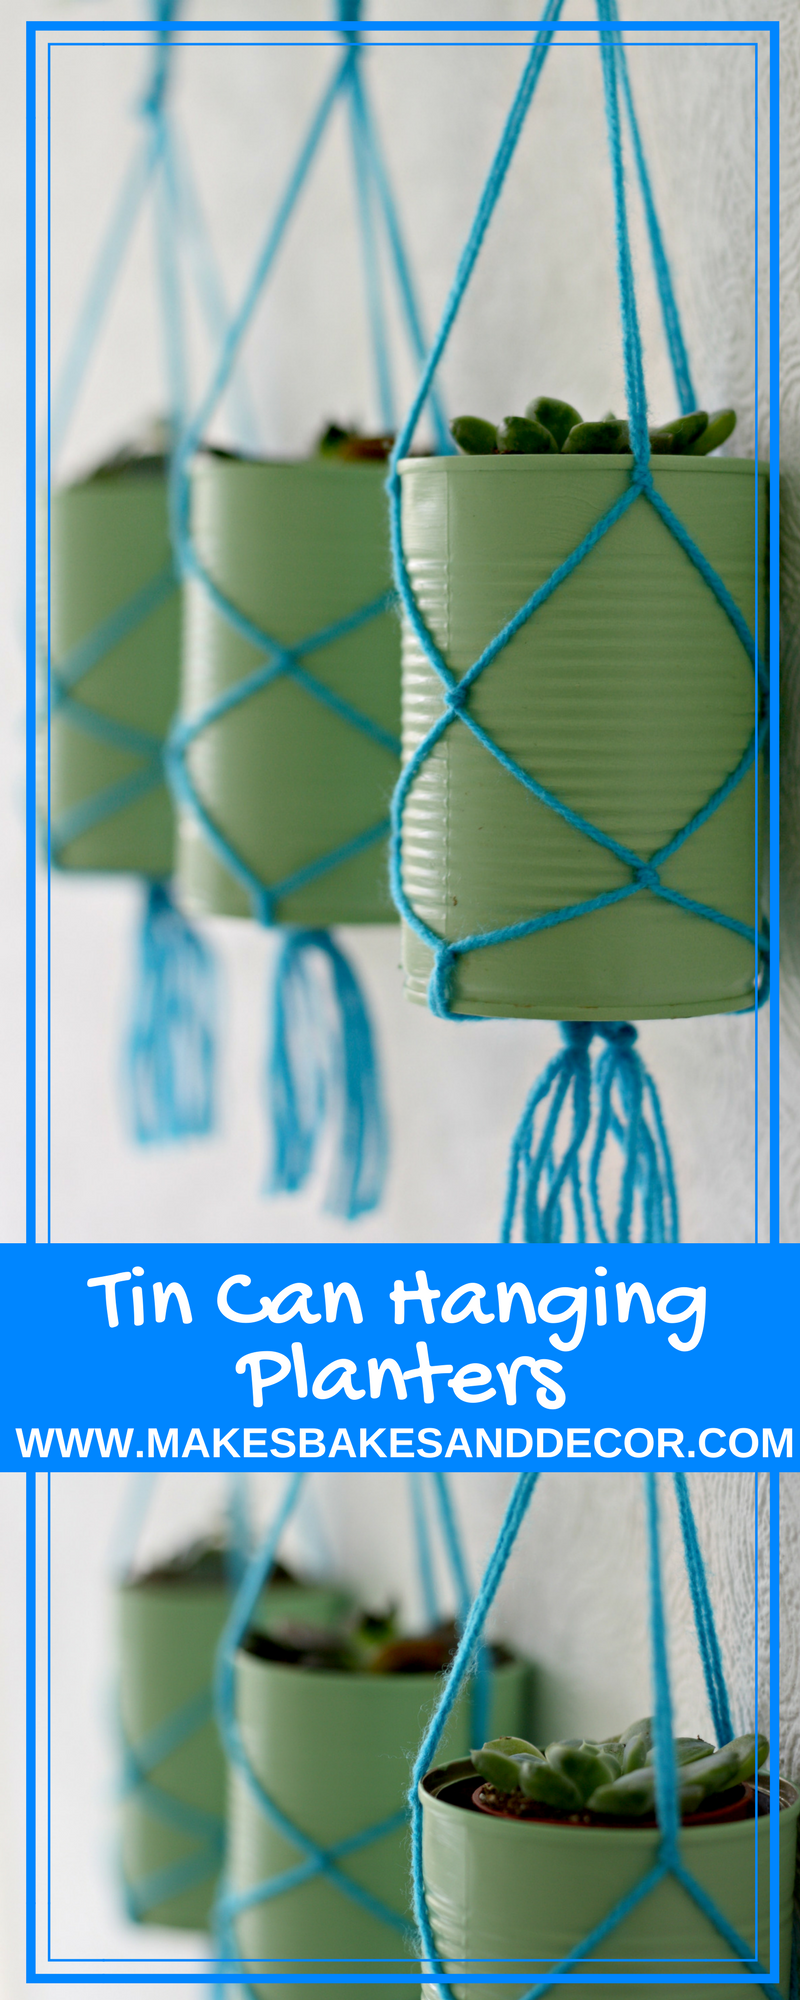
All you need to make this project are some empty, cleaned tin cans, Paint and a ball of wool.
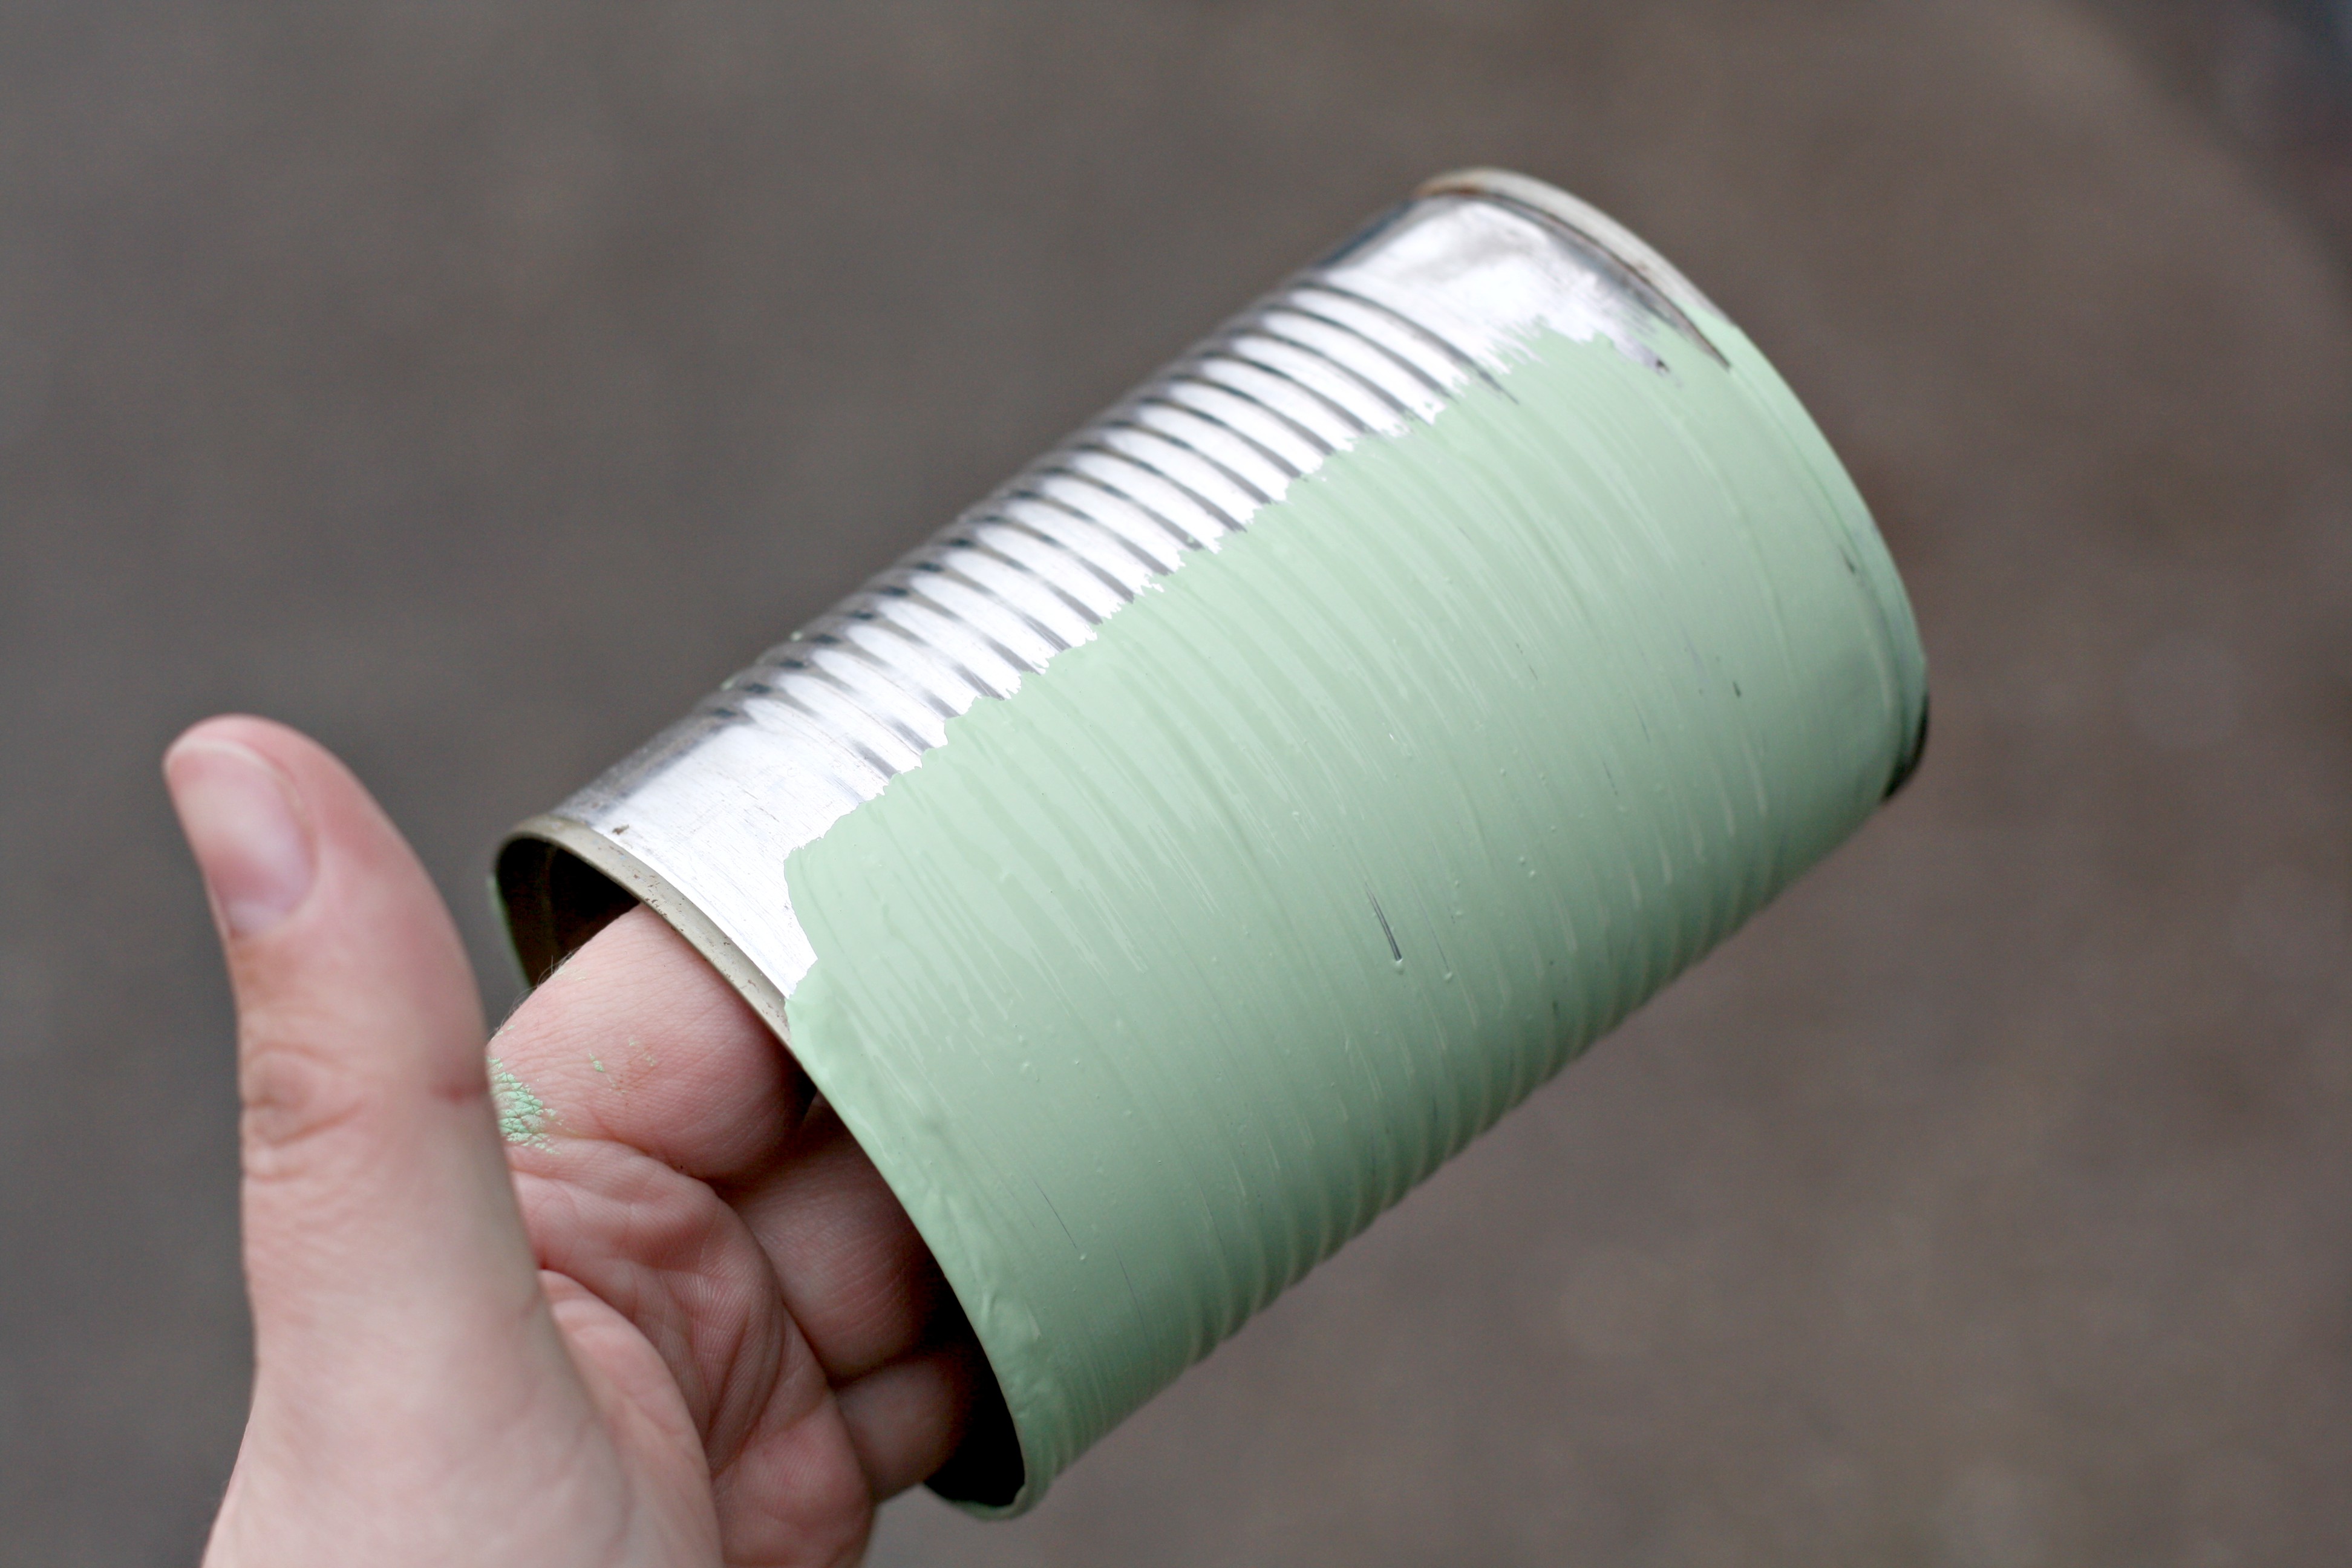
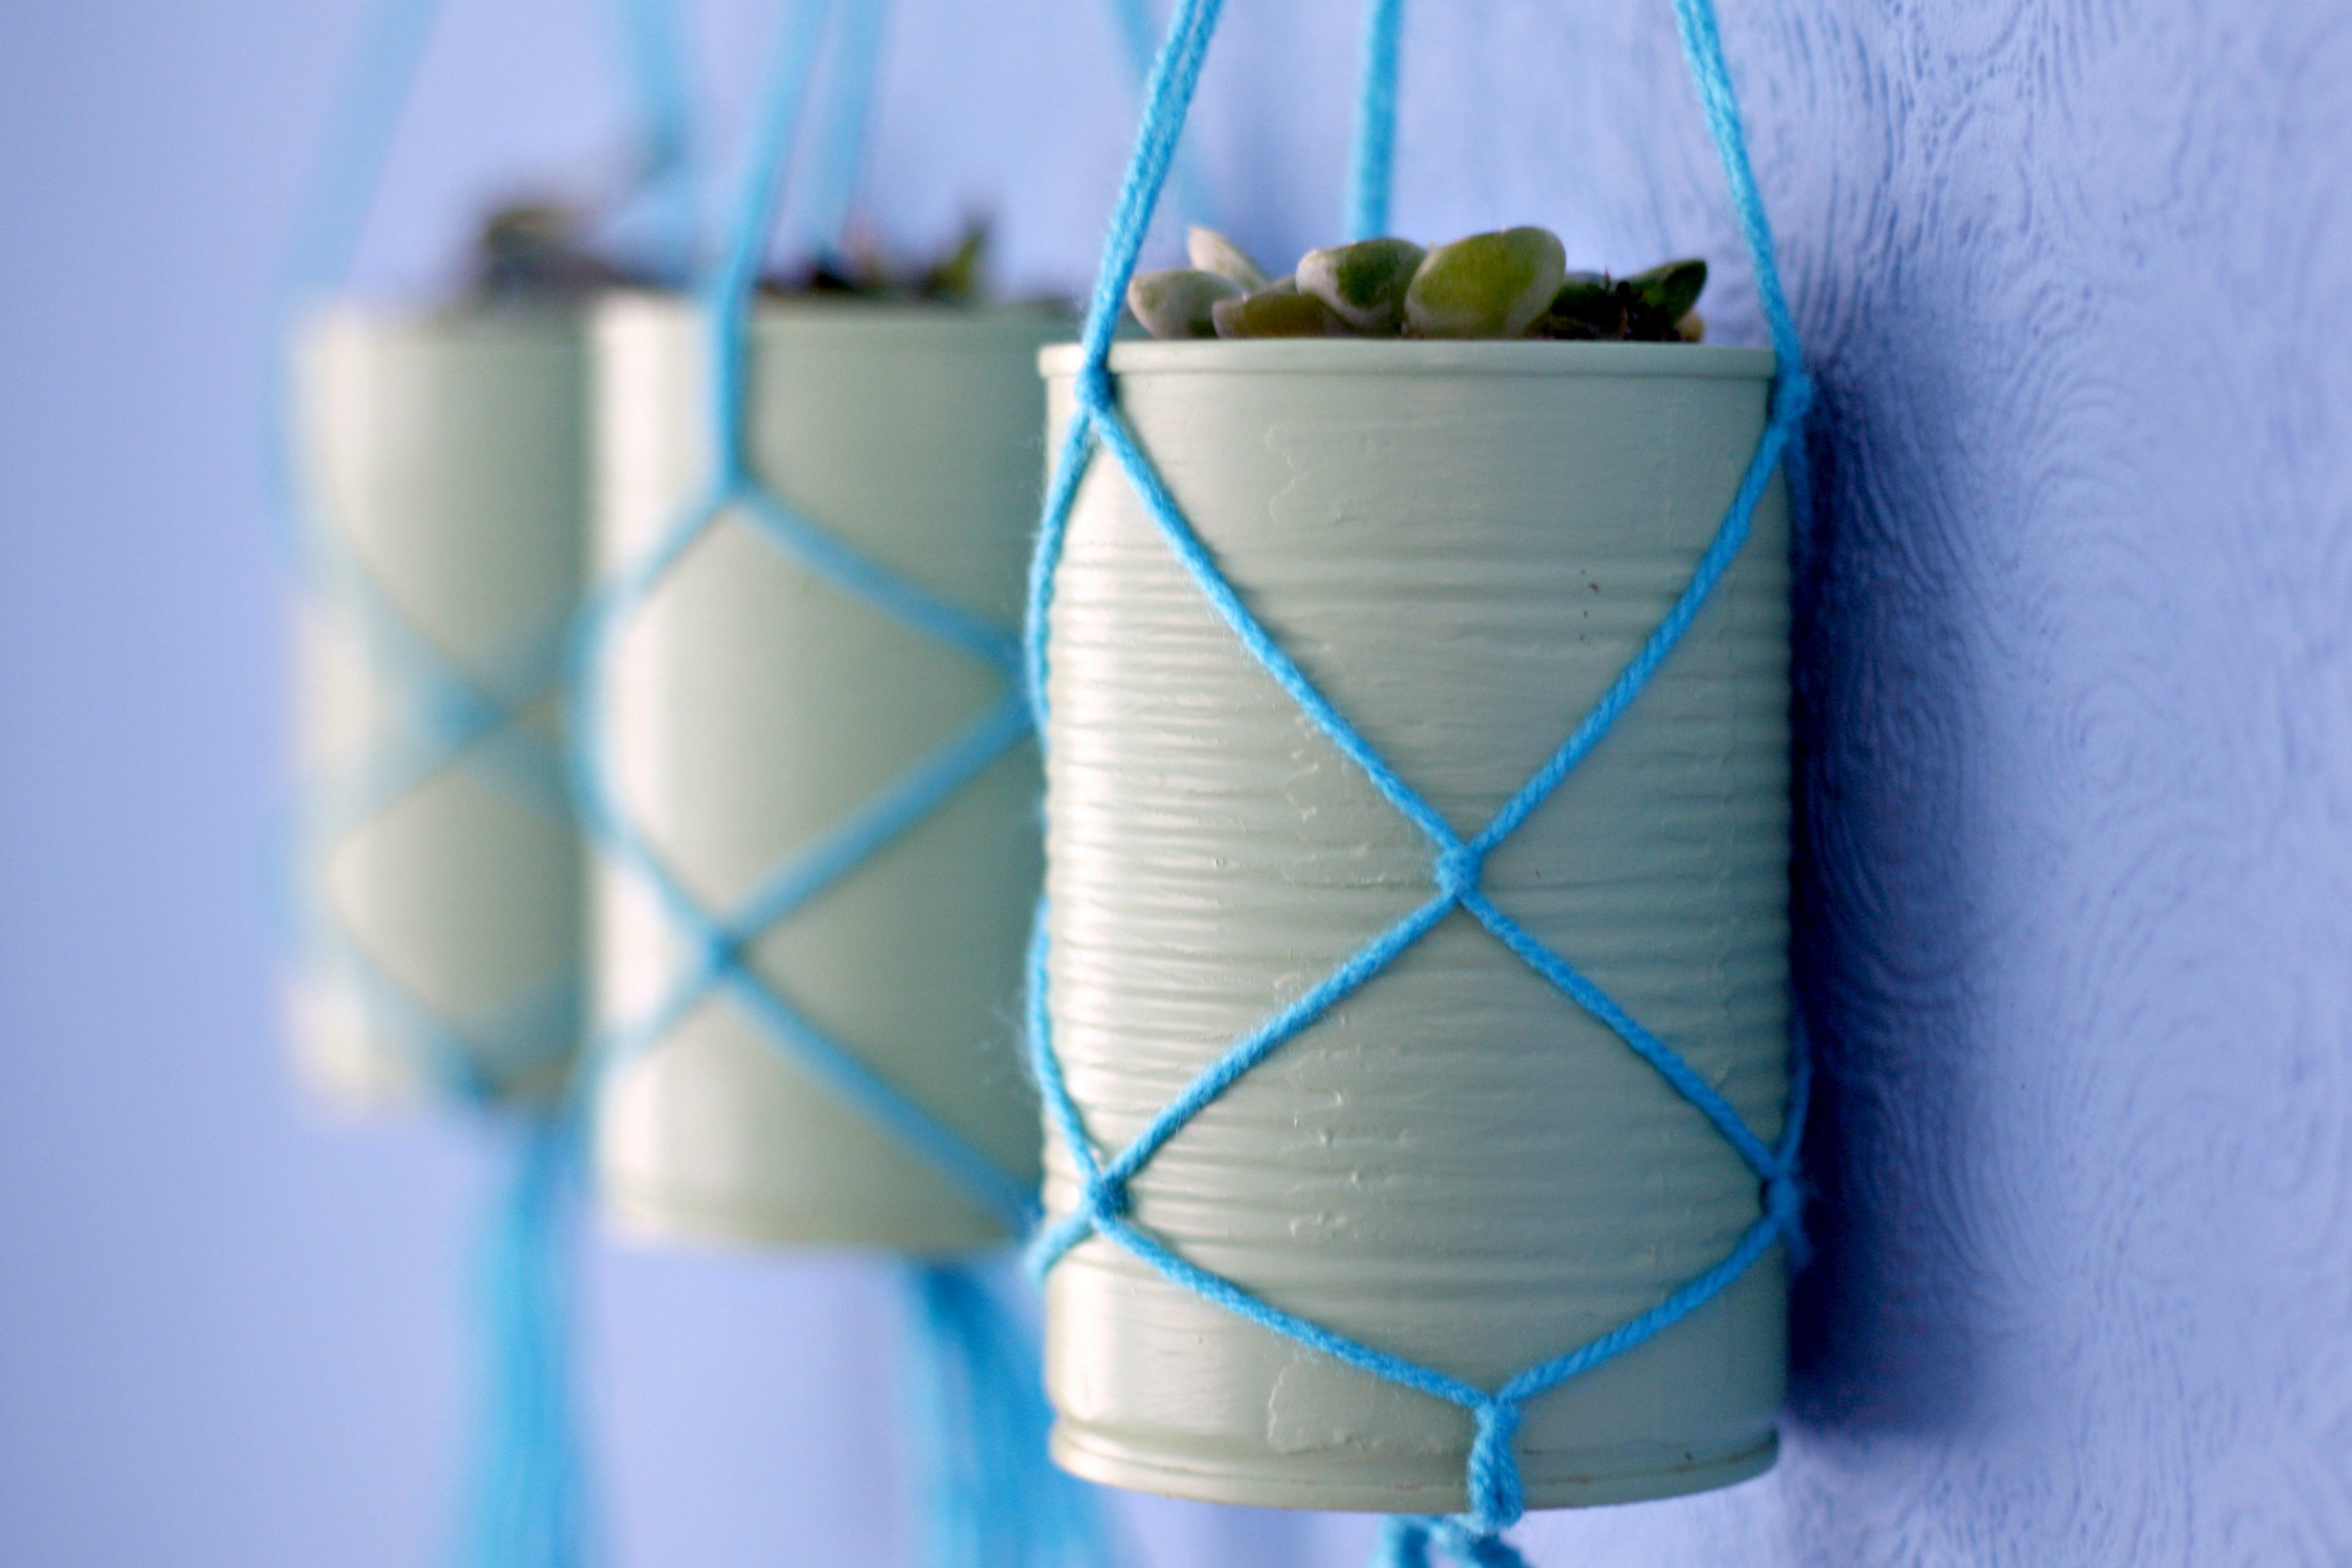
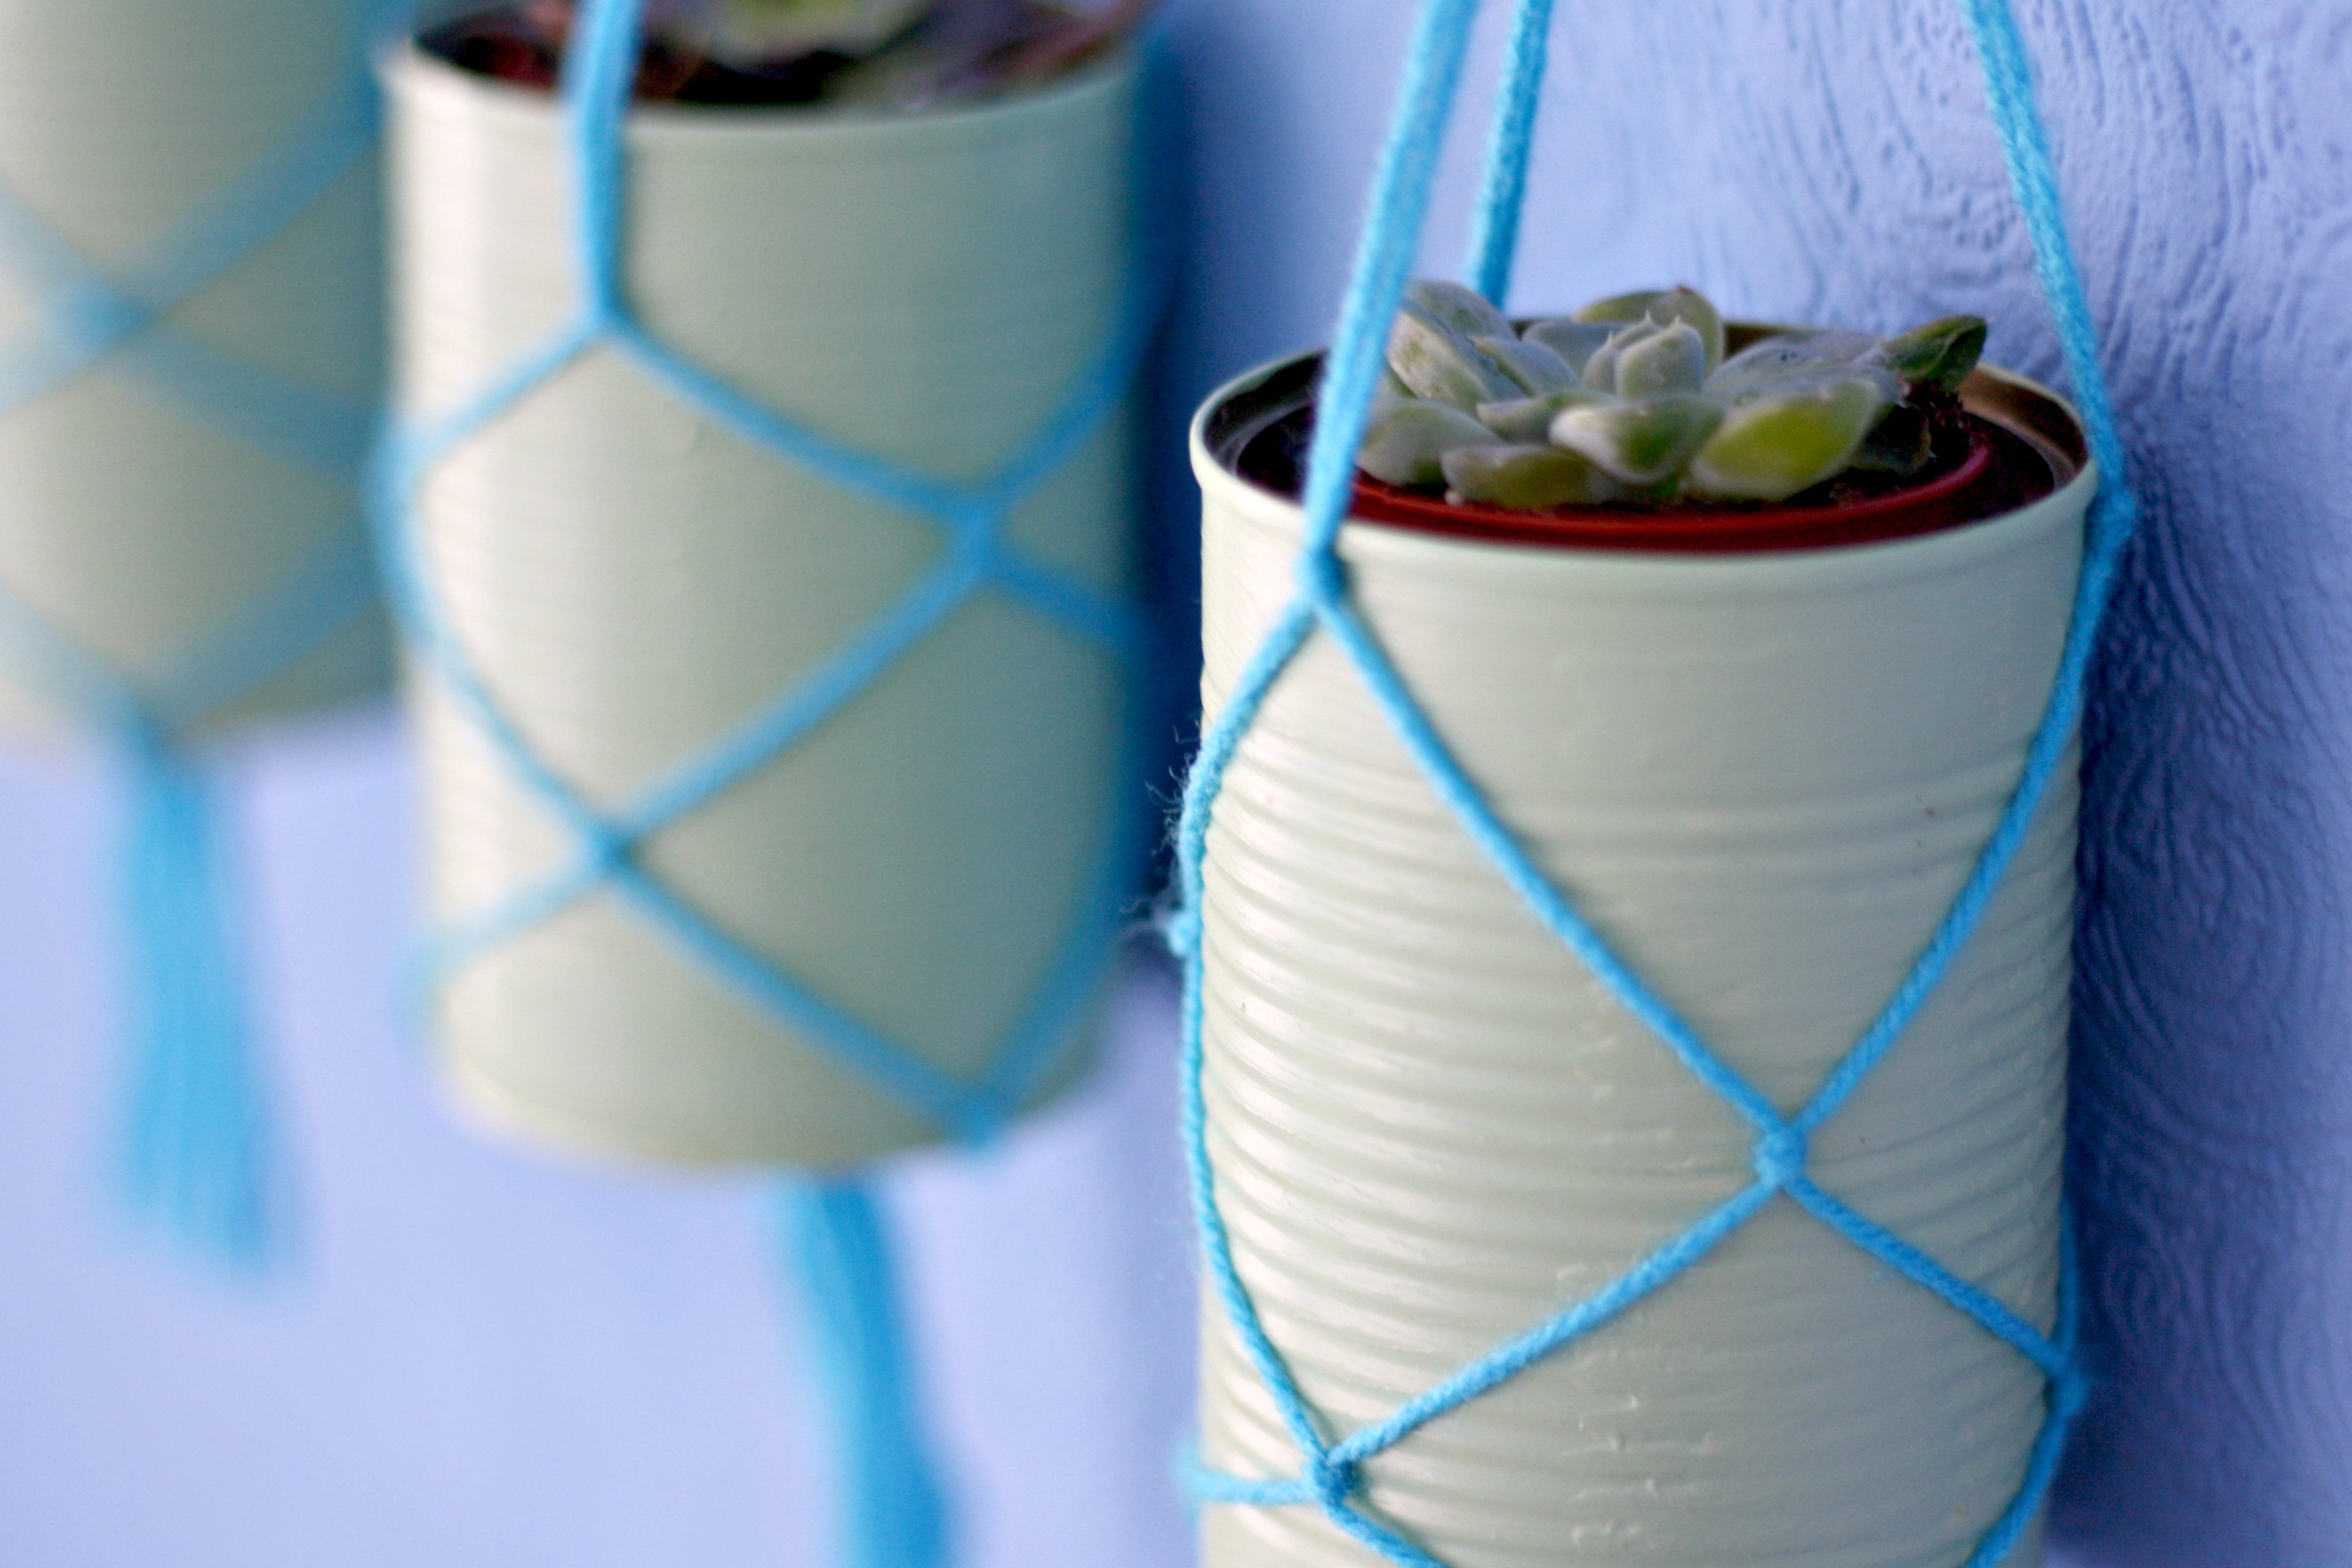
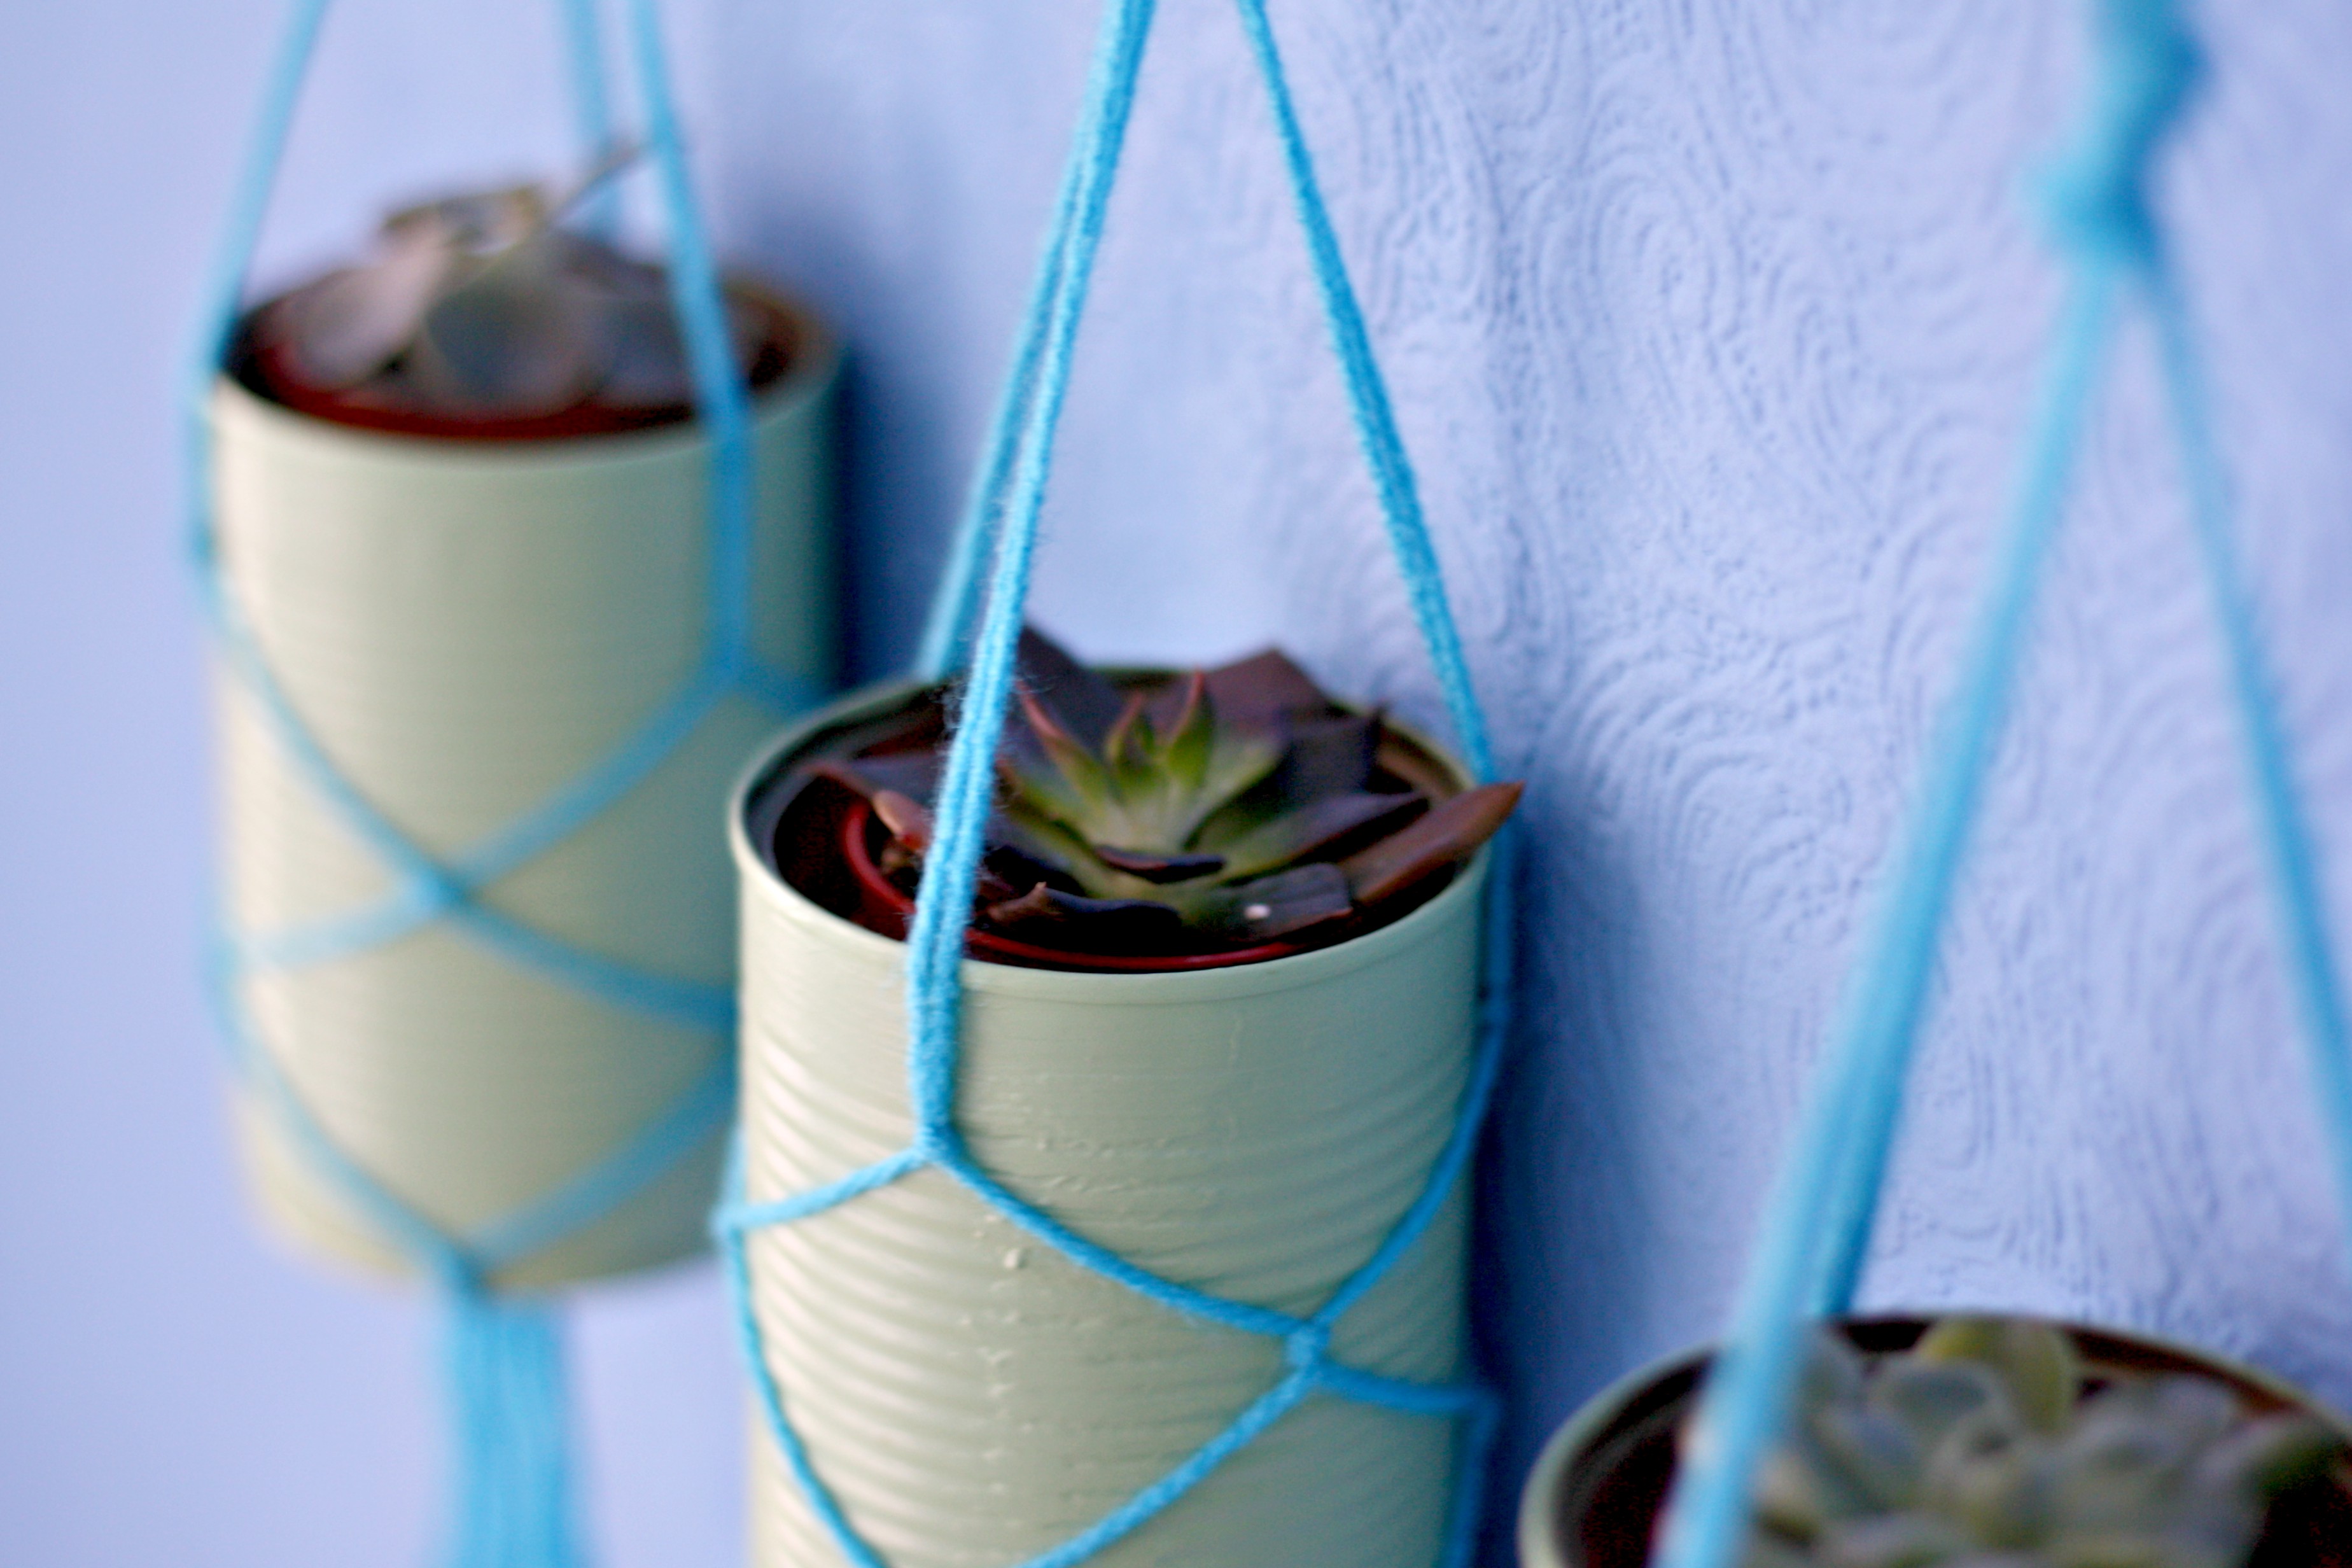
Step number one is to paint your cans. I chose to make 3 hanging planters so painted three cans in this fun spring green colour. They took two coats so let the first coat dry before applying the second. Leave them to dry completely.

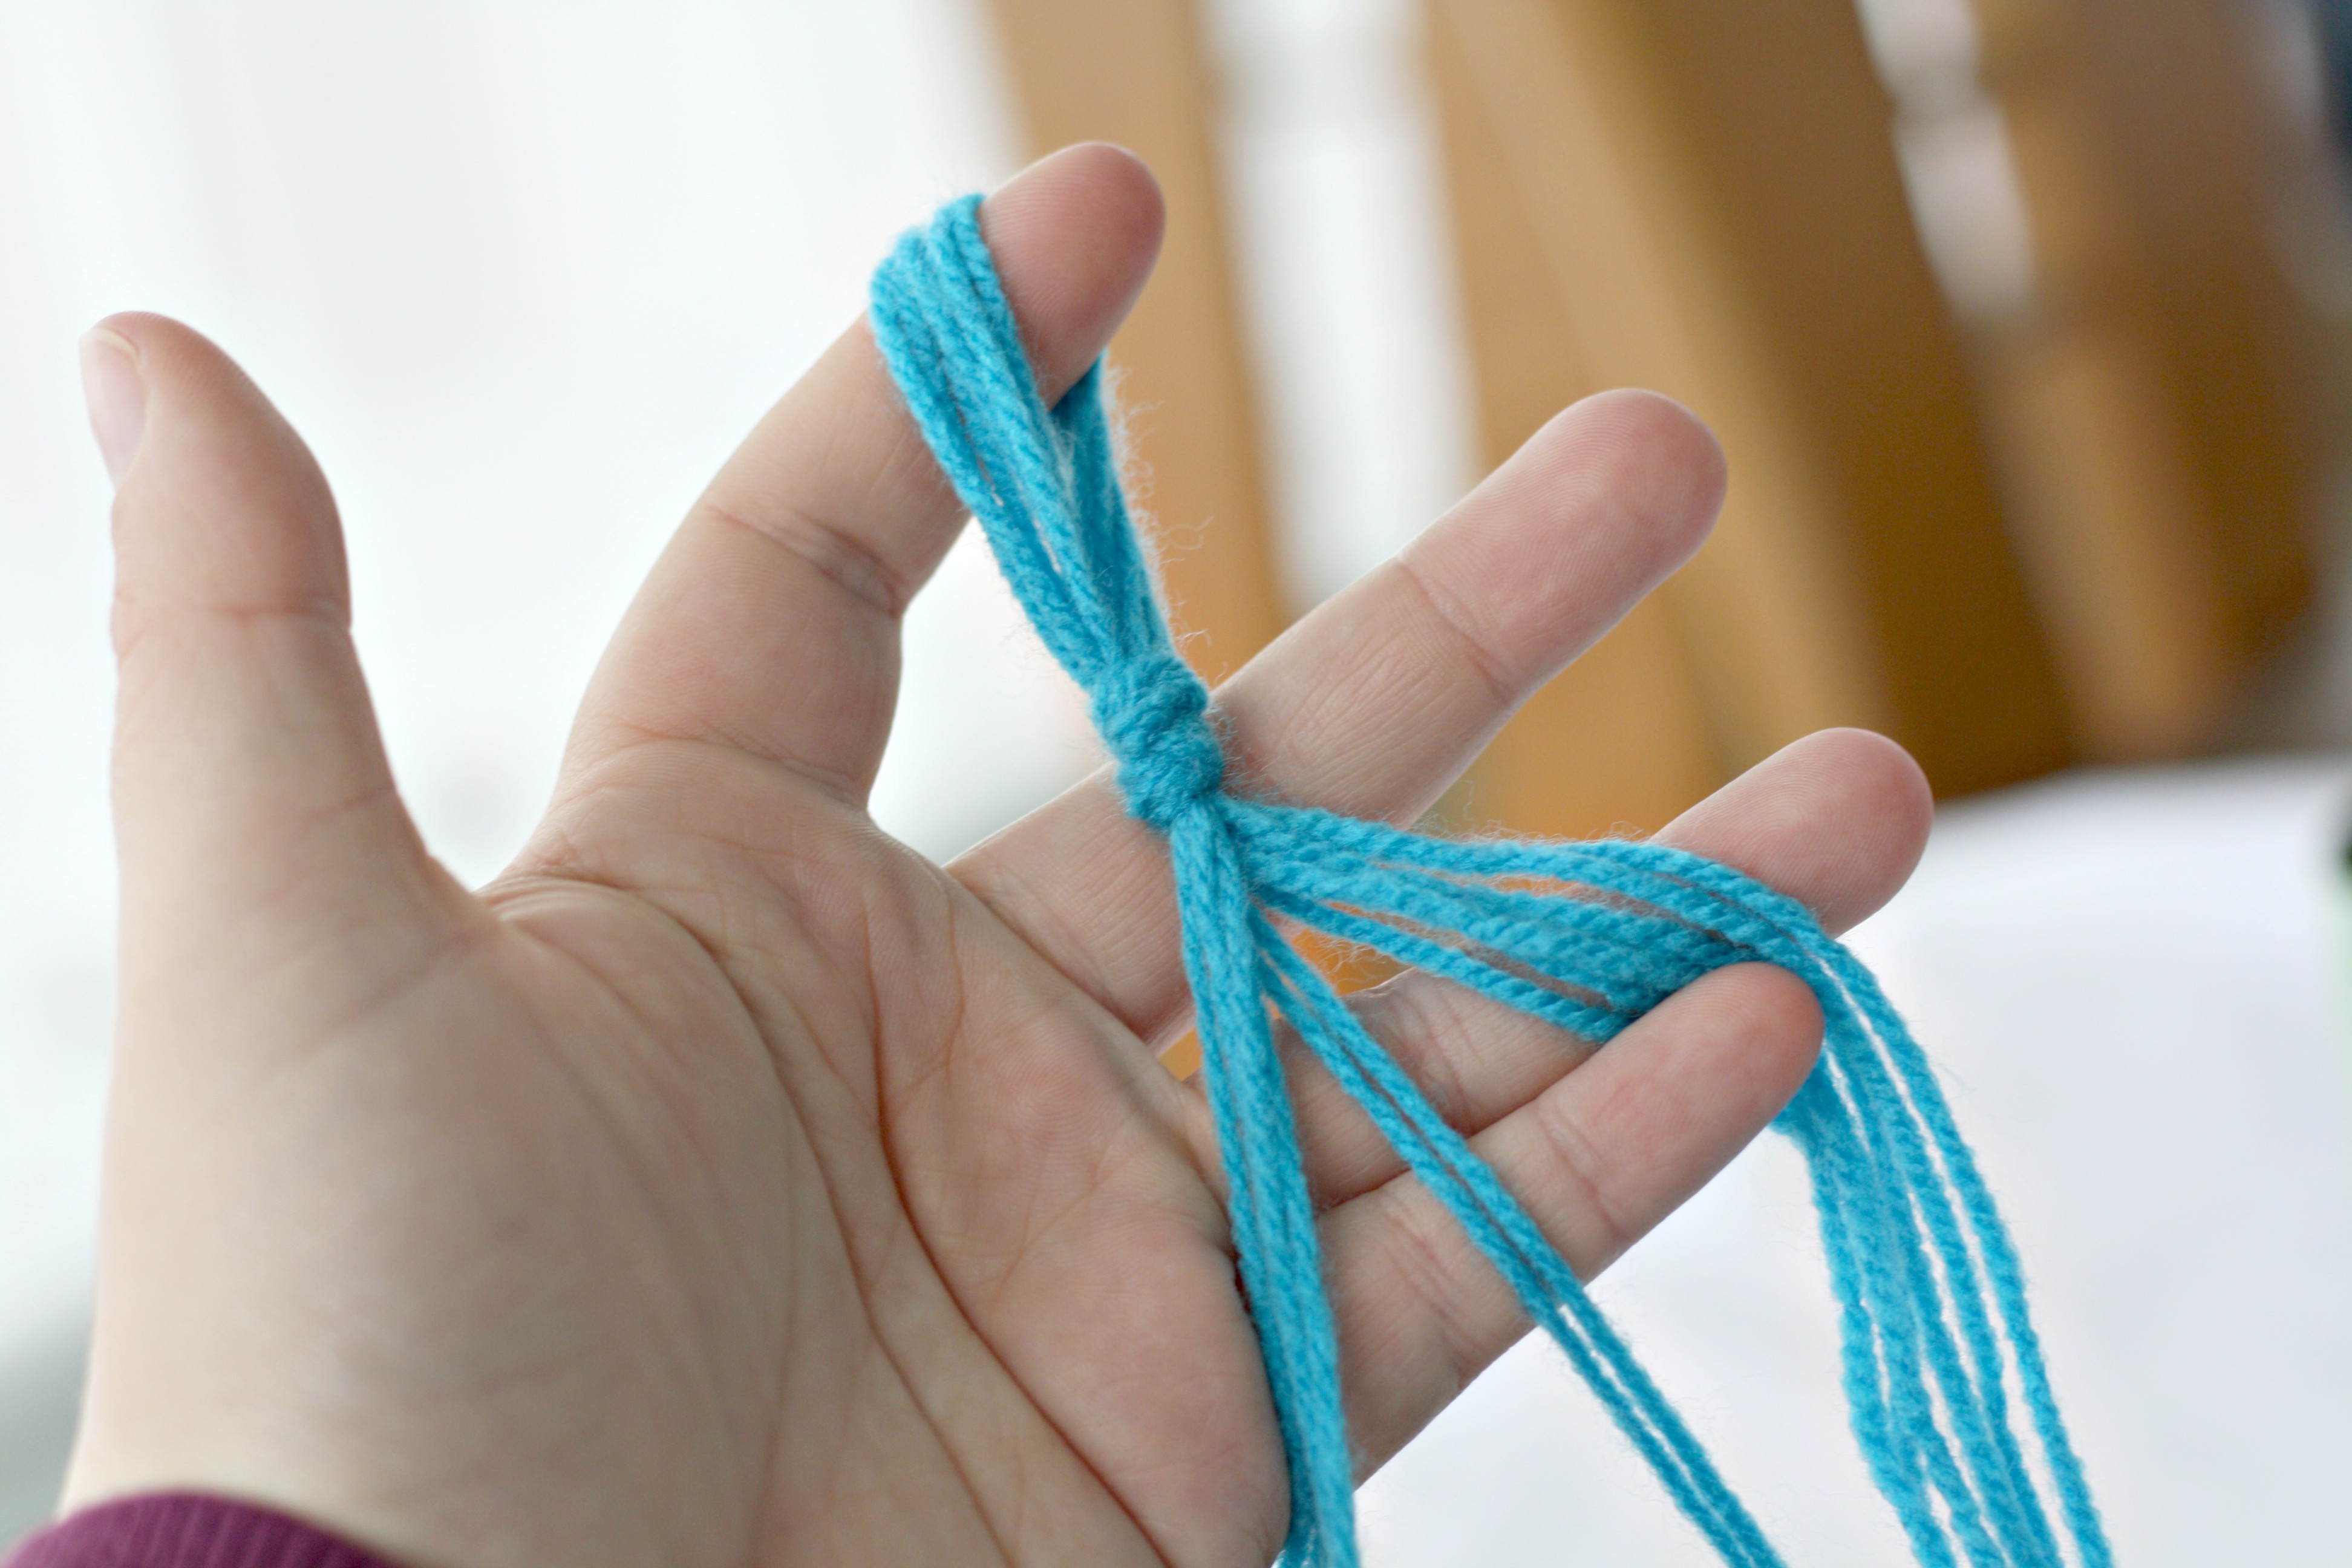
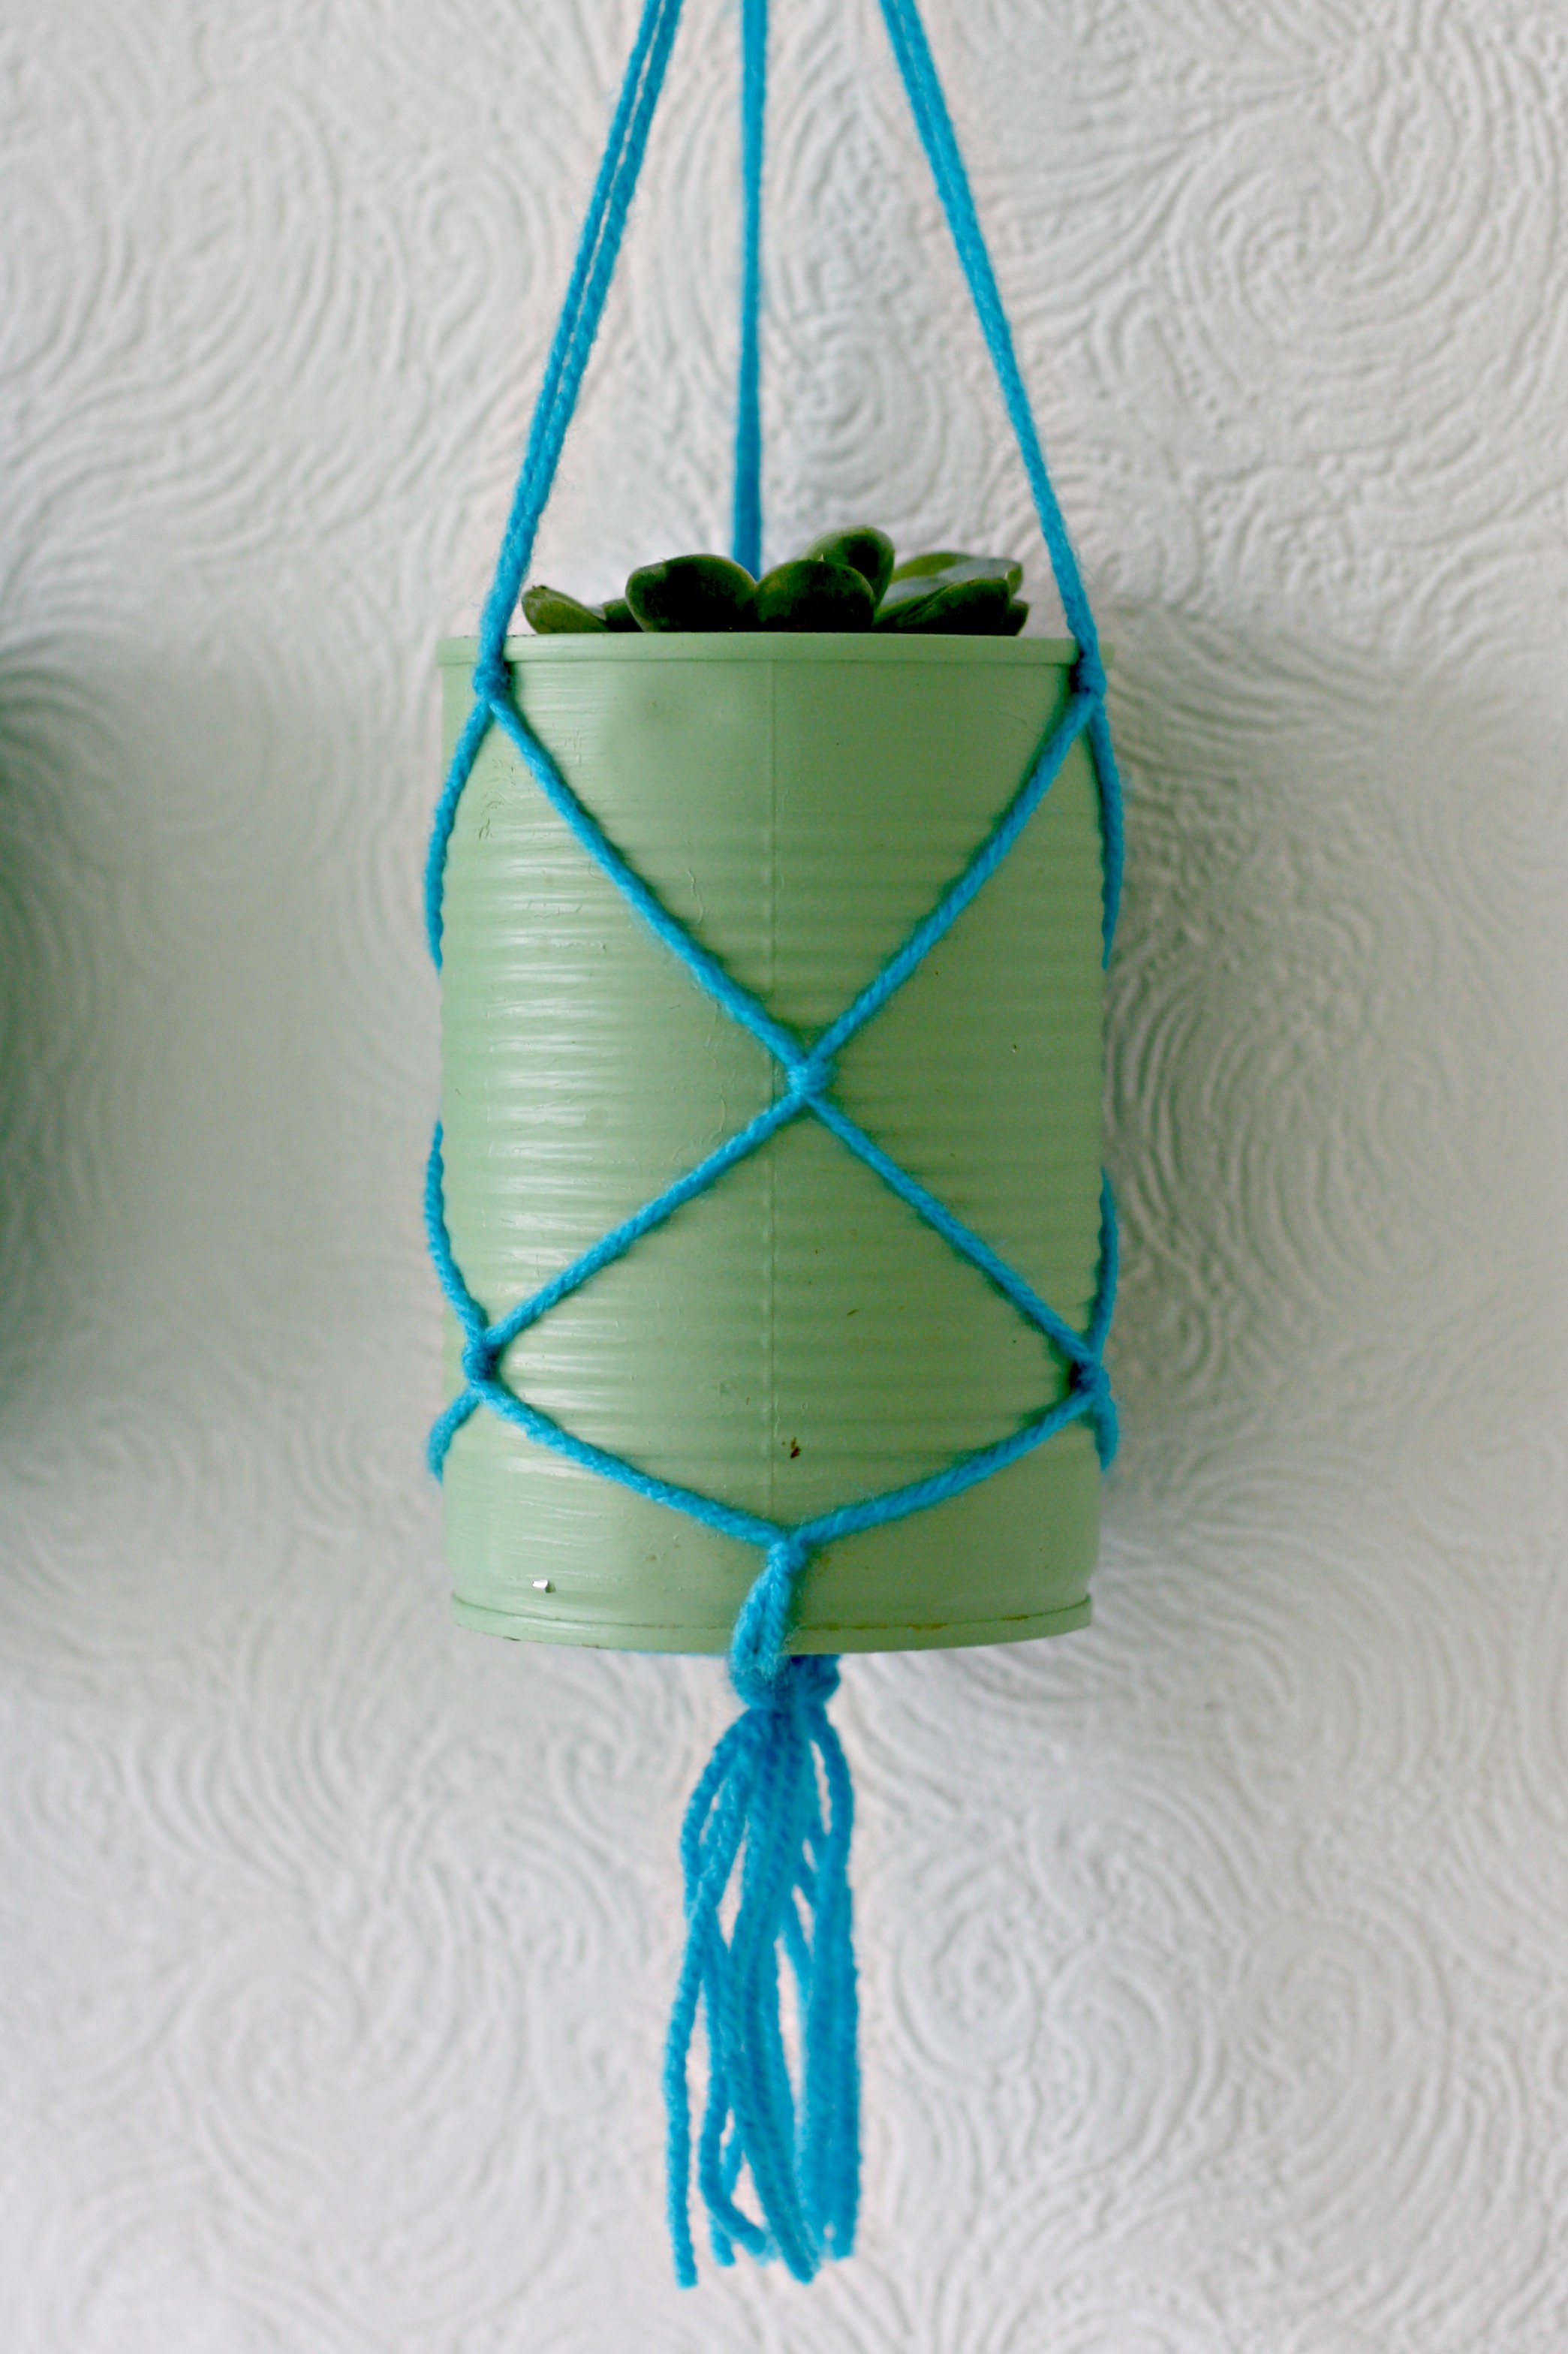
The next step was very trial and error for me! It is some very basic macrame, which is something that I have never tried. I knew how I wanted it to work but had no idea how to tie the wool to make it do what I wanted. After a few attempts I got what I wanted and I’ll do my best to explain my steps! First I cut six lengths of wool (I cut them pretty long so I had plenty to work with), take these and tie them together to form a tassel, then lay them out like above so you can see what you are doing.

Take two of the strands and tie them in a knot about an inch from the tassel. do this twice more with the remaining strands so that it looks like the image above.
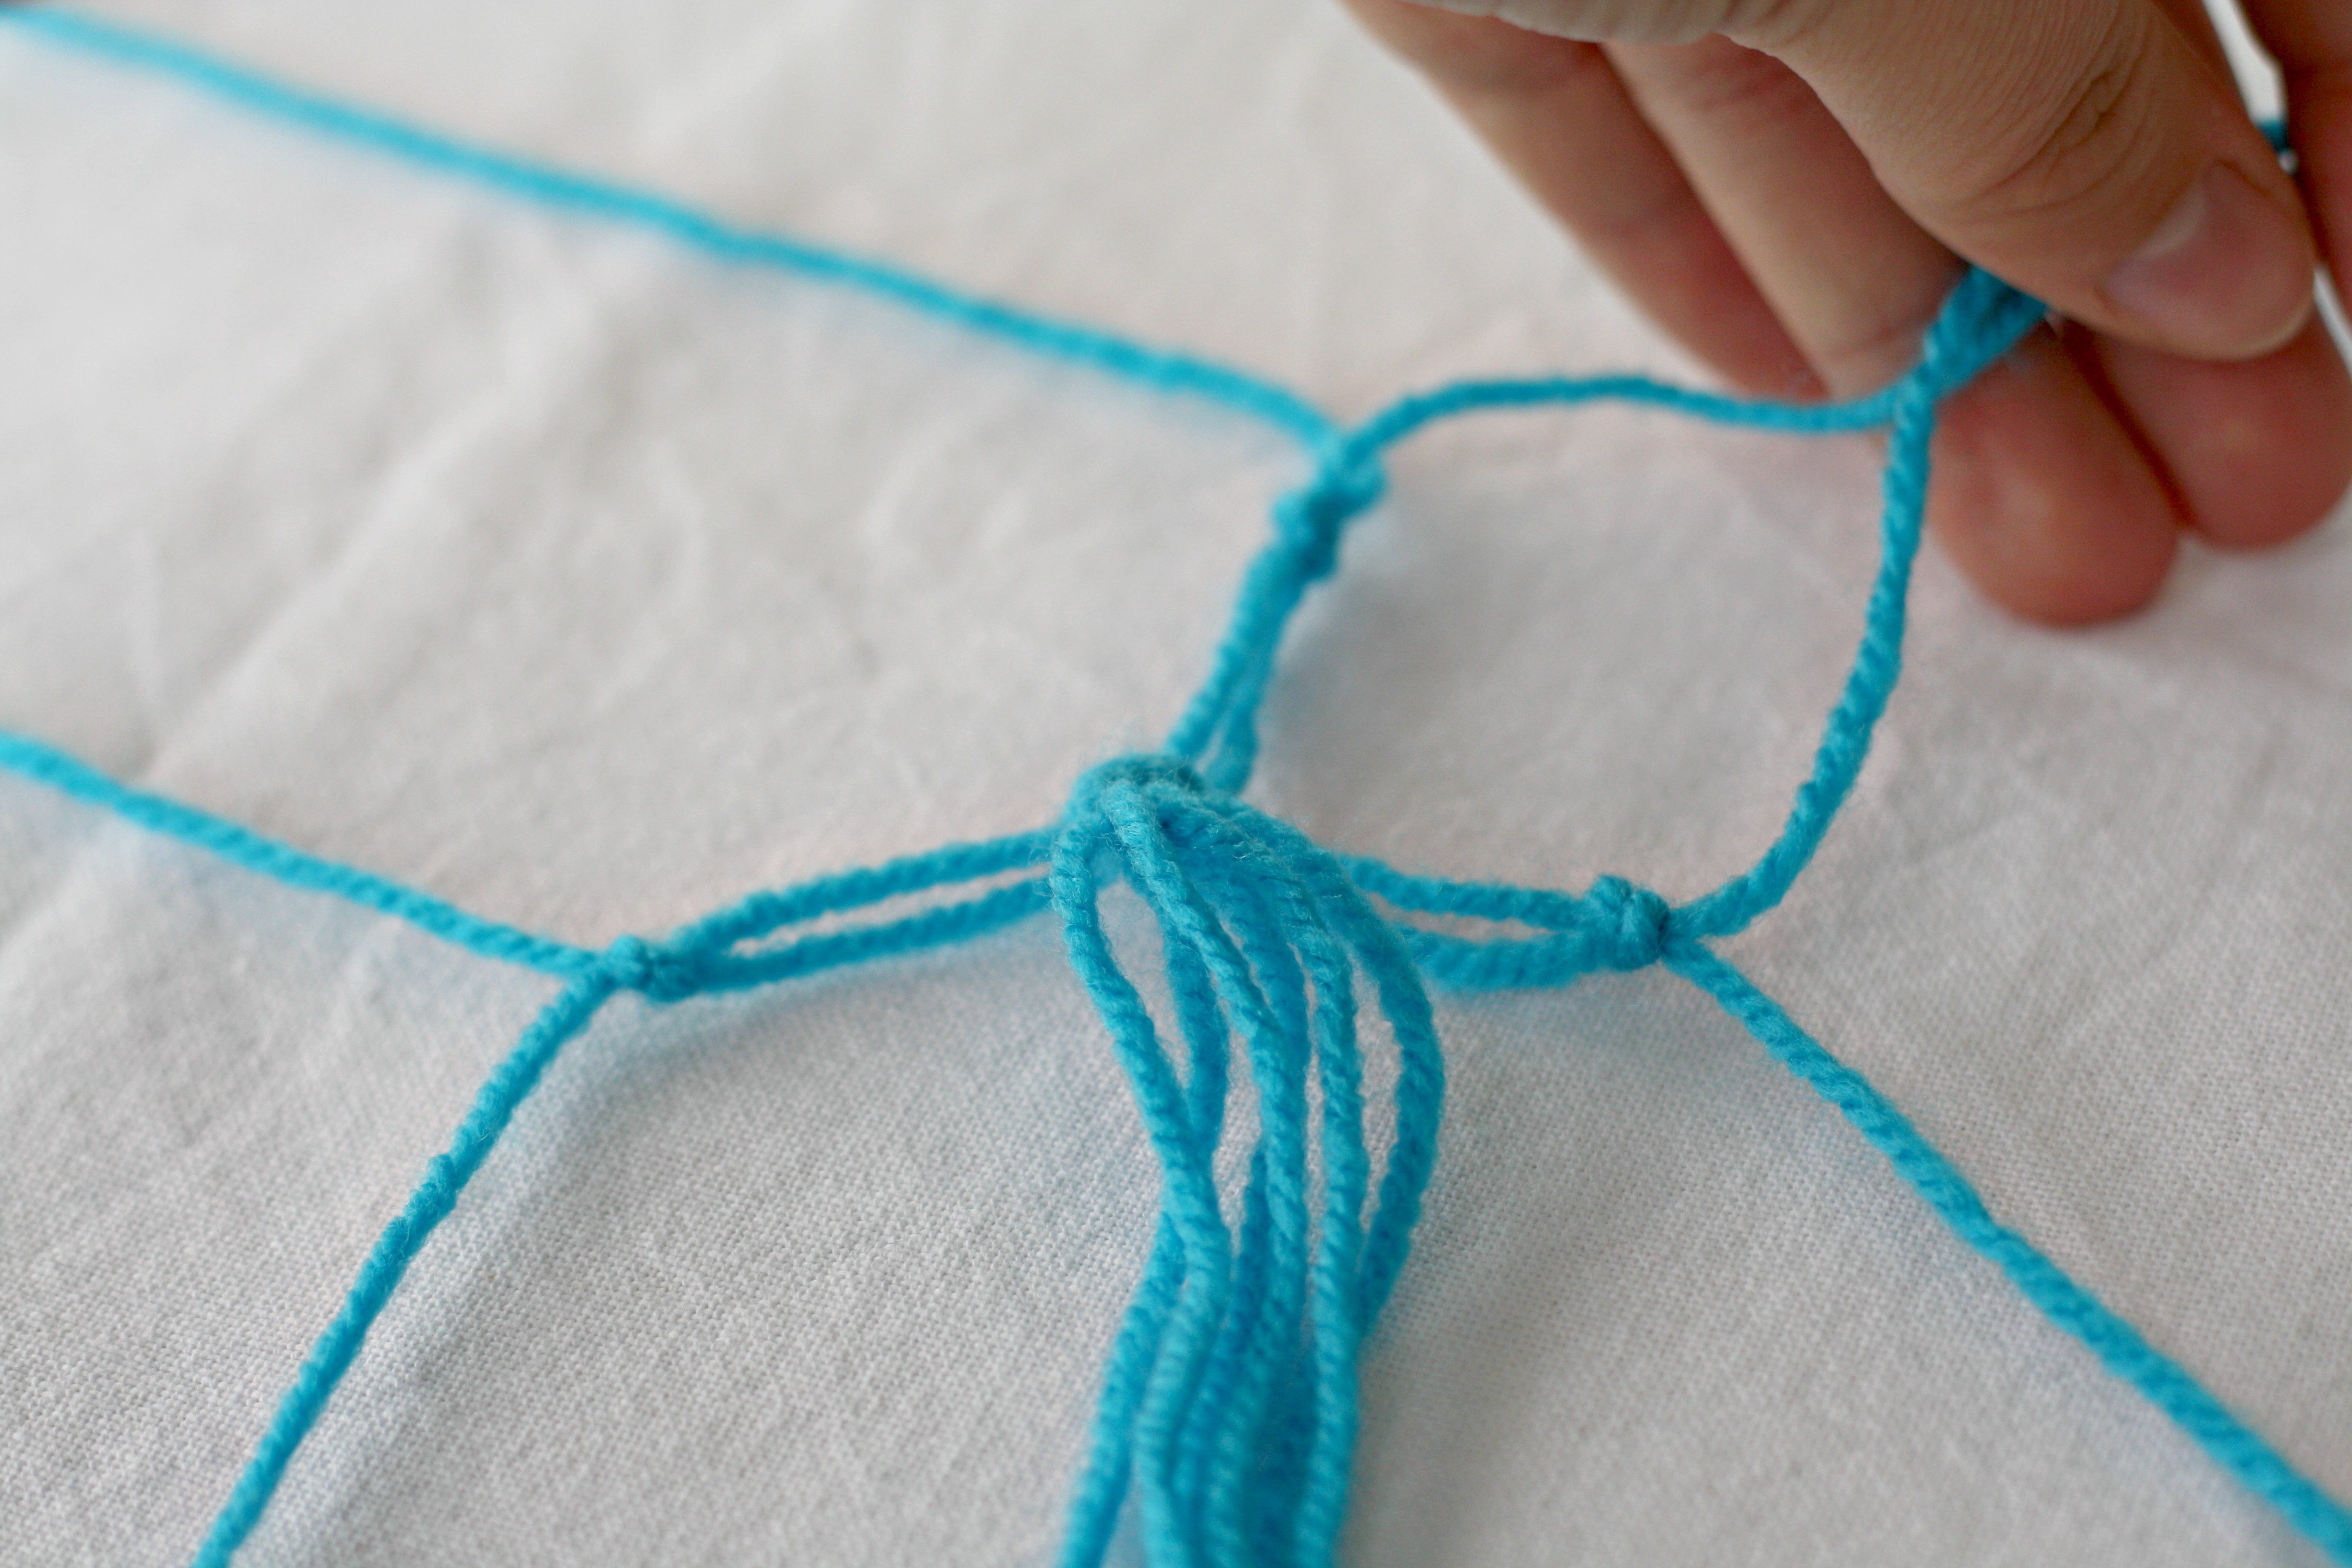
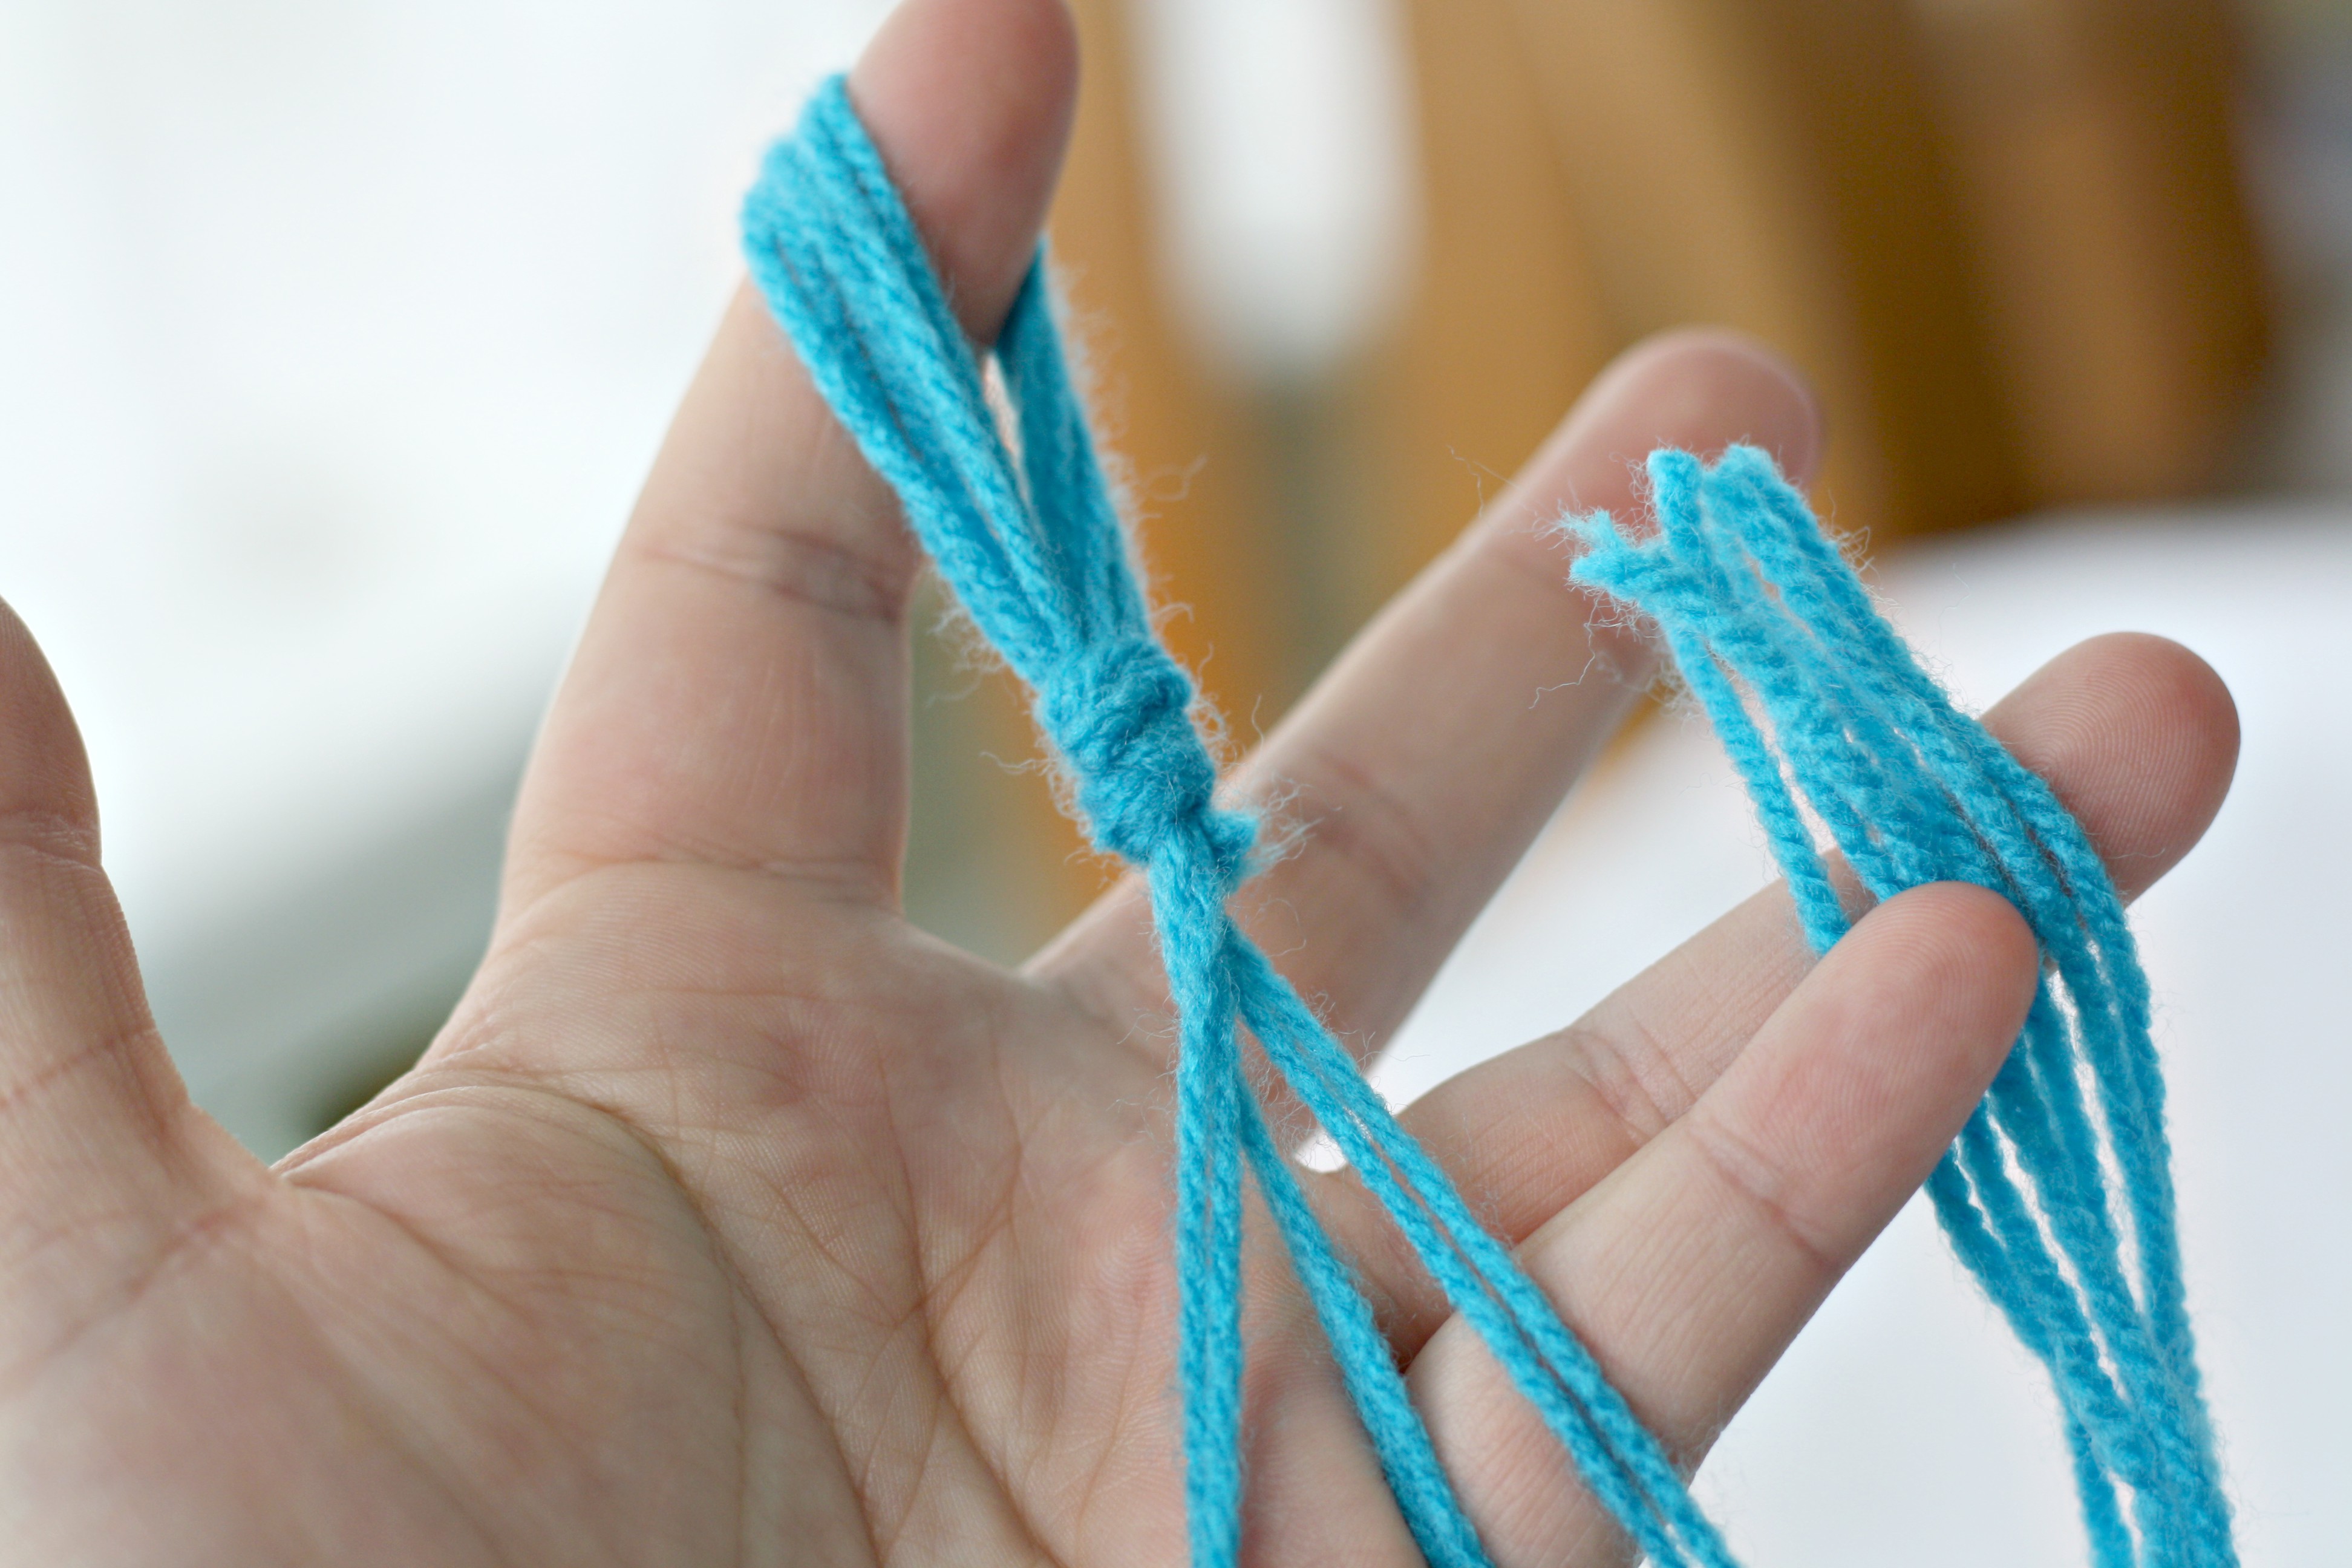
Next take one strand from one knot and another strand from the knot next to it (look at the picture above) and knot these about one inch from the previous knot. Do this again twice with the remaining strands.

Repeat this method another three times, always take a strand from the previous knot and knot it an inch down with a strand from the knot next to it. This method is pretty difficult to explain but hopefully with the help of the photos you can see what I mean. Also this size works with a regular sized baked bean can. If you use a bigger can you would need to add more strands and leave a bigger gap between knots.
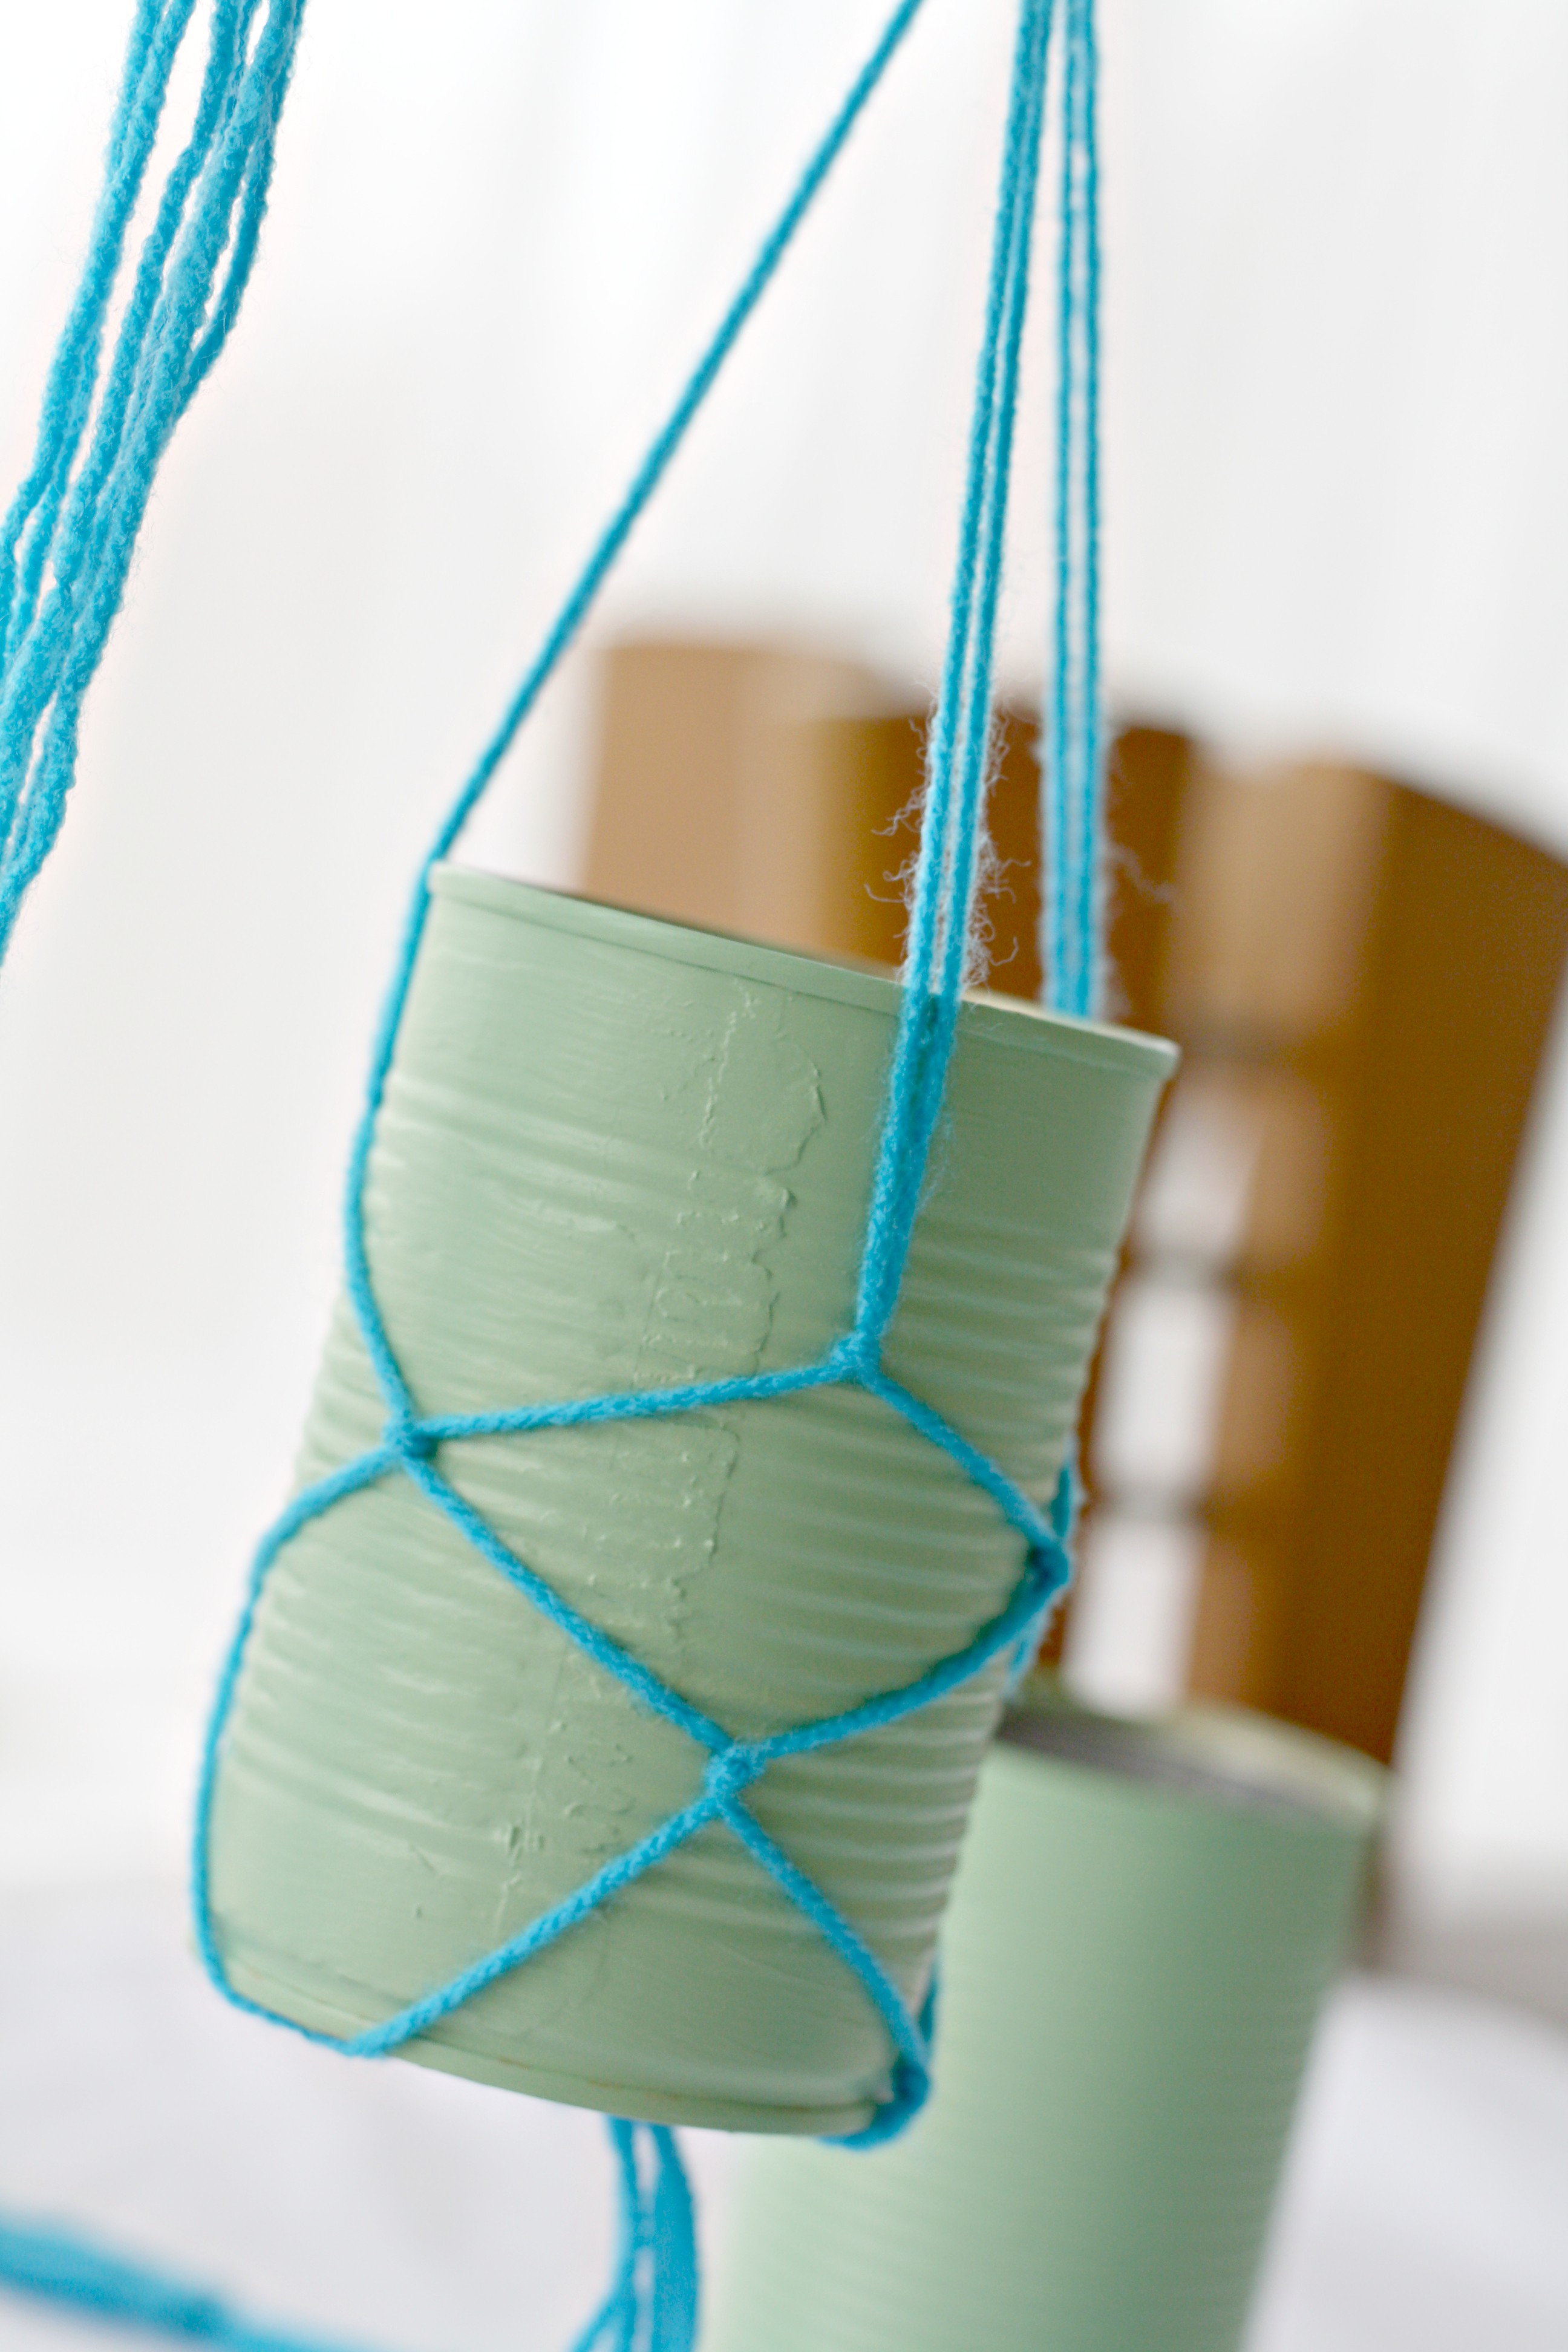
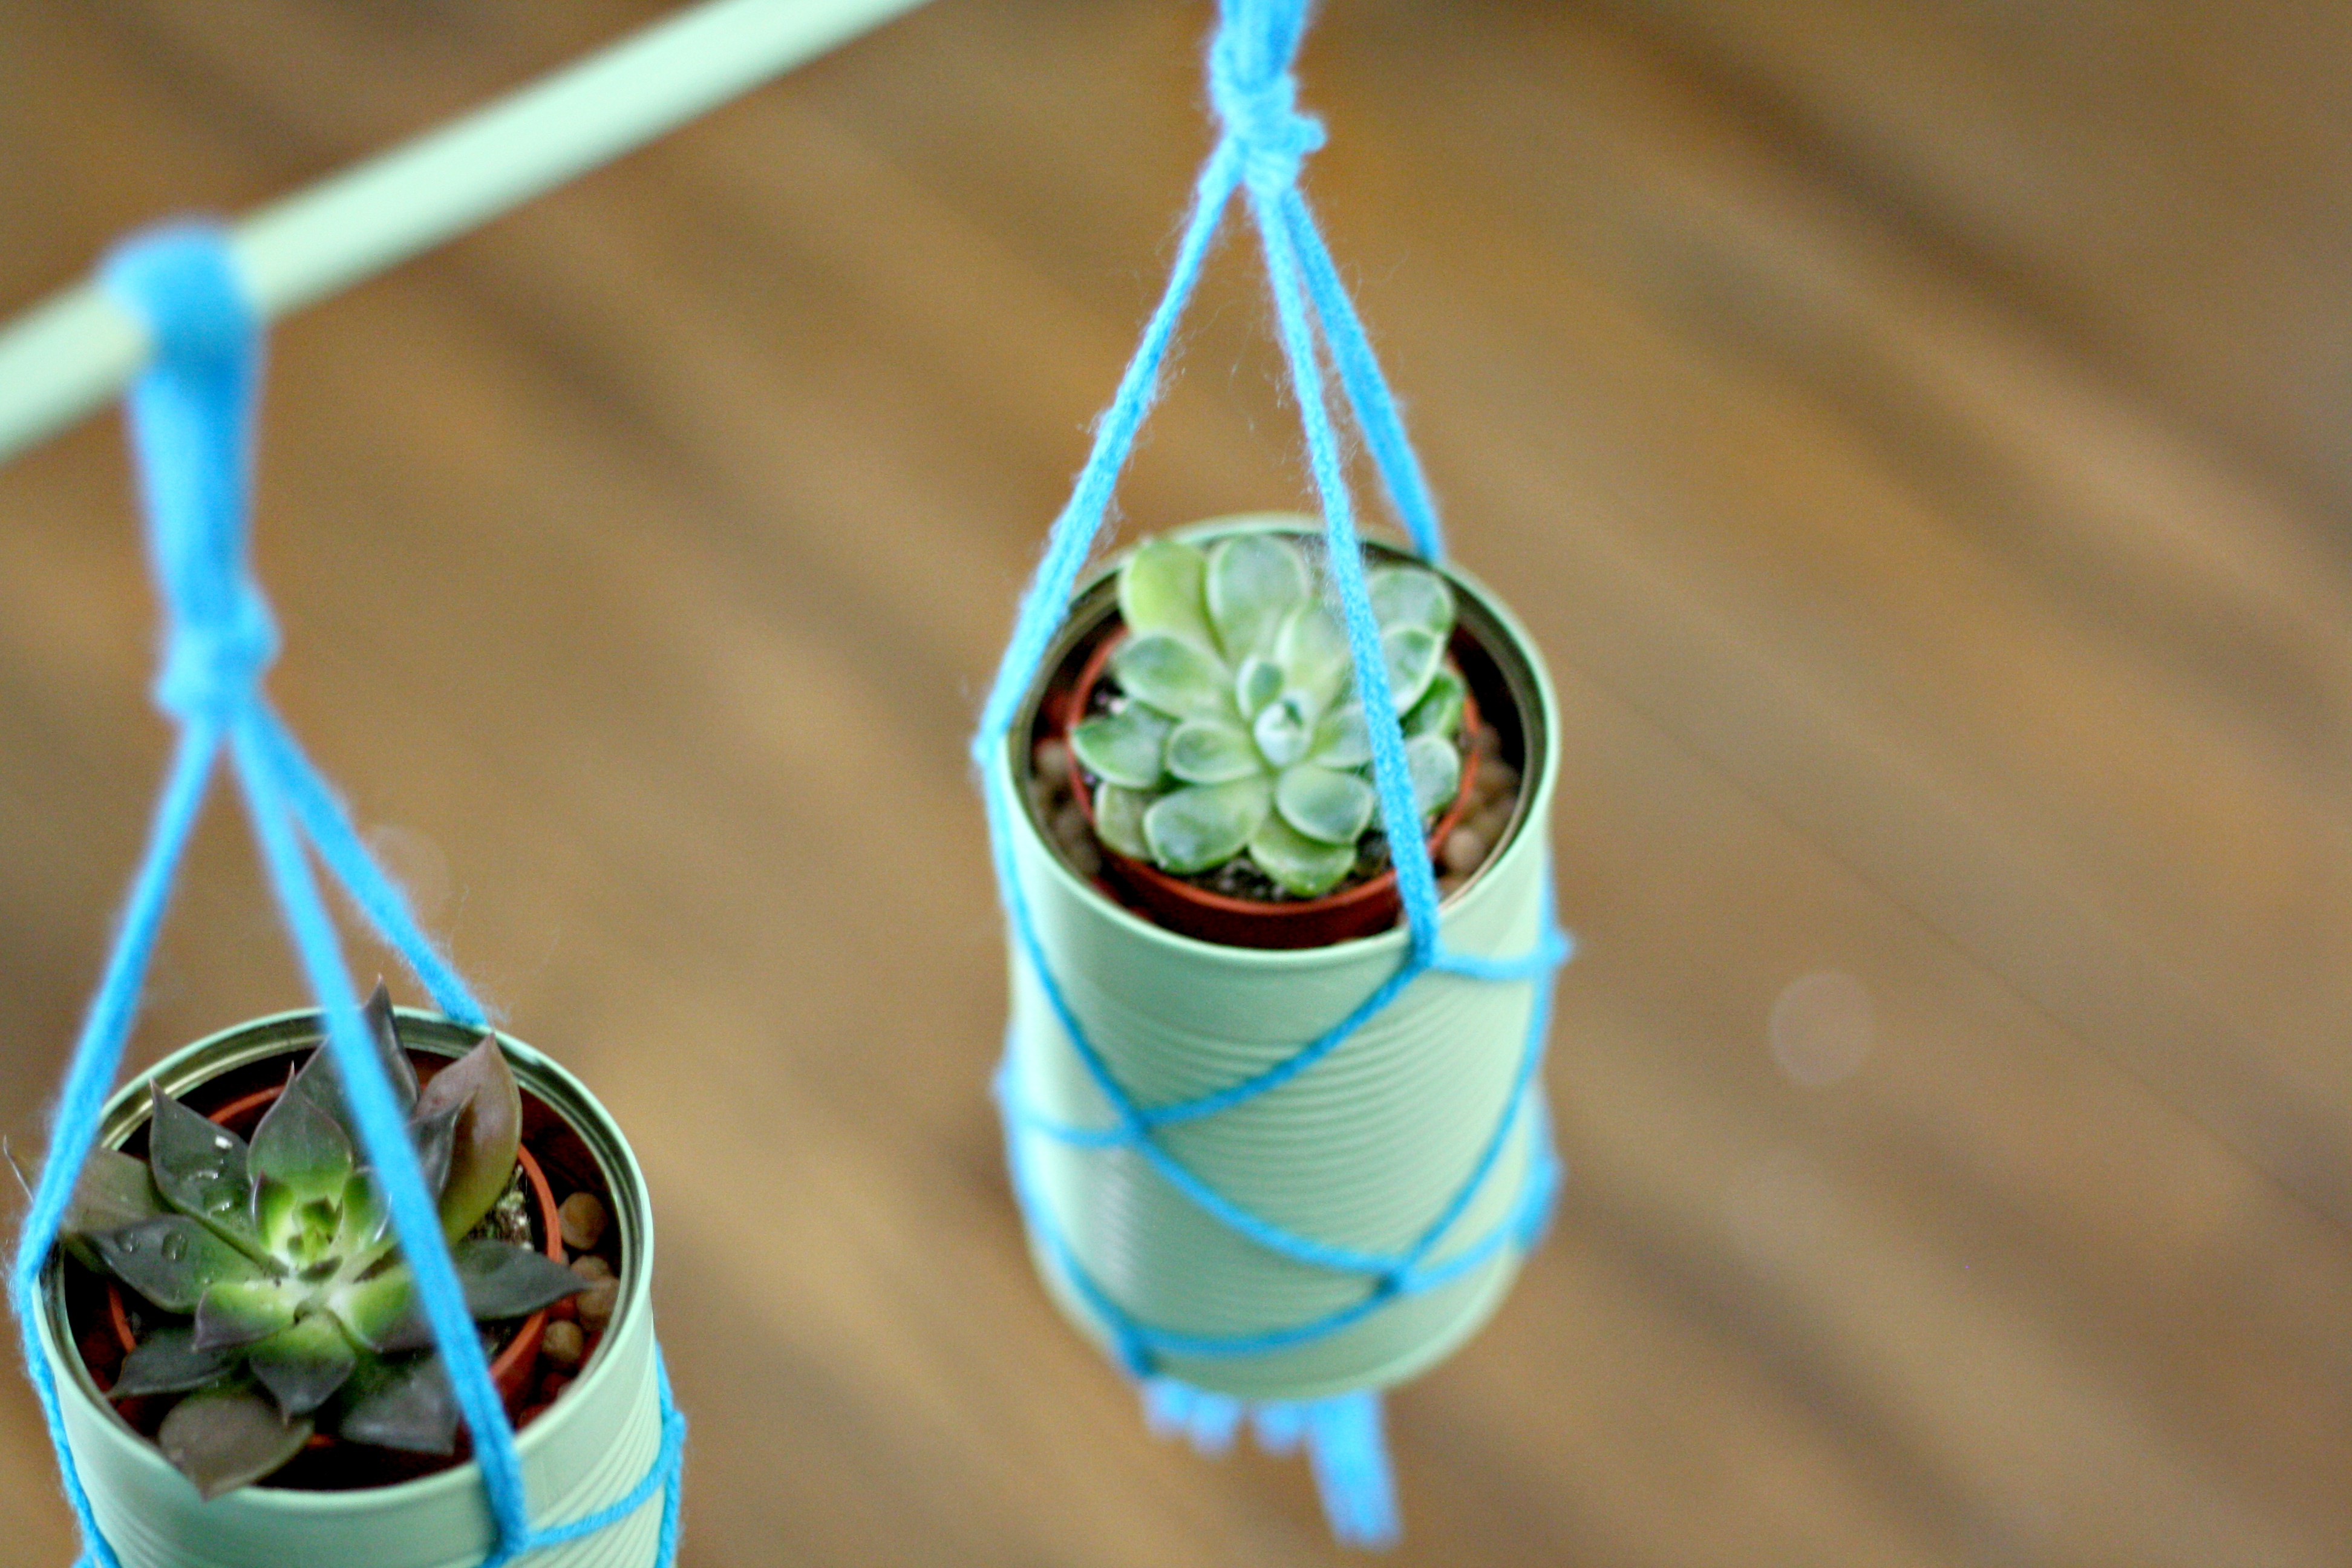
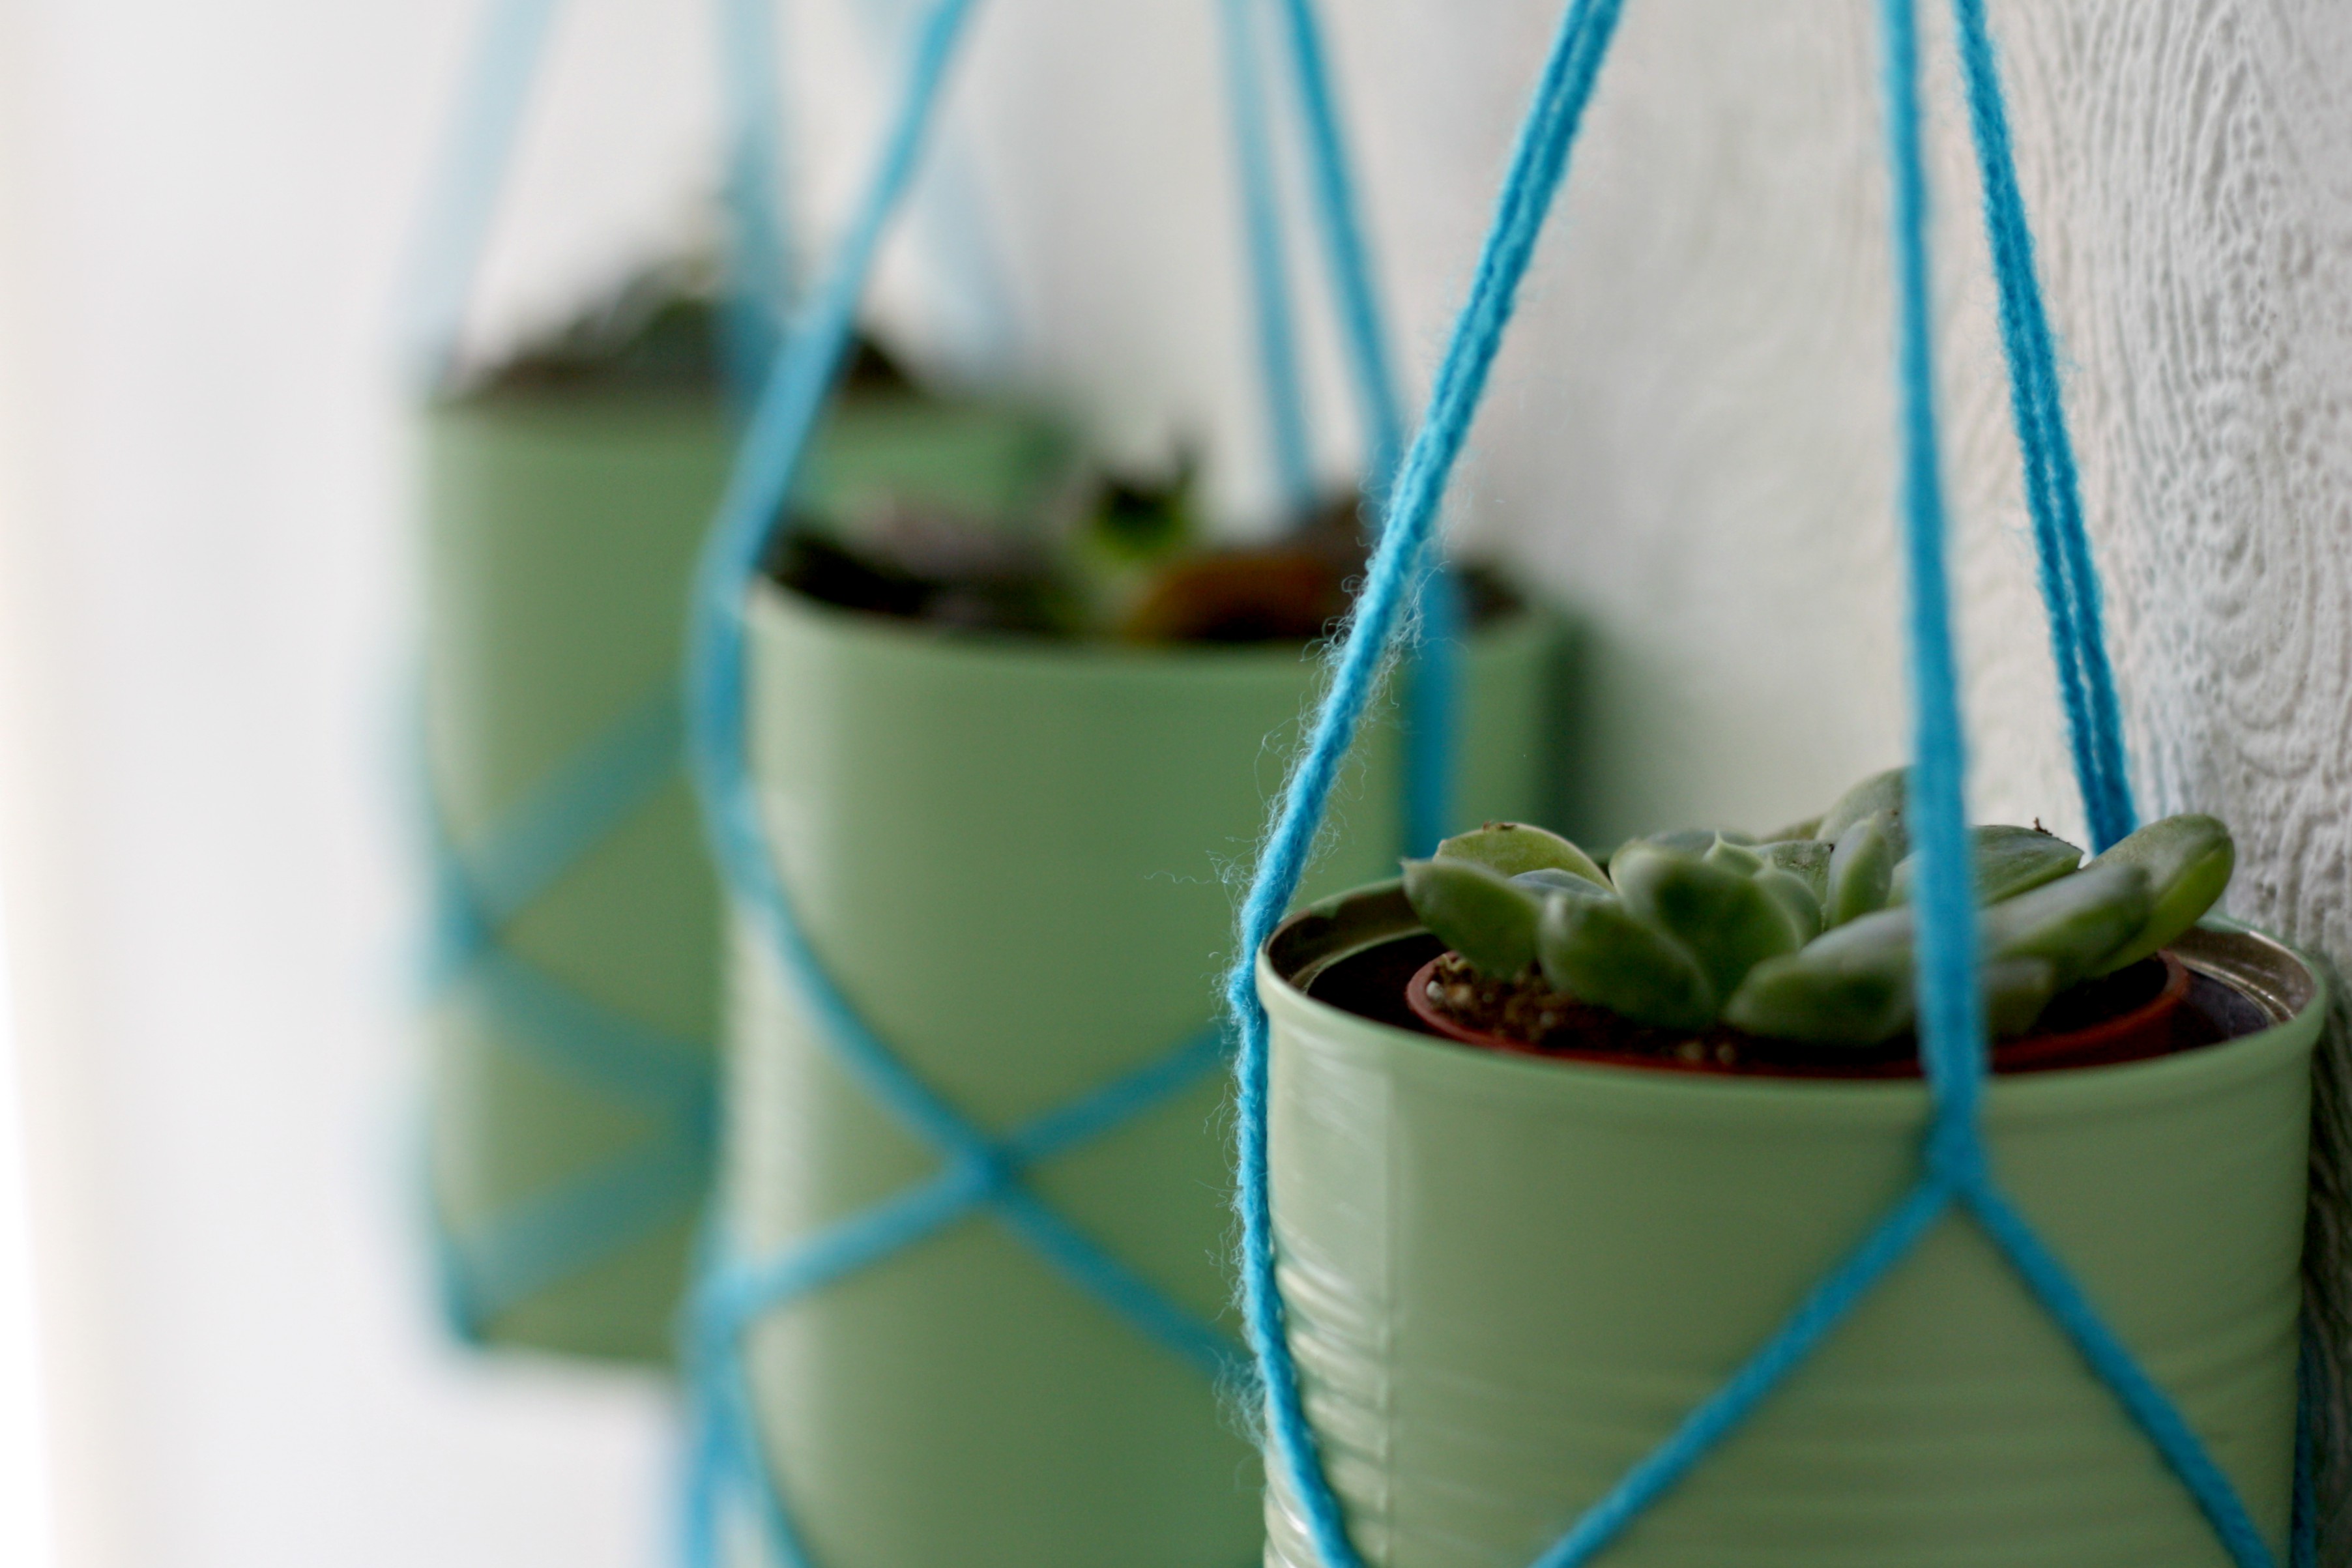
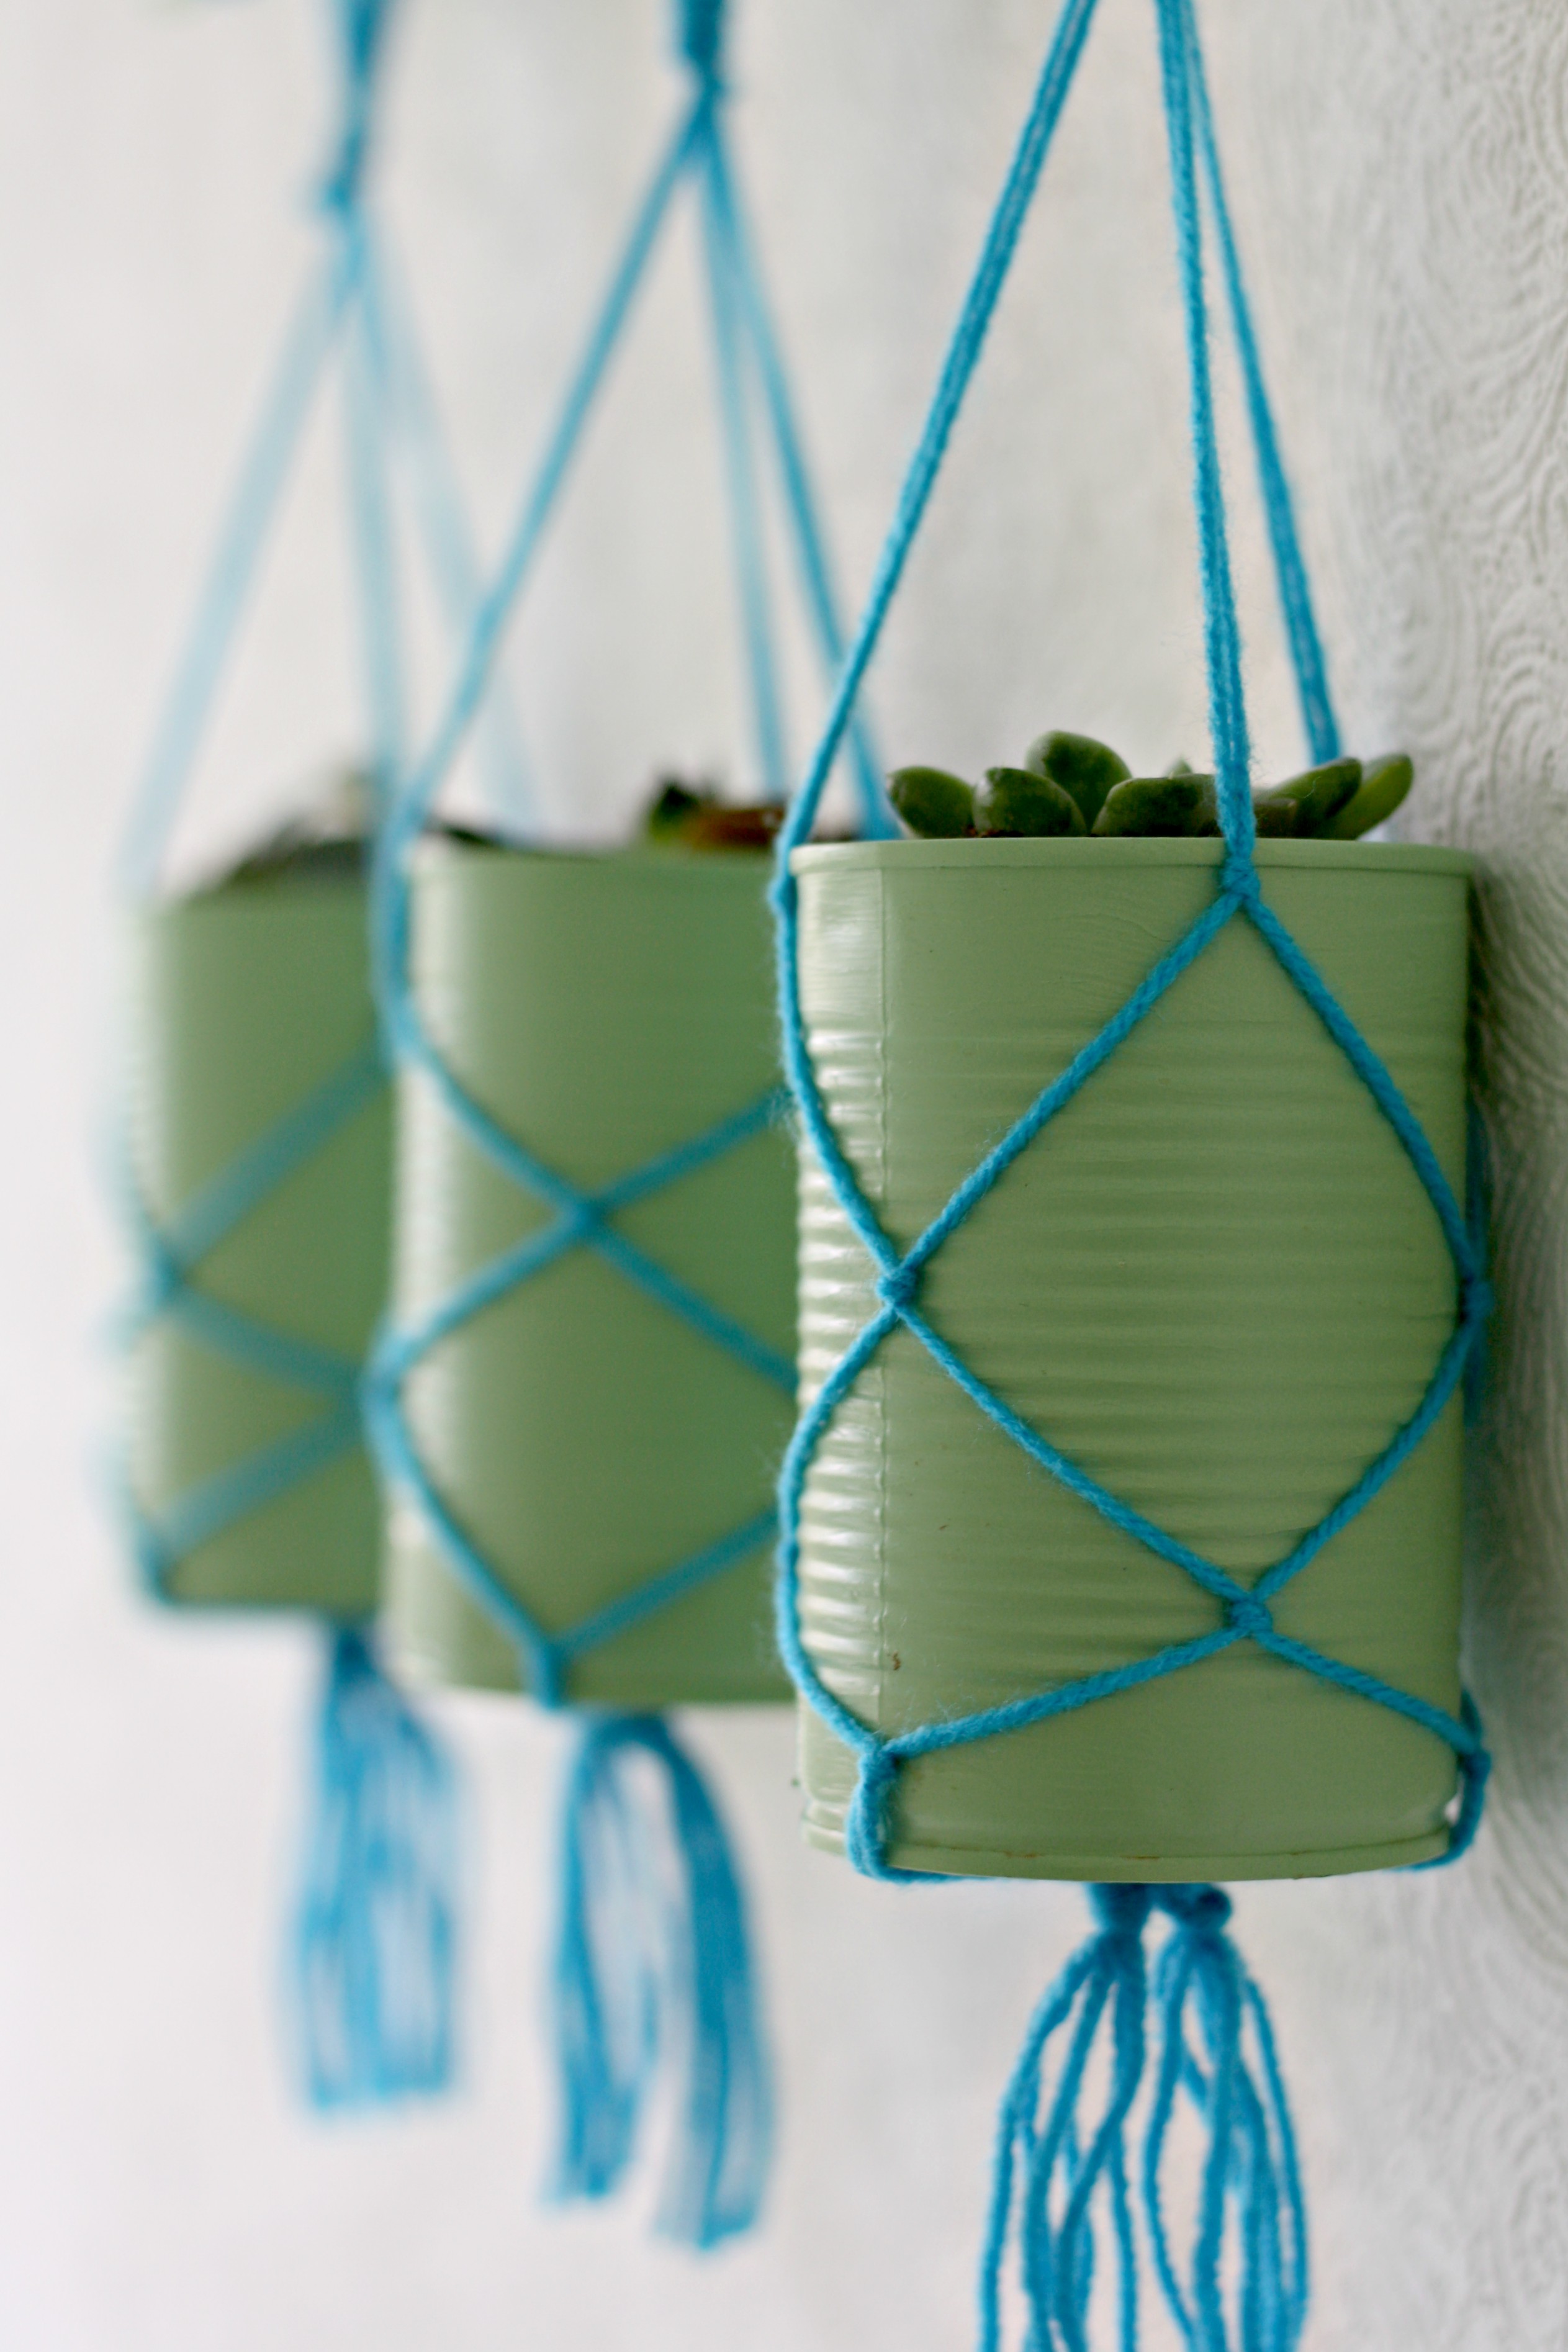
If you have done it right you should now be able to slot the can into the hanger.
Decide how long you want the tin to hang, make sure all the stands are the same length so it hangs straight and then tie a loop. Cut off any remaining wool. I made 3 cans so I repeated this whole process another two times so all three cans had hangers.
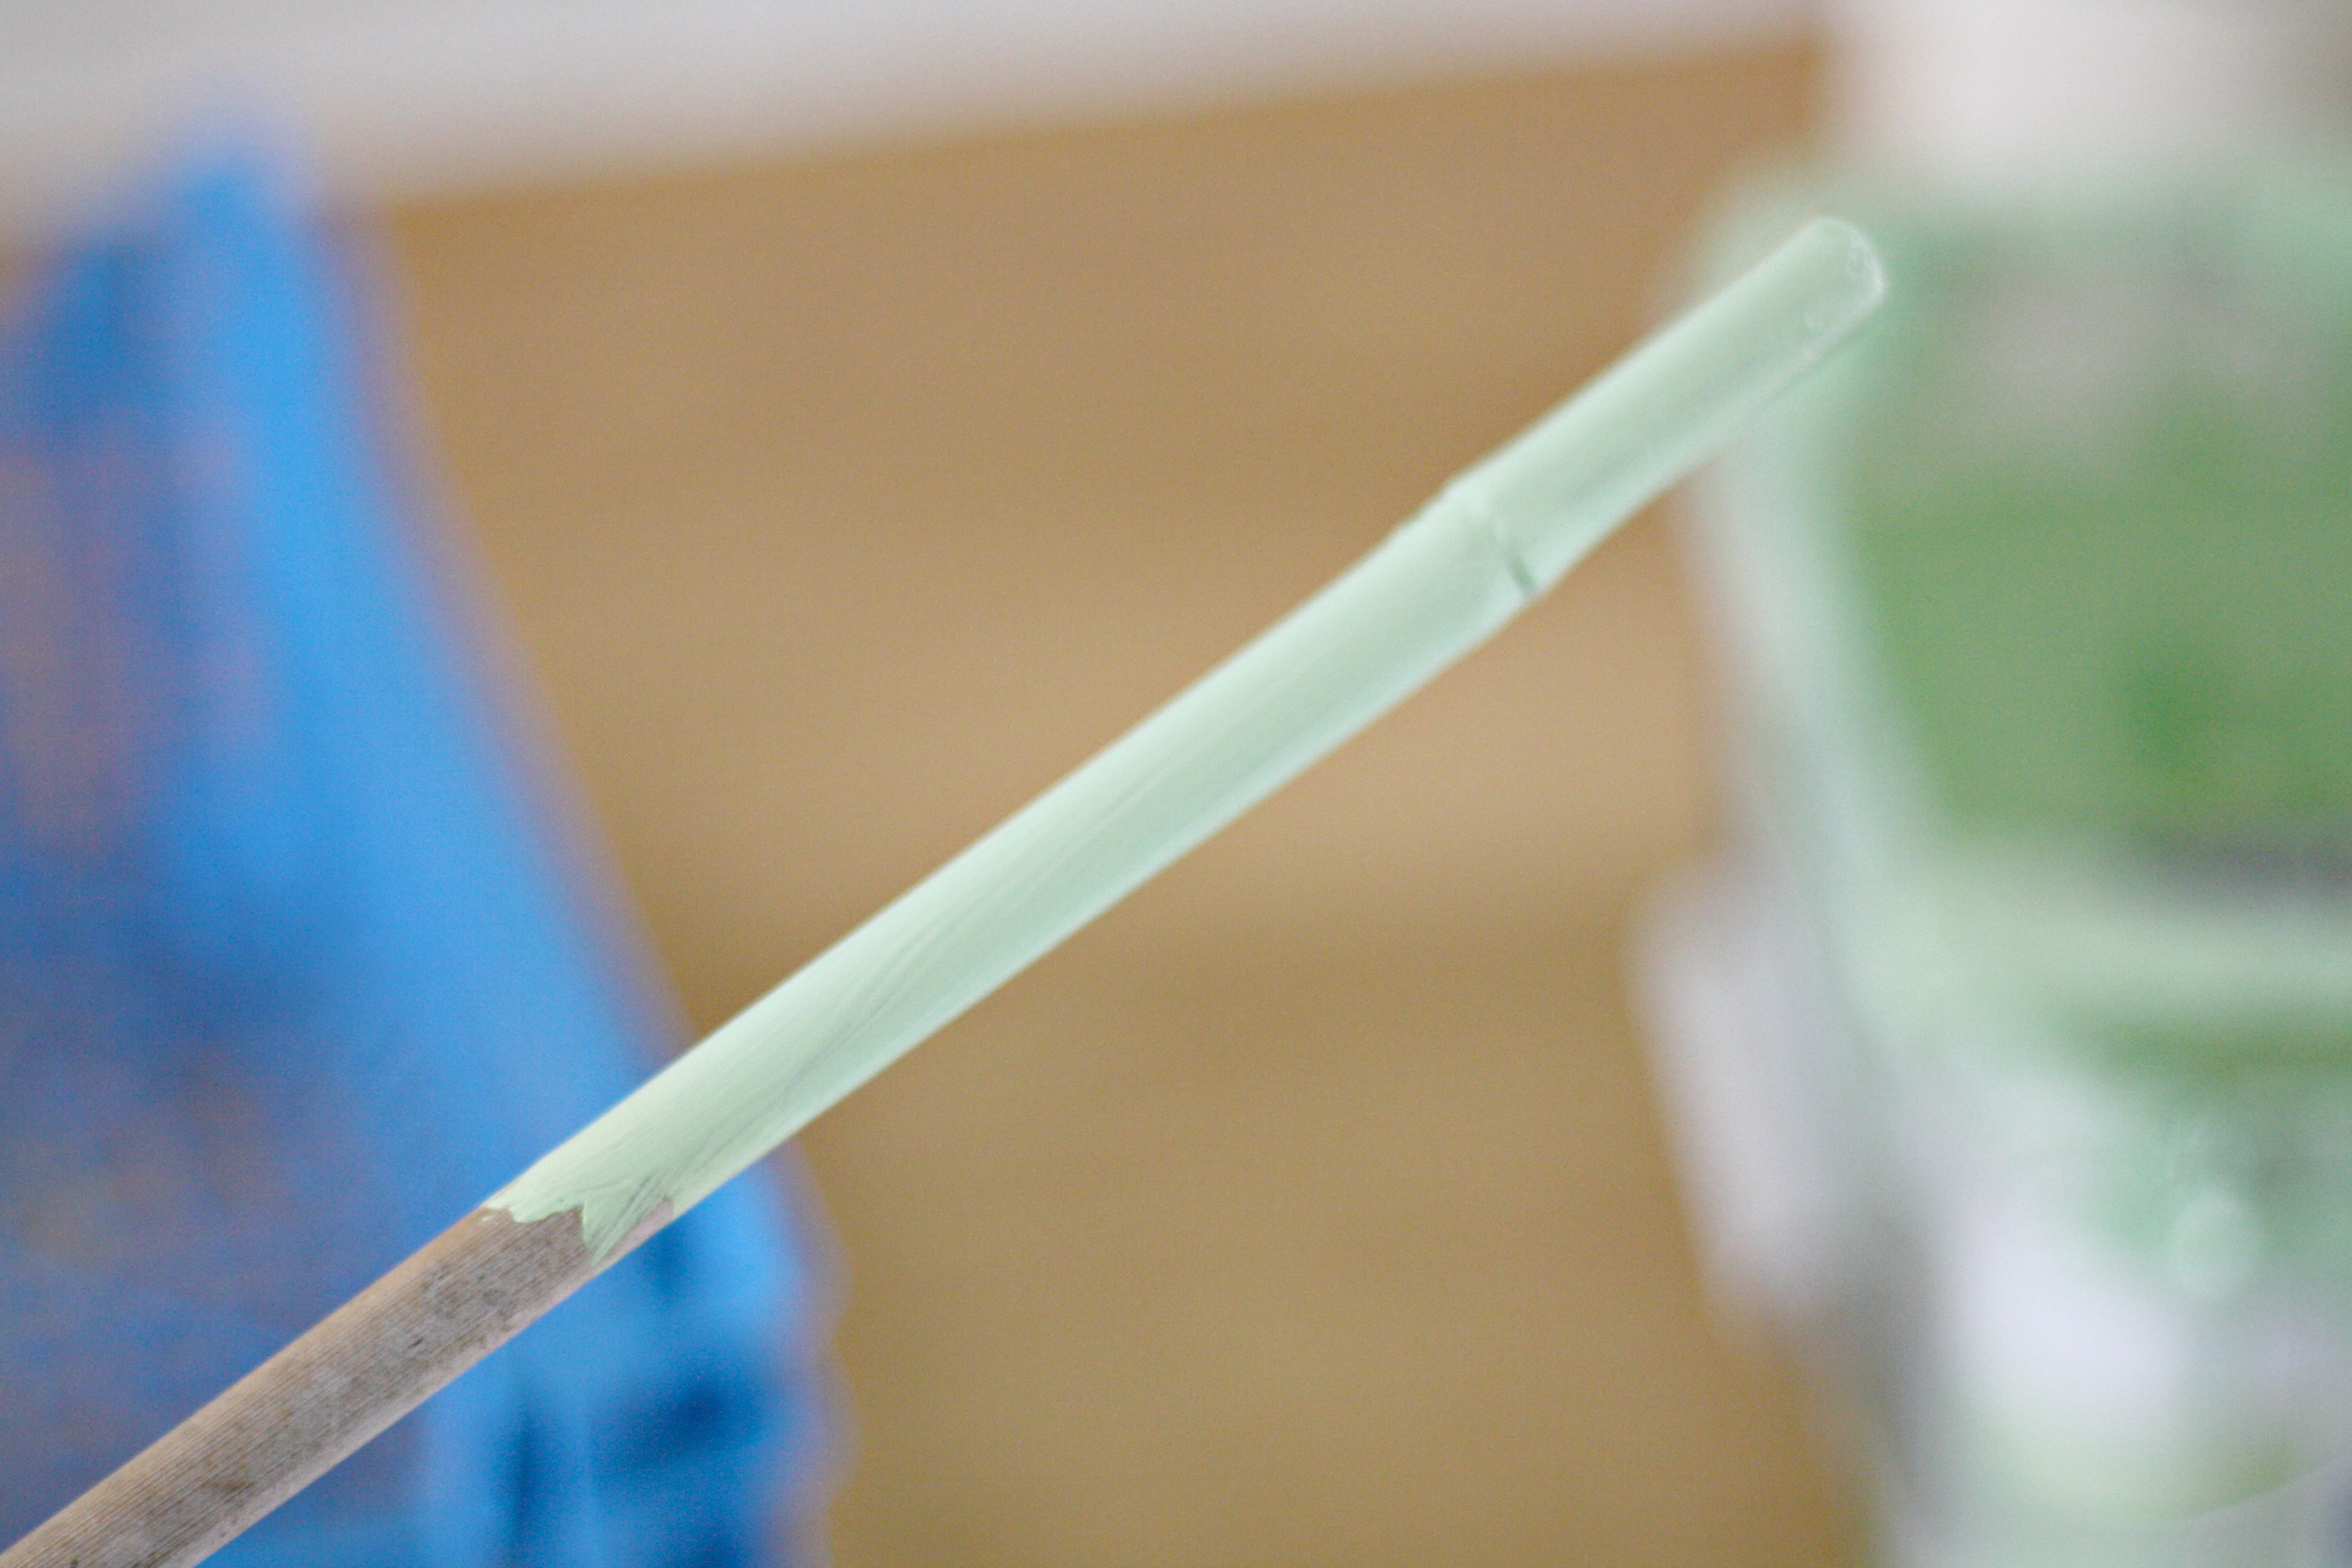
At this point I decided to make something to hang my planters on. I found a bamboo stick and cut it down so it was just long enough to fit three cans on. I then painted it in the same colour I had painted the cans.
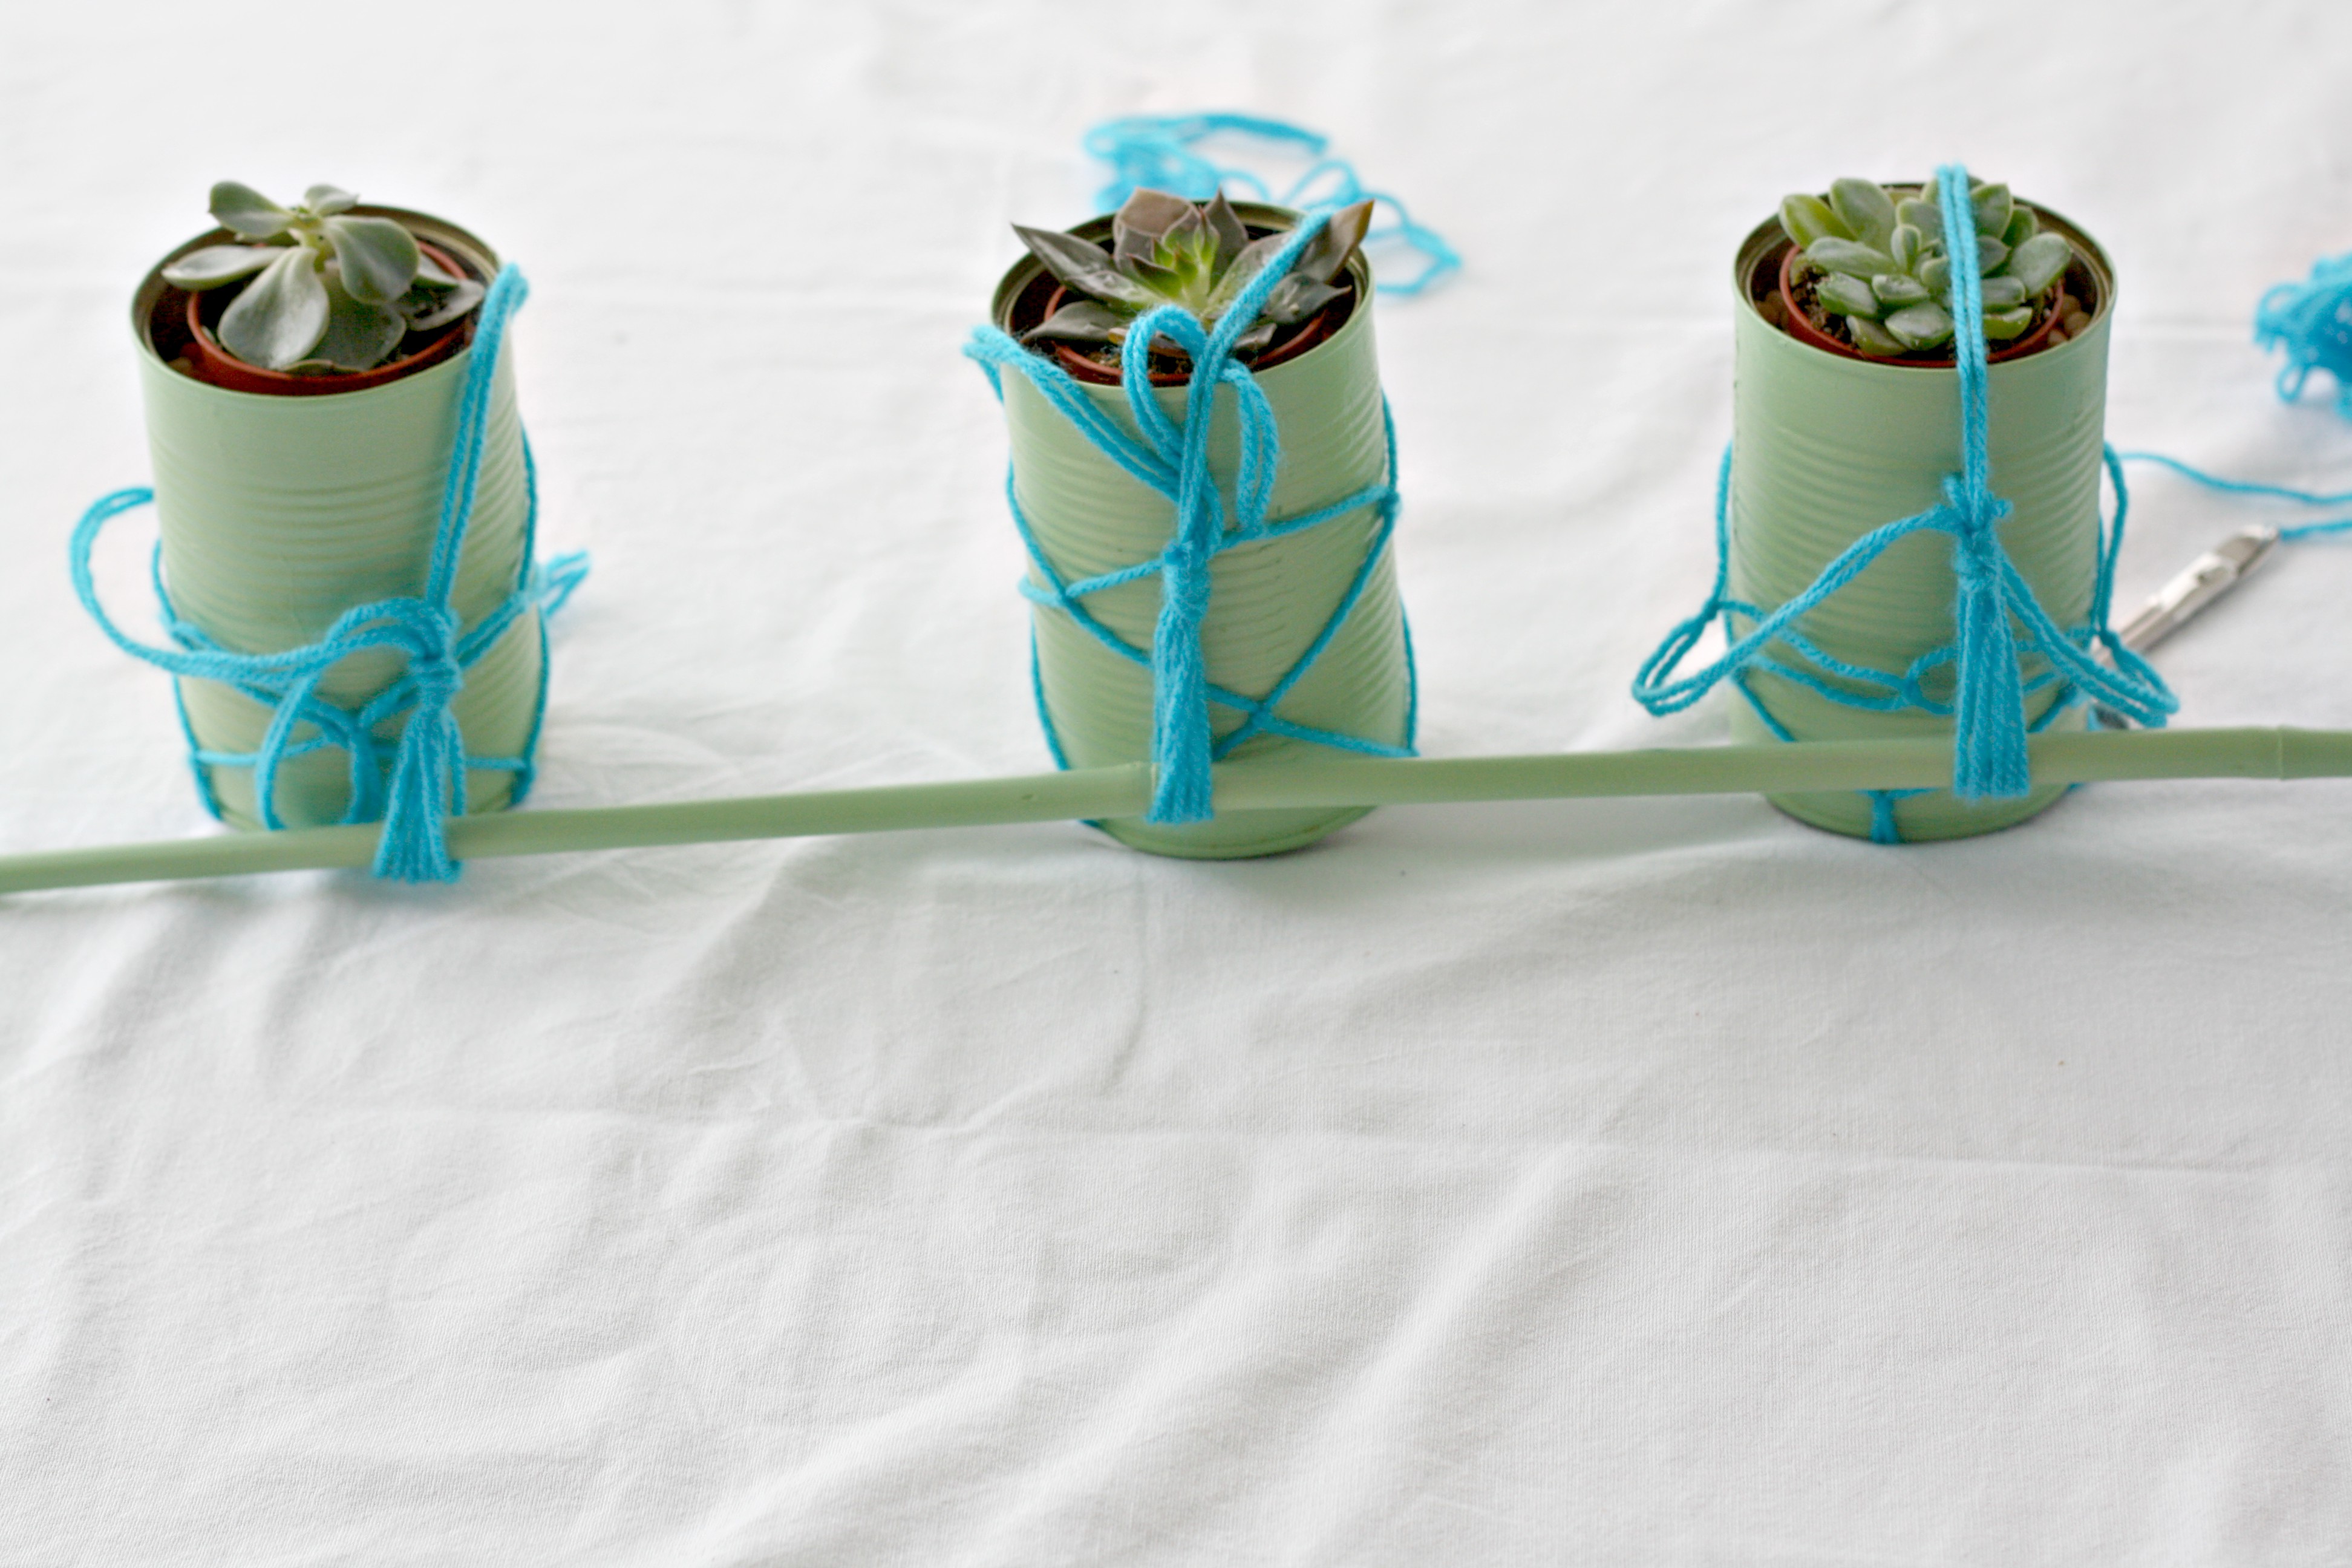
Slot your three cans onto the bamboo stick.
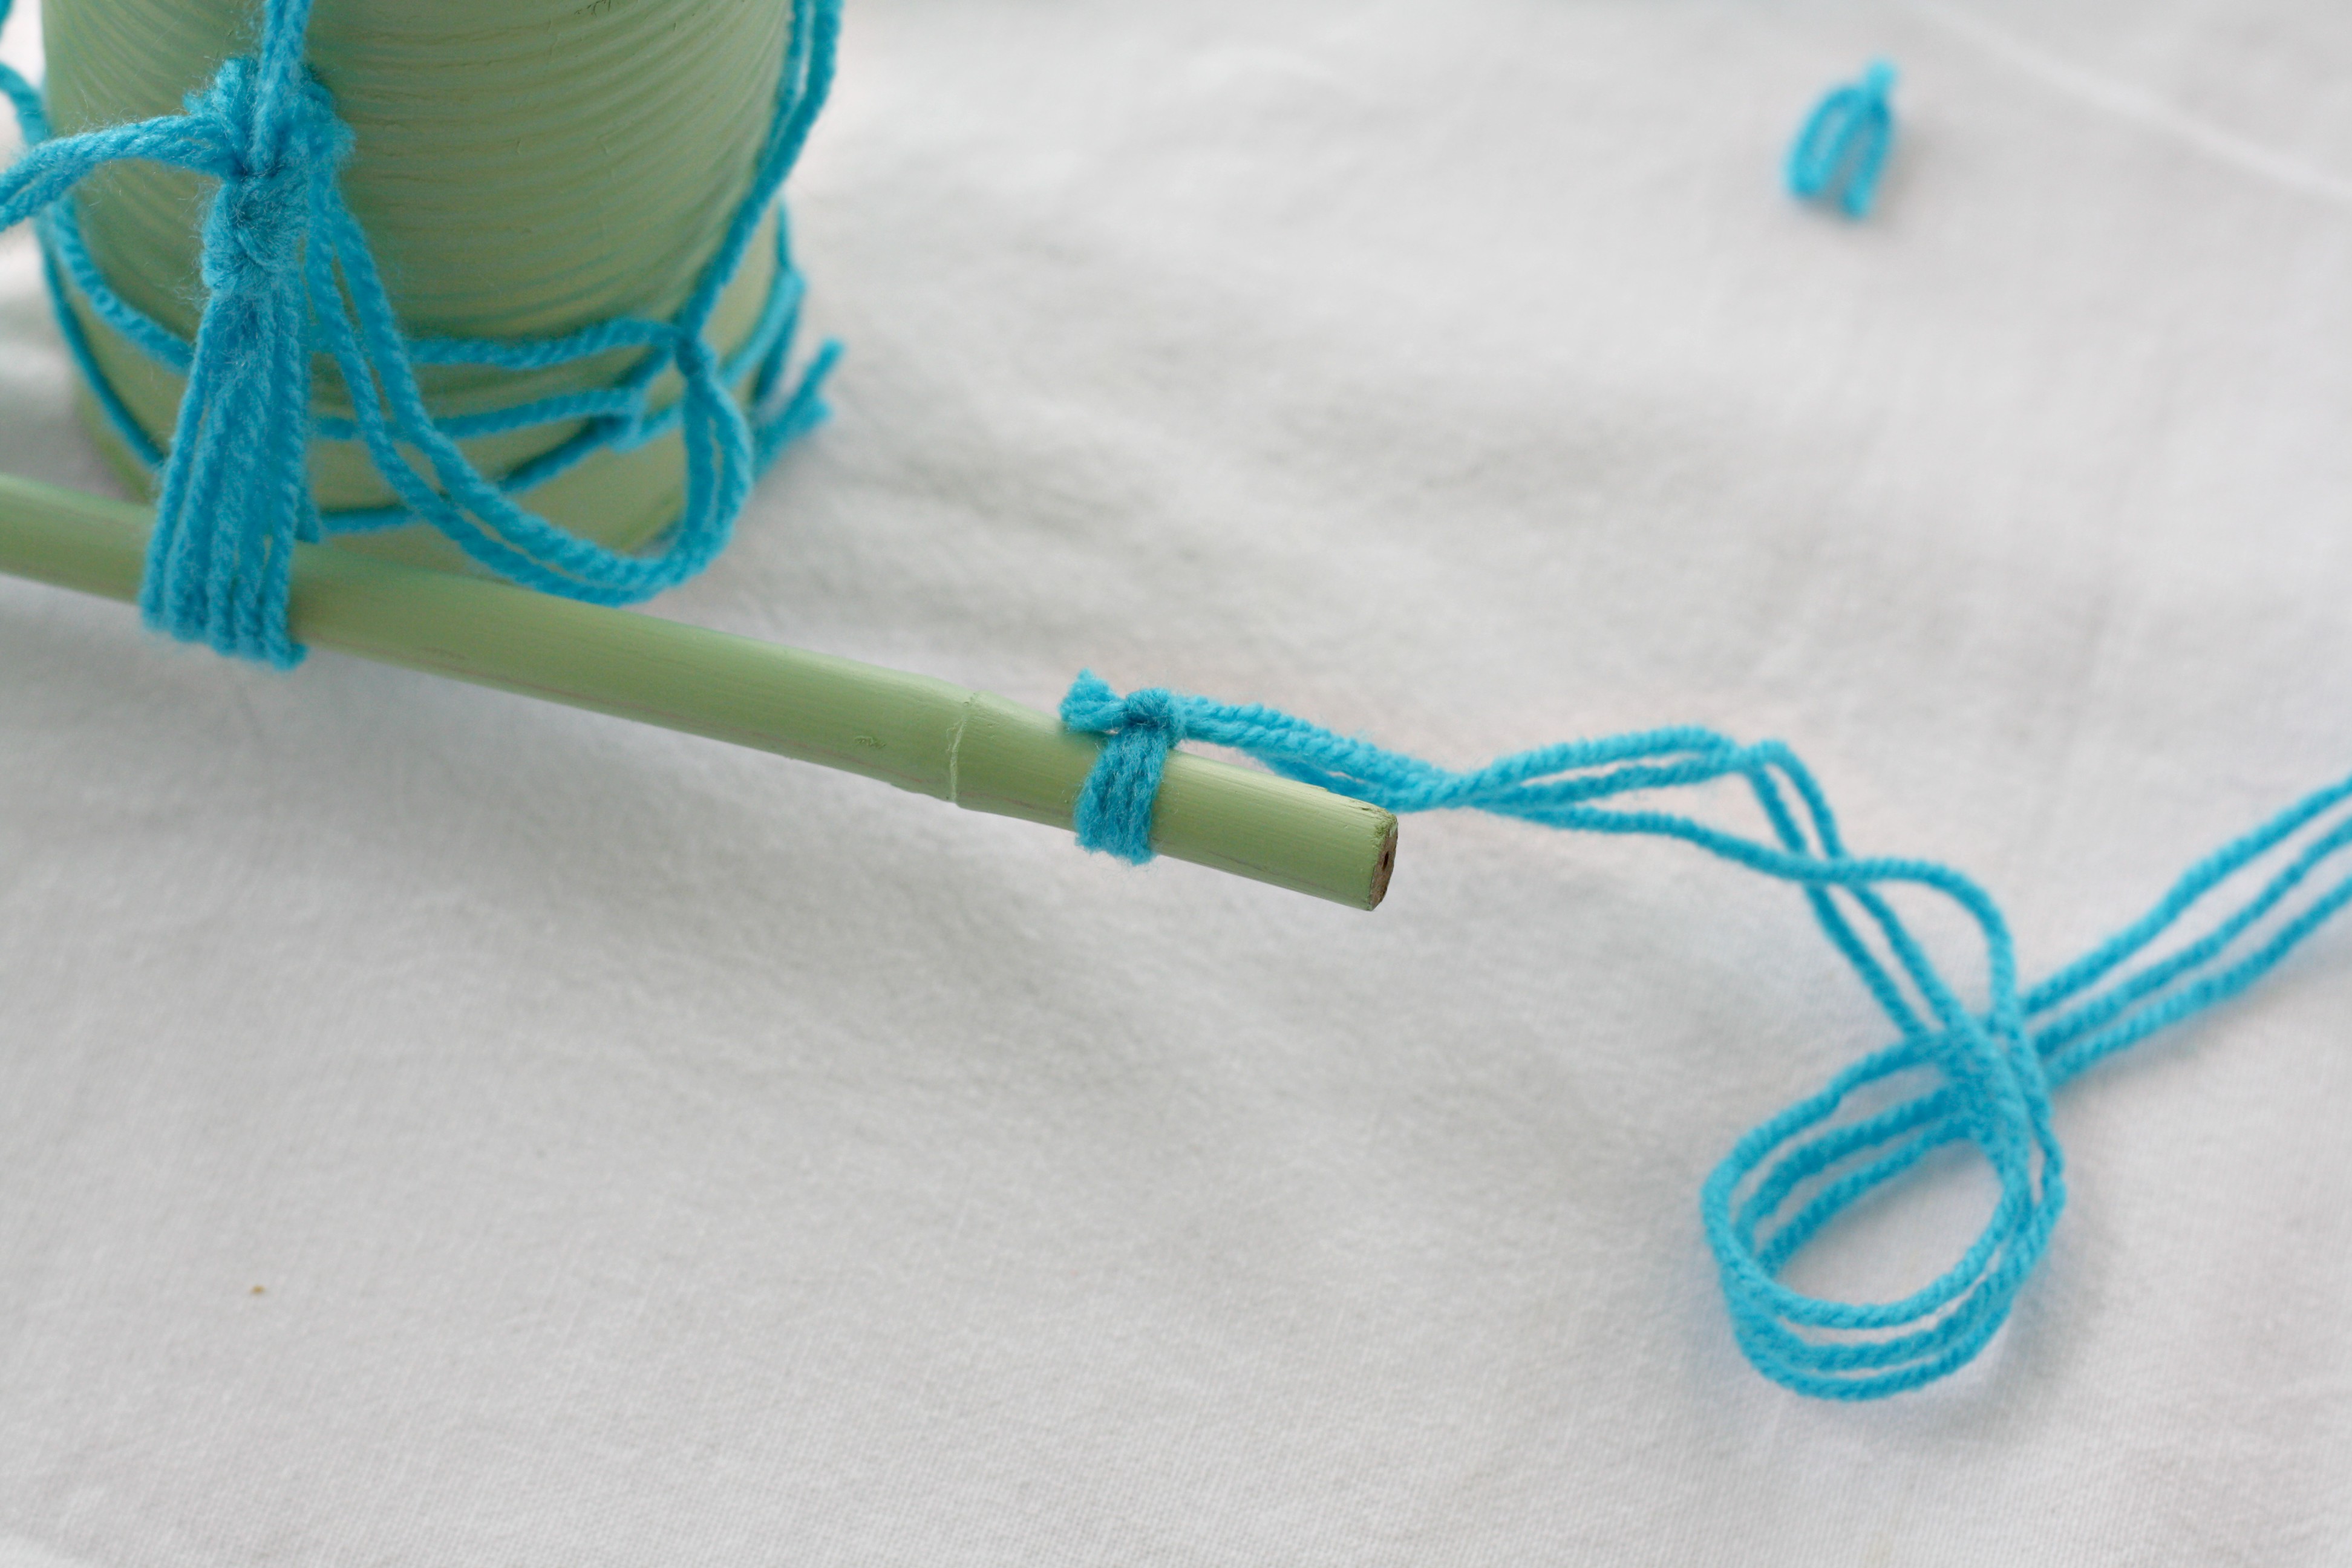
Tie a length of wool to each end of the stick and your Tin Can Hanging Planters are finished. I’ve added some succulents to mine for now but I think I’m going to plant some herbs and keep them ion the kitchen. The bamboo stick is completely optional, you could just hang these individually from hooks.

I had fun making this project and it’s mage me want to try macrame properly with a hanging maybe? As always let me know if you try this project, you can find me on Facebook, Instagram and Twitter. Don’t forget to visit From Evija with love’s project you can find it below!
Lianne x
Pin Tin Can Hanging Planters to save it for later!

Oh my gosh! Soo pretty! I’ve always wanted to try macramé and your photos definitely help with the explanation!
Author
Thanks Melinda! It was a tricky DIY to photograph and explain so I’m glad you found it helpful. I need to try a more challenging Macrame project to have a go at soon 🙂
What paint did you exactly used on the tin cans? Was it paint for the walls? Acrylic paint? Oil paint?