In my previous post – Tips for Coping with Lockdown I mentioned that I was trying to get on with some DIY around the house. The way I have been doing this is to focus on one small area at a time. The first area I decided to tackle was under my stairs and as part of this makeover I wanted to create a feature wall. It needed to be something temporary so I could return it to normal whenever we decide to move and after some research on Pinterest I decided to try a Washi Tape feature wall.
This post contains affiliate links, find out what that means here.
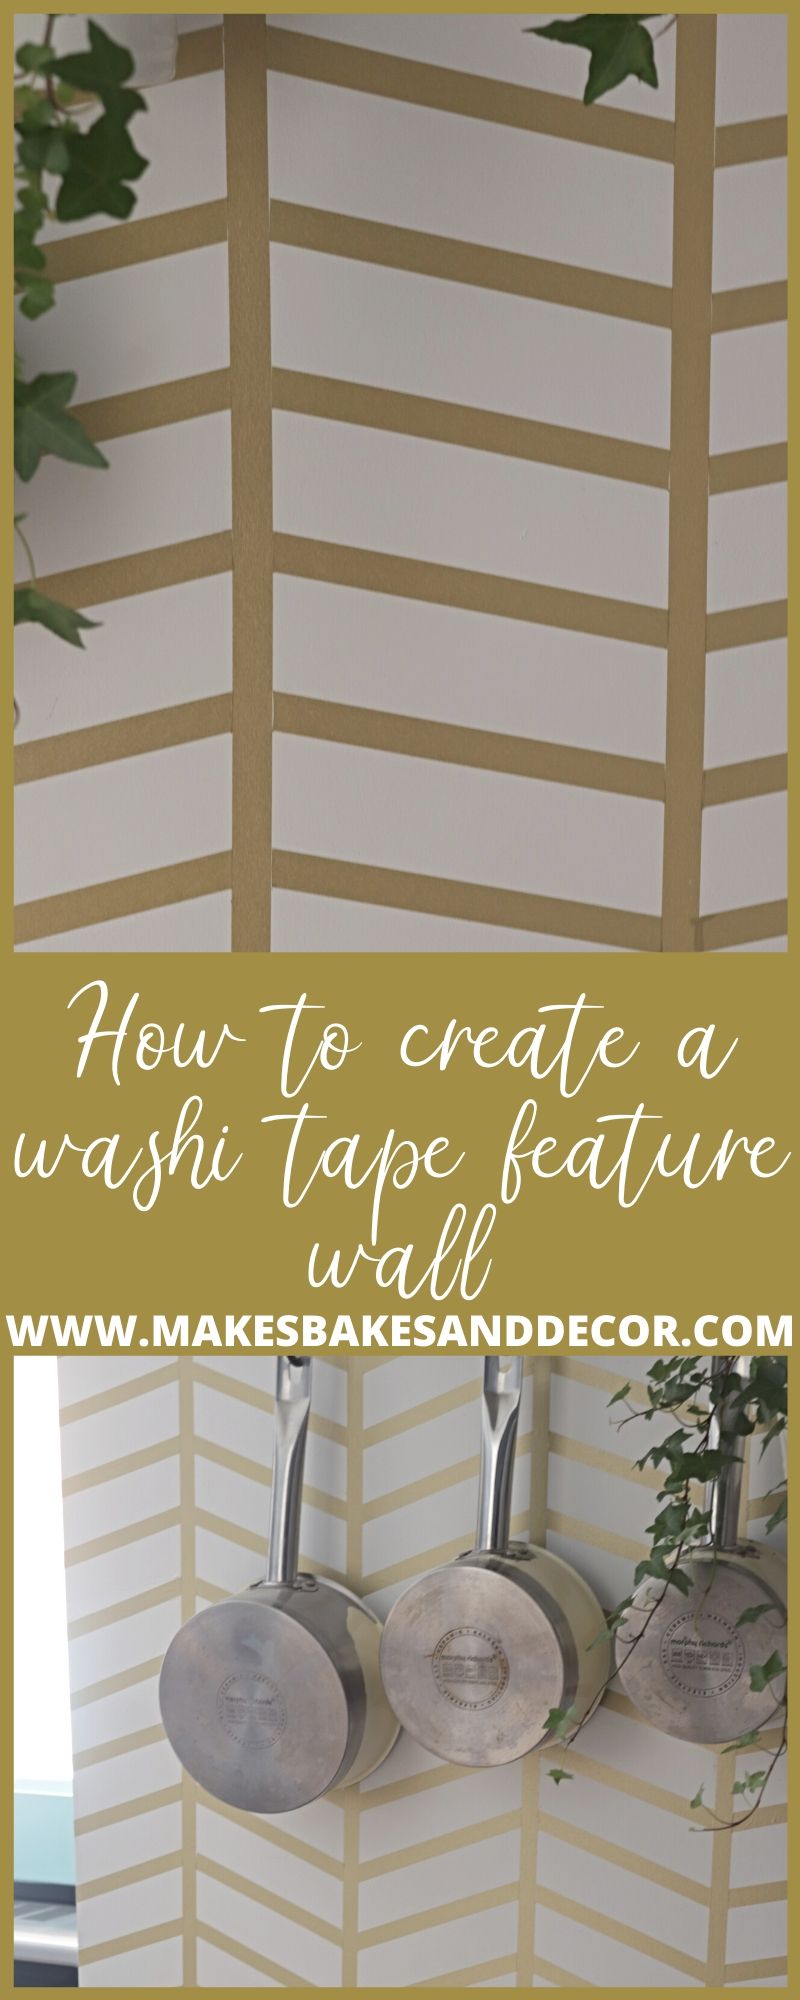
What I used to create this Washi Tape Feature Wall
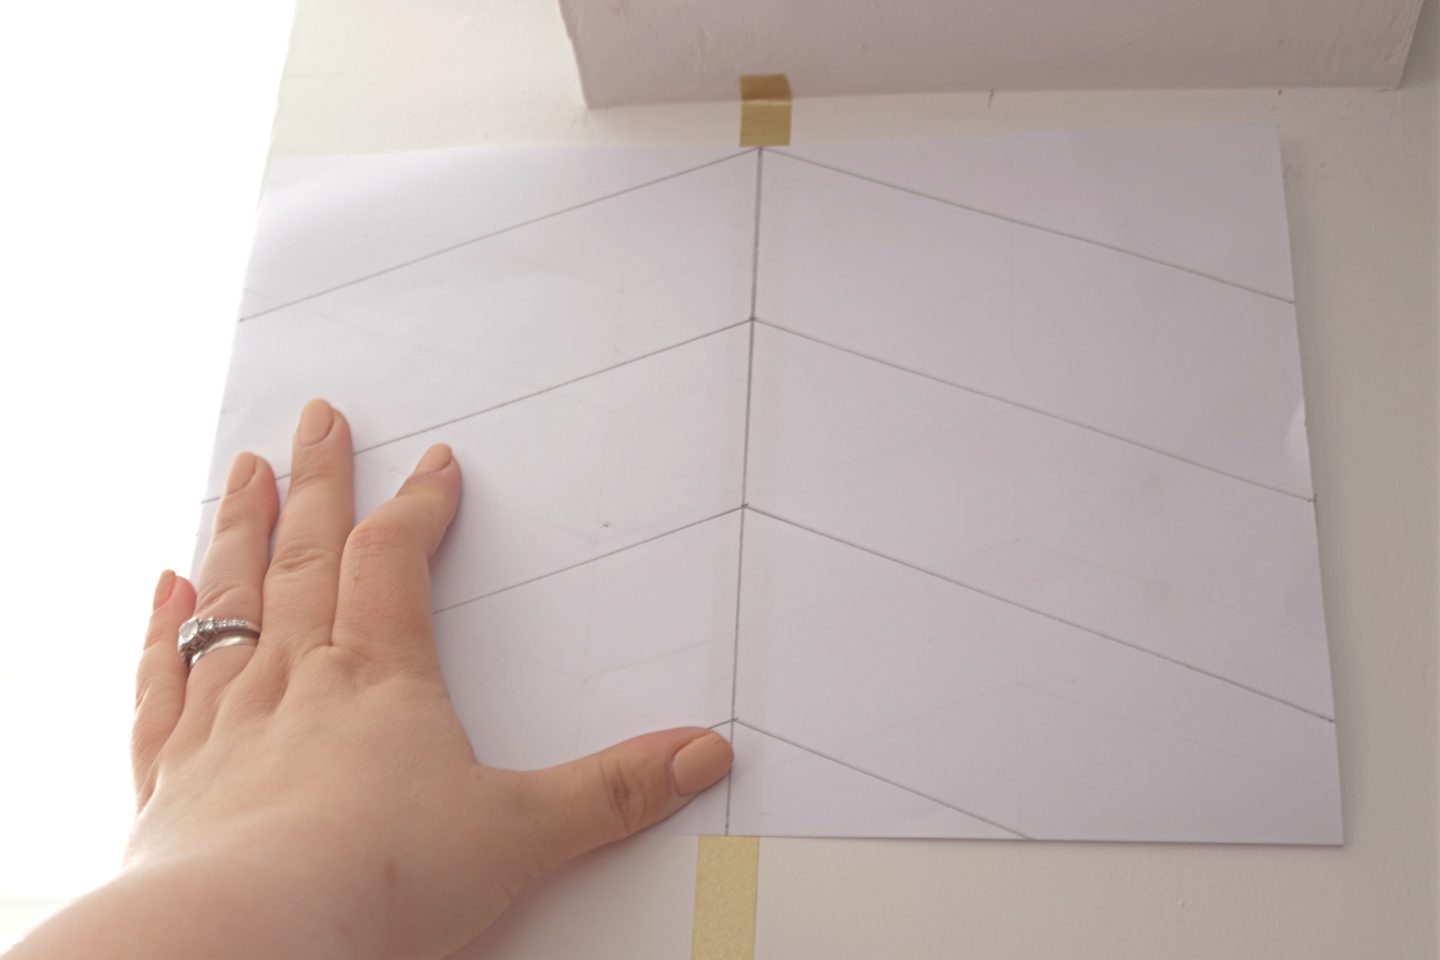
I chose a simple herringbone pattern and purchased some gold washi tape from Amazon. My first step was to decide how big I wanted my pattern to be and decide my measurements. I drew this out on some A4 paper to give me an idea of how it would look on the wall. The gap between my vertical lines was 15 cm and the gap between the diagonal, horizontal lines 6 cm (although the gap ended up being smaller than this because of the thickness of the tape).
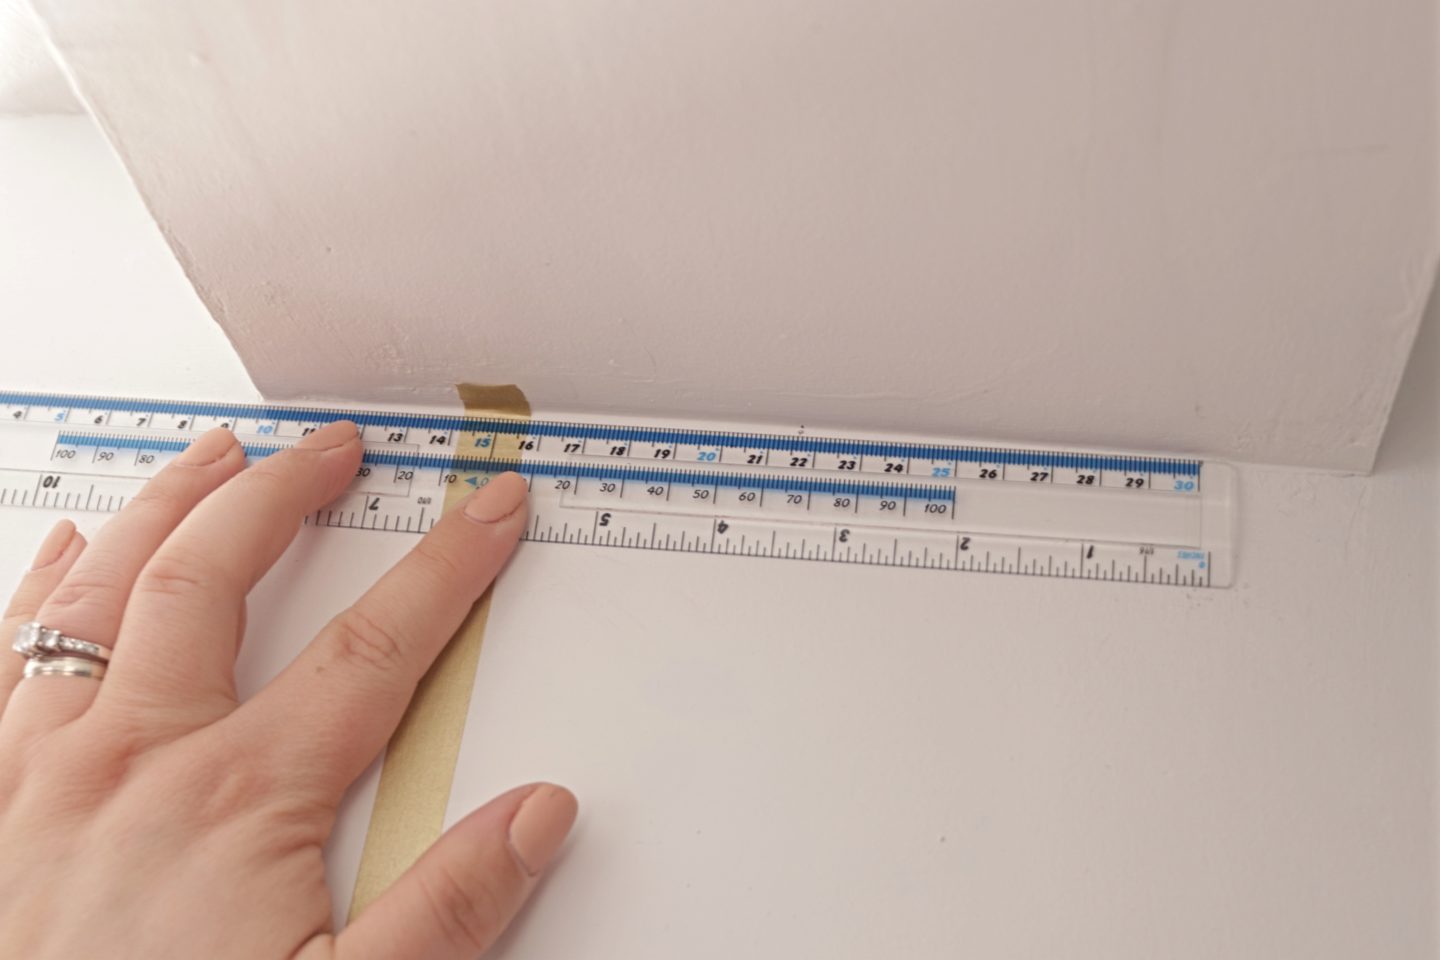
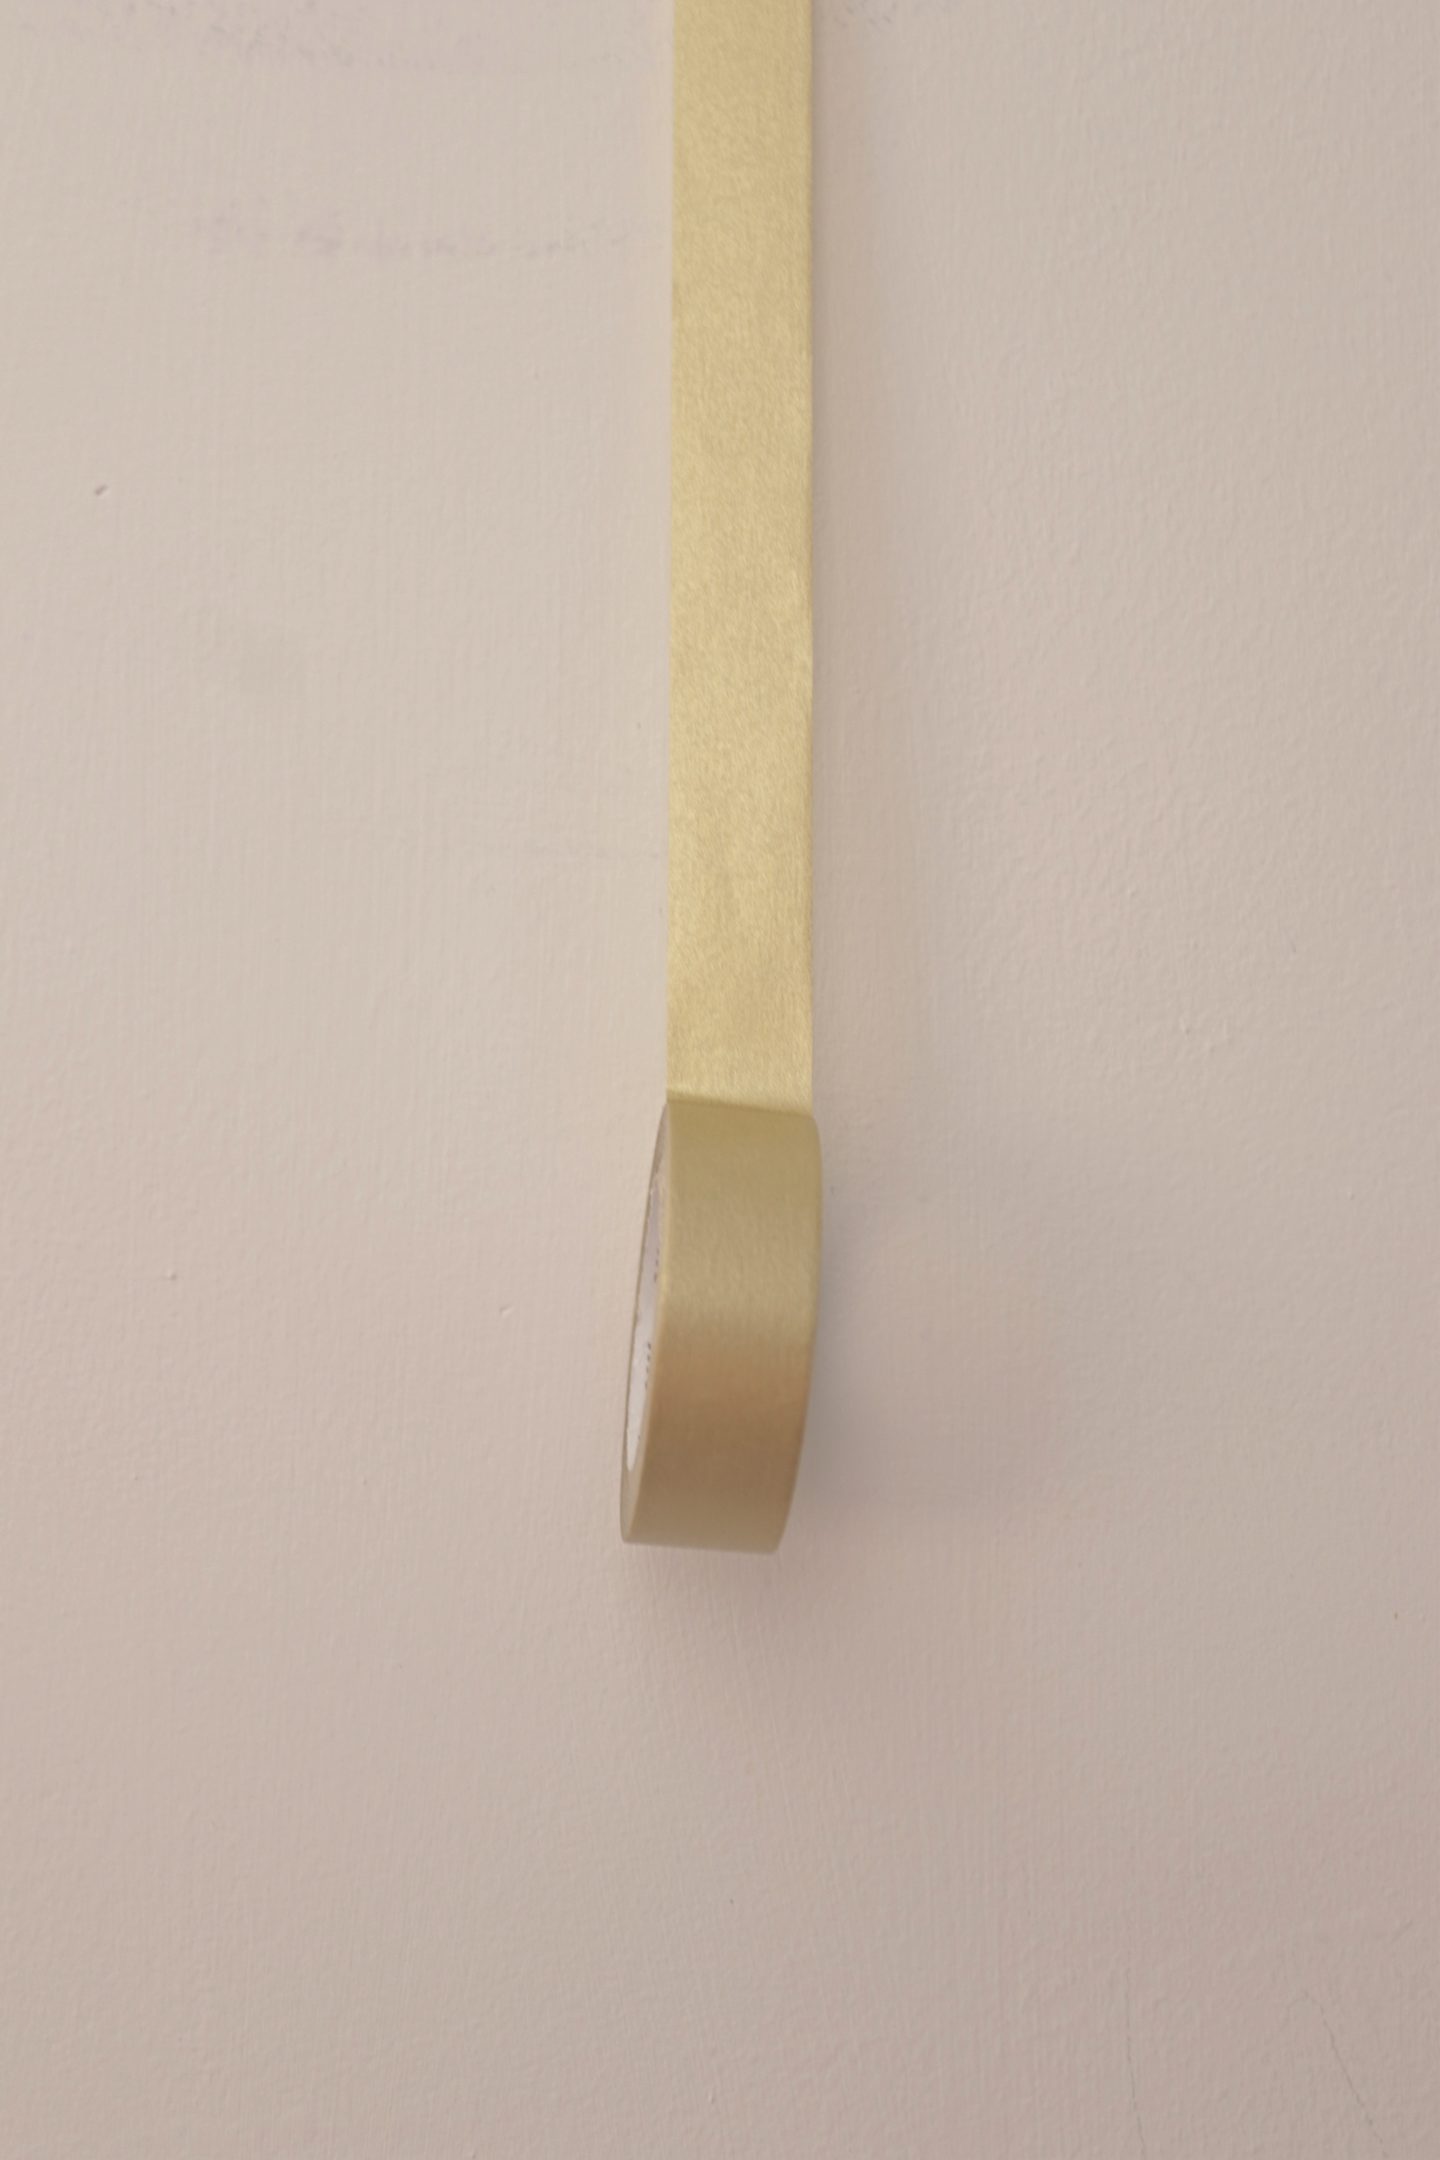
The edge of the wall I was working with was not straight so I knew if I used this as a base line the whole thing would be wonky. To stop this happening I marked off my first measurement of 15 cm at the top of the wall and attached the washi tape. I let the weight of the tape roll create the first straight line.
To create the second line (and all the lines after that) I measured 15cm from the washi tape again at the top and then at intervals all the way down the wall.
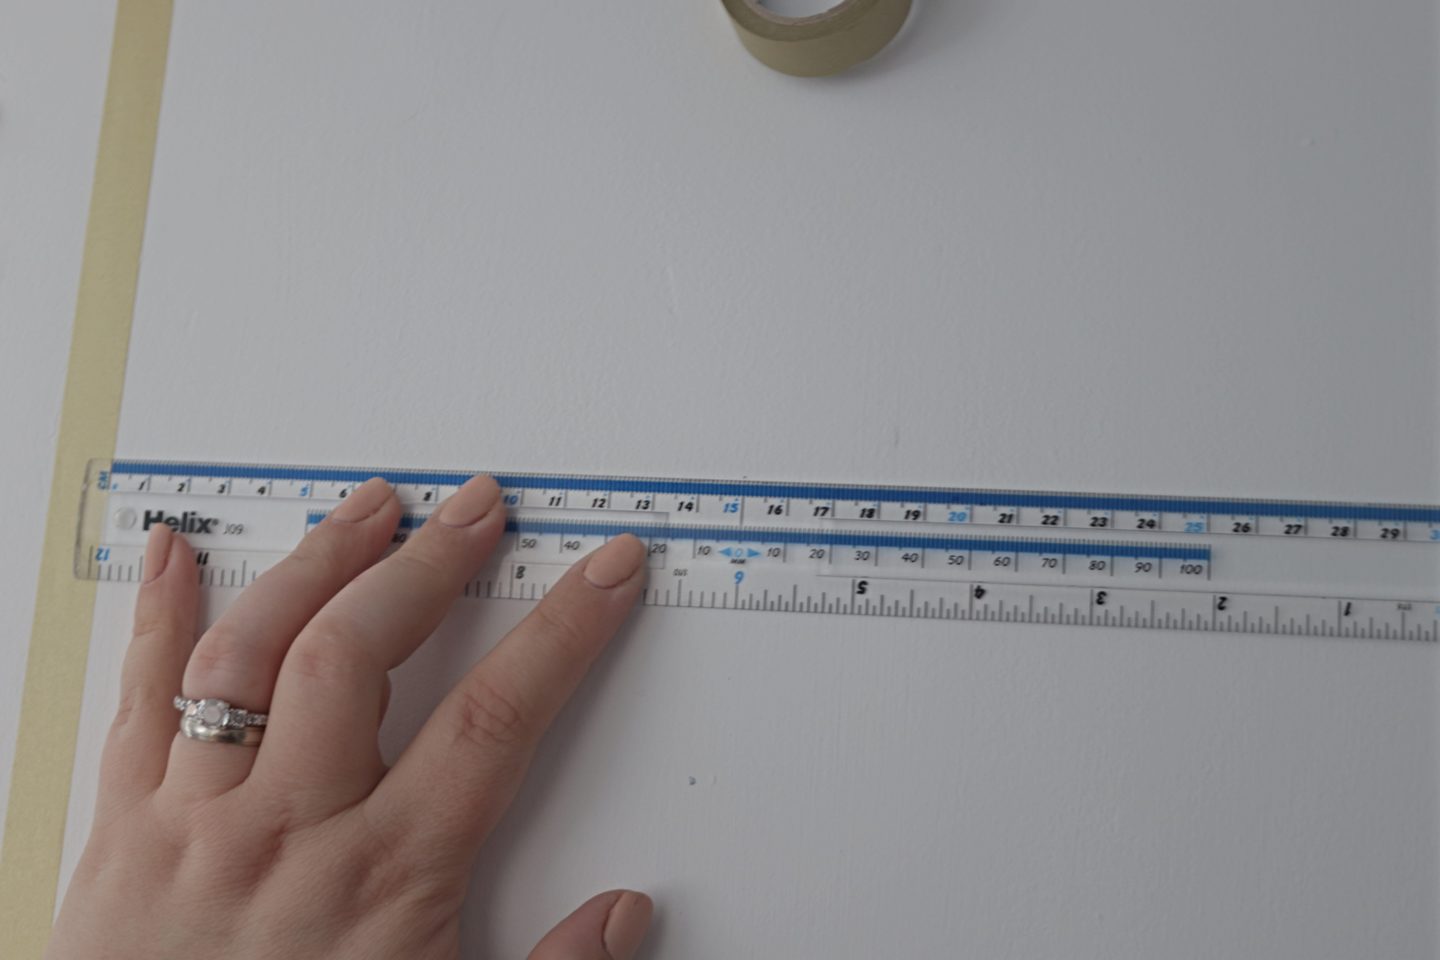
I then stuck the tape onto the wall using the marks I had made to keep the line straight,
I repeated this process until to create all the vertical lines until I got to the other end of the wall.
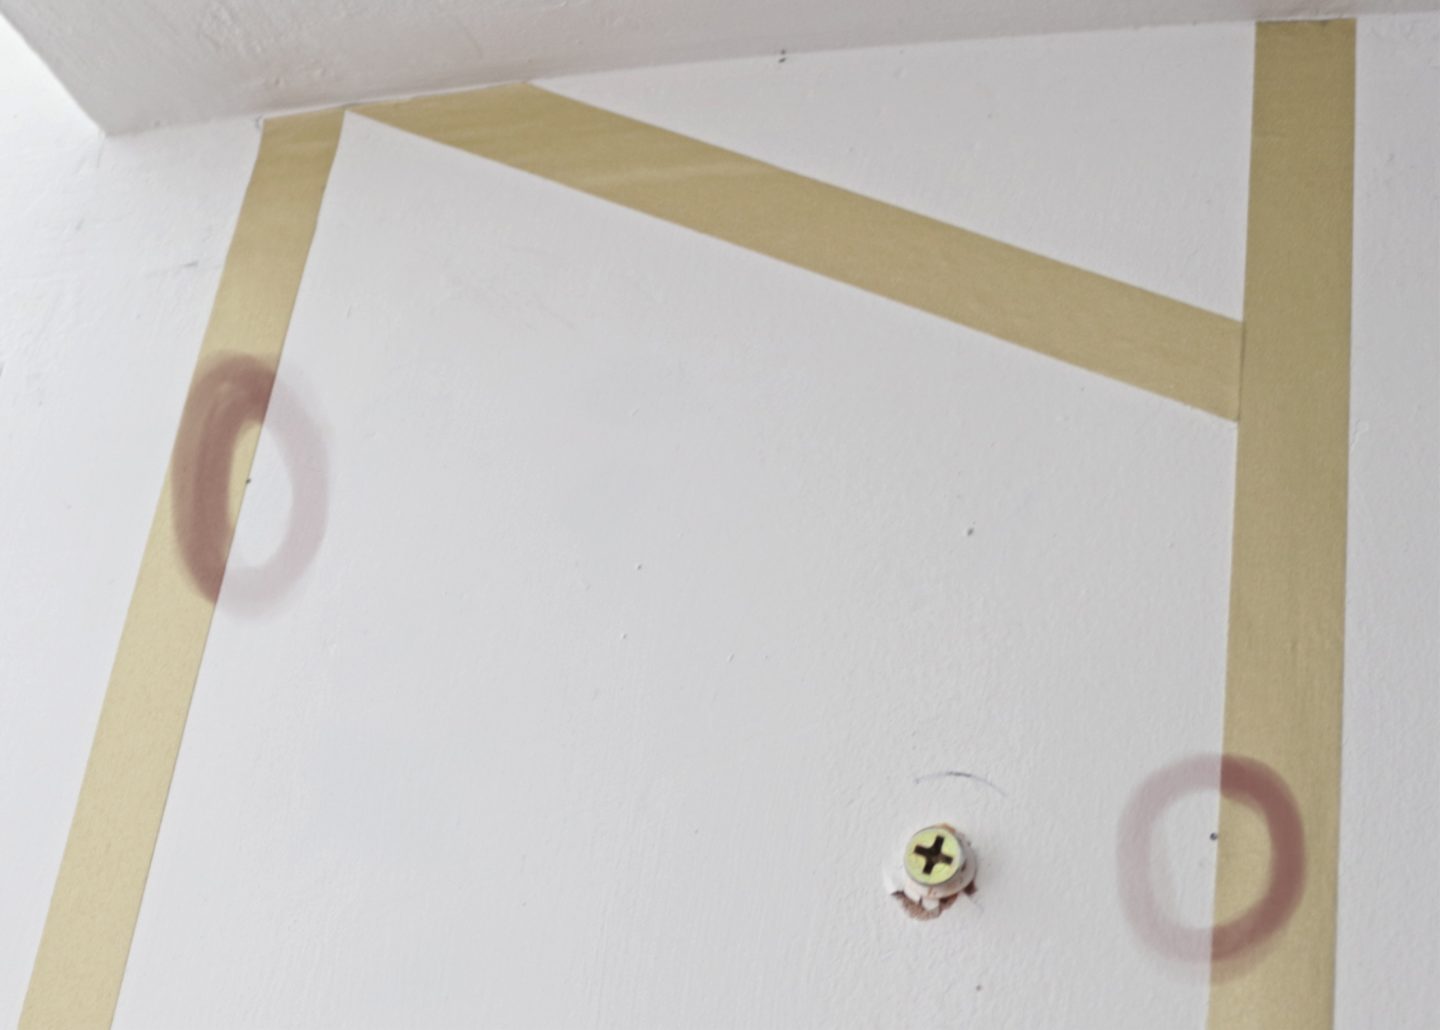
Next I had to start on the small diagonal lines.
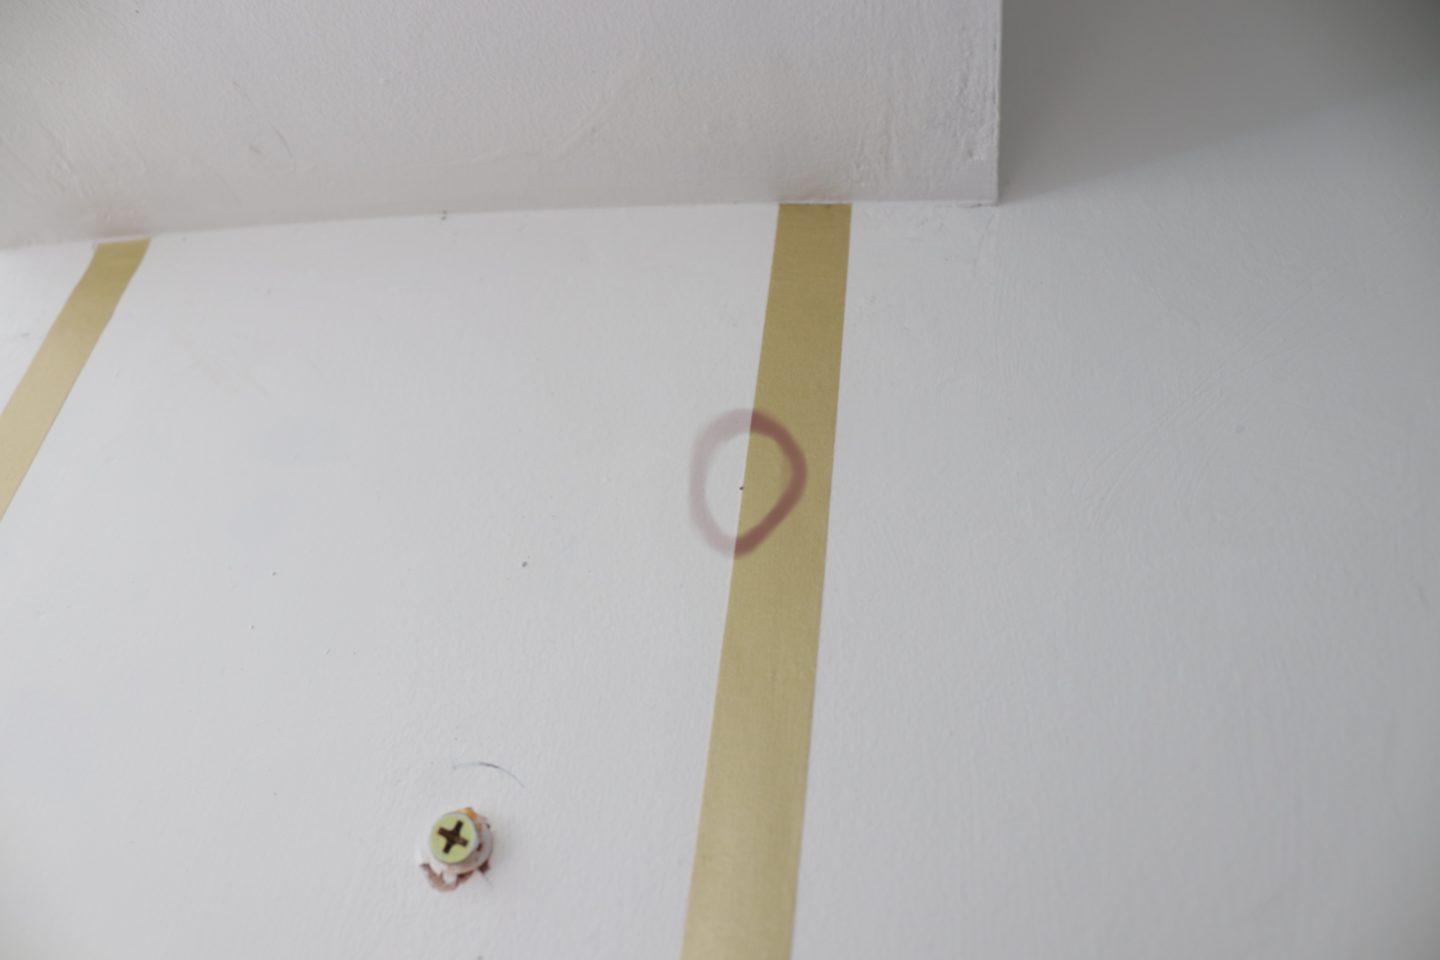
For the first line I just measured 6 cm down on the right side and made a small pencil mark that I’ve circled above so you can see it.
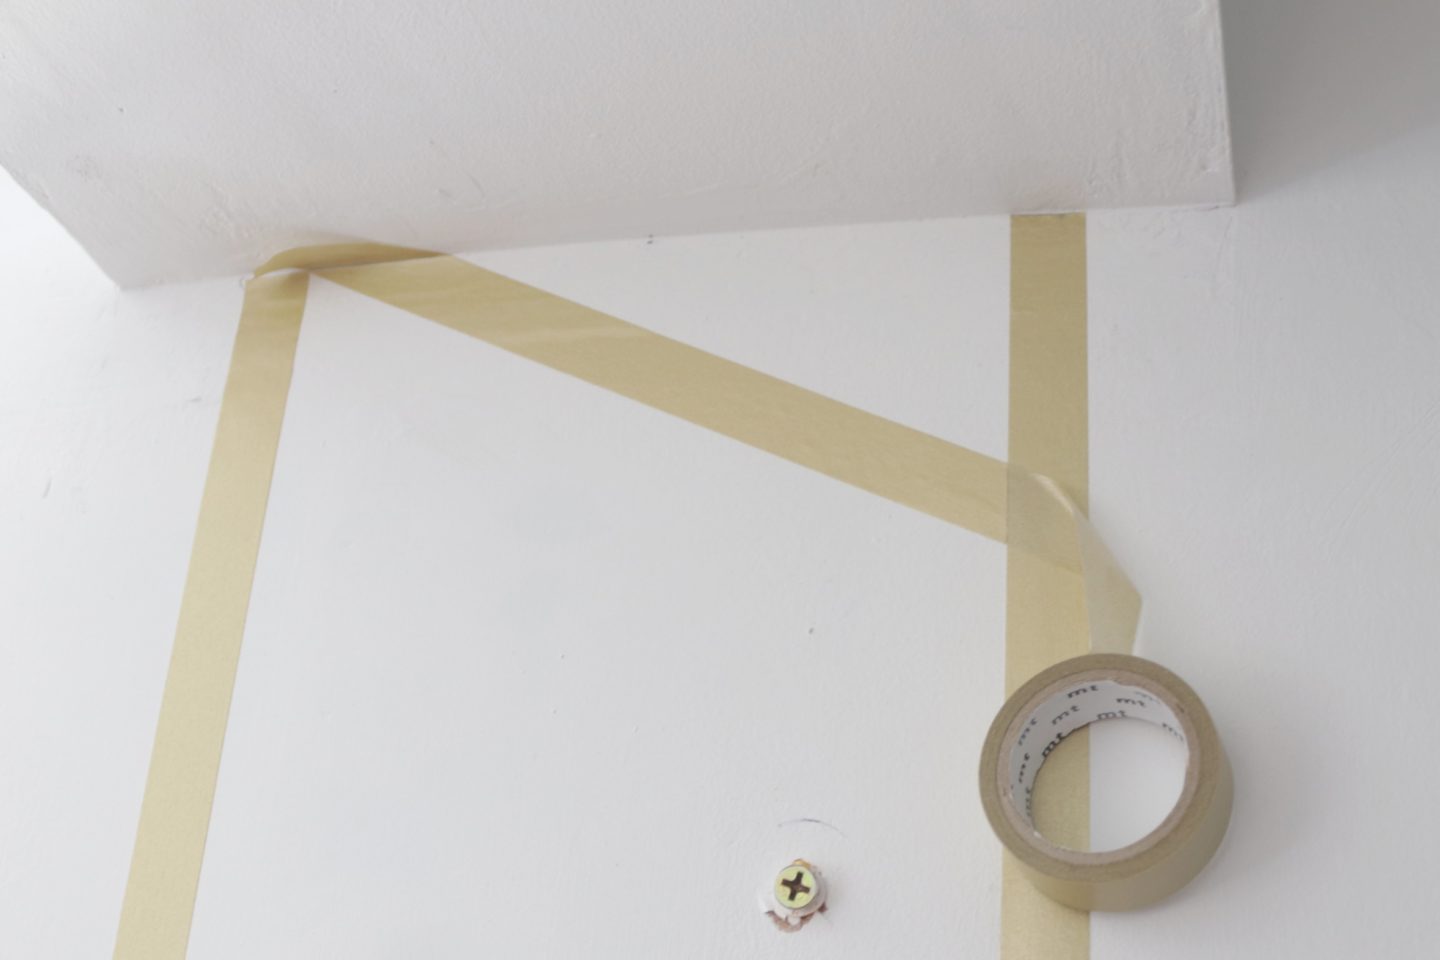
I then stuck the washi tape from the very top corner to the mark I had made. I did it so that the tape sat on top of the mark.
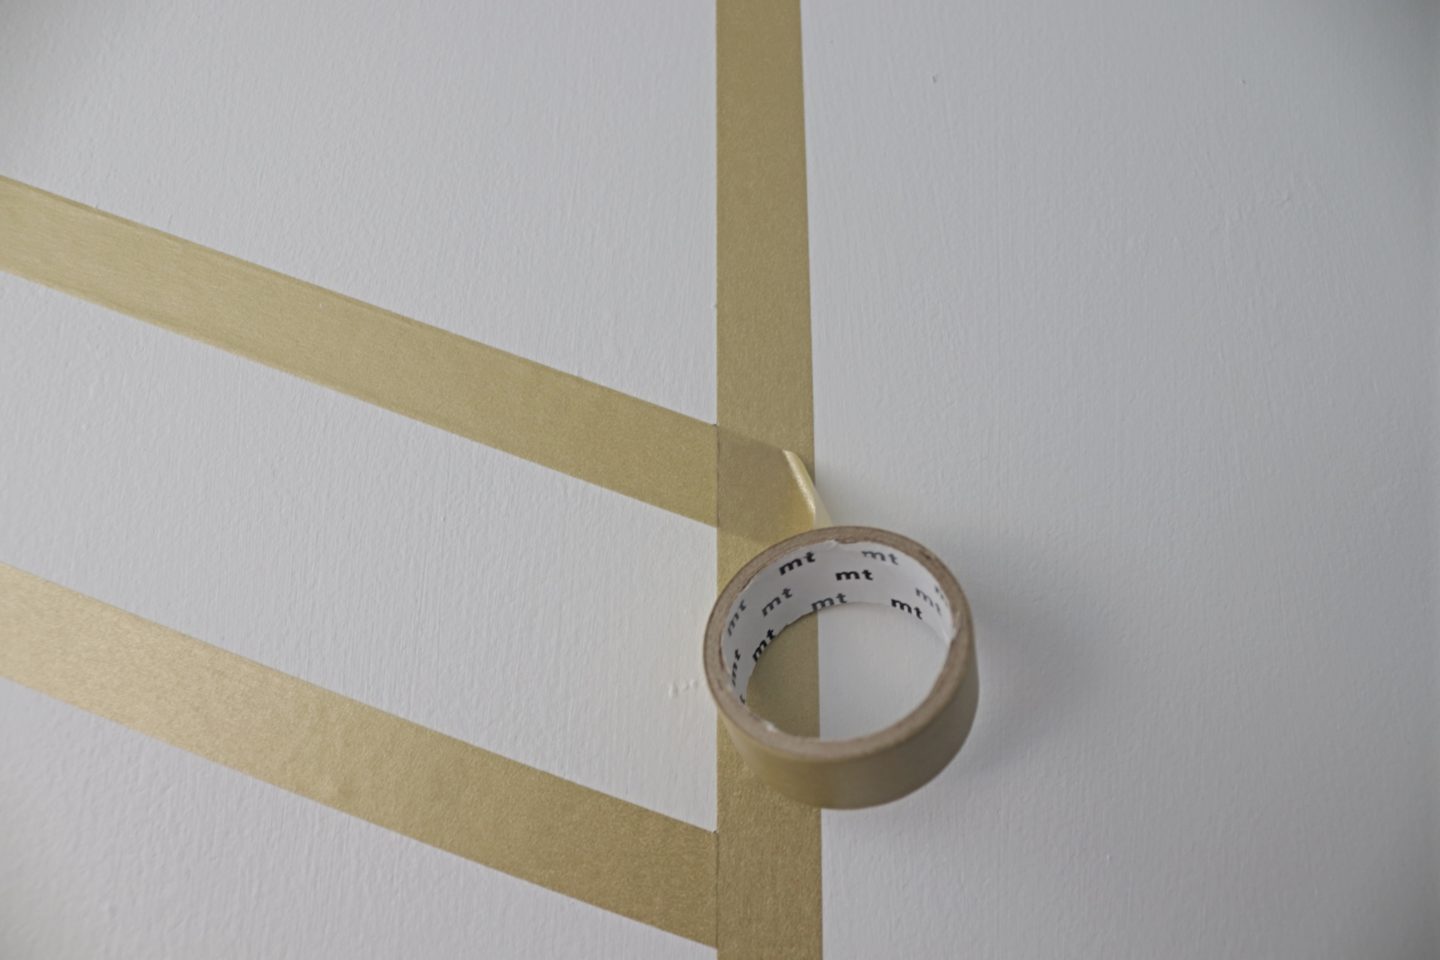
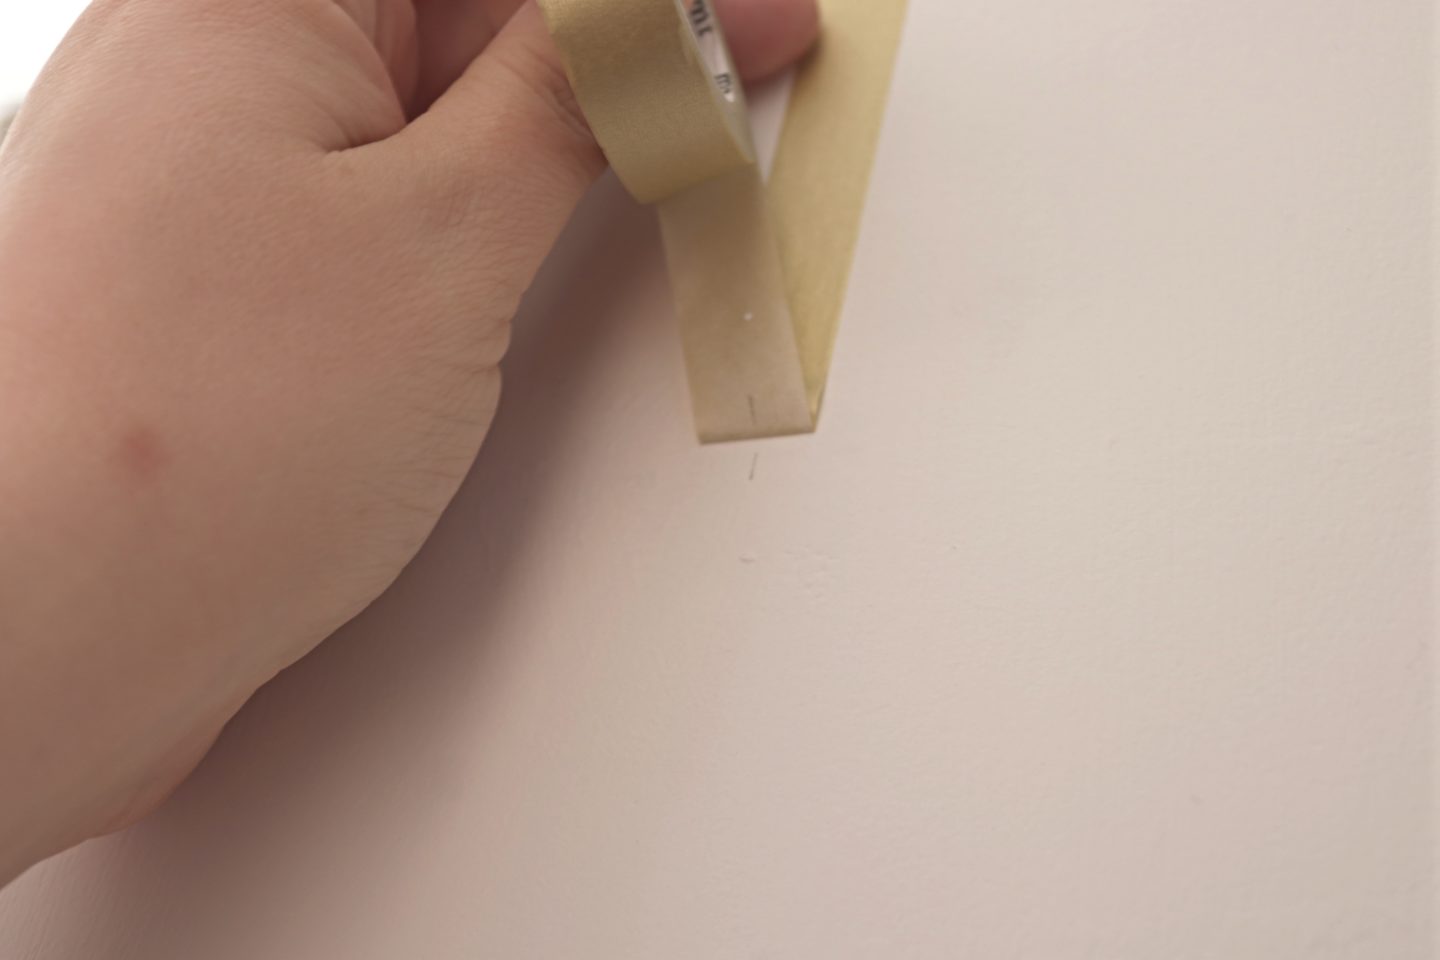
As you can see in the two pictures above, to cut the tape I drew a very faint line with a pencil along where I wanted to make the cut. I would then gently peel away the tape, cut along my marked line and then stick it back down.
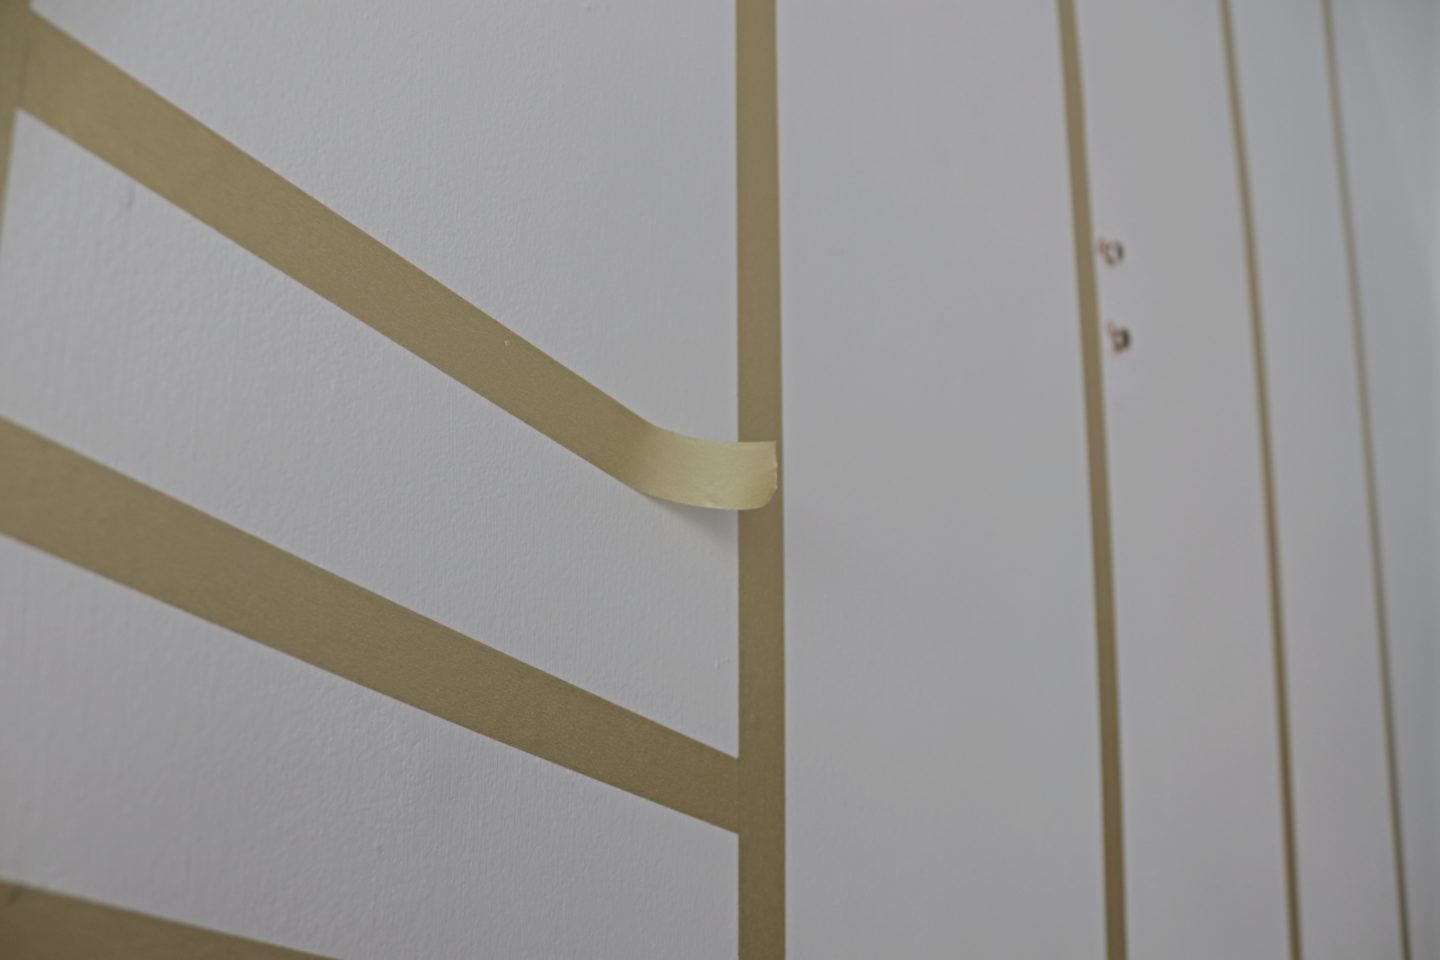
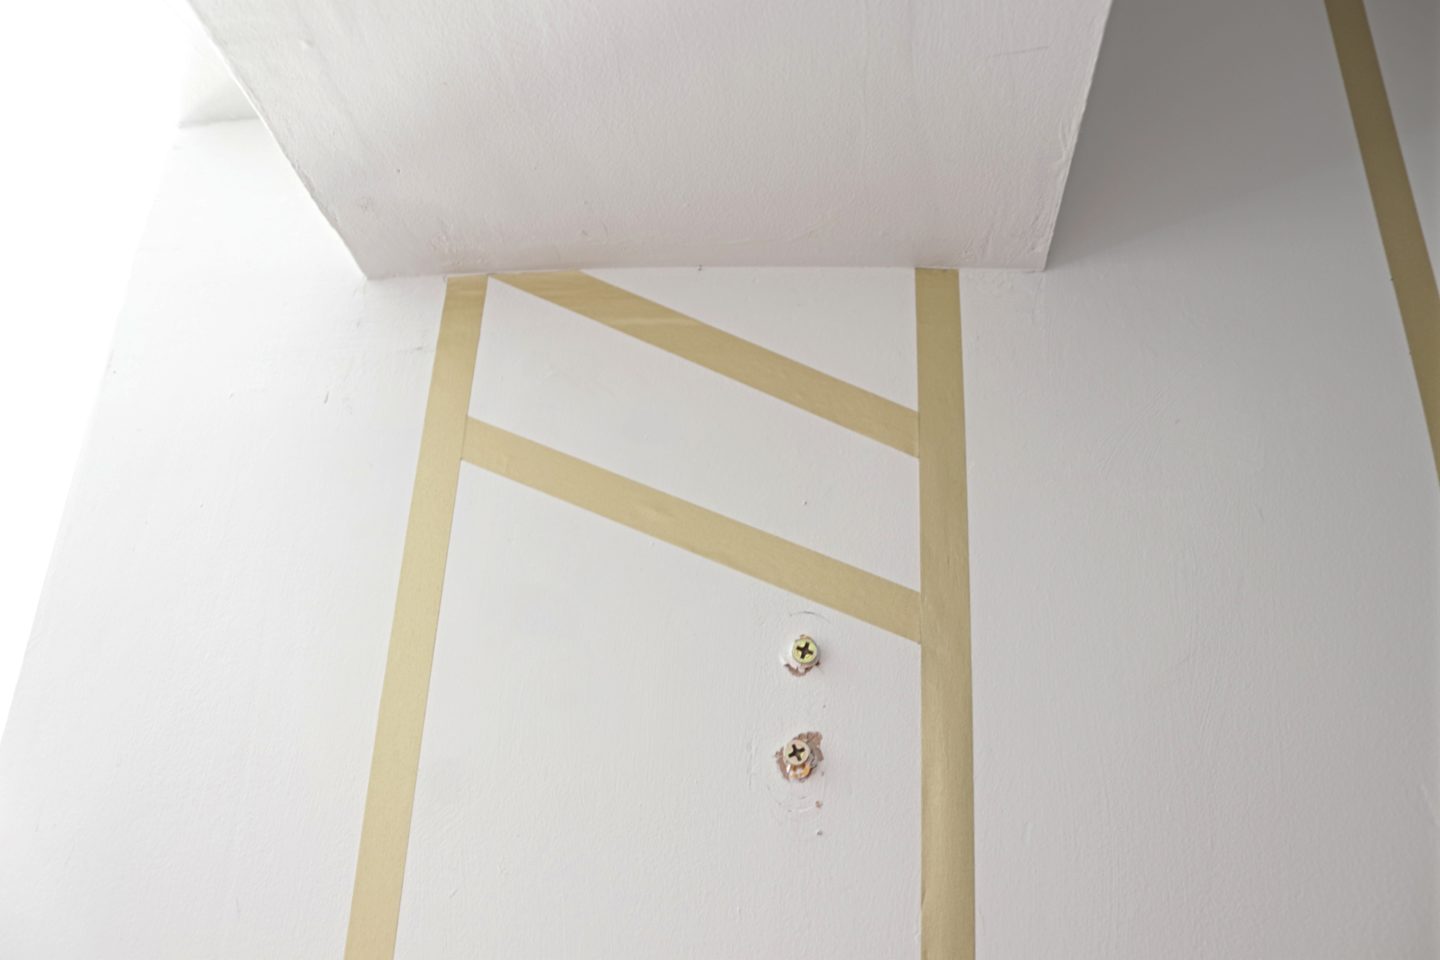
To complete the next line I measured 6cm down from each side and made small pencil marks which I’ve again circled above so you can see them. I repeated the same process with the tape so that it sits on top of the marks I made and cut the tape as before.
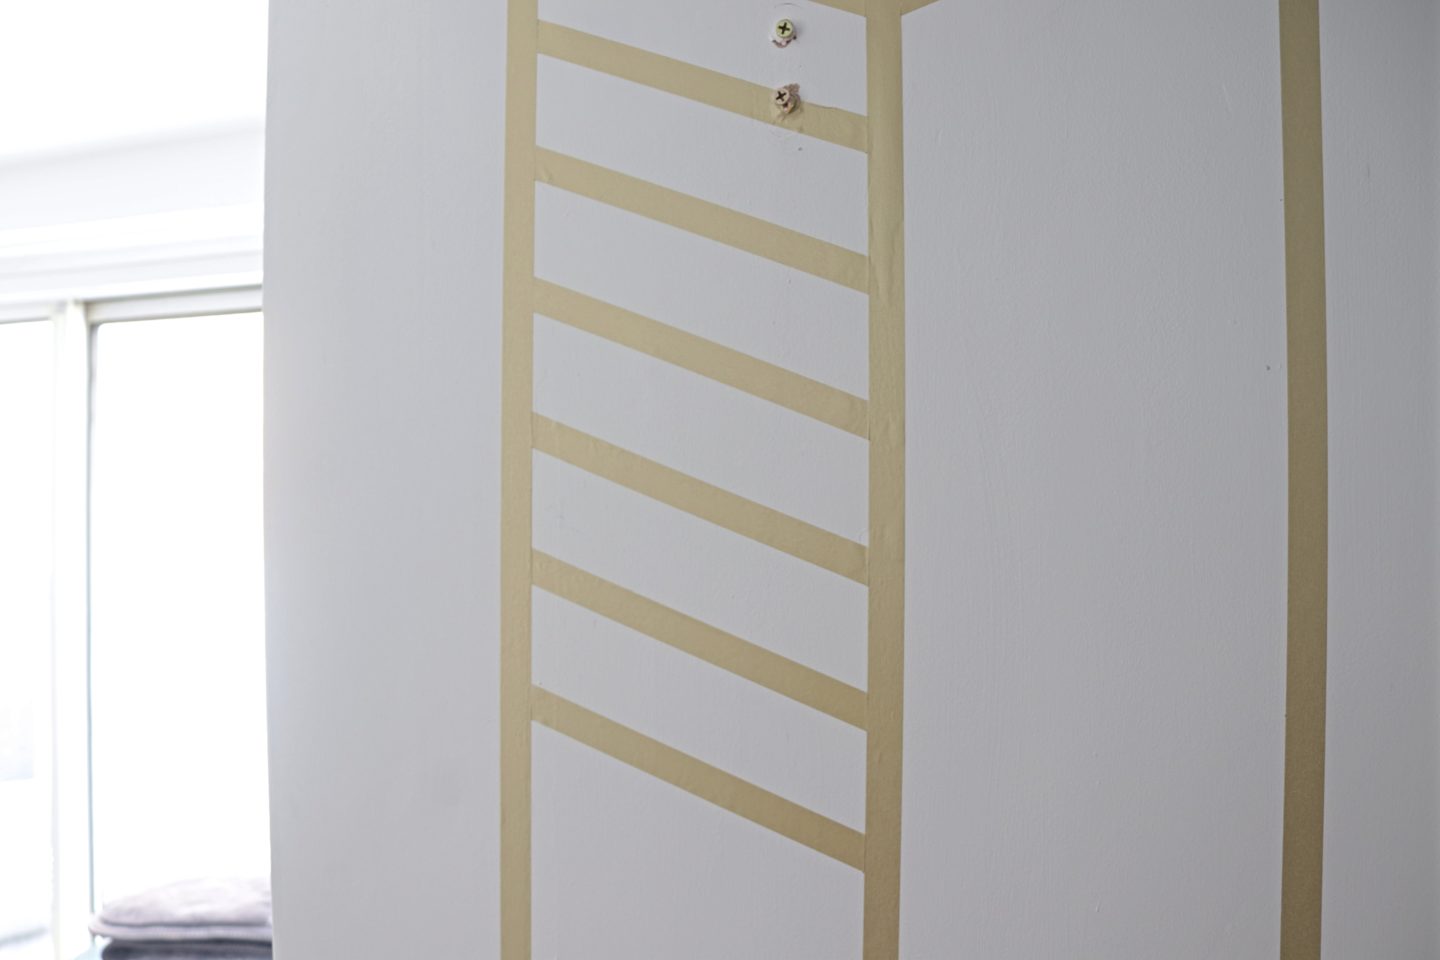
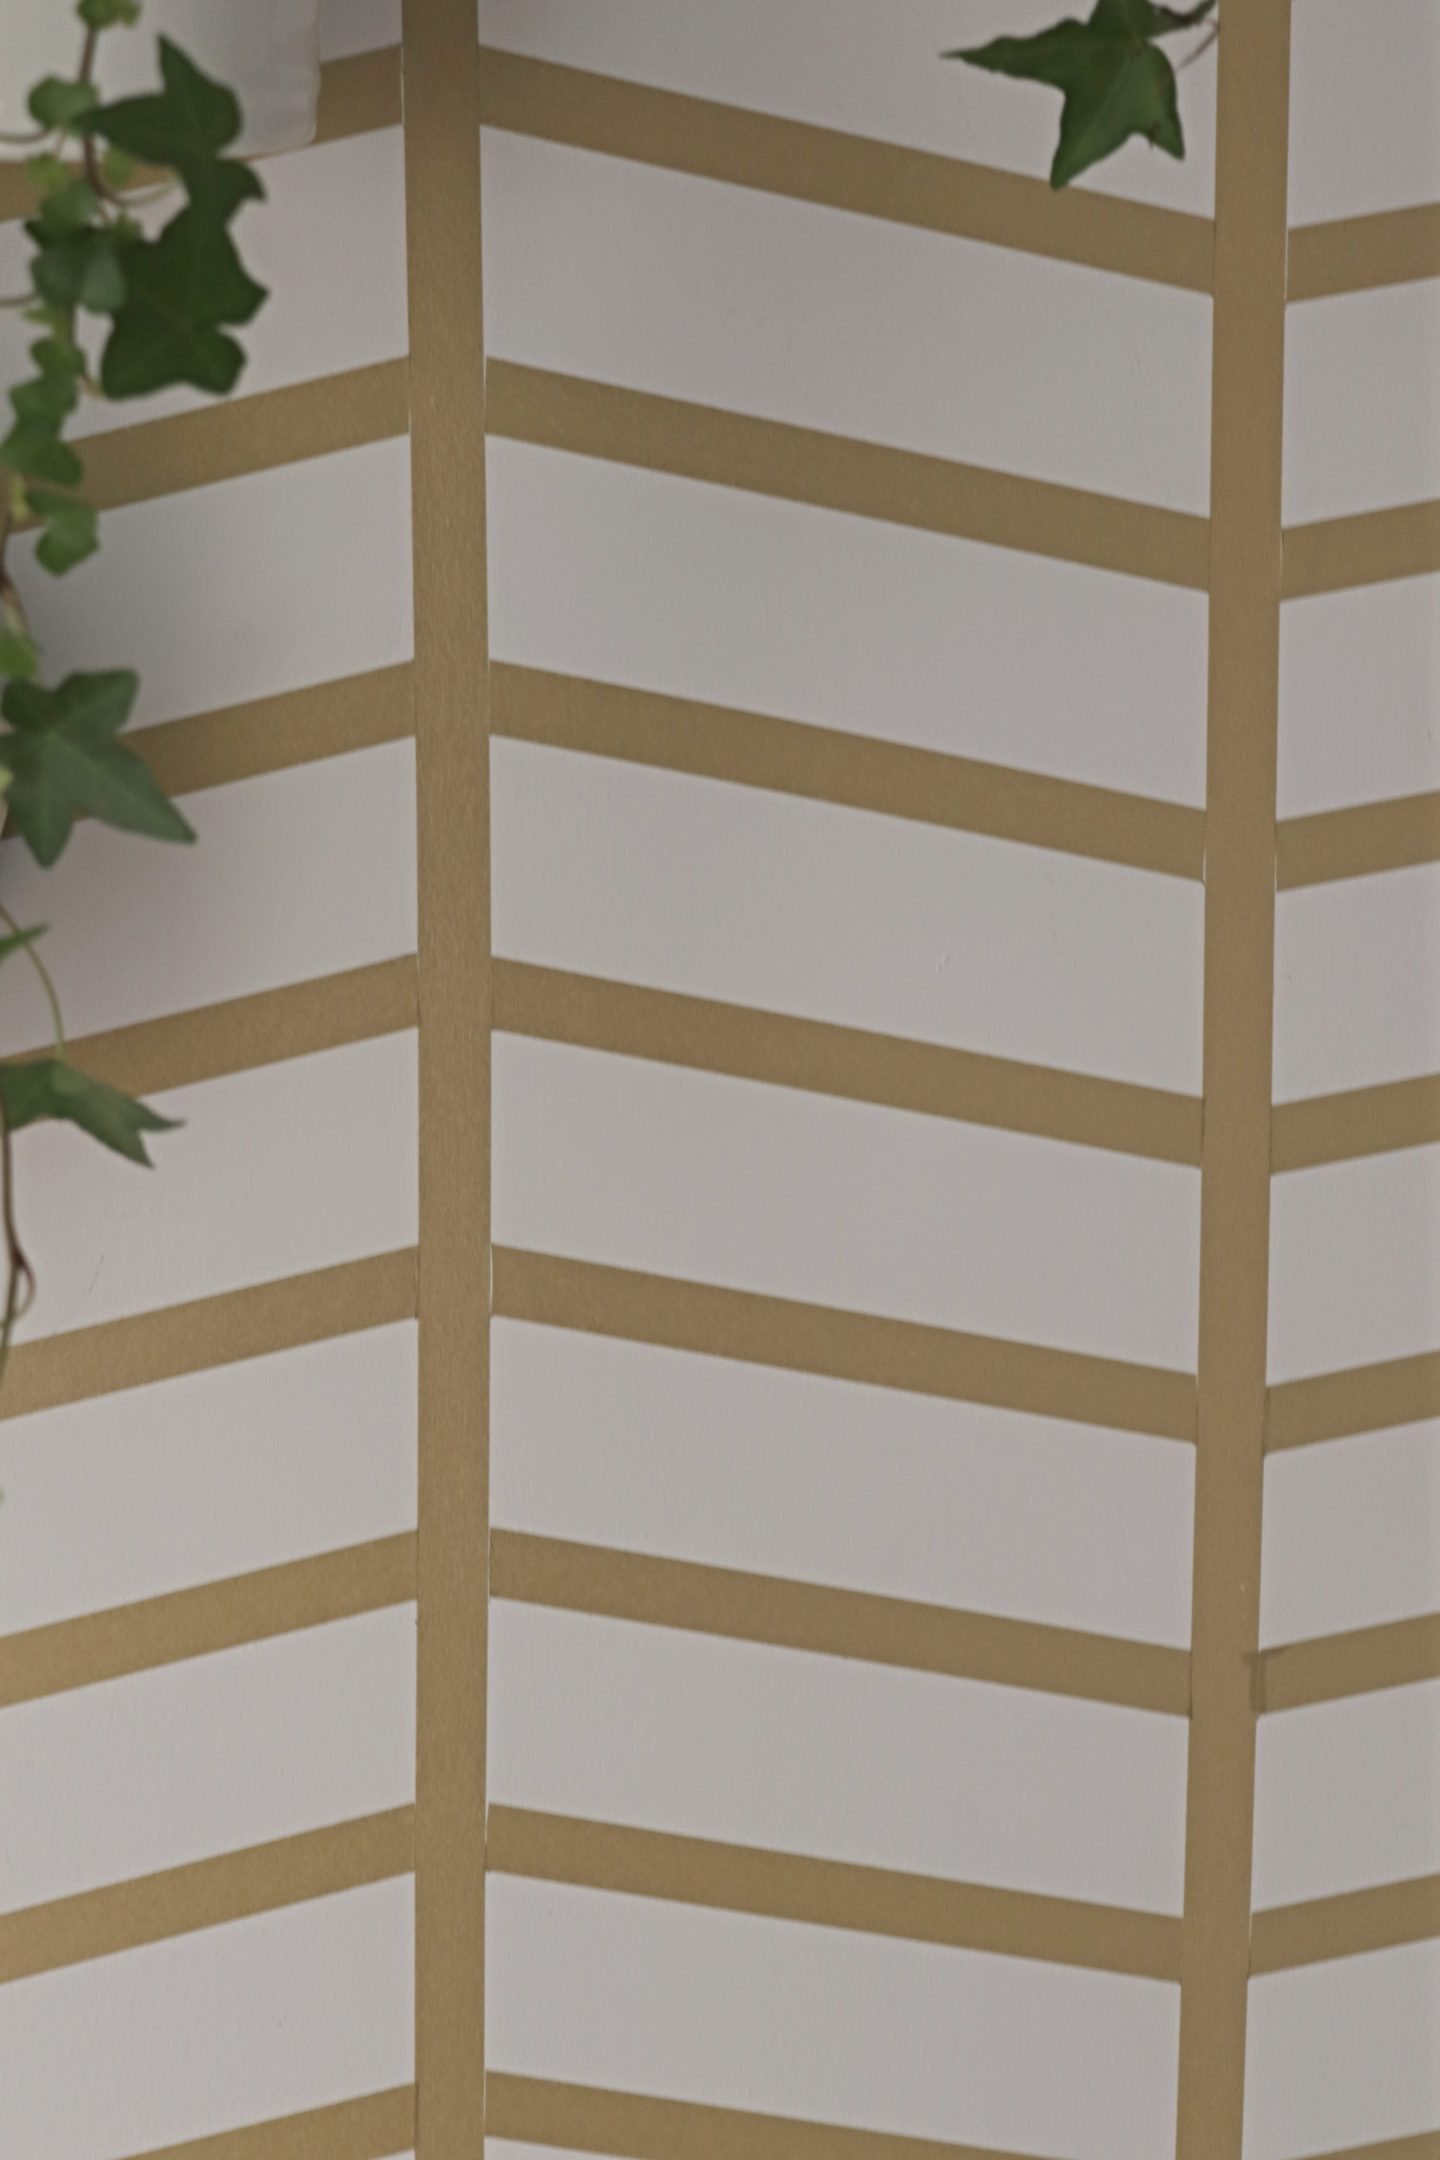
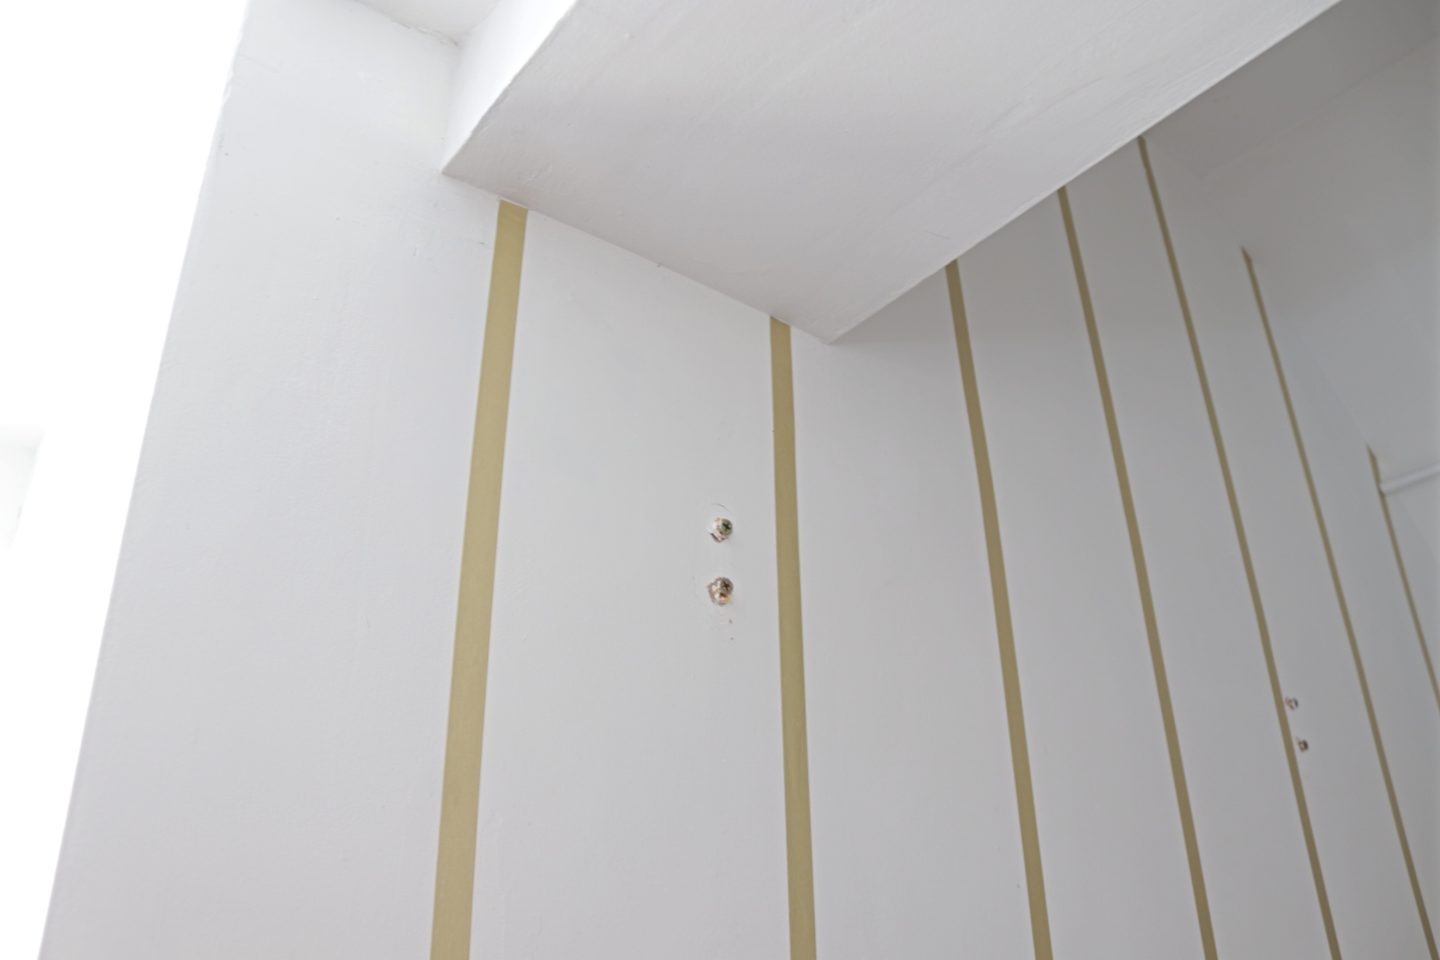
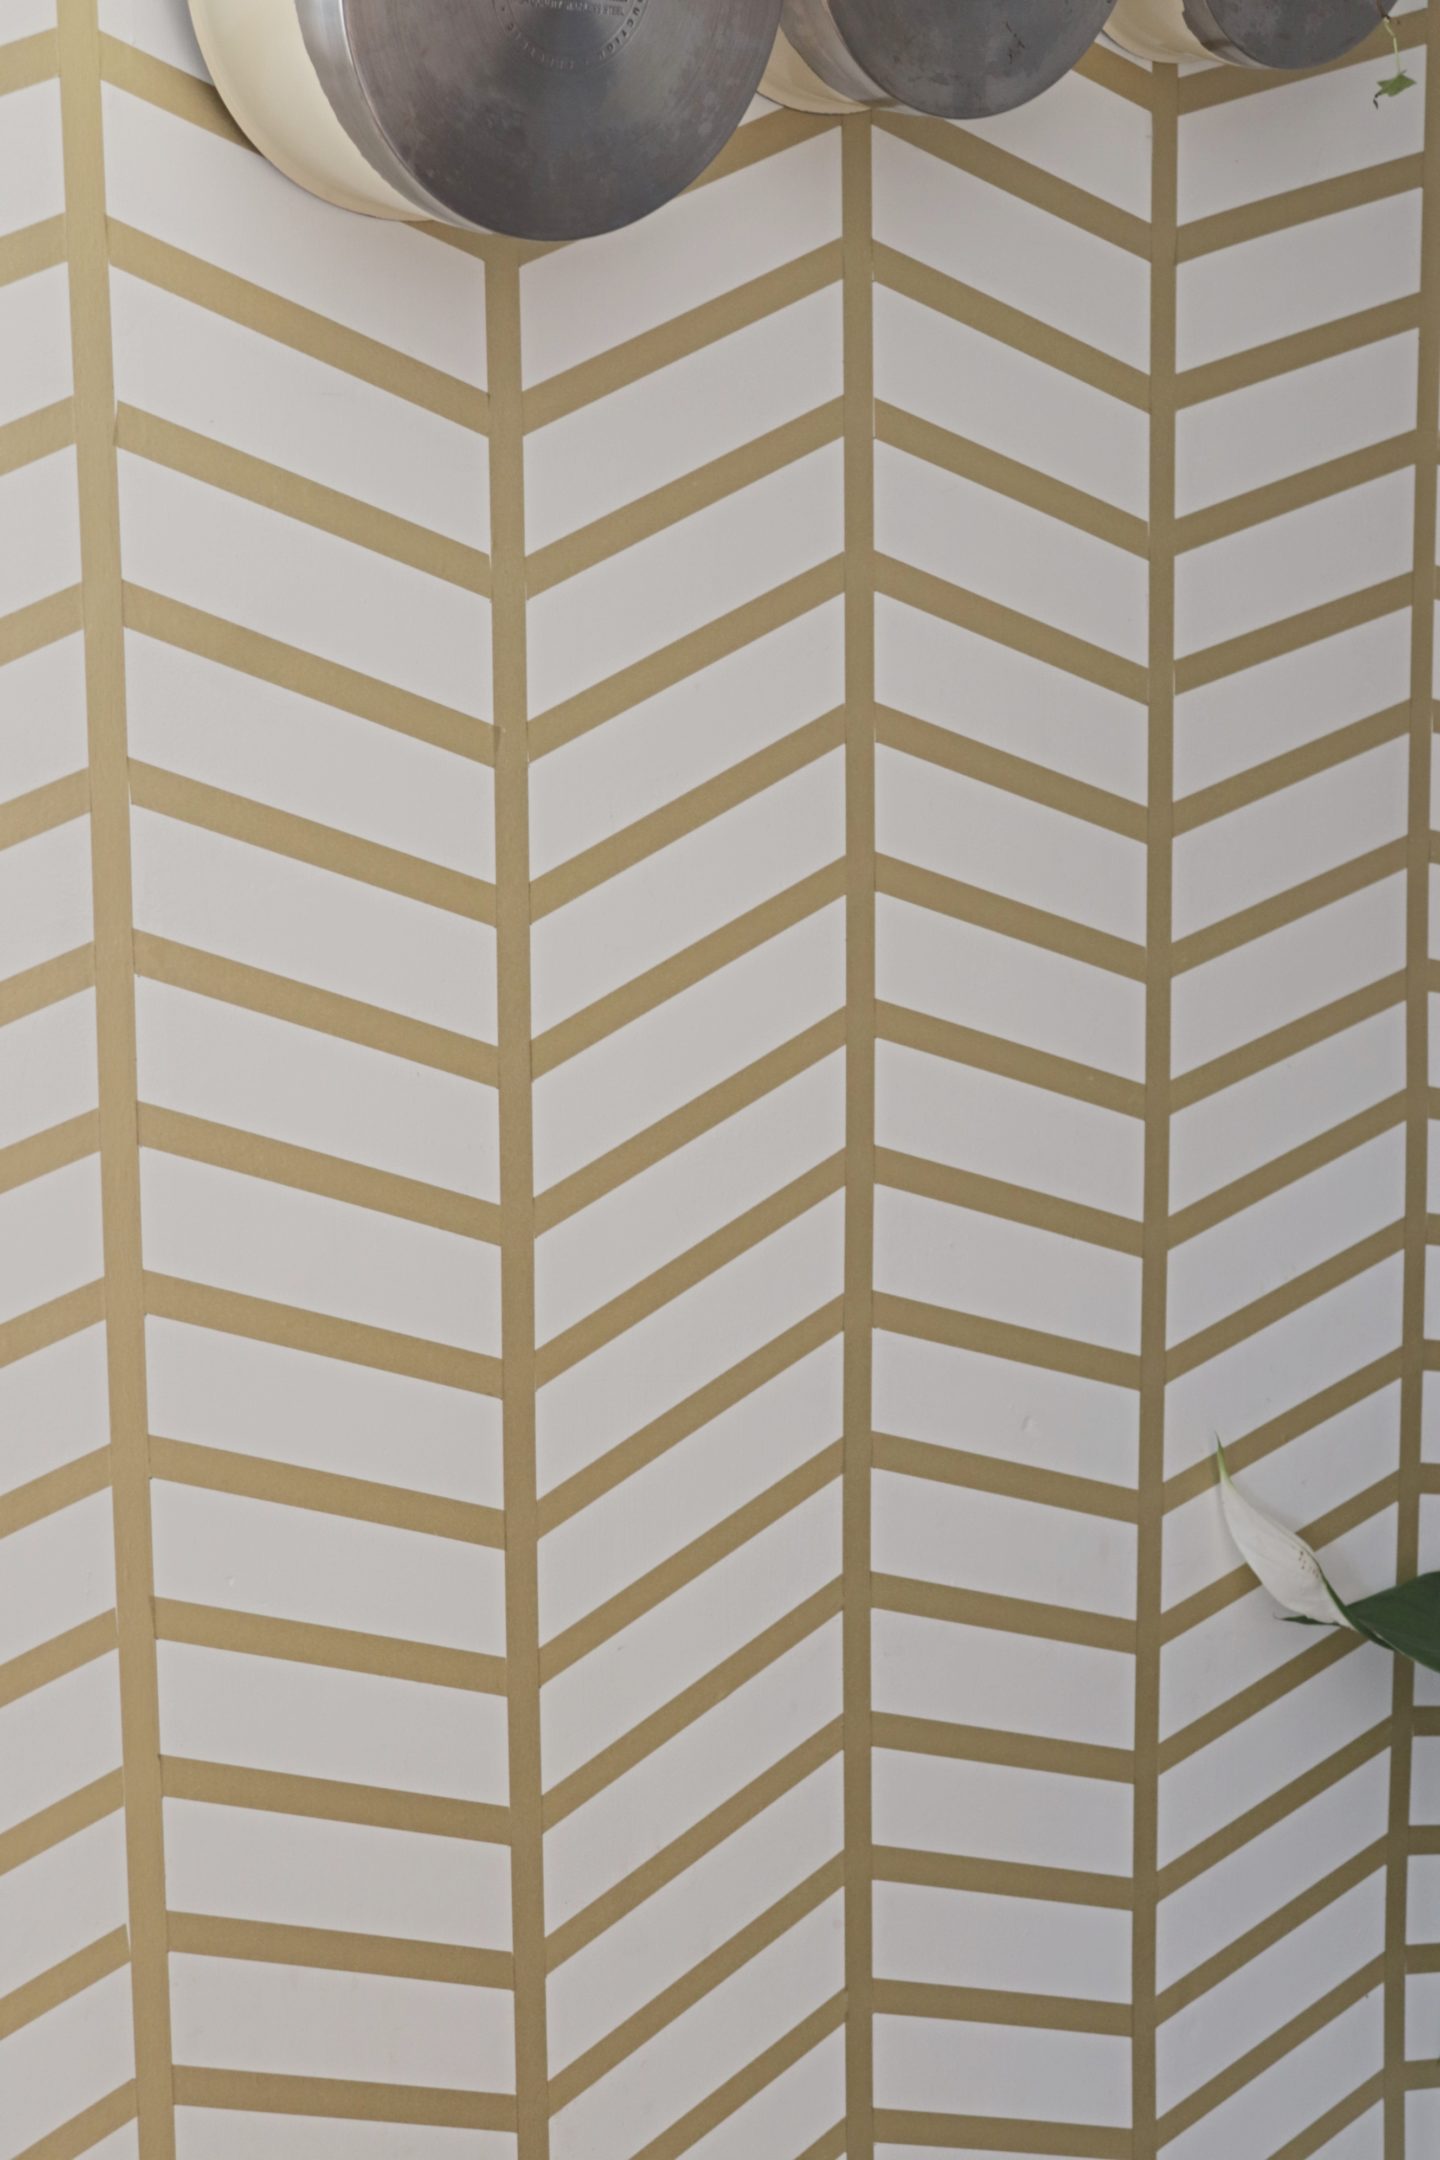
You then need to keep doing this all the way until you reach the floor. It took a while to complete this whole wall and it was only a small wall! I think I worked on it over 3 days (with a break in the middle as I ran out of washi tape and had to order more). Don’t forget, on each row the diagonal has to run the other way. So on this first row the diagonal went downward and on the next row the diagonal would go up. You can see the full pattern on the pictures below. Also on the first edge where I said that the wall was not straight. You can really see it in the picture below and for that row I just eyeballed it because there just wasn’t any point measuring when the gap got smaller as I got nearer the floor.
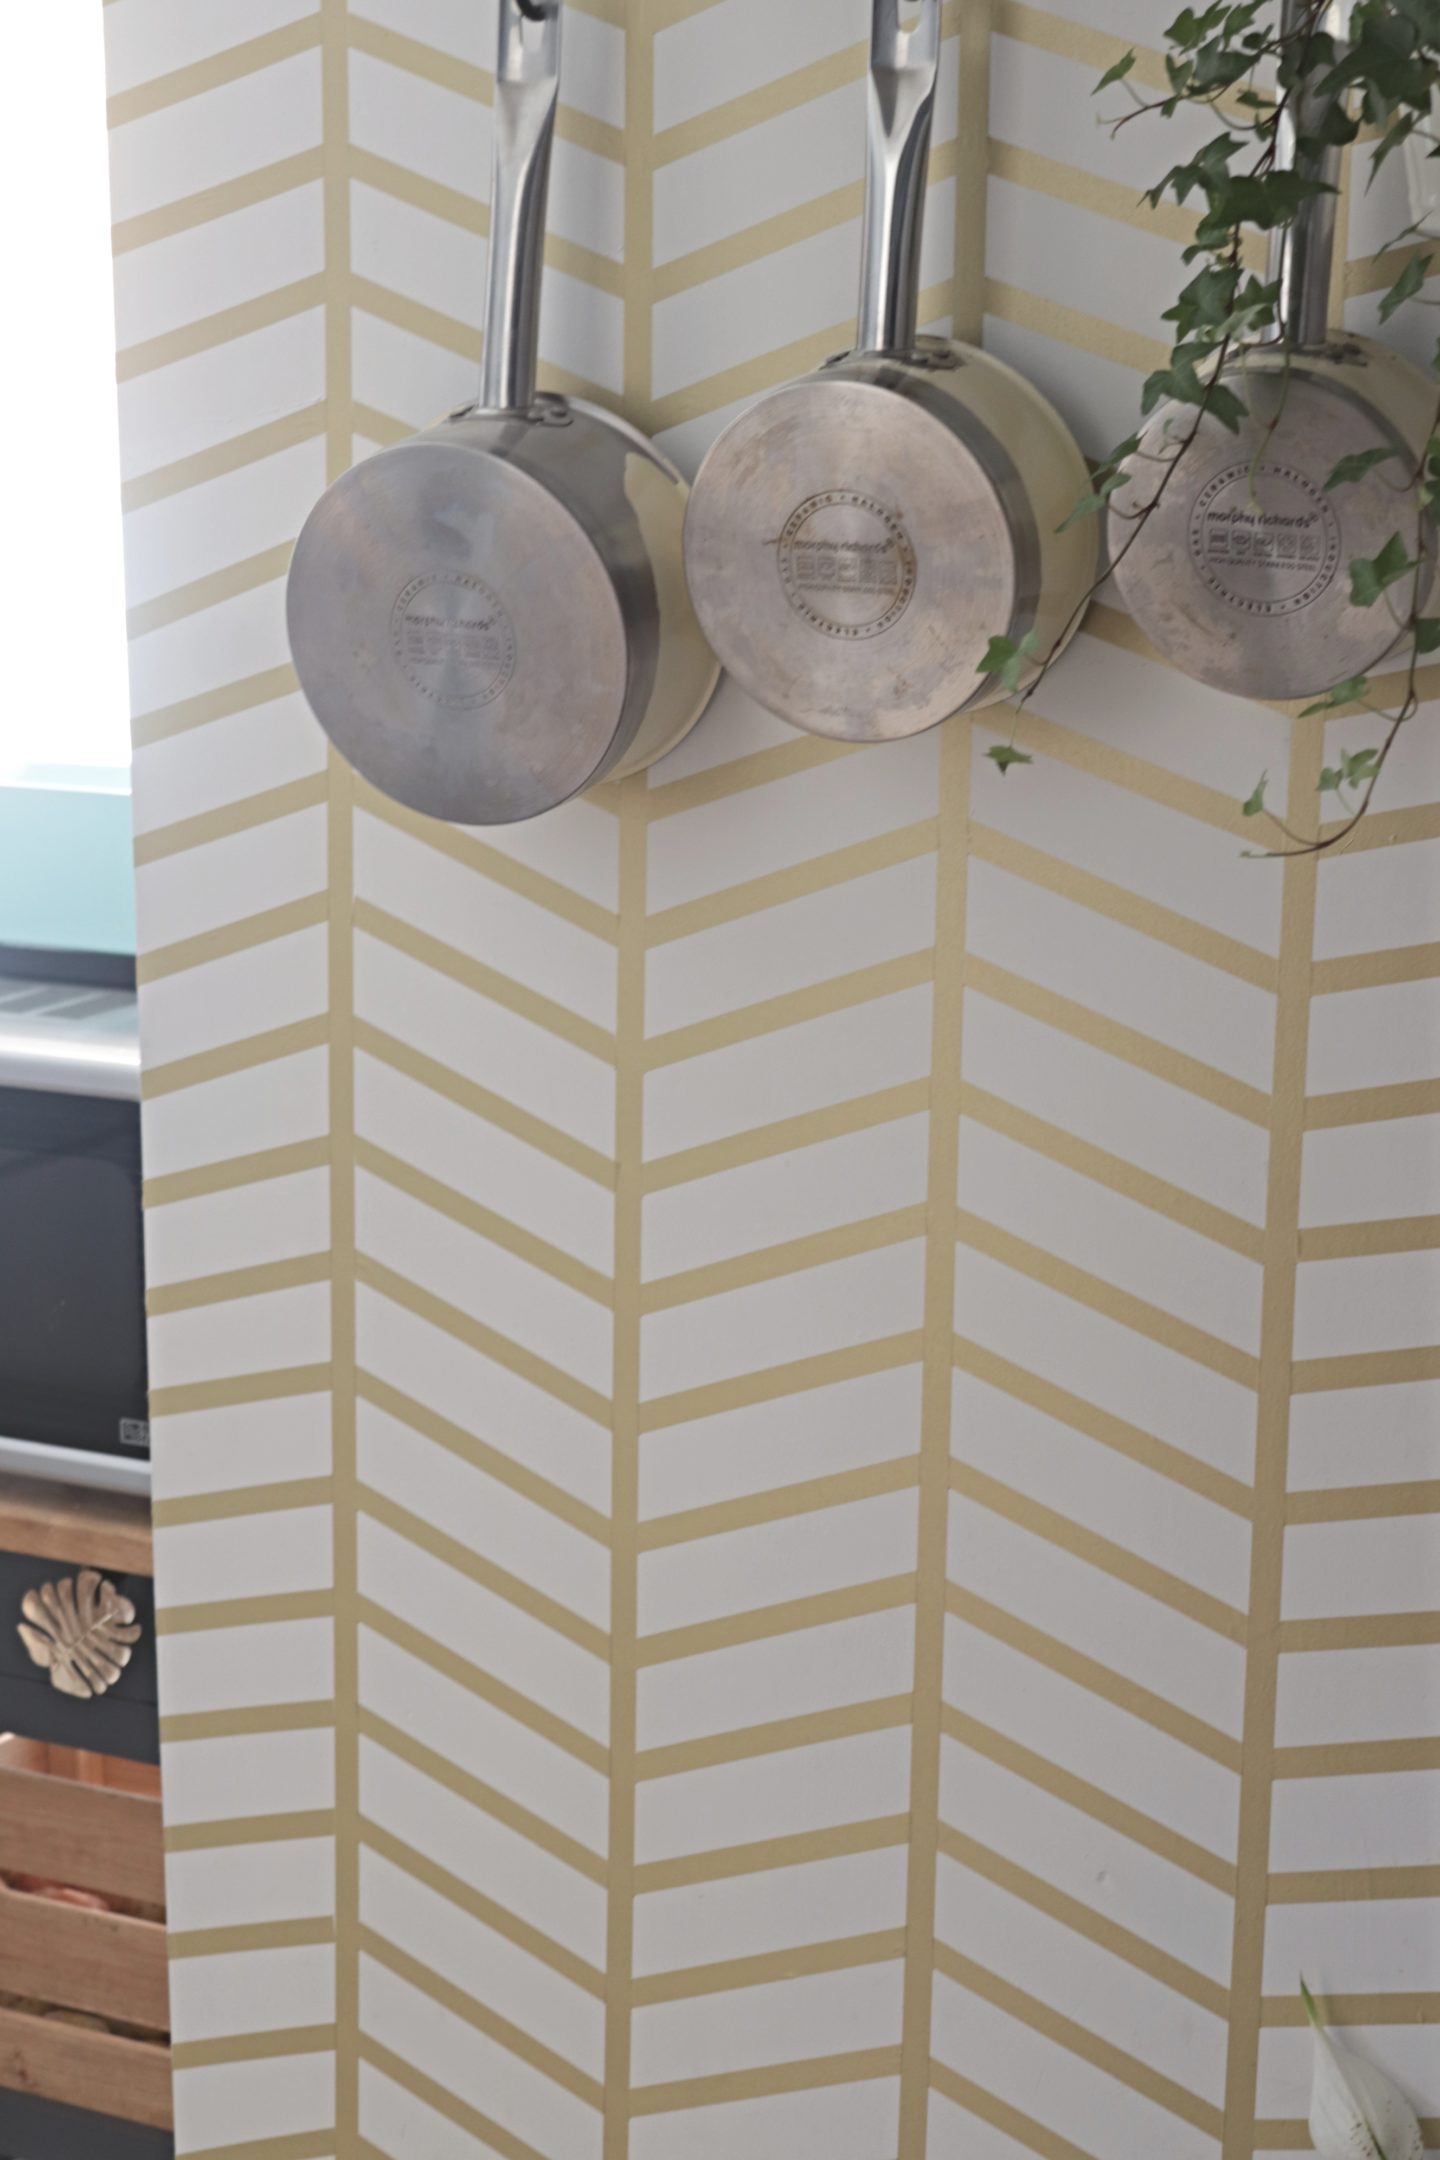
I love this washi tape feature wall and this little corner is now my favourite in the house. I really miss having pattern or colour on the walls (our landlord would prefer that we keep them white and if we do paint it would need to be put back to white when we leave). With this washi tape feature wall though, it’s easily peeled off when it’s time to leave without damaging the paintwork underneath. What do you think? Is this something you might try in your own home? I will be sharing this whole corner next week so make sure you look out for that!
Lianne
Pin my Washi Tape Feature Wall to save it for Later!