Painting a Melamine wardrobe – the before
First of all I just wanted to say that for years I’ve always thought melamine was called melamiMe lol. I discovered just yesterday when I was trying to decide what to call this post that it was with an N not a M! 😀 Anyway, this post is all about painting a melamine wardrobe, what we used and is it worth it.
Makes, Bakes and Decor has been nominated in the 2019 Amara Interior blog awards! If you have enjoyed this post please could you take a minute of your time to vote for me! Just click on the badge below to vote and everyone who does vote is also entered into a competition to win a Lecia camera!

There are loads of paints on the market nowadays that are for specific finishes and surfaces and furniture paint for melamine furniture is one of these. In three of our bedrooms we have cheap and nasty looking melamine built in wardrobes and I hated them all! LOL. When it came time to turn one of the spare rooms into the nursery we had to decide what to do with the wardrobe. Option one was to take it out and buy a new stand alone wardrobe, however as it’s built in, the carpet is laid around it and if we took the wardrobe out we would have had to re carpet the room. As renters, replacing perfectly good carpets (even when they are not what I would have chosen for myself) is not the best option. So option two was to makeover and paint the wardrobe. I was sceptical about painting it, I was worried the paint would scratch and not last but the paint we chose (more on that in a bit) has worked brilliantly and I would definitely recommend it!


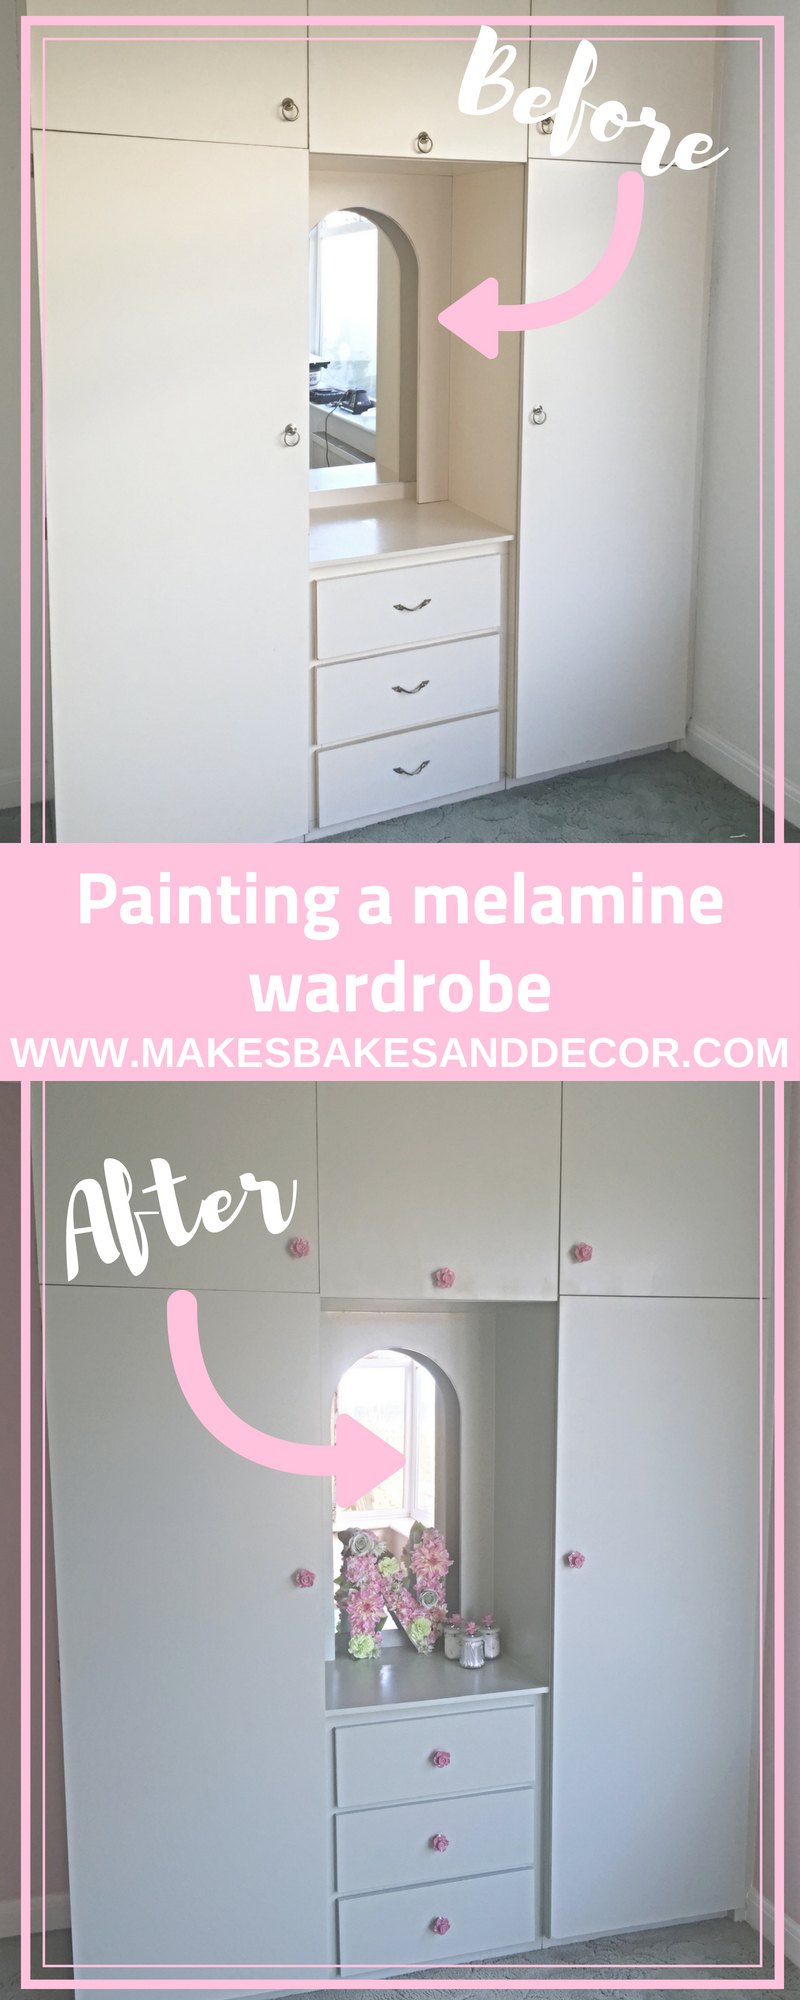
As you can see the before pictures are not pretty. It was very yellowed and in some places, on the edges, the plastic coating was coming away so you can see the chipboard underneath. There were two different coloured handles on the doors and the door and drawer hardware didn’t even match. Also inside they had had plastic rails which had broken on one side. The only plus is that the wardrobe has plenty of storage space and I like that it has the mirror on it, it will double up as a dresser when Baby girl gets older!
Painting a melamine wardrobe – the paint we used

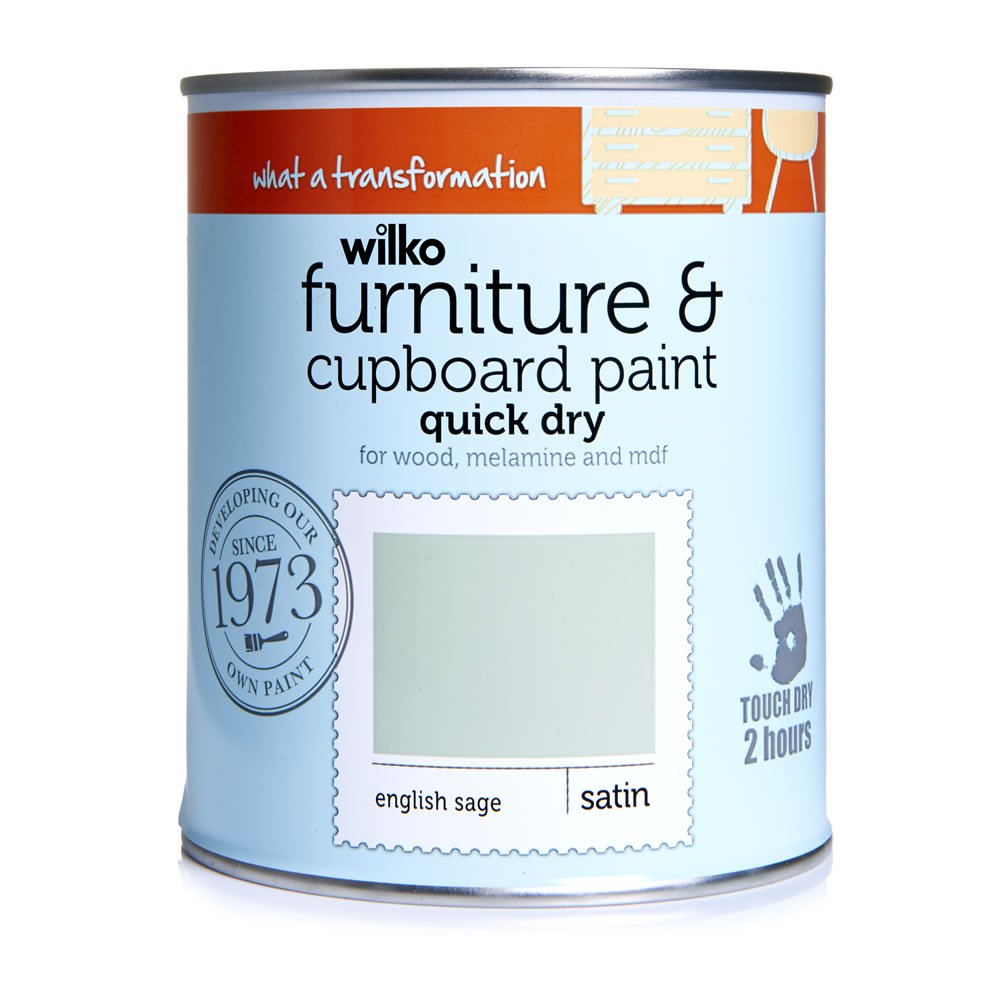
We purchased our paint from Wilko, it’s their own brand paint and we used the primer first and then the paint in English Sage.

We removed the doors and drawers and all the hardware and smoothed over any gaps in the edges of the melamine with decorators caulk. I decided not to completely strip the wallpaper from the back but instead just peeled away any paper that was coming away from the wall. We then gave the frame, doors and drawers two coats of the primer. We used a foam roller to apply the paint to get a smooth finish. The primer tells you to wait a couple of days for the paint to harden before applying the furniture paint so we waited until the next week to apply the colour.


The wardrobe, doors and drawers took two full coats plus a third ‘touch up’ coat. Again we used a foam roller to apply the paint so we didn’t have any brush strokes on the finished wardrobe. It takes 4 days for this paint to harden too so waited a week again to put it back together. You may well be fine without waiting as long but as the paint scratching was one of my main concerns I would rather wait then risk it. Although this made it a frustratingly long project.

It was at this point we chose our hardware which meant filling the two holes in the drawer fronts and drilling a hole in the centre of each. TOP TIP do this before you paint the drawer fronts! 😀 As you can see the drawers at this point were already painted so we had to fill, sand, drill and then repaint the fronts! We just used a regular wood filler to fill the holes.


For the backs of the wardrobe we just re papered with lining paper and then painted it in the same pink we had chosen for the walls. We also put in new metal rails, both the rails and fixings were purchased from Wilko.

For the hardware we chose these pink ceramic flowers. They were bought from Home Bargains and cost just 99p for two. They are available in store only but I also used them on my Jam Jar Storage Jars and I’ve linked to some similar ones on Amazon in that post.
Painting a Melamine Wardrobe – the after


Now I only hate the built in wardrobes in two of the bedrooms because I love this finished wardrobe! I’m so impressed with the paint, I can tell that it’s durable and isn’t going to chip or scratch. You might recognise the Faux Flower Letter in front of the mirror from our #DIYBlogChallenge last month.
Over all I wouldn’t describe this as a cheap project. We needed two tins of primer and four of the colour so the paint cost alone was about £80. Plus the hardware, filler, rails, wallpaper and paint for the back walls I would estimate the whole cost at about £130. This is however a big wardrobe with plenty of storage space so buying a new one this size and then the cost of replacing the carpet would have been a lot more, this was definitely the cheaper option.
Have you got some melamine furniture in your own home that you hate and have been thinking how you can update it? I know my kitchen cupboards are made of the same thing and now I can’t wait to get them painted! Any thoughts or questions just leave them below, I try to get back to everyone as quick as I can.
Lianne x
Pin Painting a Melamine Wardrobe to save it for later!


I’ve just come across this post by googling melamine wardrobes and it’s exactly what I’m looking for! We have two rooms with fitted melamine wardrobes and one room is our main bedroom, the wardrobes are the last thing I need to tackle in it decorating – wise and I was a bit sceptic about painting them. They’re along a full wall too and so useful so I don’t want to take them out. I actually nipped into my local wilkos today and happened to find the exact primer and I’ve also bought the exact same colour! Seeing yours and the outcome of them has given me so much confidence to do them they look lovely! Although I am a bit scared because its alot to paint! Thank you so much for sharing!
Author
Thank you so much! I’m so glad that you found my post helpful and good luck with your own project 🙂 my best advice would be to make sure you keep to the curing times stated on the paint tin. It does make the project a much longer one with having to wait between coats but I think it is worth it to make sure the paint dries correctly. Our wardrobe has been in daily use for 6 months now and the paint is still in perfect condition. I would love to see any progress so if you share on facebook or instagram please tag me @makesbakesanddecor
Lianne x
It looks great, the new rose handles fit perfectly! Well done.
Author
Thank you, I think so too 🙂
I love the color you chose!
Thanks!
Nice post. You really have done a great job.
Author
Thank you!
Wow! you have done a brilliant job. My husband has just turned 80 and Im not far behind. We have wardrobes and fitted bedside cabinets which need painting but cannot afford the cost of getting a painter in. We would really feel out of our depth with the challenge of it all, but might ‘have a go’ in the summer. Thanks for your tips!
Author
Thank you so much for your comment! I really hope my experience has helped you and I wish you luck with your own project 🙂
Hey, years later to this thread and your page – and like another said, it’s EXACTLY what I was after. Myself and other half have just bought our first house together and can’t wait to start upcycling what we have to make a house our home ❤️
Author
I’m glad it has helped! I do really recommend the paint I used. It lasted as long as I lived at the property and for a few years for my friend too as she lived there after me 🙂