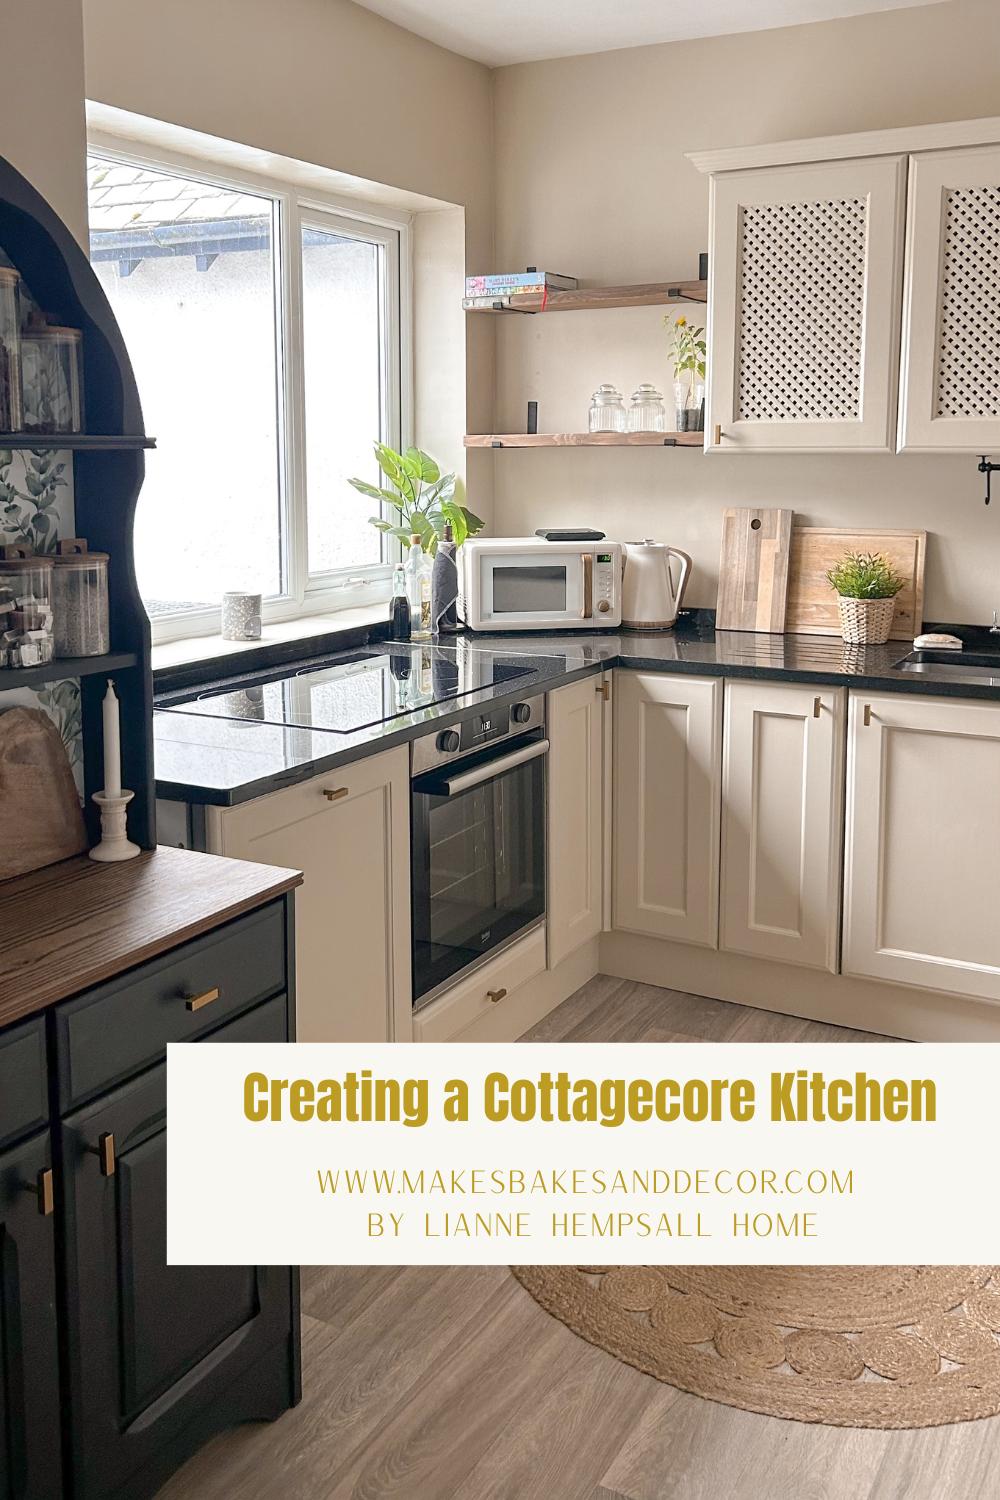
Hello and welcome back to my blog. Today I want to share stage one of Creating a Cottagecore Kitchen with you all. In case you are new here then let me just give you a little background information. We rent our home in Skegness and have permission from our landlord to decorate our home which means we can paint/paper the wall, add shelving and pictures etc etc. We know we are very lucky to be able to do this, not all landlords like changes to be made but as the whole house needed repainting when we took on the lease we were quite lucky that it meant we could make these changes and make the house our home in this way. But as renters of course there are certain things we cannot change such as kitchens, bathrooms etc. I have lived in some rented properties in the past that did not have the best kitchens but in this home we are lucky that it was a lovely kitchen to begin with.
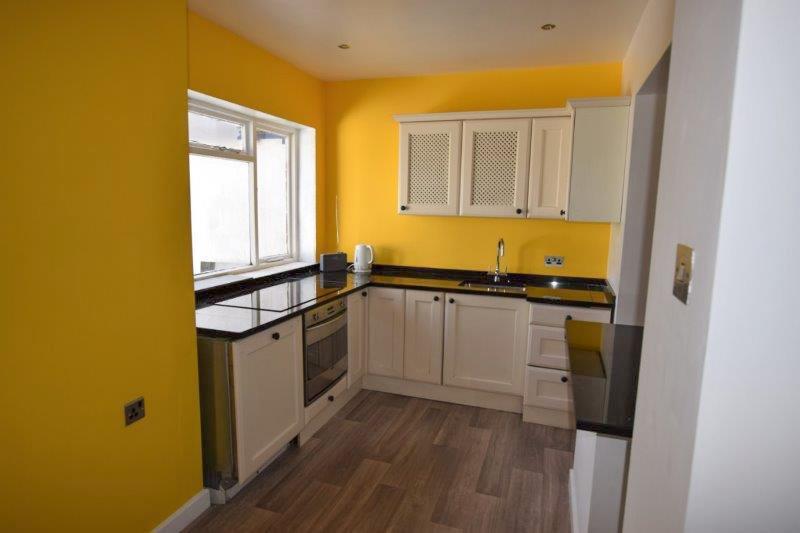
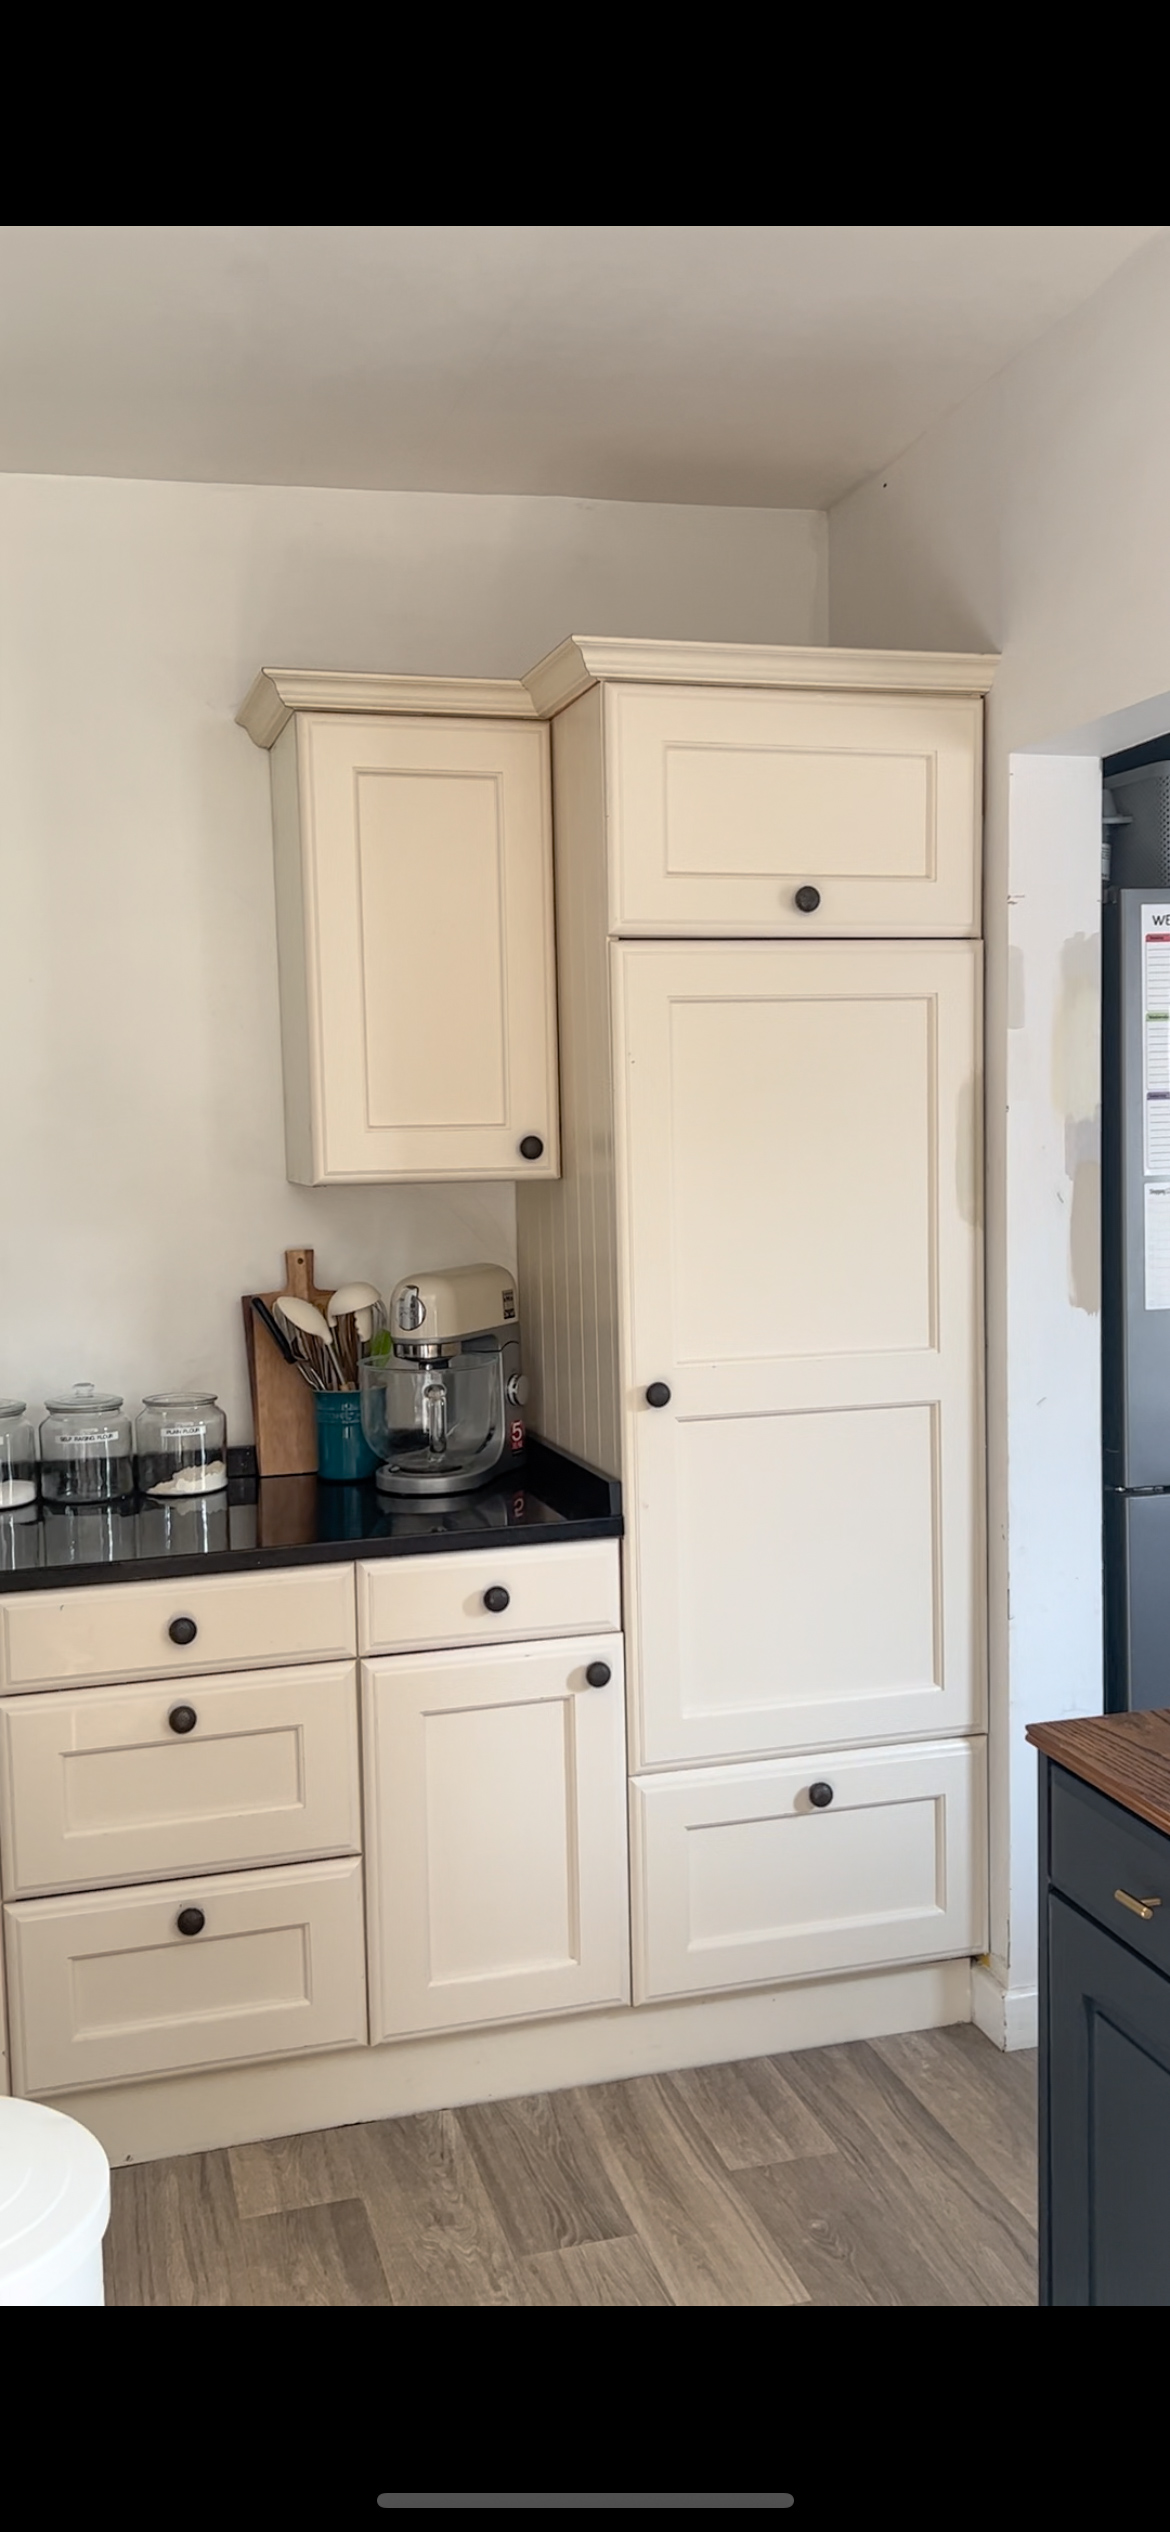
This is a picture of the kitchen from the letting agency before we moved in. I don’t actually think that I have shared it’s very yellow beginnings on here before as painting it white was the very first thing we did once we got the keys! I was not living with this monstrous colour for a single day 😀 Looking at it now I can’t believe how small the colour makes the room look.
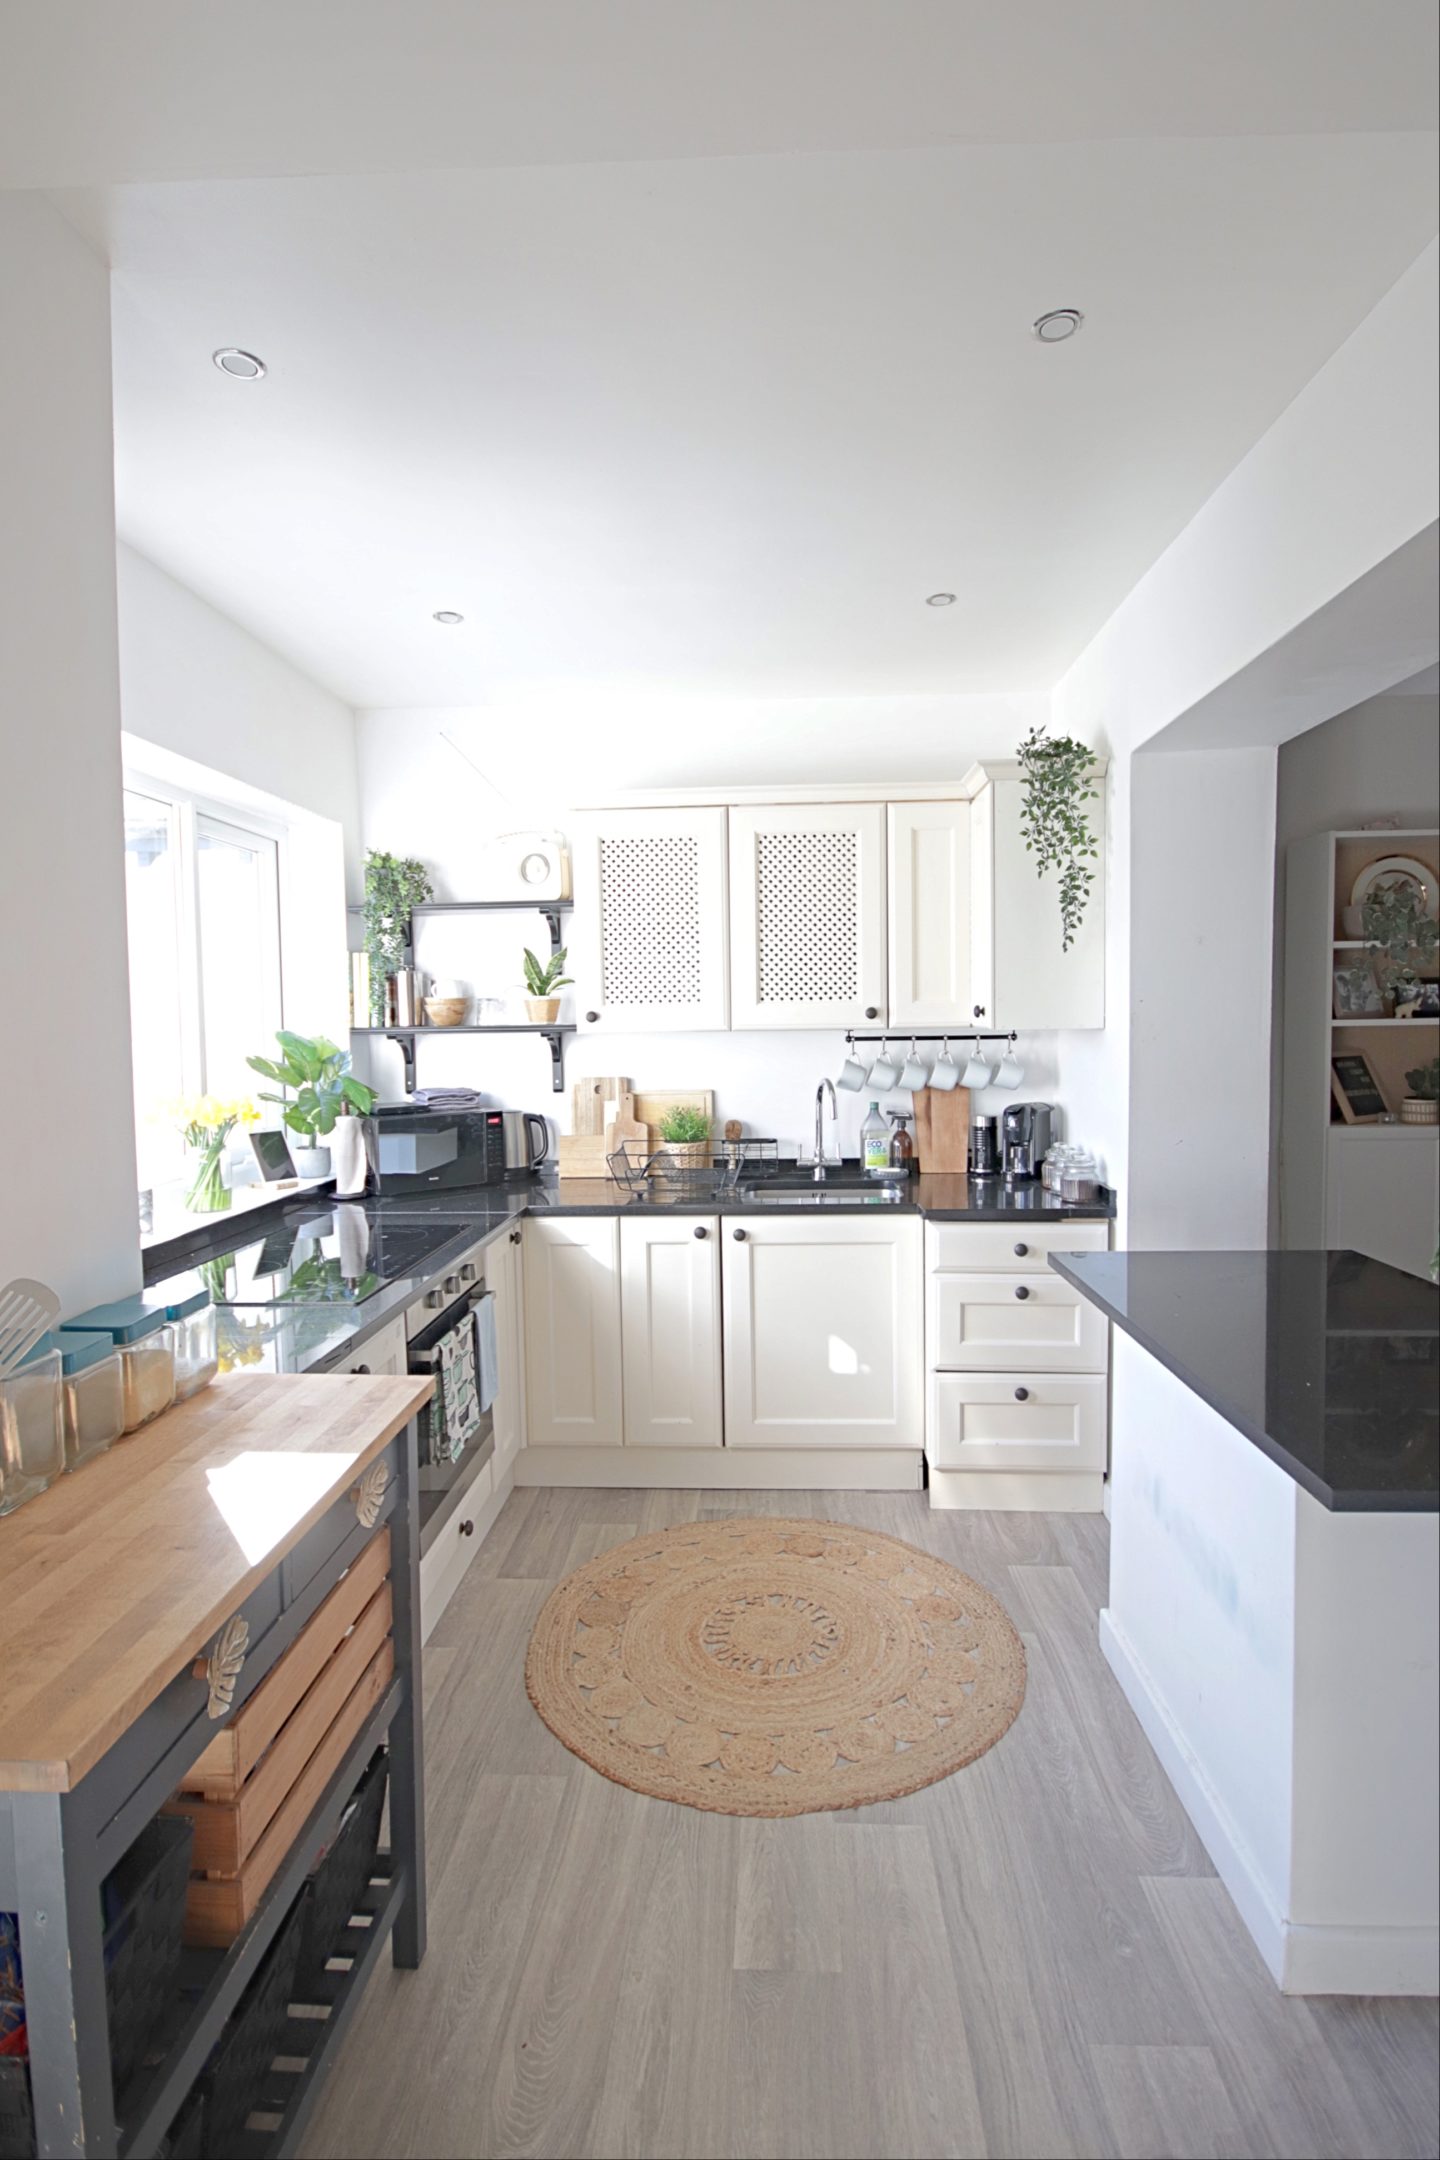
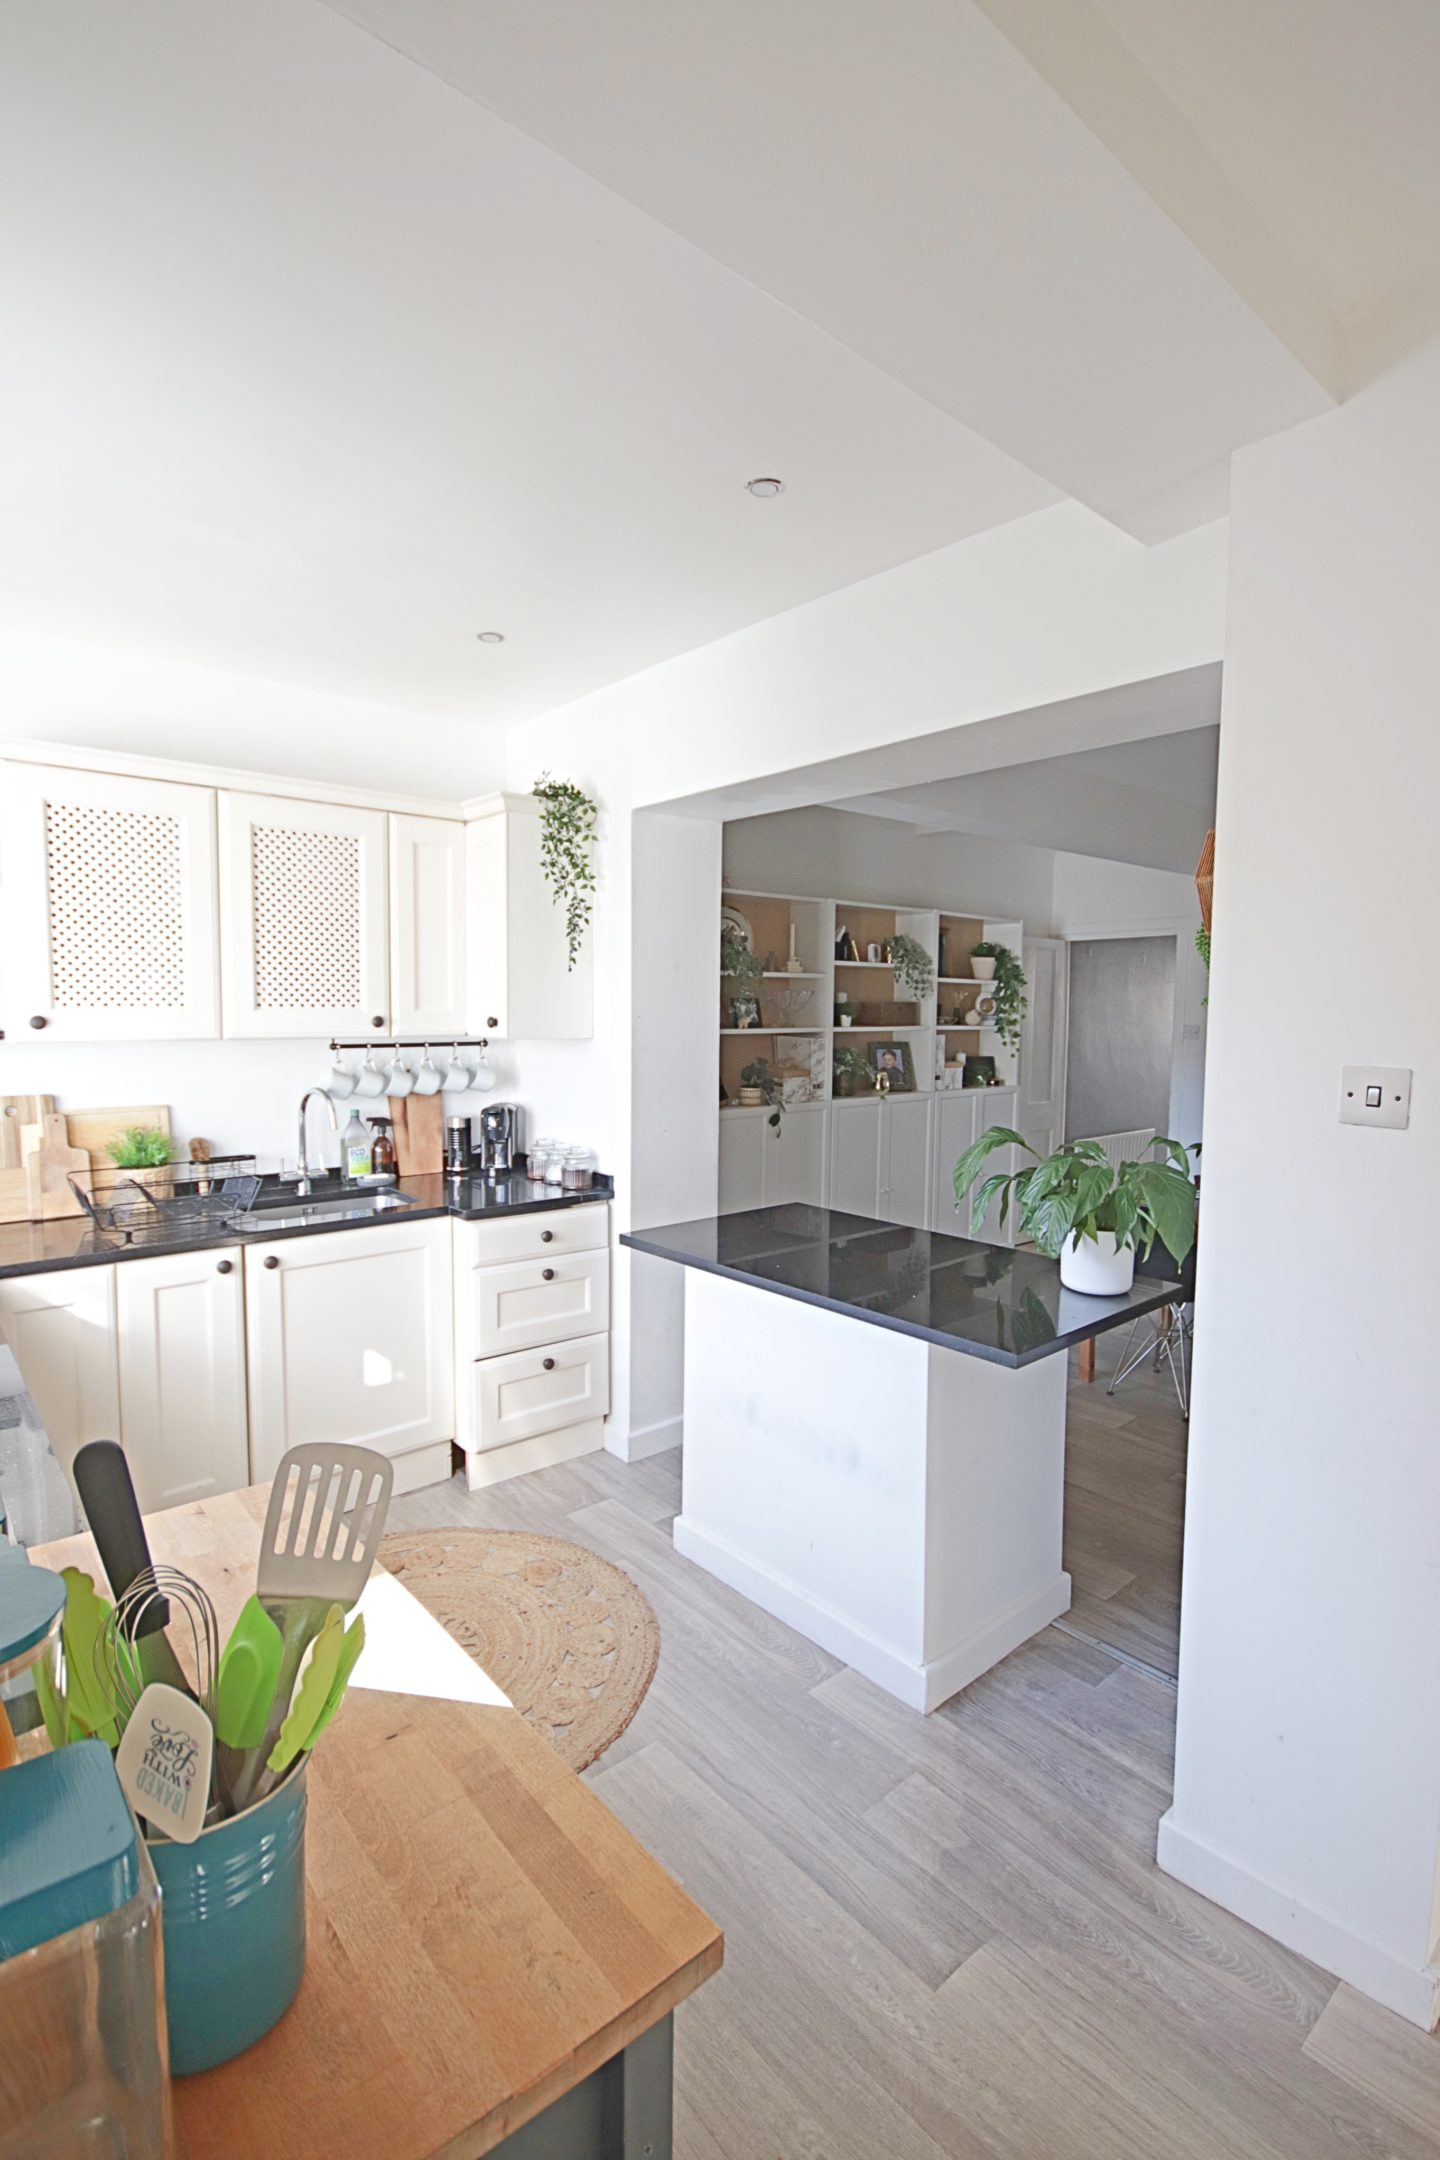
And here is the kitchen after we had painted it white and put all of our belongings in. You can find this picture in my Ground Floor Tour but as you can see it’s a lovely kitchen really. Painted cabinets, a nice big window, black granite counters and an island with open plan into the dining room. Although very nice it did not have the look that I dream of for my kitchen. I love cottagecore, shelves filled with knick knacks, cosy feels, warm colours and counters with cookbooks, plants and vases.
As the real cottagecore look comes from all the “stuff” that you add and style, phase one of Creating a Cottagecore Kitchen would have to focus on getting the main base of the kitchen finished. Then the “stuff” would follow as I find kitchen bits here and there and add them in.
So what tasks did I want to complete in this first stage. I wanted to paint the walls and the cabinets. As I mentioned before the cabinets were already painted and chipped in quite a few places. I wanted to use a colour drenching technique and paint the walls and cabinets the same colour. In my mind I could see exactly how this would look even though Shaun wasn’t’t quite so sure when I told him. When I was thinking about colours I headed to Pinterest and typed in kitchens with black counters as I knew this was the one thing that I couldn’t change in this room. A few different options came up and although I was very tempted with green I did think that I might be pushing my luck with the landlord if I requested to paint the cabinets in a different colour entirely. There was one particular kitchen that came up though that was in a beautiful rich cream. As it wasn’t a million miles away from the current cabinet colour I made my decision and the only thing left to do was find the perfect cream shade.
As you can see from the test patches in the last picture this was easier said than done. So many beige colours looked grey in different lights and on different walls! Eventually though I found Beige 001 from Lick and it was just perfect. It was a little pricey though so we decided to get it colour matched at a local decorating centre. They got the match perfectly and it worked out at half the price.
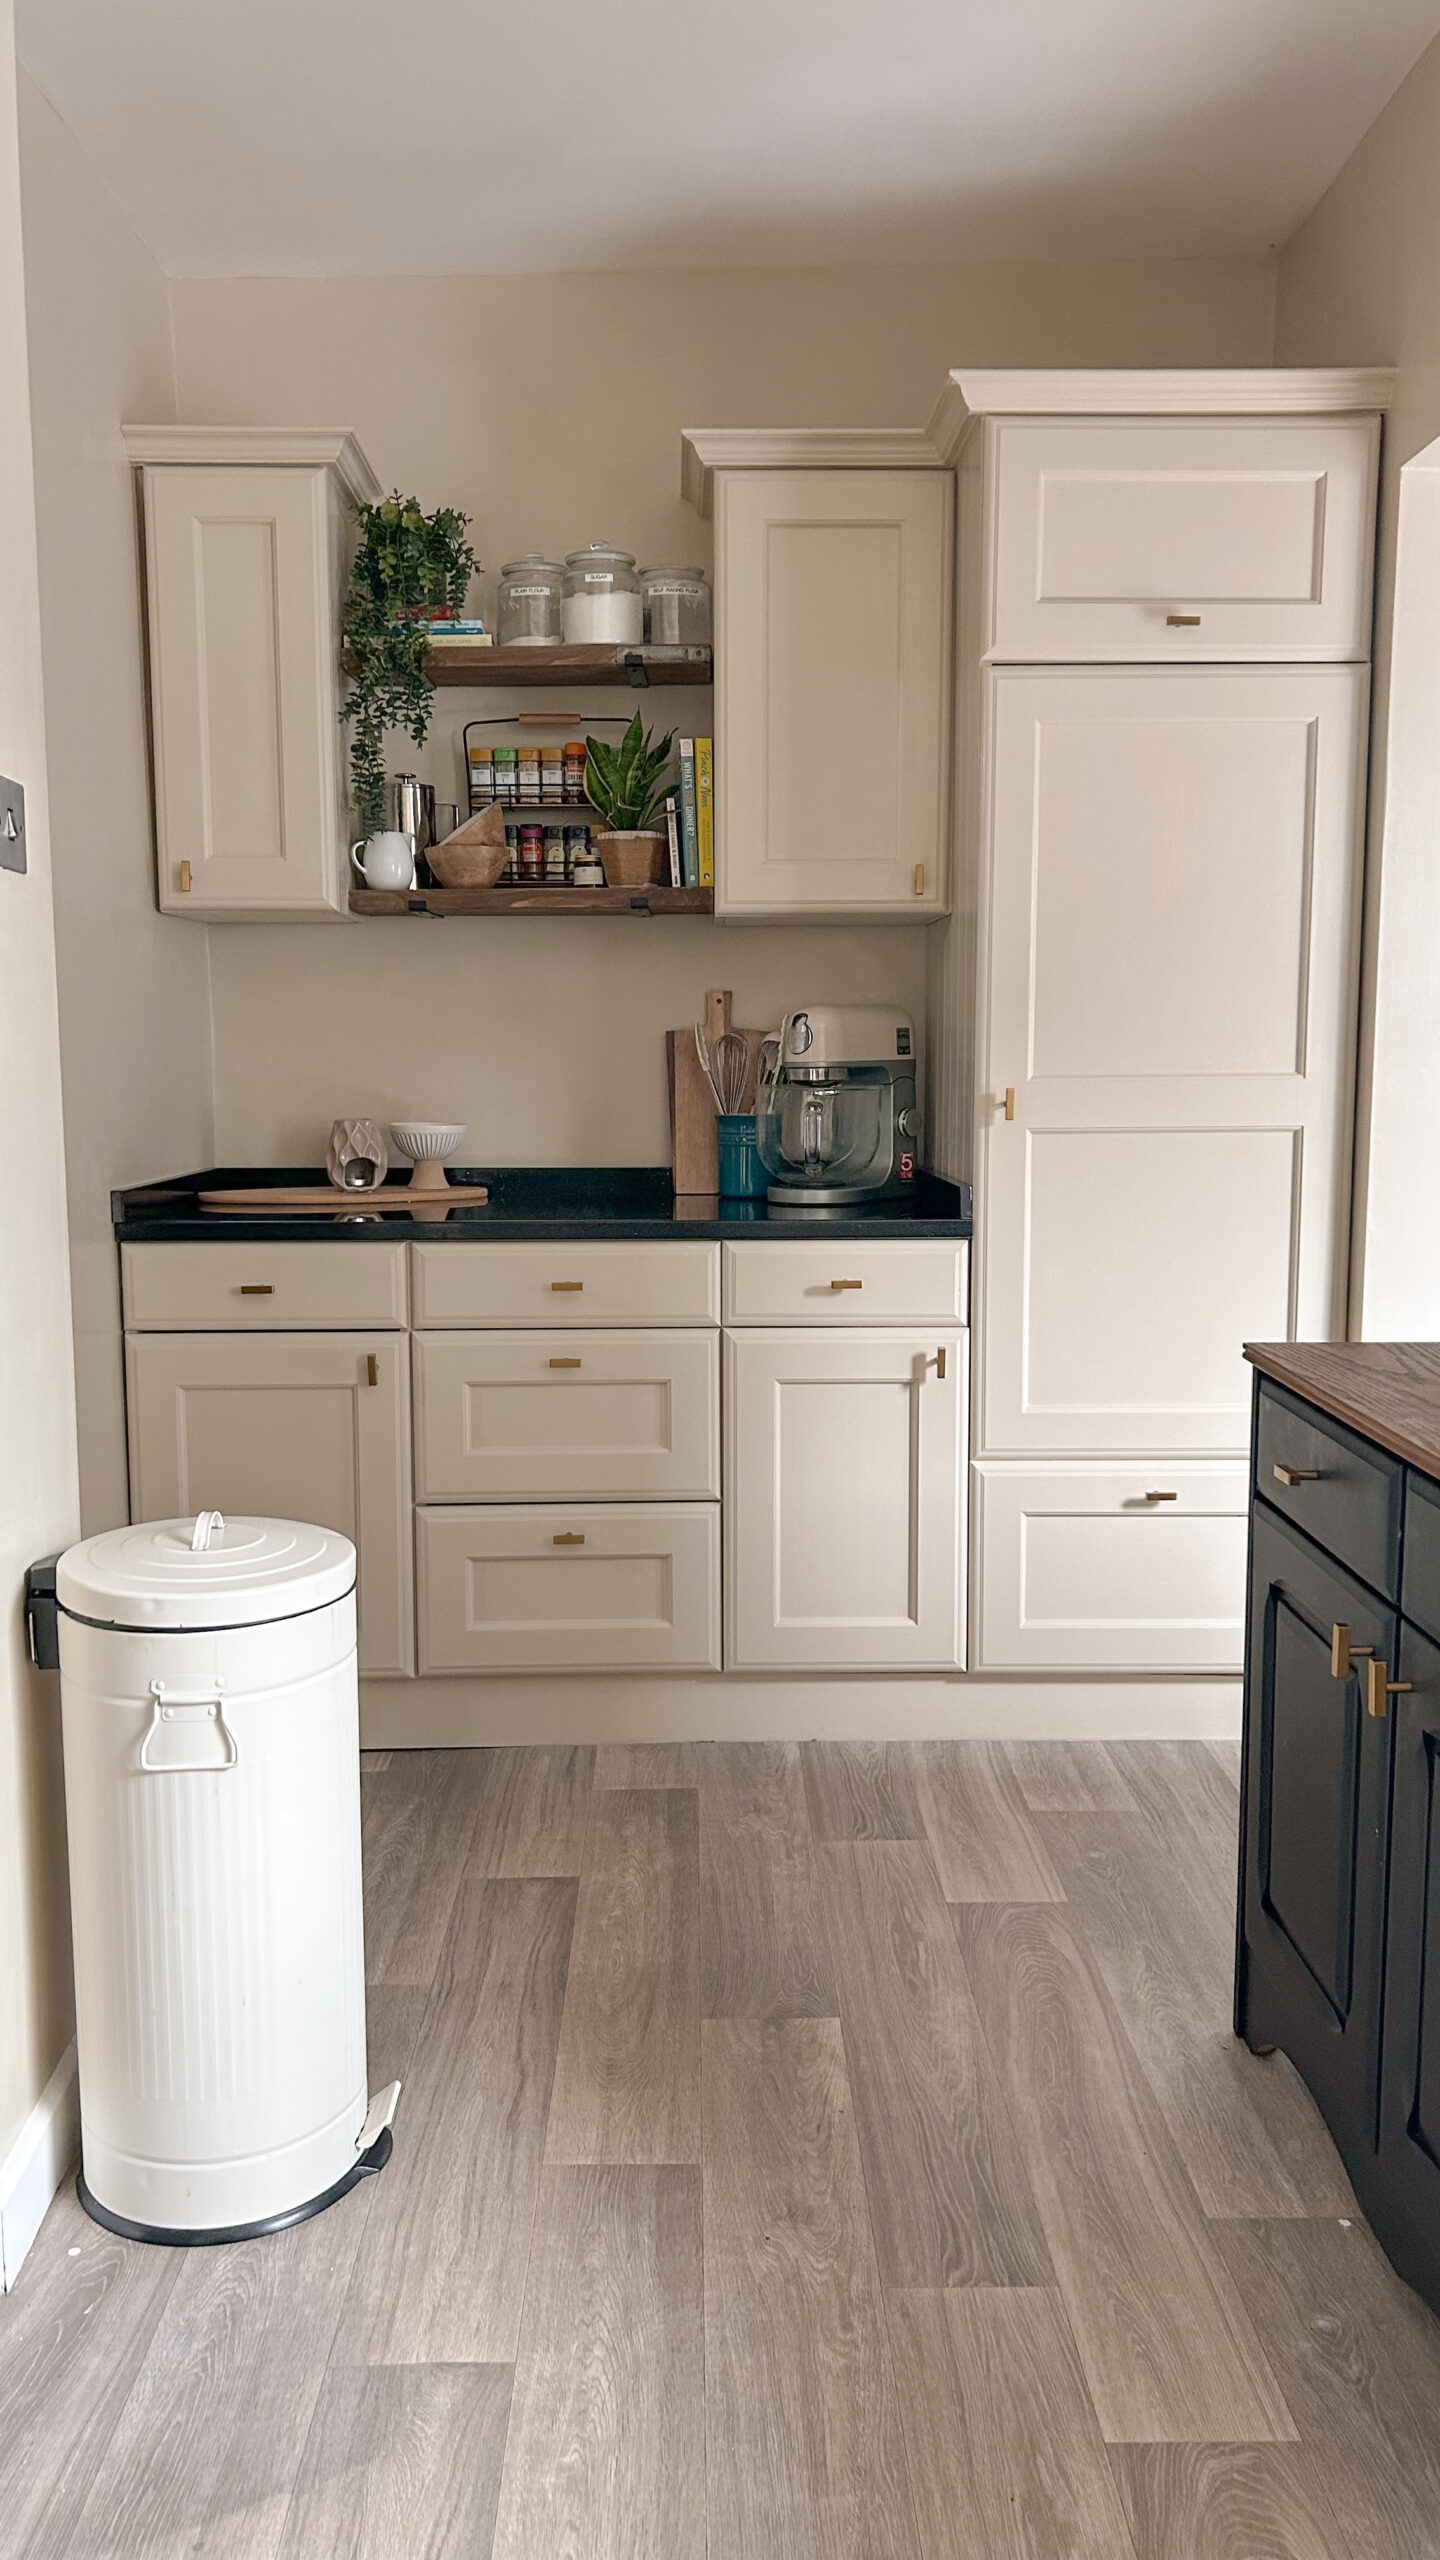
The other main change I wanted to make in phase one was to switch out the black shelves near the window to scaffolding shelves and to add in the same style of scaffolding shelves between the two cabinets in the picture above. I also wanted to switch out the cabinet handles to gold ones to give a warmer feel to the room. After all of that information I’m pretty sure at this point you just want to see what it looks like now! So here is the completed phase one of Creating a Cottagecore Kitchen……..
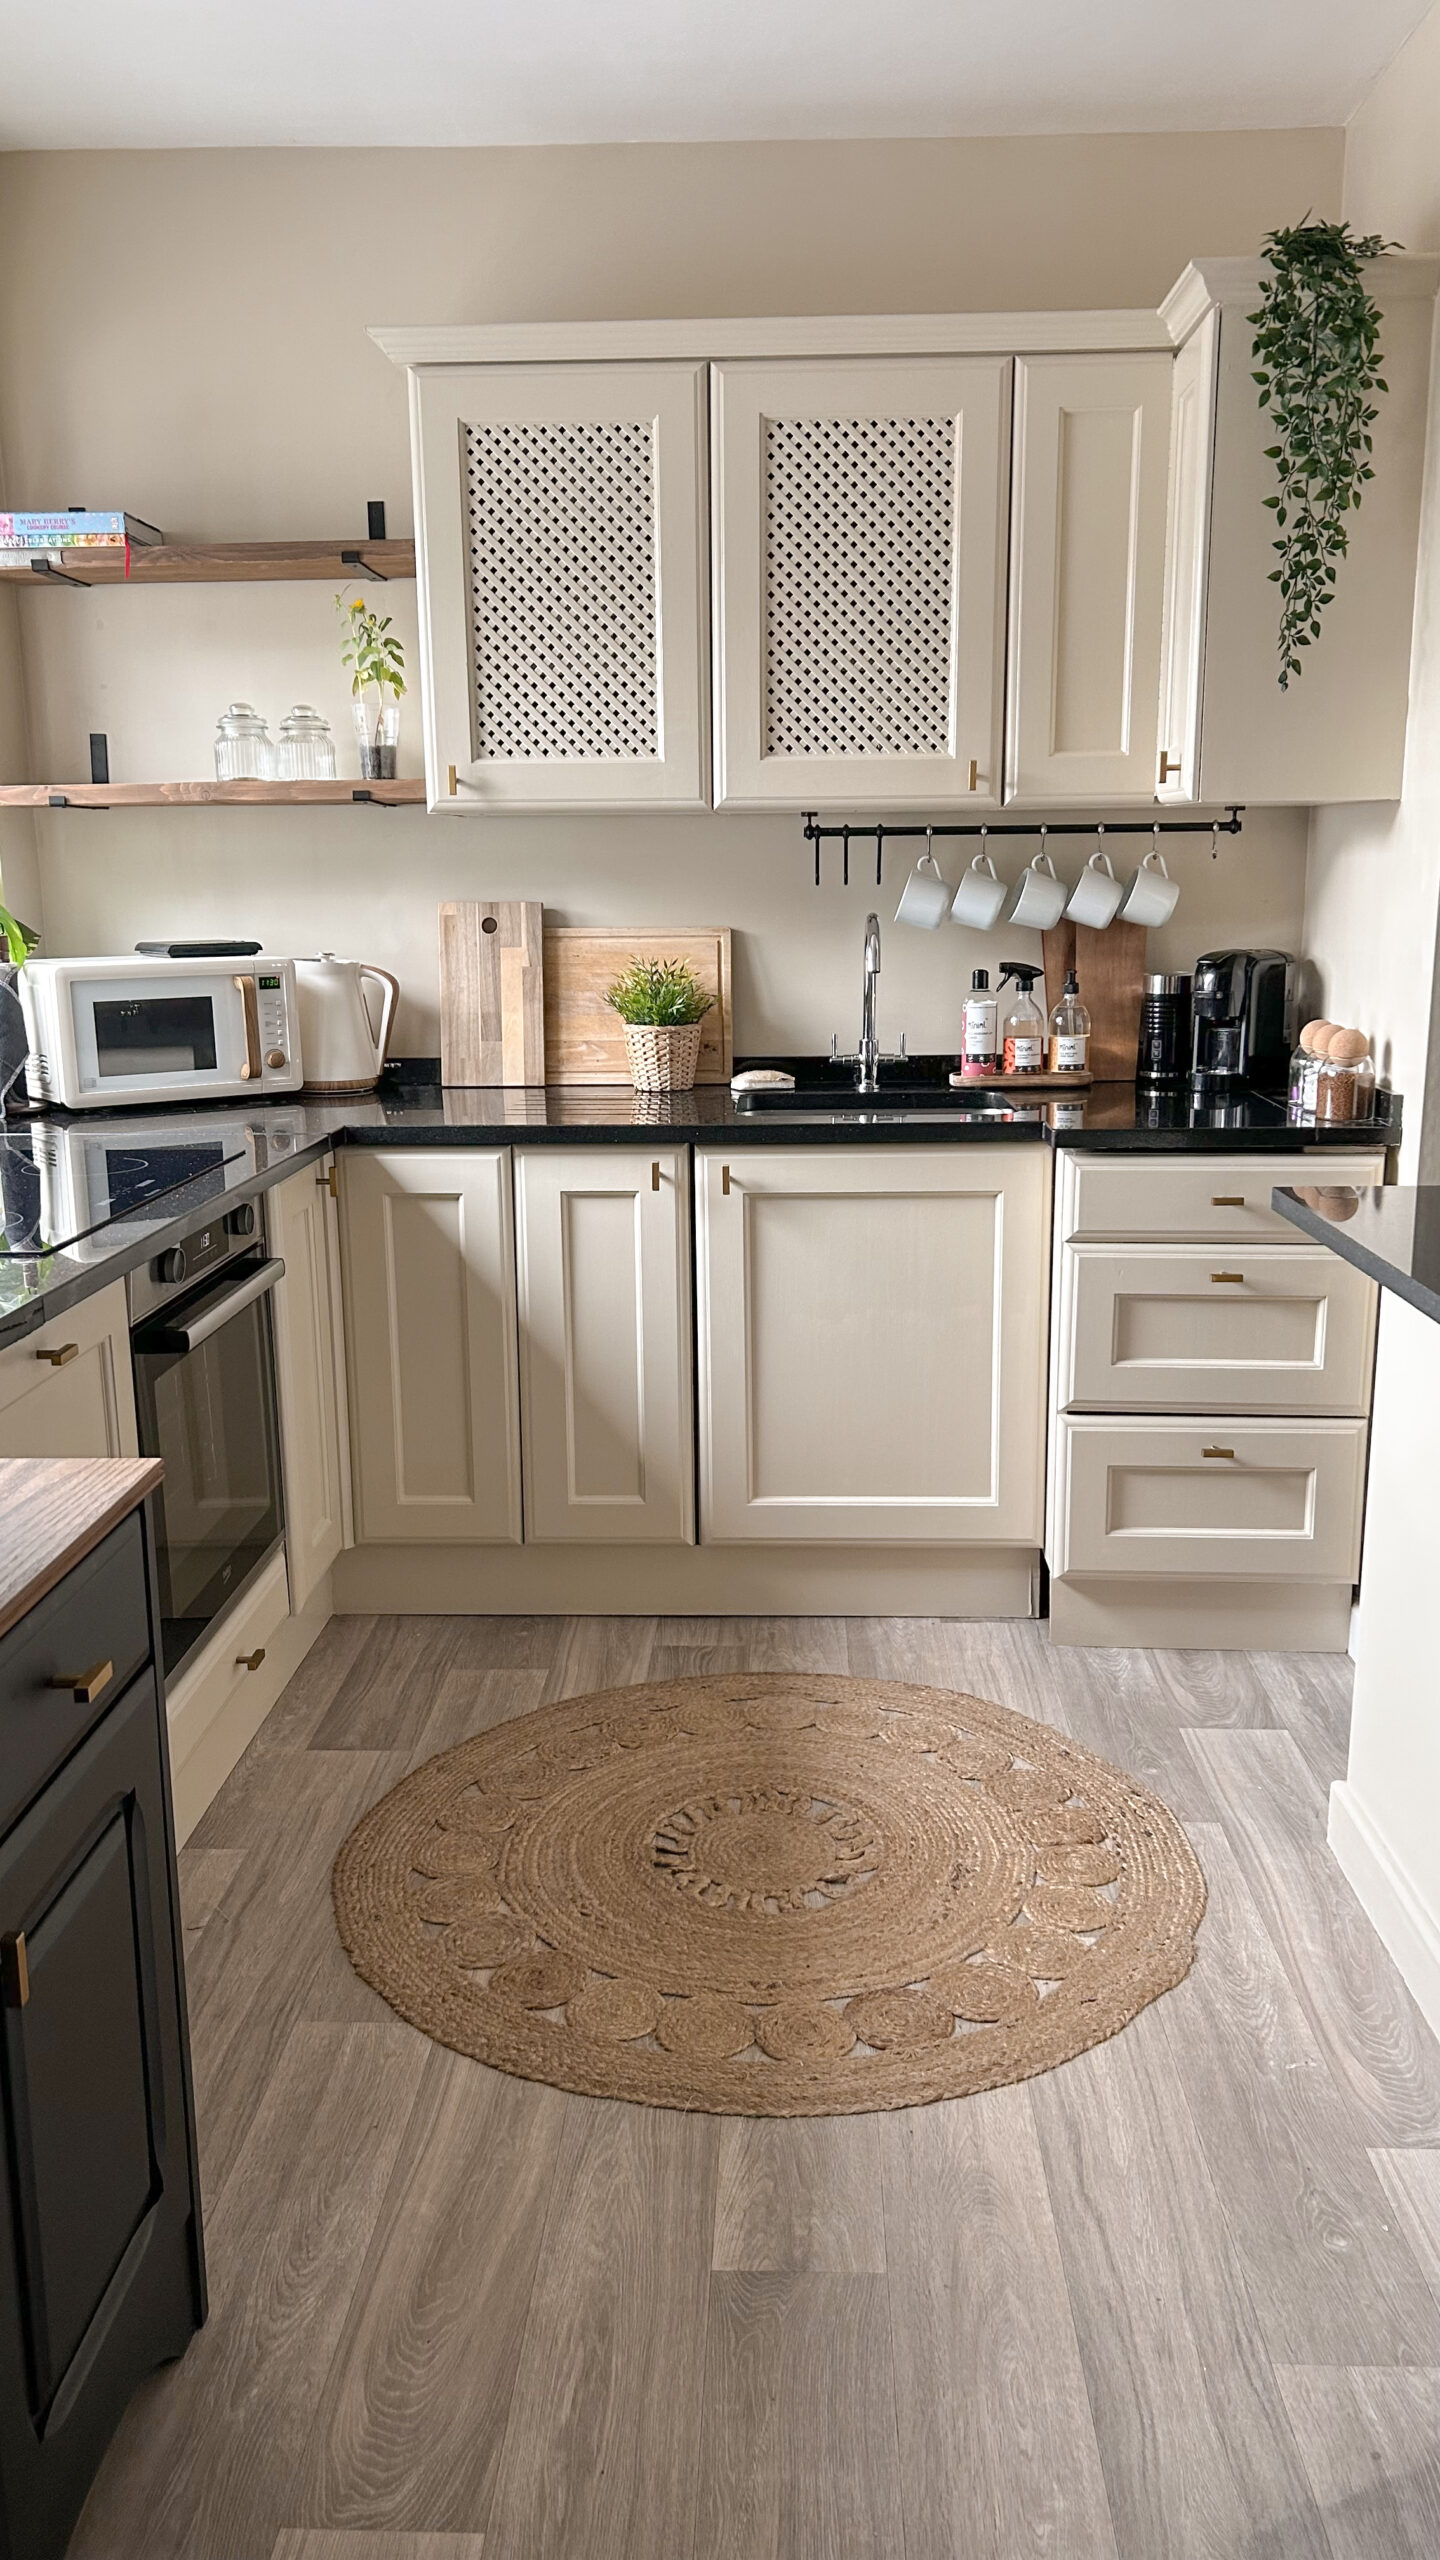
What do you think? I’m sure you will agree that with the new colour it looks and feels so much warmer in here and it has a real cosy feel which is exactly what I wanted. I think the long search for the perfect cream colour was worth it and I’m so glad that I didn’t settle.
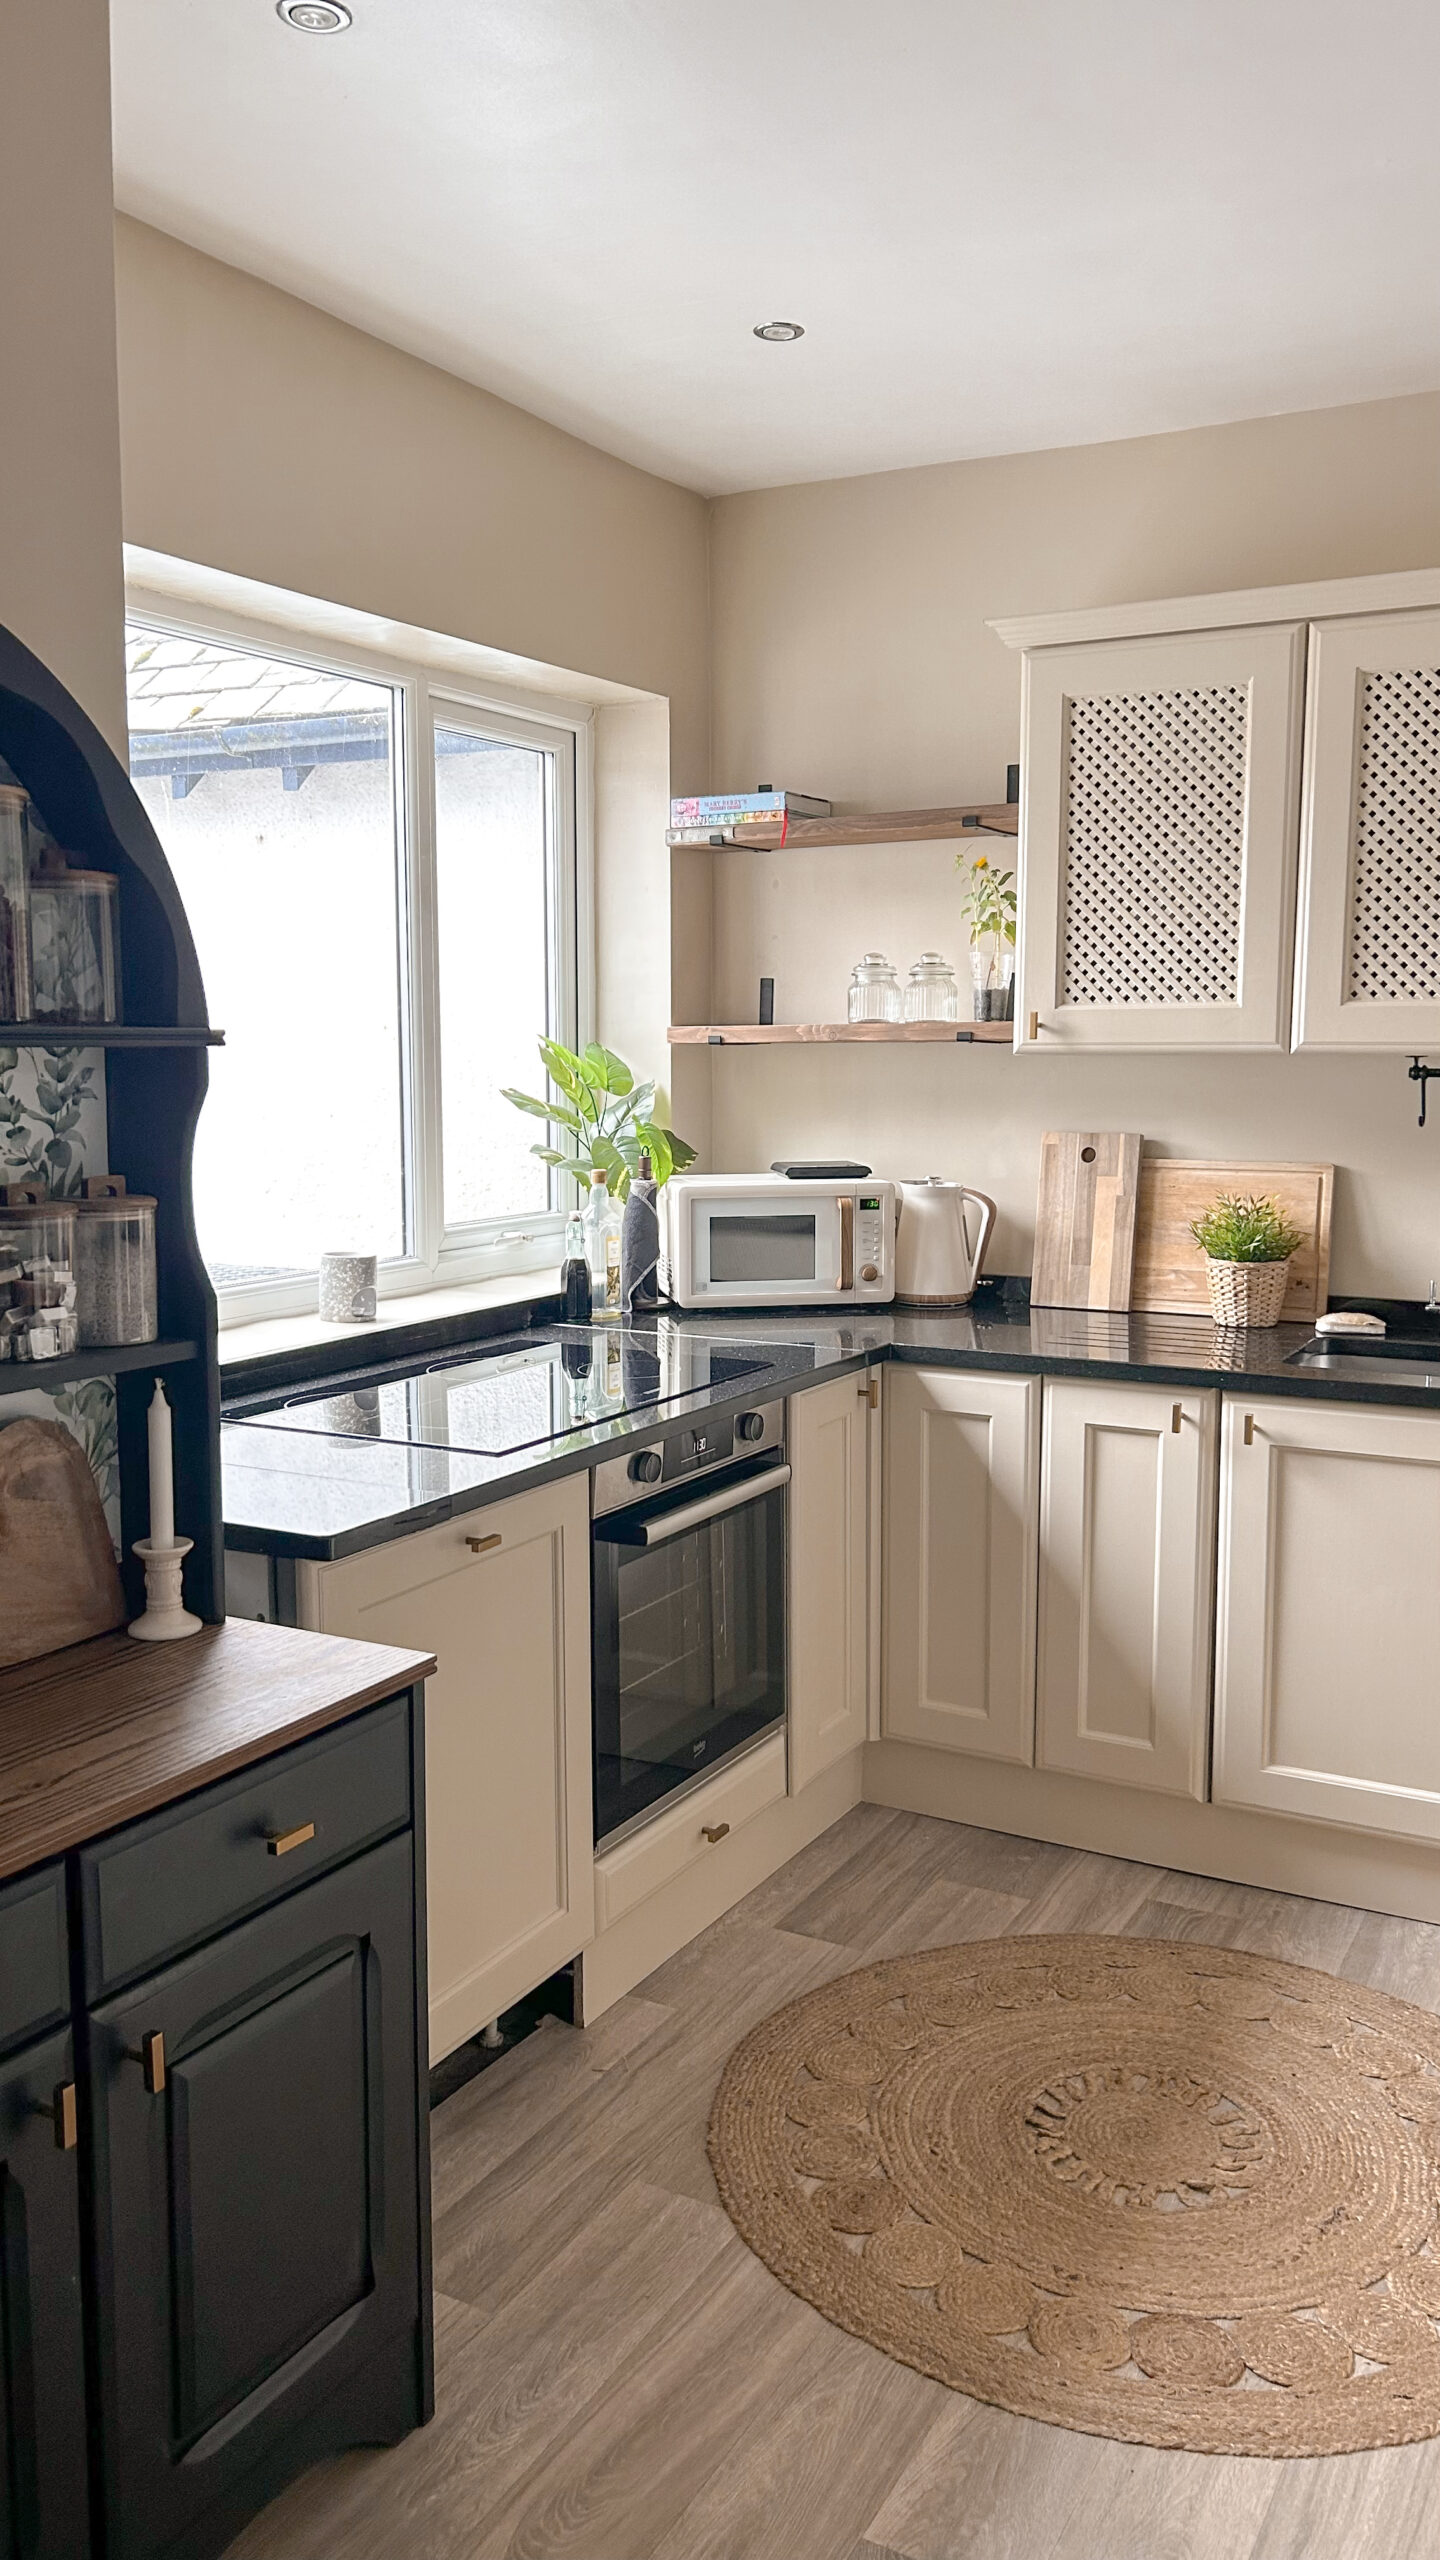
I still need more bits and pieces to style up these shelves next to the window but like I said, these things will come in time. I purchased the shelf brackets from amazon and we already had the scaffolding boards in the garden. I cut them down, sanded them and stained them in Rustin’s medium oak wood dye.
There are some repairs to be made around the base boards both near the sink and under the dishwasher but again these will be done in time.
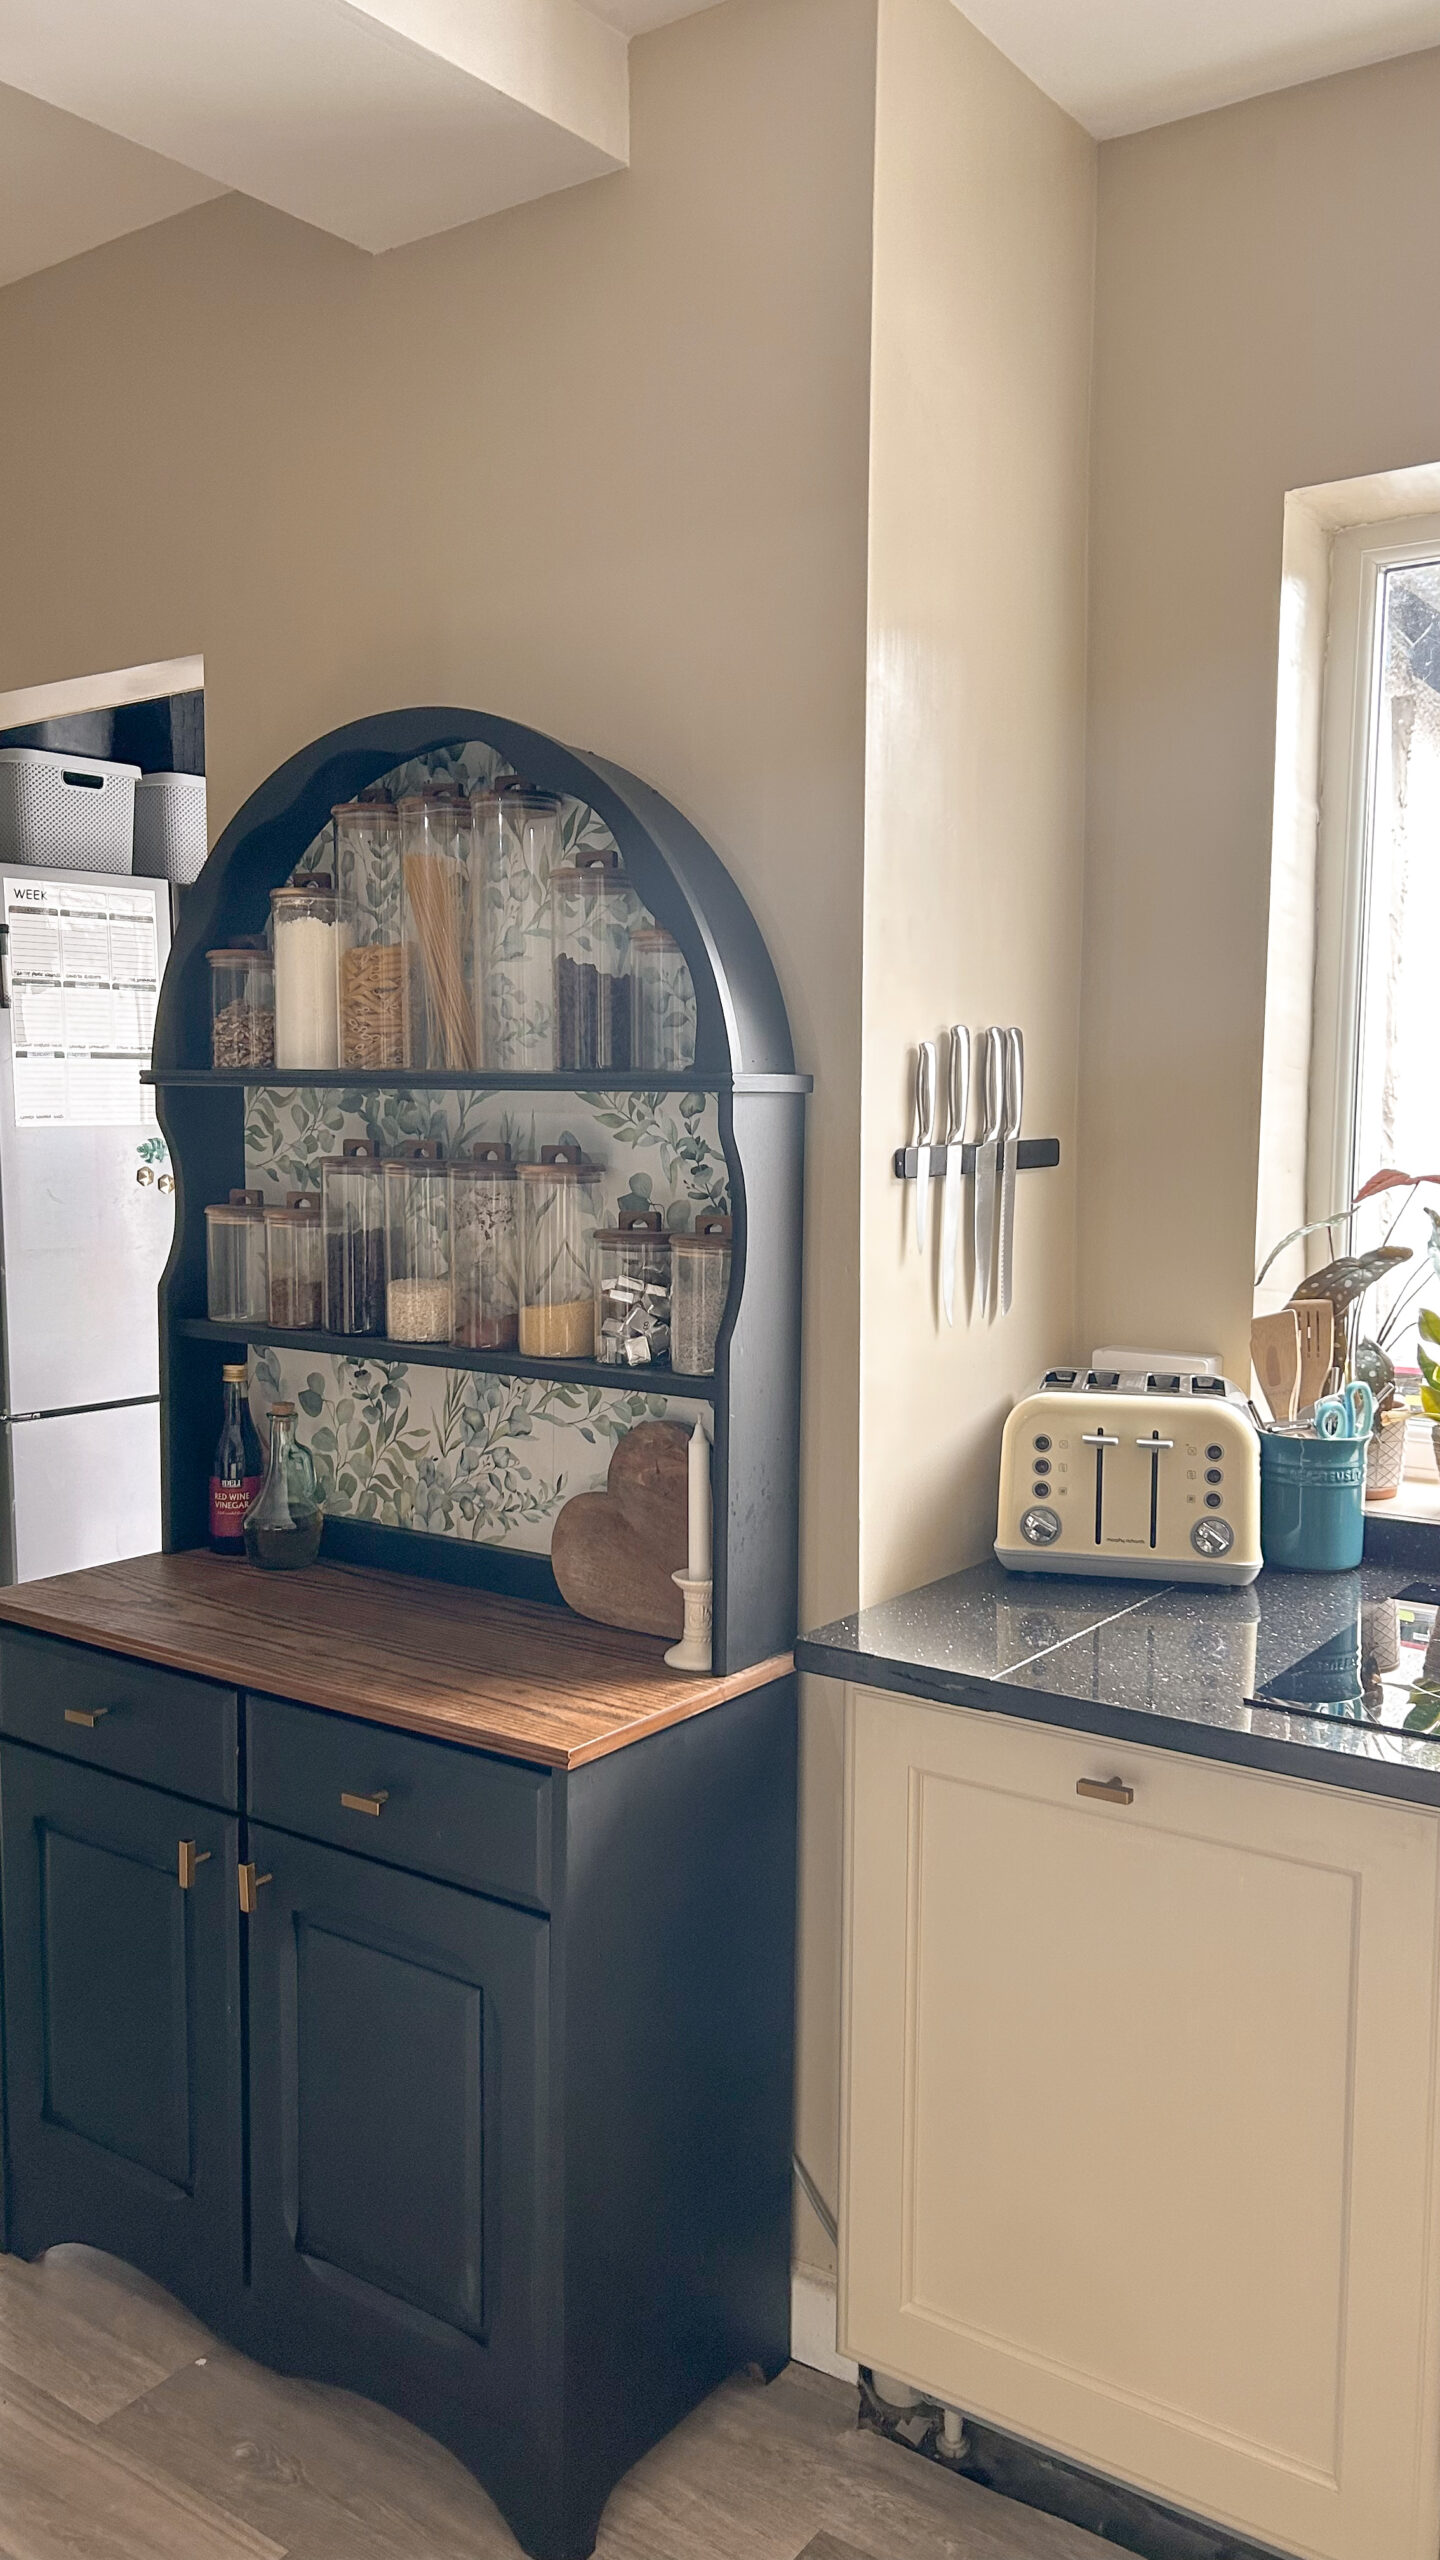
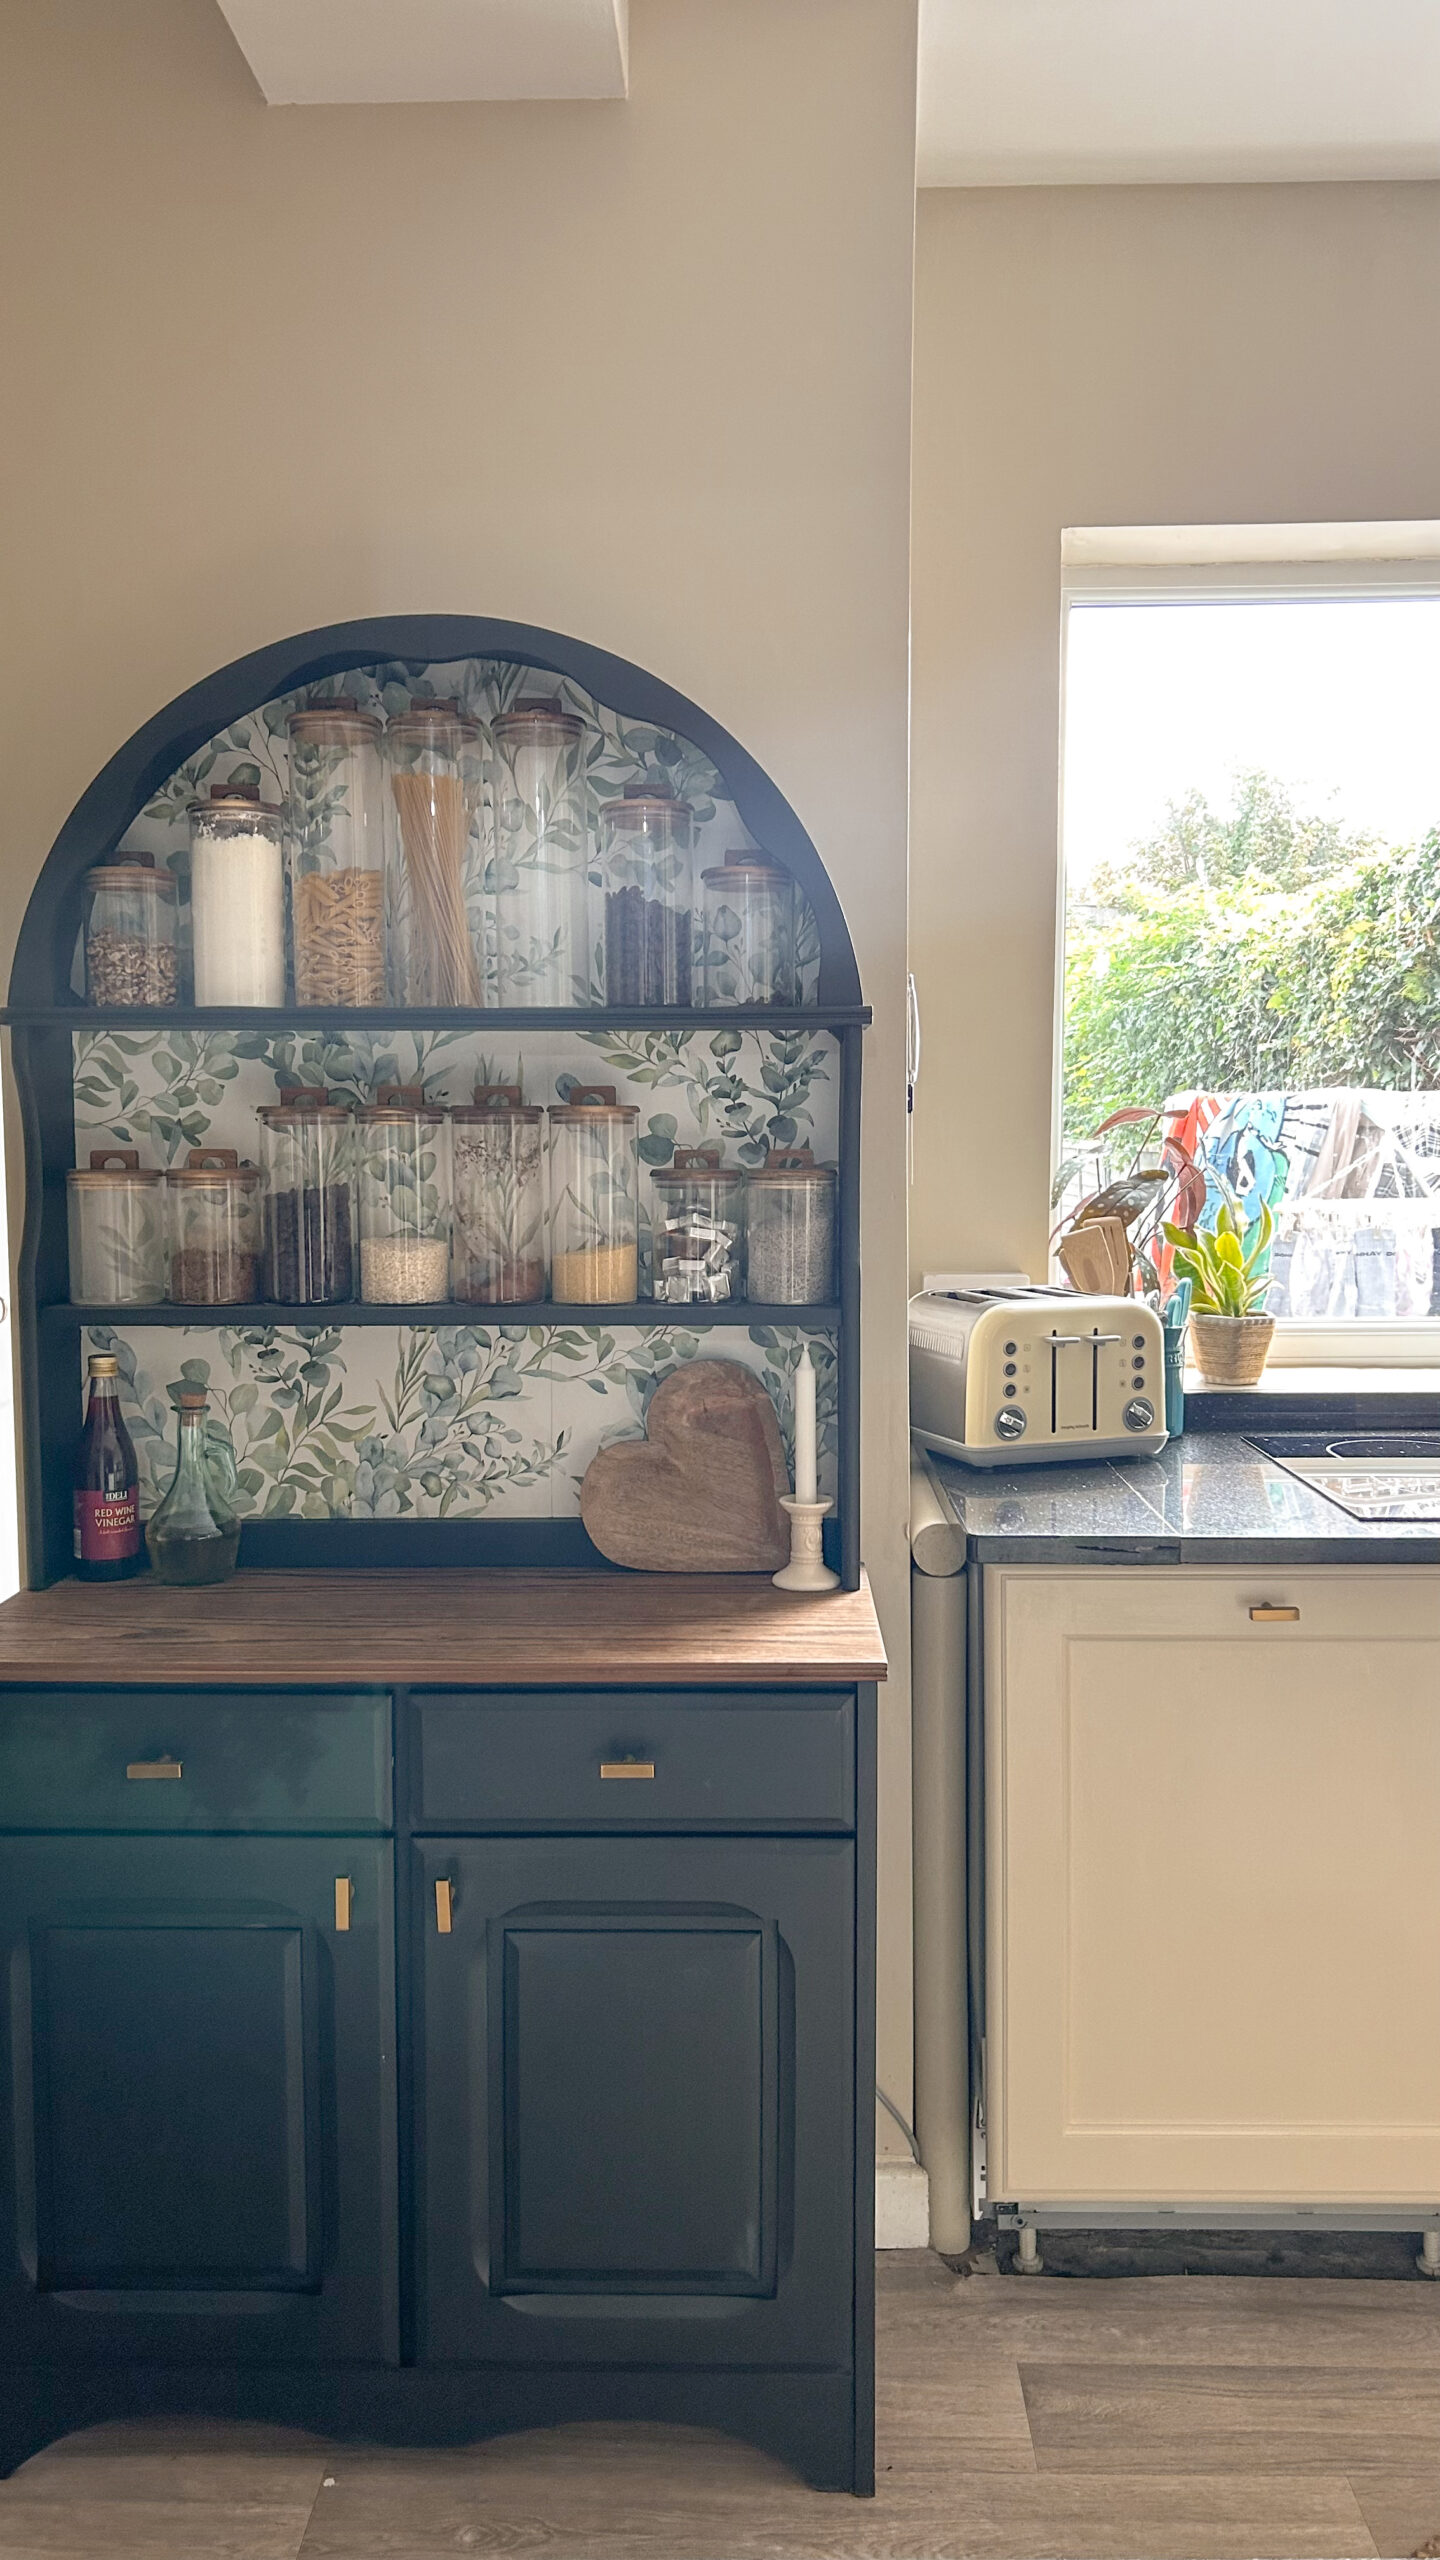
On this side of the room we have the dresser which we use as open pantry storage. You can find the post on the Welsh dresser Upcycle here. But I have repainted it since then. After the walls were cream I just felt that it needed to be a much truer black to match the counters more so I gave it a quick repaint in Frenchic Loof.
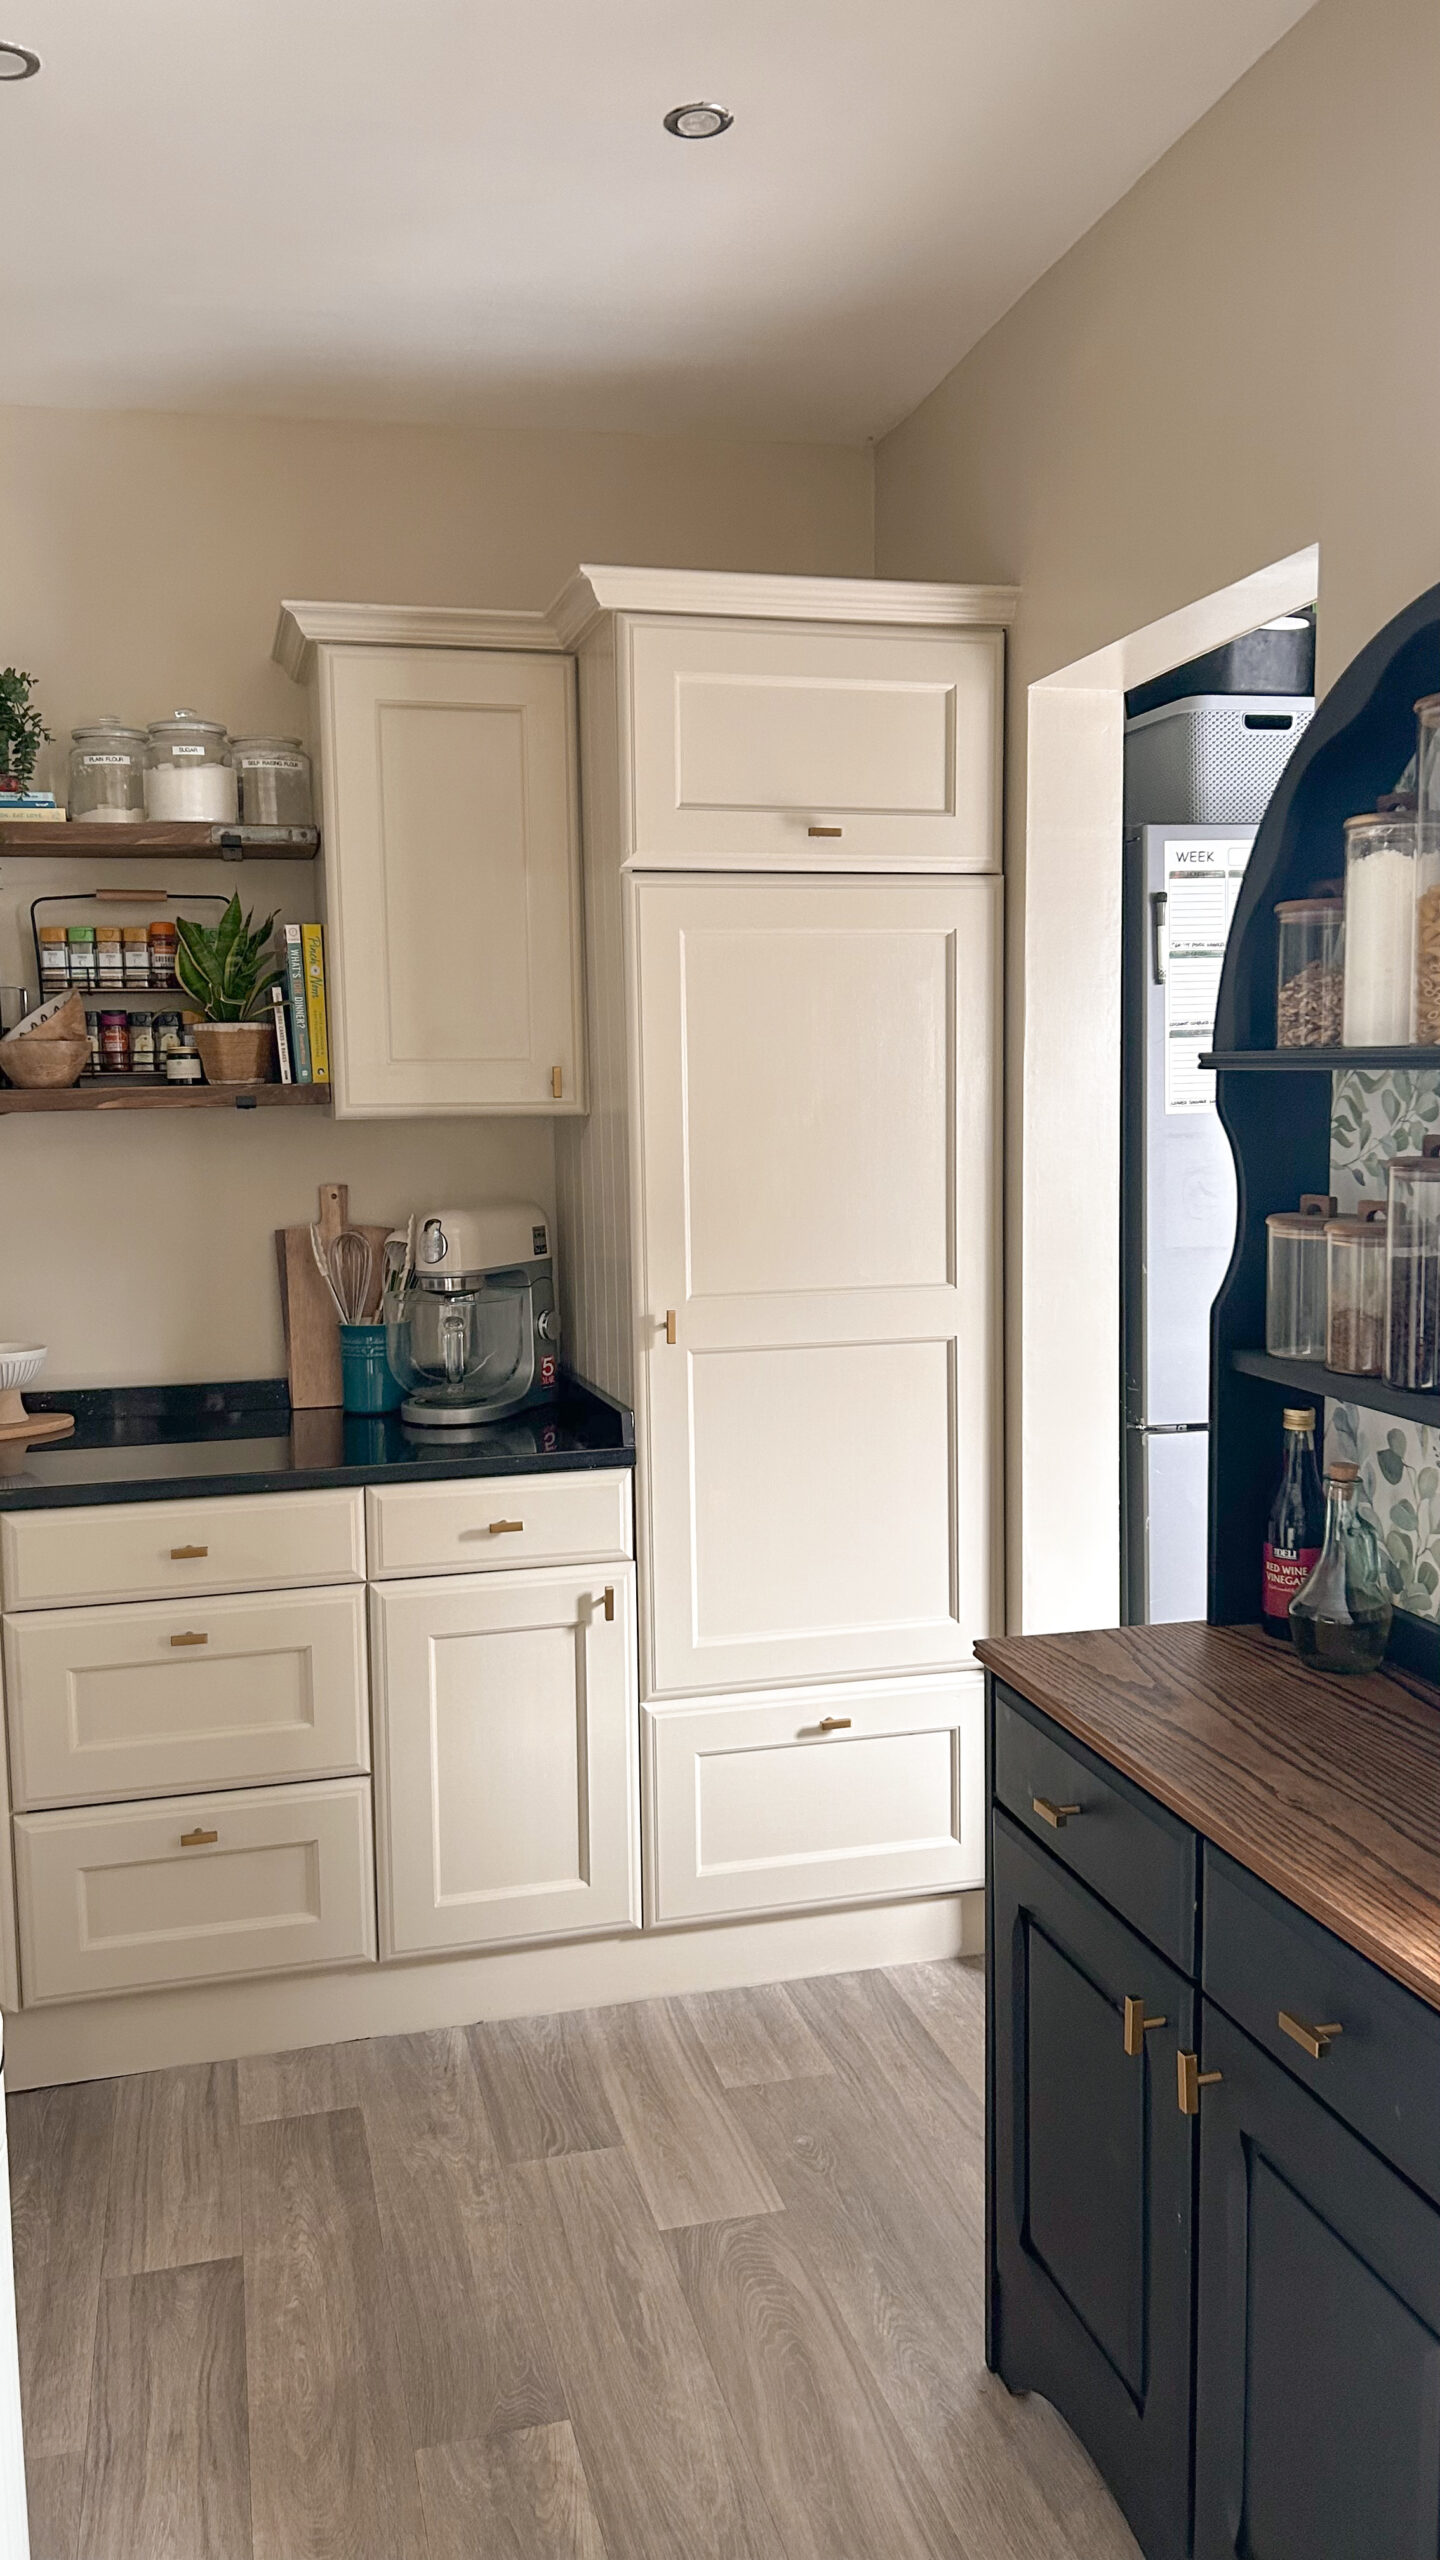

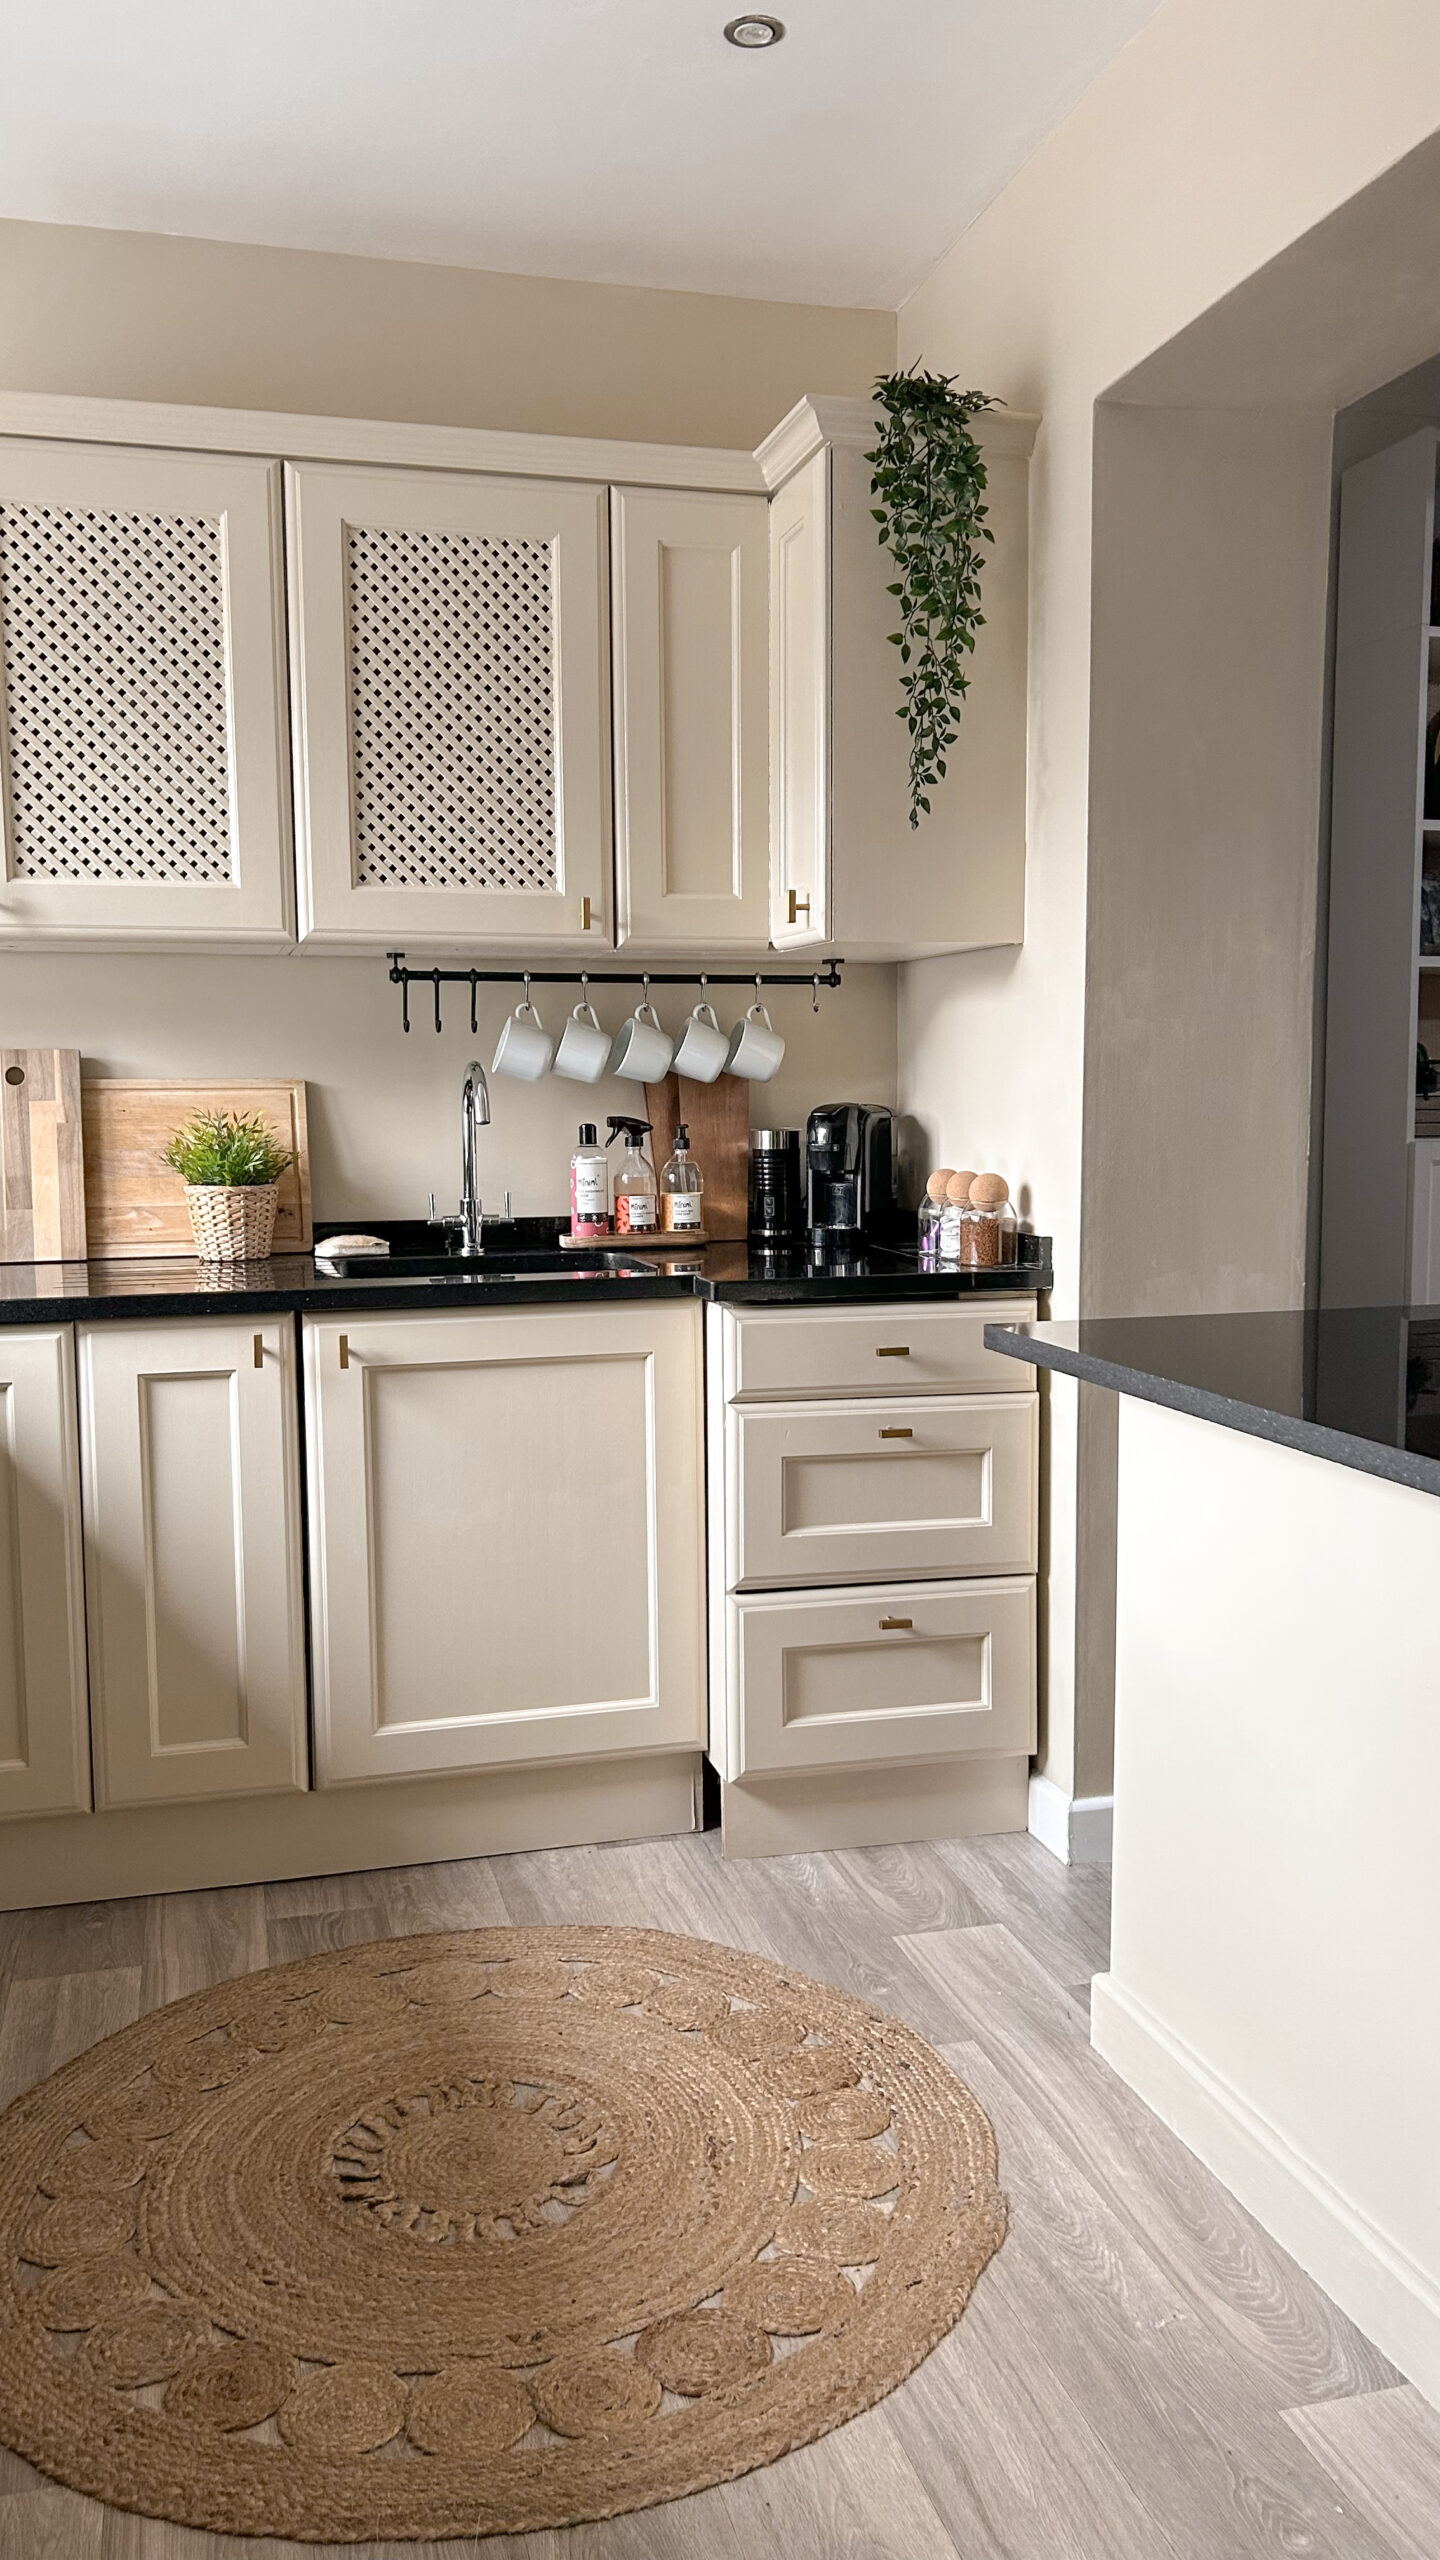
For me it feels like this side of the room is the biggest change as I hated it before. Adding the shelves has made such a difference and the two cabinets no longer look just plonked on the wall. It looks as if they were always meant to be there with shelves. I had enough to style the shelves on this side too and I love how they look although I really want some new matching jars for my spices. You can find the tutorial for the hexagonal popsicle stick shelves here and the link for the new cabinet handles here.
I am absoloutely in love with my new kitchen and I hope that this post can help you in Creating a Cottagecore Kitchen too. Moving forward I want to add some more smaller shelves, A wooden windowsill, a blind and lots more plants and knick knacks. I also have some plans for the island to maybe extend it so we will see how that goes! I really hope that you have enjoyed this post and that it has maybe inspired or motivated you in some way. Follow me at Lianne Hempsall Home over on Instagram for up to date changes and behind the scenes progress and make sure to take a look at my previous post Cottagecore Kitchen Amazon Finds and I will be back with a new post very soon, have a great day!
Lianne x
Pin Creating a Cottagecore Kitchen to save it for later!