
Hi! Today I’m sharing the step by step process of how I made my DIY Framed Canvas Artwork. It’s been so long since I’ve done a tutorial post that I’m out of practice and I kept forgetting to photograph each individual step 😀 Hopefully I’ve taken enough photos though for you to see clearly everything I did.
As with most of my DIY projects you’re probably not going to copy my exact finished piece anyway. My projects are here to inspire you in your own creativity so if you create your own DIY Framed Canvas Artwork I would love to see how it turned out. You can share your pieces with me over on Instagram by tagging @liannehempsallhome.
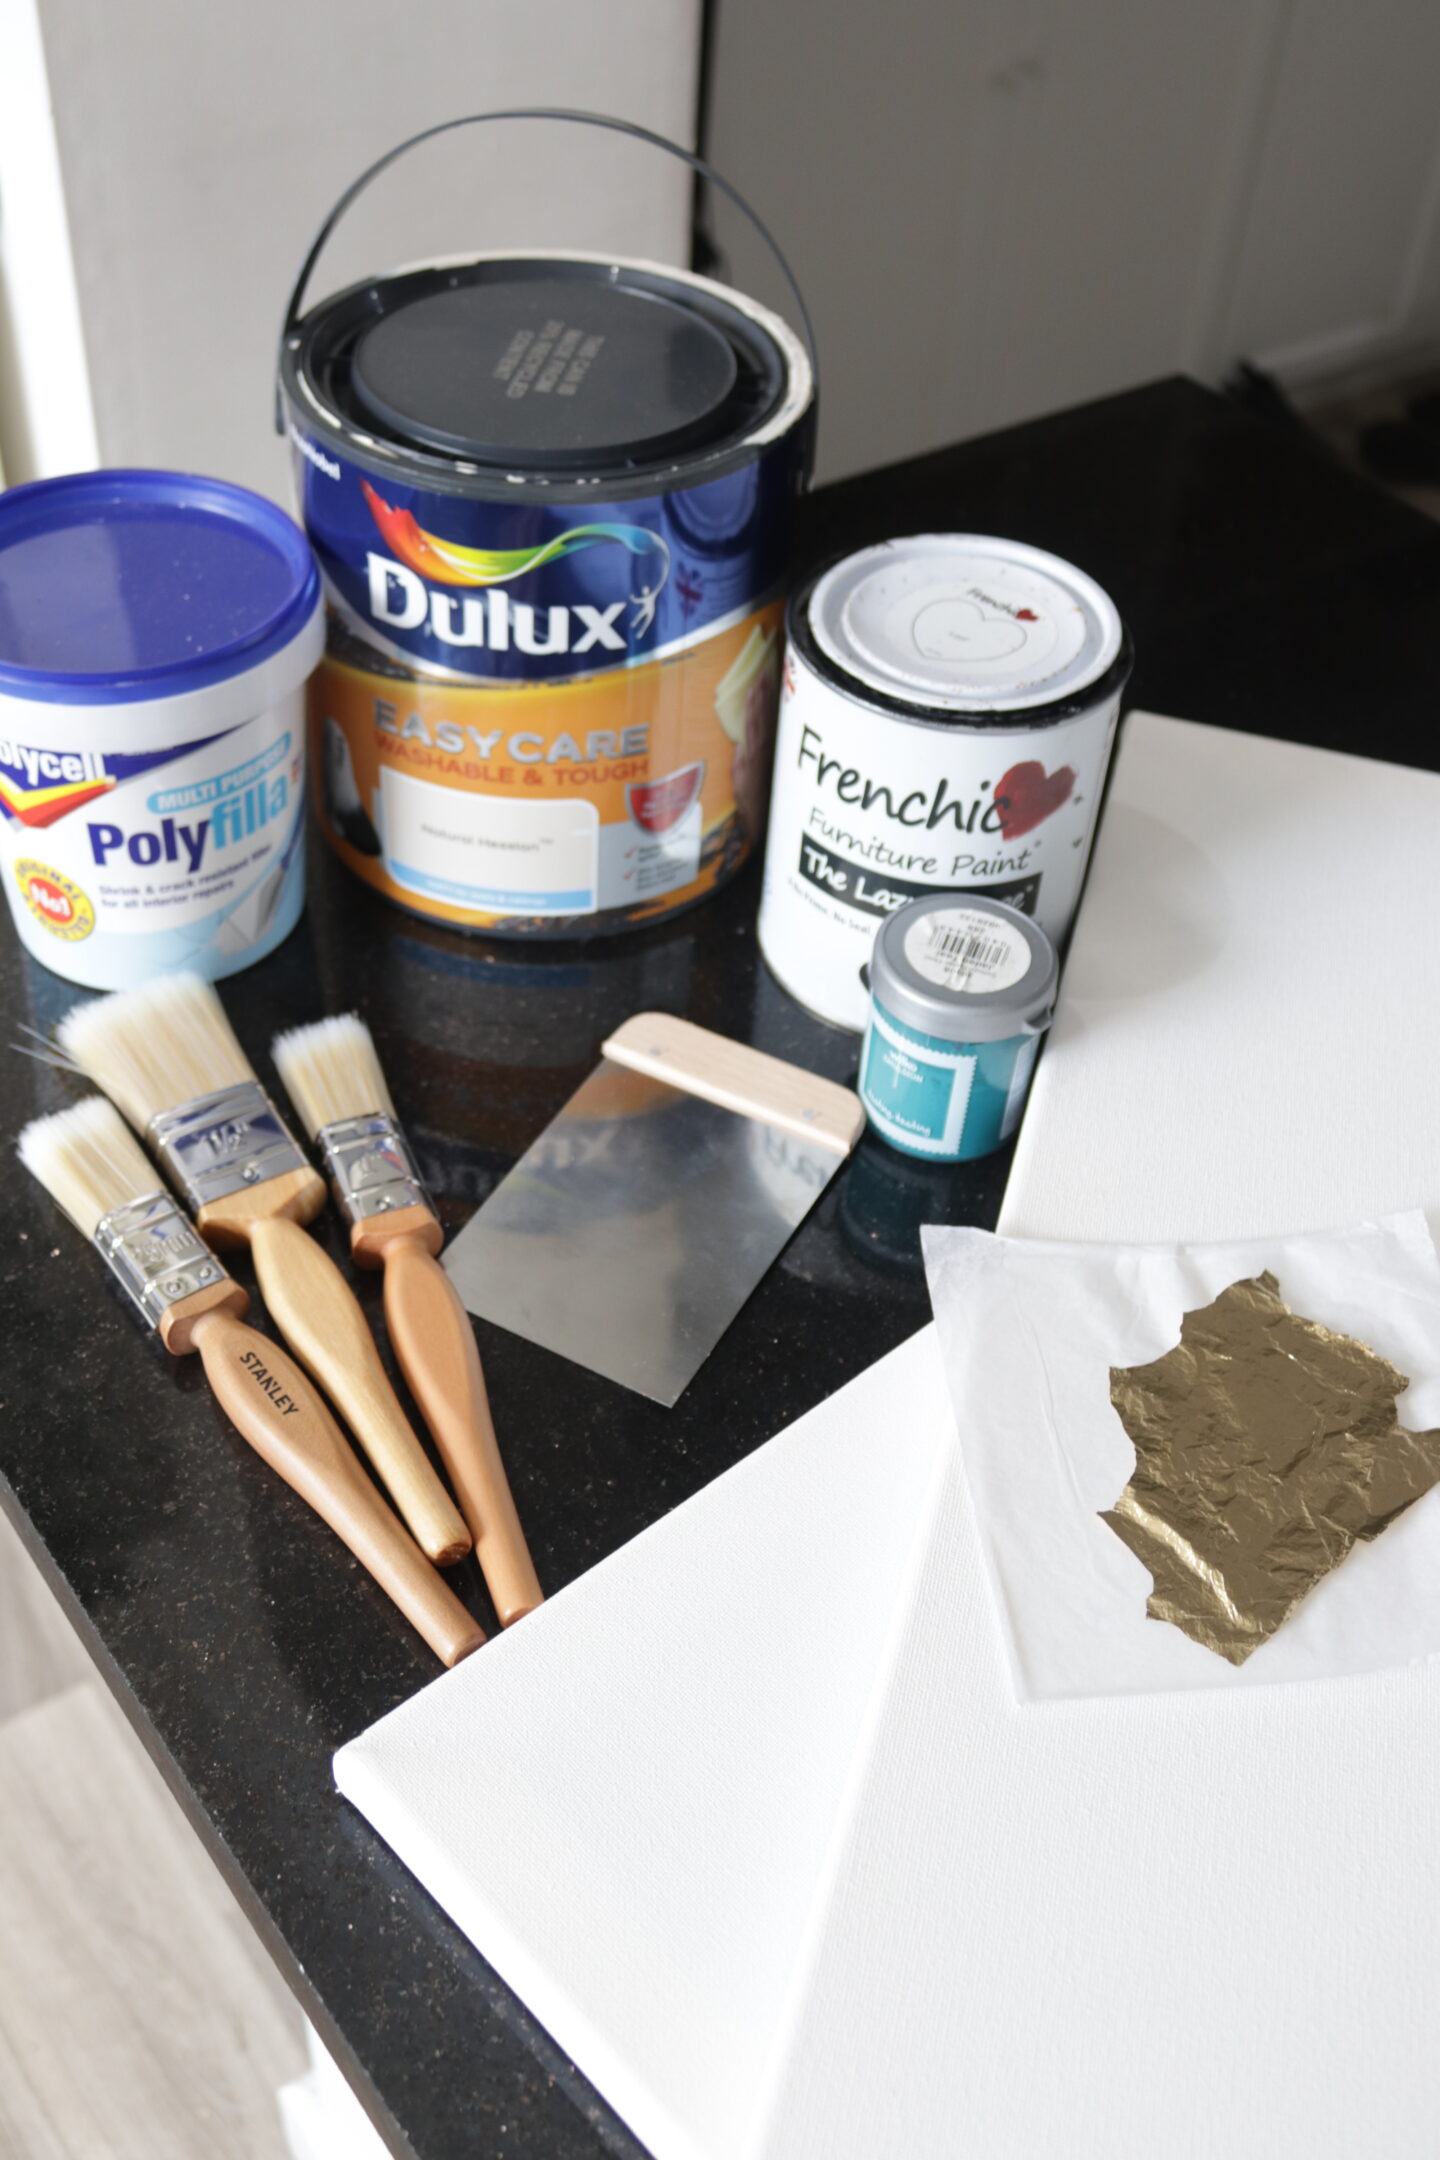
As always let’s start with the supplies you might need to make this DIY Framed Canvas Artwork. You’re of course going to need a canvas. The best place to buy these in my opinion is Home Bargains. You can’t buy them individually online so I’ve included an amazon link below incase you need it. The size I used was 50cm x 60cm but of course you can use whatever size is best for your own space. I then used poly filler, some gold leaf and left over paint from my shed. If you don’t have any leftover paint you could use acrylic paints too.
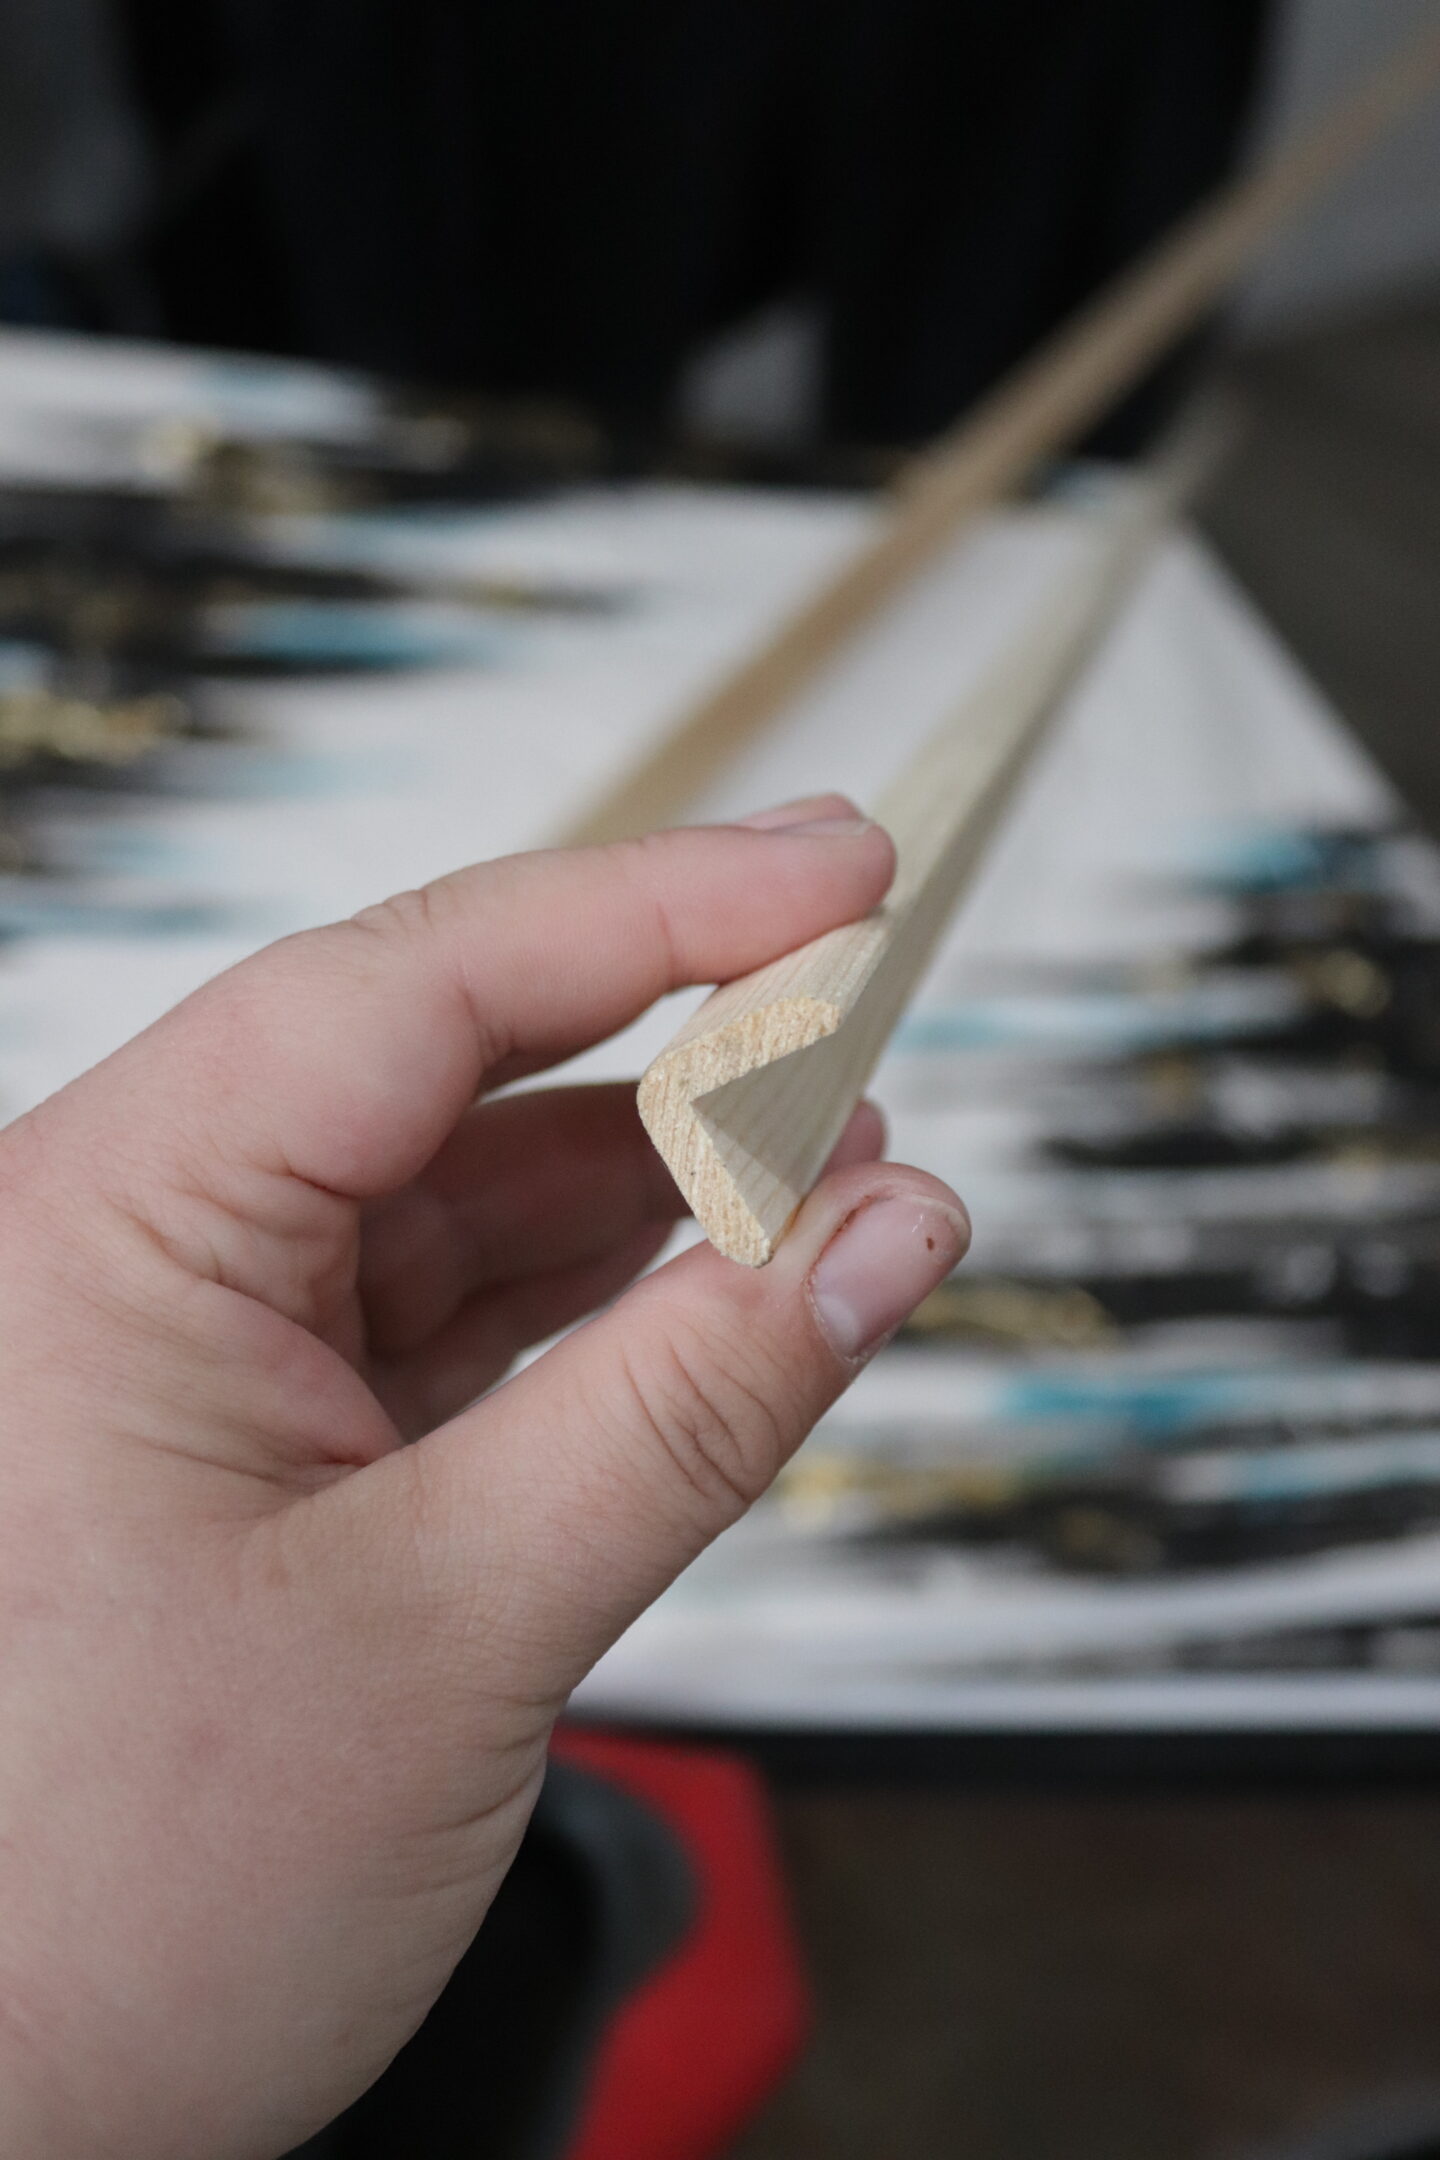
For the frames I purchased this pine angled edge moulding from B&Q. One length of the moulding is enough for one 50cm x 60cm canvas. I used a mitre box and saw to cut the wood and wood glue to fix the frame together. When I started I wasn’t too sure on how I was going to finish the frames but I ended up staining them. I used Wilko wood stain in the colour medium Georgian oak but I’ve included a similar colour and links to anything else you might need below.
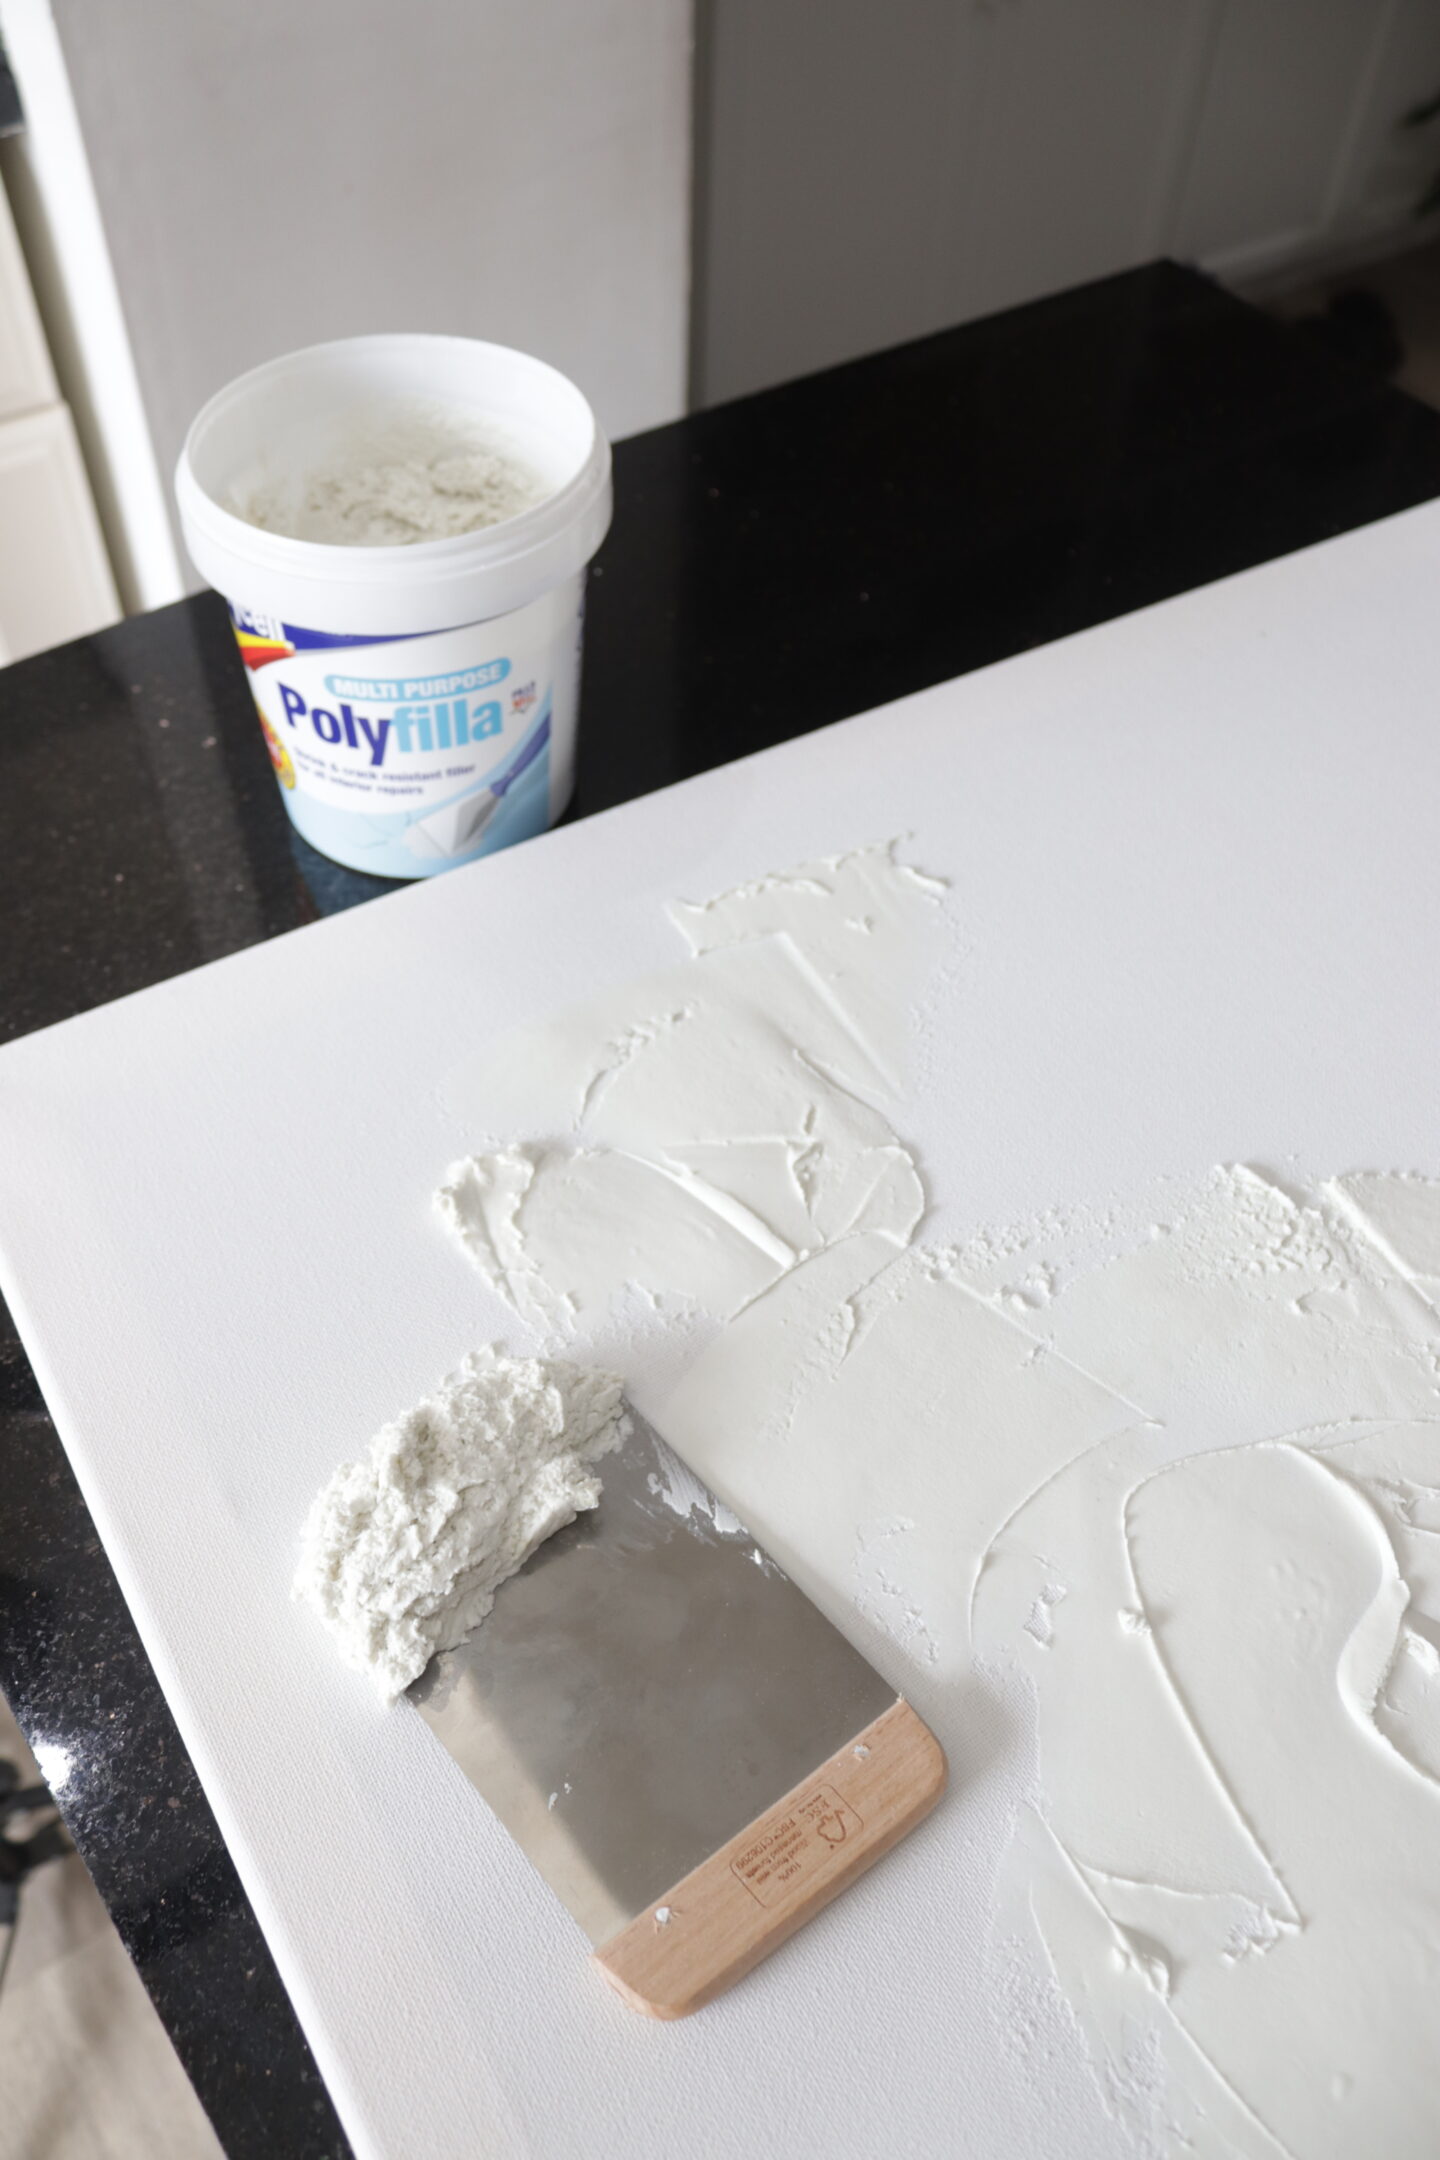
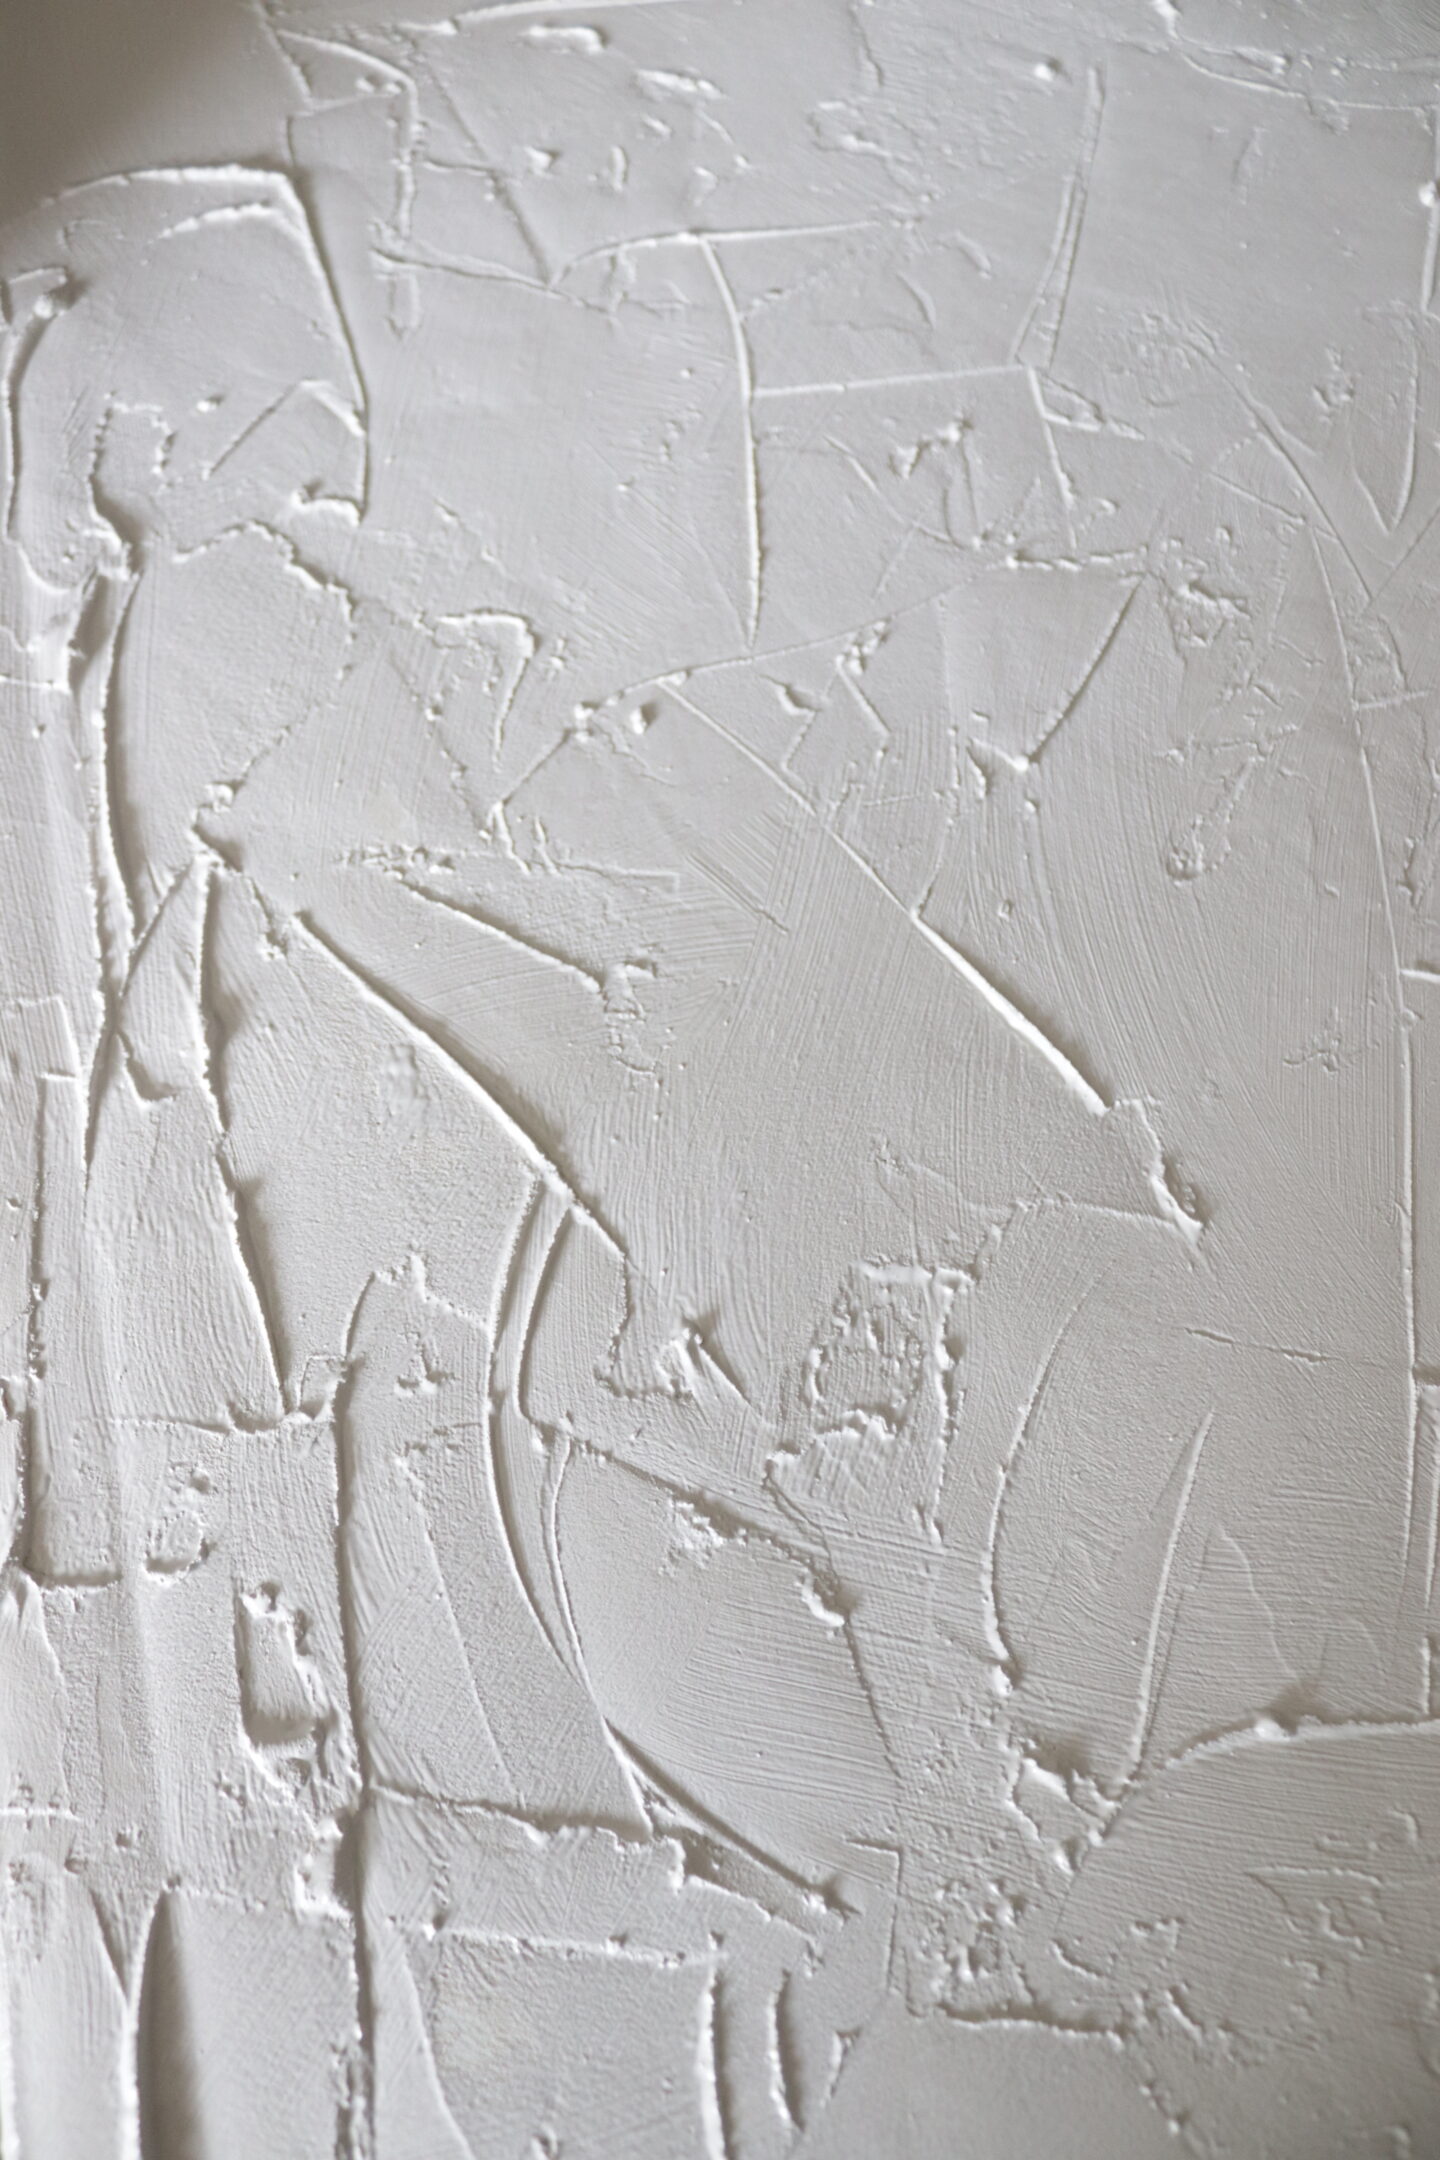
Step one was to cover the canvas in a layer of poly filler to create texture. I used a metal filling tool to spread it and make the texture. You can go as crazy as you like with this. I applied it in a random way but you could use the filler to make specific lines and patterns. Go with the flow and see what looks best to you.
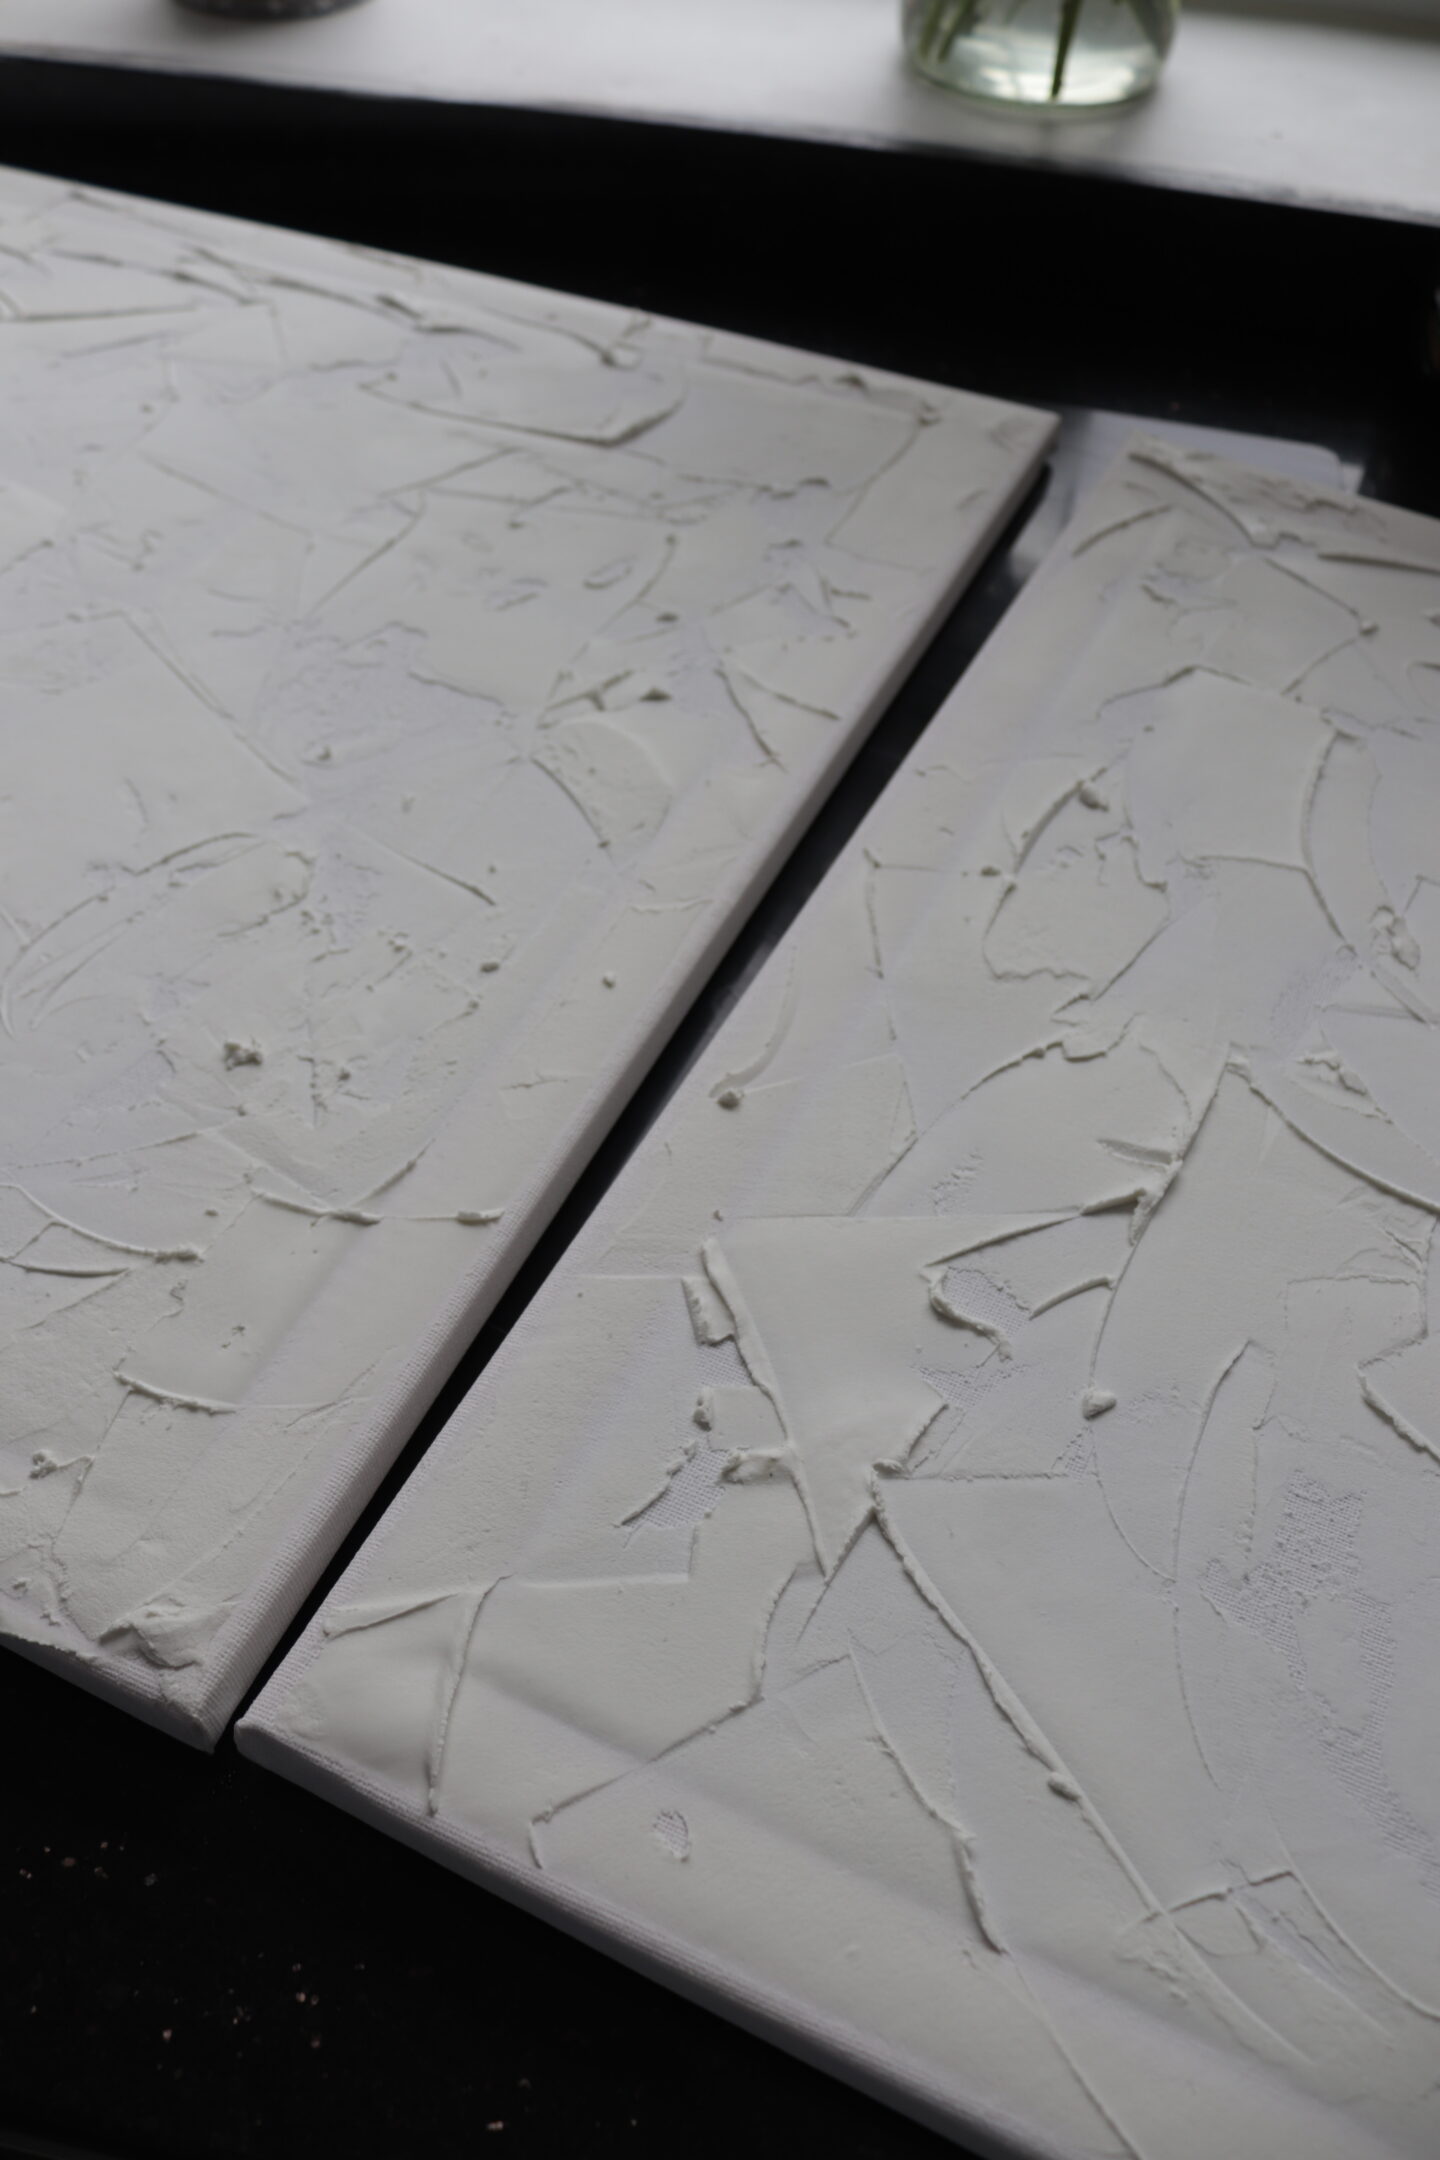
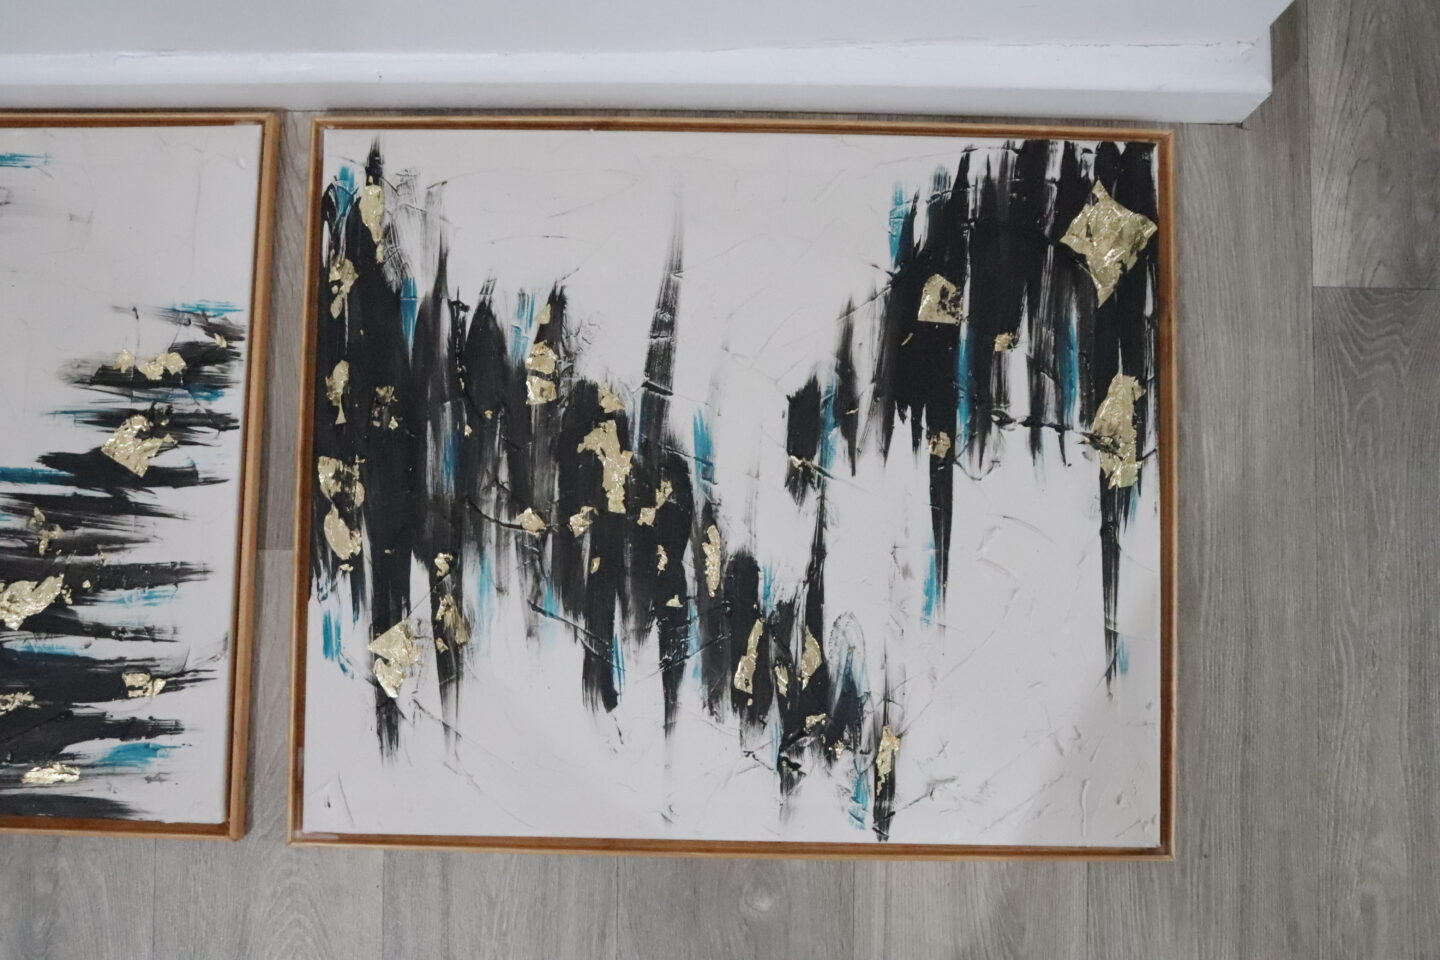
Here are both my canvases side by side. As you can see there are parts where the filler is thicker and parts where you can still see the canvas. They need to be fully dry for the next step so I left mine overnight.
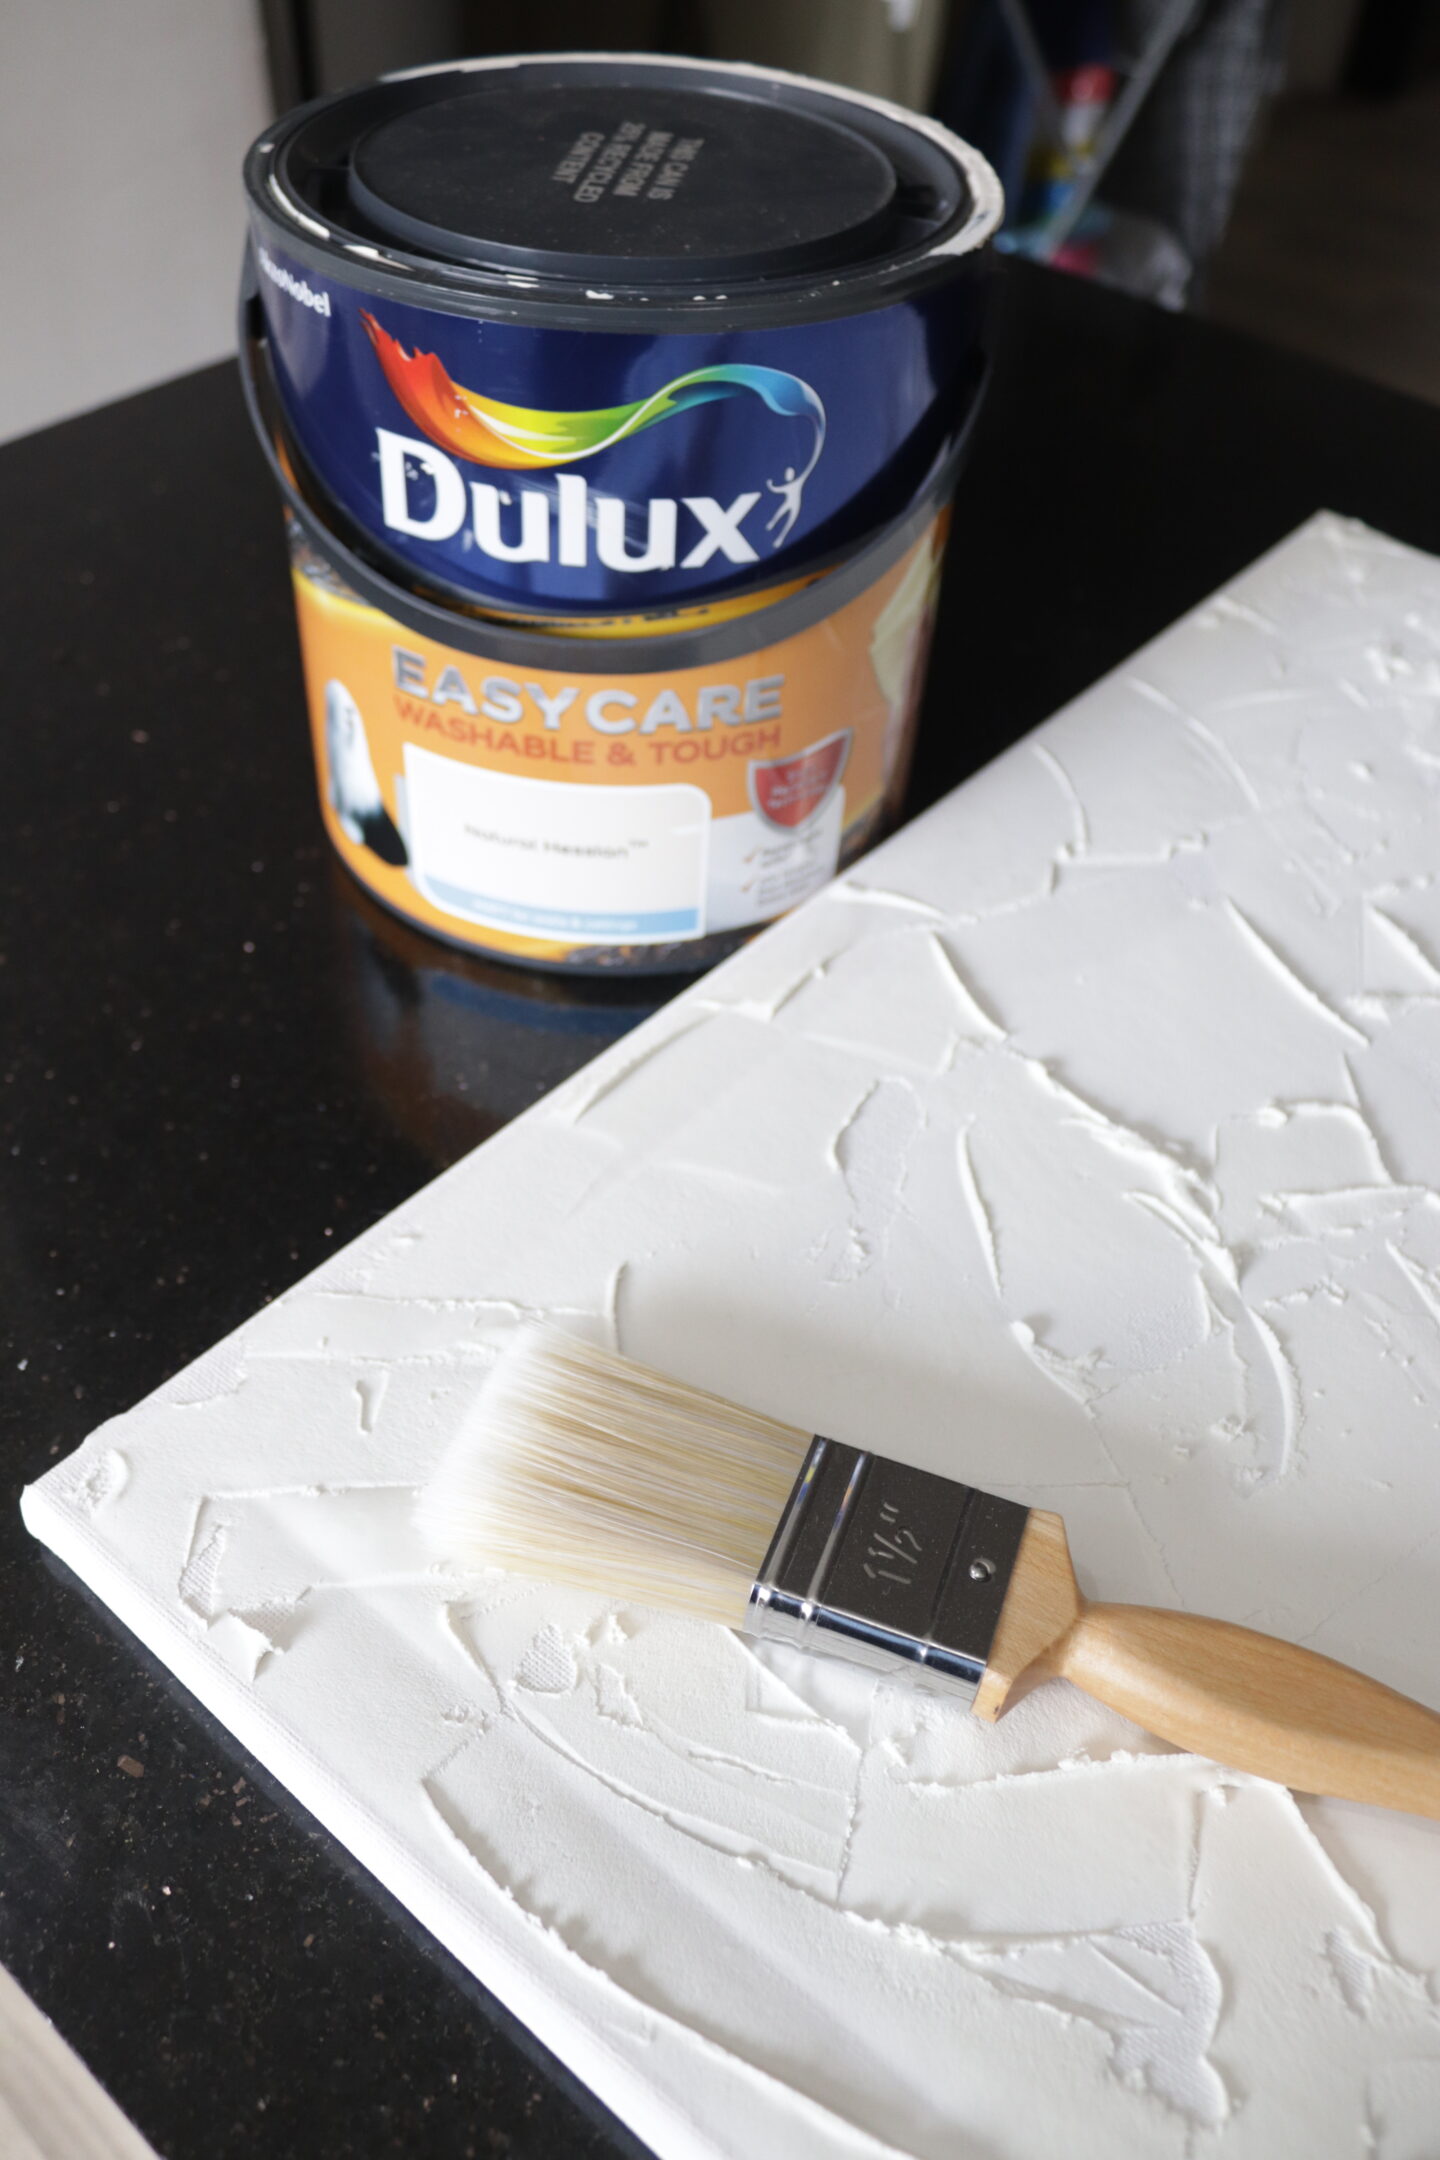
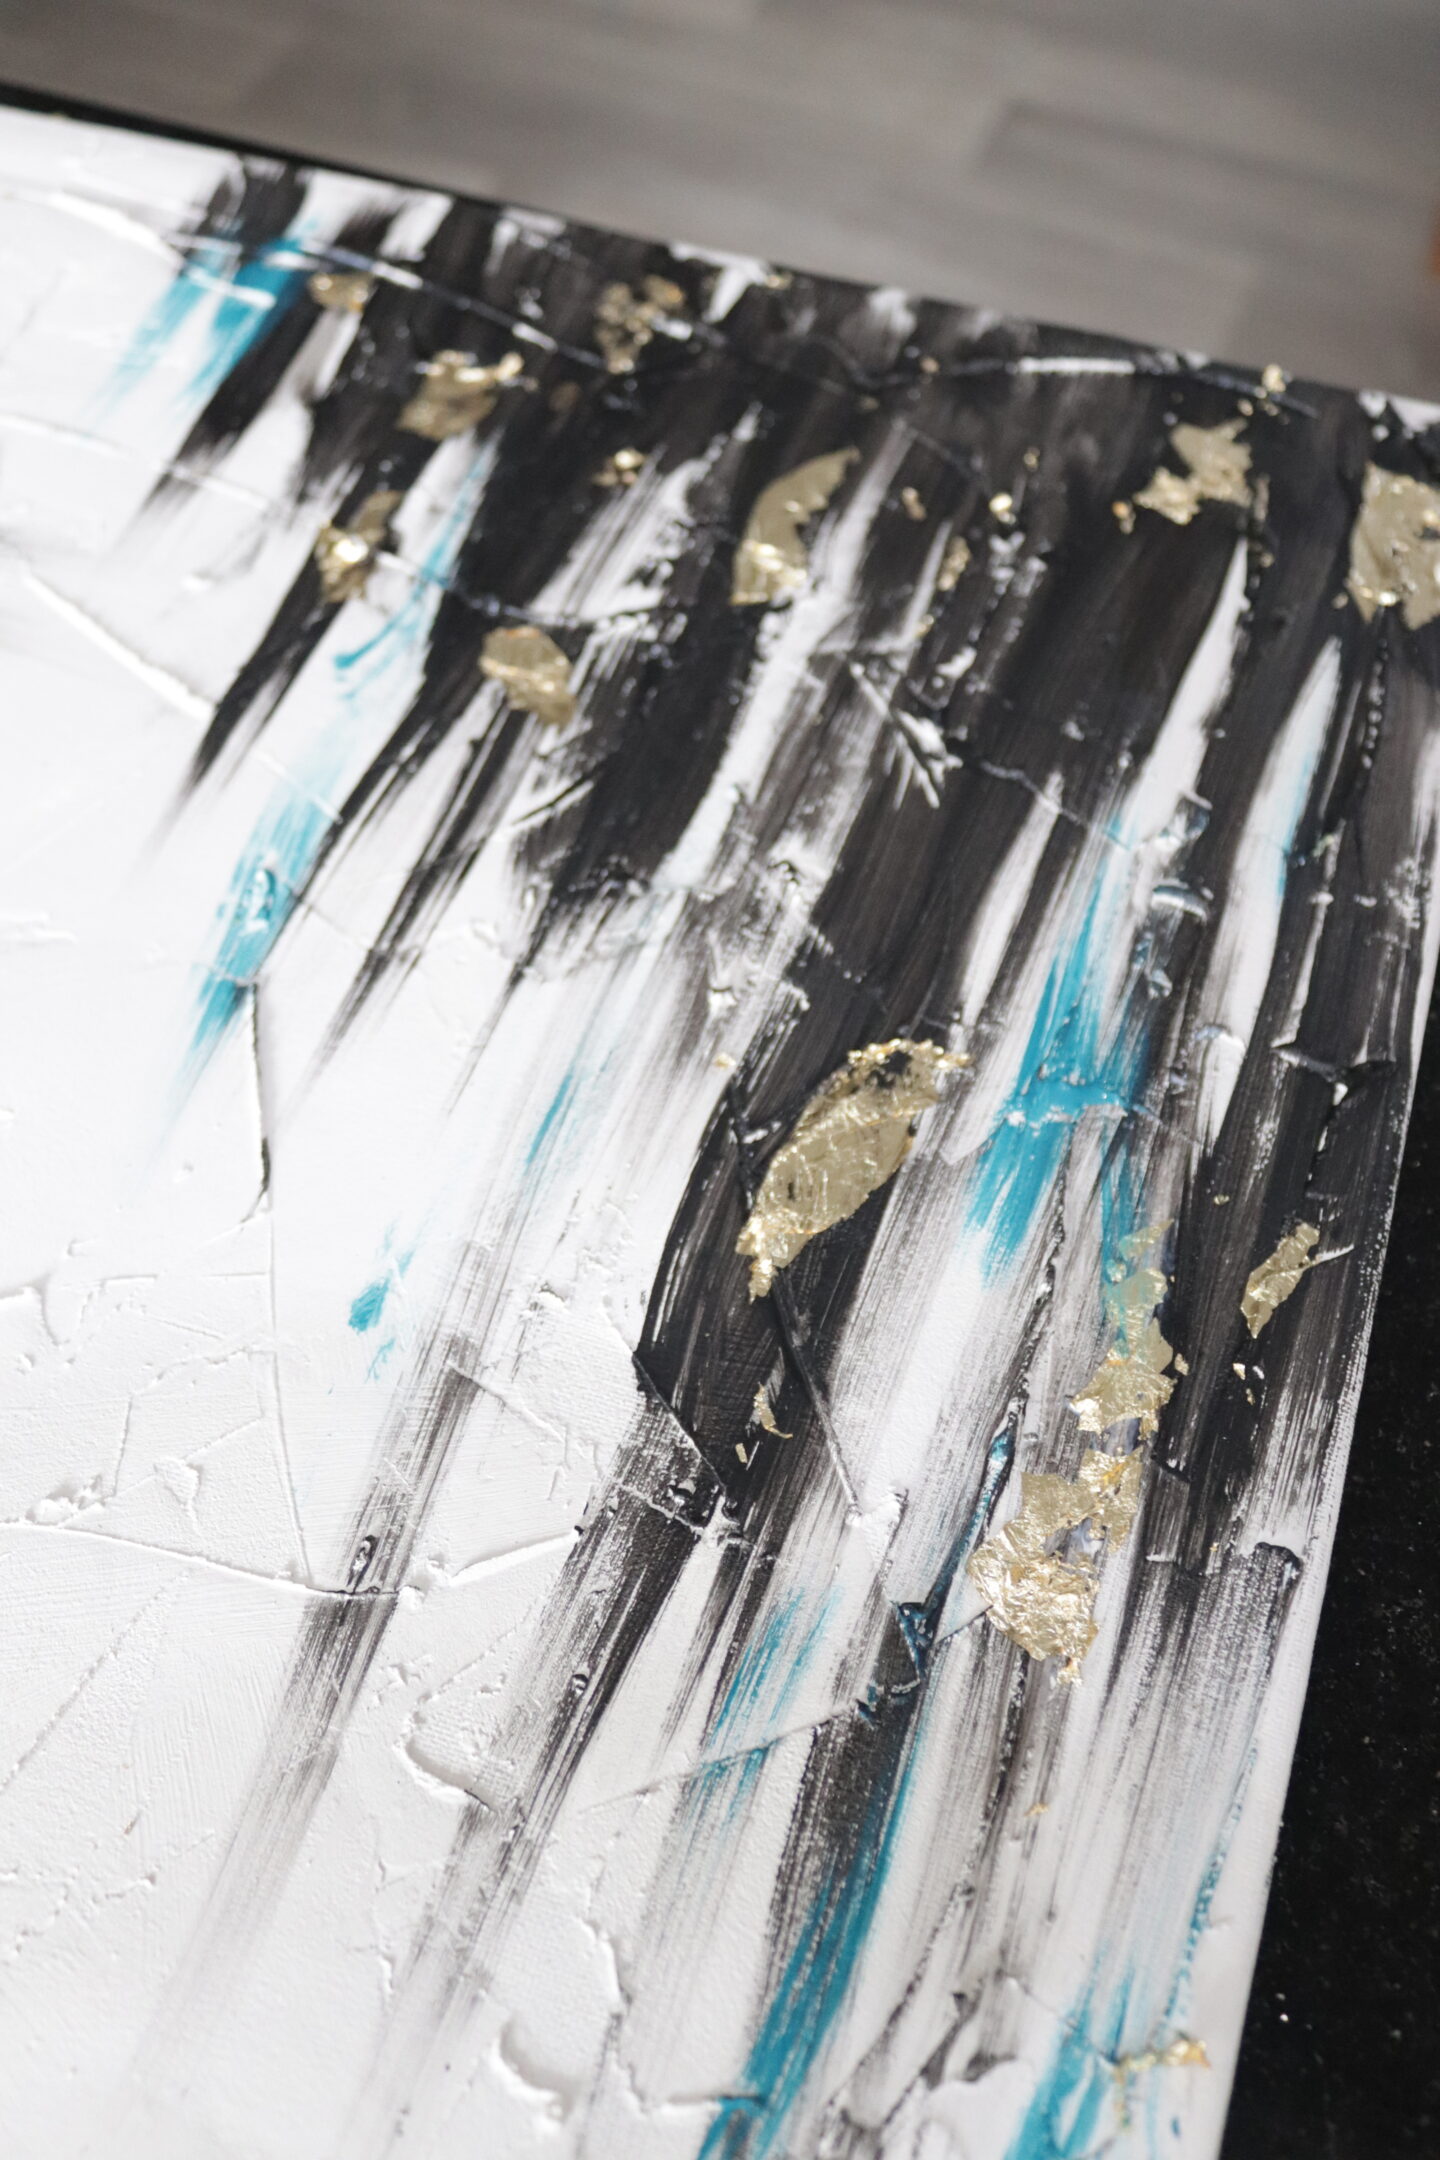
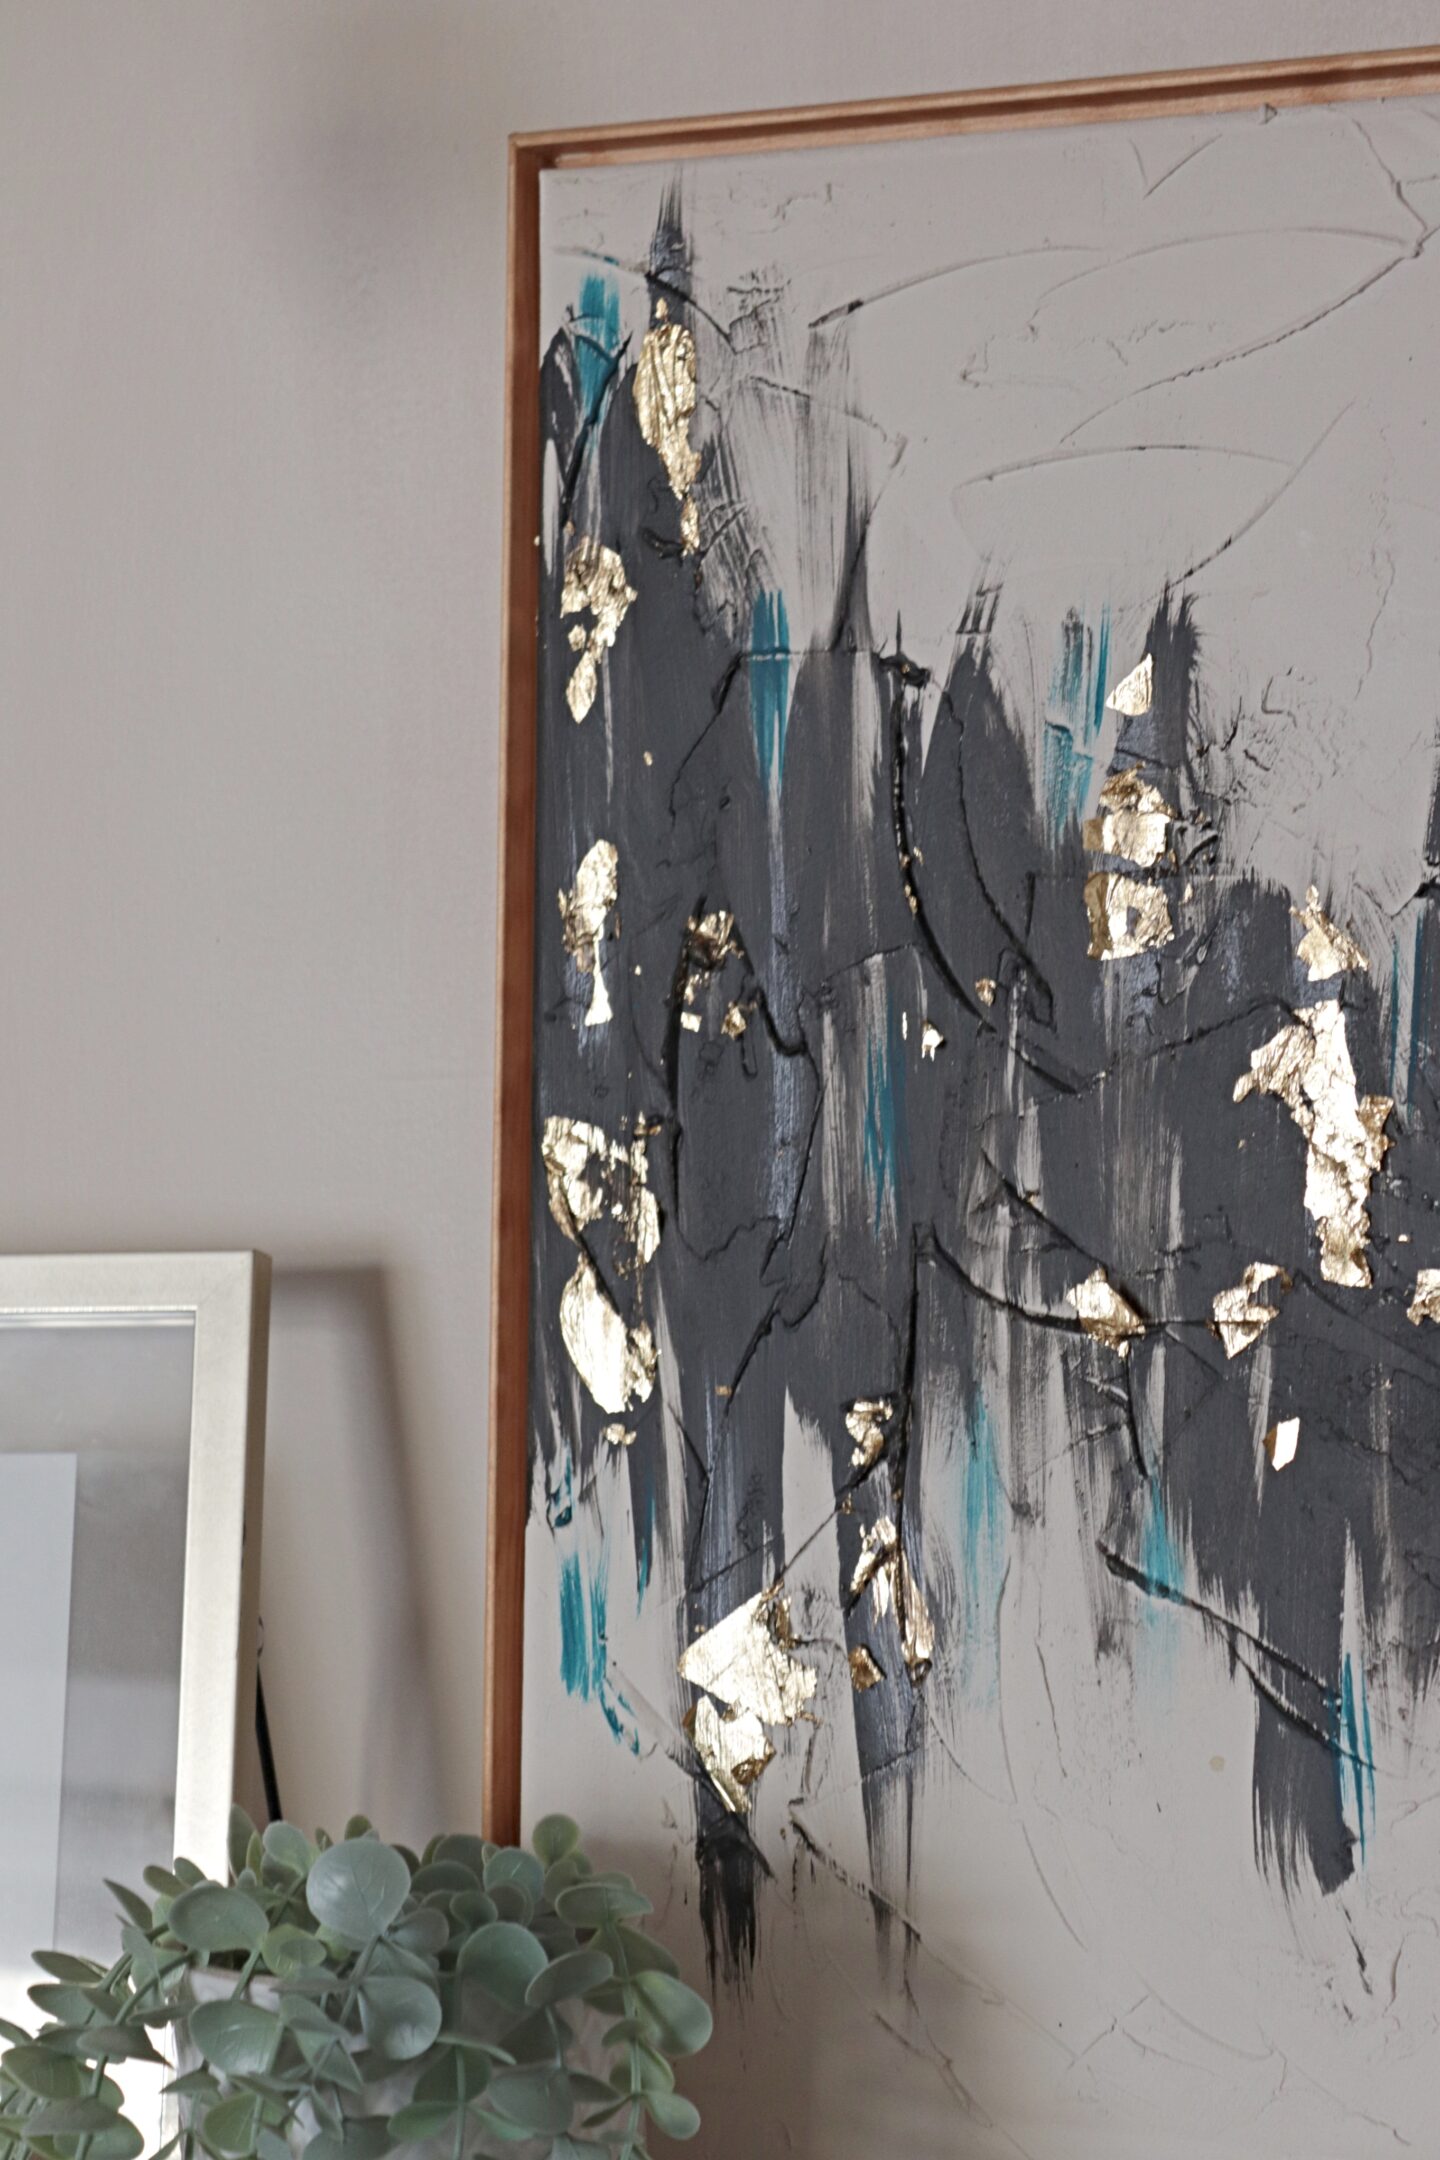
The next day I started by giving the entire canvas a coat of natural hessian from Dulux. This is just a really neutral beige colour. Once it was dry I started adding the other colours and this is also the point I got really focused on the task and forgot to take pictures. I started with the black, I had a rough idea in my head of what I wanted to achieve but I just went with it really. Once the black was on and I was happy with it I added some tiny touches of teal and then finally the gold leaf. I added this while the paint was still wet, let it dry and then brushed off any loose gold. You could also let the paint dry completely and then use the gold leaf adhesive that I linked above. Here are some pictures taken after I had painted it.
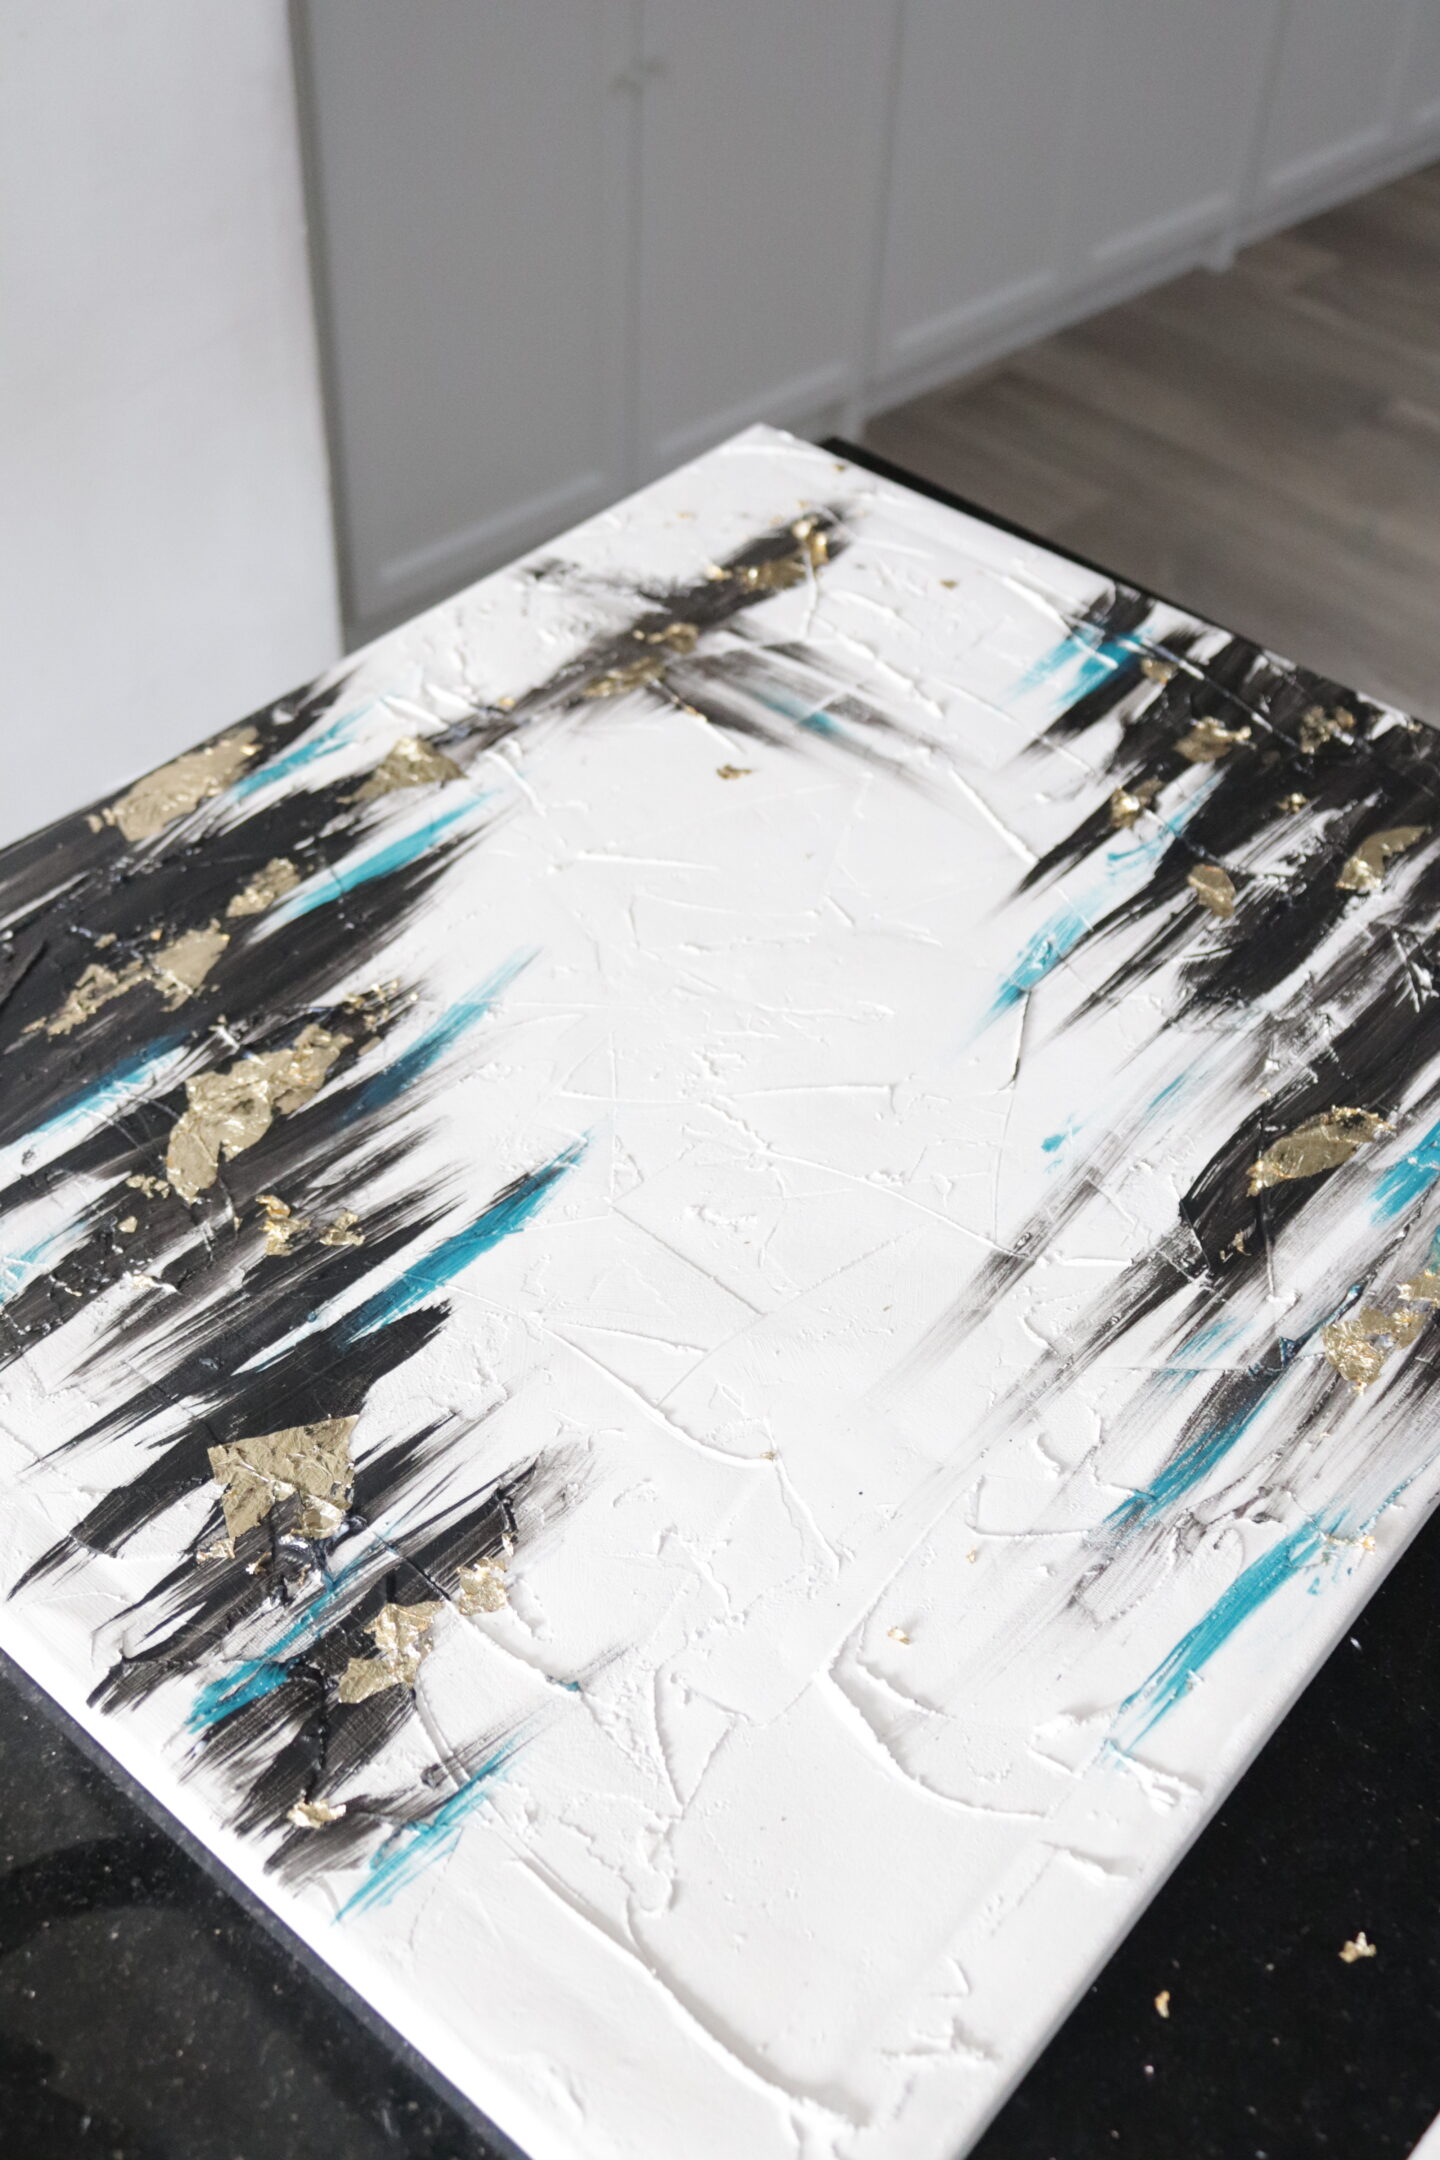
You can use this same idea to add the colour or go for a different style completely. Maybe adding swirls or more defined lines. My advise would be not to worry and just go for it. In the picture above you can see I painted a cross in the top left hand corner of the canvas. I decided that I didn’t like that section so I just let it dry and painted over with a couple of coats of natural hessian and now you can’t see it any more. Everything is fixable if you don’t like what you come up with. Just paint over it and start again!
Making the frame
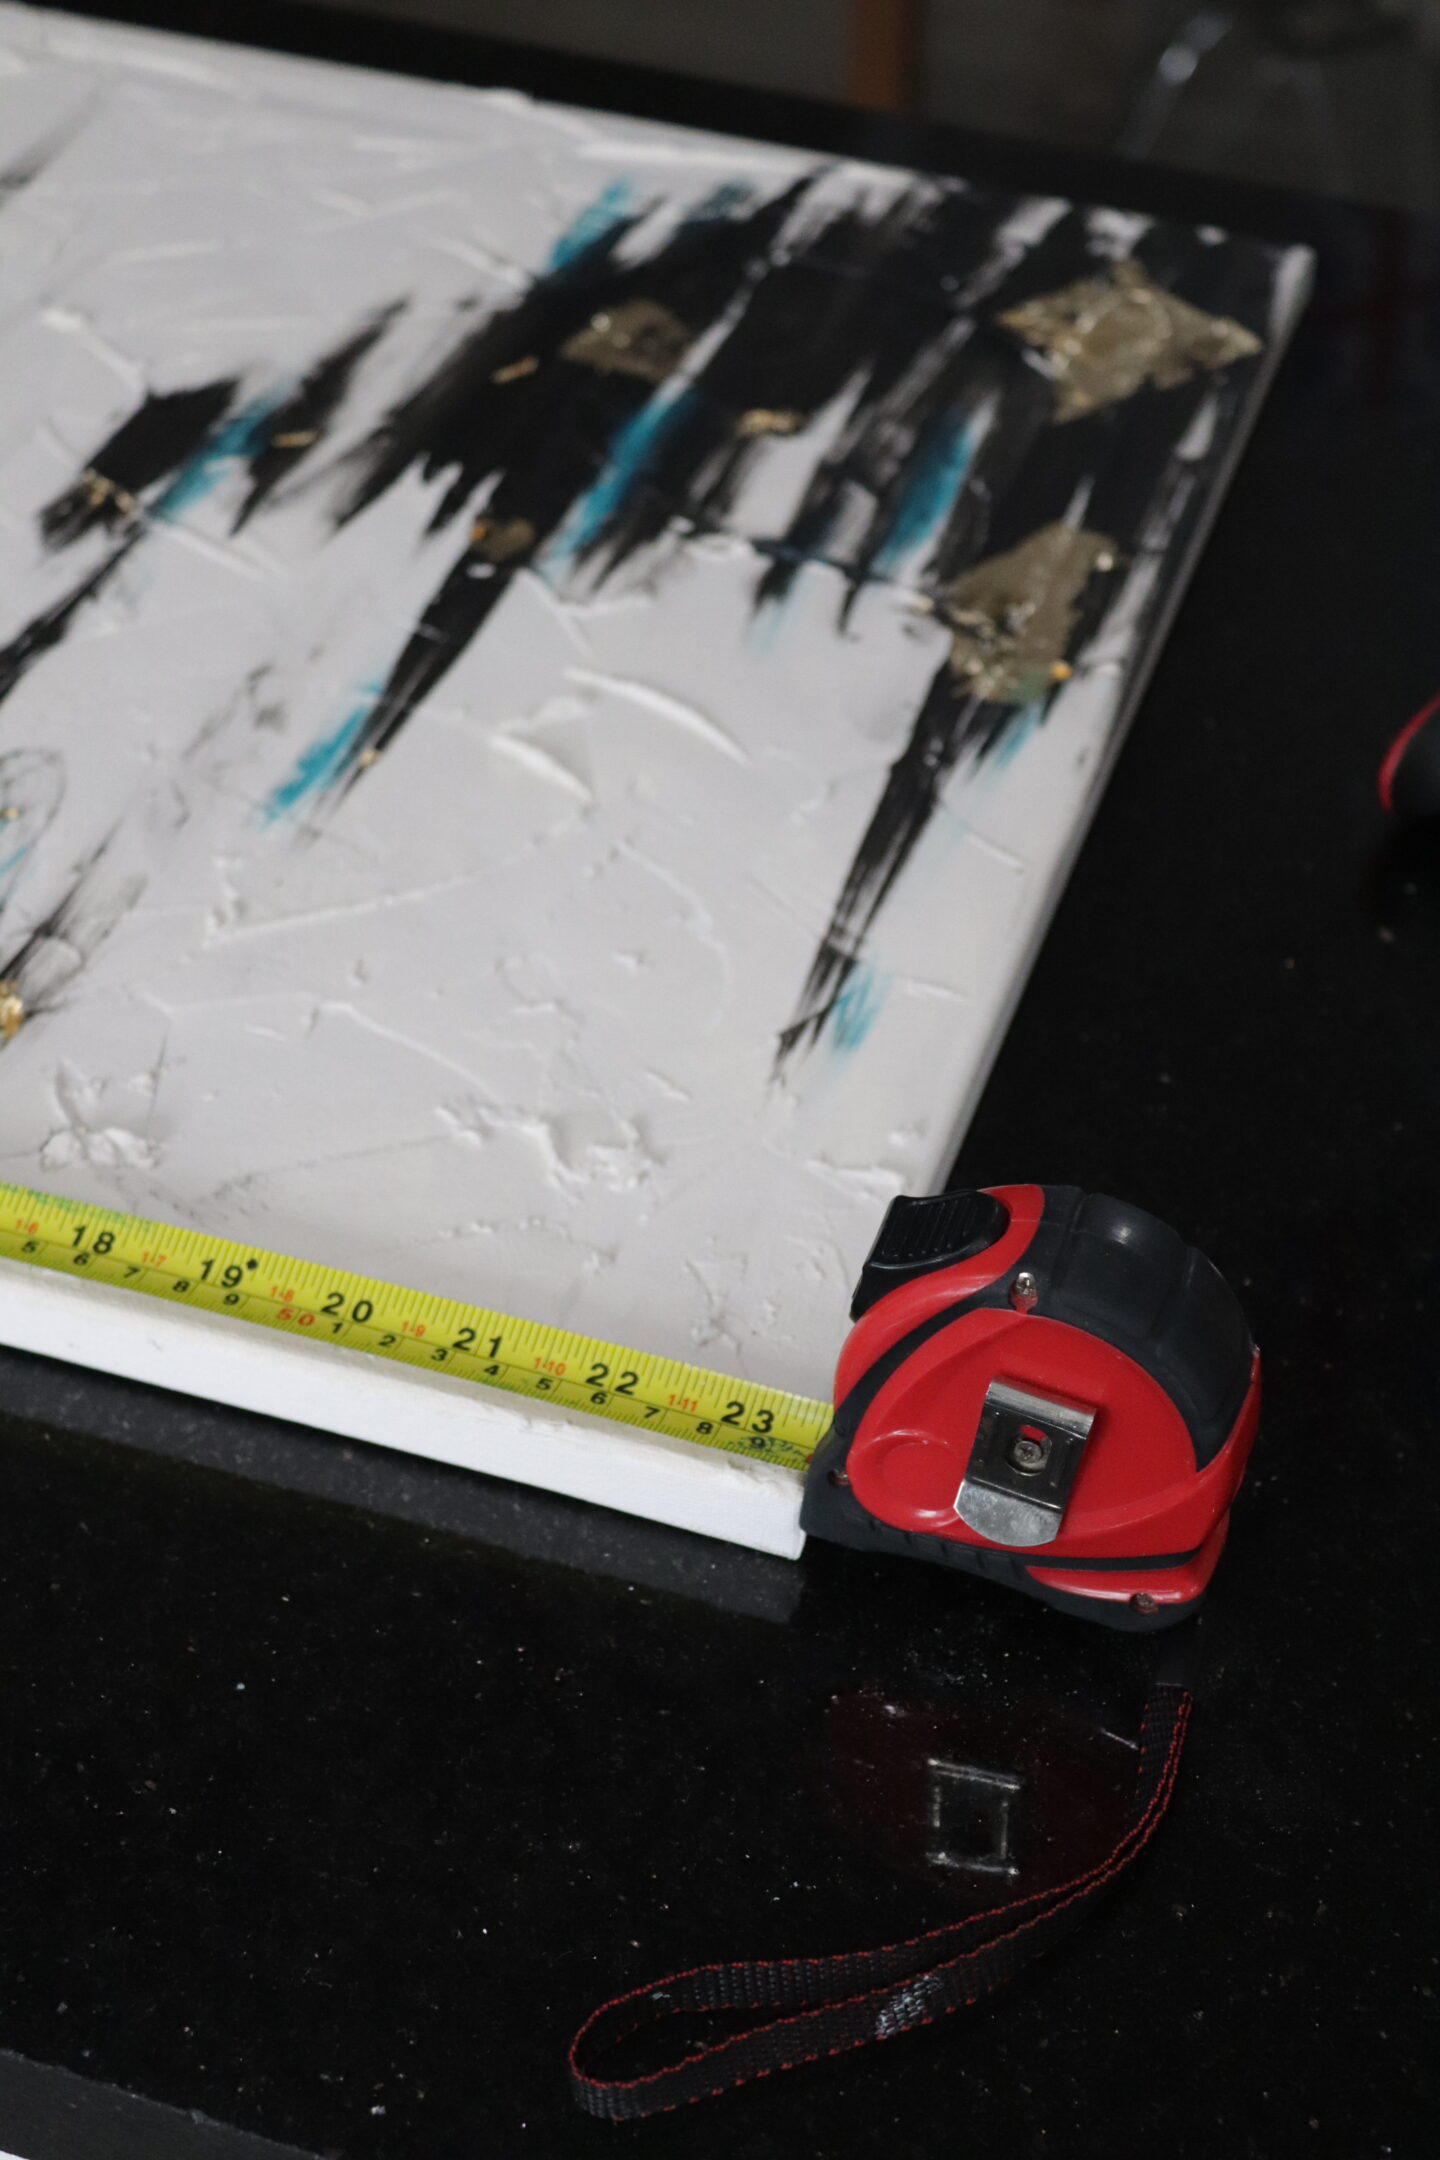
Moving on, I made the frame using the angled edge moulding. I measured the canvases edges and added 1cm to the measurement. I then used a mitre box and saw to cut the moulding at a 45 degree angle.
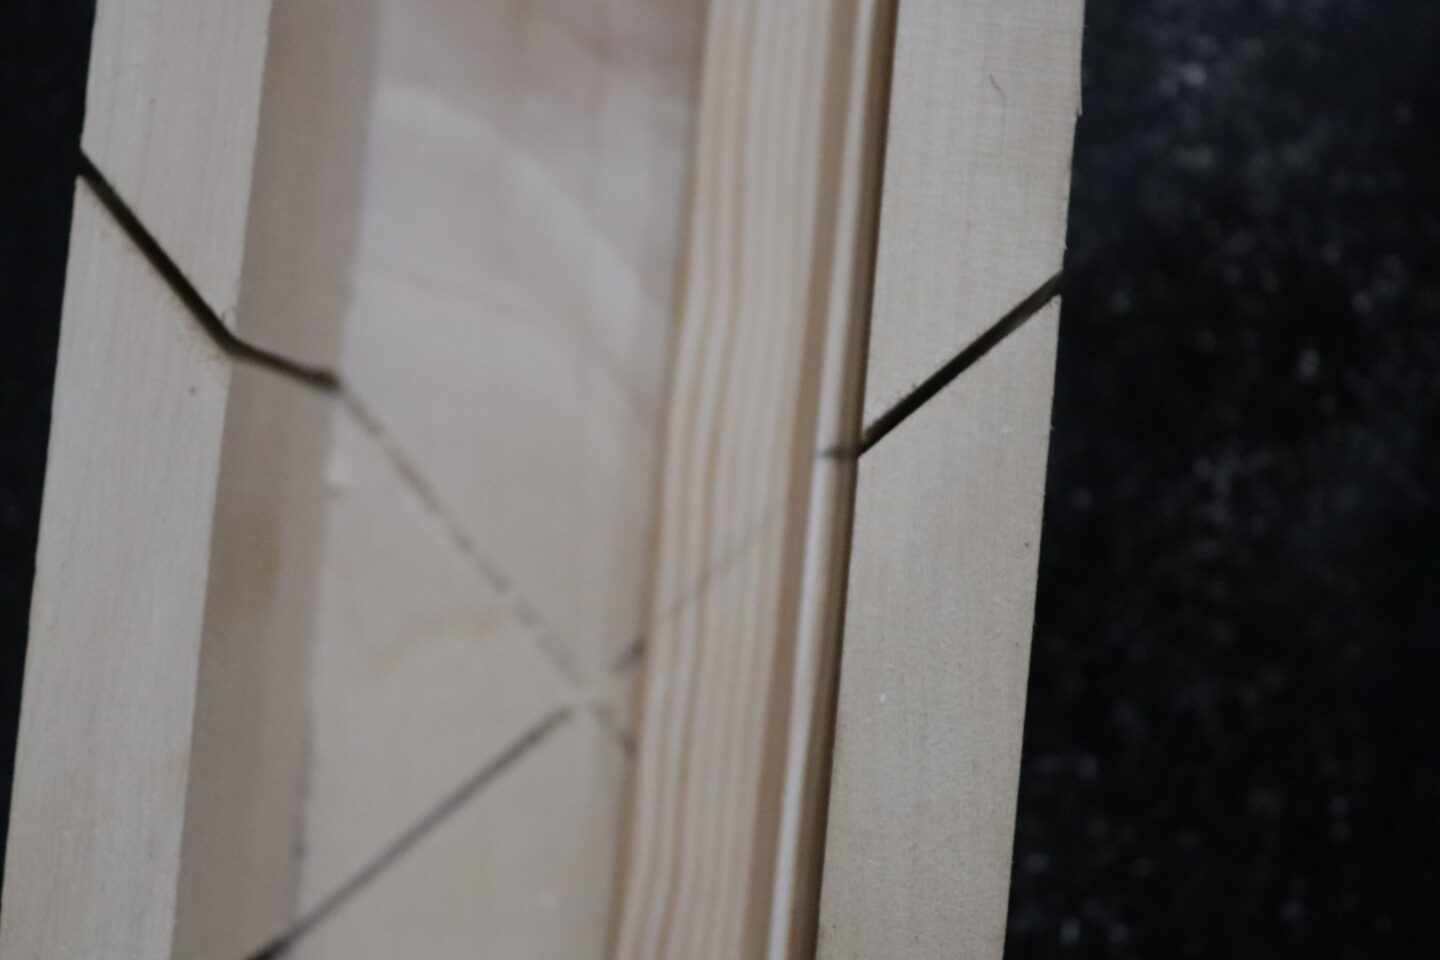
It’s not the clearest of pictures but take note of how the moulding sits in the mitre box to cut it. We are creating a frame that the canvas will sit in if that makes sense.
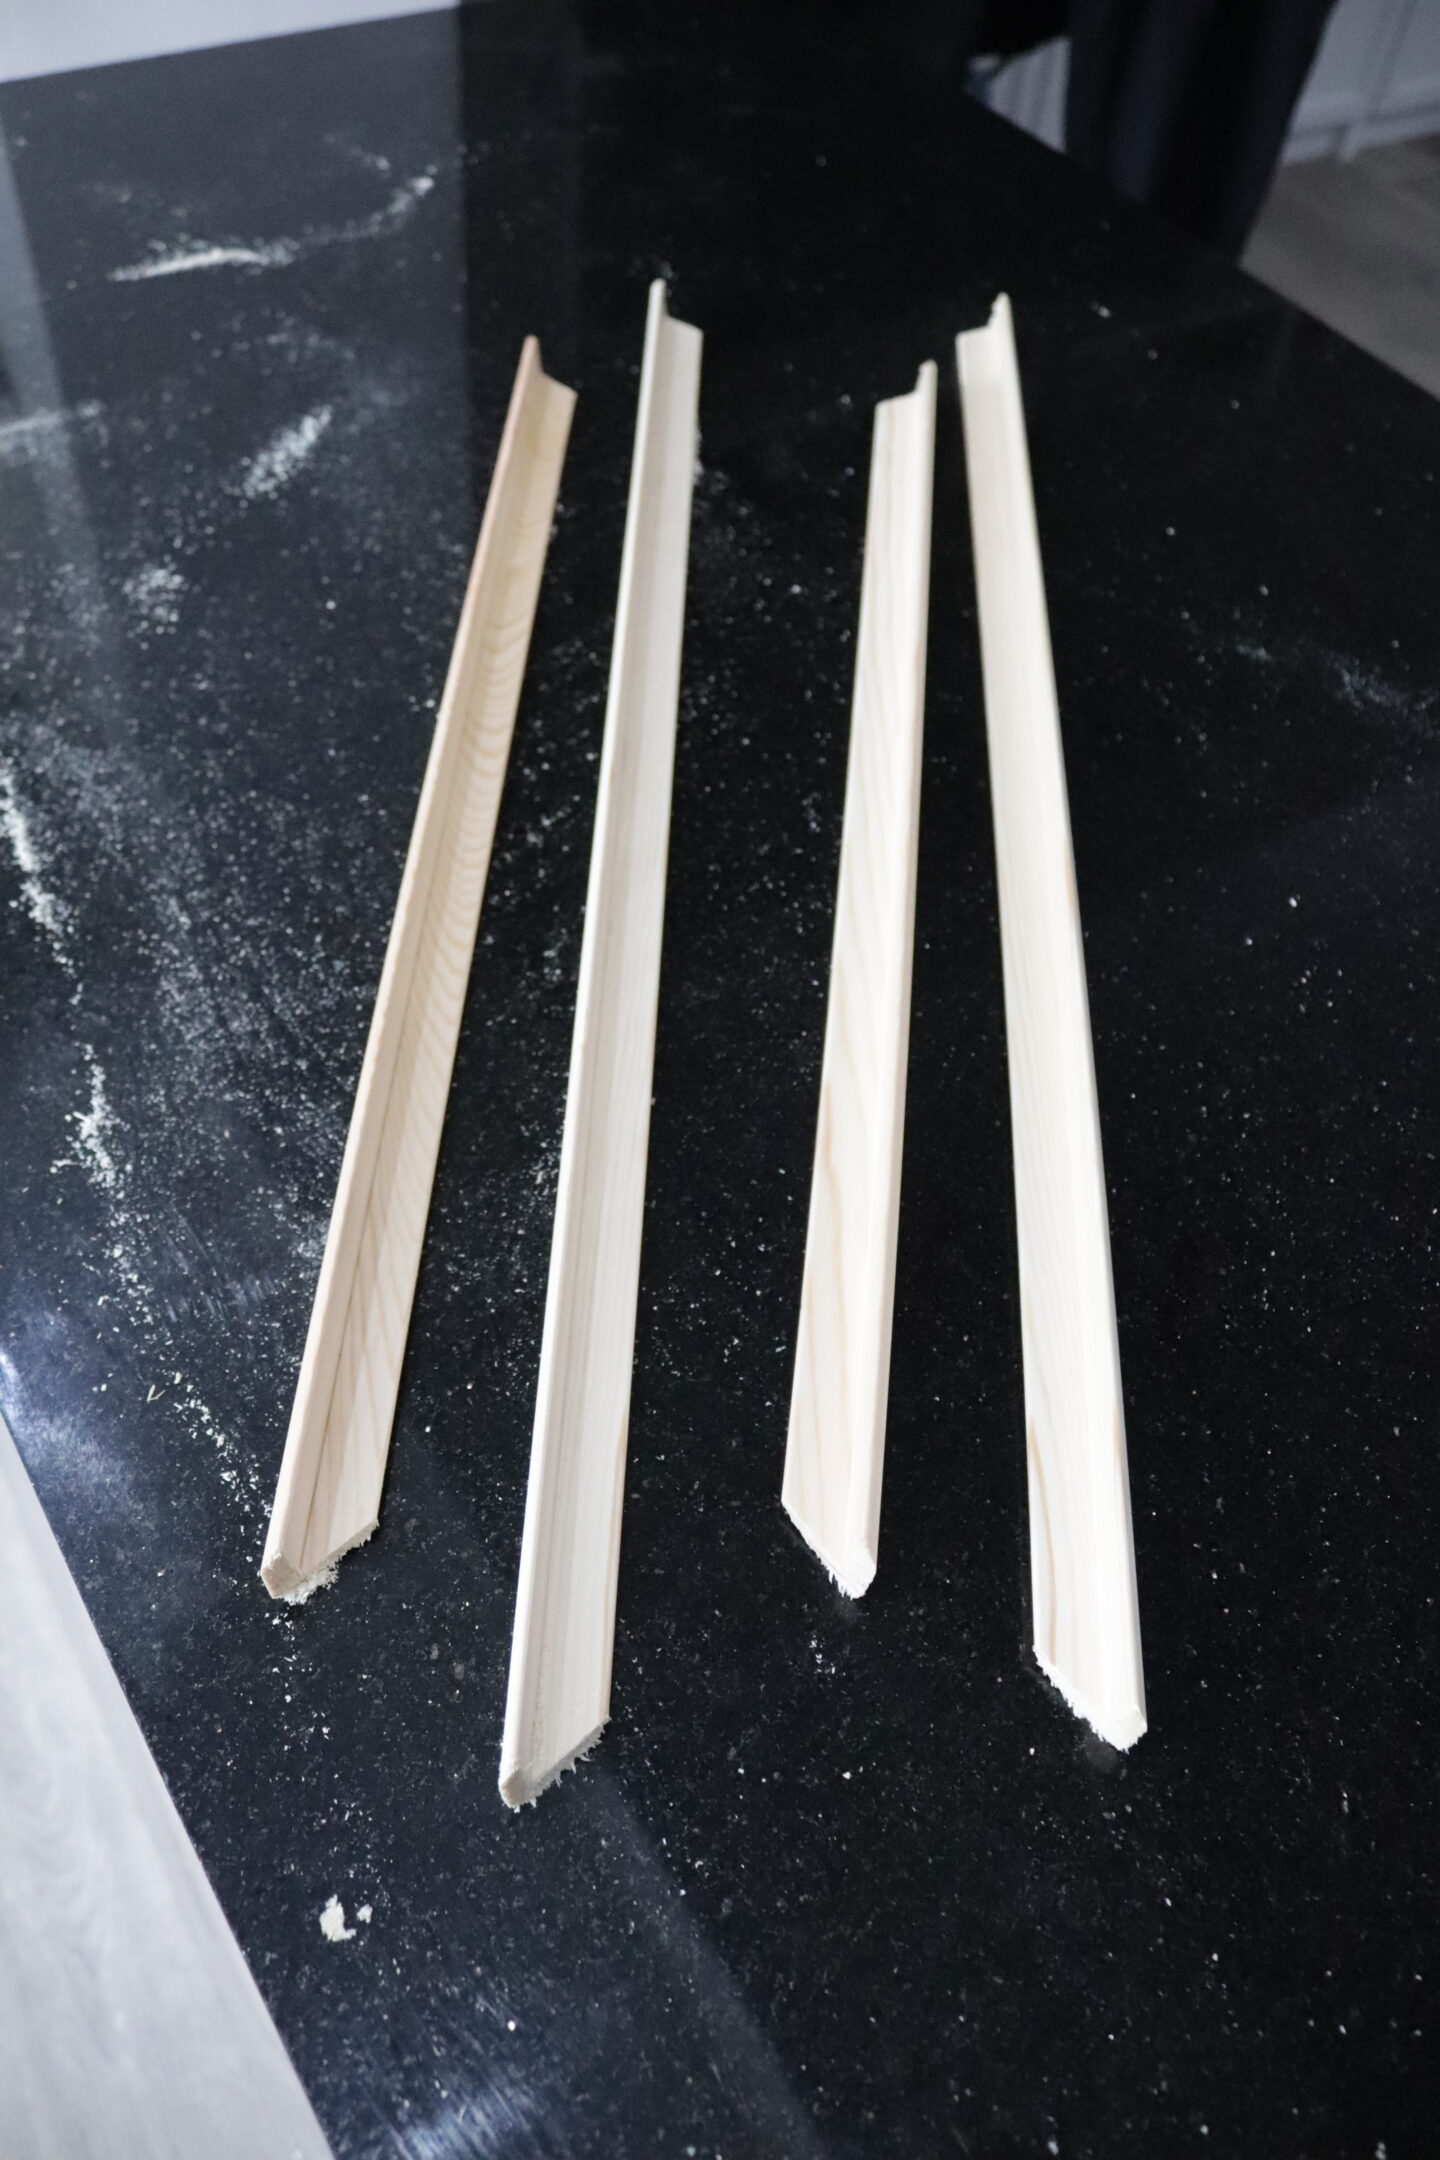
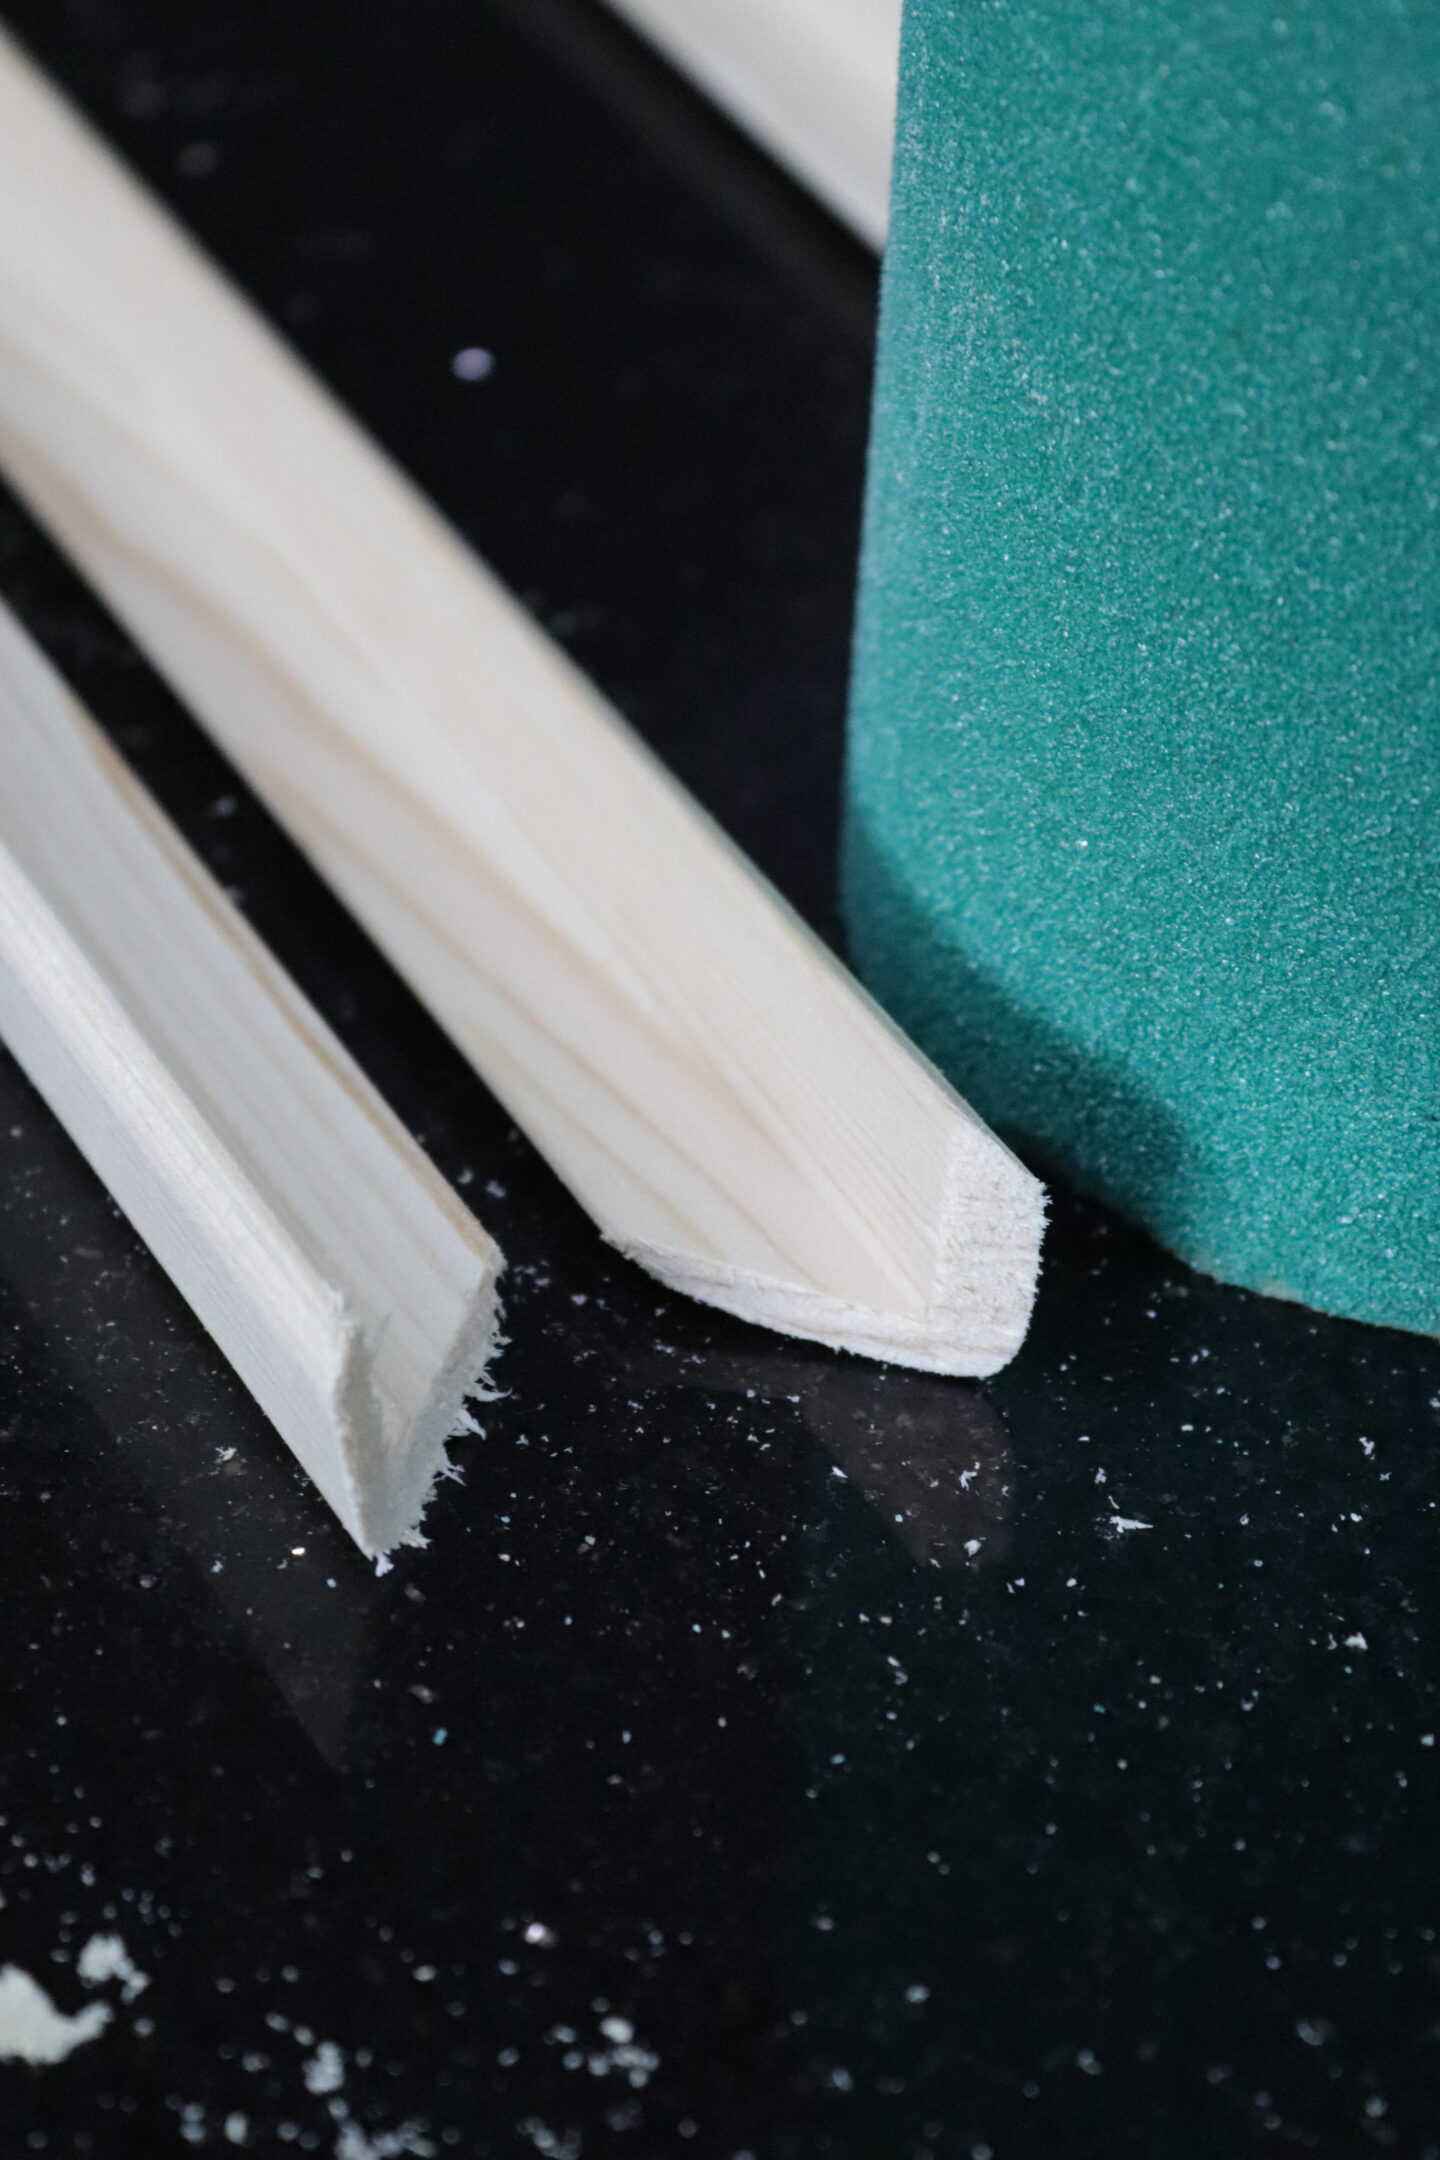
Here are the lengths all cut. The flat edge against the counter is going to be behind the canvas with the standing up edge creating the frame. Once they are cut you will need to just smooth the ends with some sandpaper to get rid of any splinters.

My original plan was to paint the frame black but after finishing the picture I went with a wood stain instead. The one I used was a little too red for my tastes so I recommend using the one linked with the supplies above.
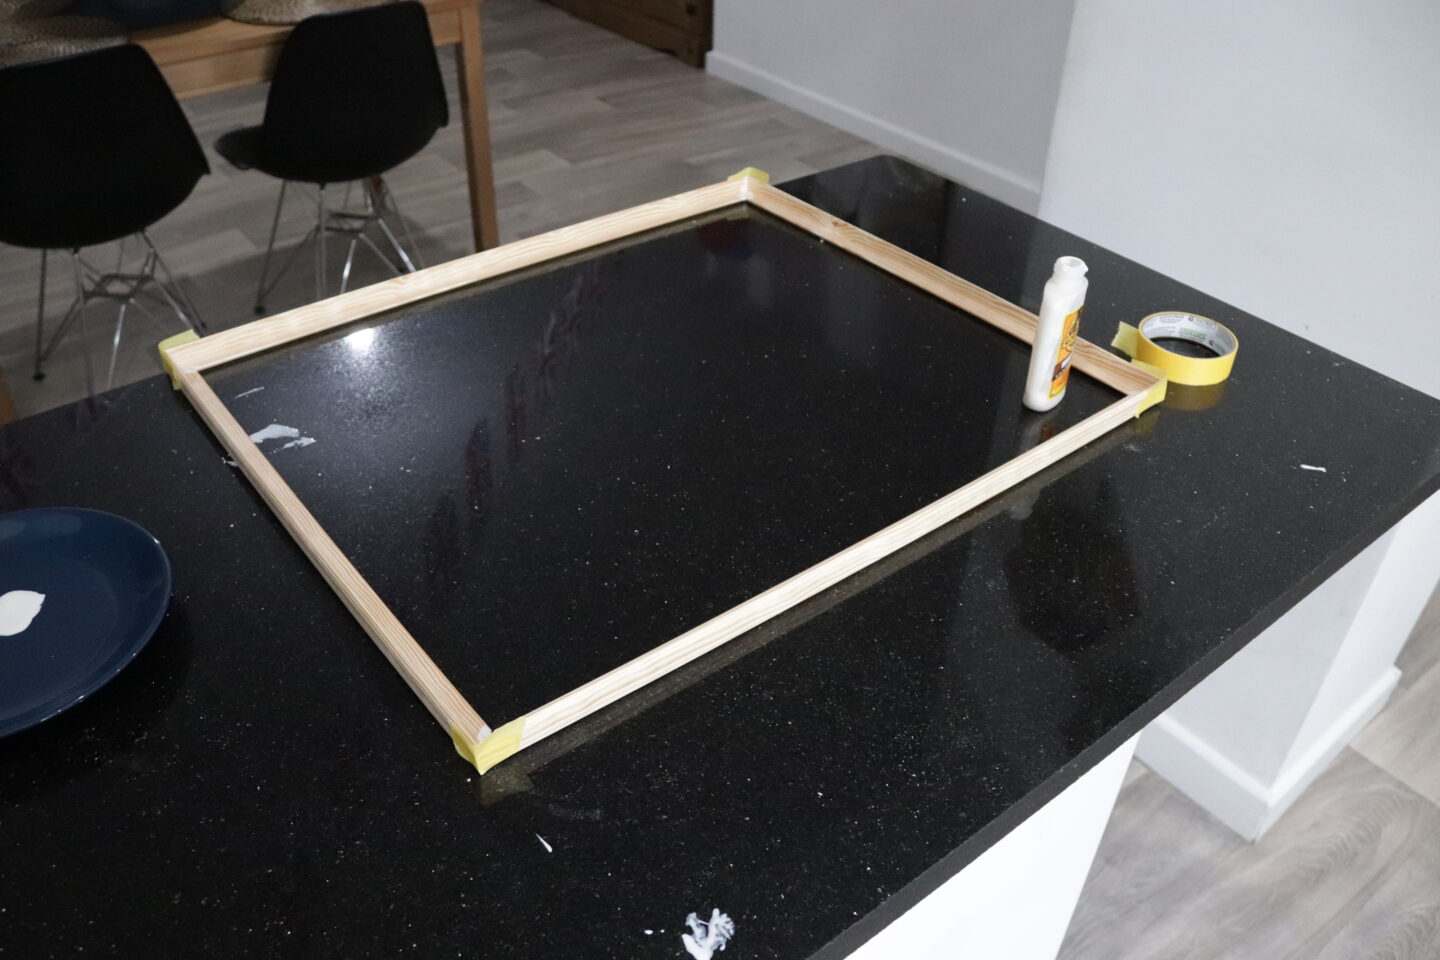
I simply used wood glue to put the frame together. I taped it with masking tape while it was drying so that it didn’t move at and left it overnight to dry.
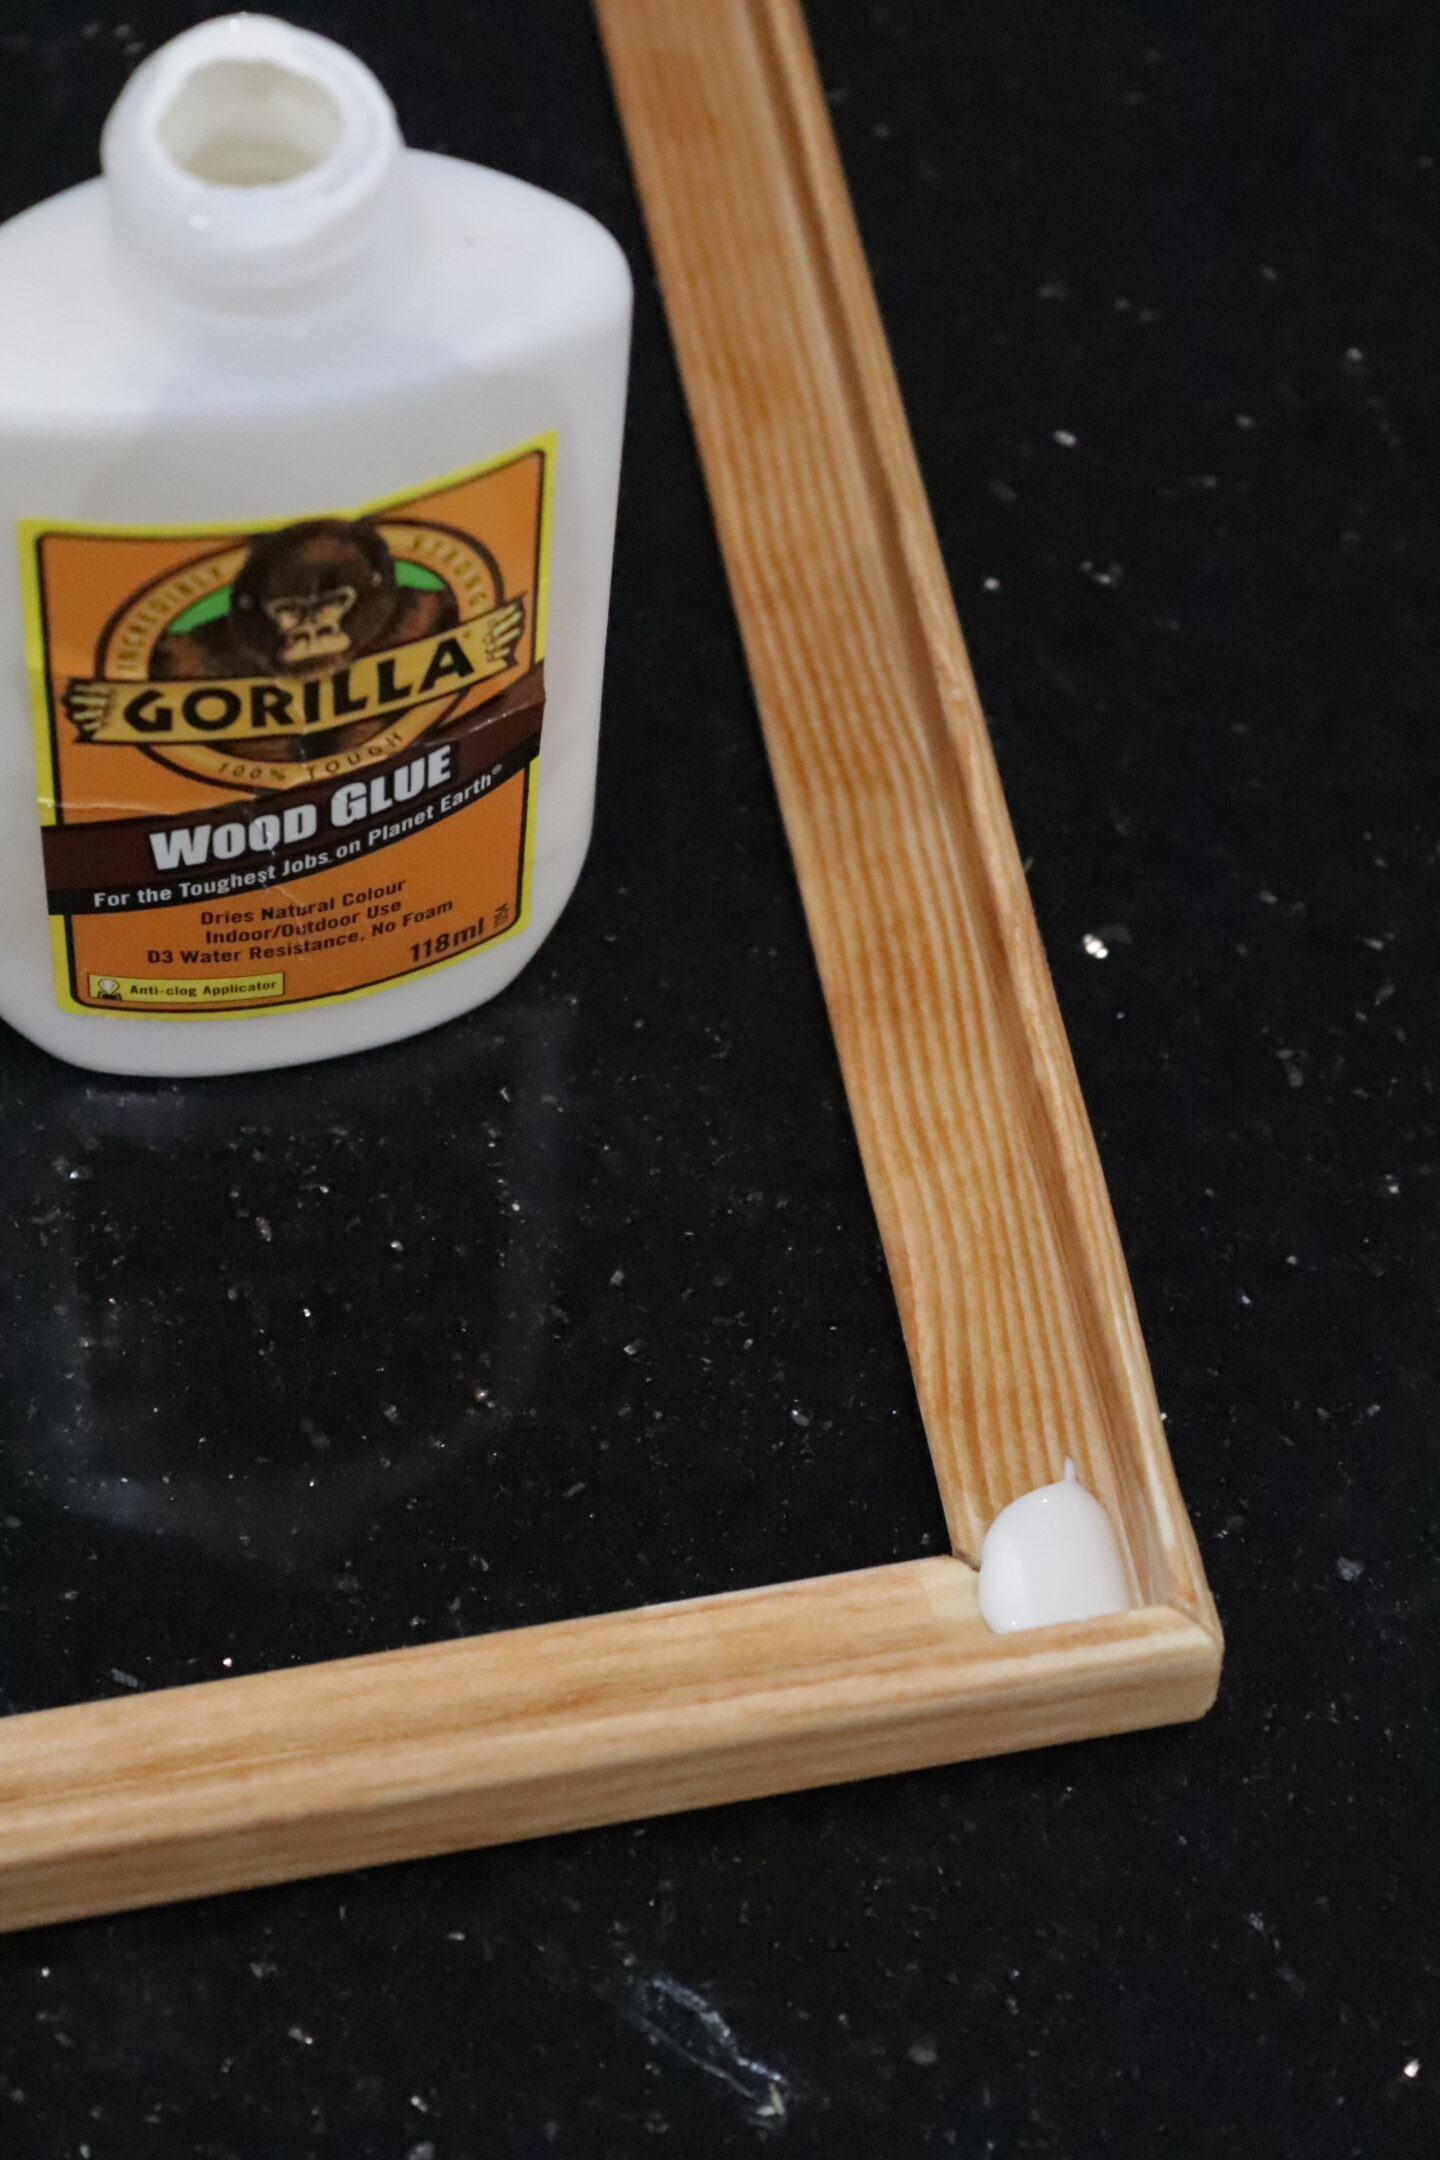
Here is a close up of the frame so you can see how it is put together. With one angle flat against the back and one facing up. I applied a small amount of glue on the inside of each corner and this is how I attached the canvas. I simply sat it inside the frame. made sure the spacing around the edge was even and then left it to dry.

Now for the finished styled photos of the frames on my scaffolding shelves in the living room. I am so so happy with how these turned out and the cost was minimal really. Much less than buying something similar, especially if you can utilise materials you already have. One money saving tip would be to use an old canvas picture that’s not to your taste anymore instead of buying a new blank one!
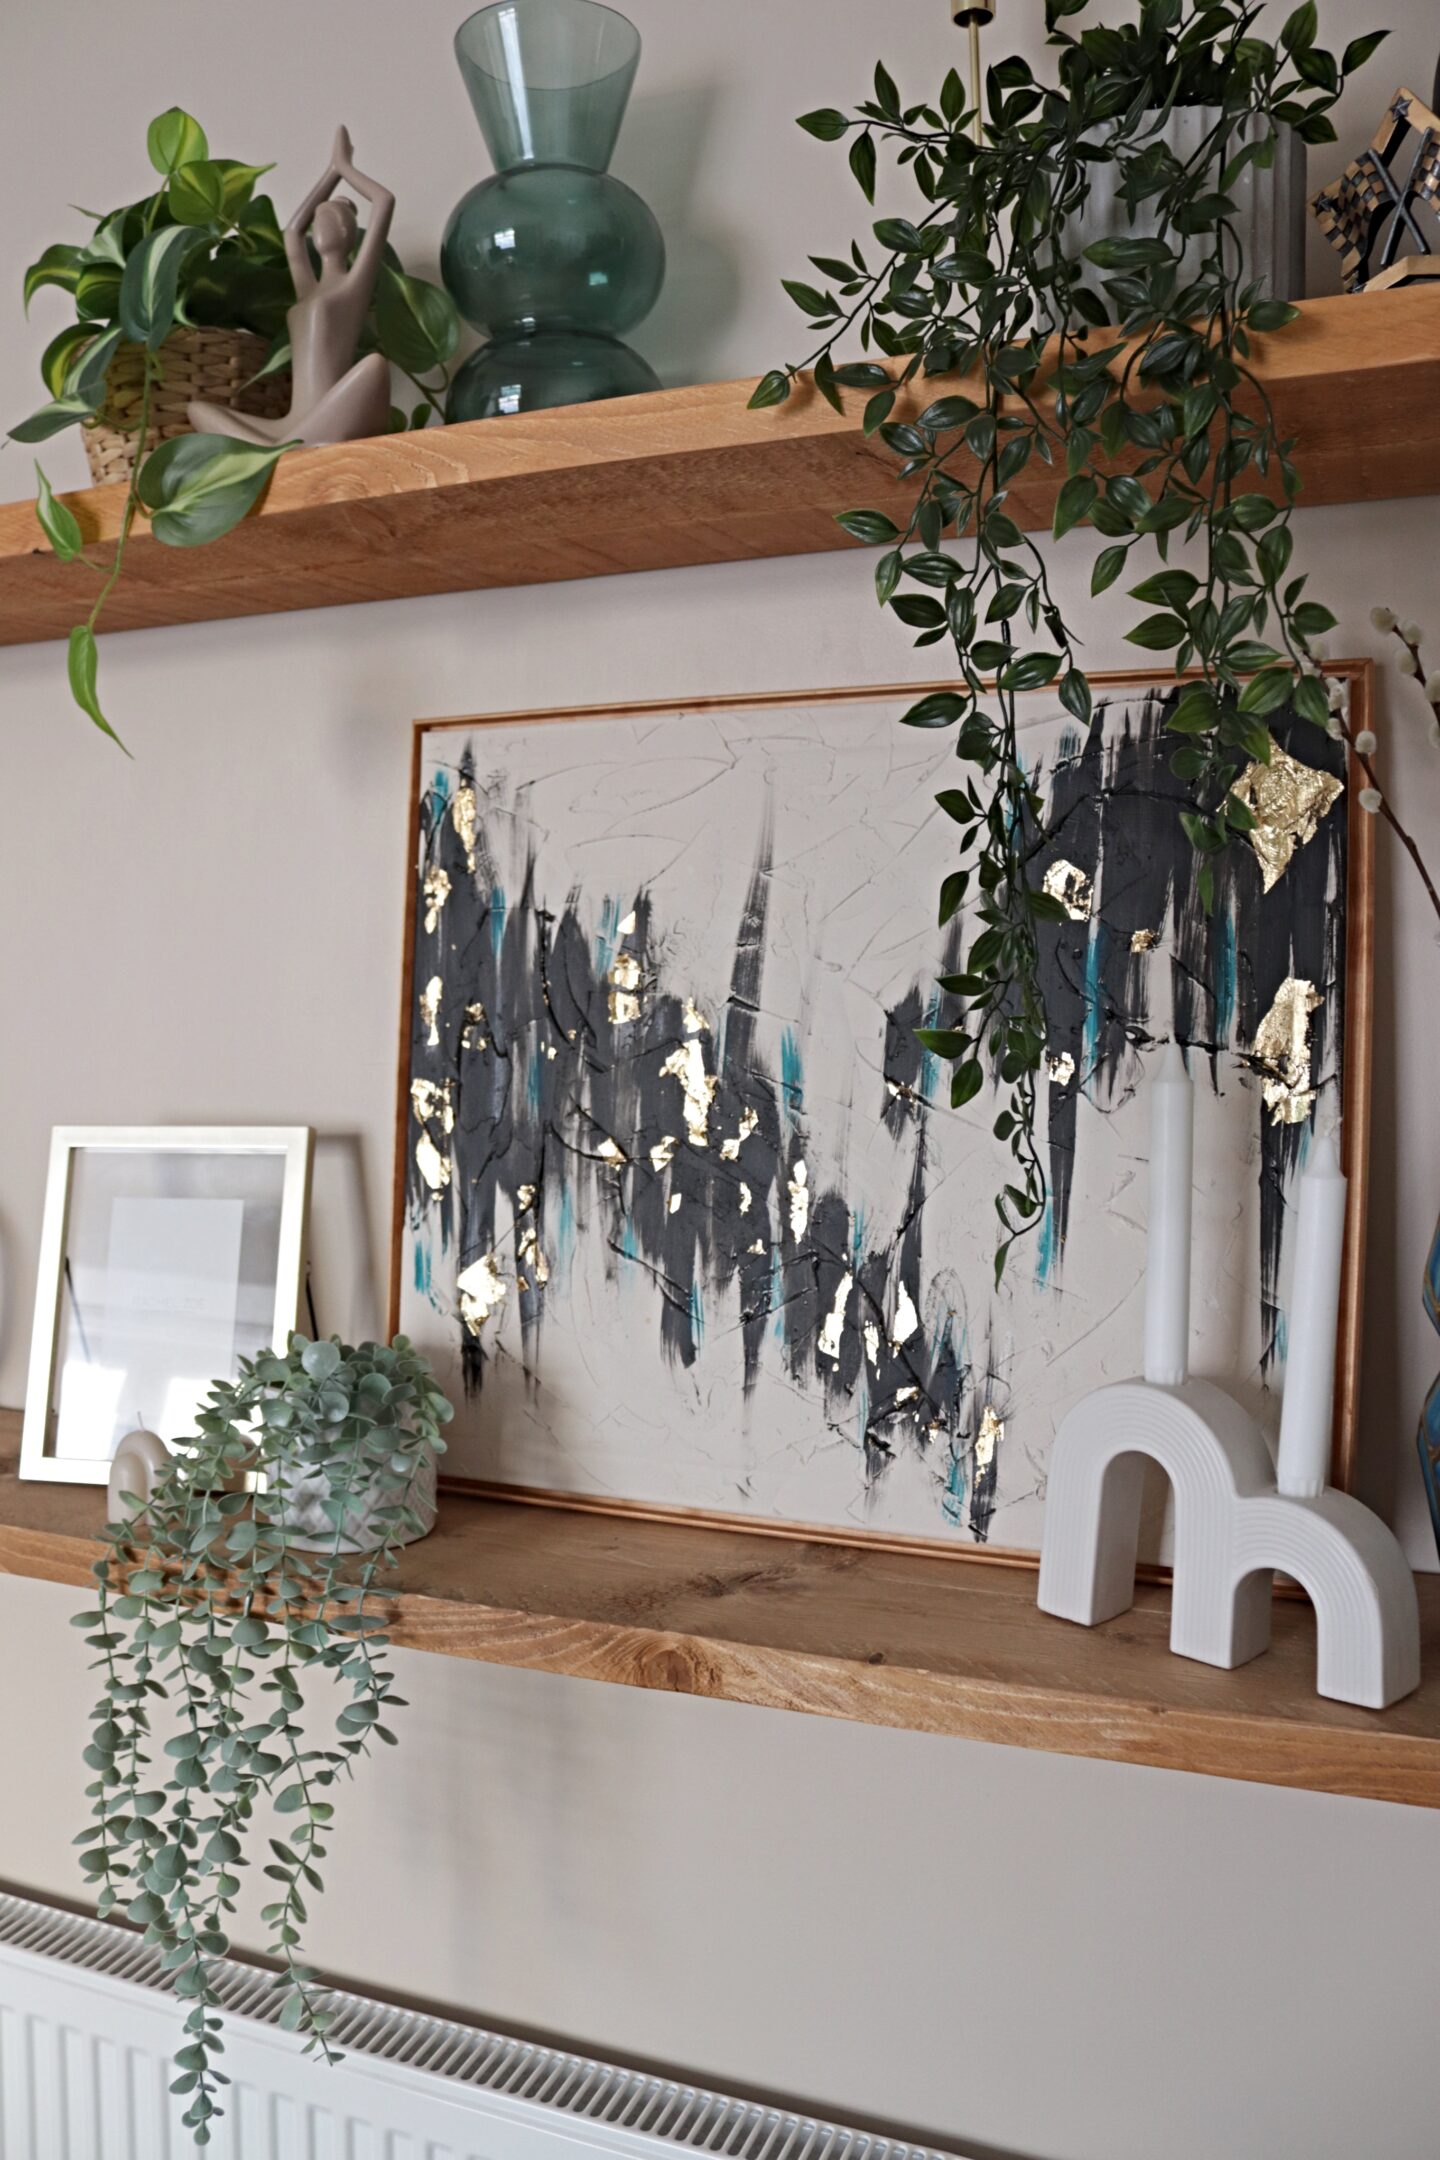
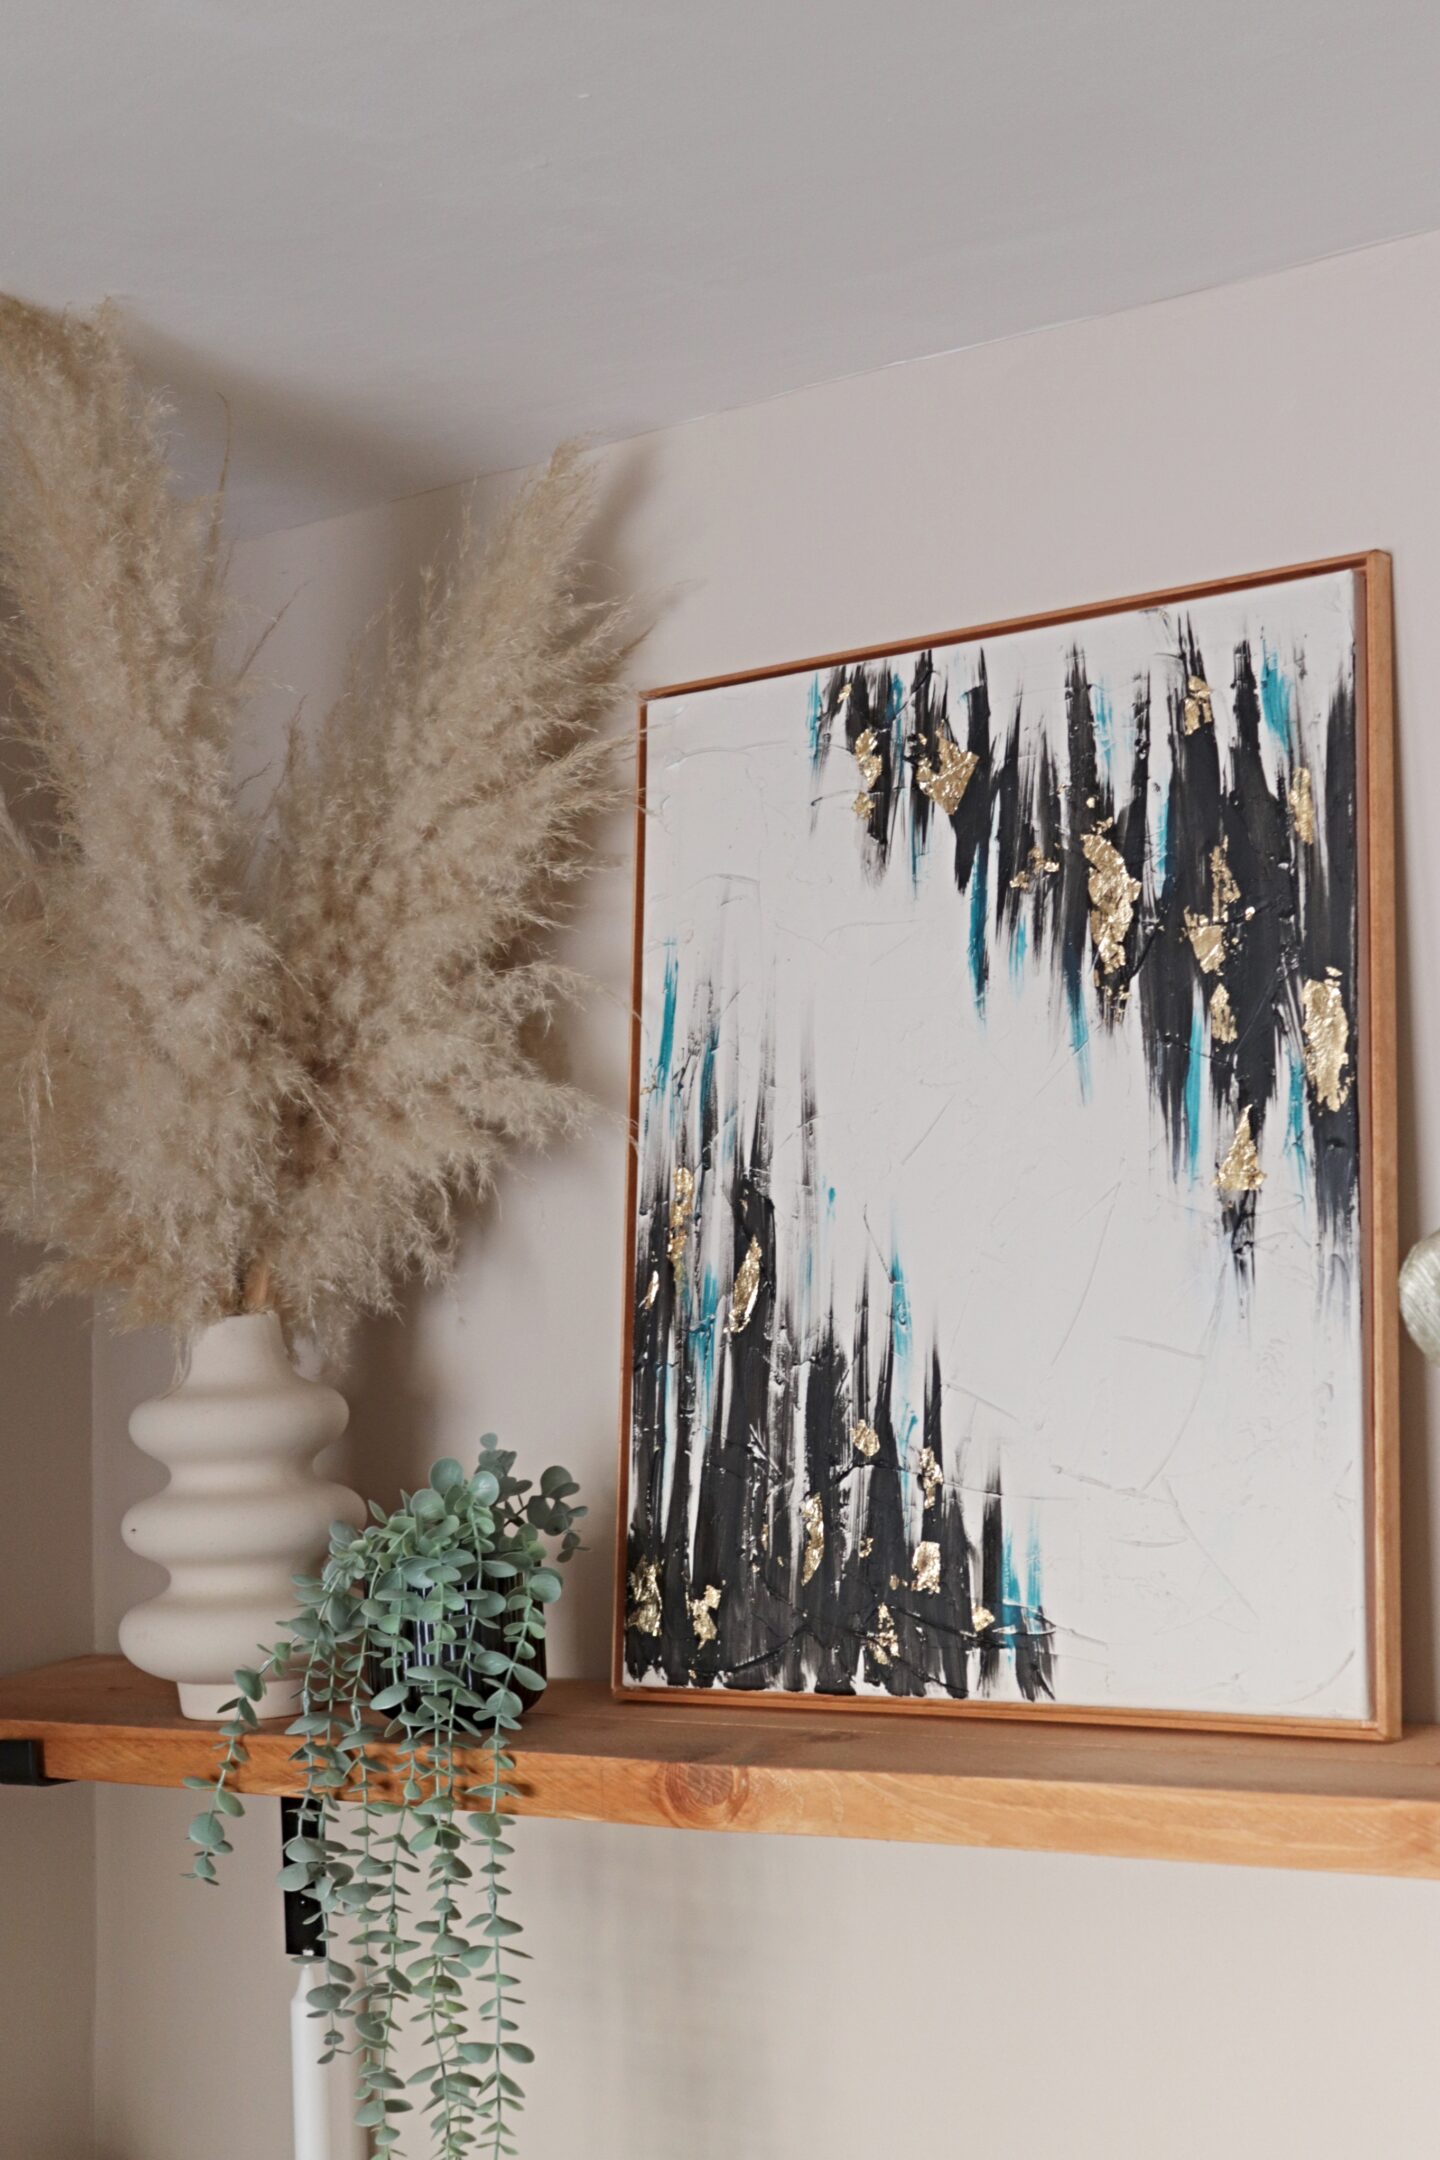
In love! I knew these shelves were going to need some large statement pieces when I put them up and I will be sharing the post on how I styled these shelves and the post on how our living room has changed since my new home tour really soon. If you love this project I think you will love my popsicle stick mirror or my hm home inspired sculpture. Have a great day and I’ll be back with a new post next week (If I say it it has to be true 😉 )
Lianne x
