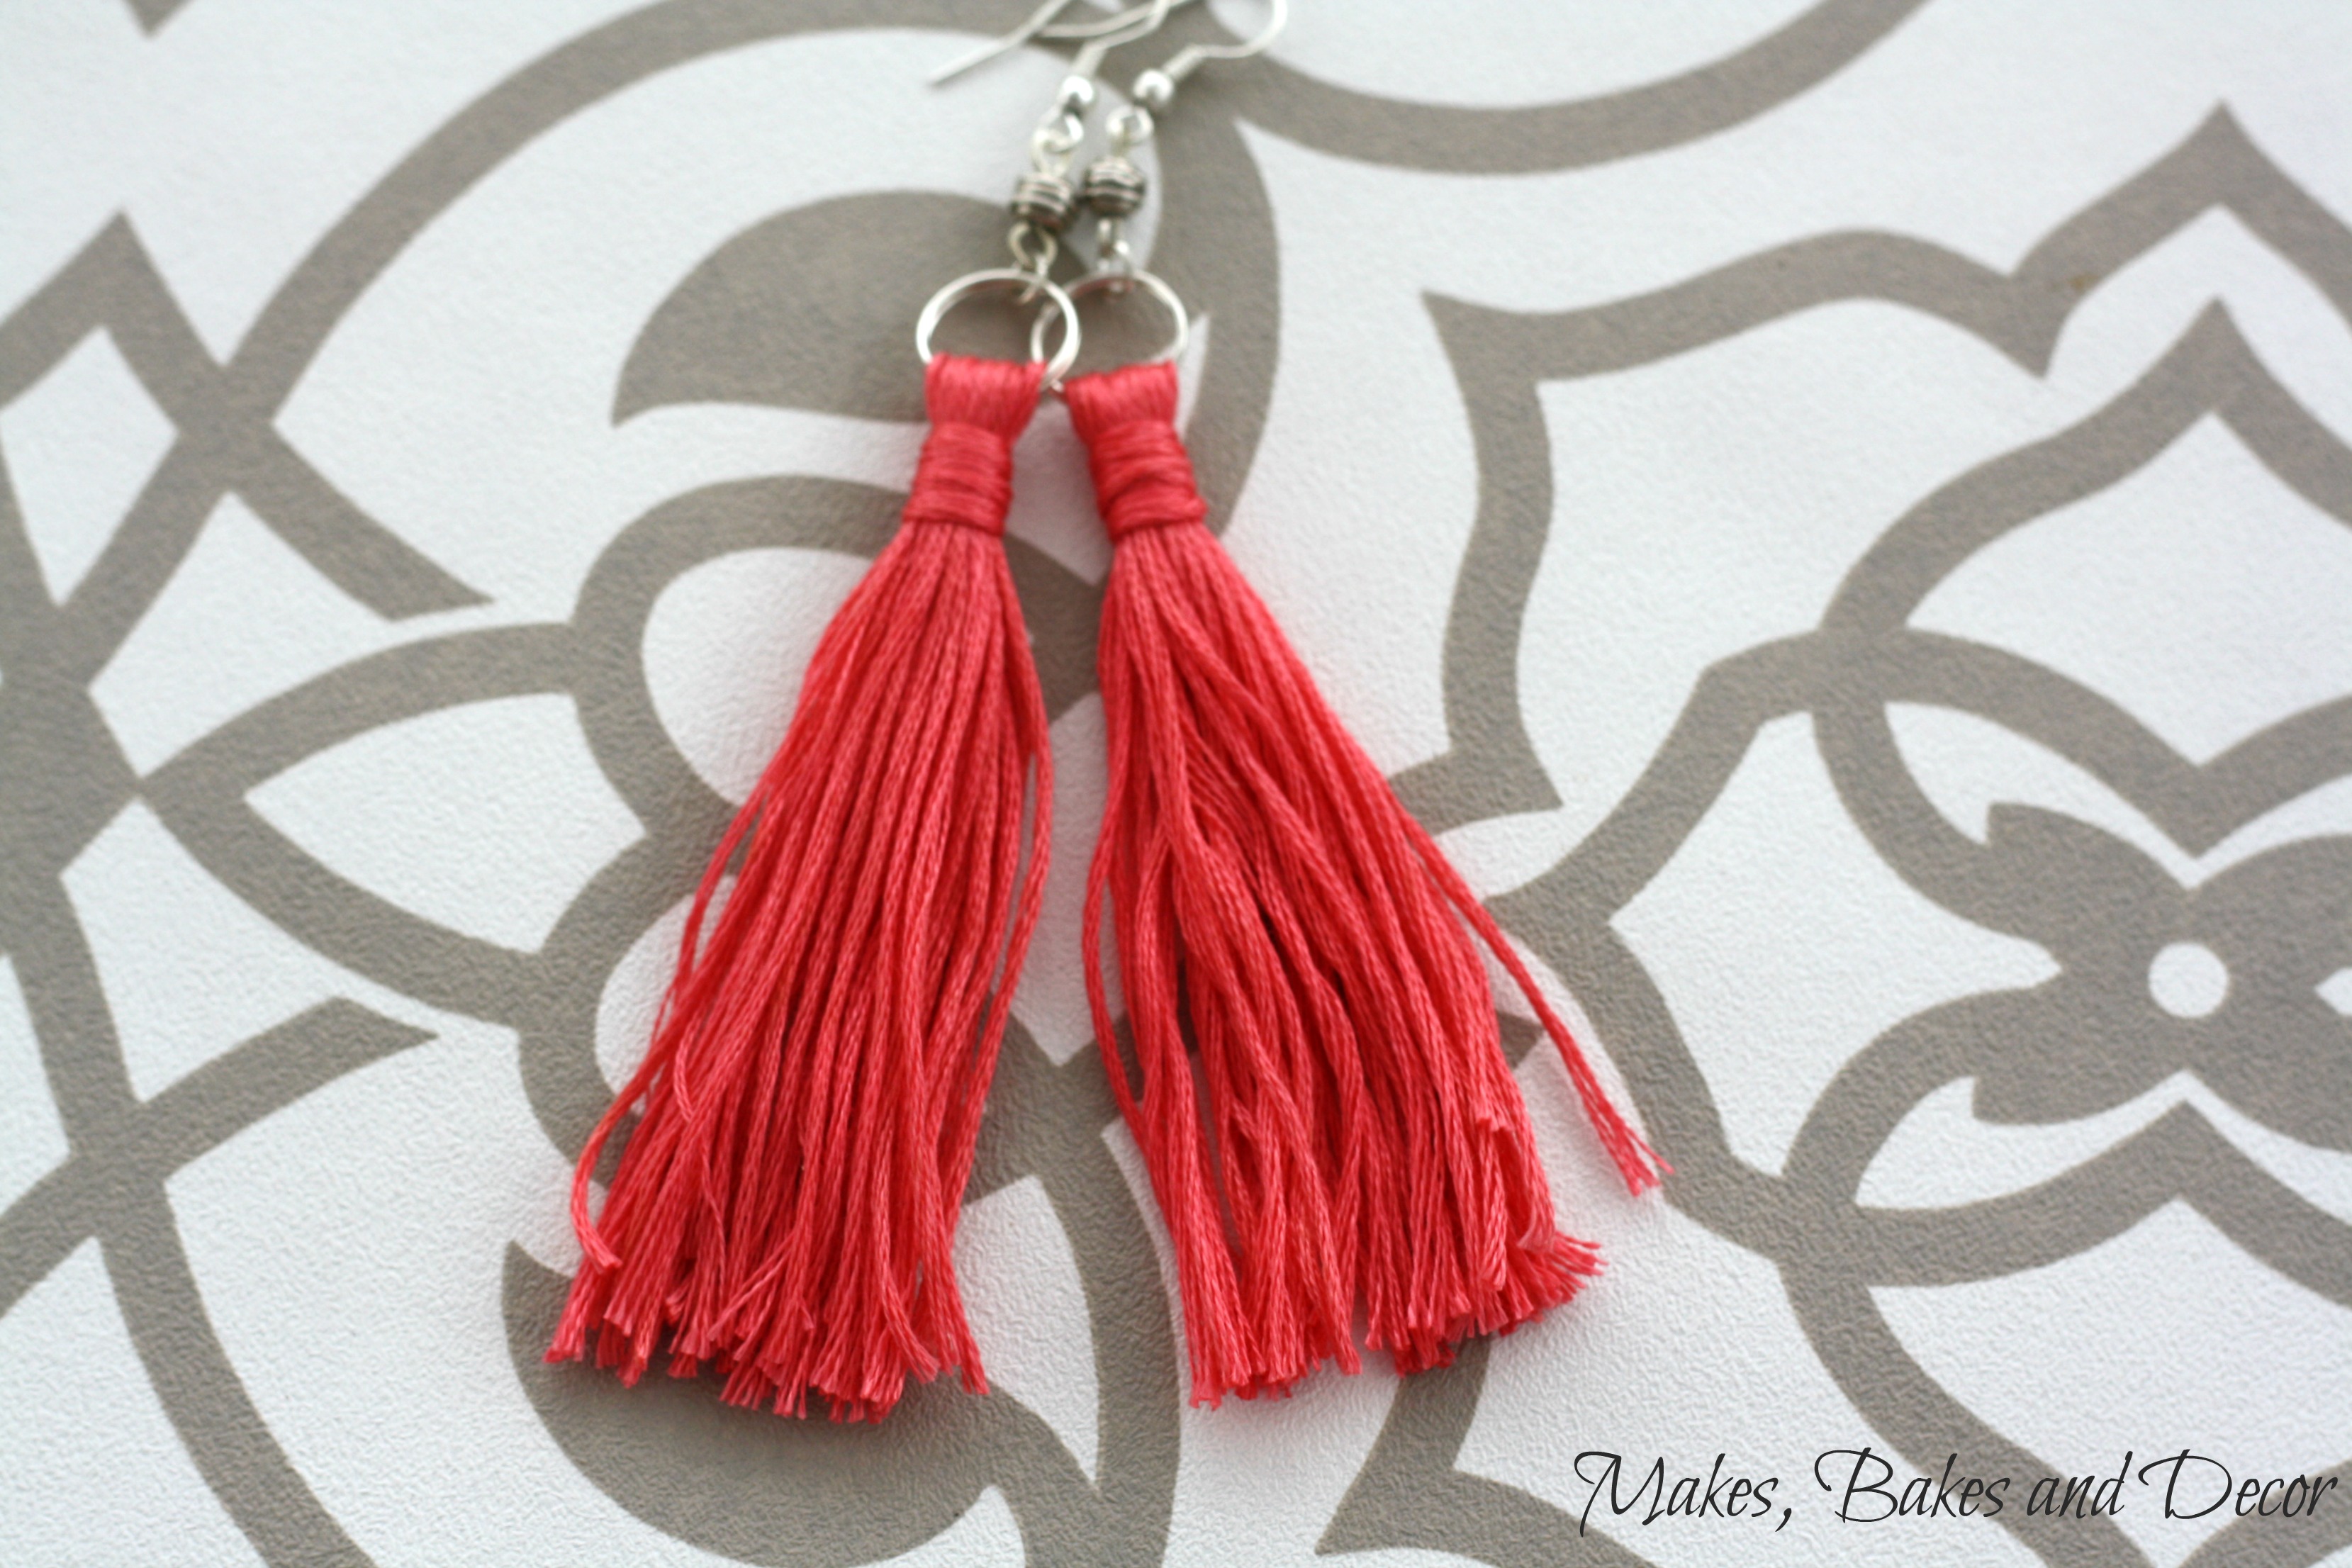
I used to make a lot of jewelry. At one point I had my own website and tried to sell it but I had NO IDEA what I was doing and how to promote it so it didn’t work. It’s been a while since I got all my jewelry making things out and I had forgotten how much I enjoyed it! I love that with just a little bit of time and imagination you can be wearing something no one else has. I made these DIY Tassel Earrings in minutes and have been wearing them all day!
This post contains affiliate links, find out what that means here.
To start I think we need to go through the tools that you will need to make most pieces of jewelry. The two kits below (one is the UK link and one the US link) have all the tools you will need for basic jewelry making.
From left to right (in the image with the blue handles) you have: Top Cutters – these are for cutting down findings, wire, chain etc. Chain nose pliers – for holding your findings, opening jump rings etc, your pliers are your hands! Round nose pliers – are for shaping, use these to bend loops. Curved nose pliers – use the same as chain nose pliers but can help you hold things at a different angle, when I’m making something I generally hold a pair of pliers in each hand. Side cutters – for the same use as top cutters, depending which angle you need to cut at would depend on which cutters you used.
Here are the links to the items I used!
UK Links:
US Links:
I also used super glue and a pair of scissors that aren’t photographed! Now let’s get started making these DIY Tassel Earrings! The thread I used came in a 8 meter skein so the first thing I did was to cut it into two 4 meter lengths. I then cut approx 30cm from each of these lengths.
Take one of the long lengths of thread and wrap it round your fingers. You can make the tassel longer and thinner or shorter and thicker, it’s up to you.
Cut through the loop so you have strands like the picture above.
Thread the strands through you large jump ring.
Then fold the strands in half so the jump ring is in the middle.
Take one of the shorter lengths of thread and tie it around the tassel like in the picture above.
Using the long side, wrap it around the tassel a few times and then secure it by tying it to the short side. Pull securely and then cut as close to the knot as possible.
Add a small drop of super glue to the knot so it doesn’t come undone. The knot will be on the back of the earring so turn your tassel around…..
And it should look like this! The next few steps were hard to photograph because I really needed 3 hands lol!
Thread your bead onto your eye pin.
hold the loop of your eye pin with one pair of pliers.
Then use your second pair of pliers to bend the pin as close to the bead as you can.
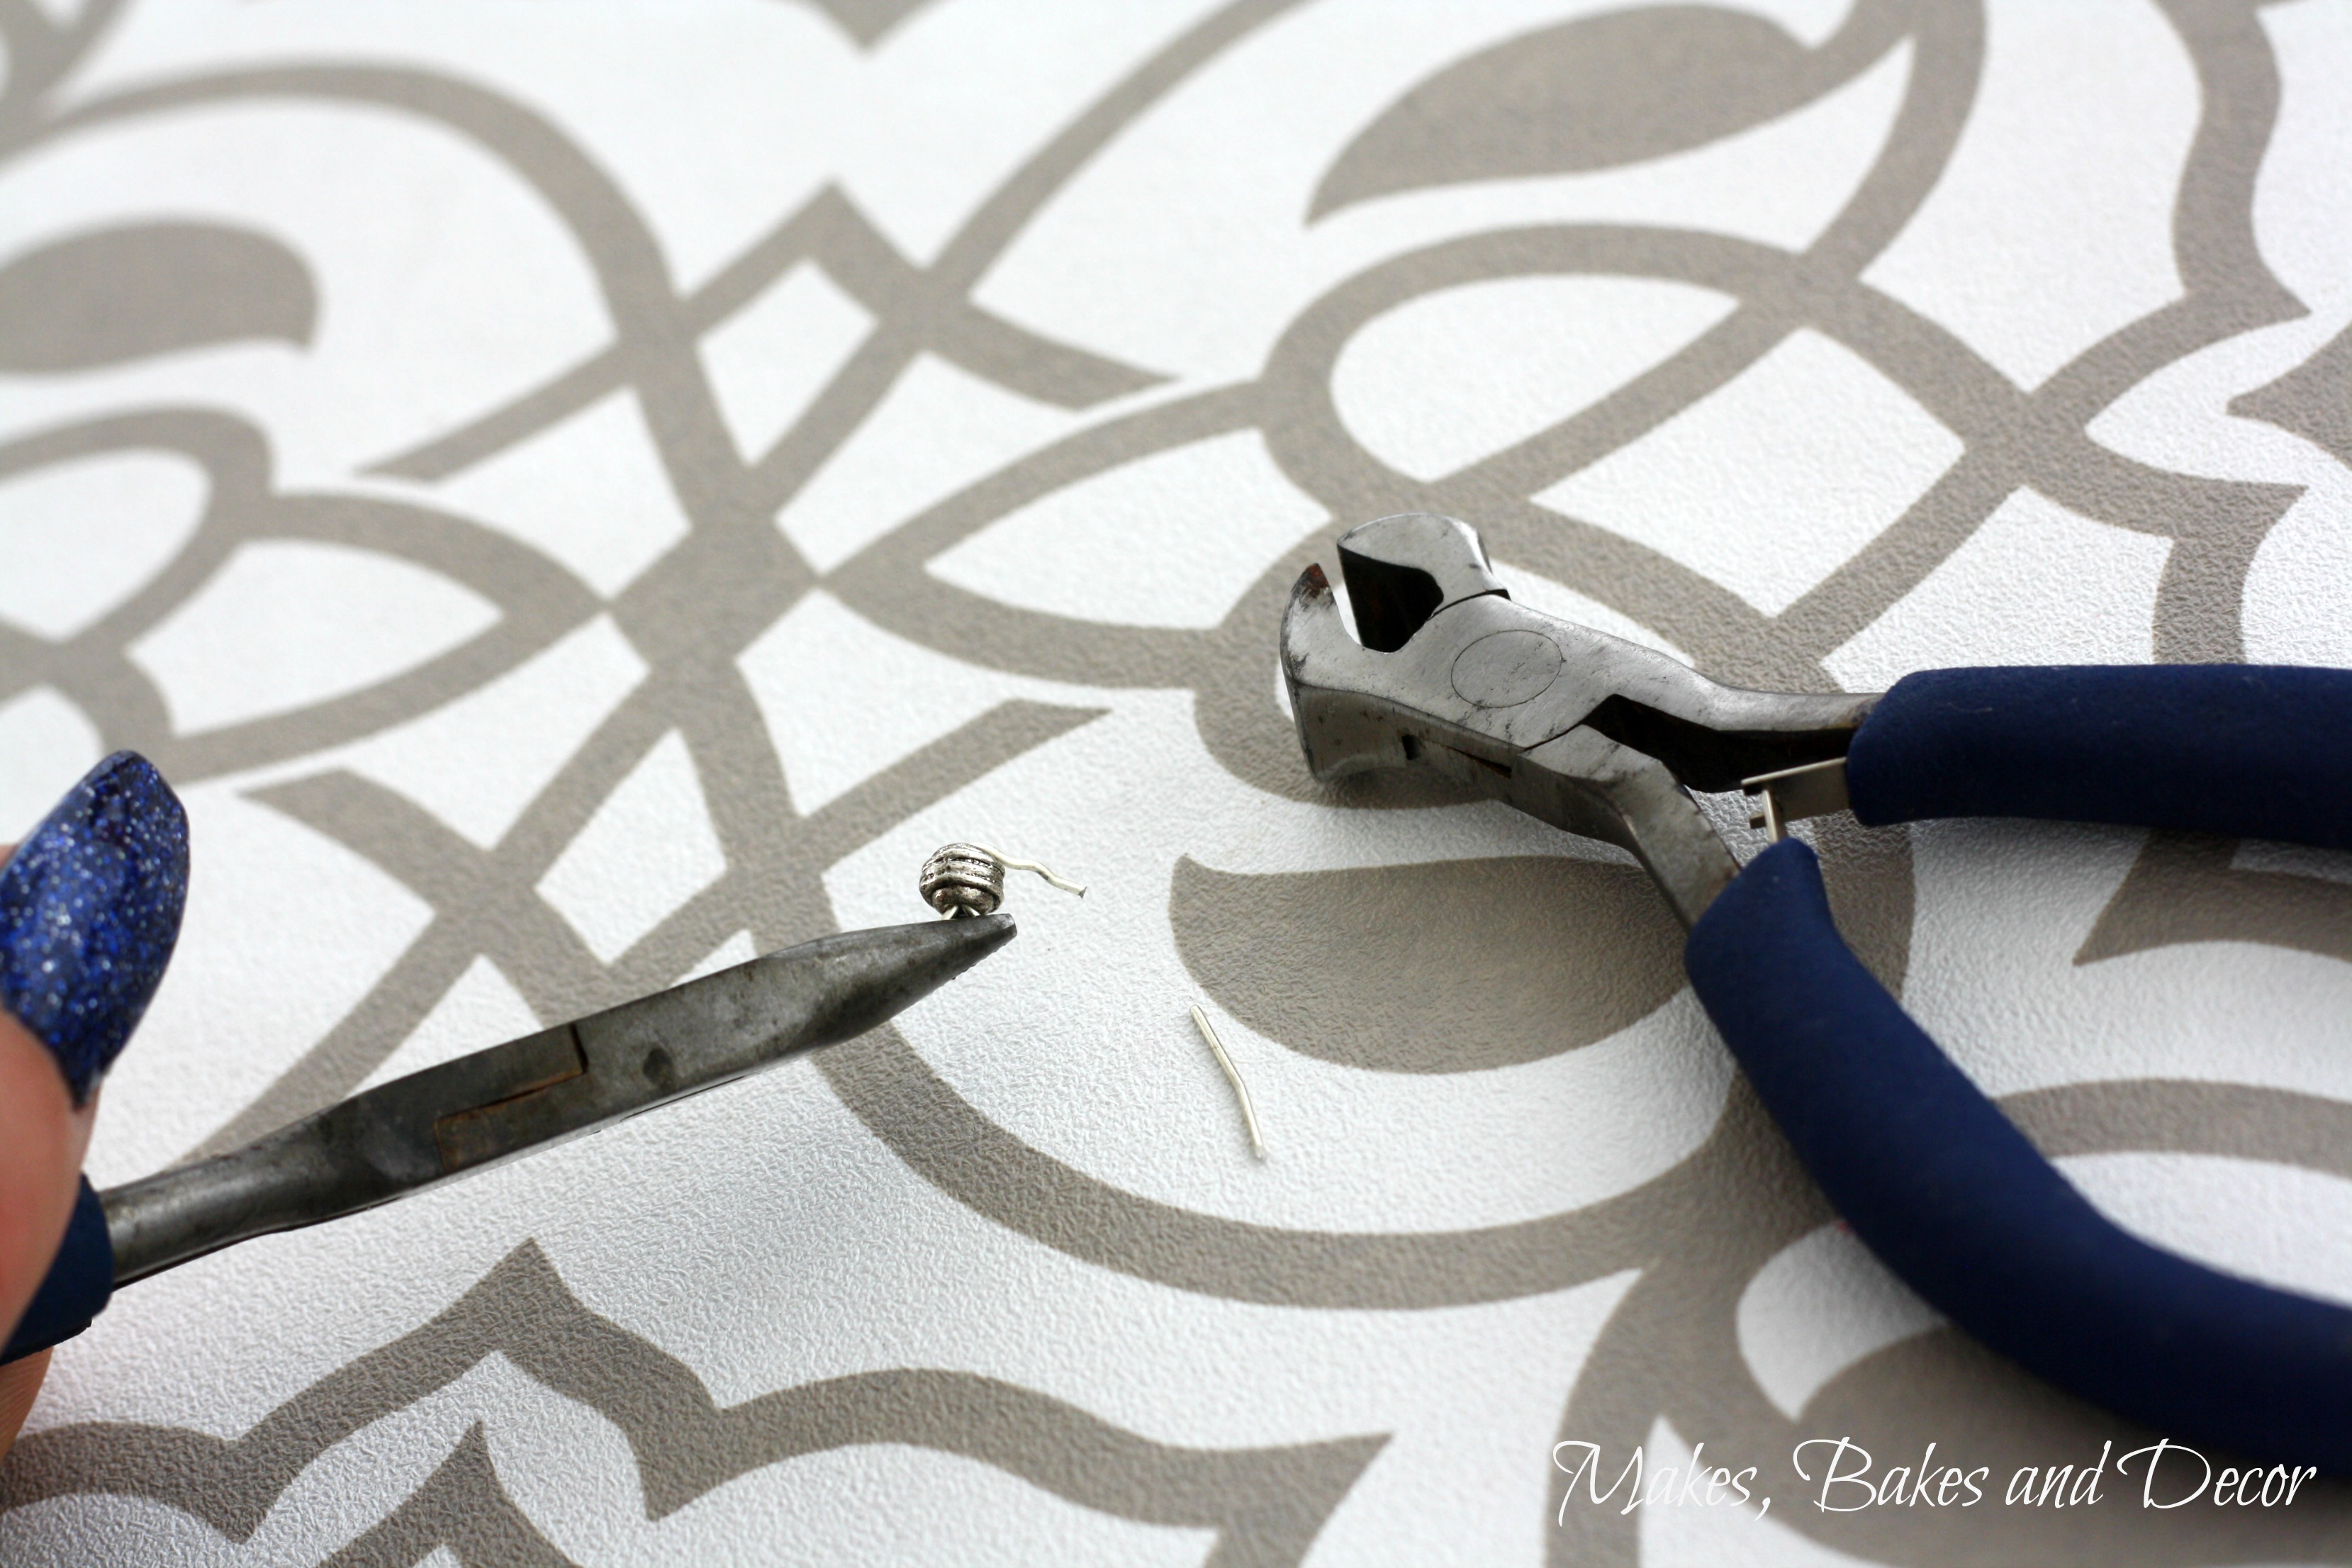
Then use your cutters to trim the pin to the right length. You need to leave enough of the pin to form a loop.
For the next step you need your round nose pliers. Grip the end of the pin with the pliers and roll them, the pin will wrap round the pliers forming a loop.
Your bead should now look like this. You need the loops to be facing the same way, you can use your pliers to straighten them up if you need to.
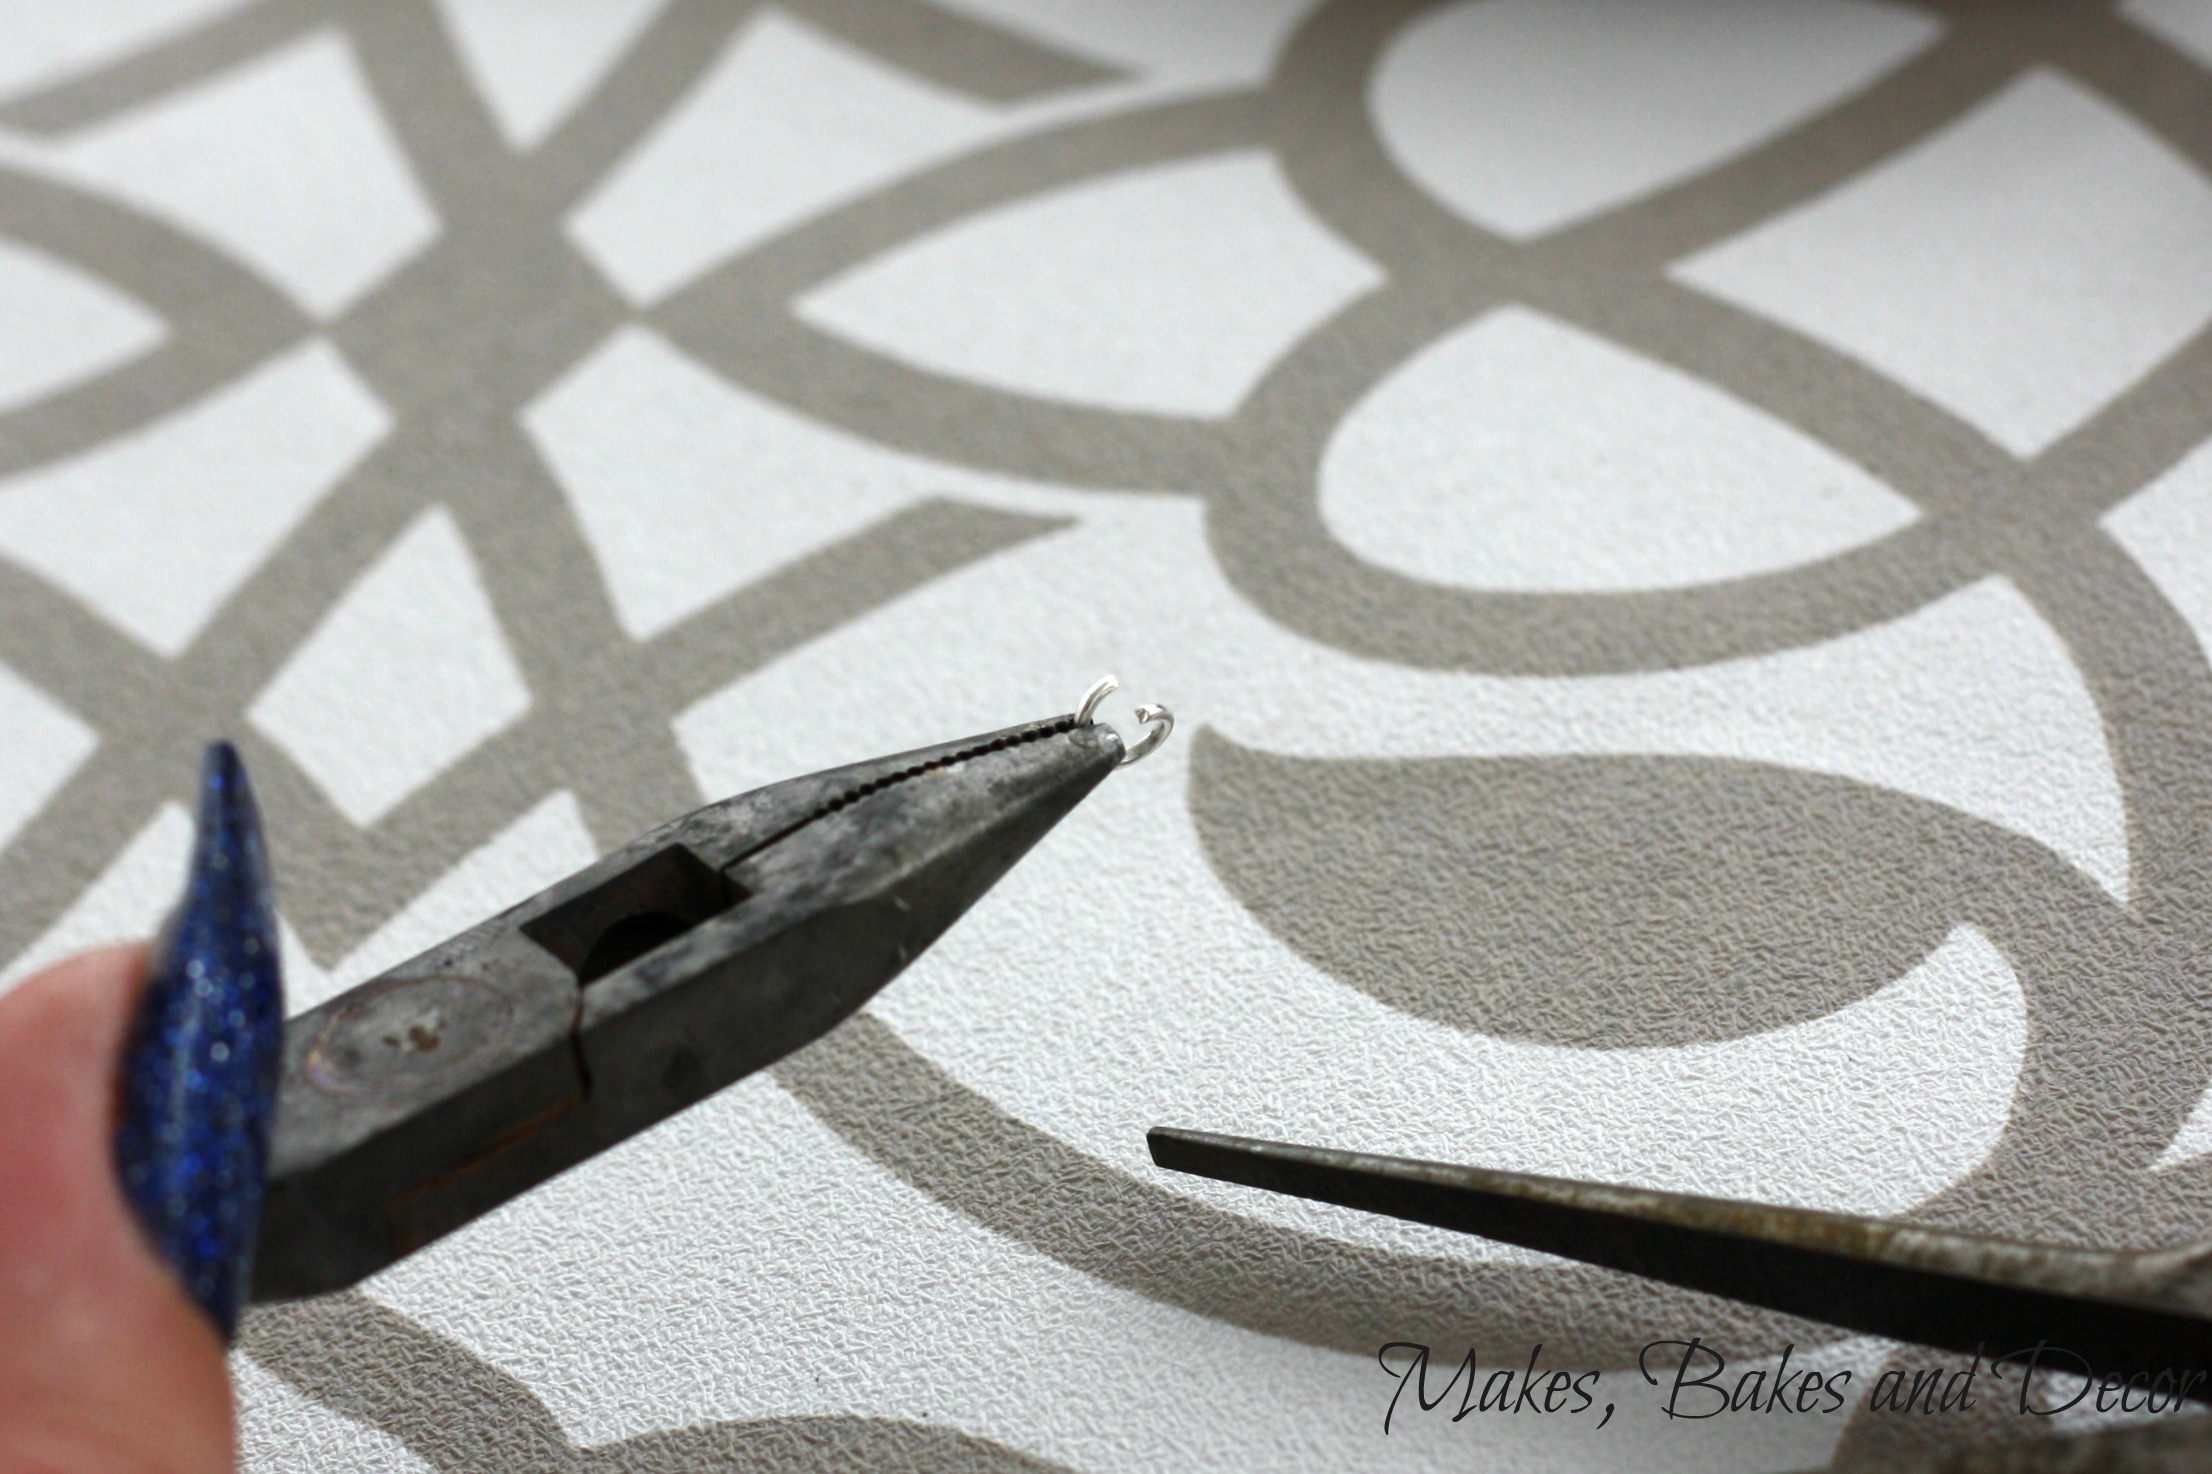
Holding a pair of pliers in each hand grip each side of your small jump ring with the pliers and gently twist in opposite directions to open the jump ring.
It should look like this.
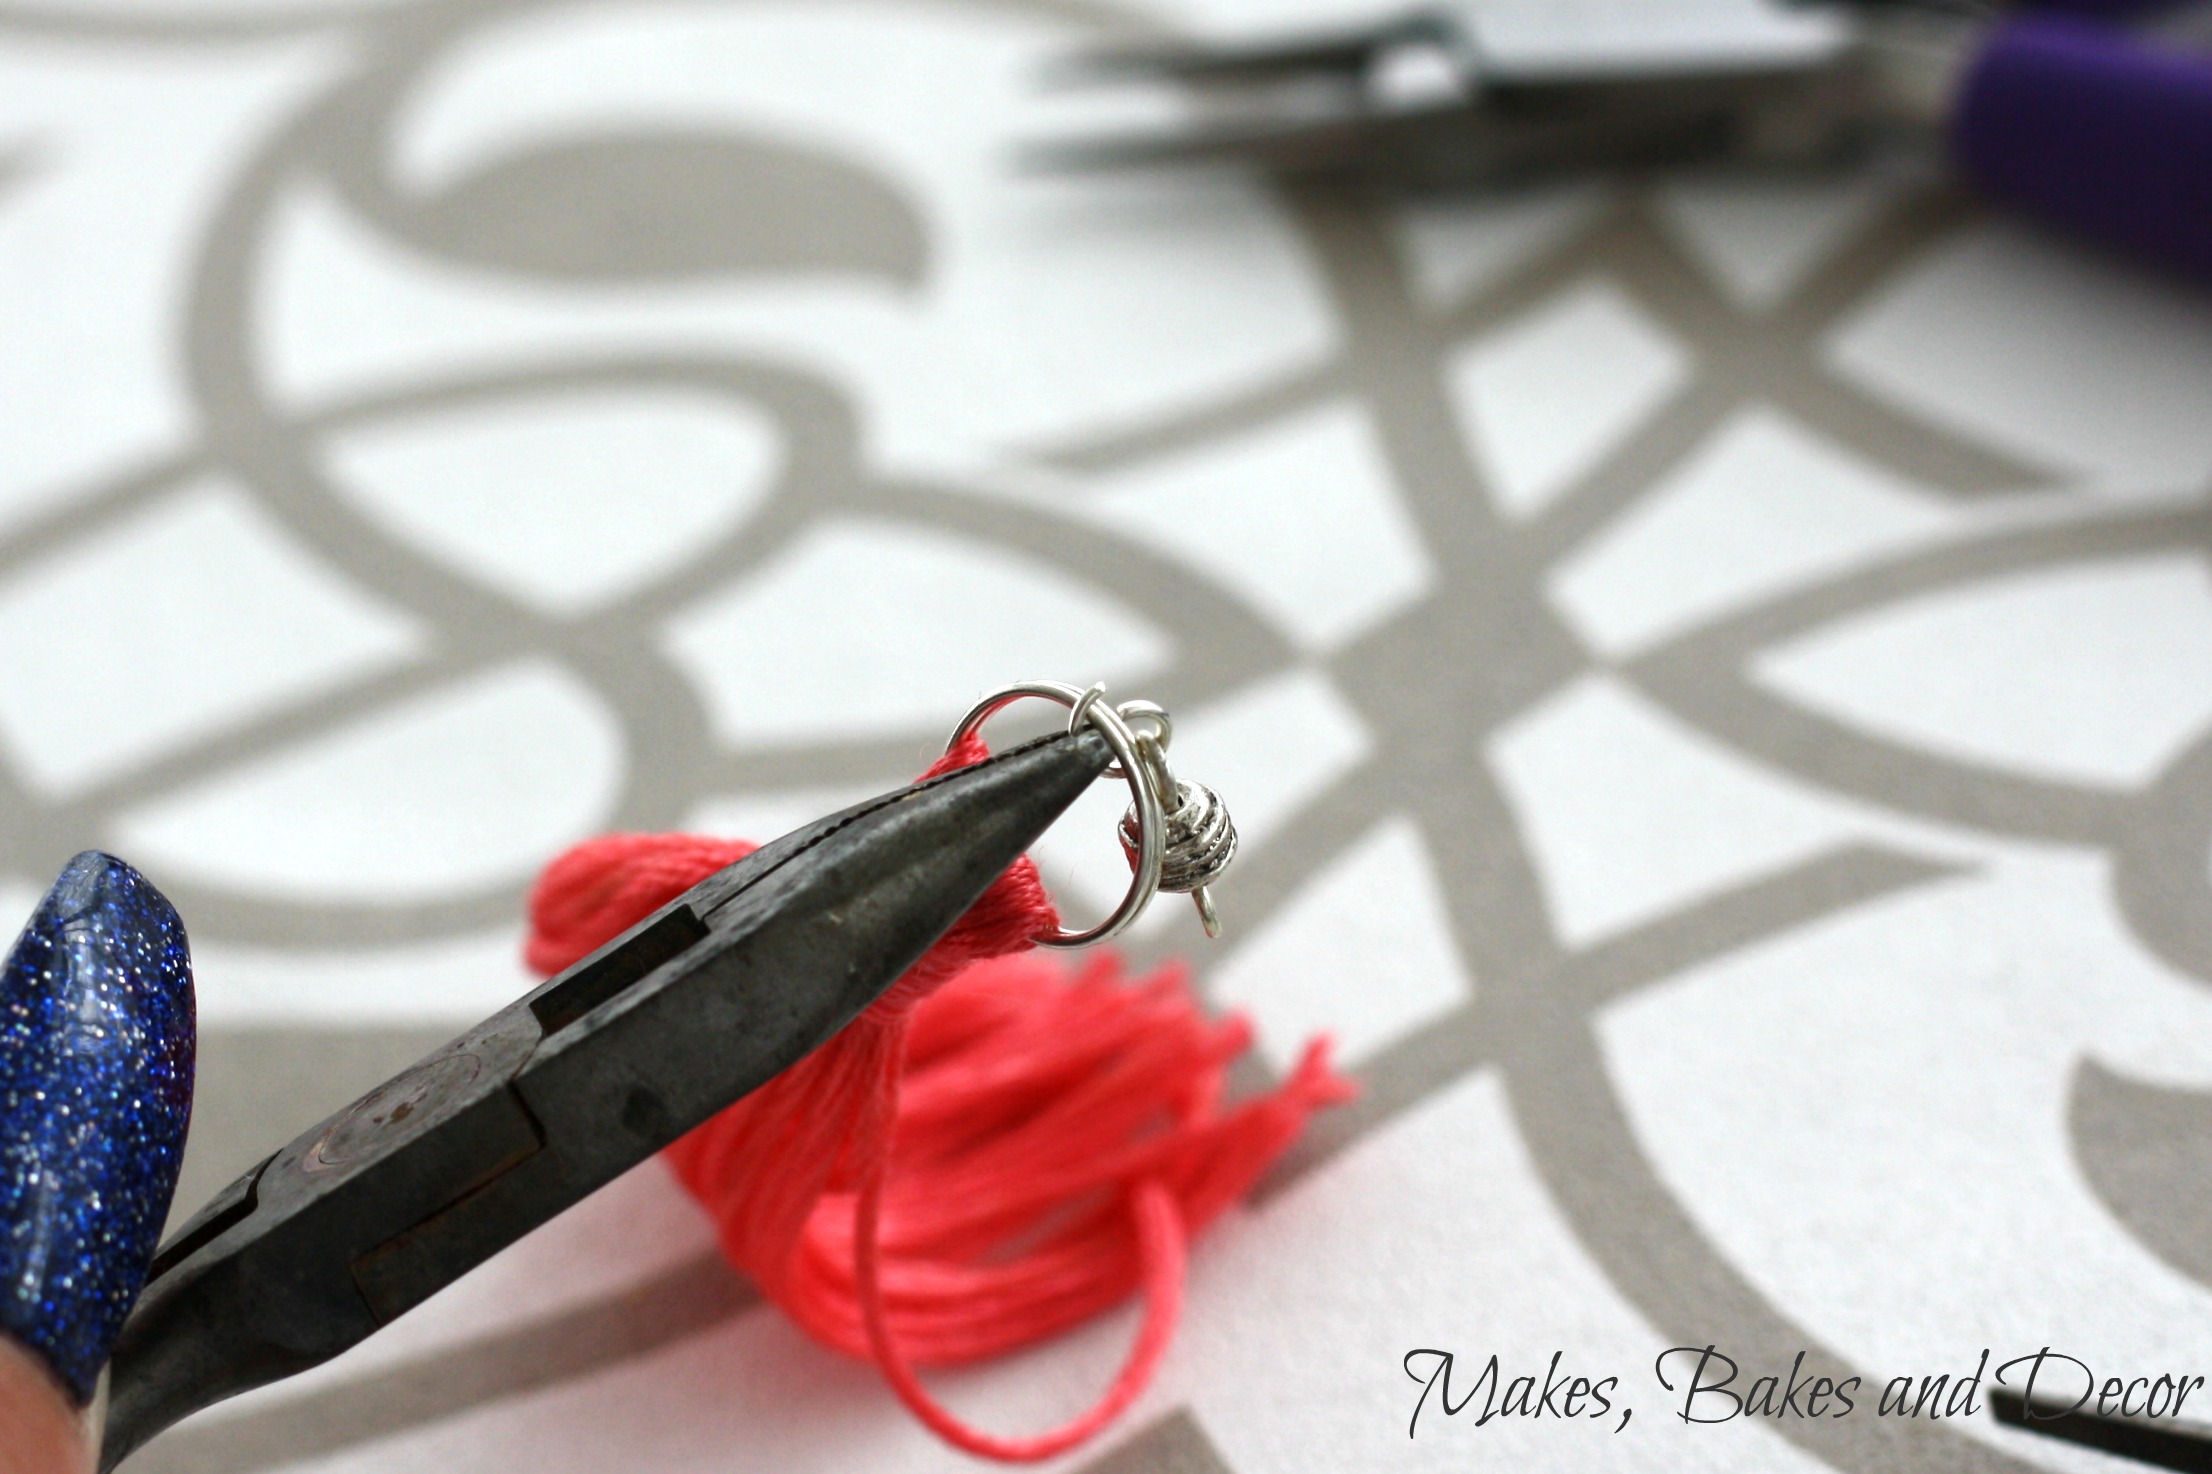
You then need to add your tassel and your bead onto the jump ring. Use both pairs of pliers to then close the jump ring.
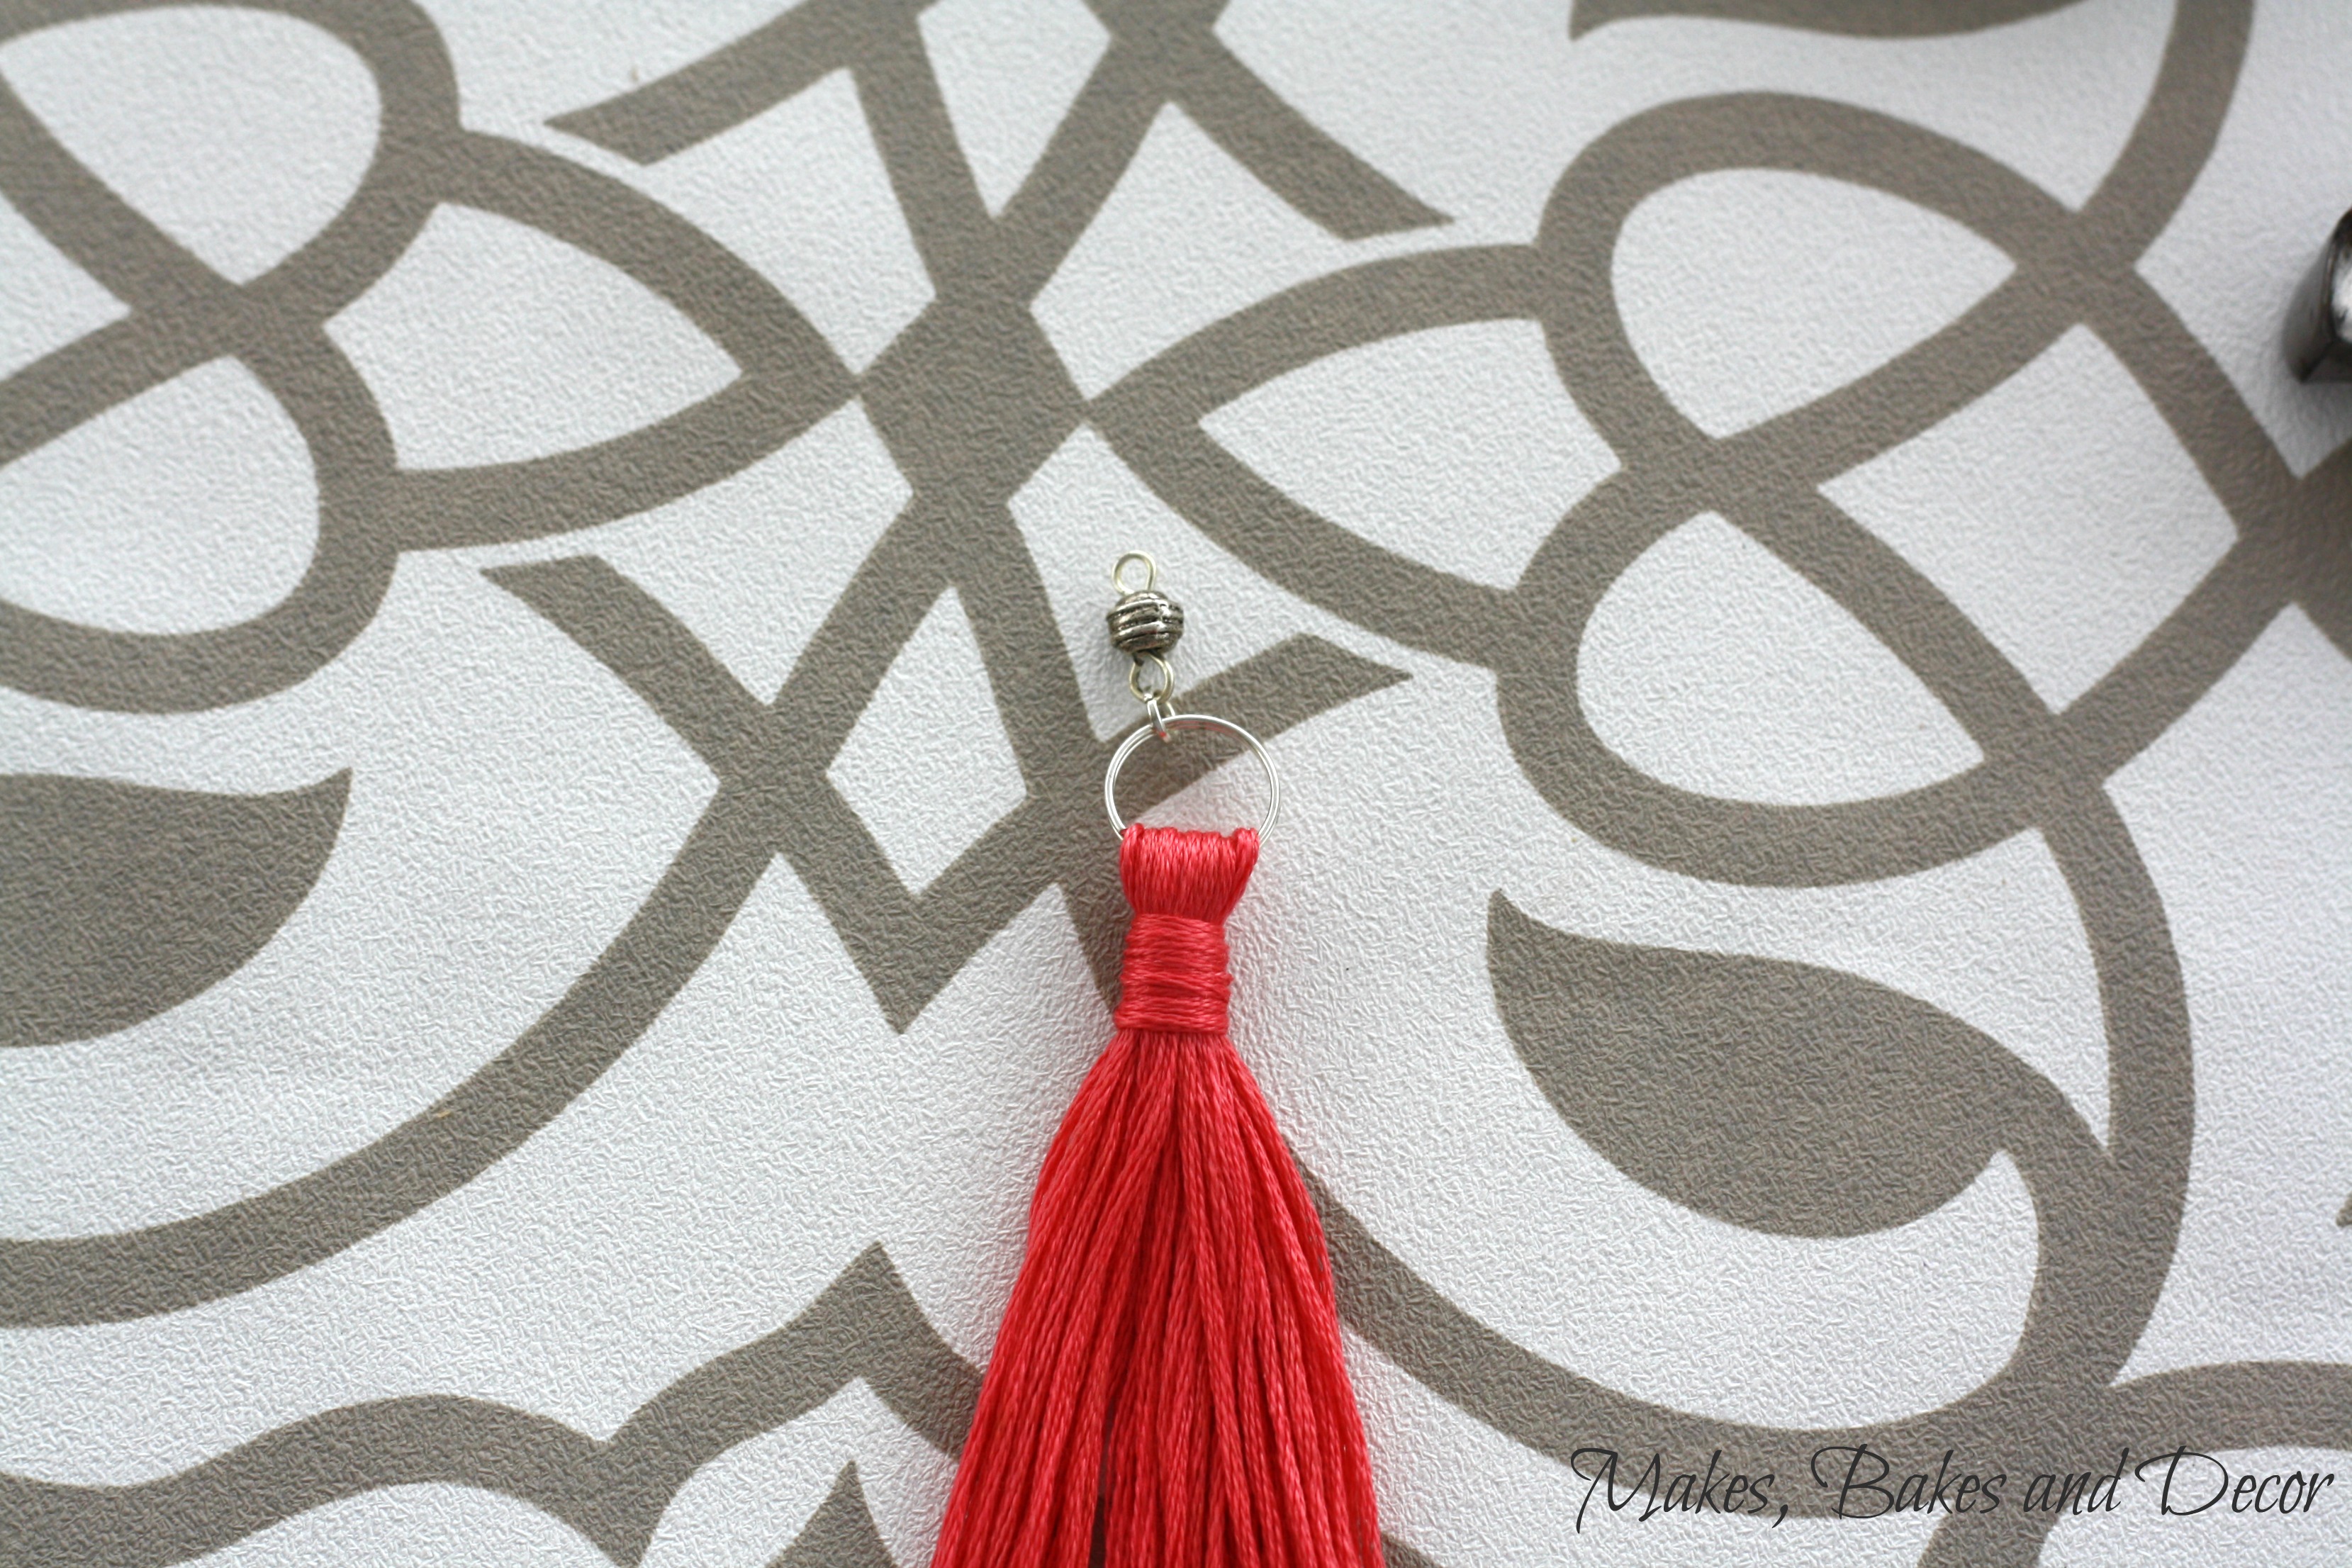
Your earring will look like this. Your final step is to add the earring hook.
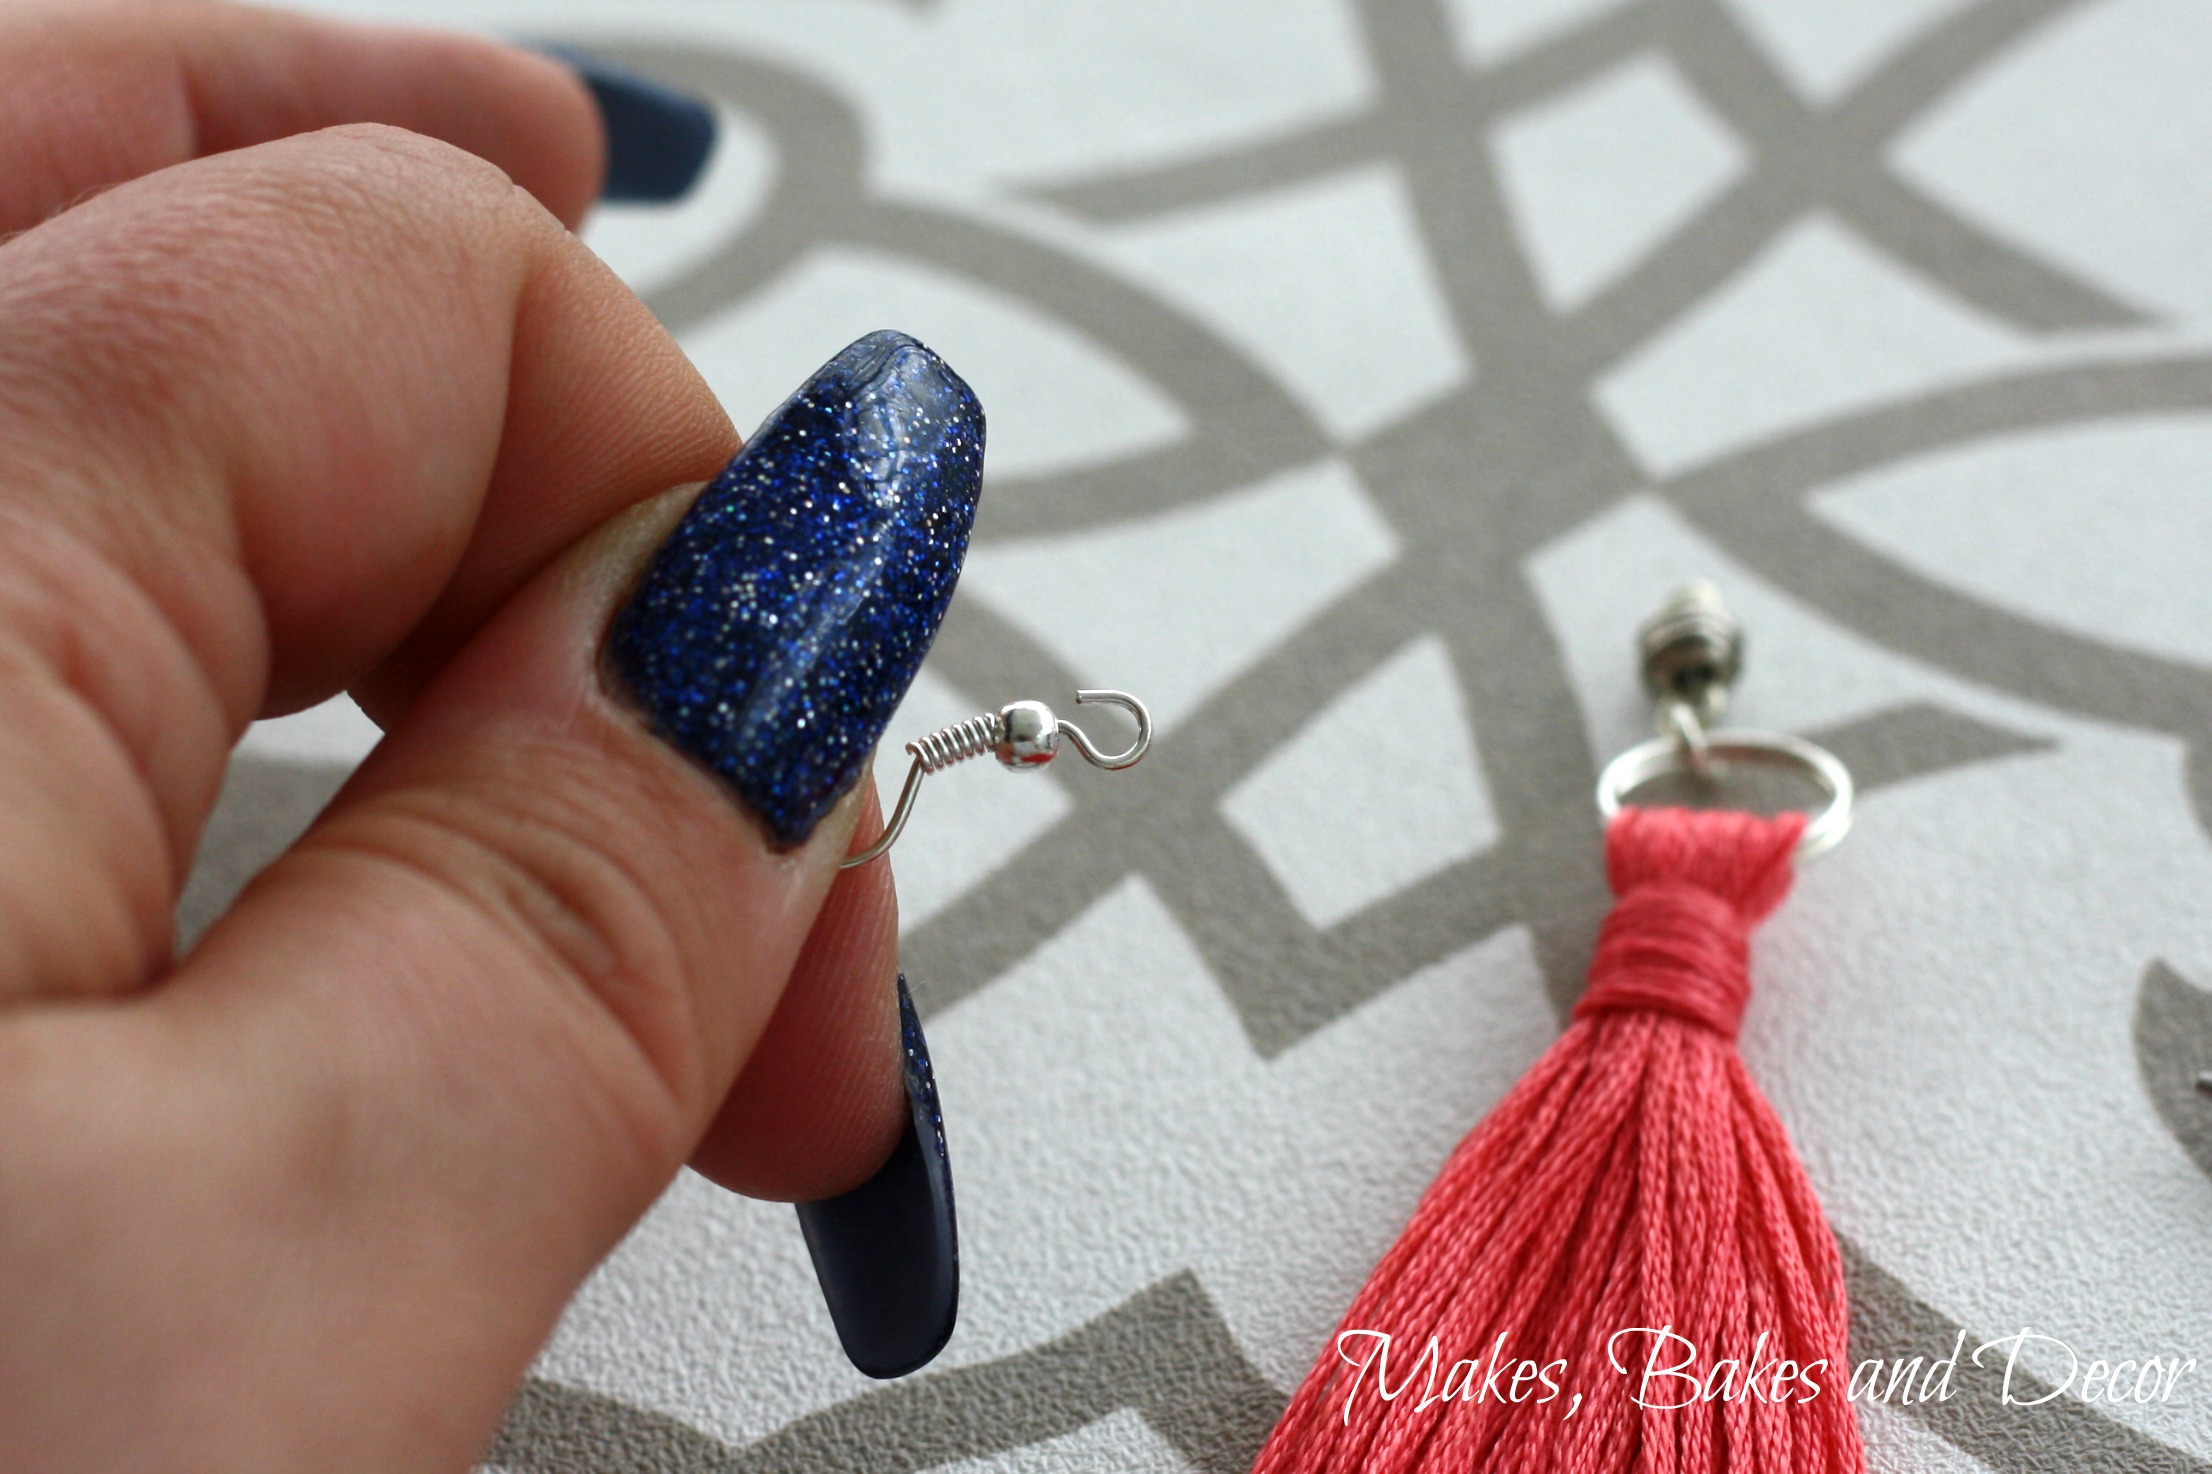
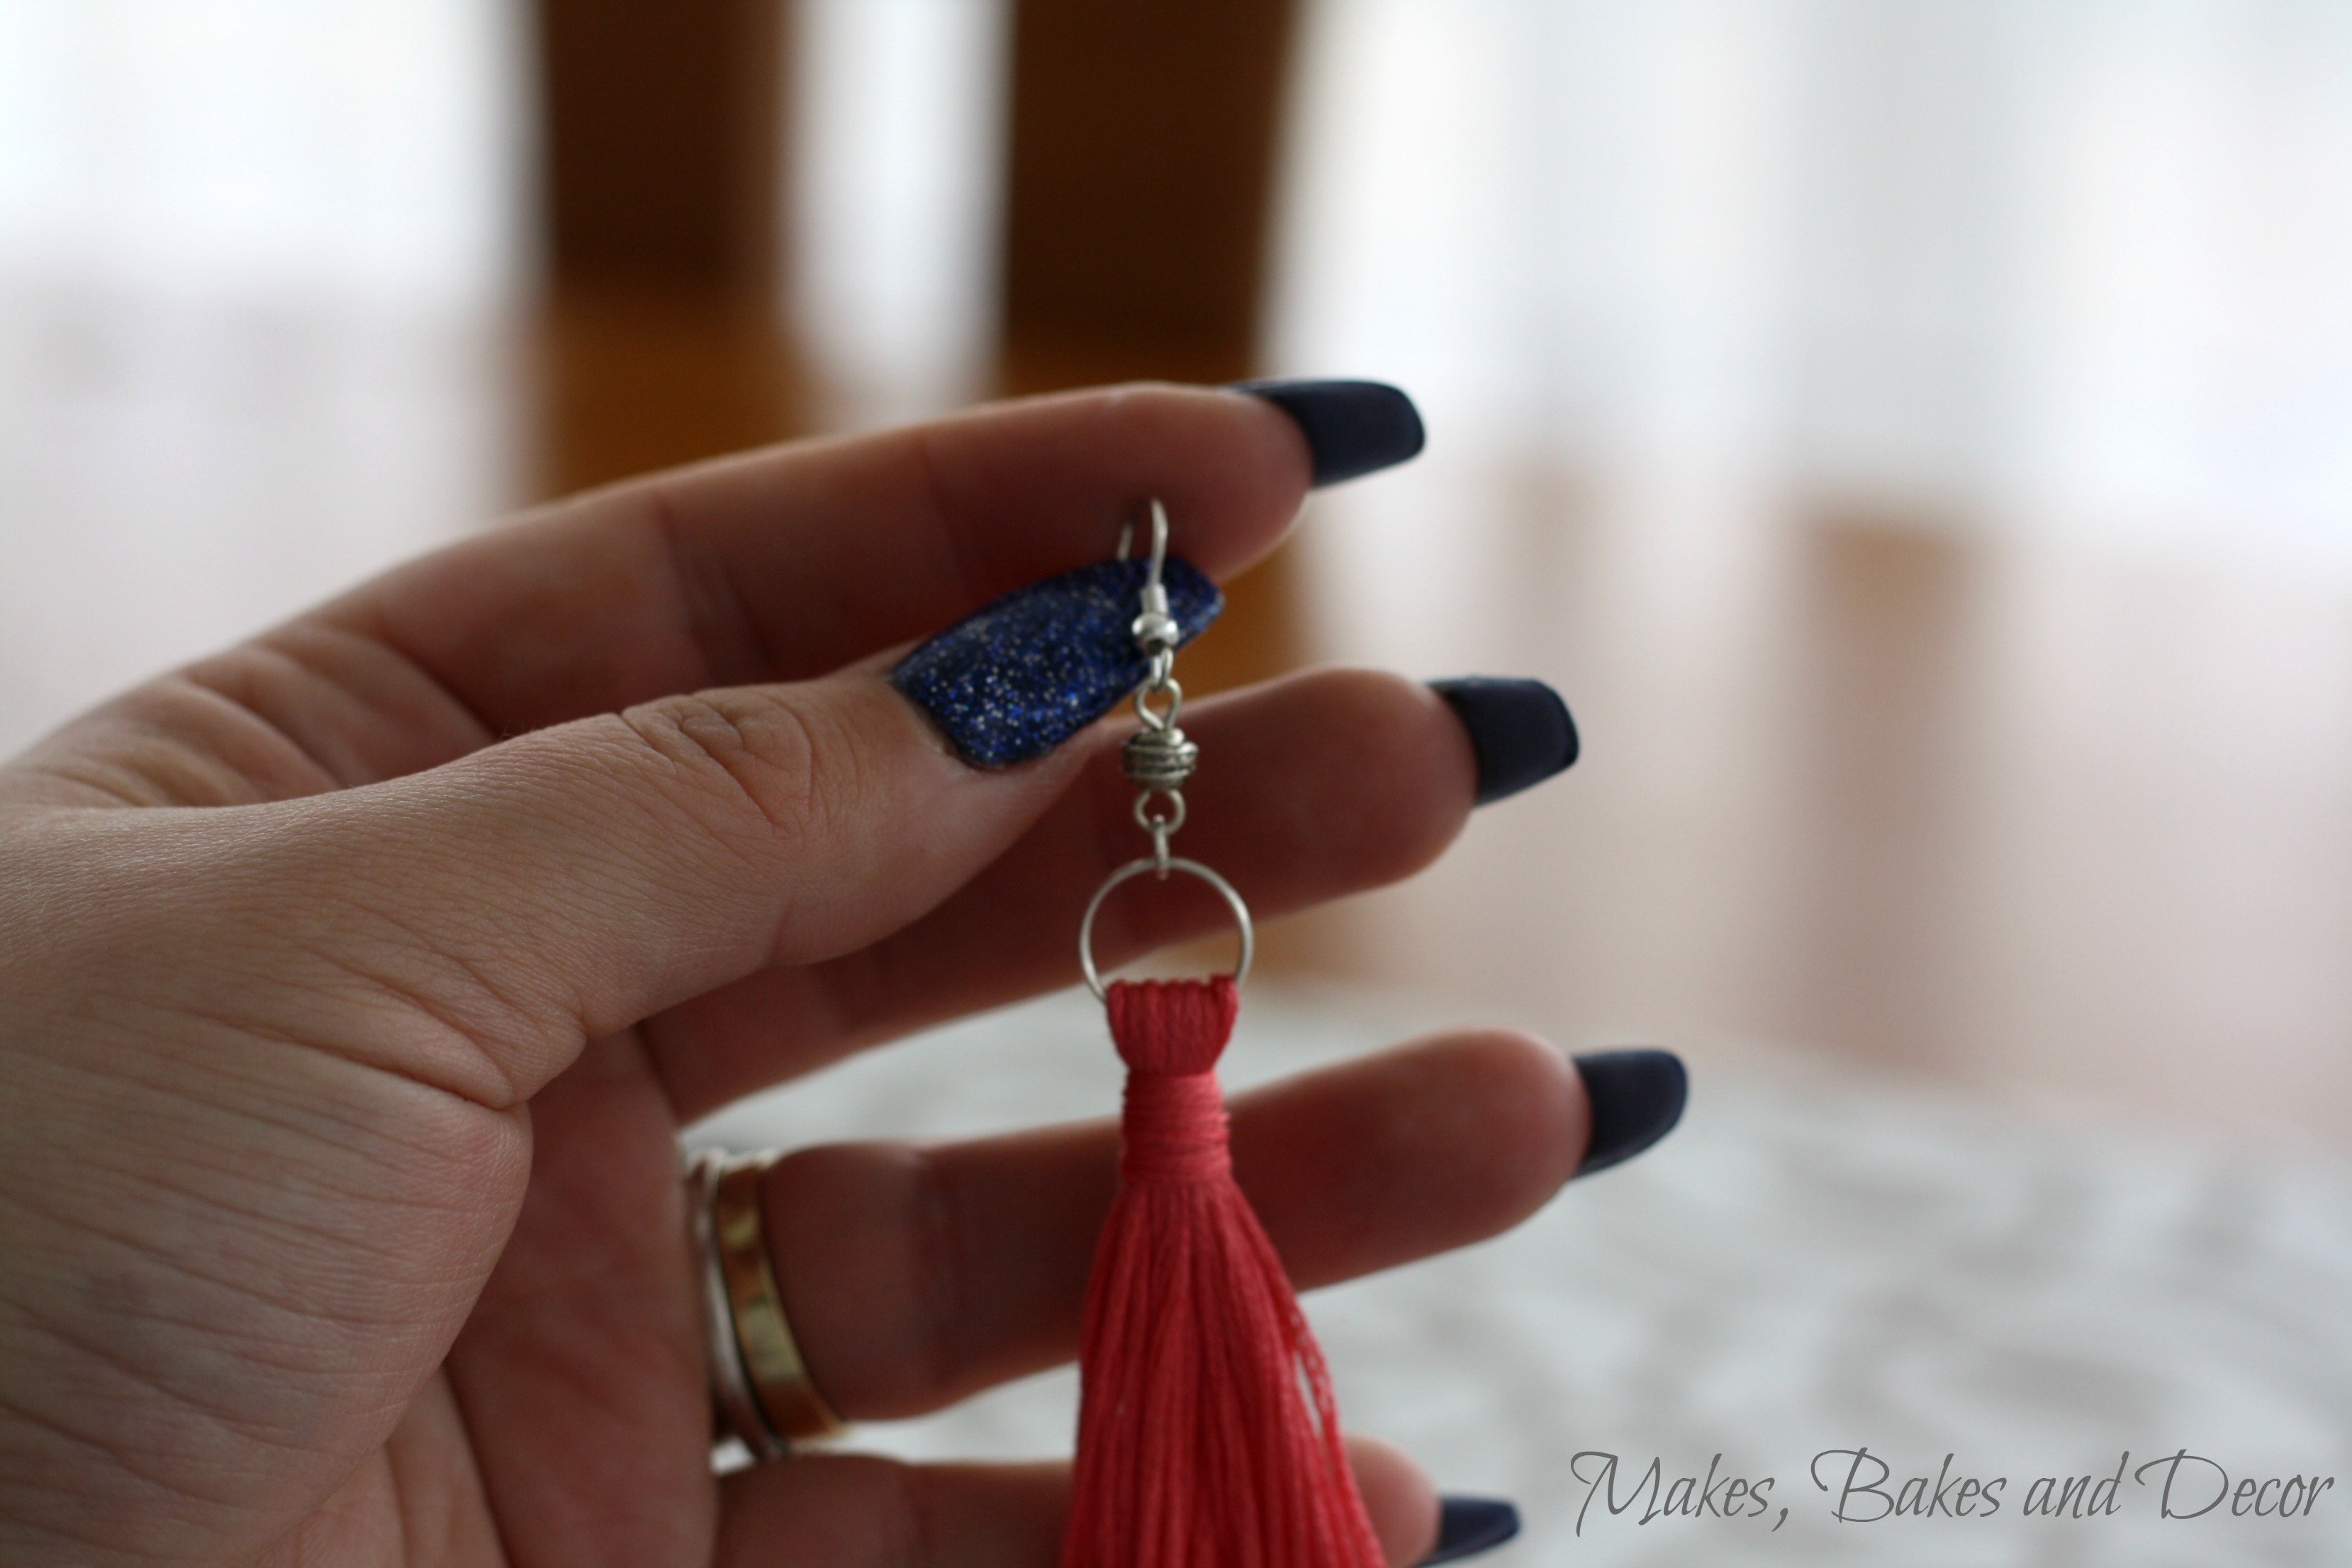
Use your round nosed pliers to very slightly open the loop on your earring hook and thread on your tassel. Make sure you thread it on the right way so that the knot is at the back when the earring hangs from your ear, like in the image below.
Once you are sure it is hanging right, use your round nose pliers to close the loop on the earring hook. Repeat this whole process over again to make the other earring and you’re DIY Tassel Earrings are done! There are so many options for this earring! Different colours, different kinds of threads and different beads. You could even use gold jewelry findings.
I plan on making more in some different colour options but this coral colour is so perfect for spring. If you like to make your own accessories you might enjoy my Felt flower hairband and my Summer Festival feather Earrings too! If you enjoyed my tutorial or these DIY Tassel Earrings let me know your opinions in the comments. I love hearing what you have to say.
Lianne x
Pin DIY Tassel Earrings to save it for later!
Follow my DIY | Clothes and Accessories on Pinterest for lots more ideas and projects!
[bws_pinterest_widget type=”board” width=”360″ height=”60″ thumbnail=”60″ url=”https://uk.pinterest.com/makesbakesdecor/diy-clothes-and-accessories/”]
Instagram is my Jam!







Those tassel earrings are so cute!
Author
Thank you! I love anything with tassels 🙂
When I saw what you made the tassels from my heart skipped a beat. I am a lapsed needle-pointer and remember the house being full of those types of threads with the characteristic label. Your tasseled earrings are adorable. Thanks for showing us how to make them. Pinning
Author
Thank you so much! Ha ha, I have lots of these threads as my Mum was a cross stitcher and now I have all her old ones 🙂
Do you not make to sell I am not that crafty with jewelry? Would love to purchase these earrings or if you know anyone who would make for me. Thank you.
Author
Unfortunately I don’t sell my jewellery 🙁 have you got a crafty friend who could make them for you? 🙂
Tassel earrings are so pretty! There is so much fun to making them. Thanks a lot for briefing each step to make them.
You are so creative and genius. you did great work and can’t wait to try it. Thanks and keep sharing.
Author
thank you so much!