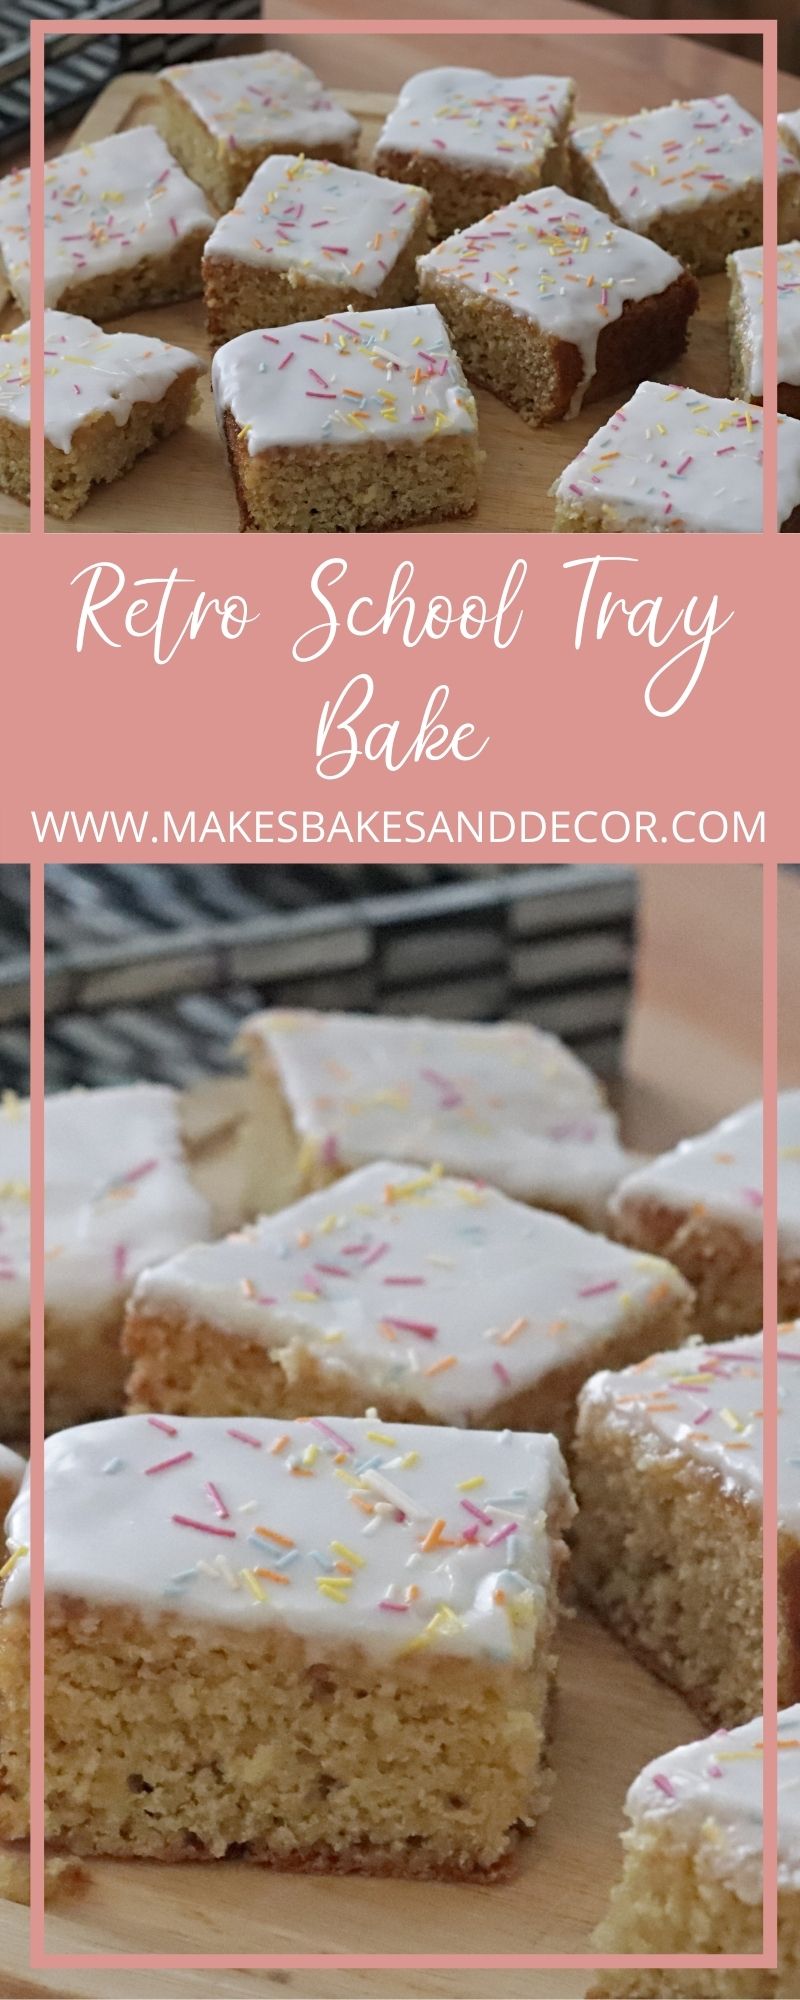
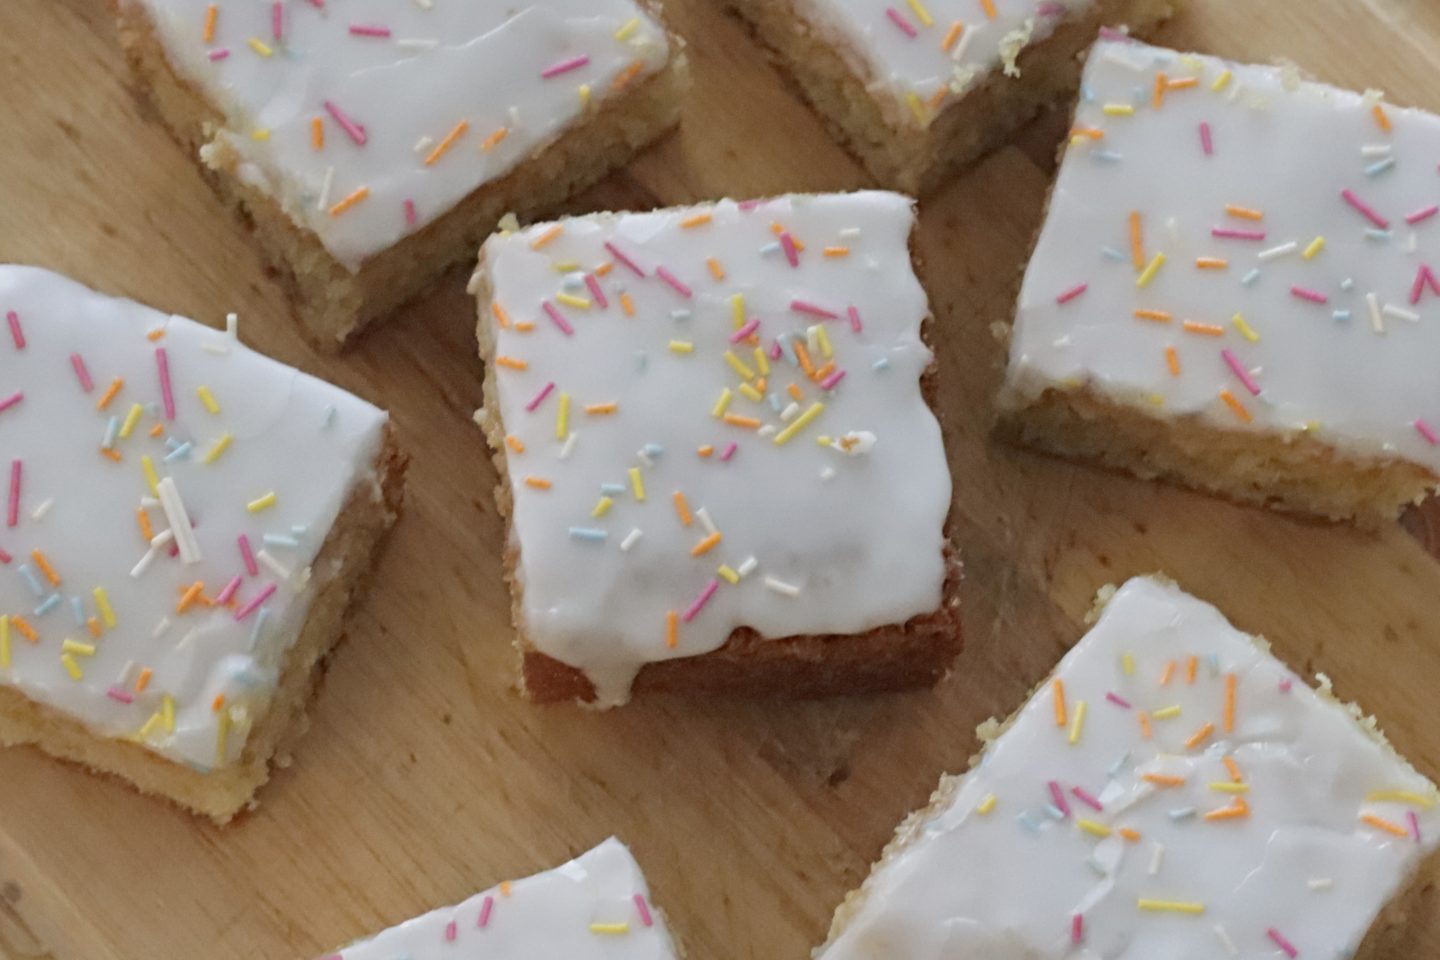
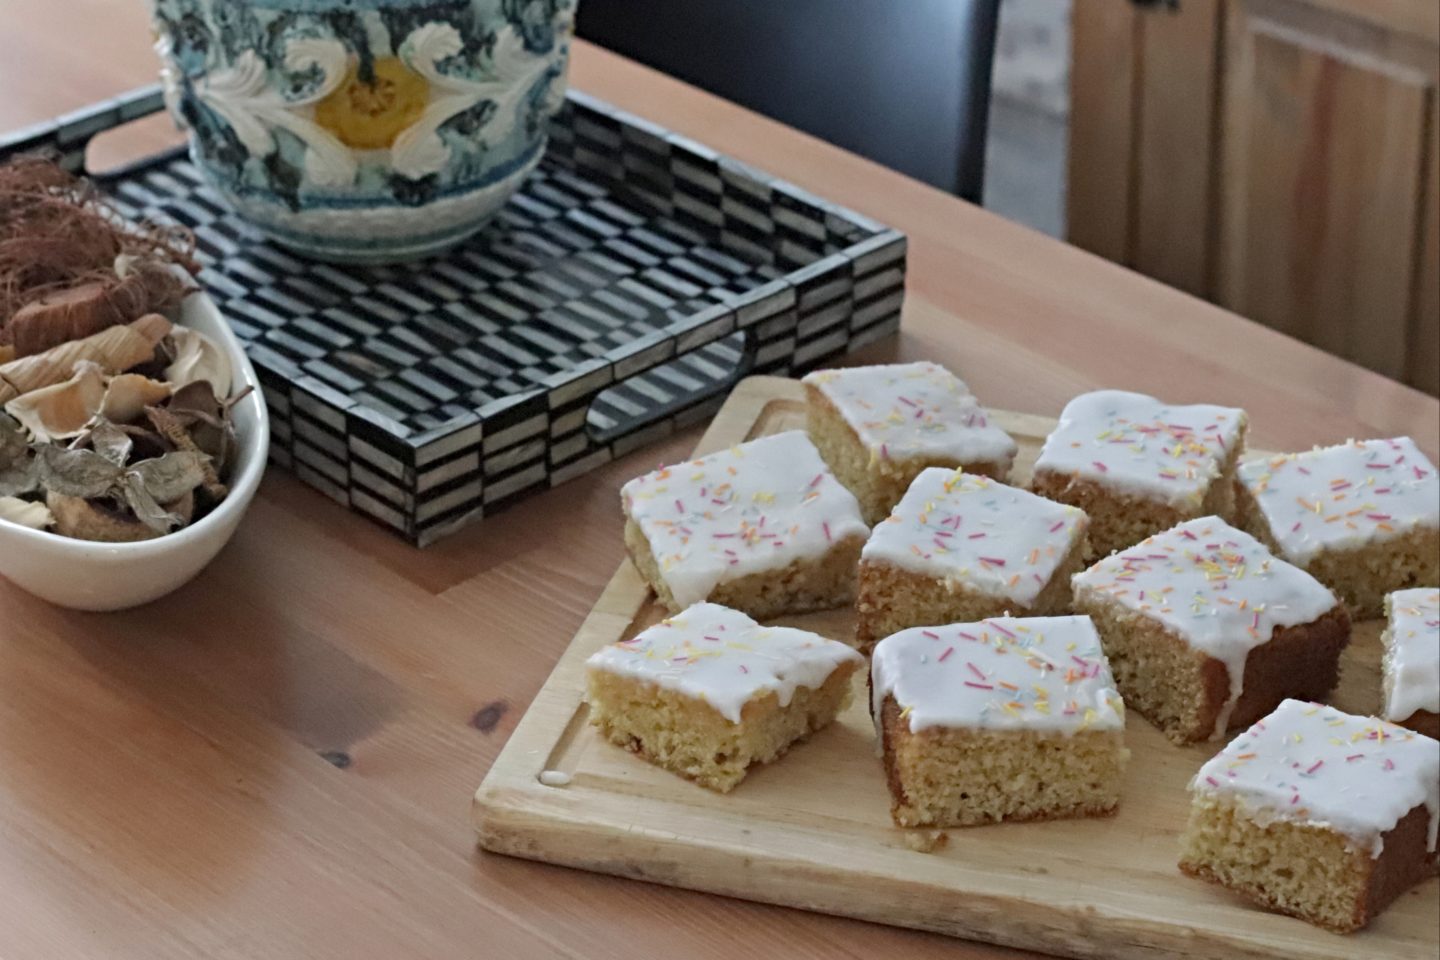
My first order of the year for Makes, Bakes and Decor Cakes was for a tray bake. The customer was putting together a selection of old school treats for her partner and wanted to include that classic Retro School Tray Bake that we always had for our school dinners as kids. It’s not a recipe that I had made before so I did a test run. It was so tasty that I decided I needed to share the recipe with you guys too!
Do you remember this Retro School Tray Bake from your childhood? it was usually served with custard although I’m not sure why. I prefer it on it’s own with a cup of coffee.
This is a very basic recipe which also works out pretty low cost per portion (which is probably why we had it at school) I used butter which is little more expensive but you could use a baking margarine to make it even cheaper. You can save so much money on your food shopping bill by making a bake like this for the kids lunchtime treats instead of spending a fortune on pre packaged, ready made cakes.

Here in the UK we are now in our third lockdown, the second one with the schools being closed. I am definitely feeling the pressure from having to keep up with my cake orders, blog, social media, keeping house and then teaching my son too! I’ve been talking to a few people over on Instagram and we are all feeling the same. There’s no shame in saying “this is too much, I can’t do it.” If you are struggling to do the work set by the schools there are other ways that we can ‘teach’ our kids using everyday tasks. Baking and cooking are great examples of this. We have to make the food anyway so why not involve the kids. It teaches them a life skill, plus they need to read, weigh out and follow instructions which are all learning! Some more recipe you might like to try with the kids are my Rice Crispy Fridge Cake Bars, Peanut Butter Swirled Brownies or Chocolate Rice crispy squares.
I hope you love the recipe, let me know if you give it a try in the comments below or on instagram. Stay safe!
Lianne x
Retro School Tray Bake
Ingredients
For the cake
- 330 g caster or granulated sugar
- 200 g softened salted butter or margarine
- 3 eggs
- 180 ml milk
- 1 tbsp vanilla extract
- 350 g plain flour
- 1 tbsp baking powder
- 1/2 tbsp bicarbonate of soda
For the icing
- 350 g icing sugar
- 1 tbsp vanilla extract
- water
- sugar strand sprinkles
Instructions
To make the cake
-
Preheat your oven to 180c/160c fan oven and grease and line a 12 inch by 10 inch baking tray.
-
In your stand mixer or a large mixing bowl, beat together the softened butter and sugar until well combined.
-
Then add in the eggs, vanilla, milk, flour, baking powder and baking soda, mixing again on a slow speed until fully combined.
-
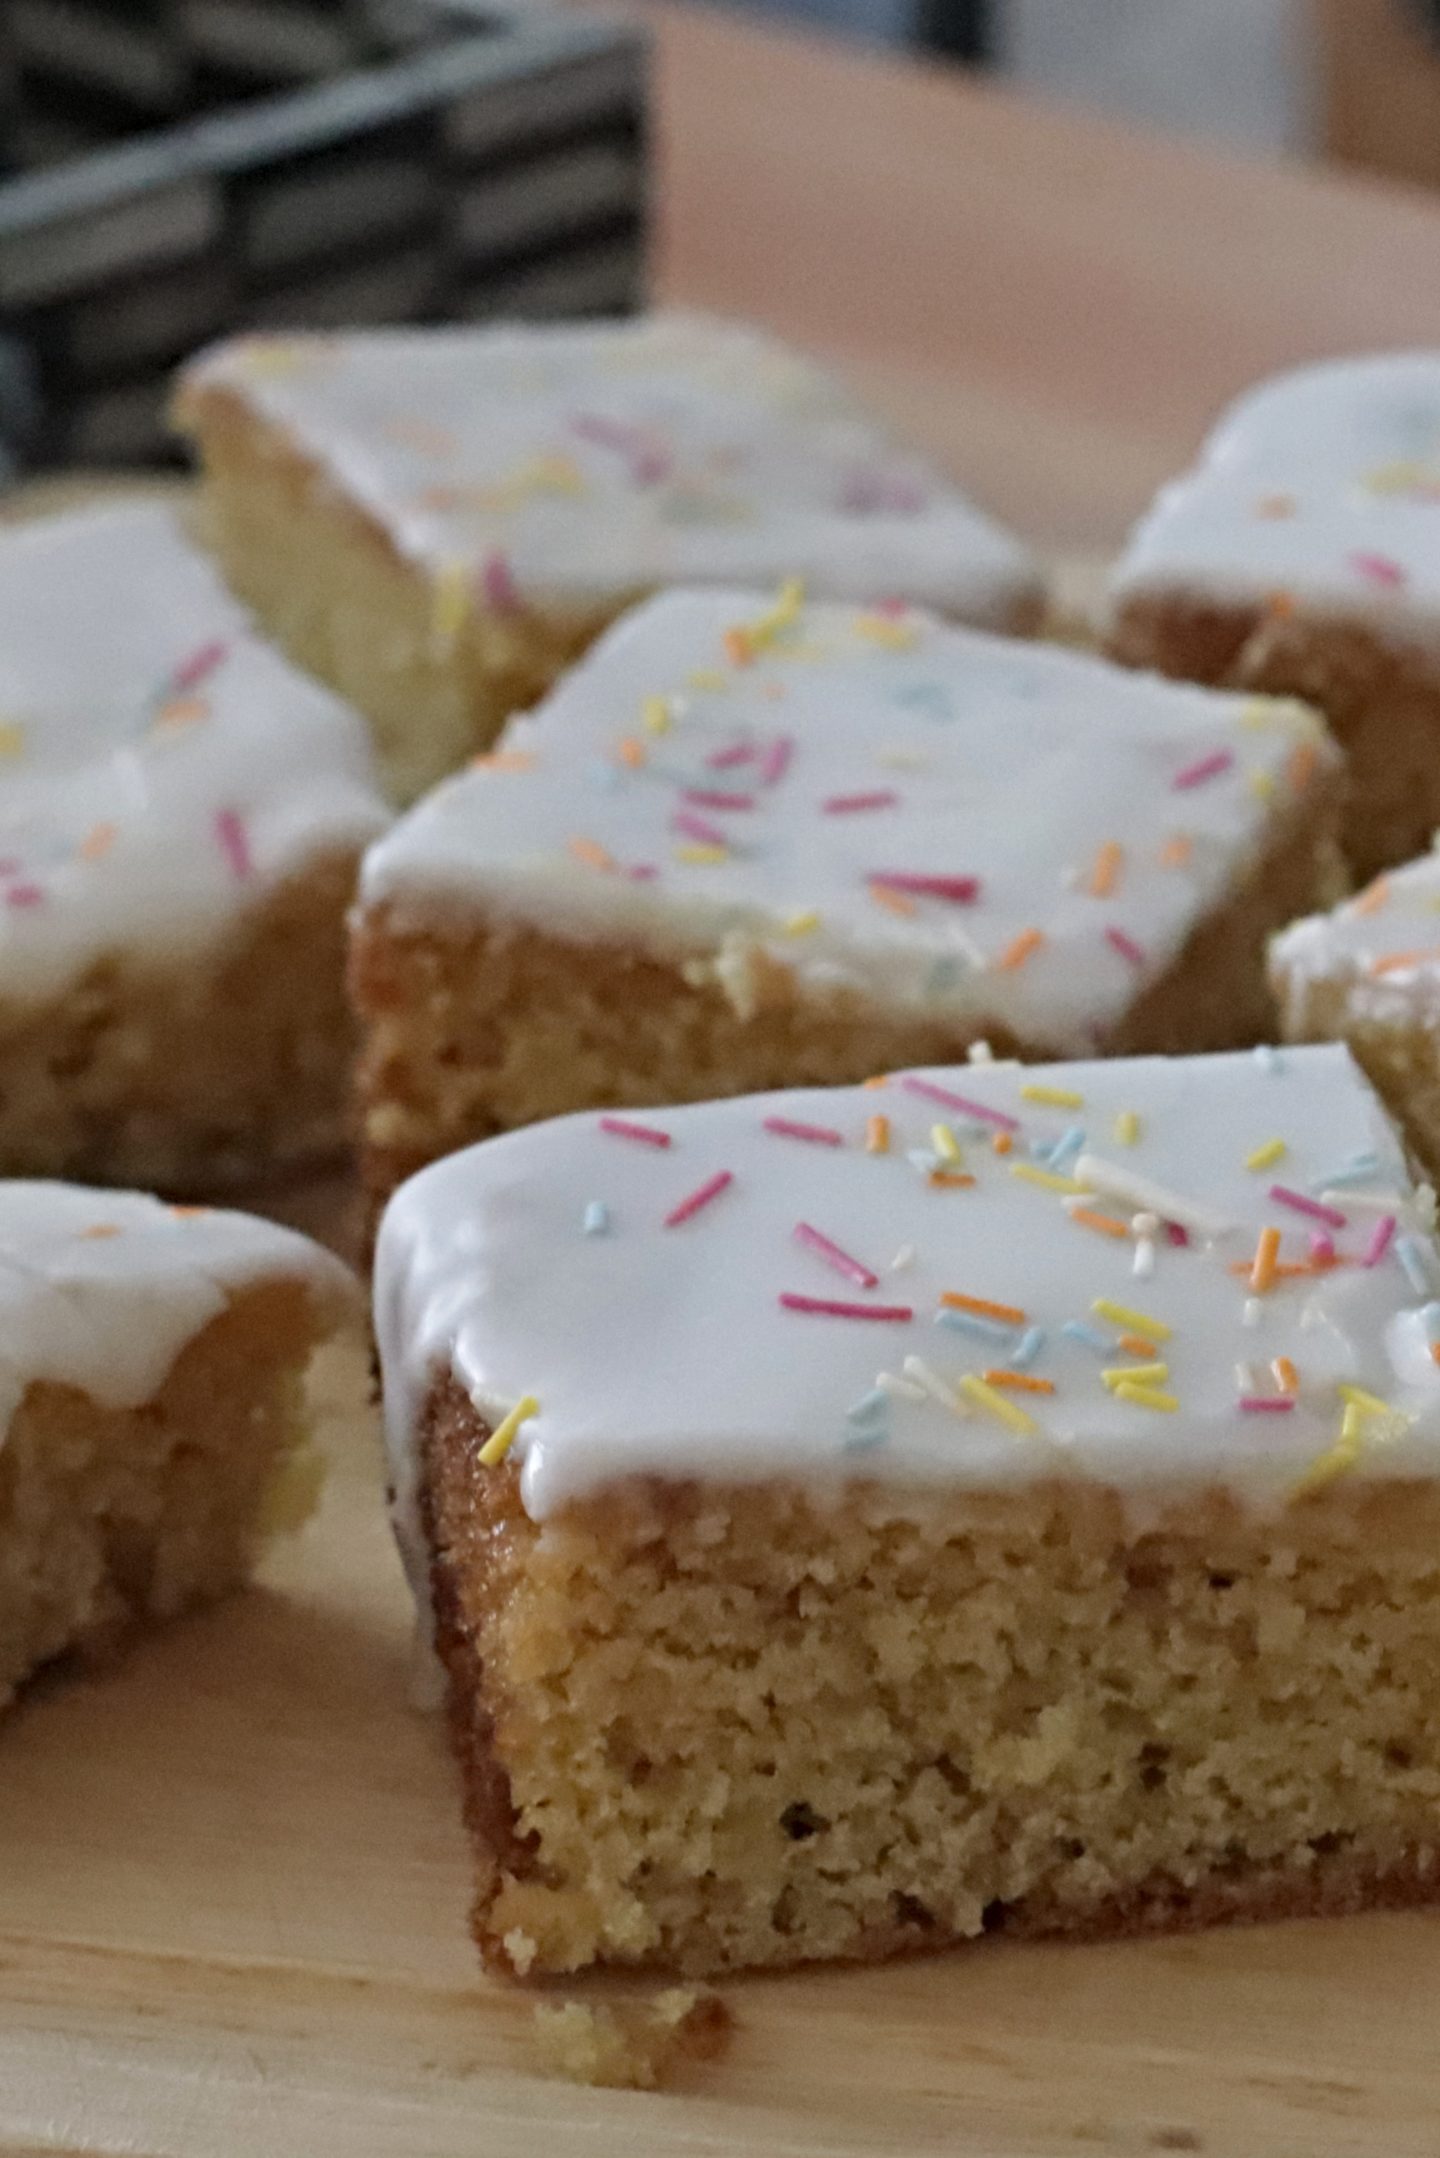
Pour the batter into the baking tray and spread it out evenly. Bake in the oven for 40-45 minutes until a skewer inserted in the centre comes out clean. Leave the cake to cool completely.
To make the icing
-
In a bowl add your icing sugar and your vanilla extract. Slowly add water 1 tbsp at a time mixing well between each addition until you have the desired consistency. You want the icing to be spreadable not runny. The finished icing will run down the sides a little but you don't want to add so much water that it all runs straight off. If you do add too much water you can save the icing by adding a little more icing sugar.
-
Remove your cake from the pan and turn it out onto a cooling rack with the bottom facing up. You want to add the icing to the flat surface.
-
Pour your icing onto the top of the cake and spread it out evenly over the top, up to the sides so the whole surface is covered. I like to place some parchment paper underneath the cooling rack to collect any drips that might fall from the edges.
-
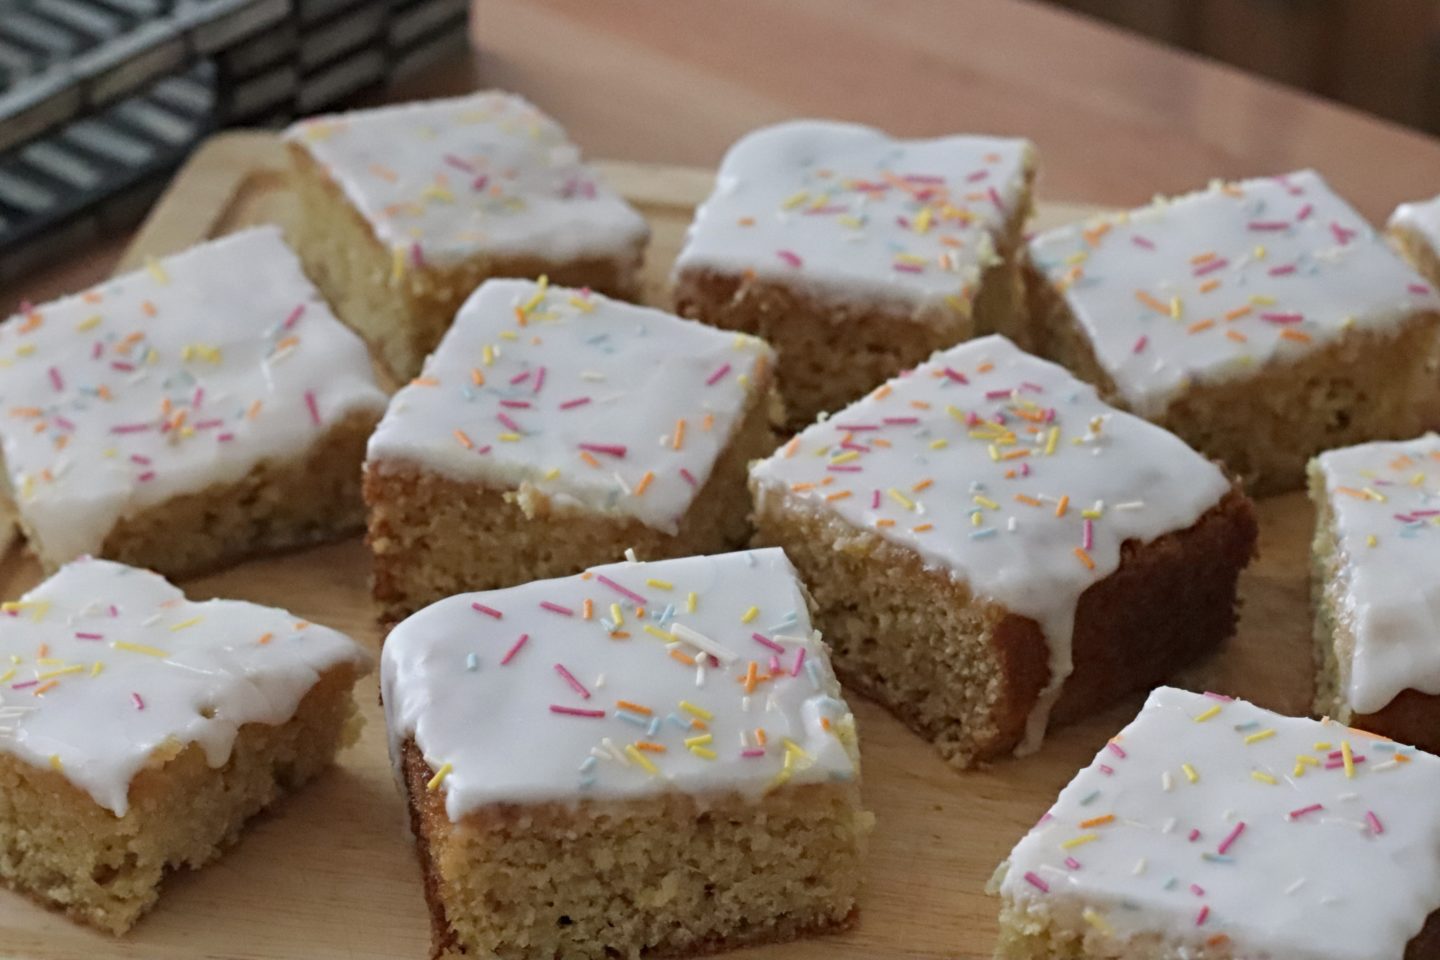
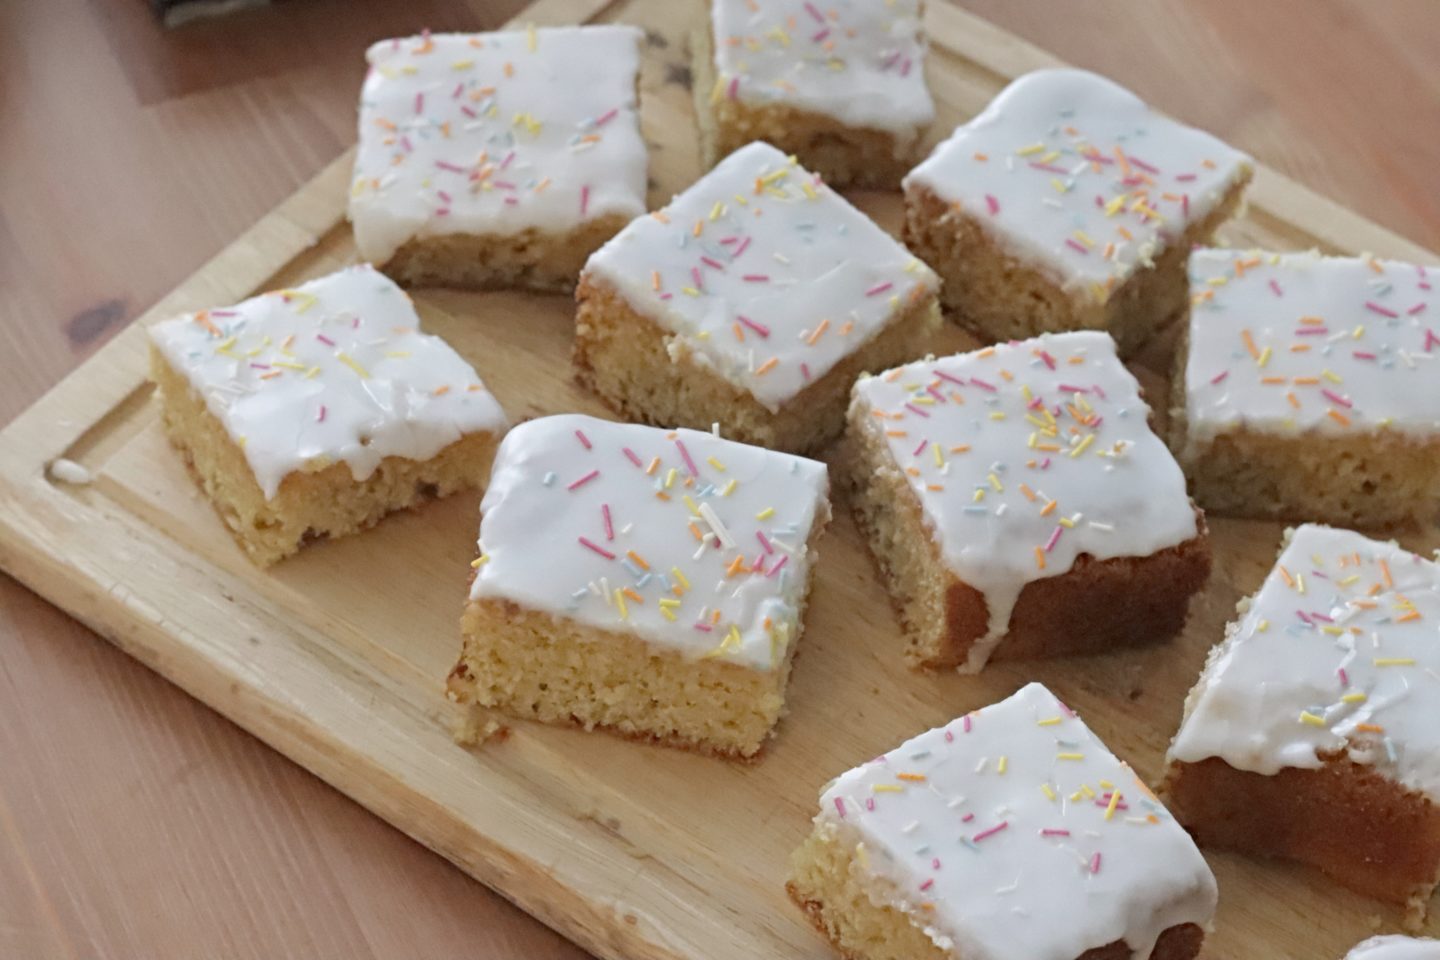
Finish off your cake by sprinkling sugar strands across the surface. Leave the icing to set for an hour or so before slicing into squares. Enjoy!
Pin my Retro School Tray Bake to save it for later!