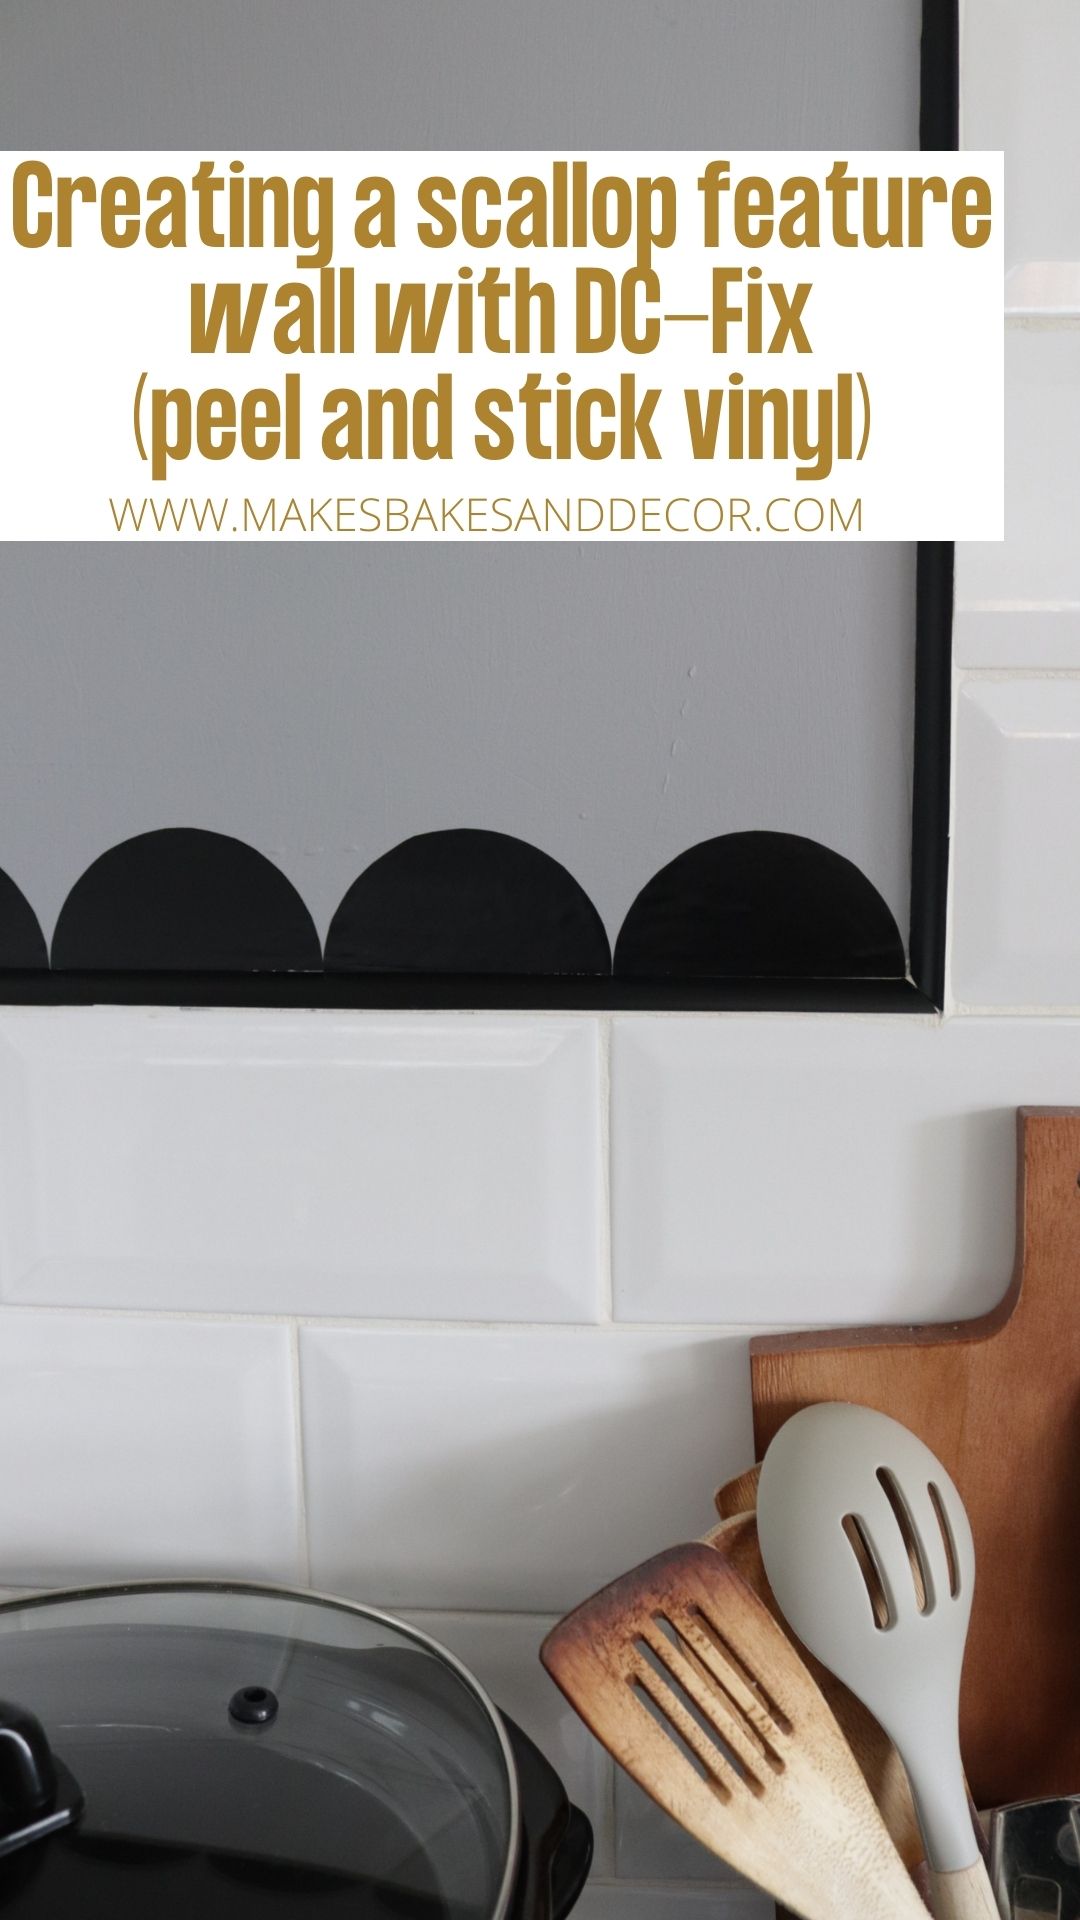
If you have followed my blog for a while now you will know one thing. As soon as I say that a room is complete, that’s about the time I will come up with a new idea or find something else to add! And that is definitely what has happened in the kitchen. There have been more than a couple of changes/additions since I posted the Rented Kitchen Reveal. One of those changes is what I want to share with you today. Creating a Scallop Feature Wall with DC-Fix.
Scalloped walls and scalloped shaped things in general are everywhere at the moment. They are very much ‘in’ in the world of interiors right now. I have even added a painted scalloped wall in the Children’s bedroom which I absoloutly love. On one of my many scrolls through Instagram I particularlly loved the Scallops that Emma from Stove Pipe House created in her Kitchen. I’ll add the post she shared below.
As you can see, Emma has painted the ceiling black and then inverted the scallop along the top edge of the wall. As a renter, of course I can’t paint the ceiling black. I think the landlord would have a hard time accepting that even if I promised to paint it back after. So I came up with a way to add a black scalloped detail inspired by Emma’s beautiful kitchen.
I also didn’t want to paint. We don’t have any plans to move right now but the list of walls that will need repainting when we leave is getting longer and longer so I wanted to come up with a way that had minimal repair work to do when it comes to removing it. That’s when I thought of DC-Fix (or peel and stick vinyl for anyone who doesn’t recognise the brand name). It made creating a scallop feature wall a breeze and I had the whole thing done in an hour or so!
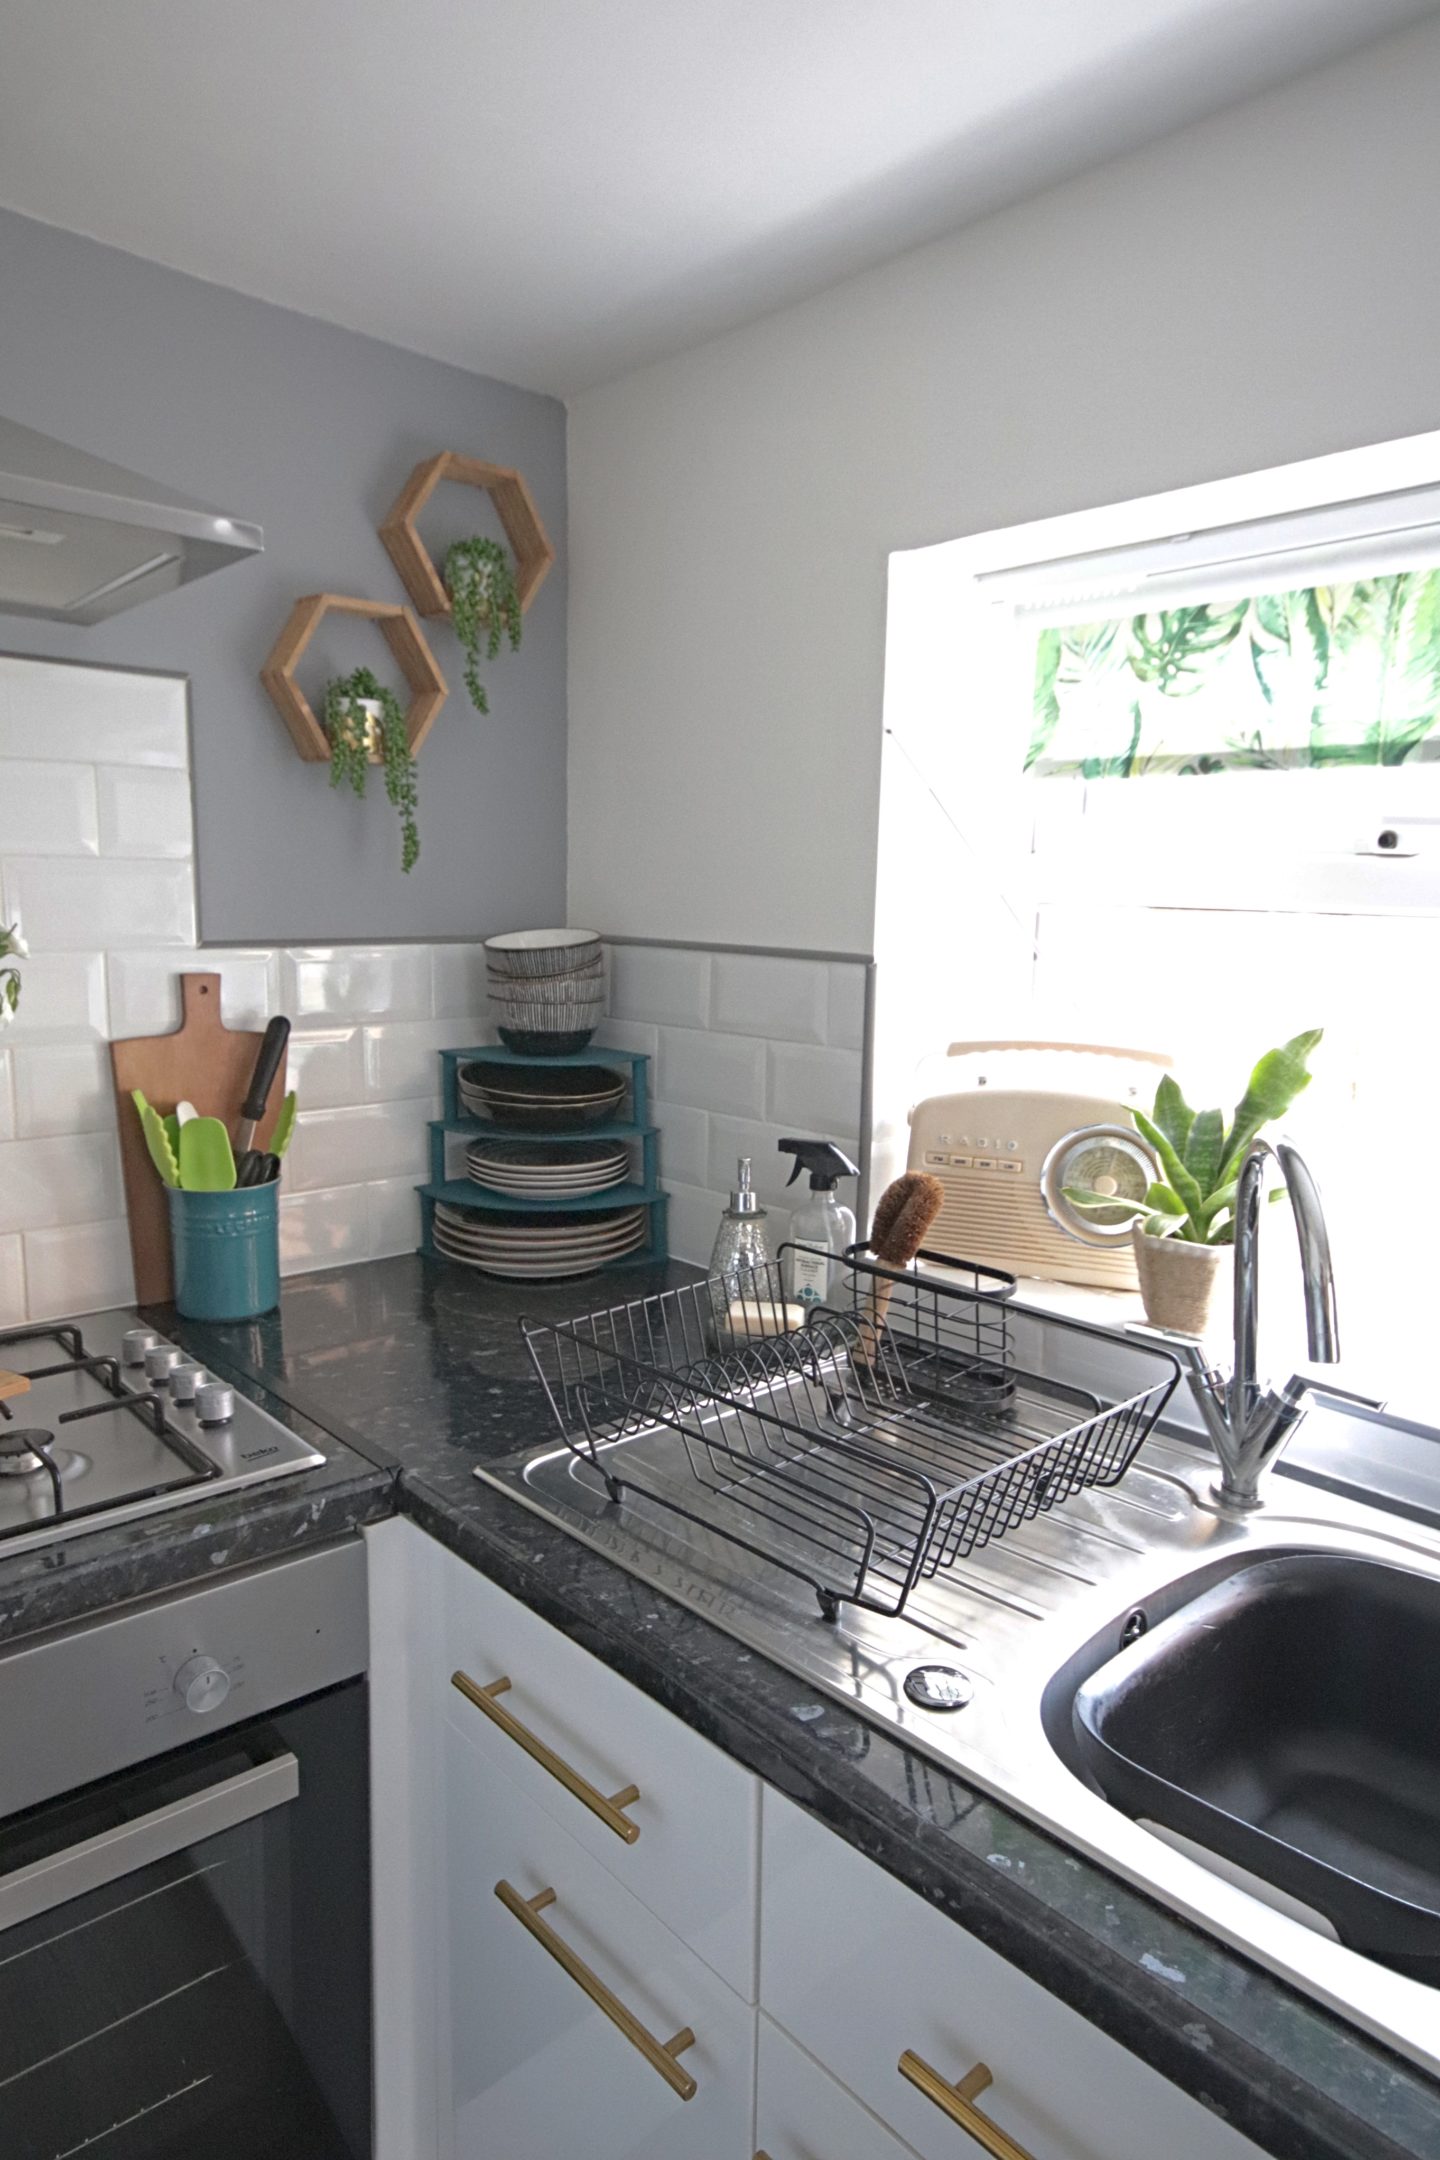
Here is the kitchen before I got started. I wanted to add the scallop along the top edge of the tiles and I wanted to go black. My love for black details has taken over recently and I can’t stop adding pops of black around my home. Here is everything that I used to get on with Creating a Scallop Feature Wall with DC-Fix:
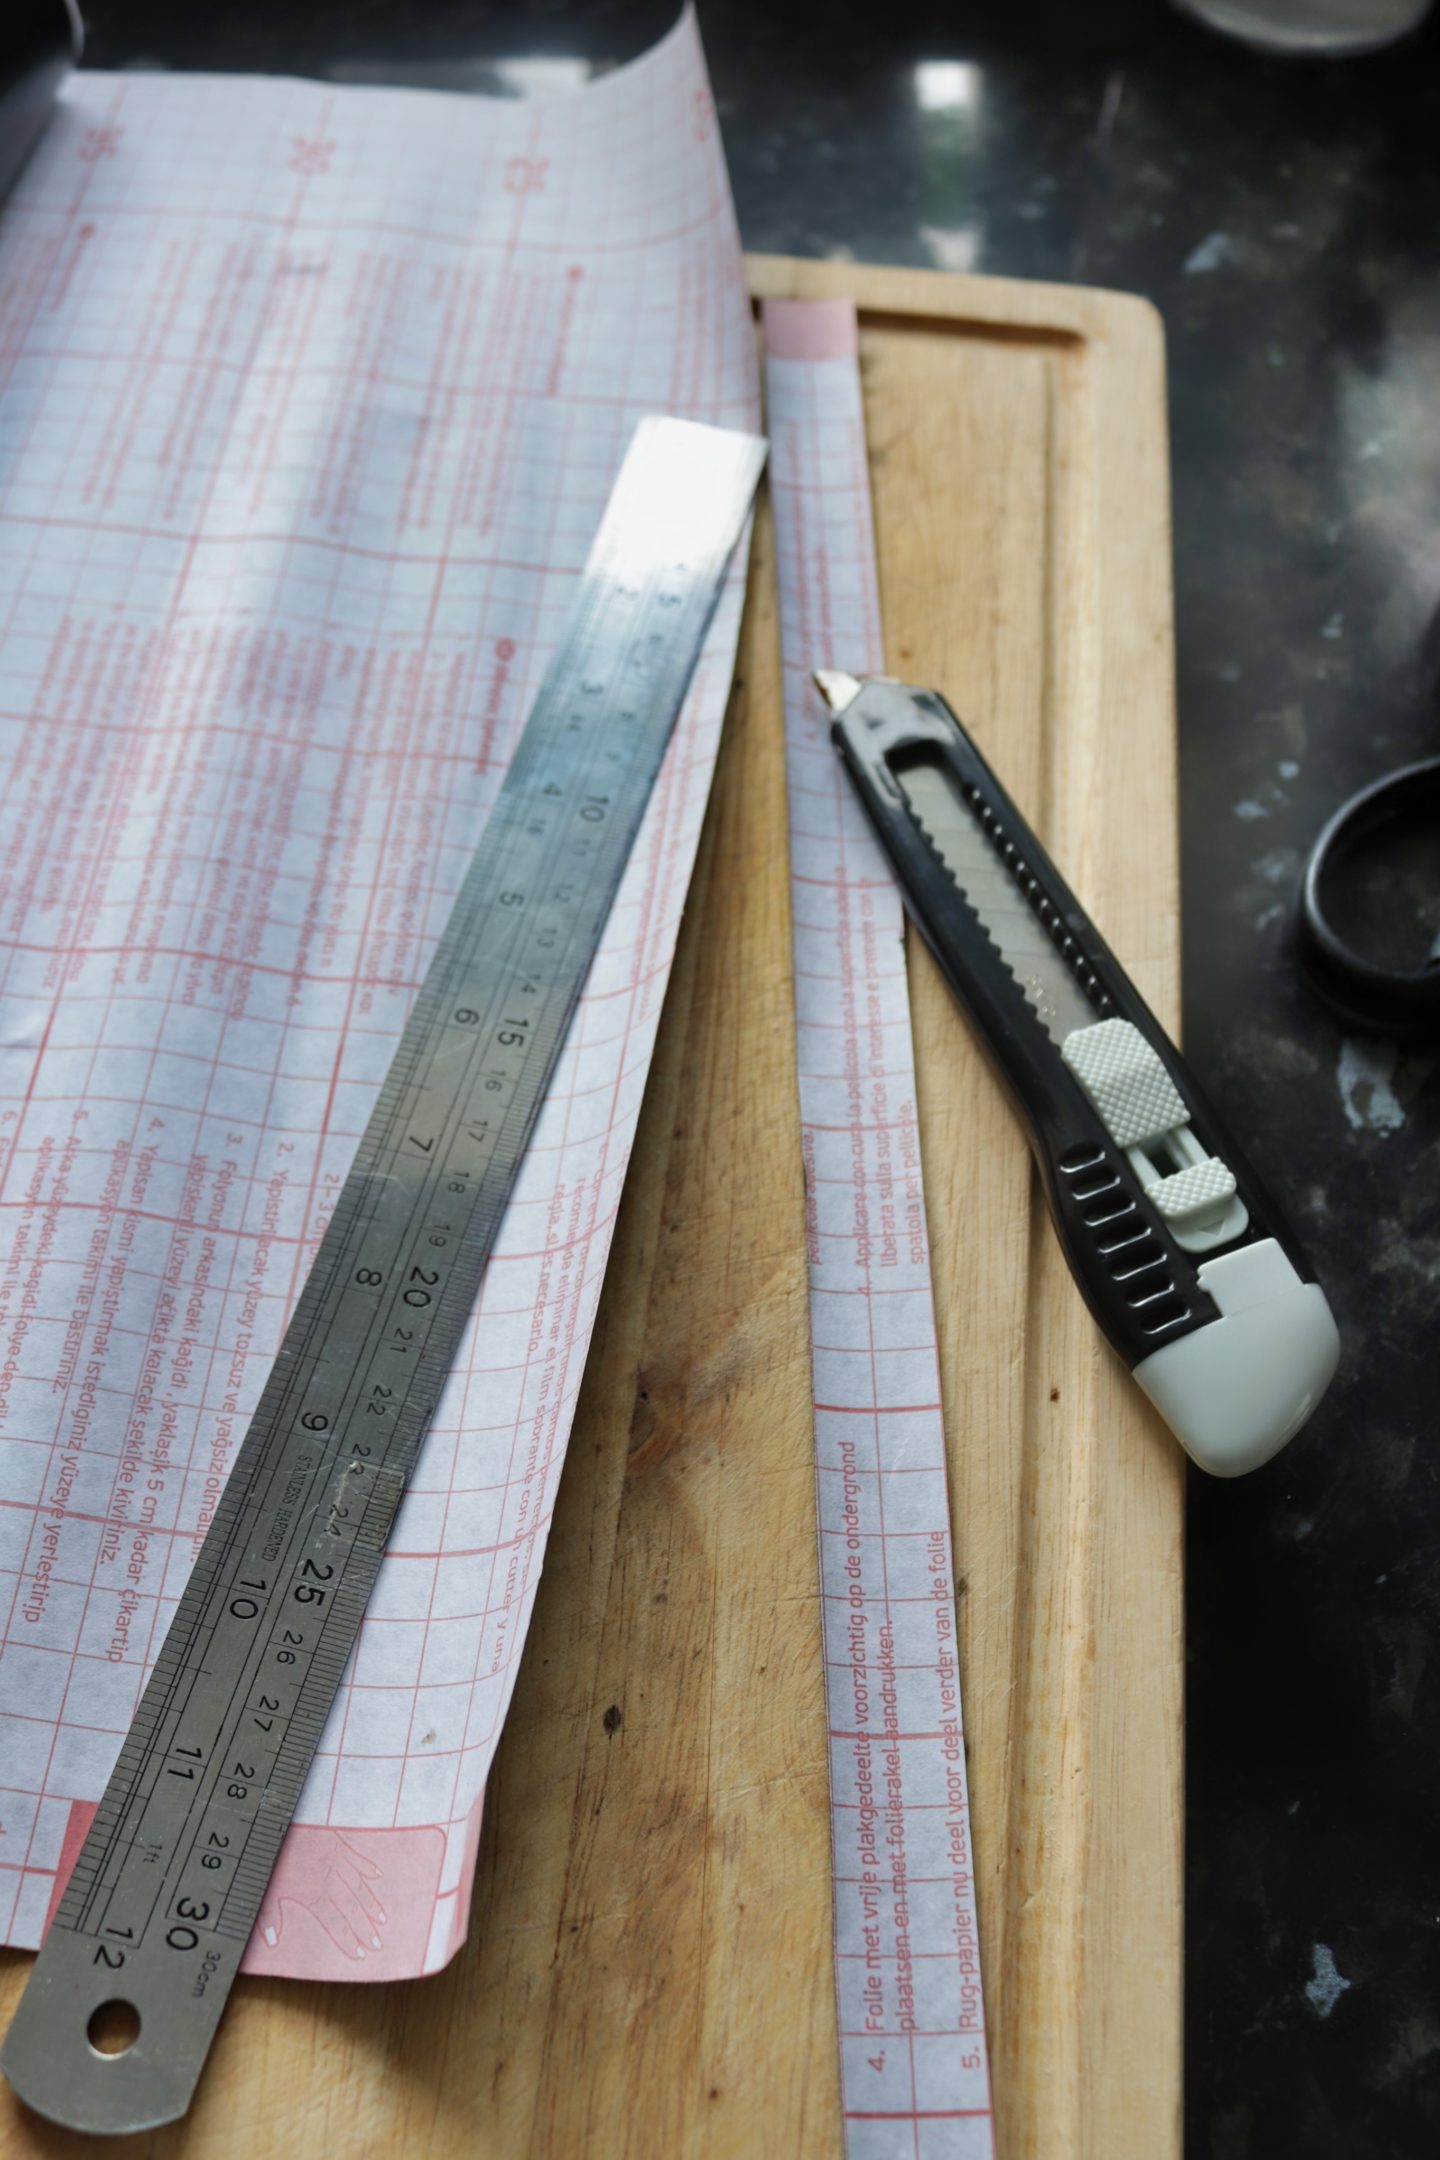
Our kitchen tiles had a grey trim and I didn’t want the black scallops against the grey so the first thing I did was to cut strips of the dc-fix to cover the tile trim.
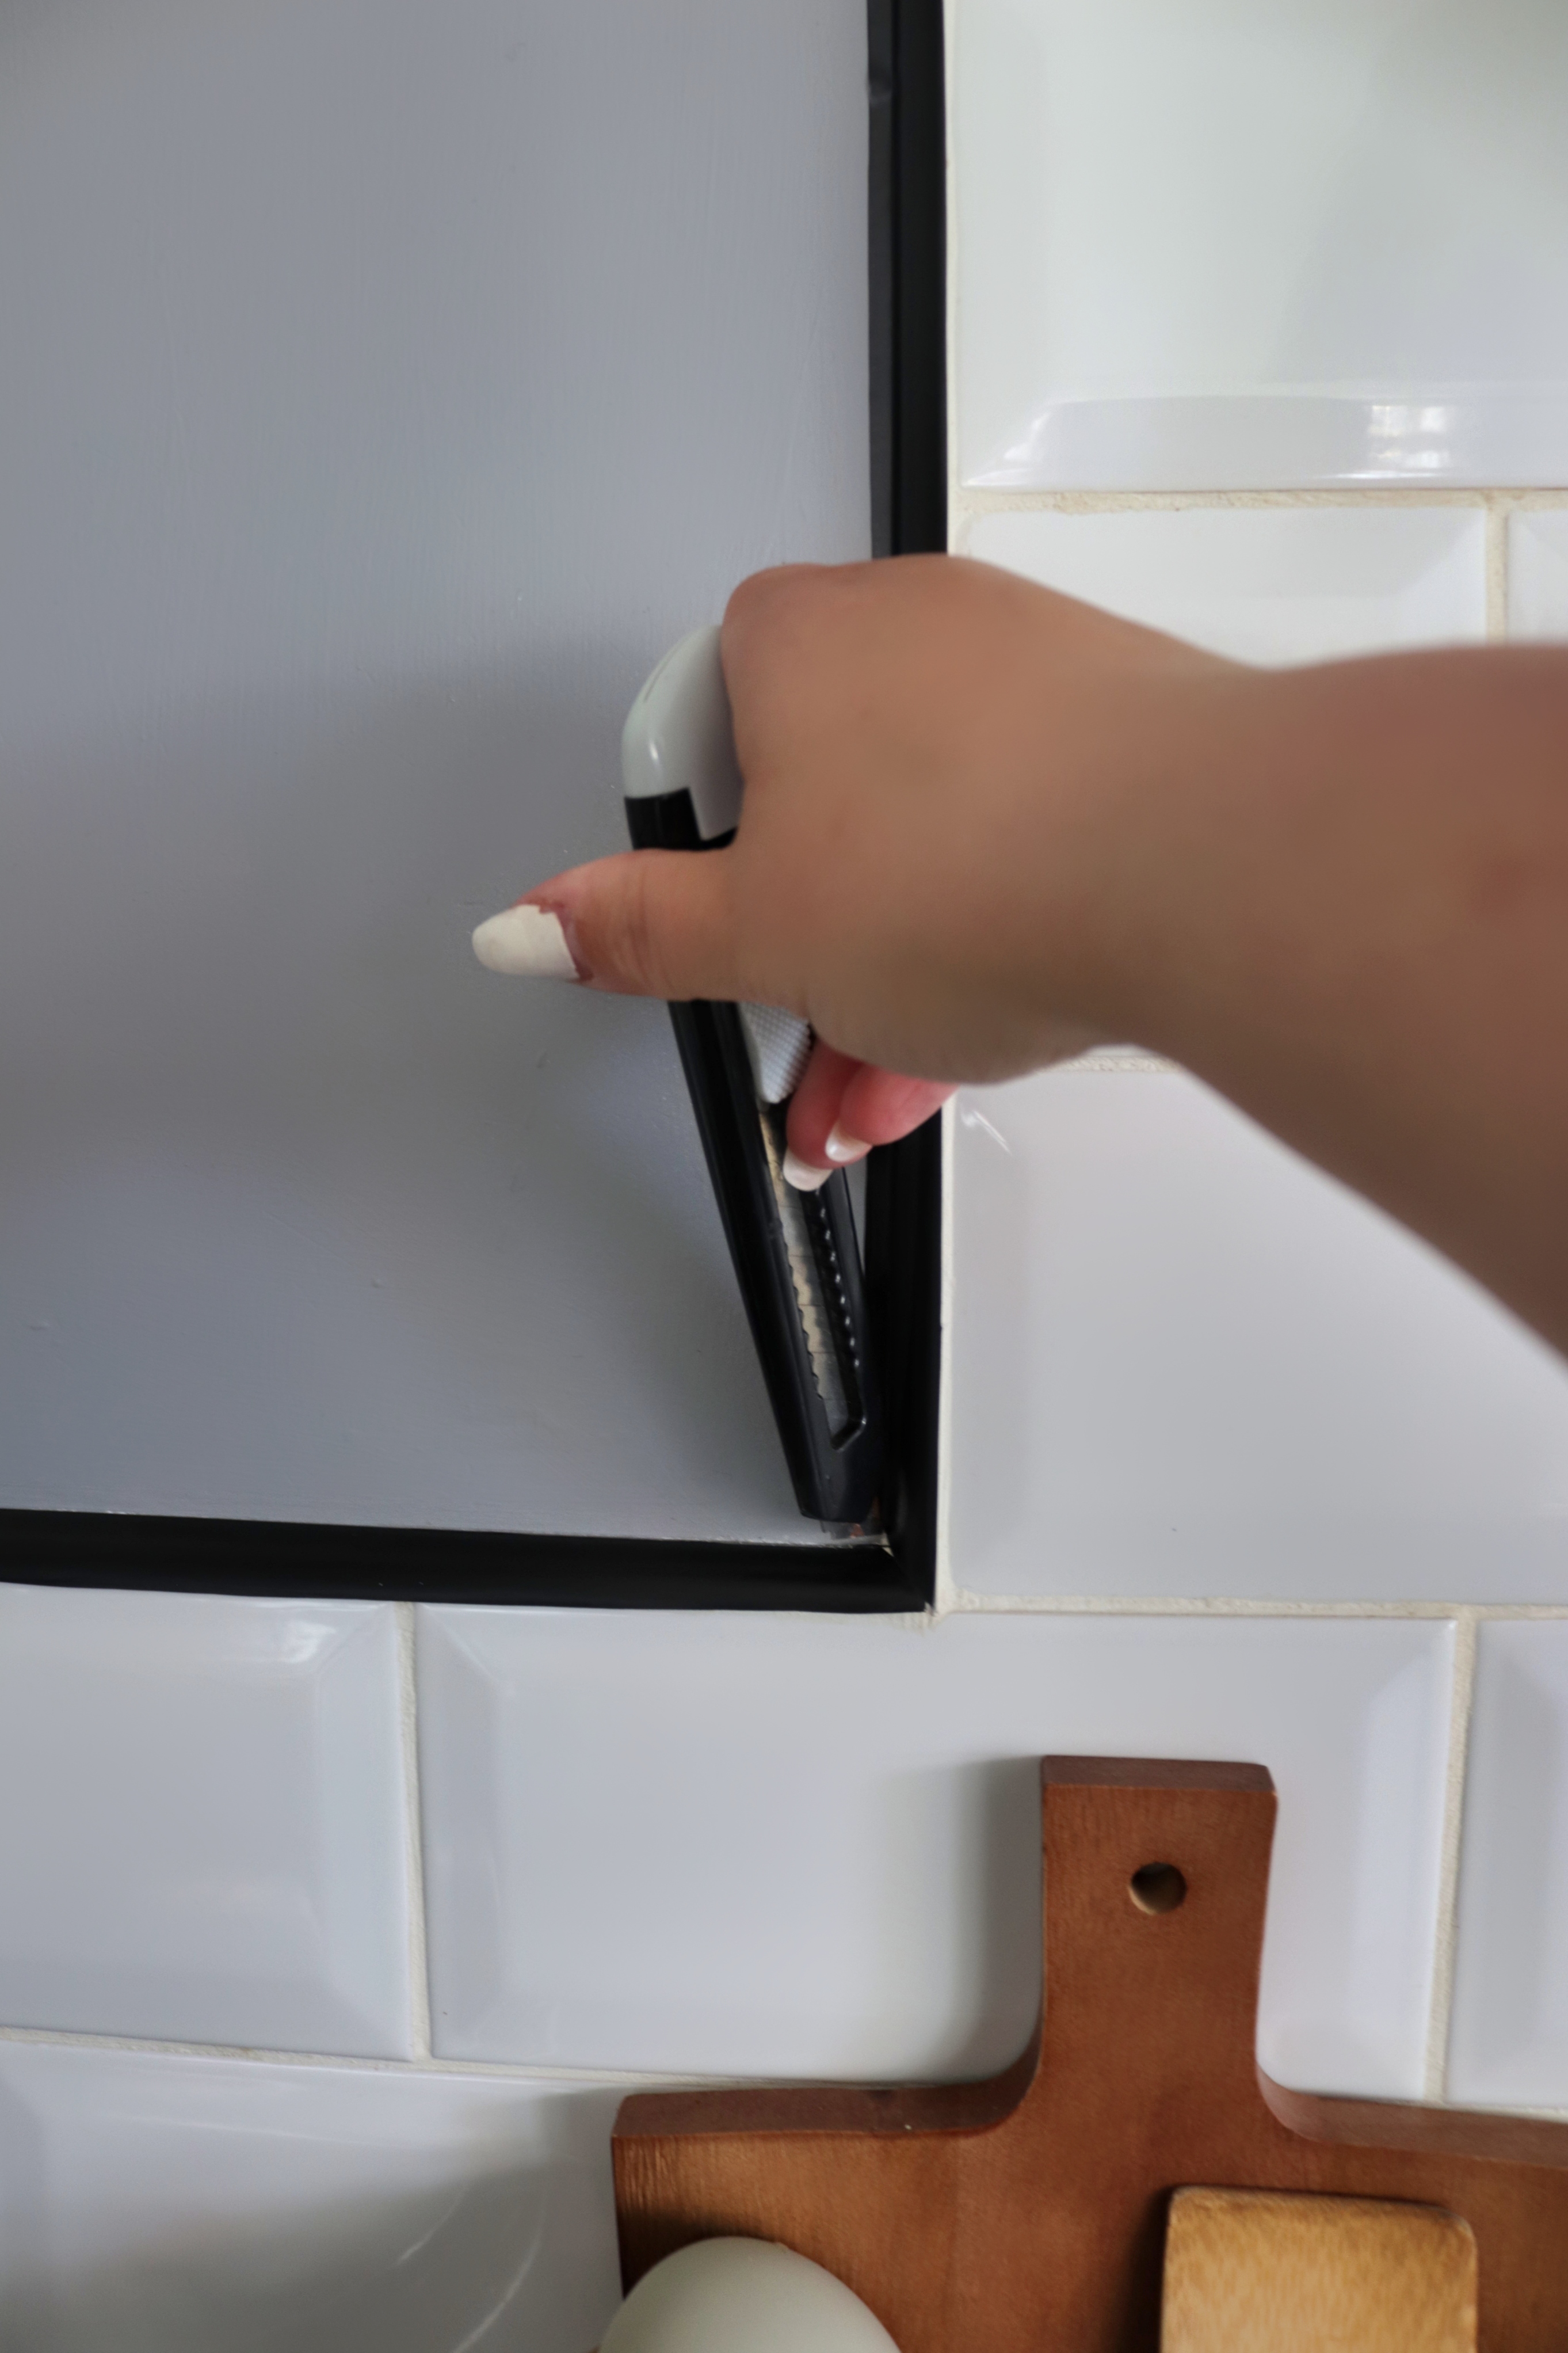
I applied the strip to the trim, making sure to really smooth it over and make sure it was fully stuck down and then cut off any excess using my craft knife.
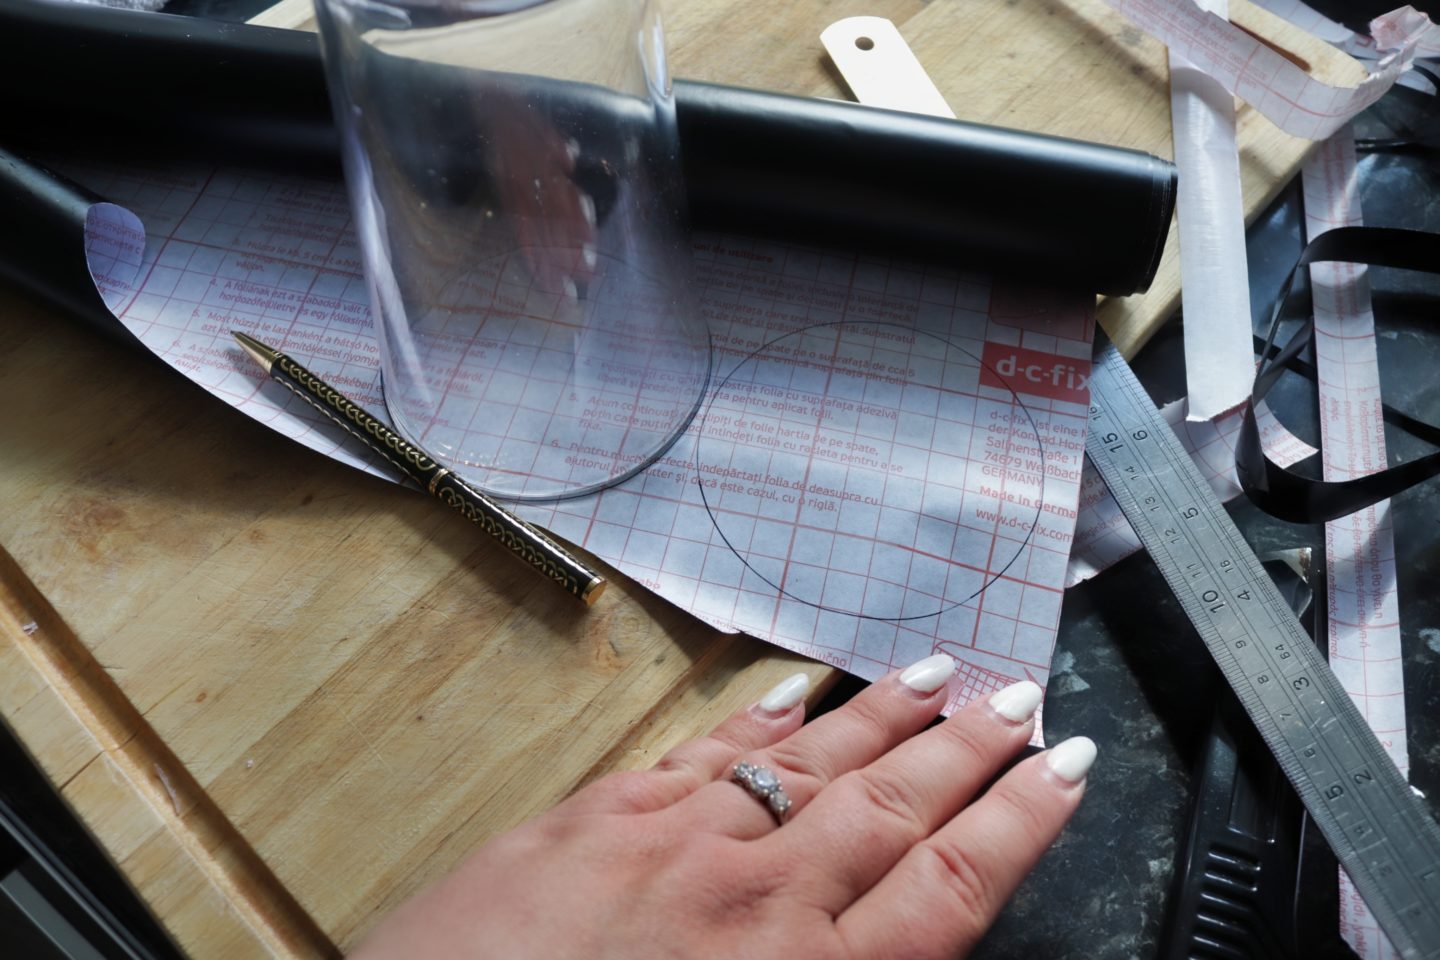
Next find something circular that is the size of the scallops you want and use it to draw around. To start with I used a bowl but once I started applying the scallops to the wall I realised that they were too big so I ended up peeling those off and using a pint glass instead. Once you have drawn out all of your circles use a pair of scissors to cut them out.
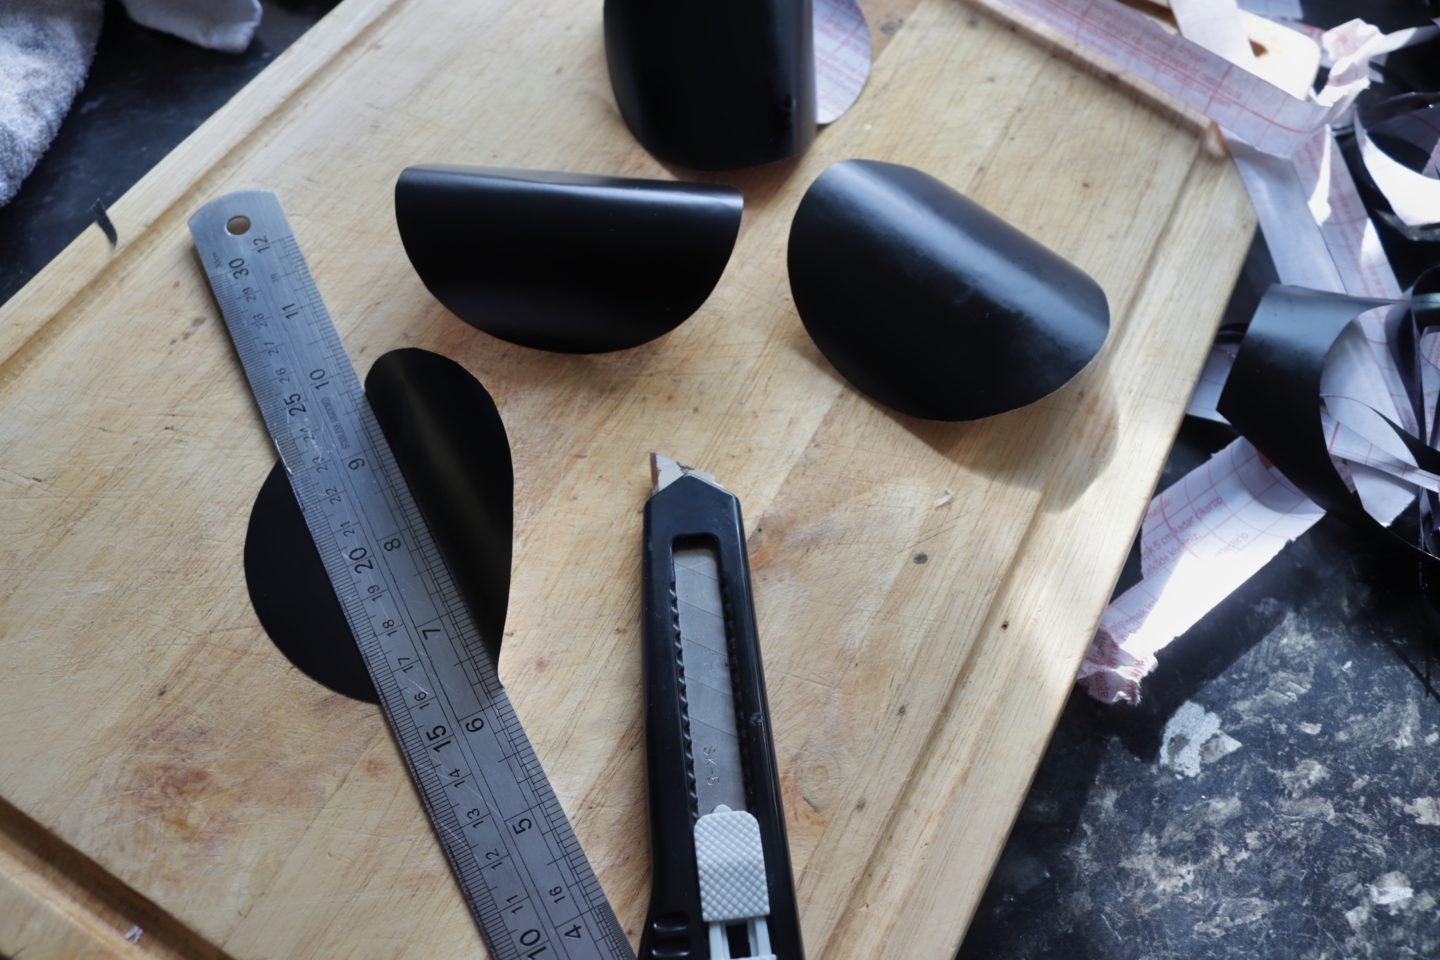
I found the best way to cut the circles in half was to fold them to make sure I had a line straight down the middle and then use a metal ruler and my craft knife to cut the line. You will then have some semi-circles and at this point it’s as easy as peeling off the backing and sticking them to the wall.
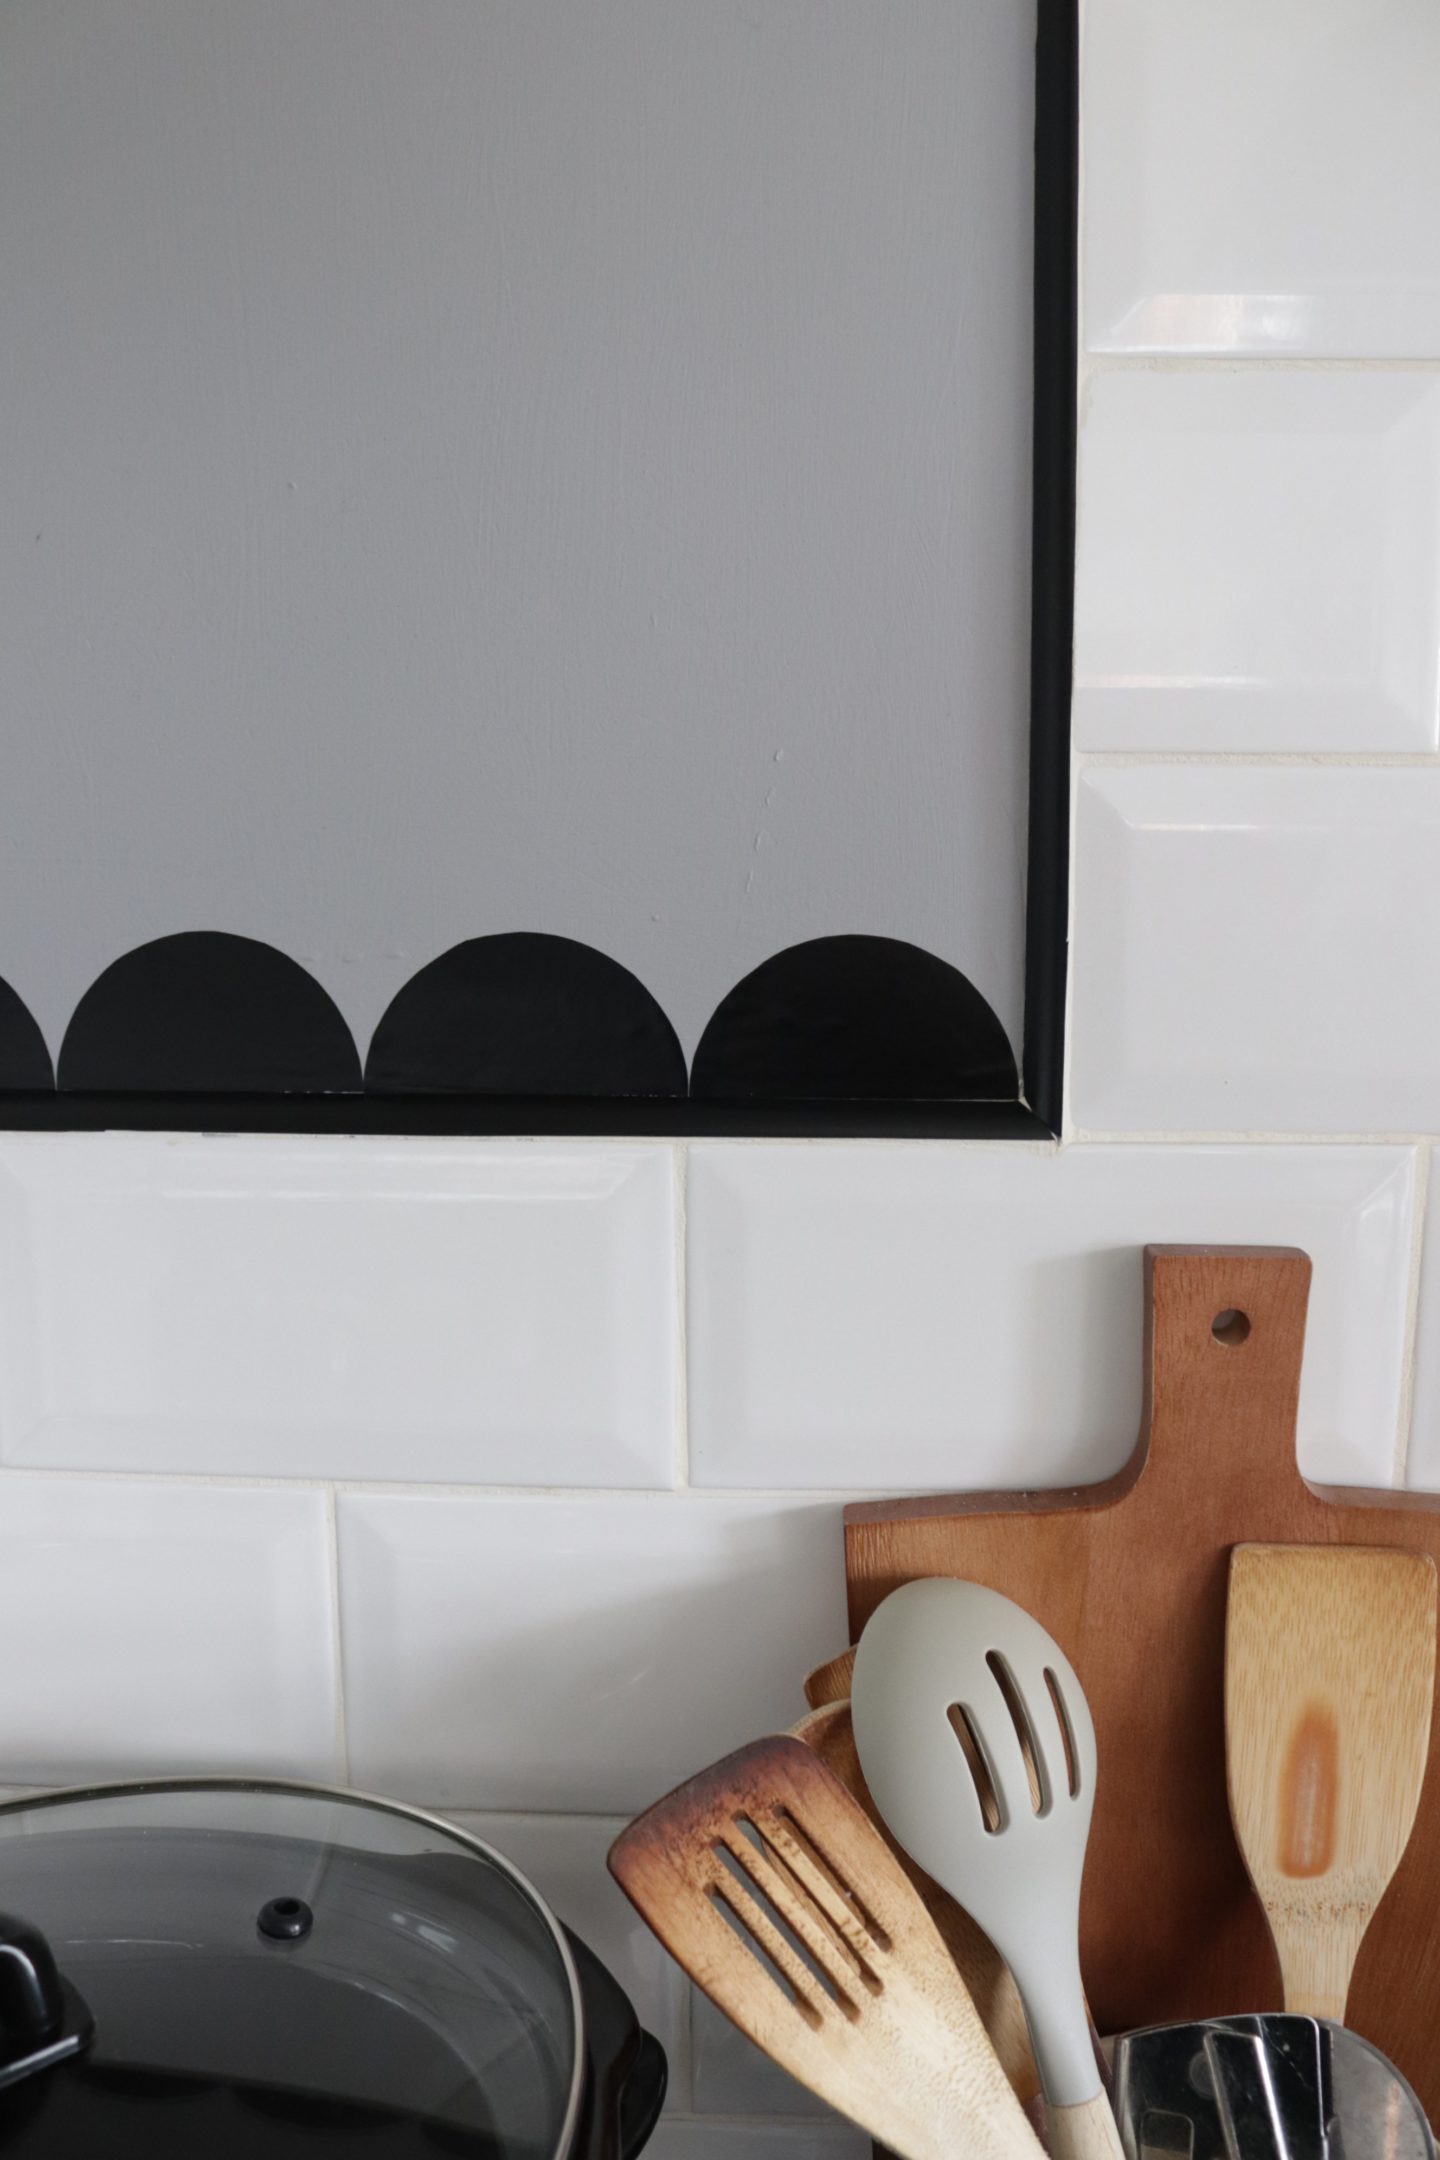
You want to make sure that you get them as close to the tile or line that you are adding them too and as close to each other as you can but you don’t want them to overlap.
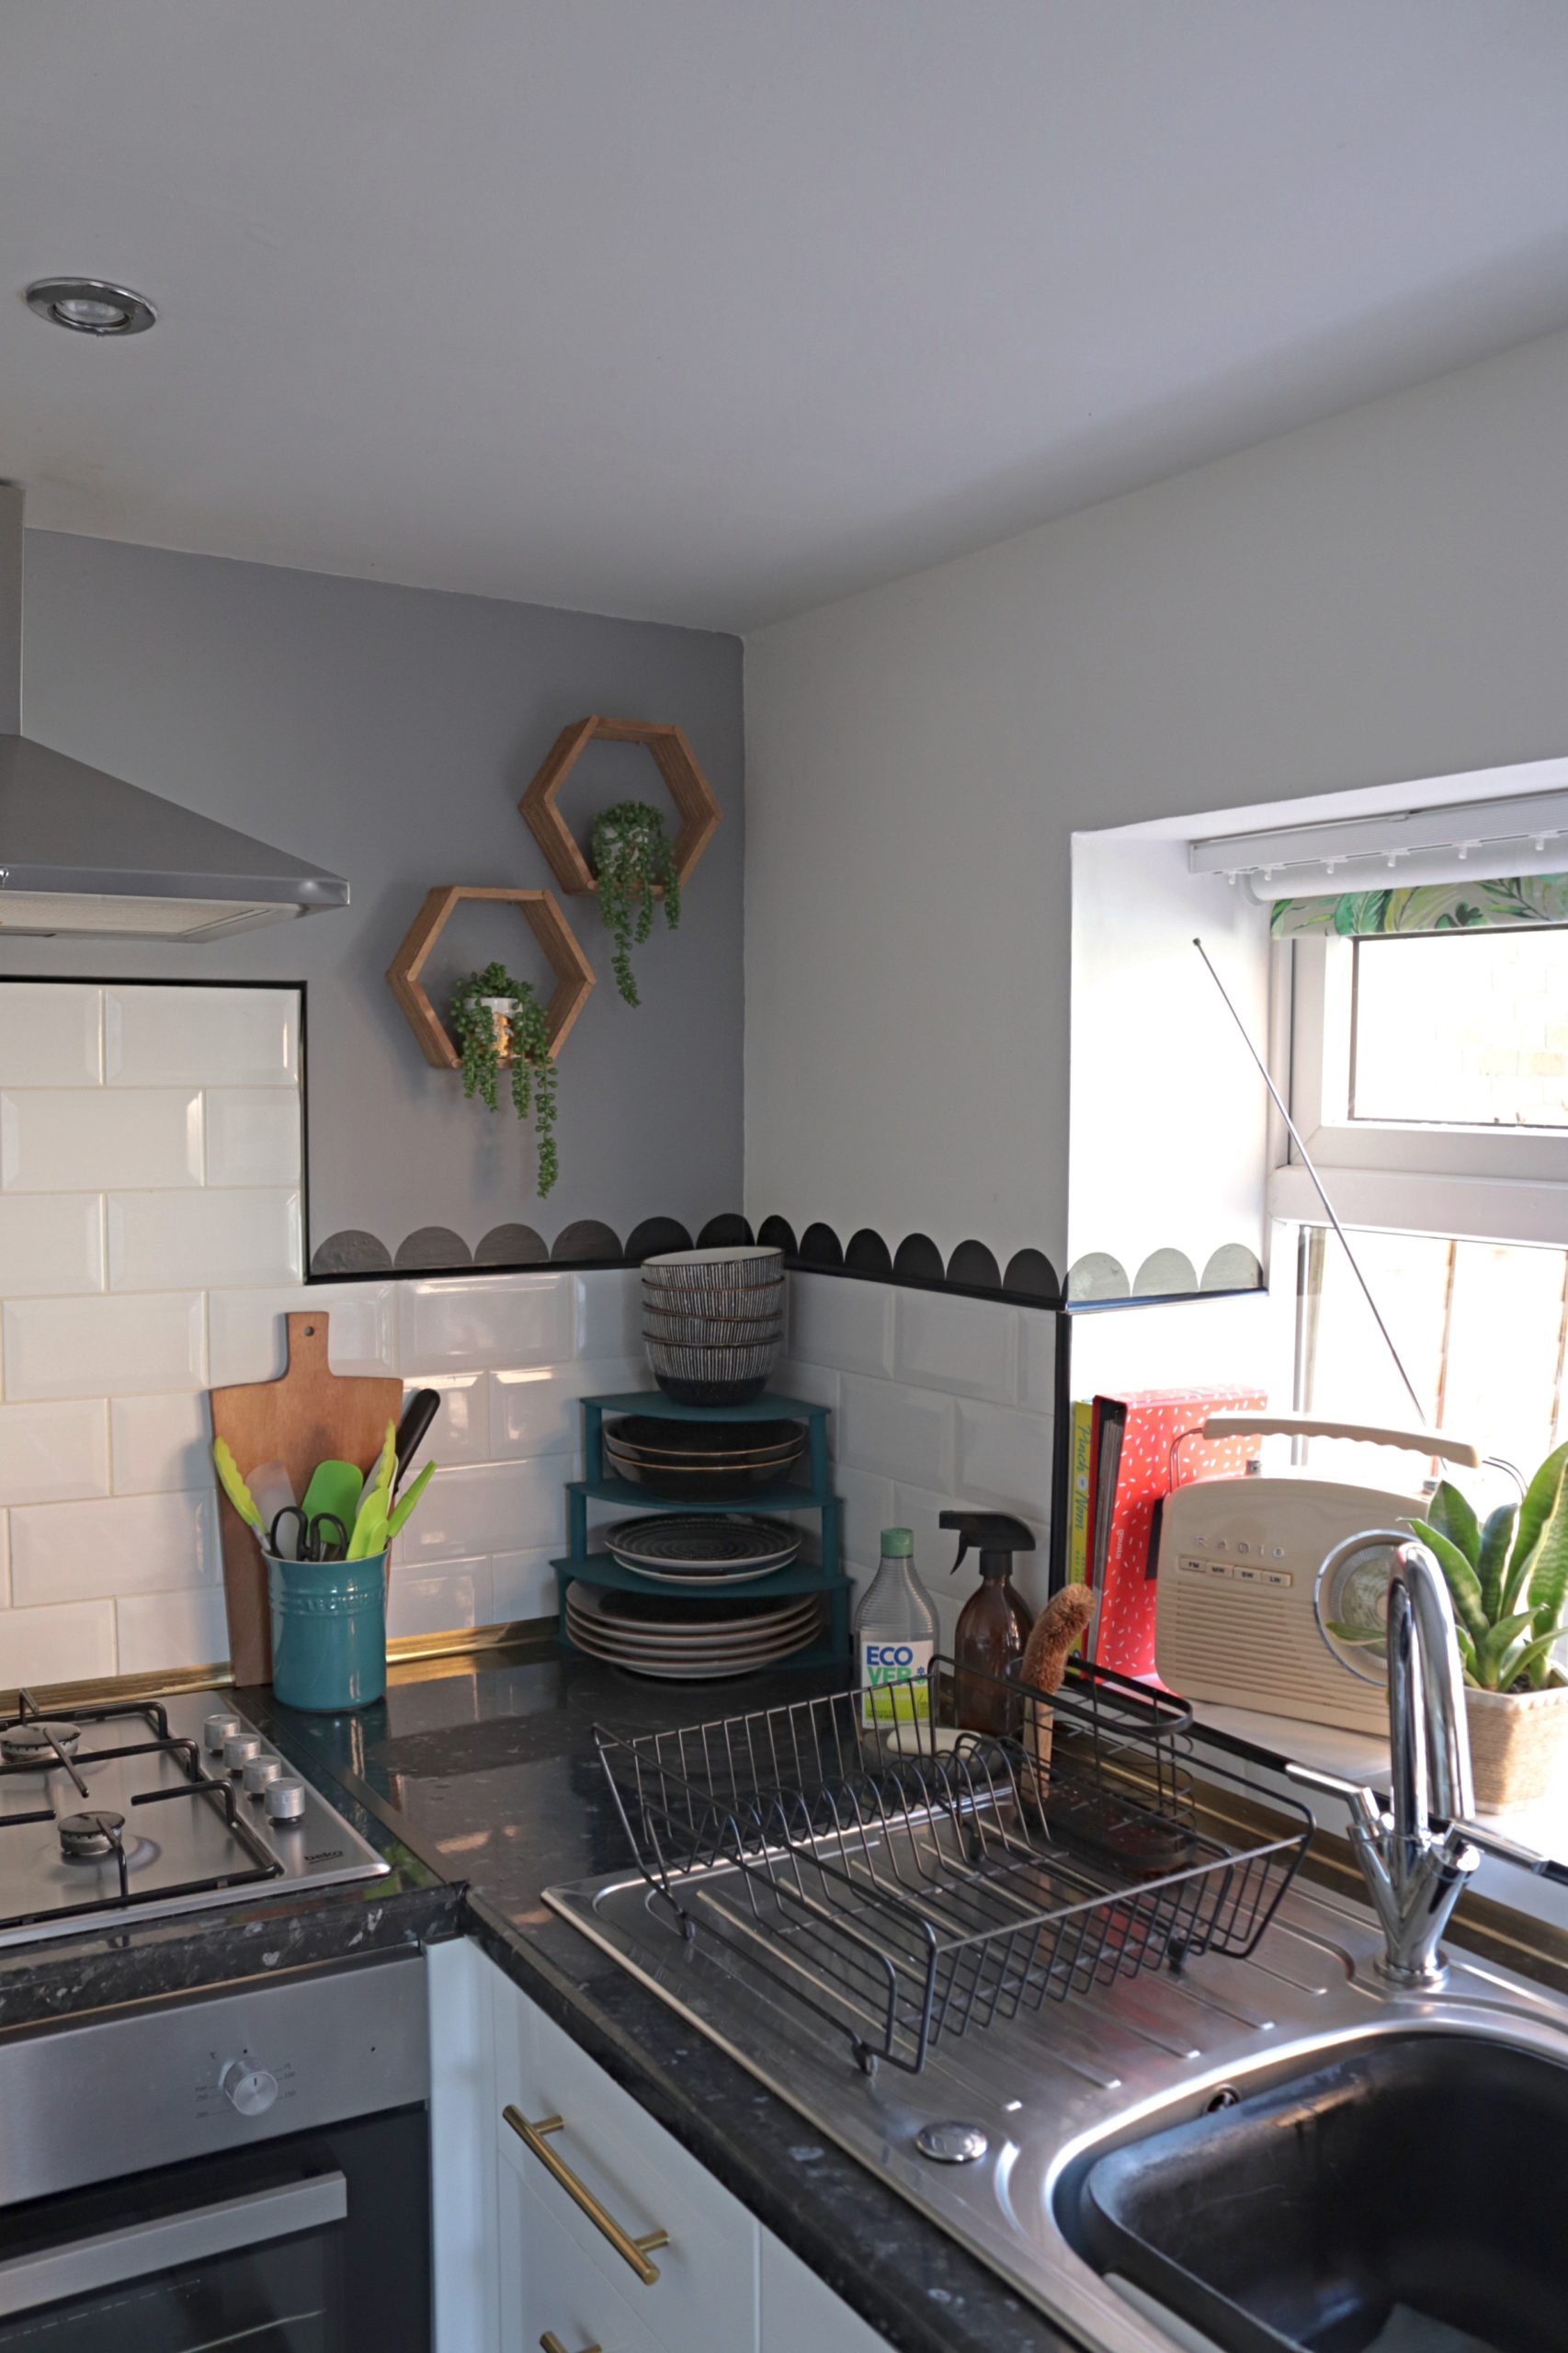
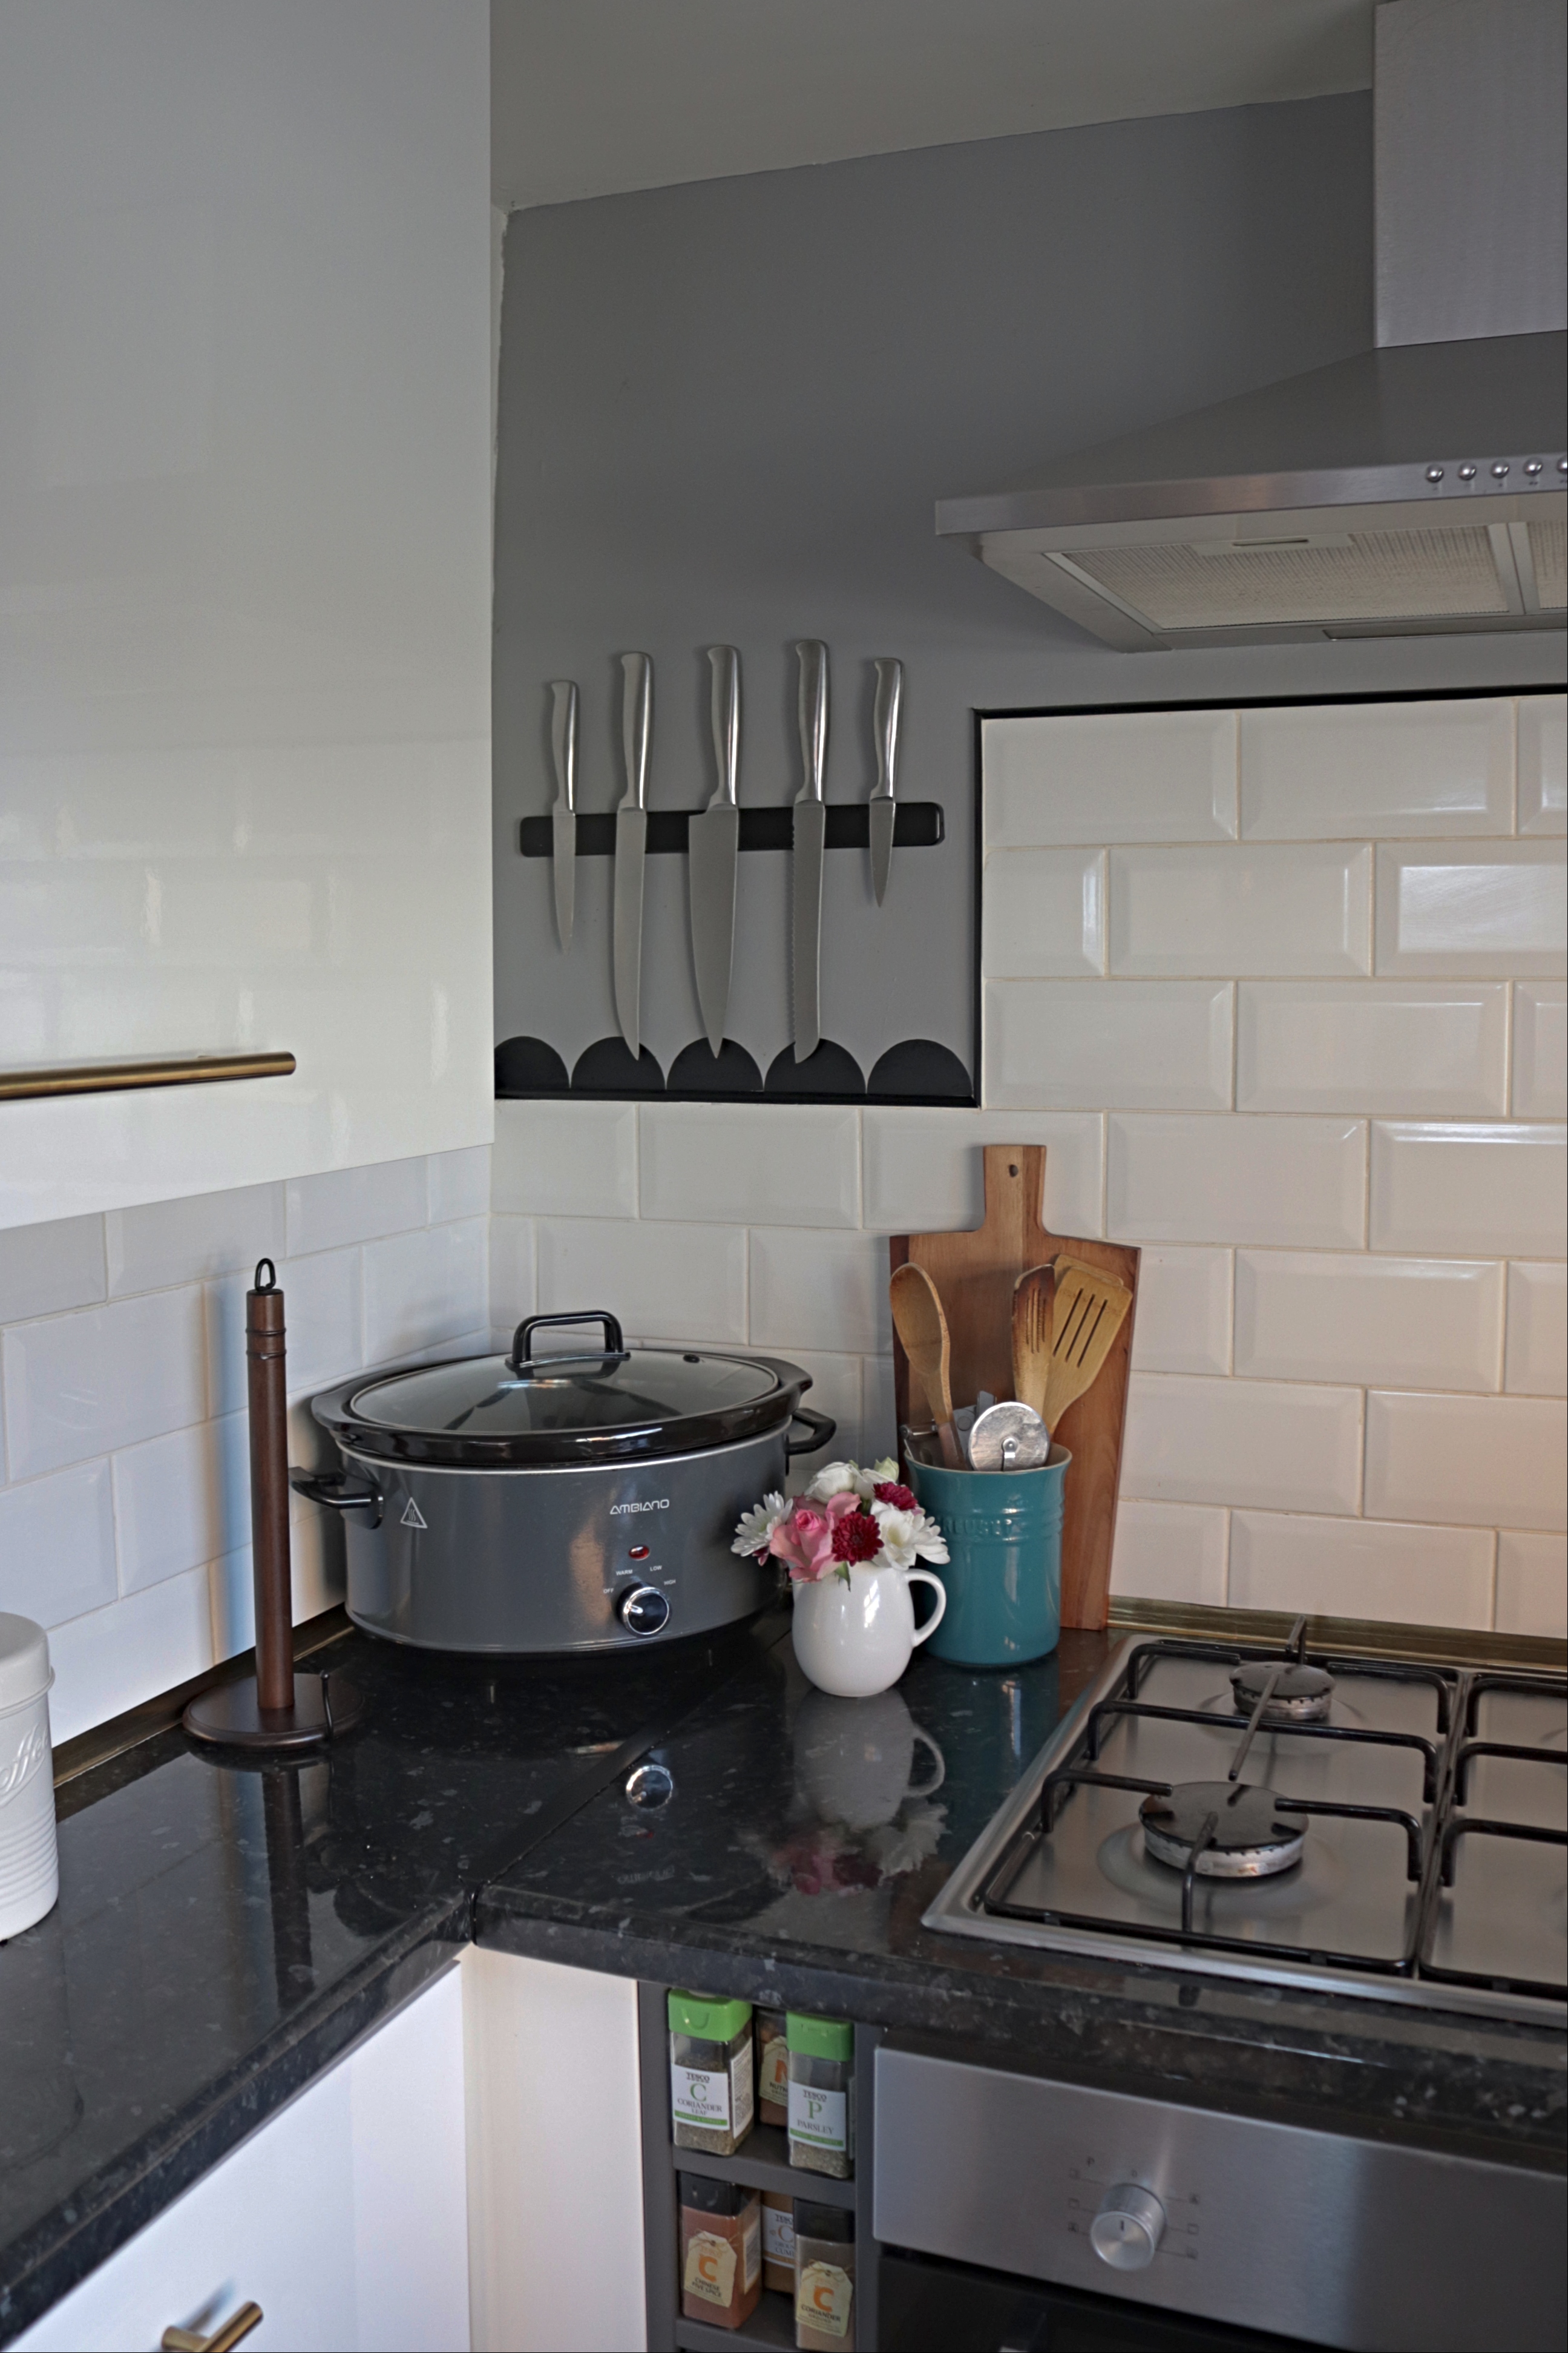
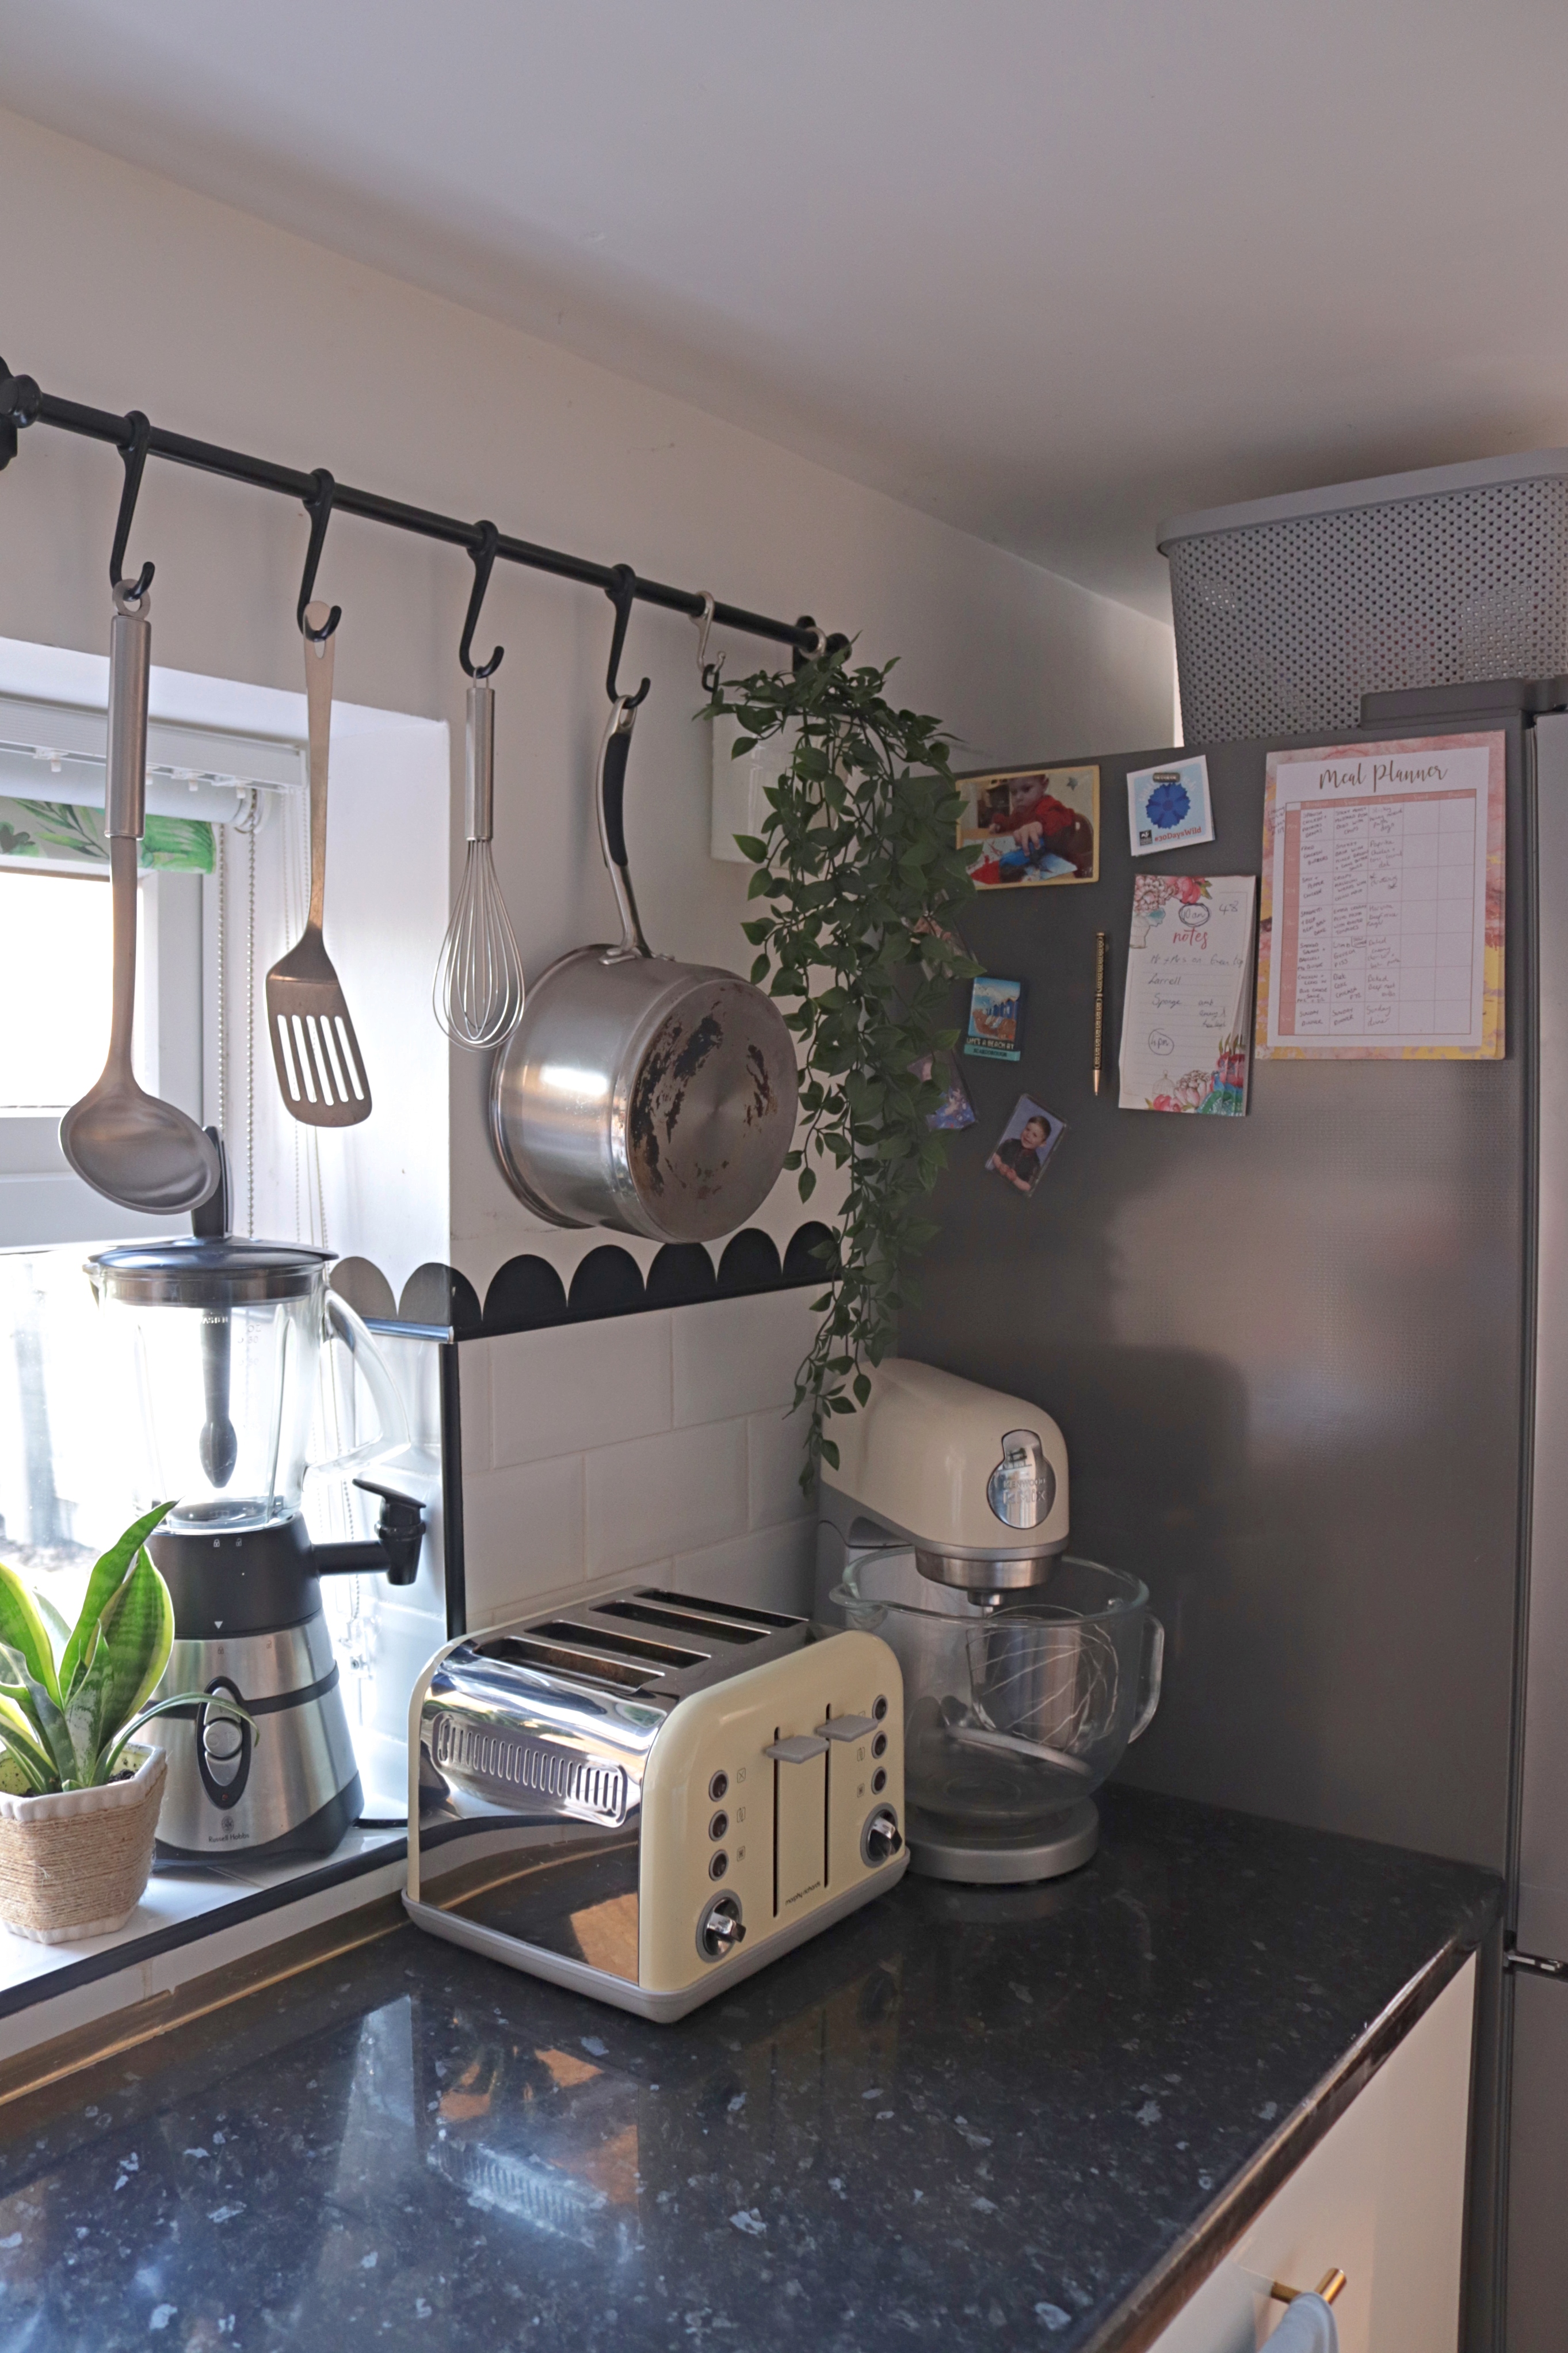
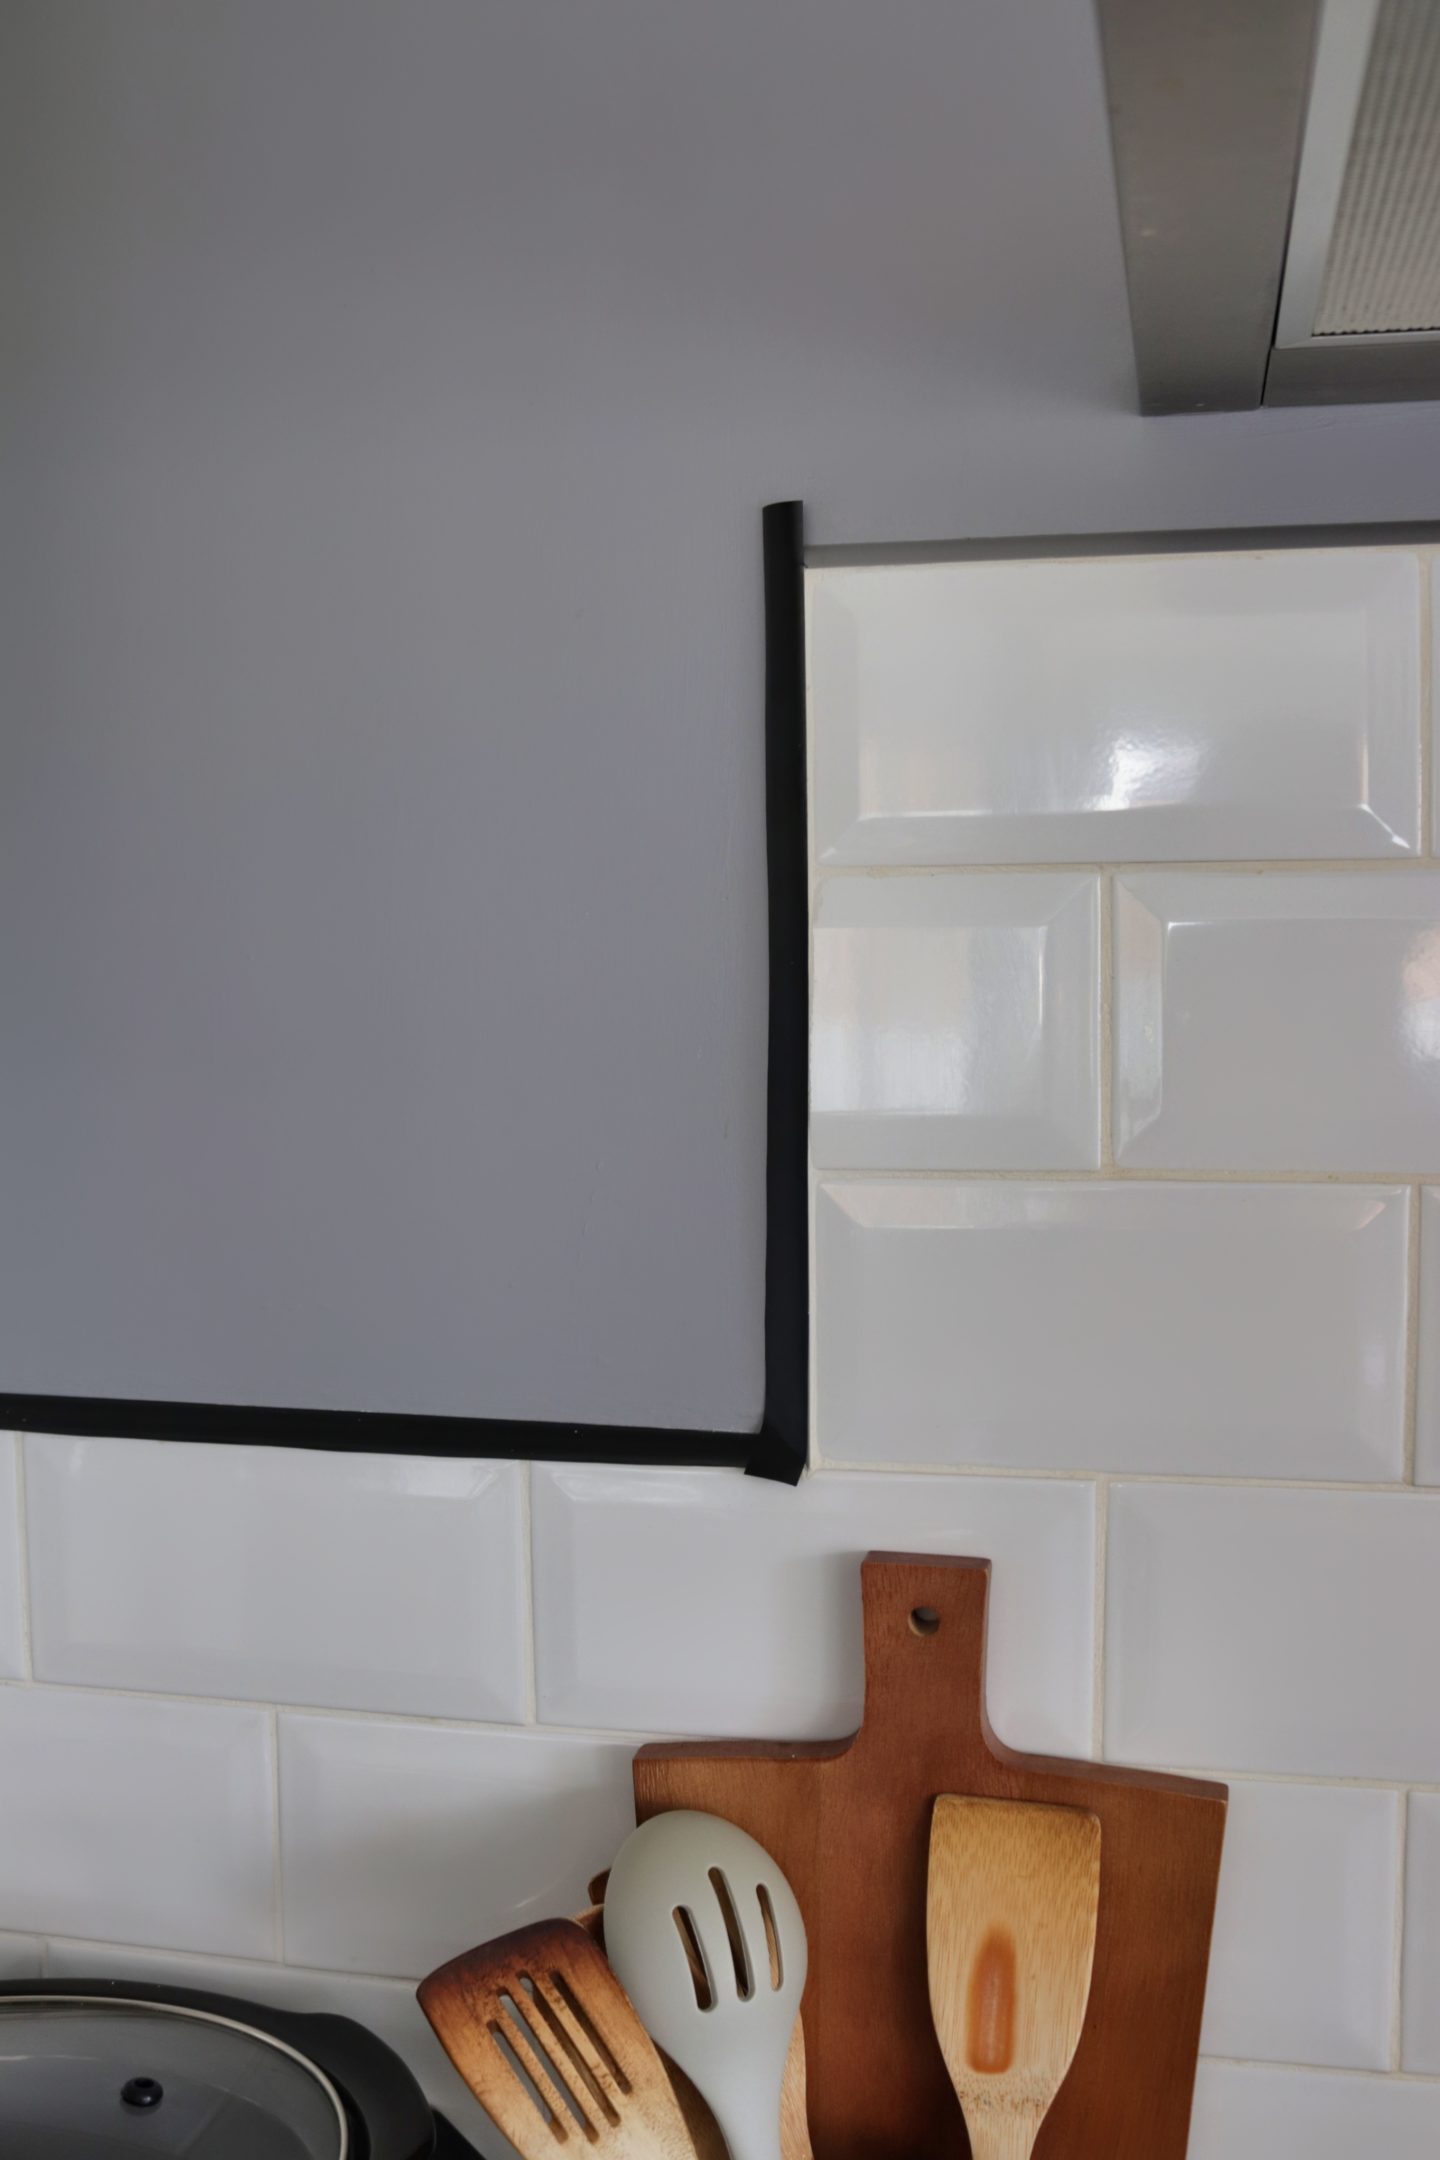
Here are the after pictures of the kitchen with the black trim and the scallops. What do you think? I absolutely love it! I decided not to add the scallops above the oven as the gap wasn’t big enough but I added them everywhere else. You could use any colour dc-fix you like that fits your décor. This technique works best along an edge so you could try it along a skirting board or flip the scallops and put them along a ceiling edge. It could also work if you had some panelling or even adding it to a door frame would make a statement. Like I mentioned before I originally tried larger semi circles that I had to peel off so I can confirm that they are very easy to remove. There was some slight peeling to the paint that I had to touch up but that might just be my walls. I’ve mentioned before how when we moved in all the walls had a powdery texture and the paint would come off on your hand if you ran it over the wall so this might not even happen for you!
I hope you’ve found this post helpful and have enjoyed the little update to the kitchen. Follow me on Instagram (LianneHempsallHome) for day to day life and home updates as they happen 🙂
Lianne x
Pin Creating a Scallop Feature Wall with DC-Fix to save it for later!