
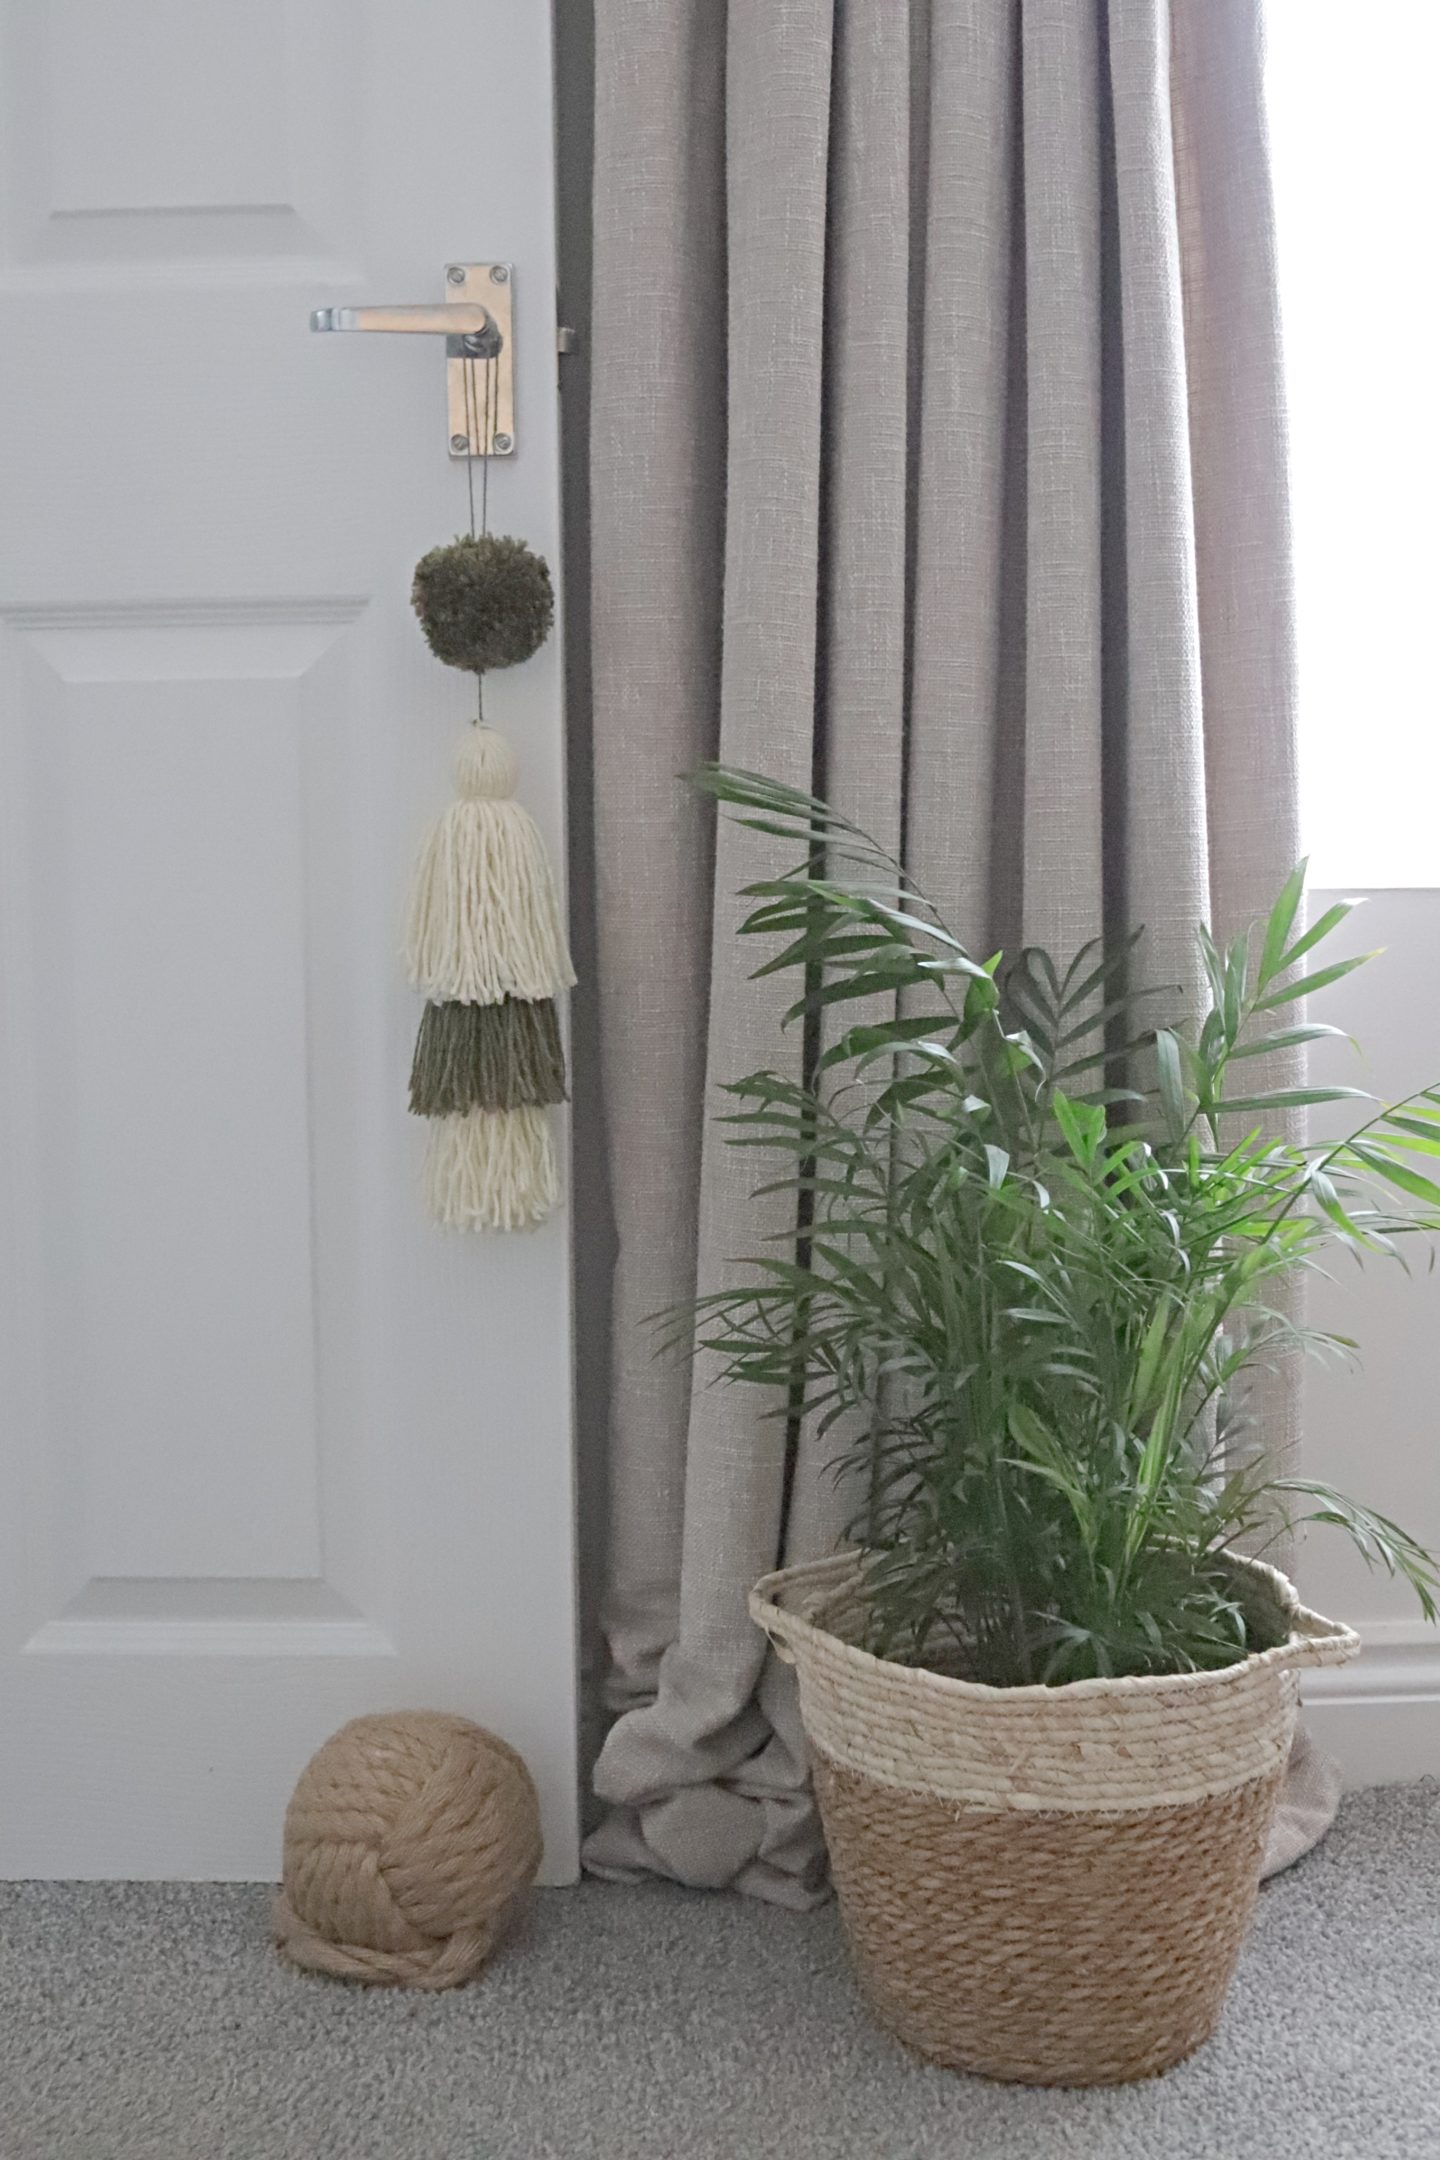
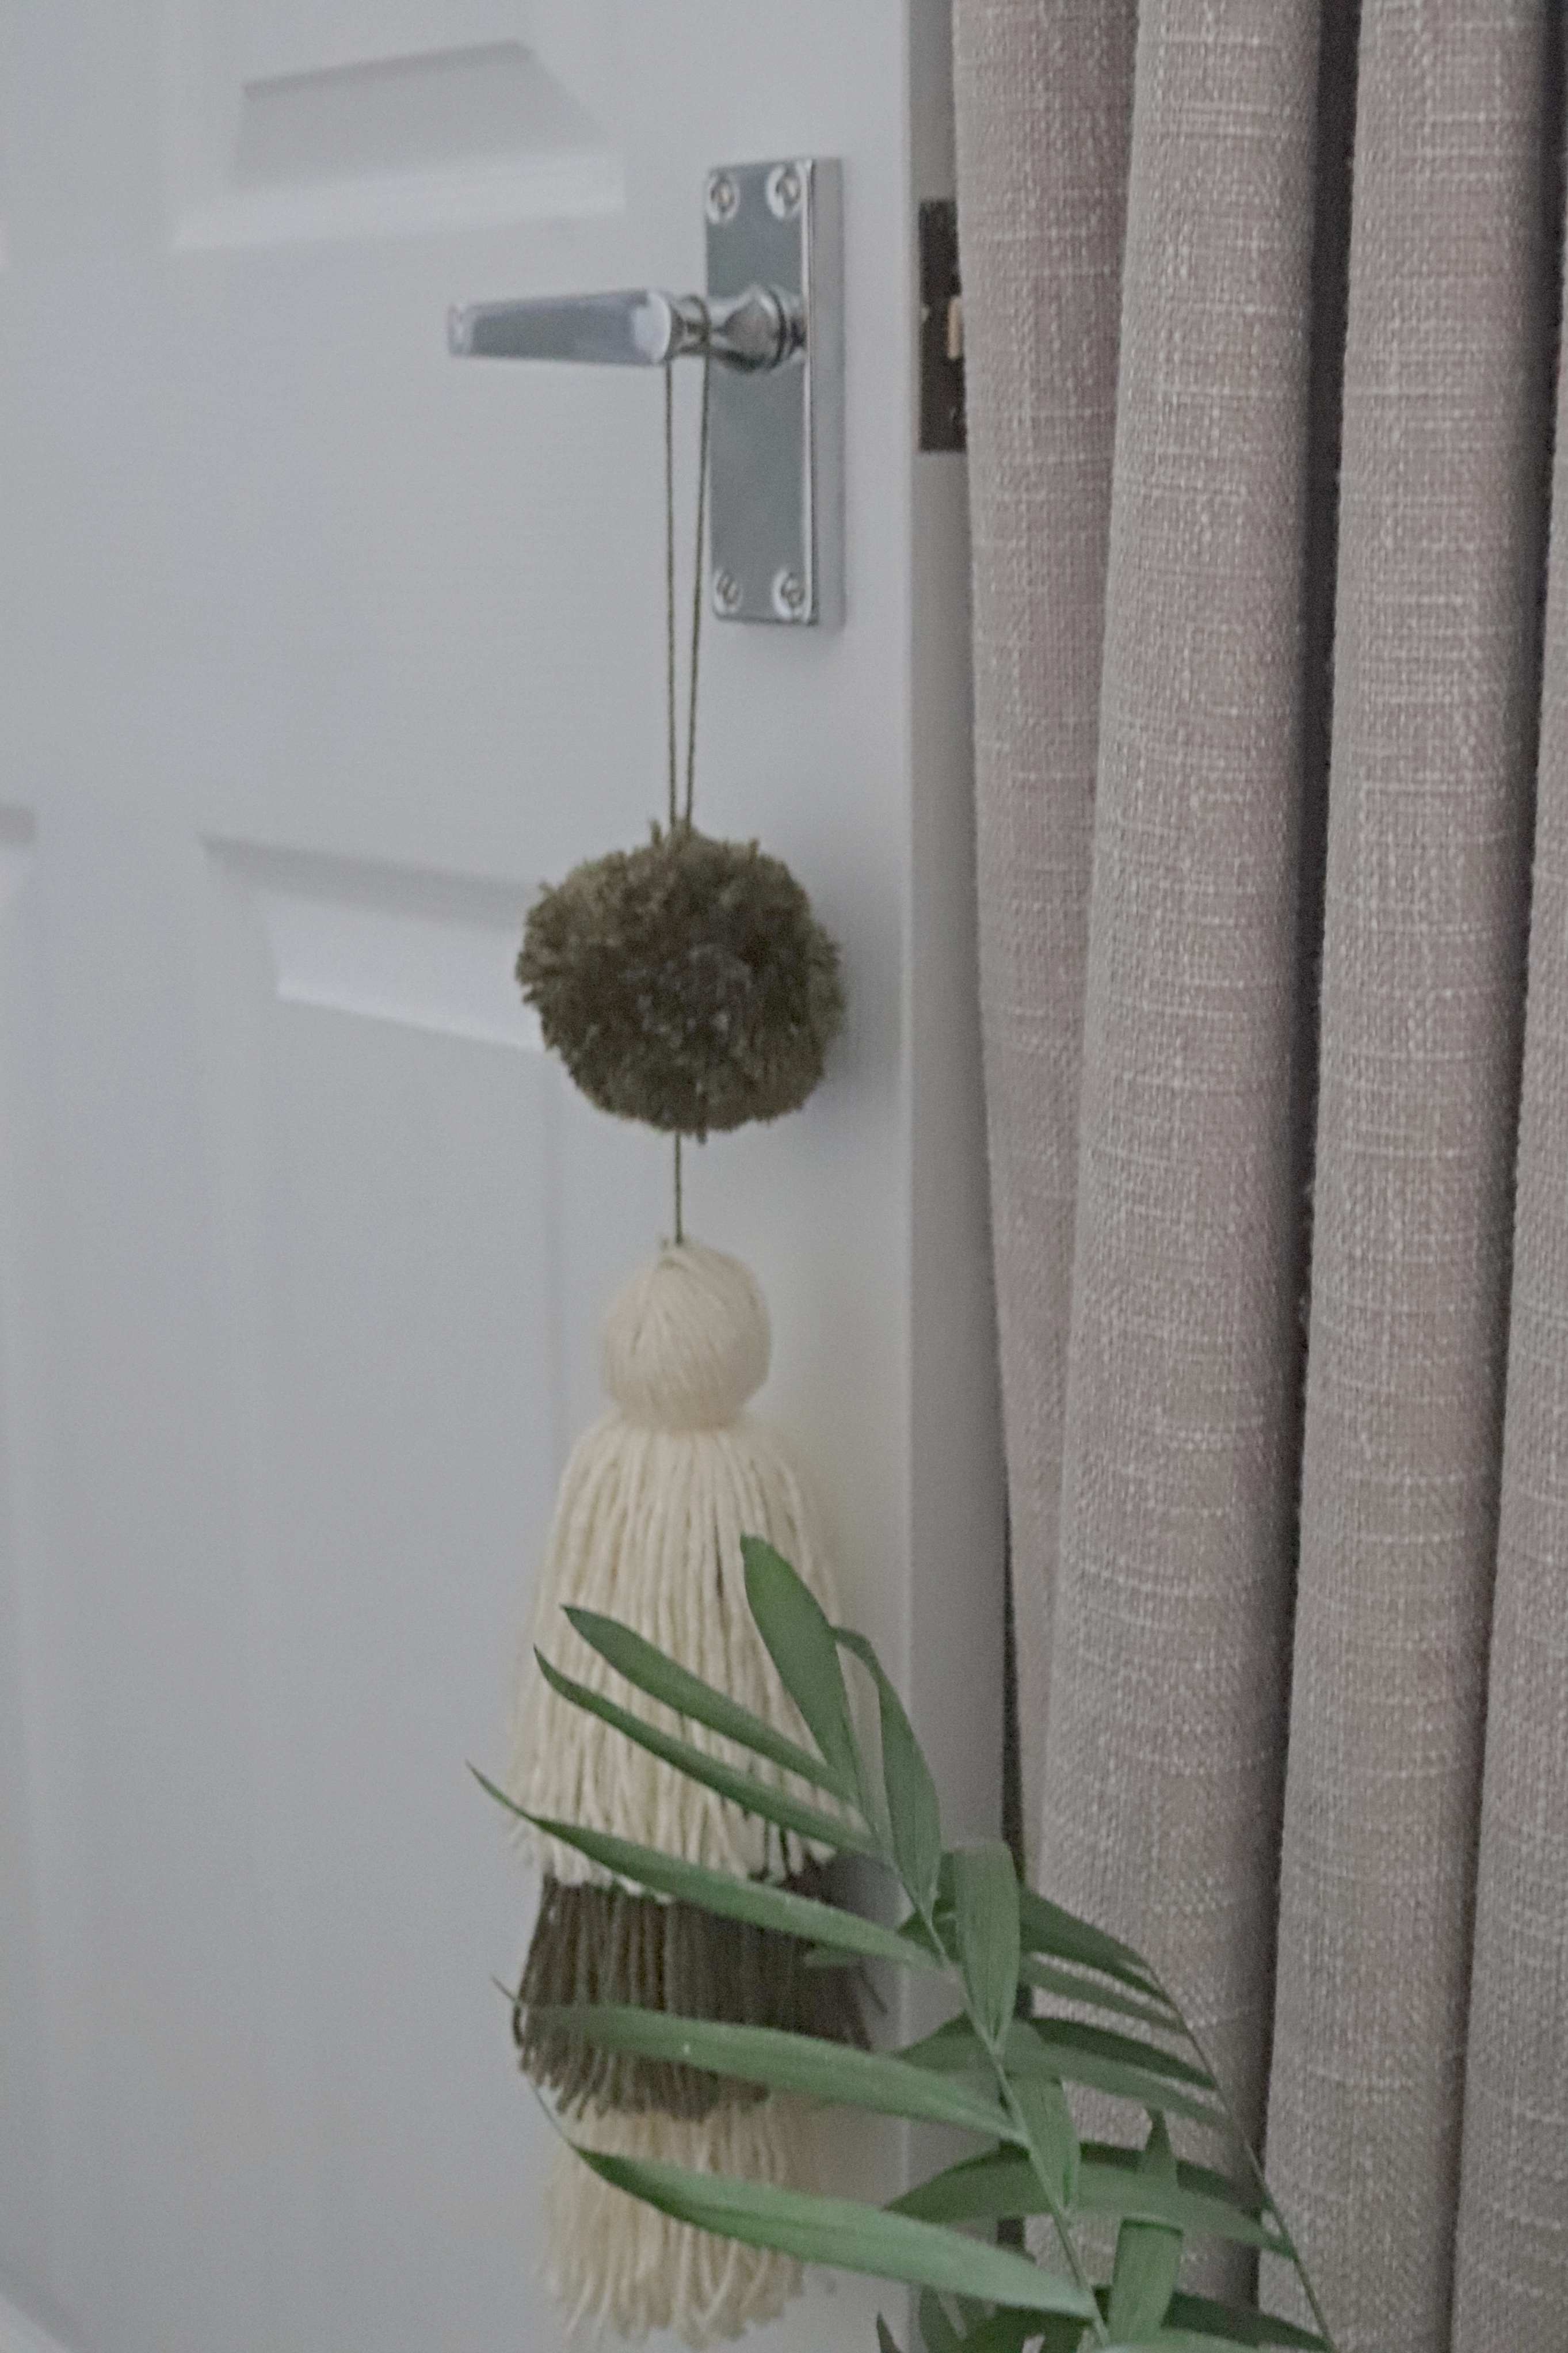
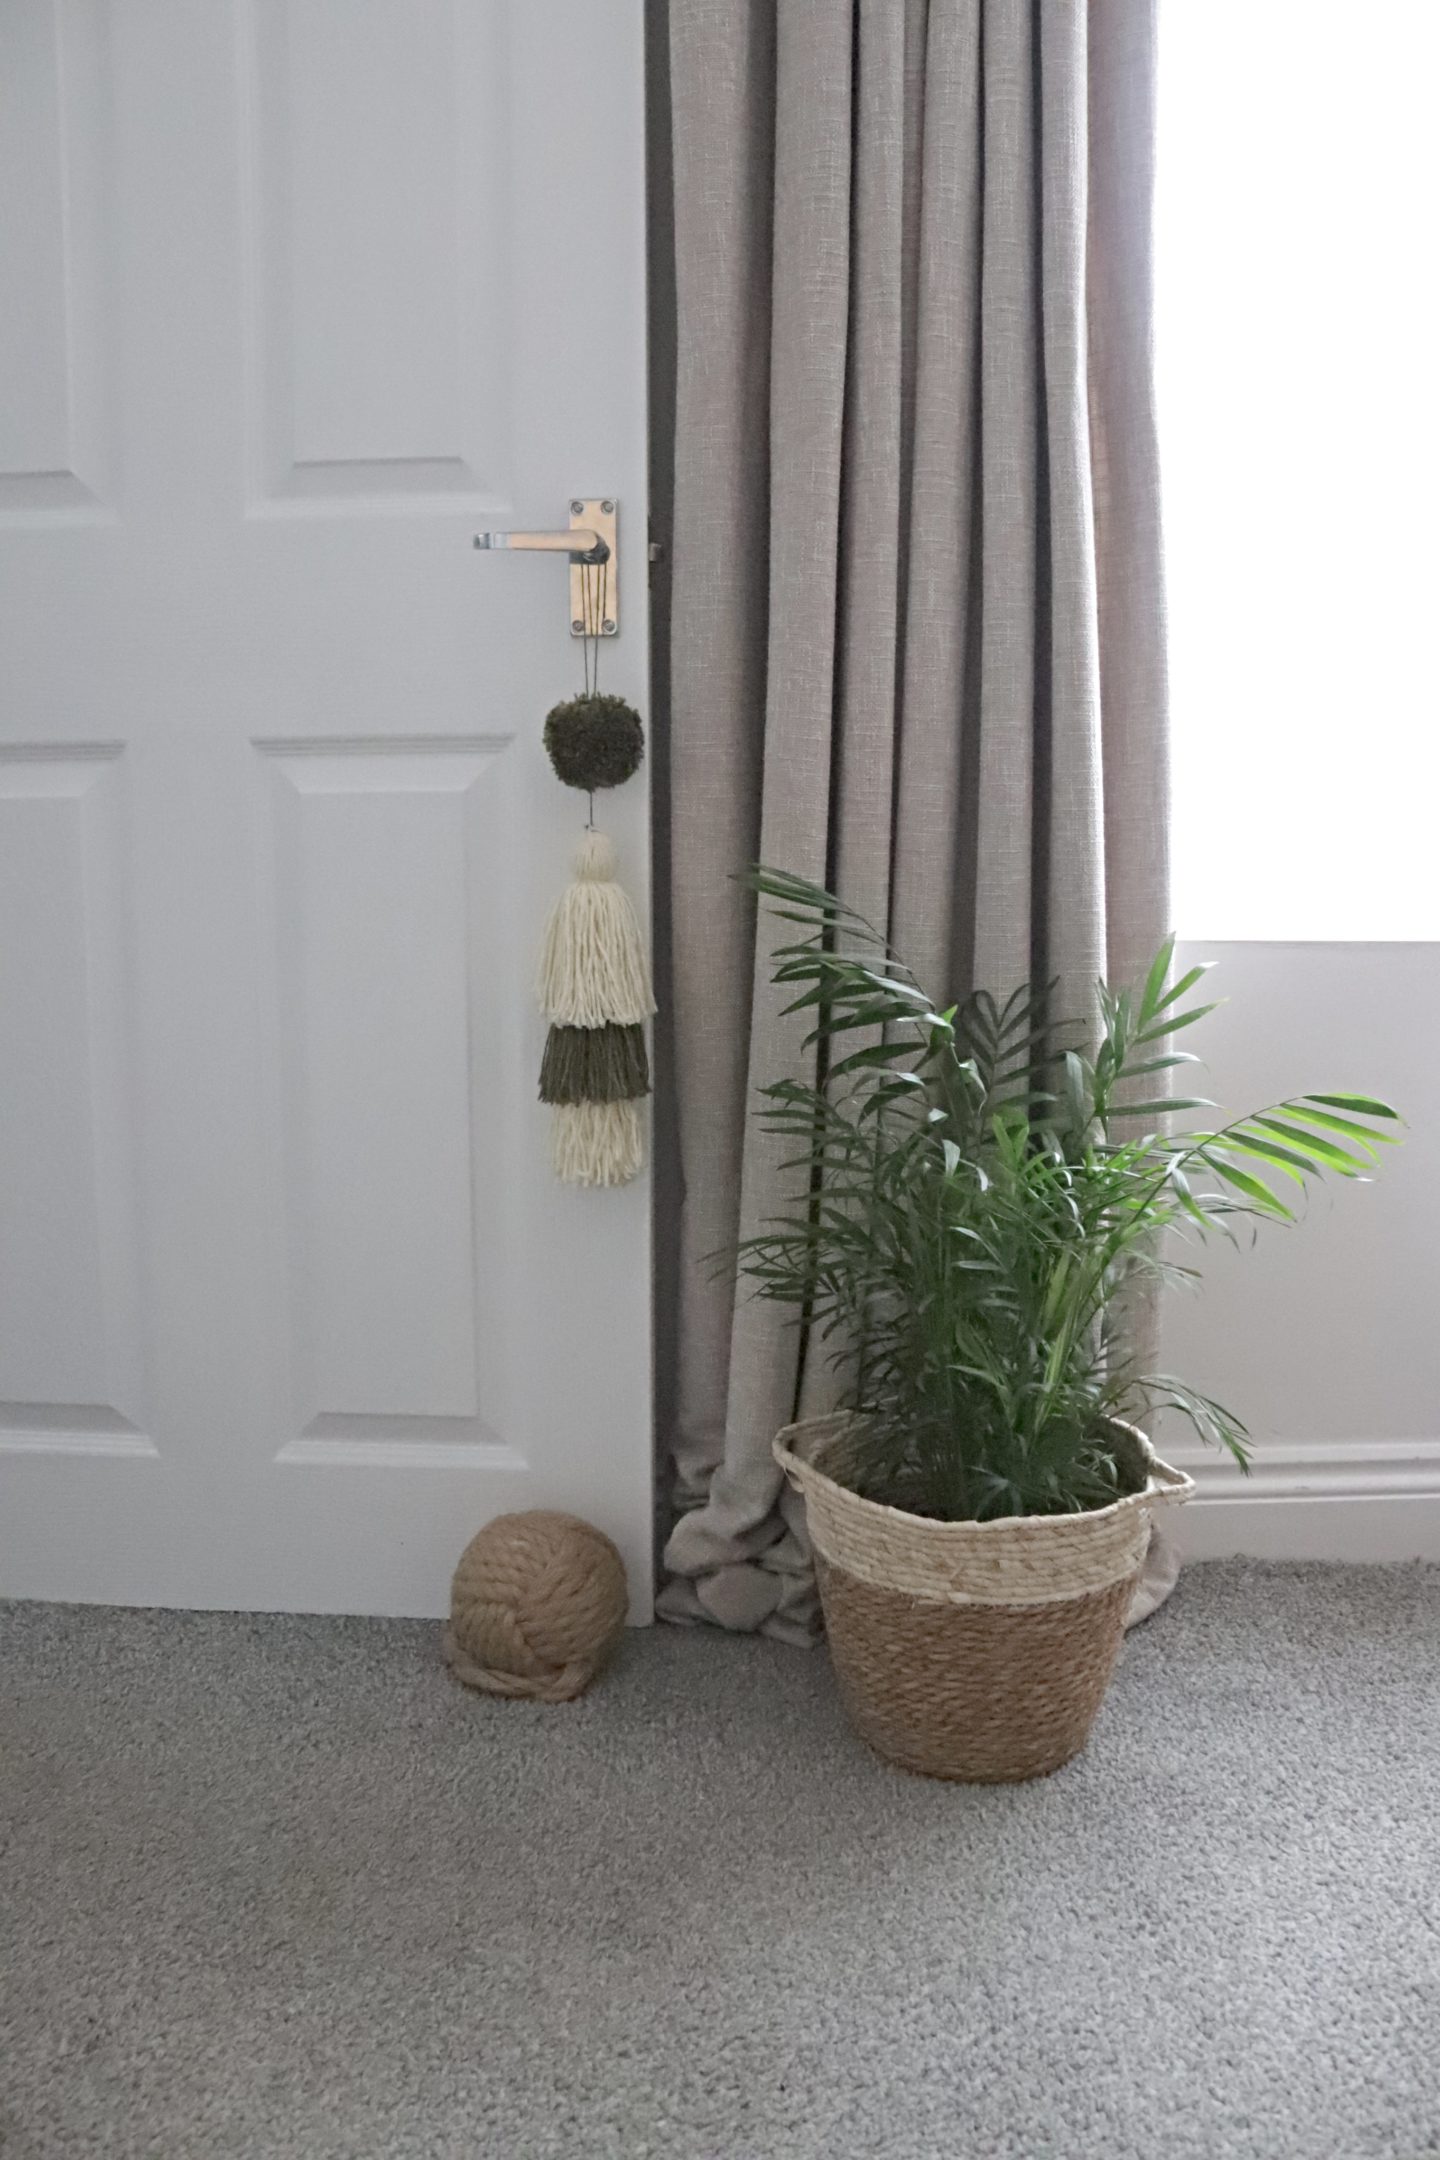
I spend a lot of time scrolling on Instagram. One because it’s a big part of running this blog, and two because I love the inspiration it gives me. A new discovery for me on there is Thekwendyhome, Her house is just stunning and she makes the most amazing reels! I especially love her front door which she painted into an arch and it has the cutest door tassel on. I decided I wanted to make one for my own front door. I love it, so I’m going to share how I made it and you can have one too!
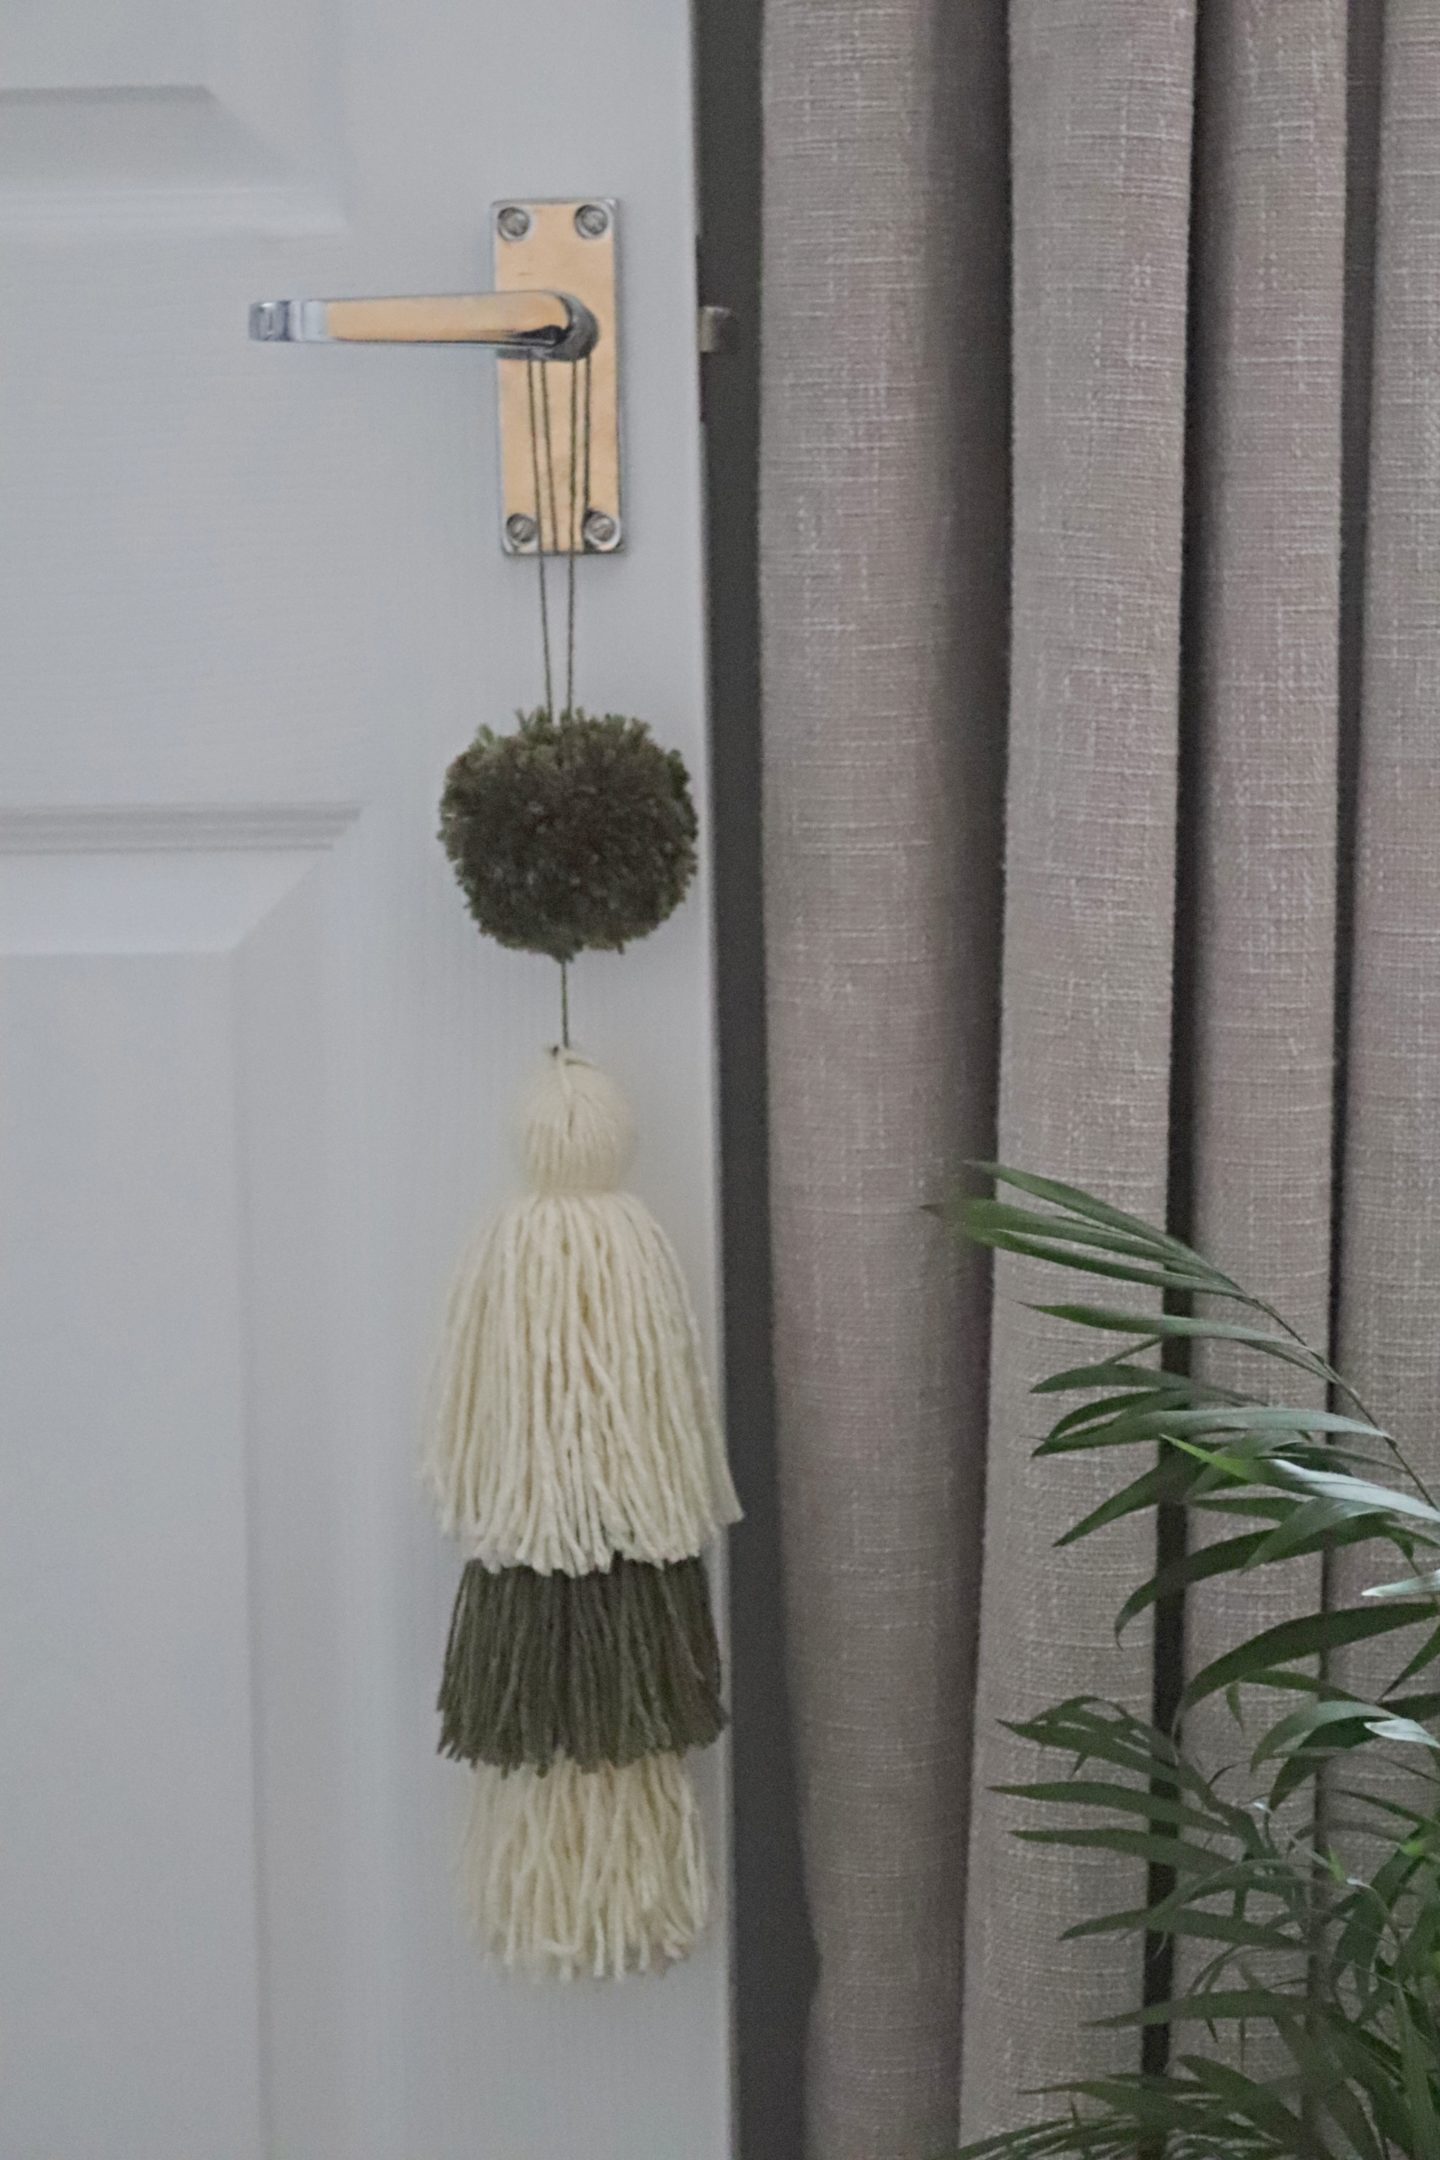
I’ve photographed it on my dining room door as photographing my teeny tiny hallway is a struggle! I also didn’t buy anything new for this project, I just had a look through my wool supply. I went with cream and green as I’m trying to stick to a cohesive colour palette throughout my home now and these are what I had that fit but you could go with any colour that suits you. I also just went for two colours that I alternated but you could go for 4 different colours or even add extra tassels or pom poms!
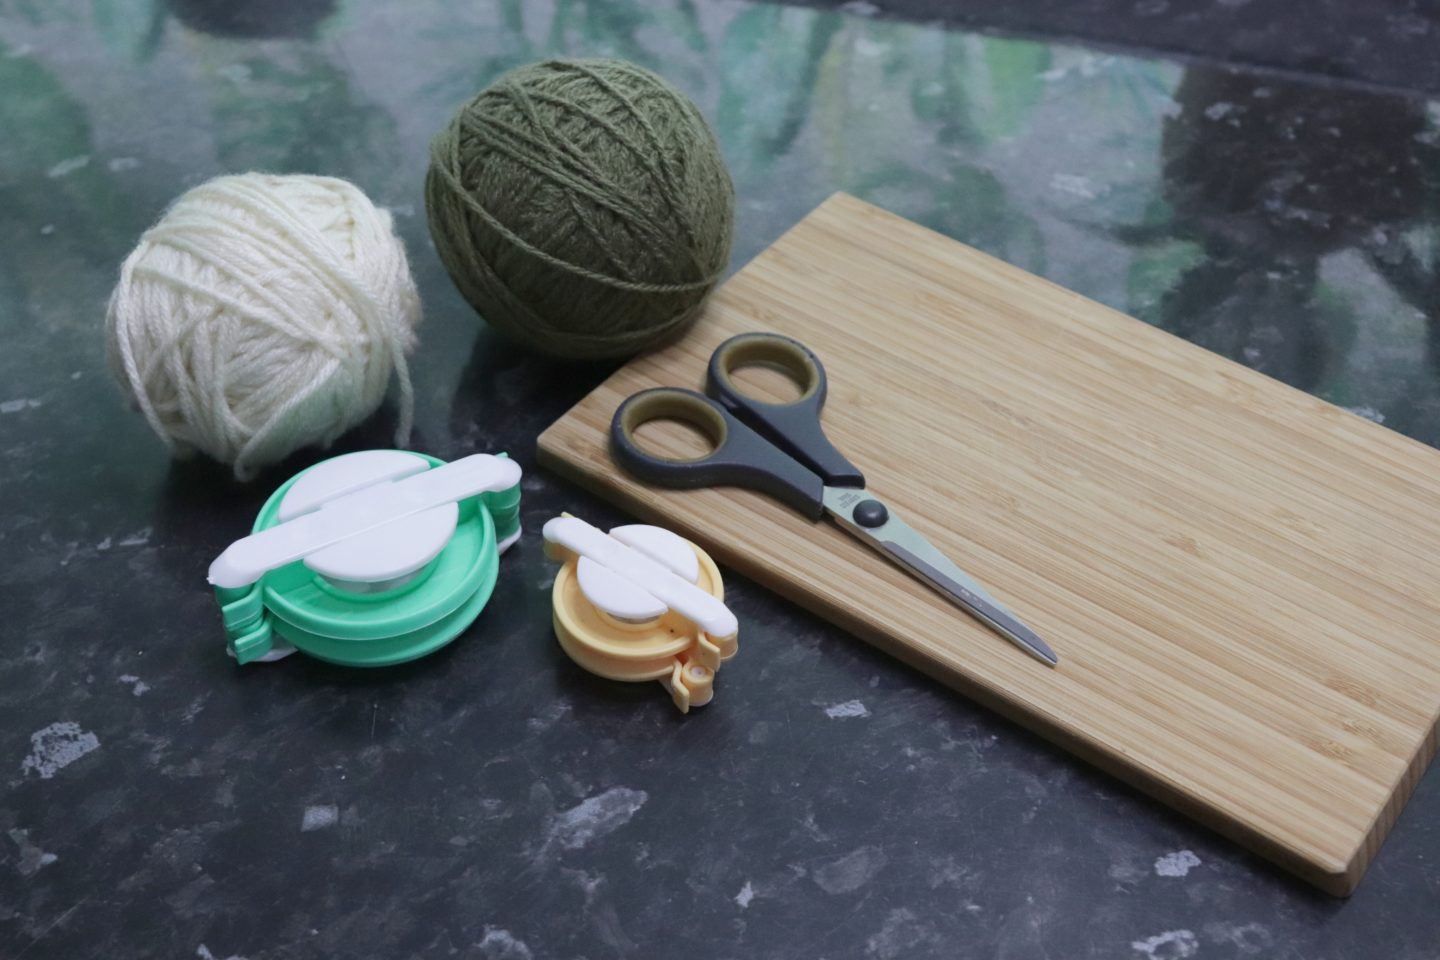
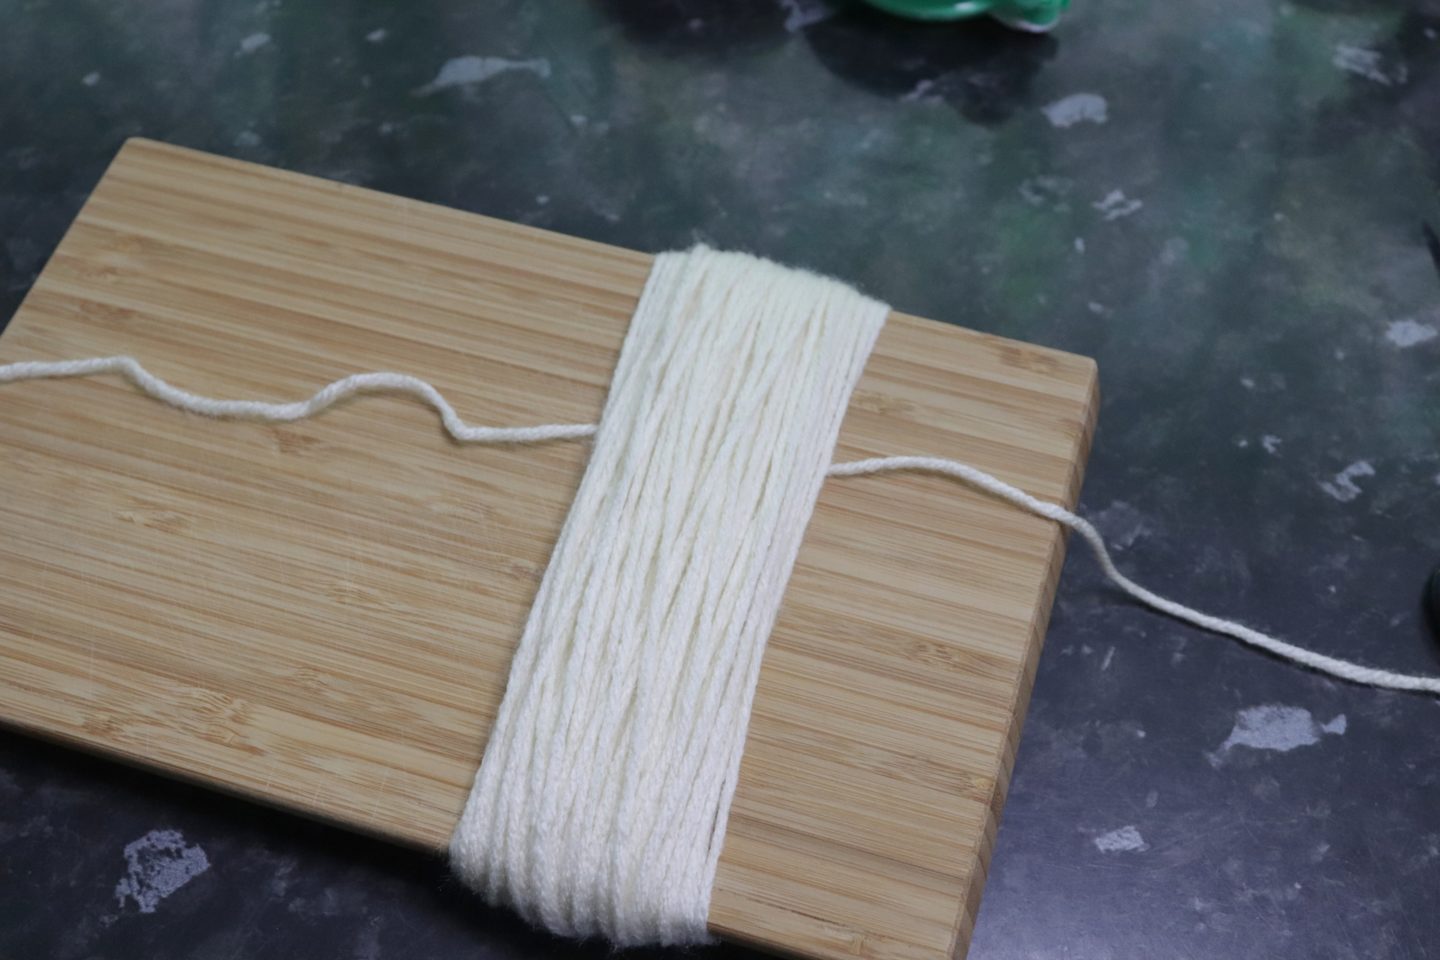
All you need is your wool of choice, a pair of scissors, a pom pom maker/card, a wool darning needle (not pictured) and something to wrap your tassel around. You could use some stiff card or a book but I used a small chopping board. I got out a couple of pom pom makers as I wasn’t sure what size I wanted until after I made the tassels.
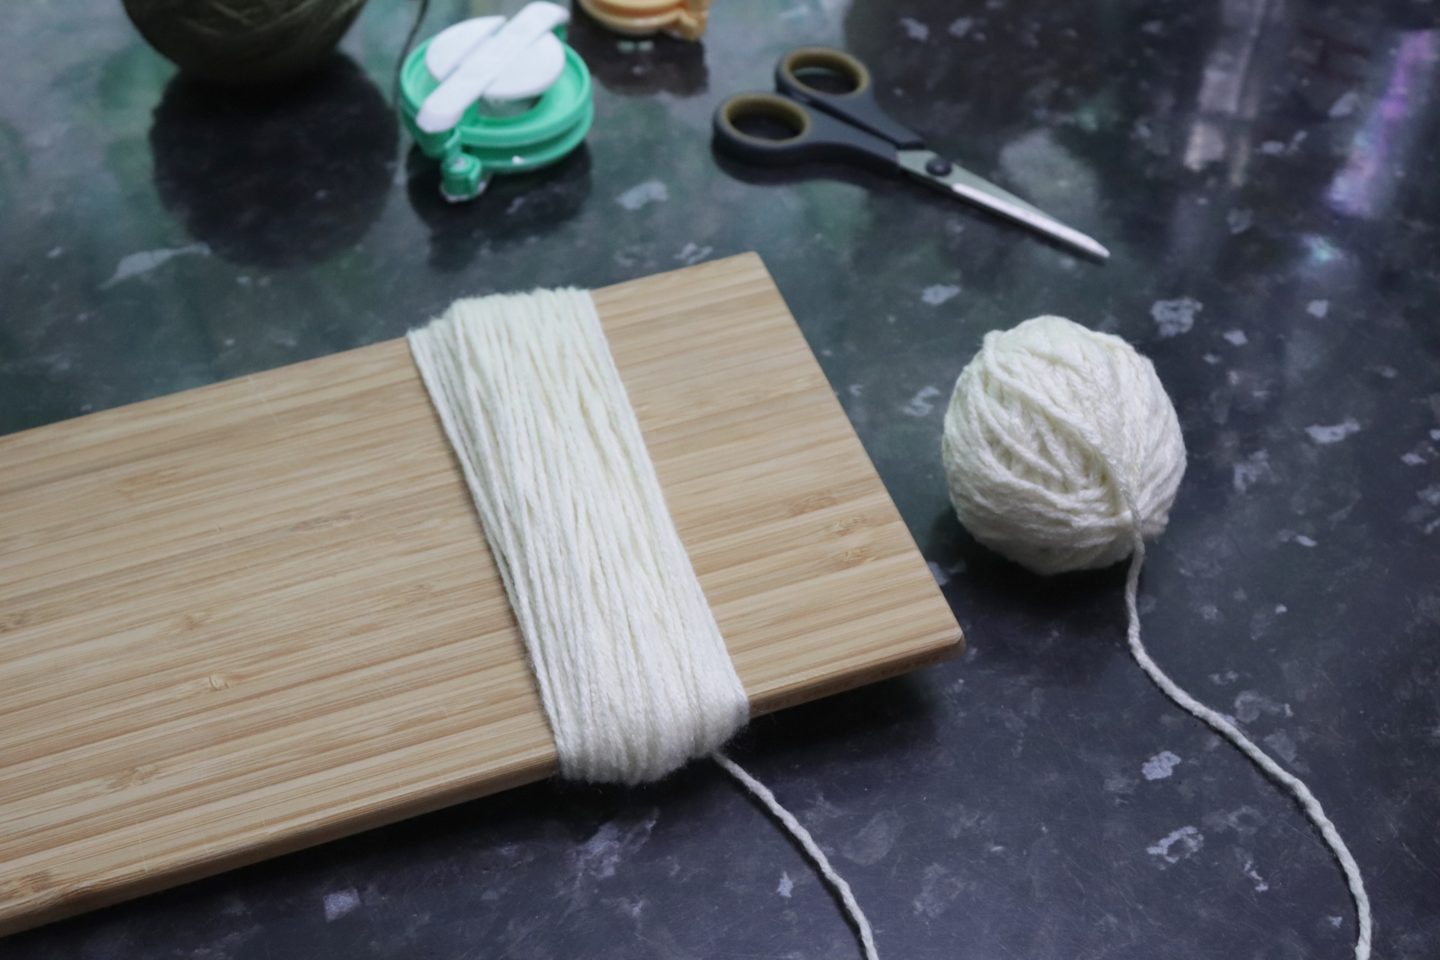
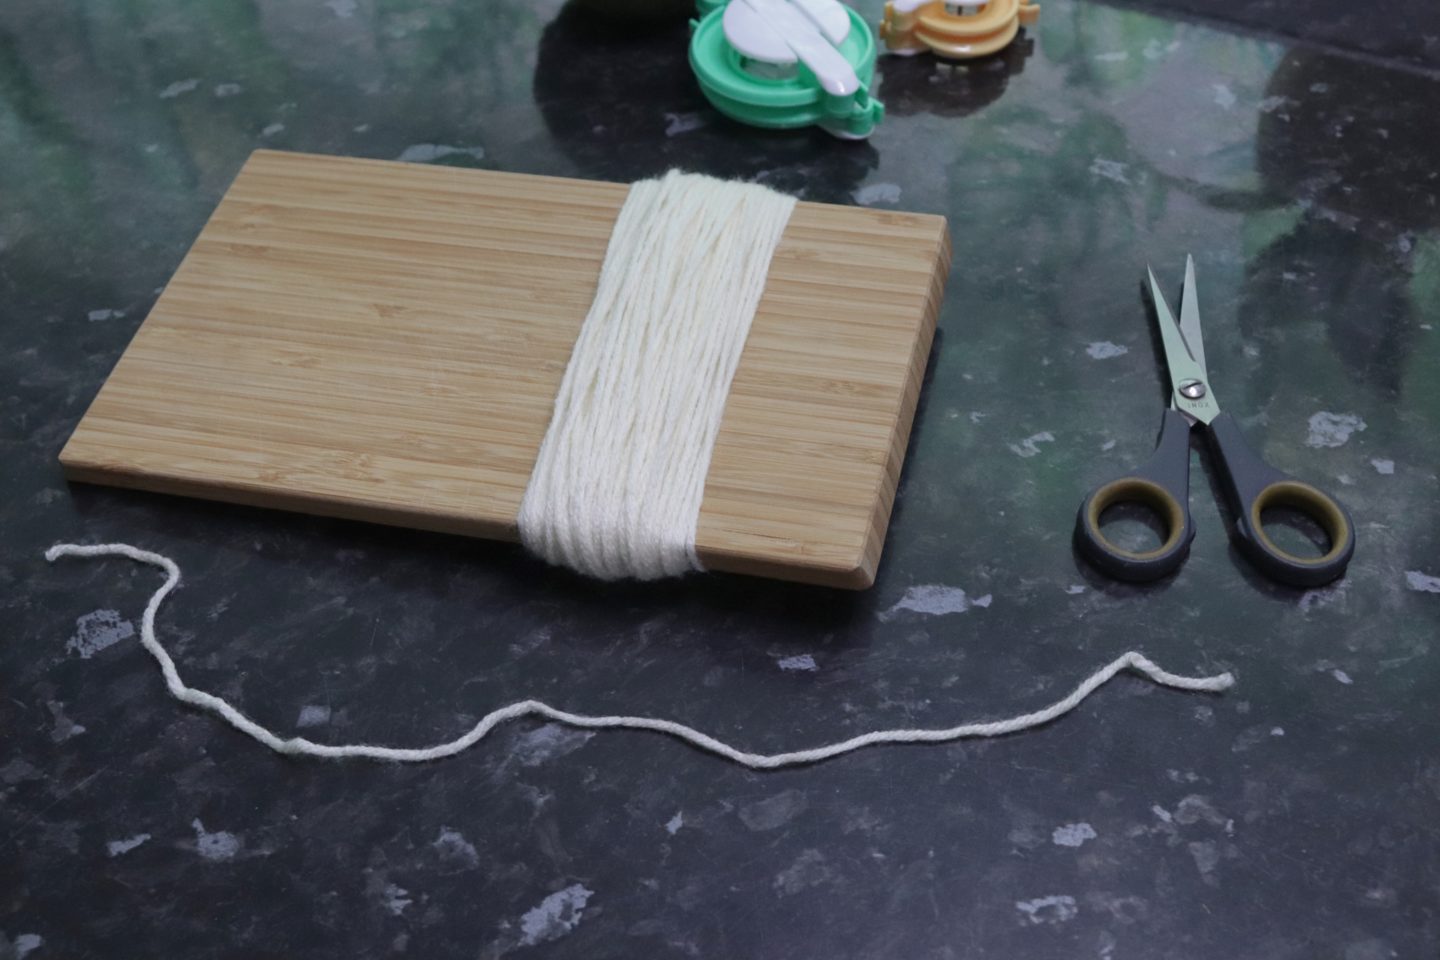
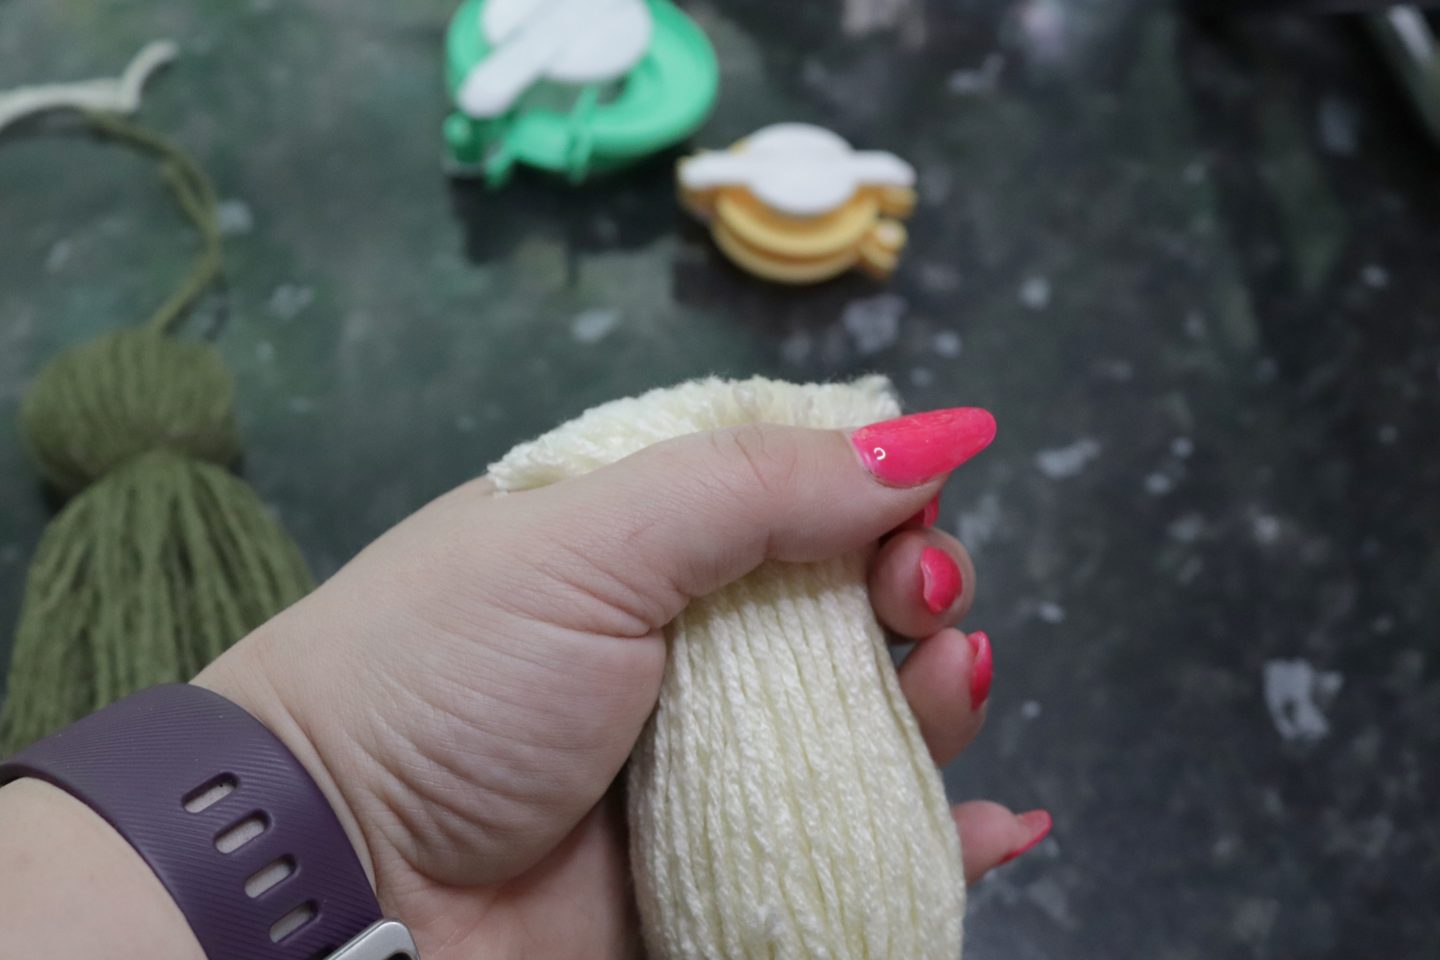
To make your tassels wrap your wool around and around your card/board until its the thickness you want. I wrapped mine around 100 times. I would recommend counting if you’re making more than one tassel as this will keep them the same size. Once you’ve done this cut off your wool.
Cut another length and thread it underneath your wool.
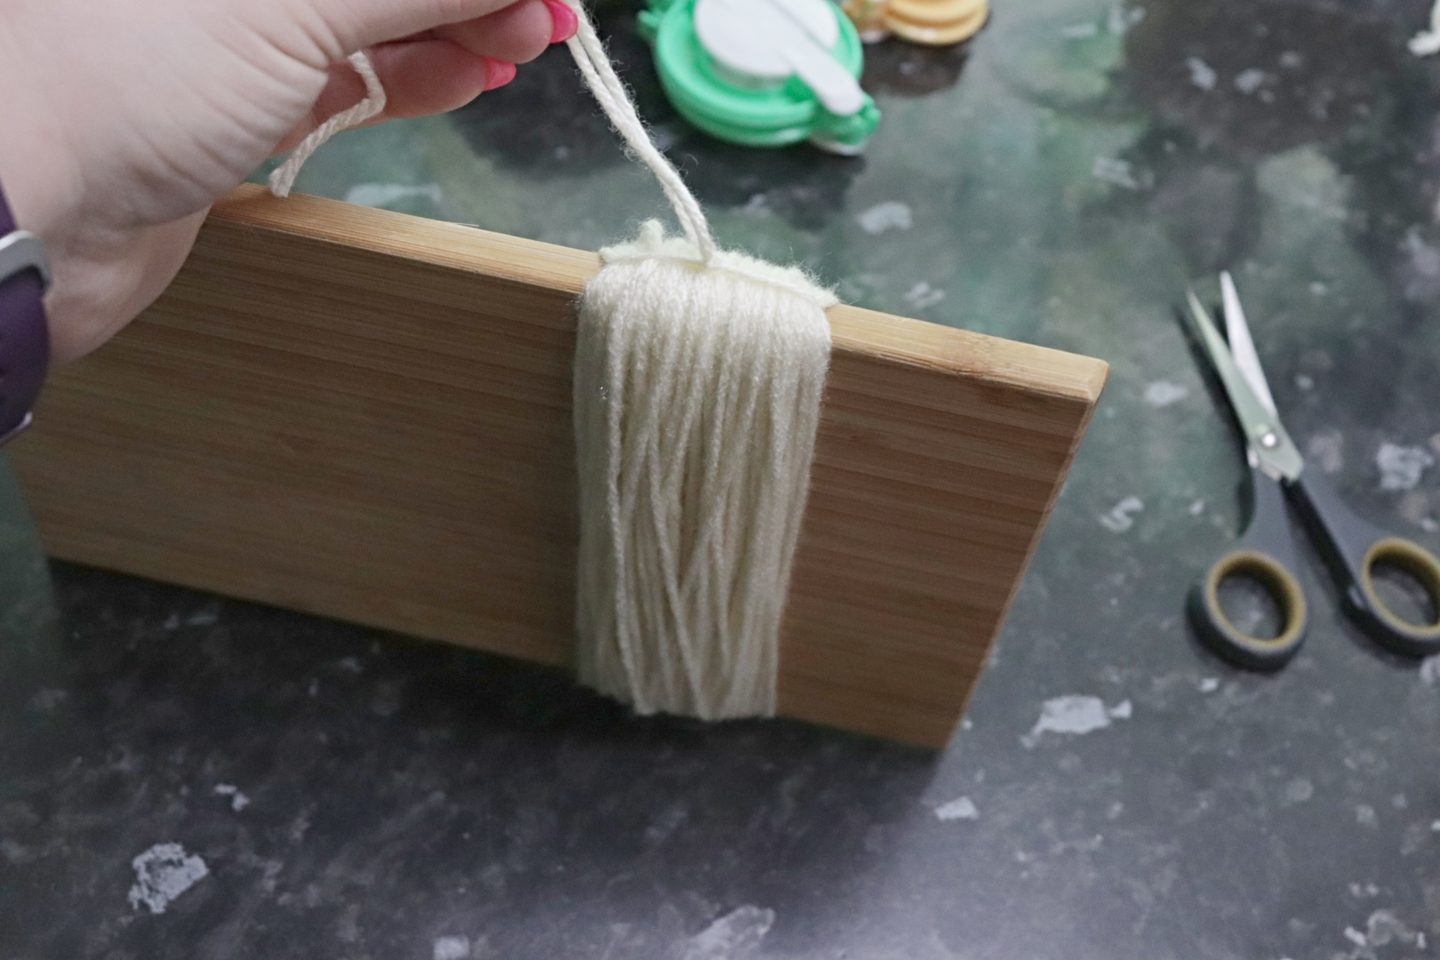
Move the length of wool to one end and tie it.
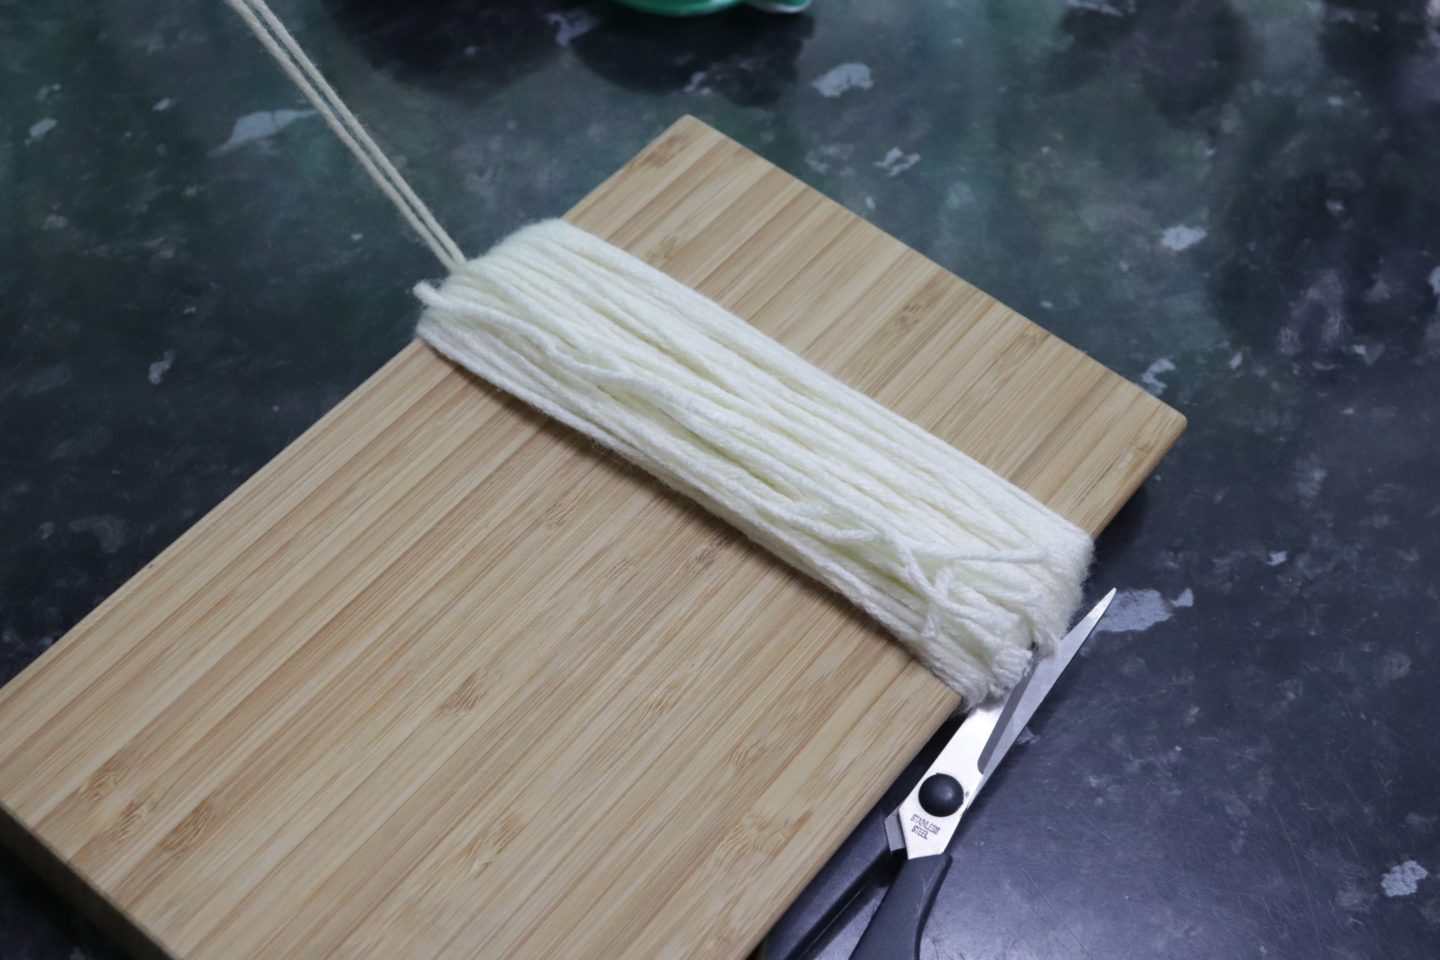
Cut through the wool at the opposite end you have just tied it.

This is what your tassel will look like now. Cut another length of wool and tie it around the tassel about a quarter of the way down.
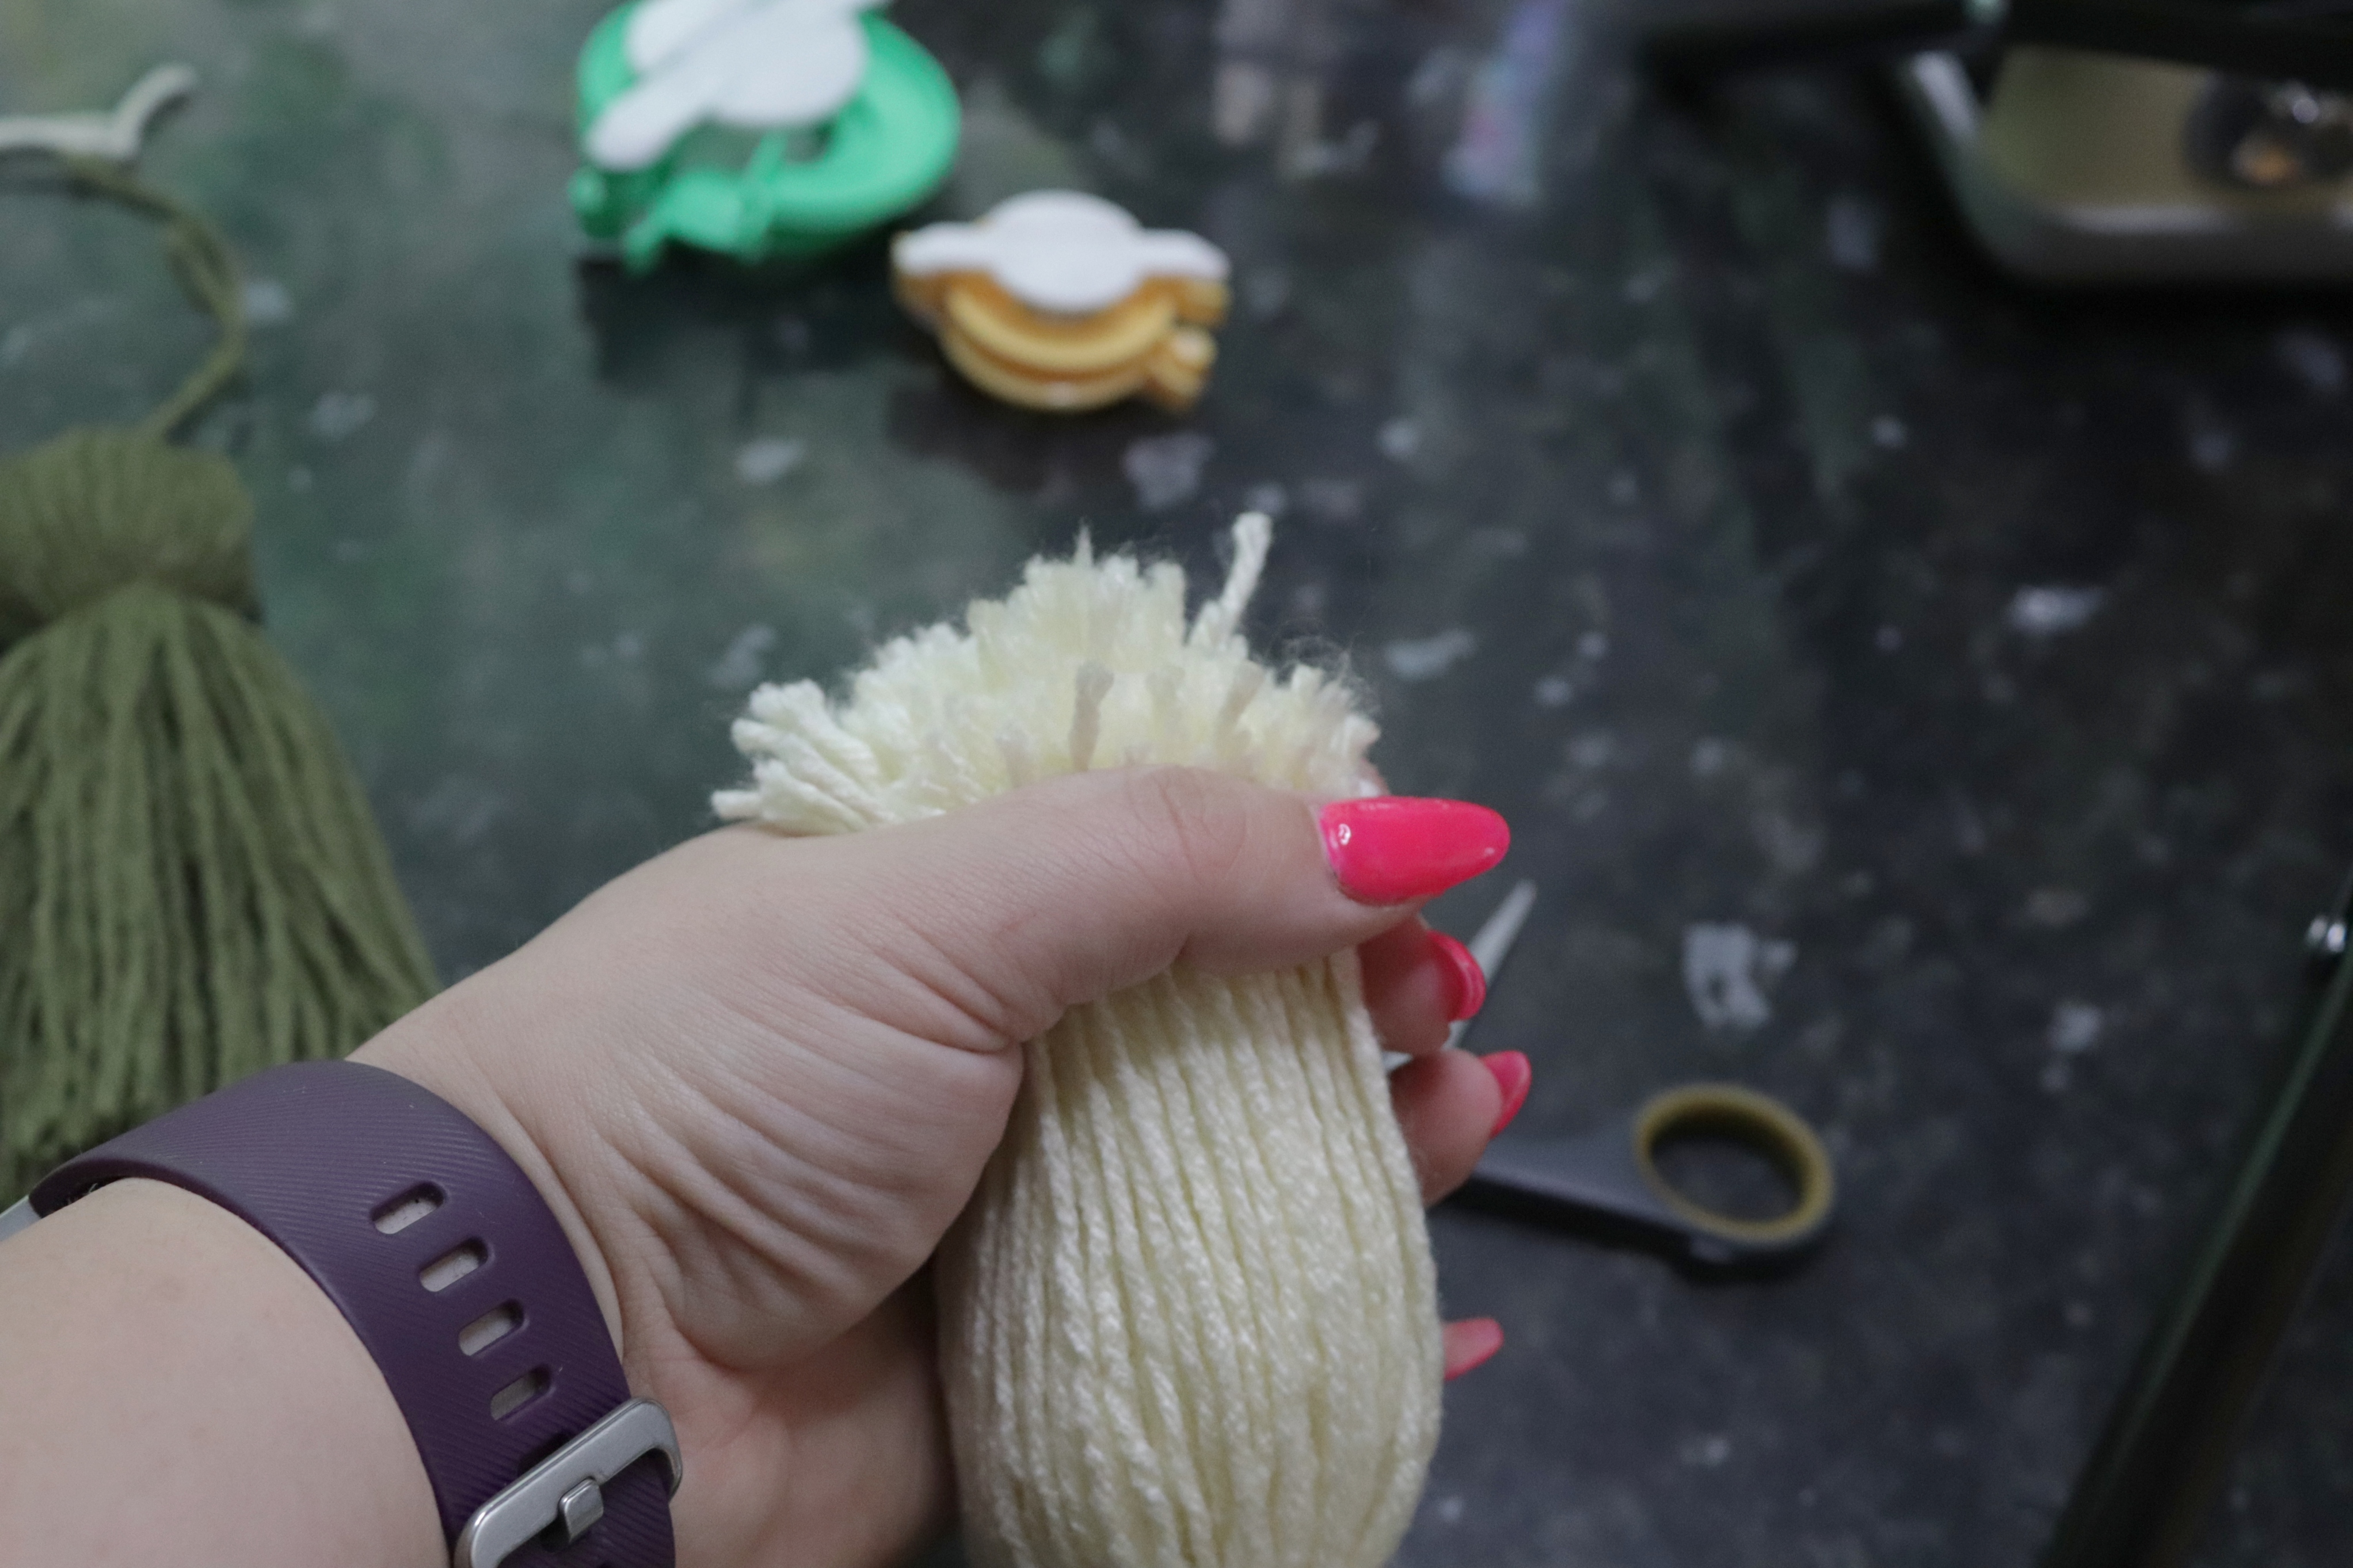
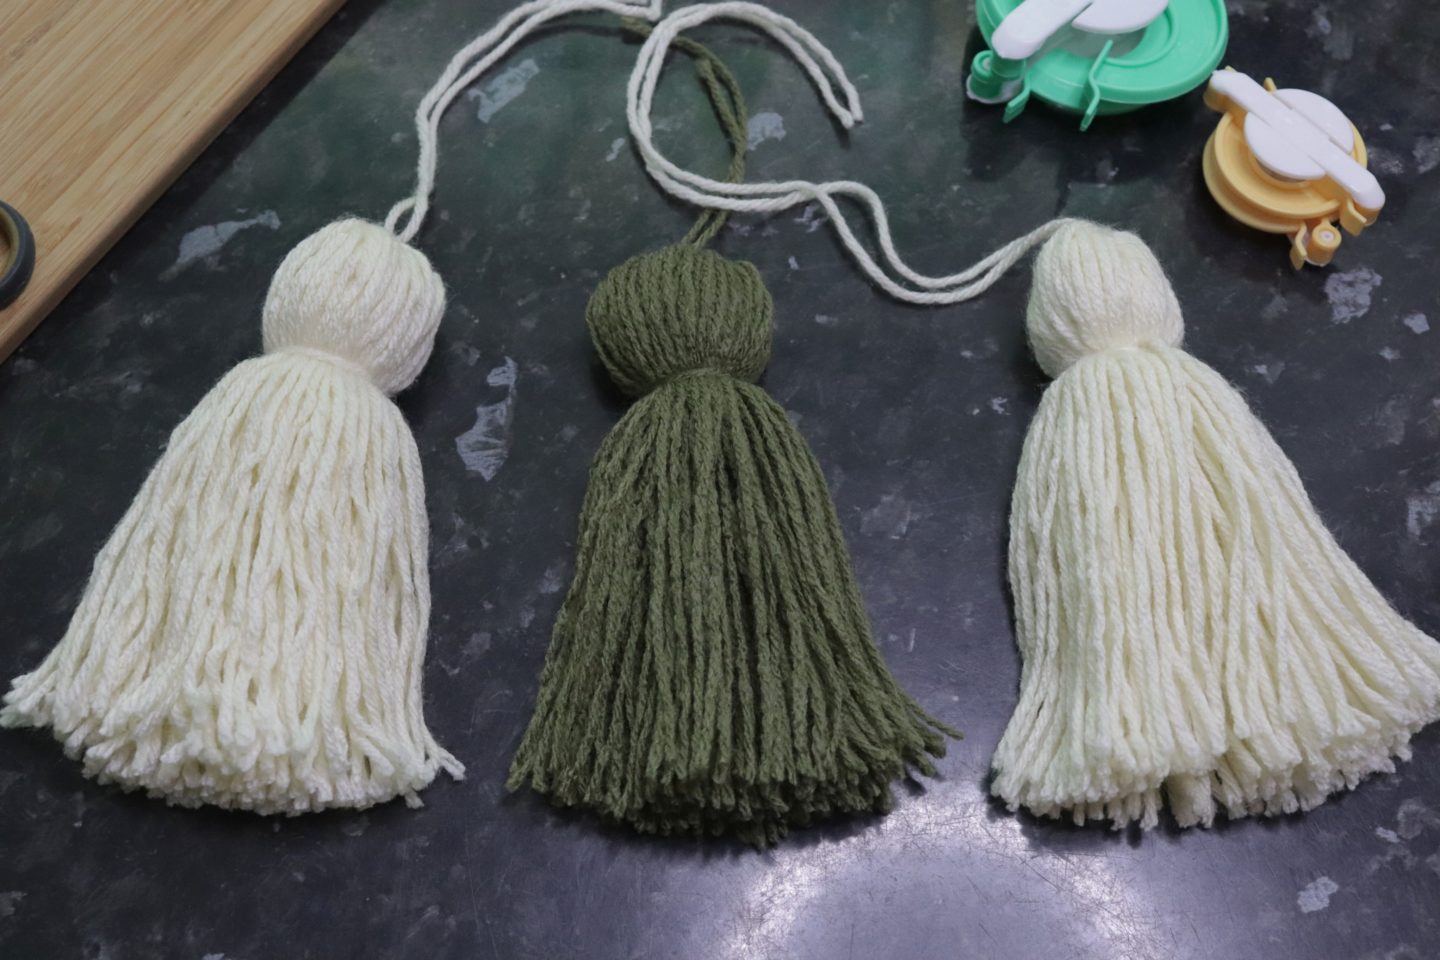
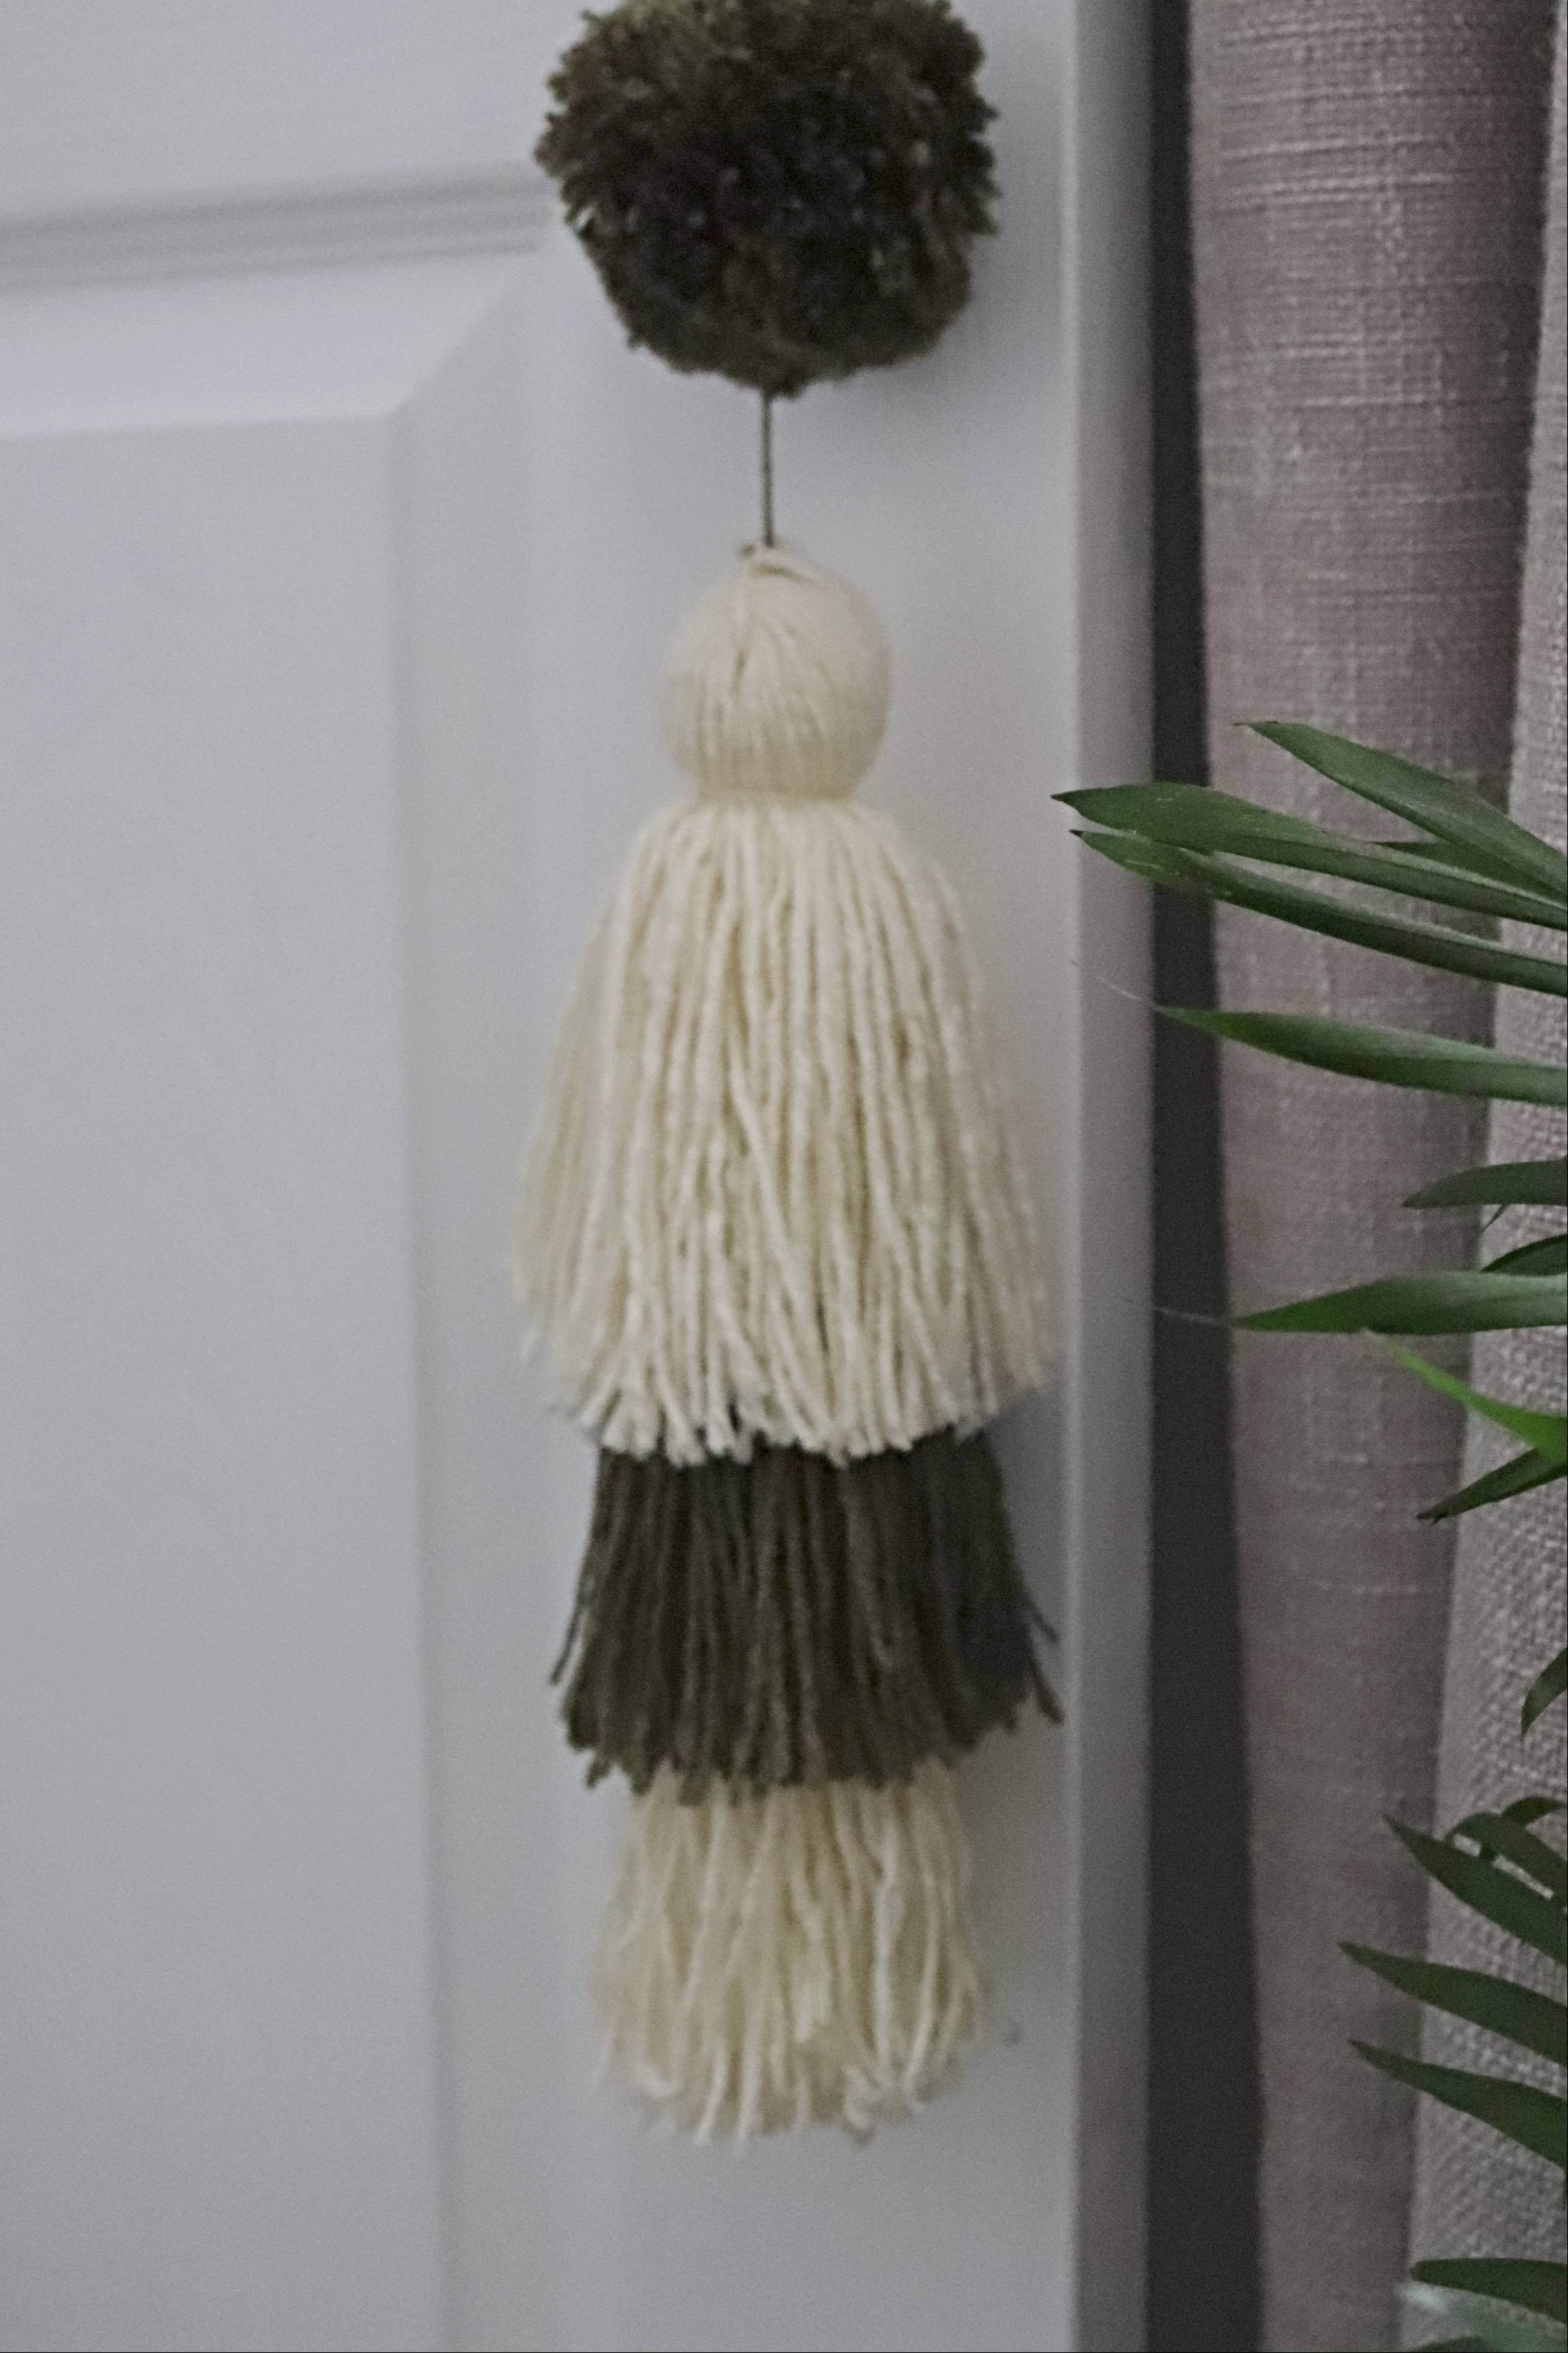
The last step is to trim the very end of your tassel so that it has a straight edge. Repeat this process in your chosen colours until you have the tassels required. For my design I needed two cream tassels and one green.
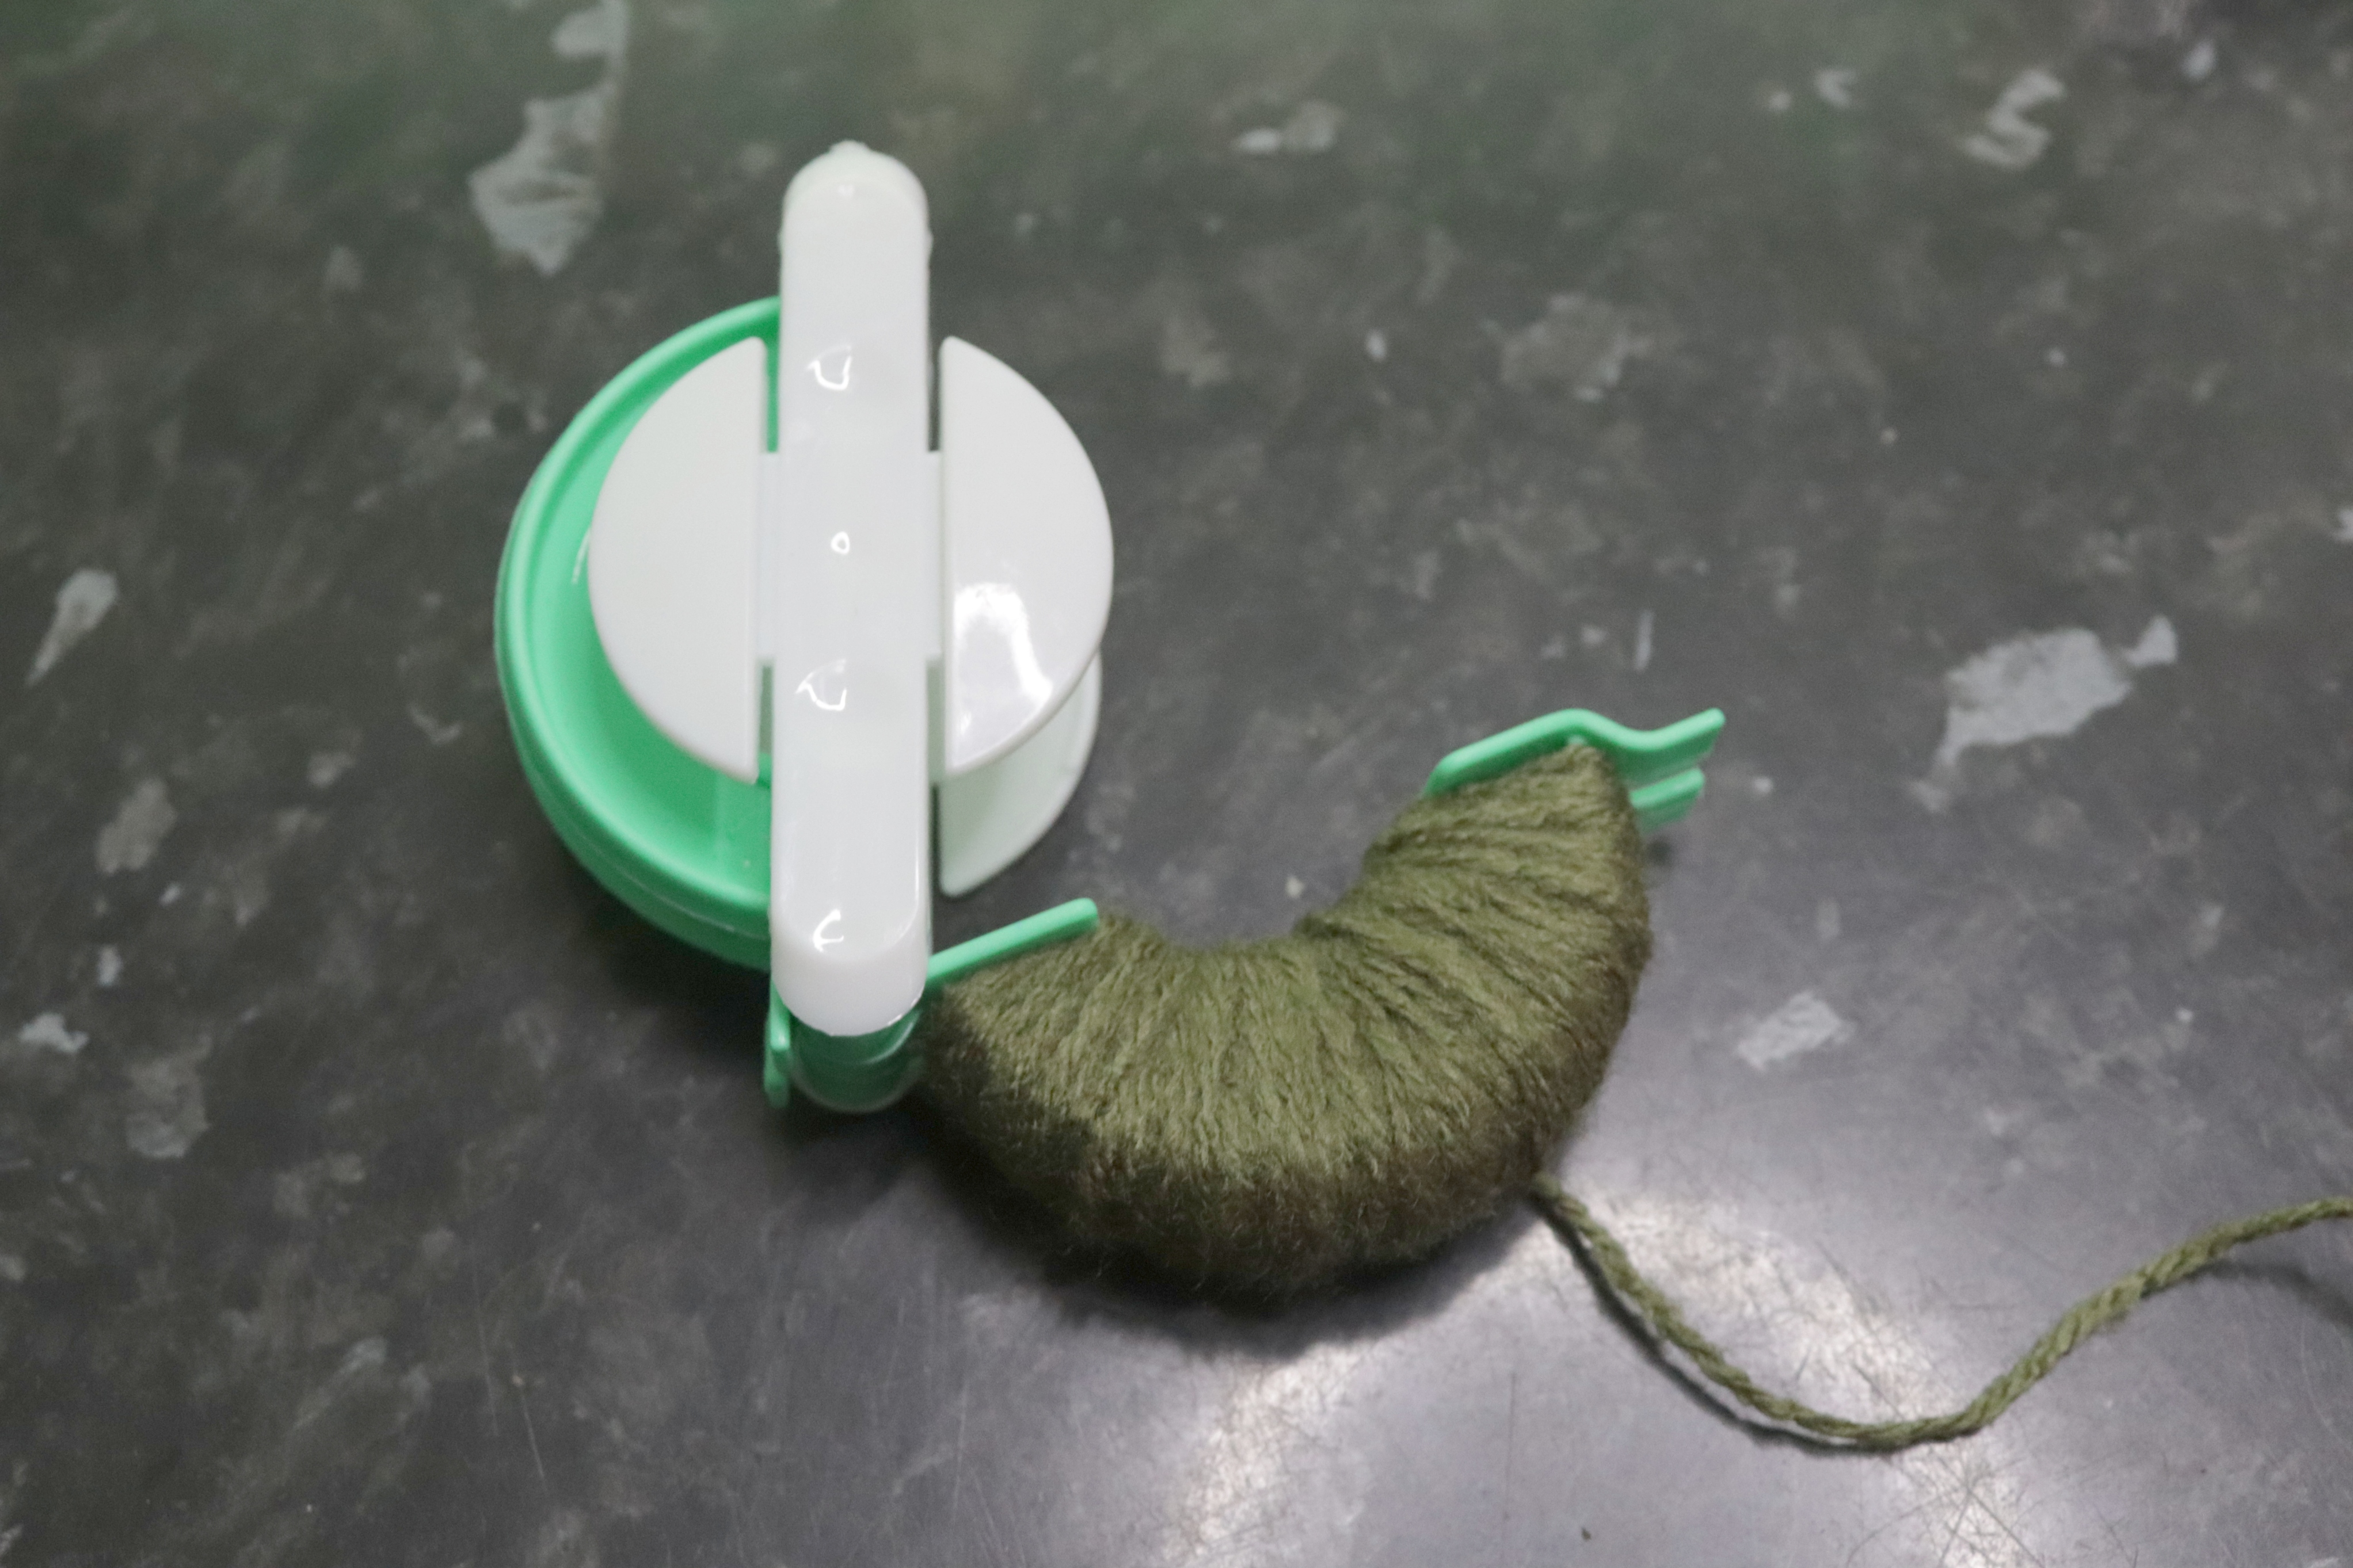
Next I made my pom pom using a pom pom maker. You can also use card to make a pom pom, a method I used for my Pom Pom Keyring. And if you love a pom pom you might also like to check out my Valentines Pom Pom Garland, Colourful Pom Pom Wreath and my Straw Bag with Pom Poms.
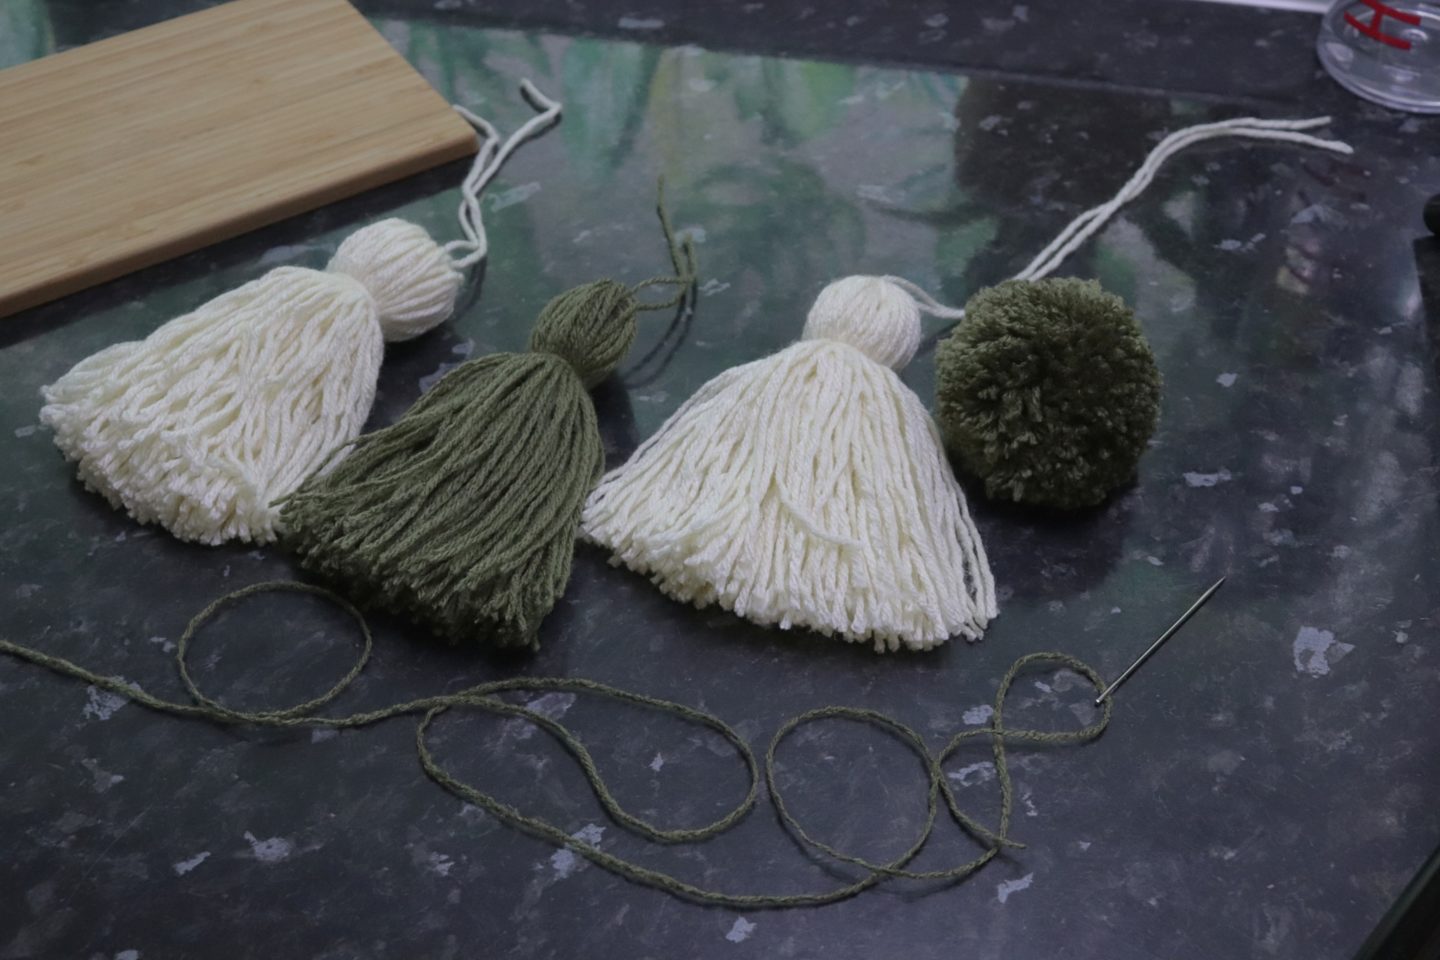
Now all the elements of our door tassel are made it’s just a matter of putting them together. Take a long length of wool and thread it on to a wool darning needle.
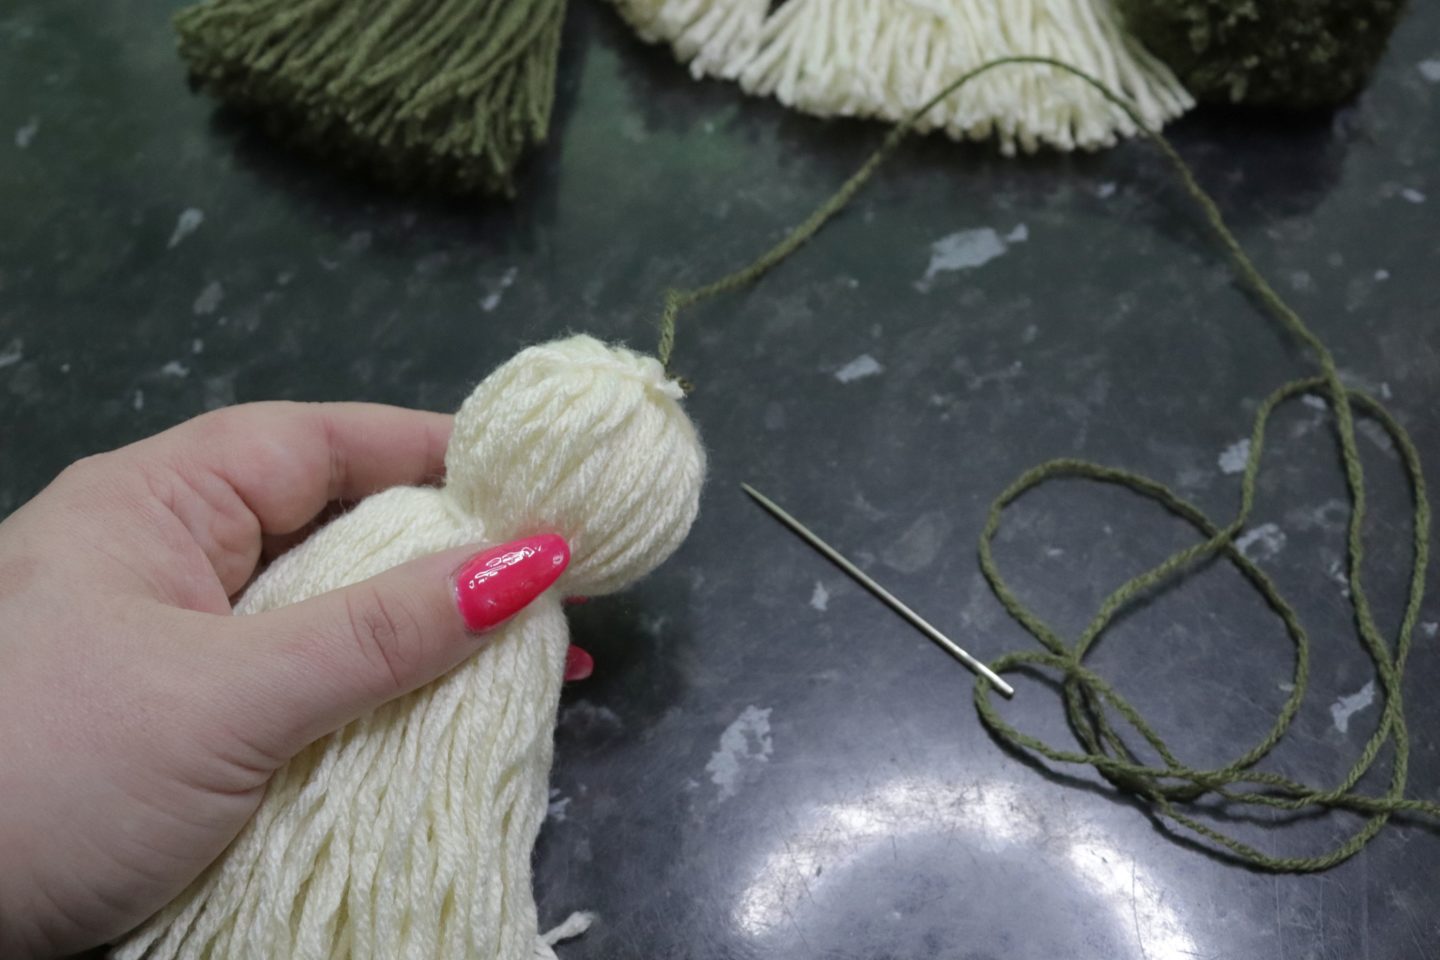
Secure this length of thread to the top of your first tassel by threading it through the top a few times.
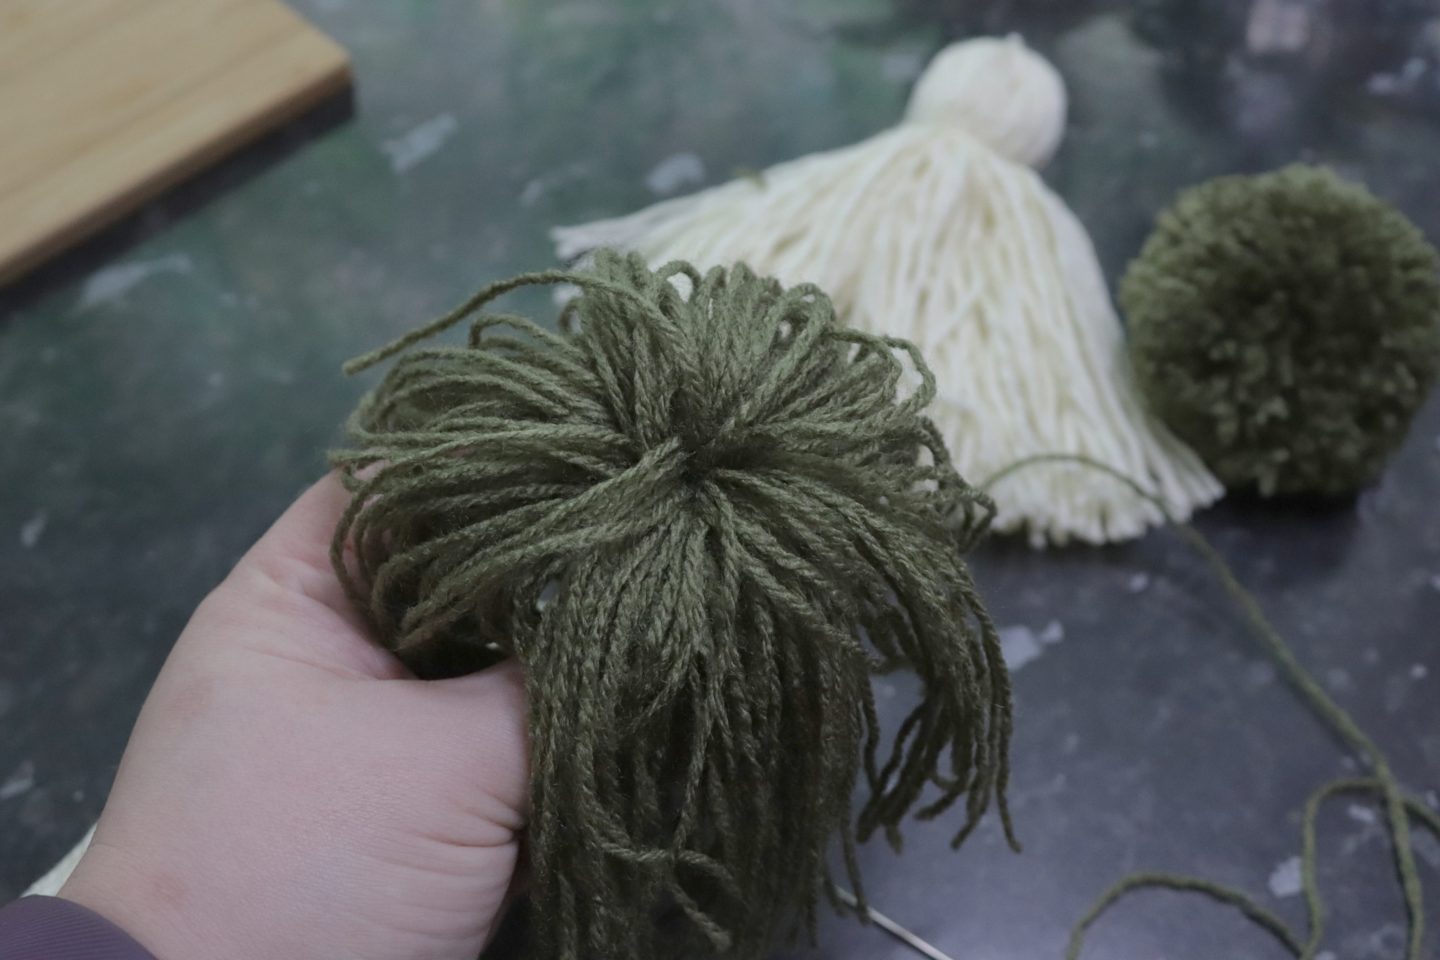
Take your second tassel, turn it upside down and spread the strands evenly to get to the centre.
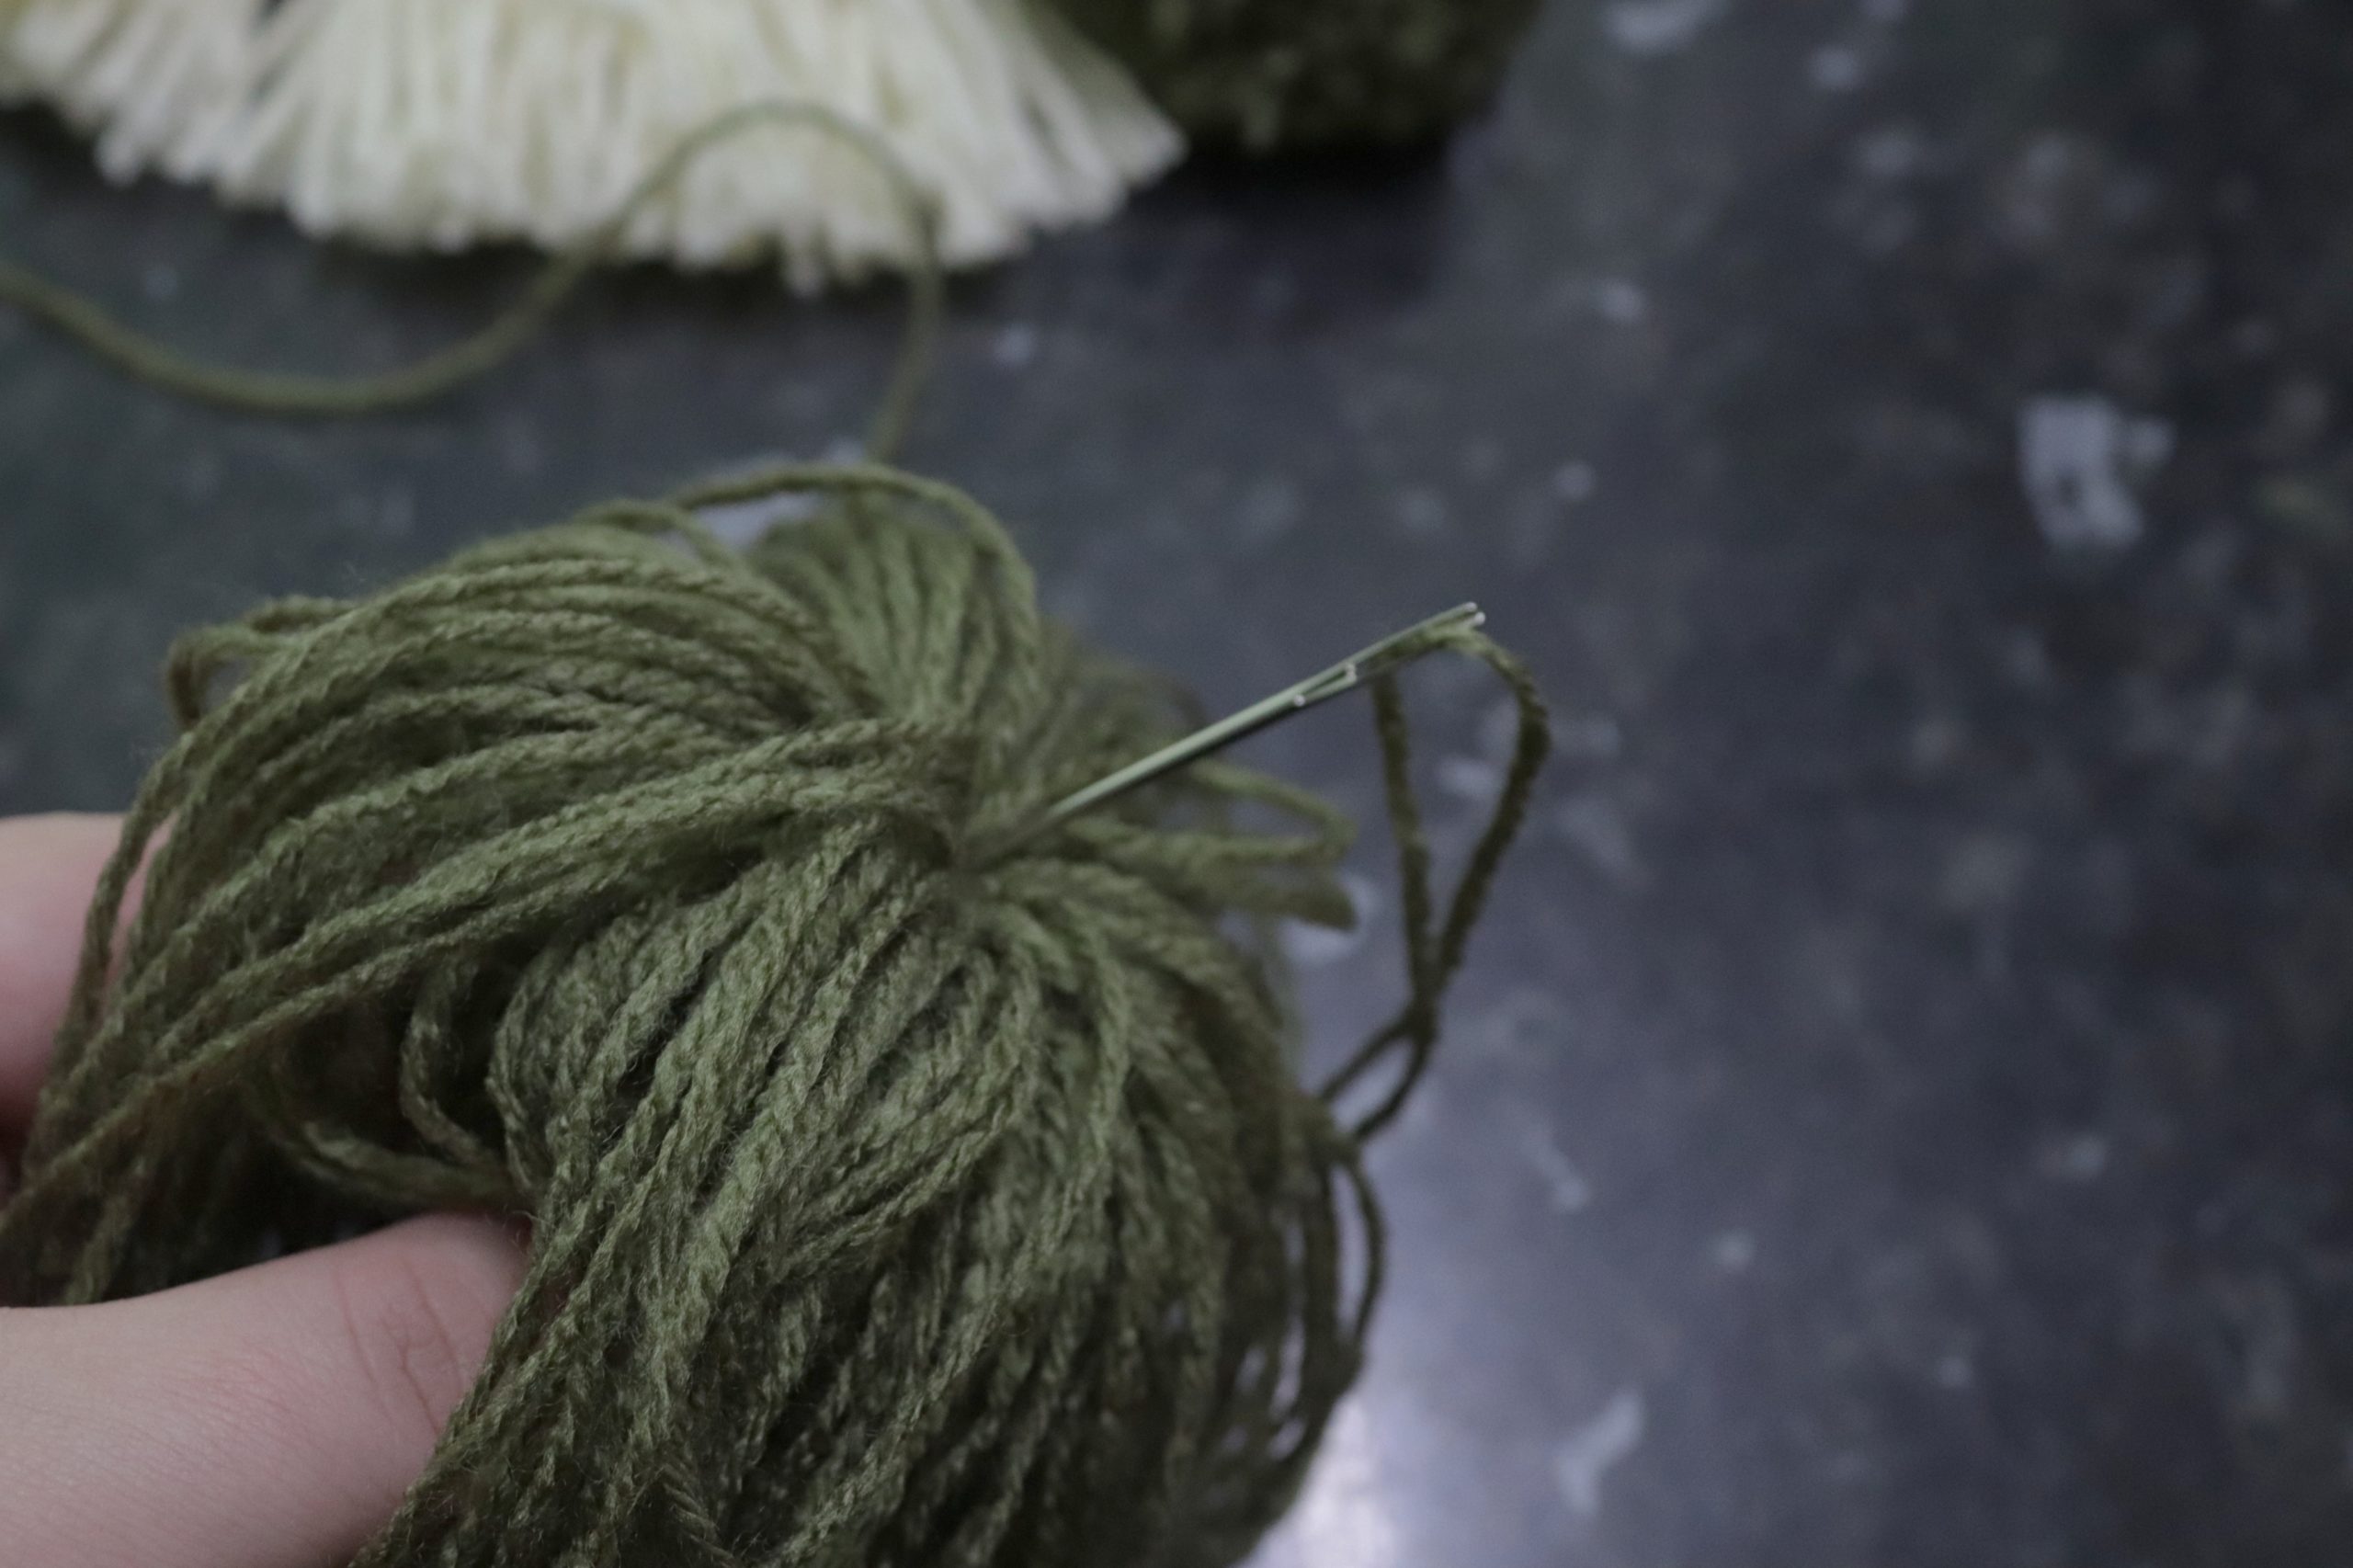
Insert the needle into the centre.
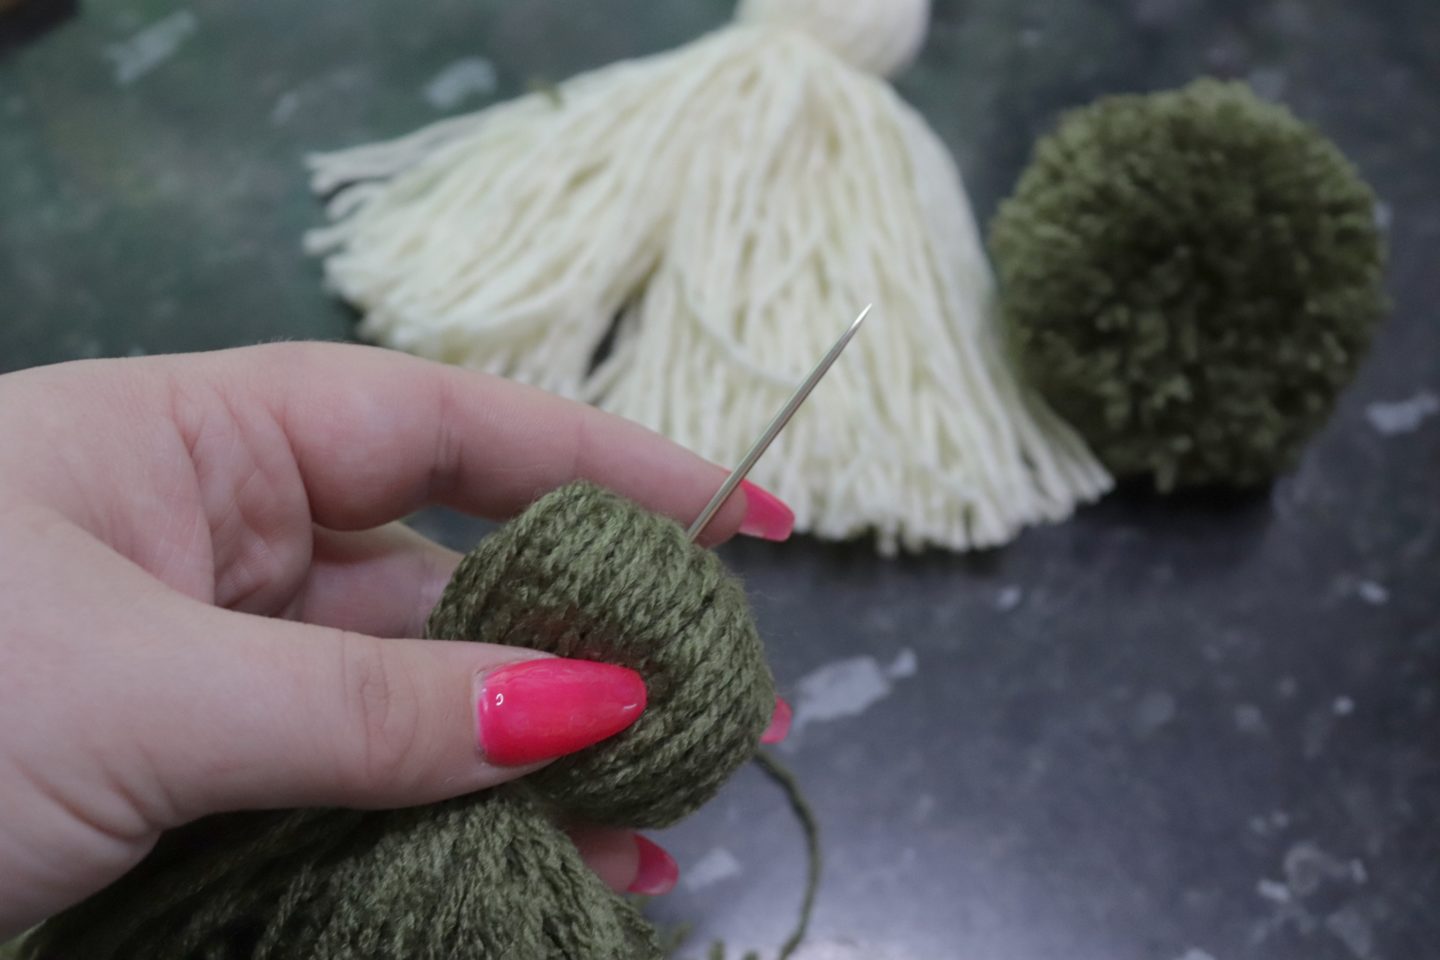
And push the needle through so it comes out the top of your second tassel.
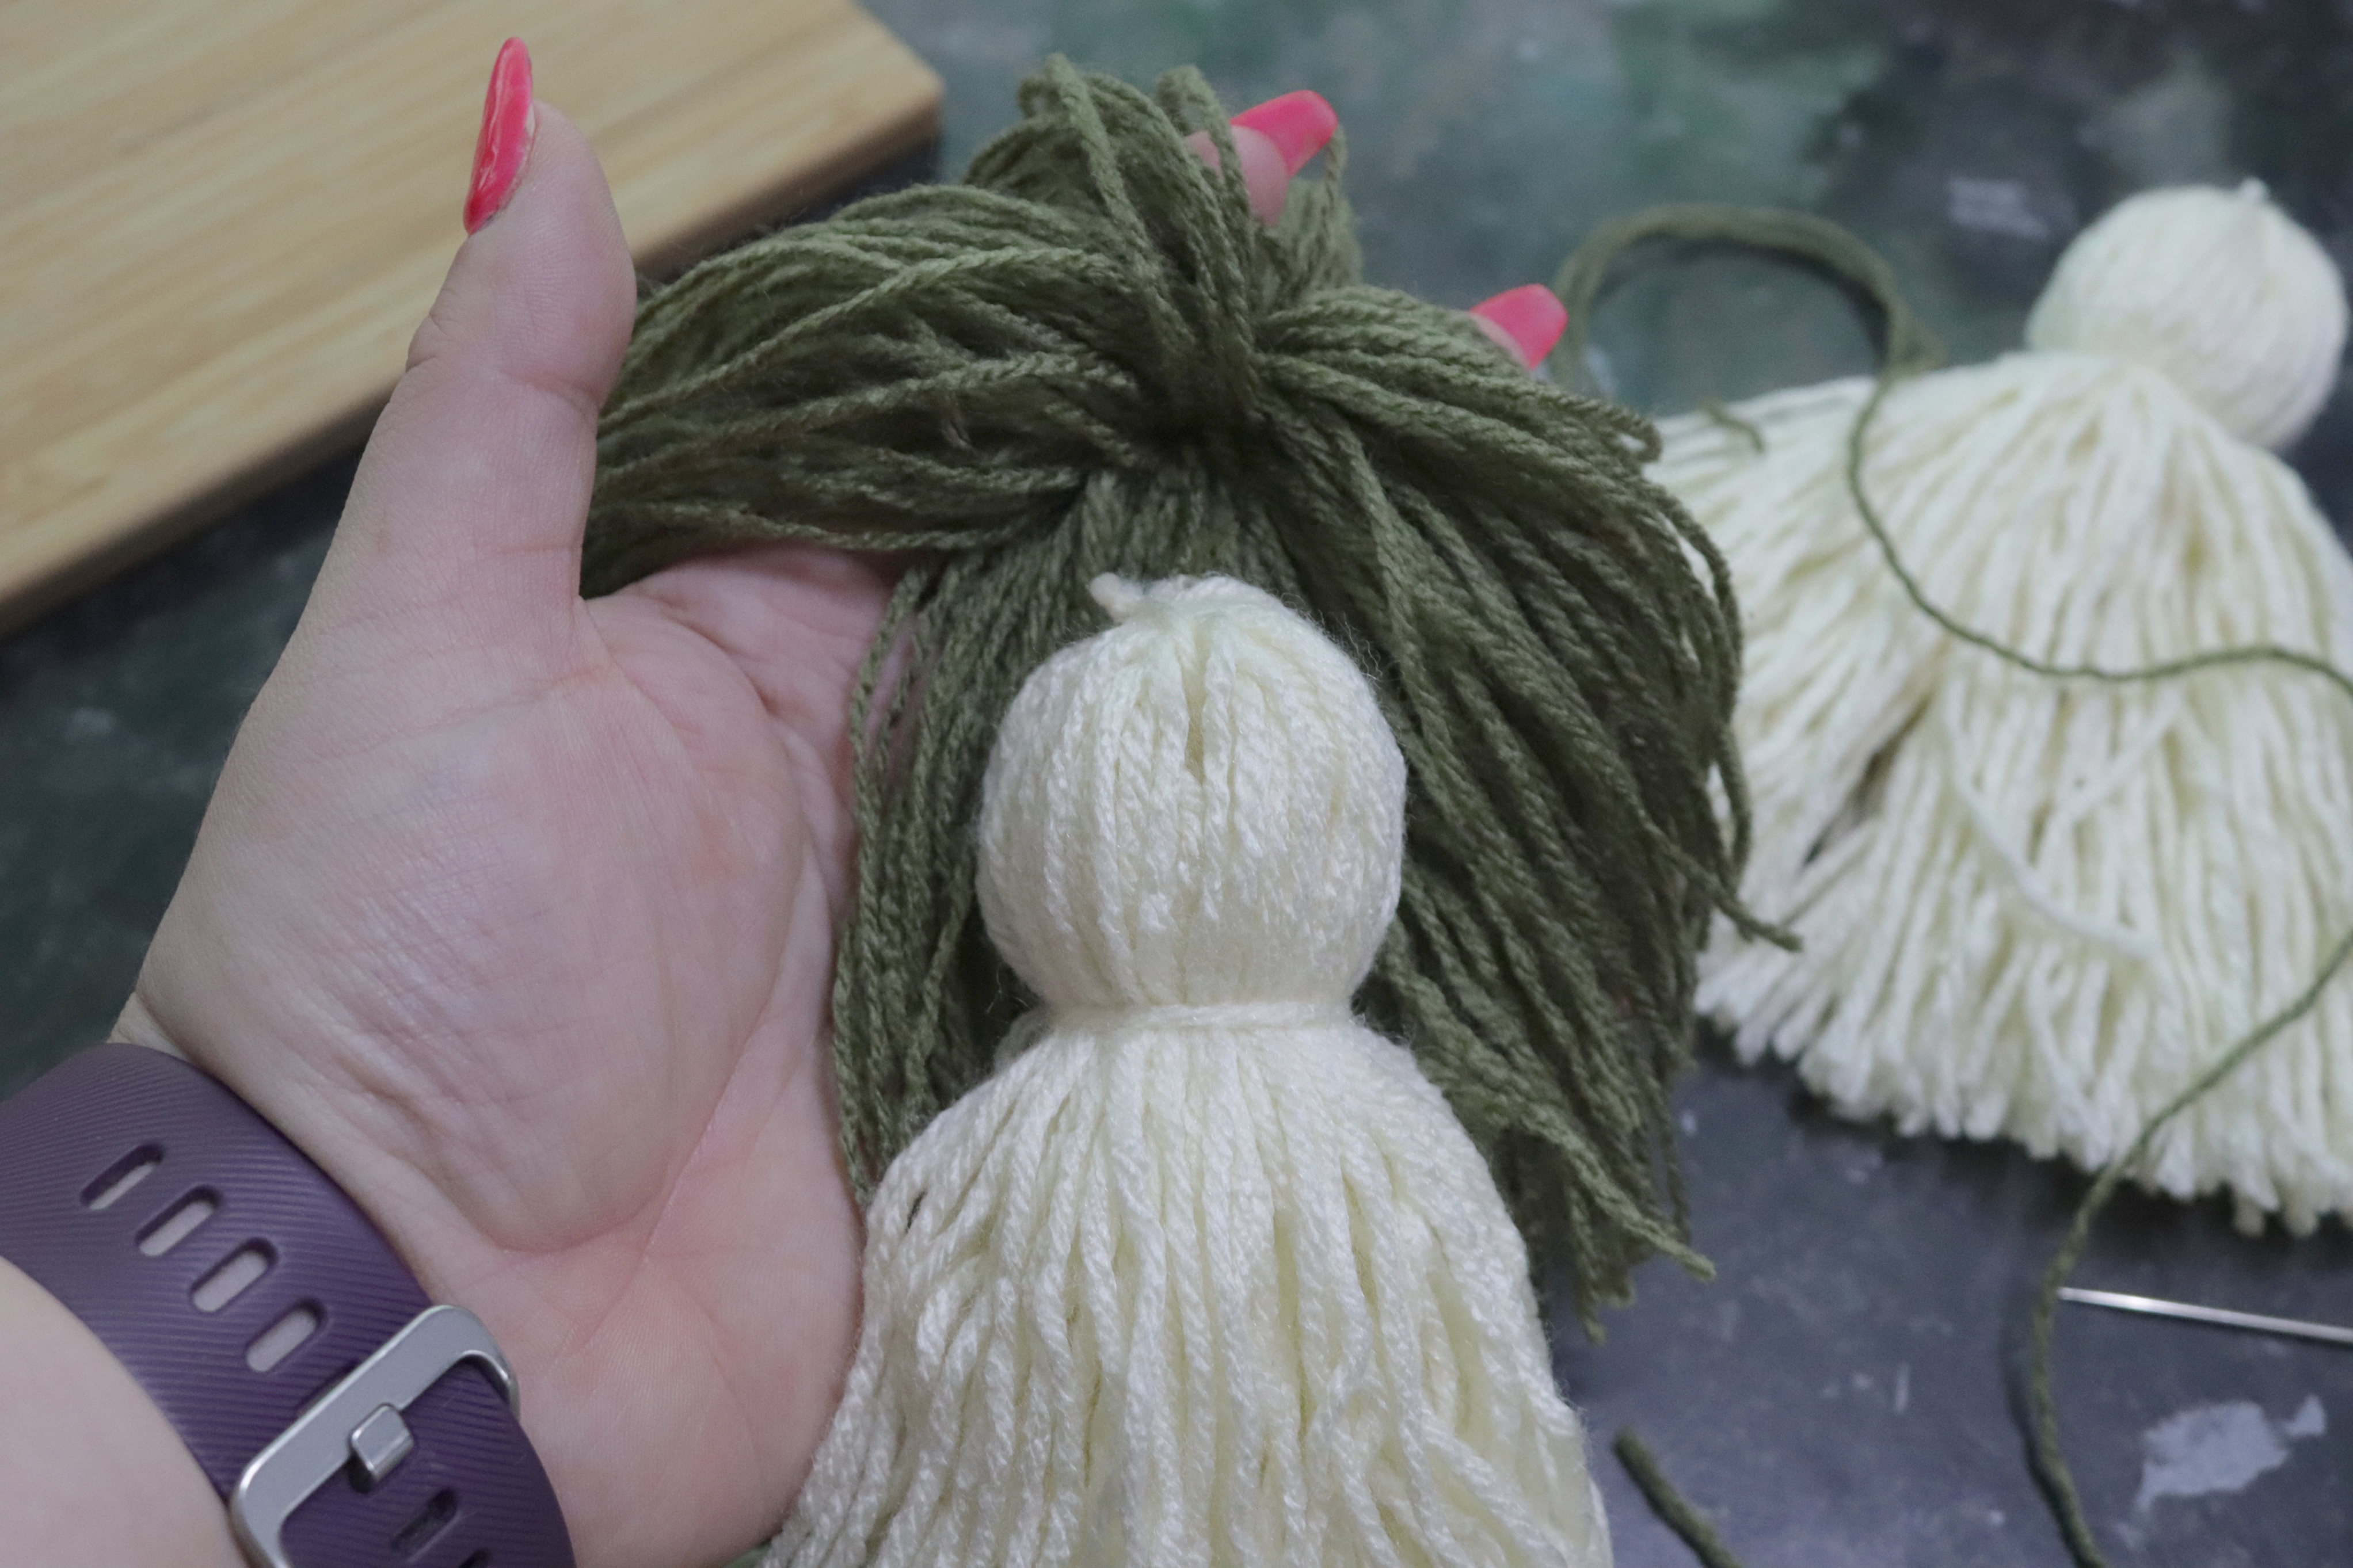
Pull the thread through until the first tassel is sitting inside the middle of the second (like in the image above).
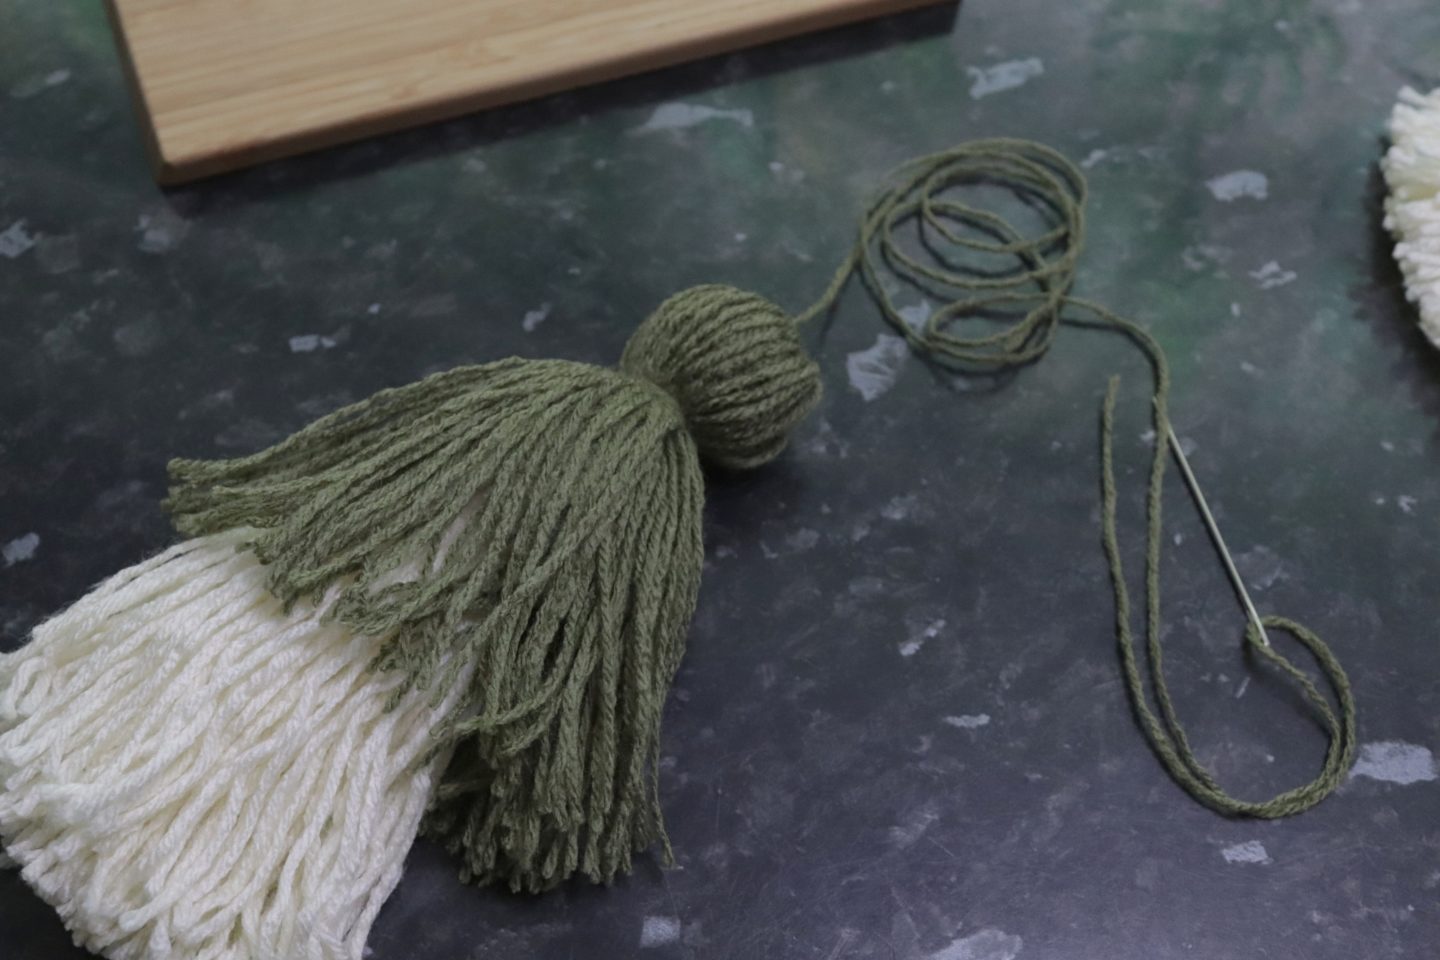
Straighten all the strands and then stitch through the top of tassel number two a couple of times so that they stay in place. Repeat this process to attach tassel number three (and again if your design has more then three tassels).
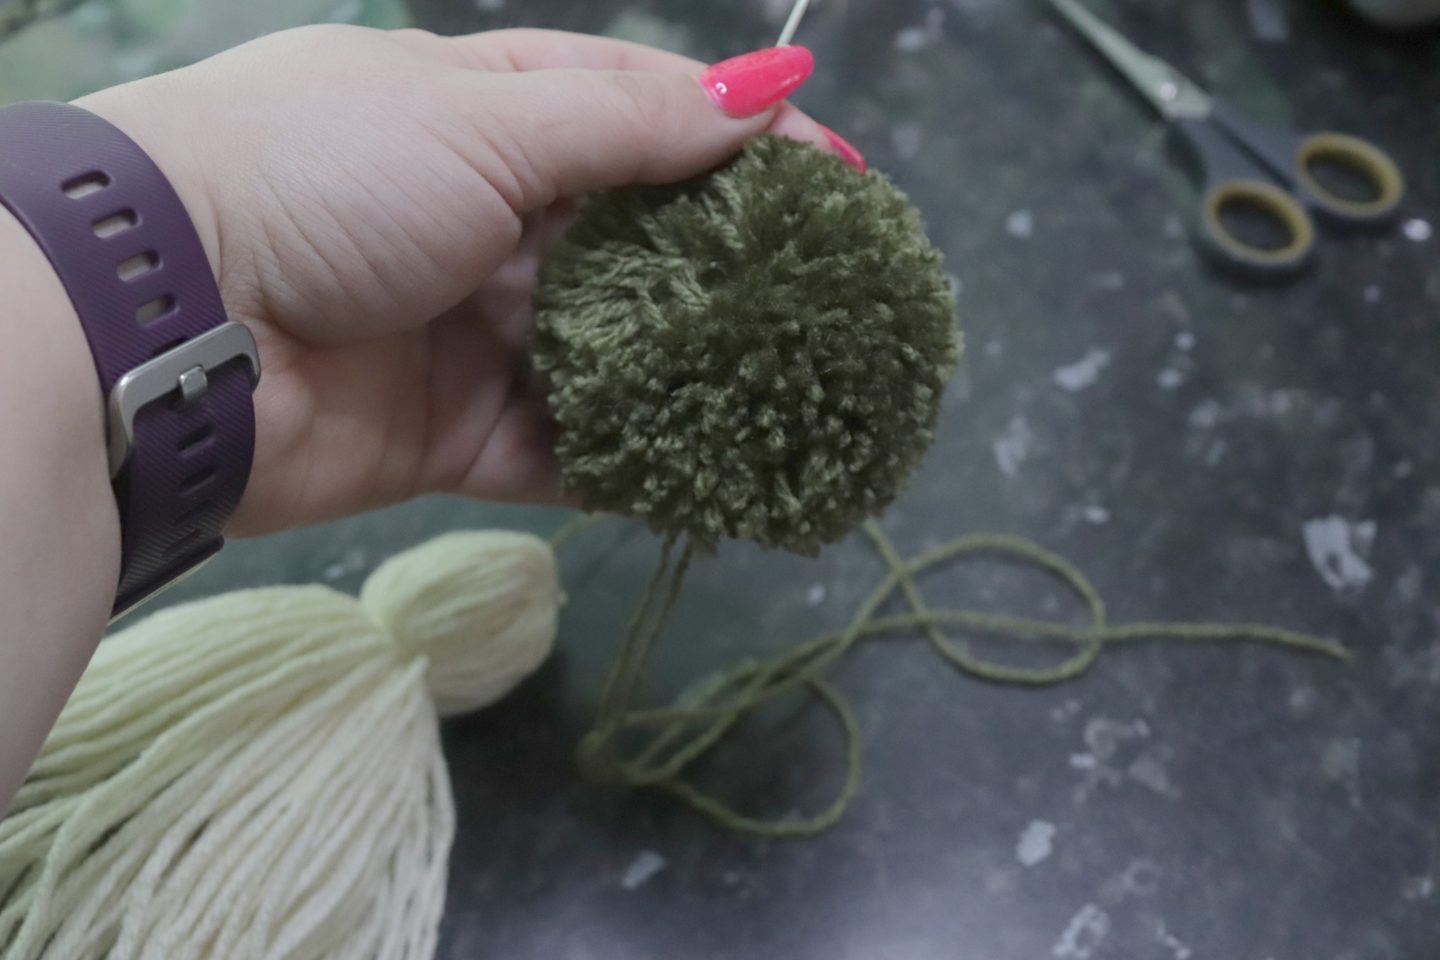
To attach your tassel thread the needle through the centre. Thread it backwards and forwards a few times to secure it.
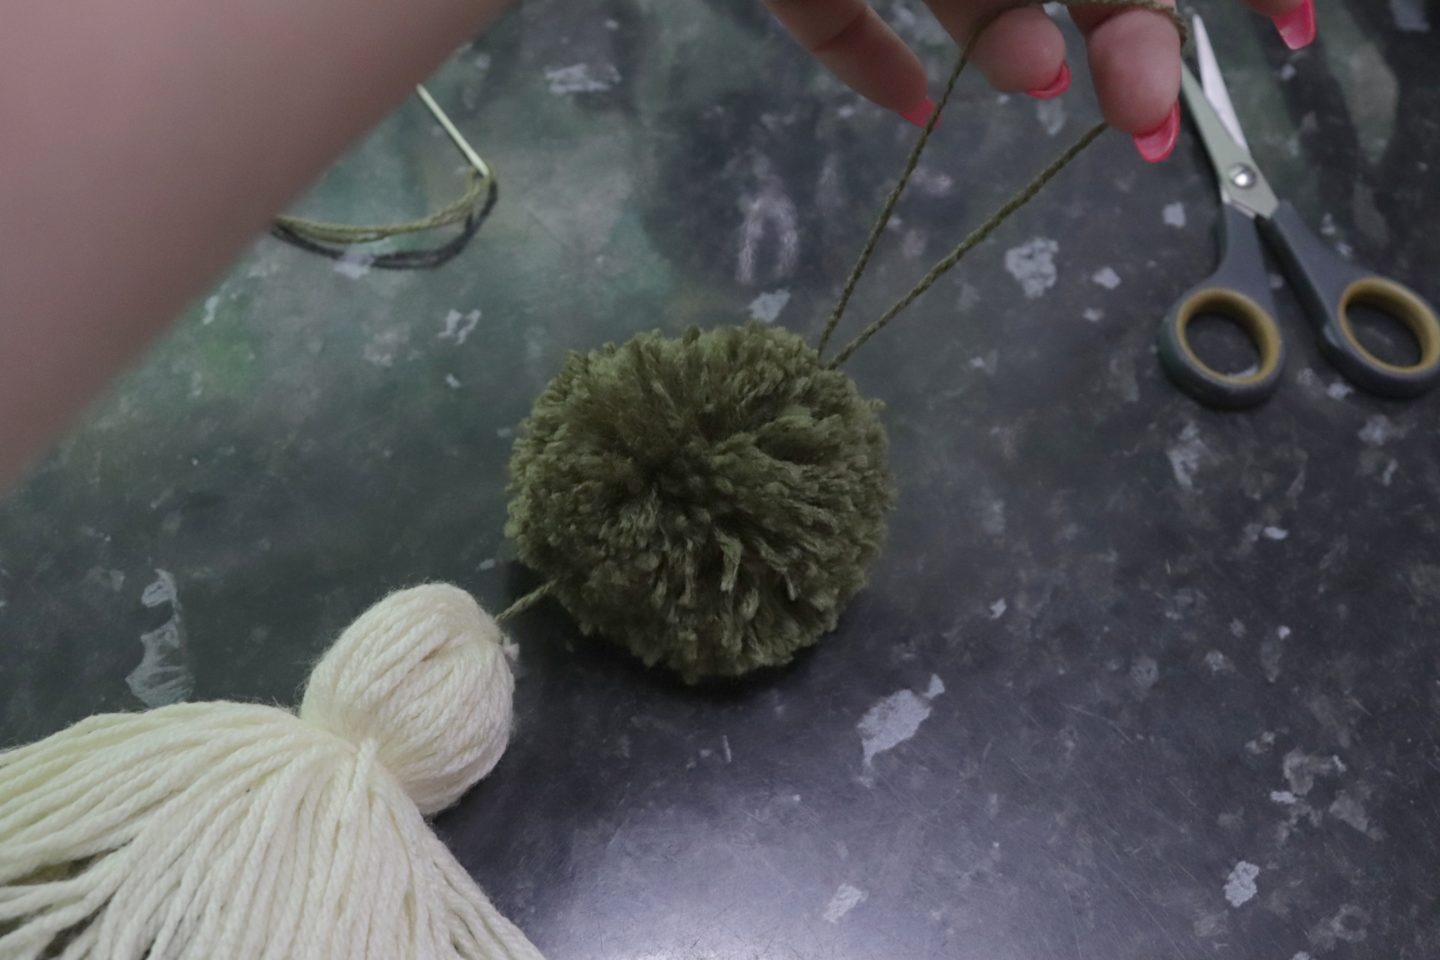
To create the loop put the needle back through the pom pom but don’t fully pull the thread through, leave a loop. Secure this by stitching through the centre of the pom pom a few times. Snip off any excess thread and your door tassel is complete.
I love how this looks so much that I think I’m going to make one for each of the doors eventually. What do you think? Would you like a door tassel? As always I would love to see if you give this project a go and you can share it with me on Instagram by tagging me @makesbakesanddecor_blog or using the hashtag #makesbakesanddecor.
Lianne x
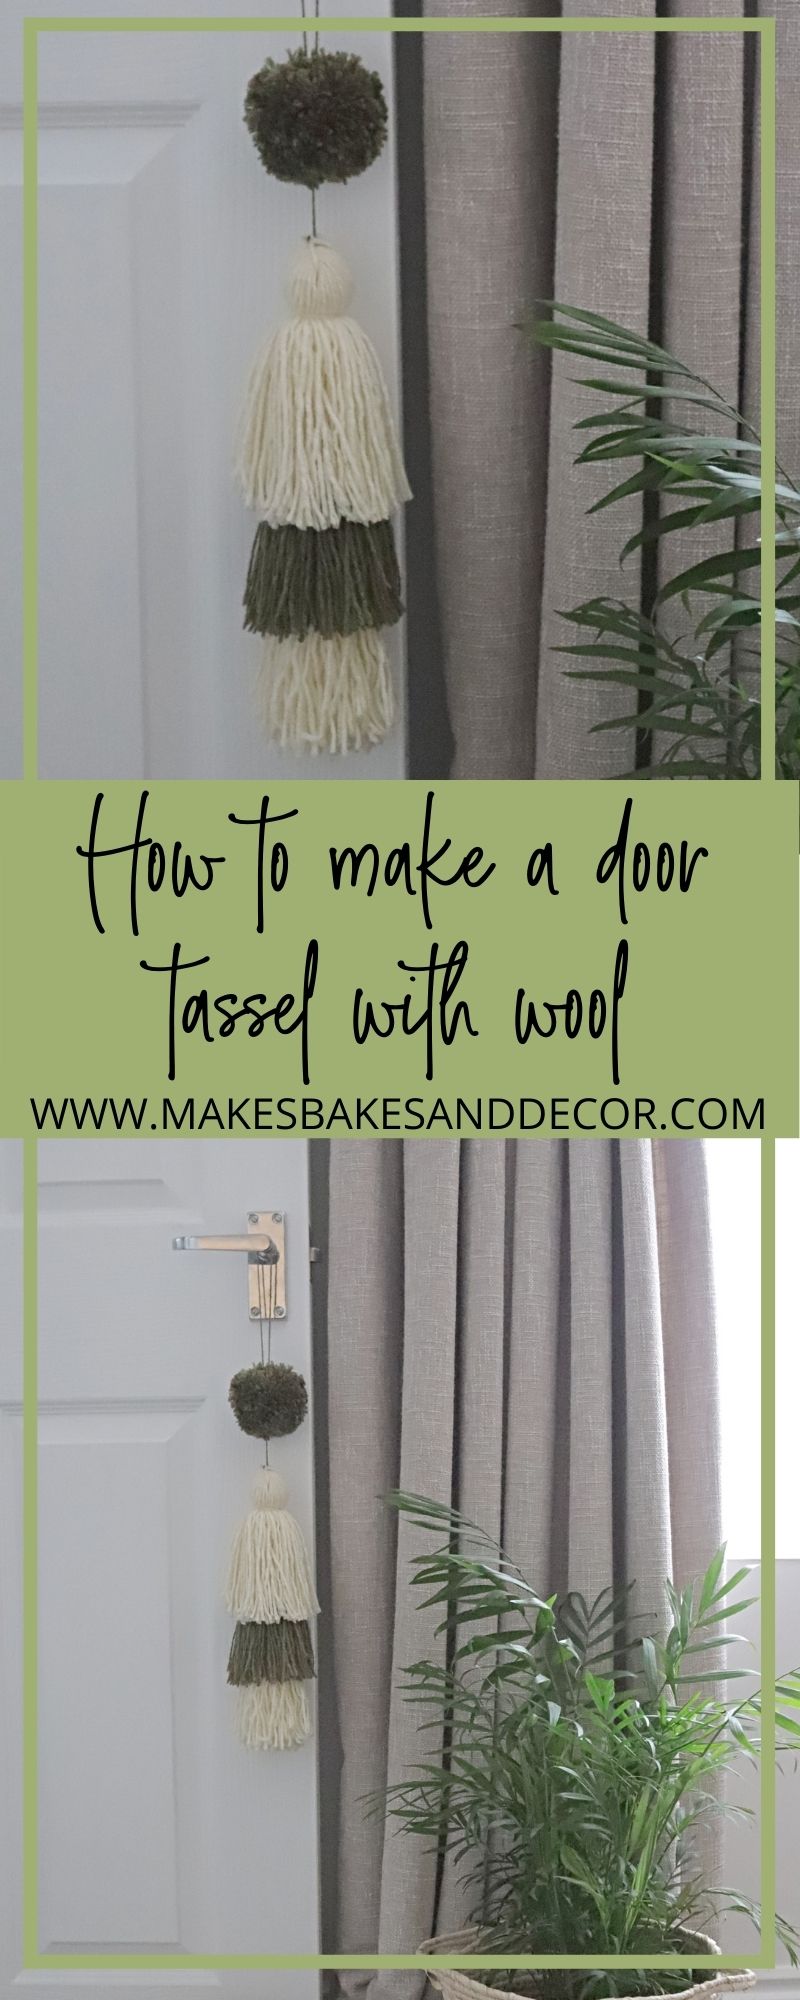
Pin How to Make a Door Tassel from Wool to save it for later!


Hey, thanks a lot! Would you personally prefer wood or steel doors when renovating your home?