
Hello! how are you all? It’s been a good few weeks since my last post so I thought it was about time I came on here and shared an update with you all. If you follow me on Instagram you will see that we have started phase two of the kids shared bedroom makeover so now is a great time to go over how it started, what we’ve done so far and what our plans are.
First up I’m going to share the before, before pictures 😀 This is how the room looked and was laid out when we first moved in 2 1/2 years ago. It wasn’t pretty lol but at least you will also get an idea of the room layout and what we’re working with too.
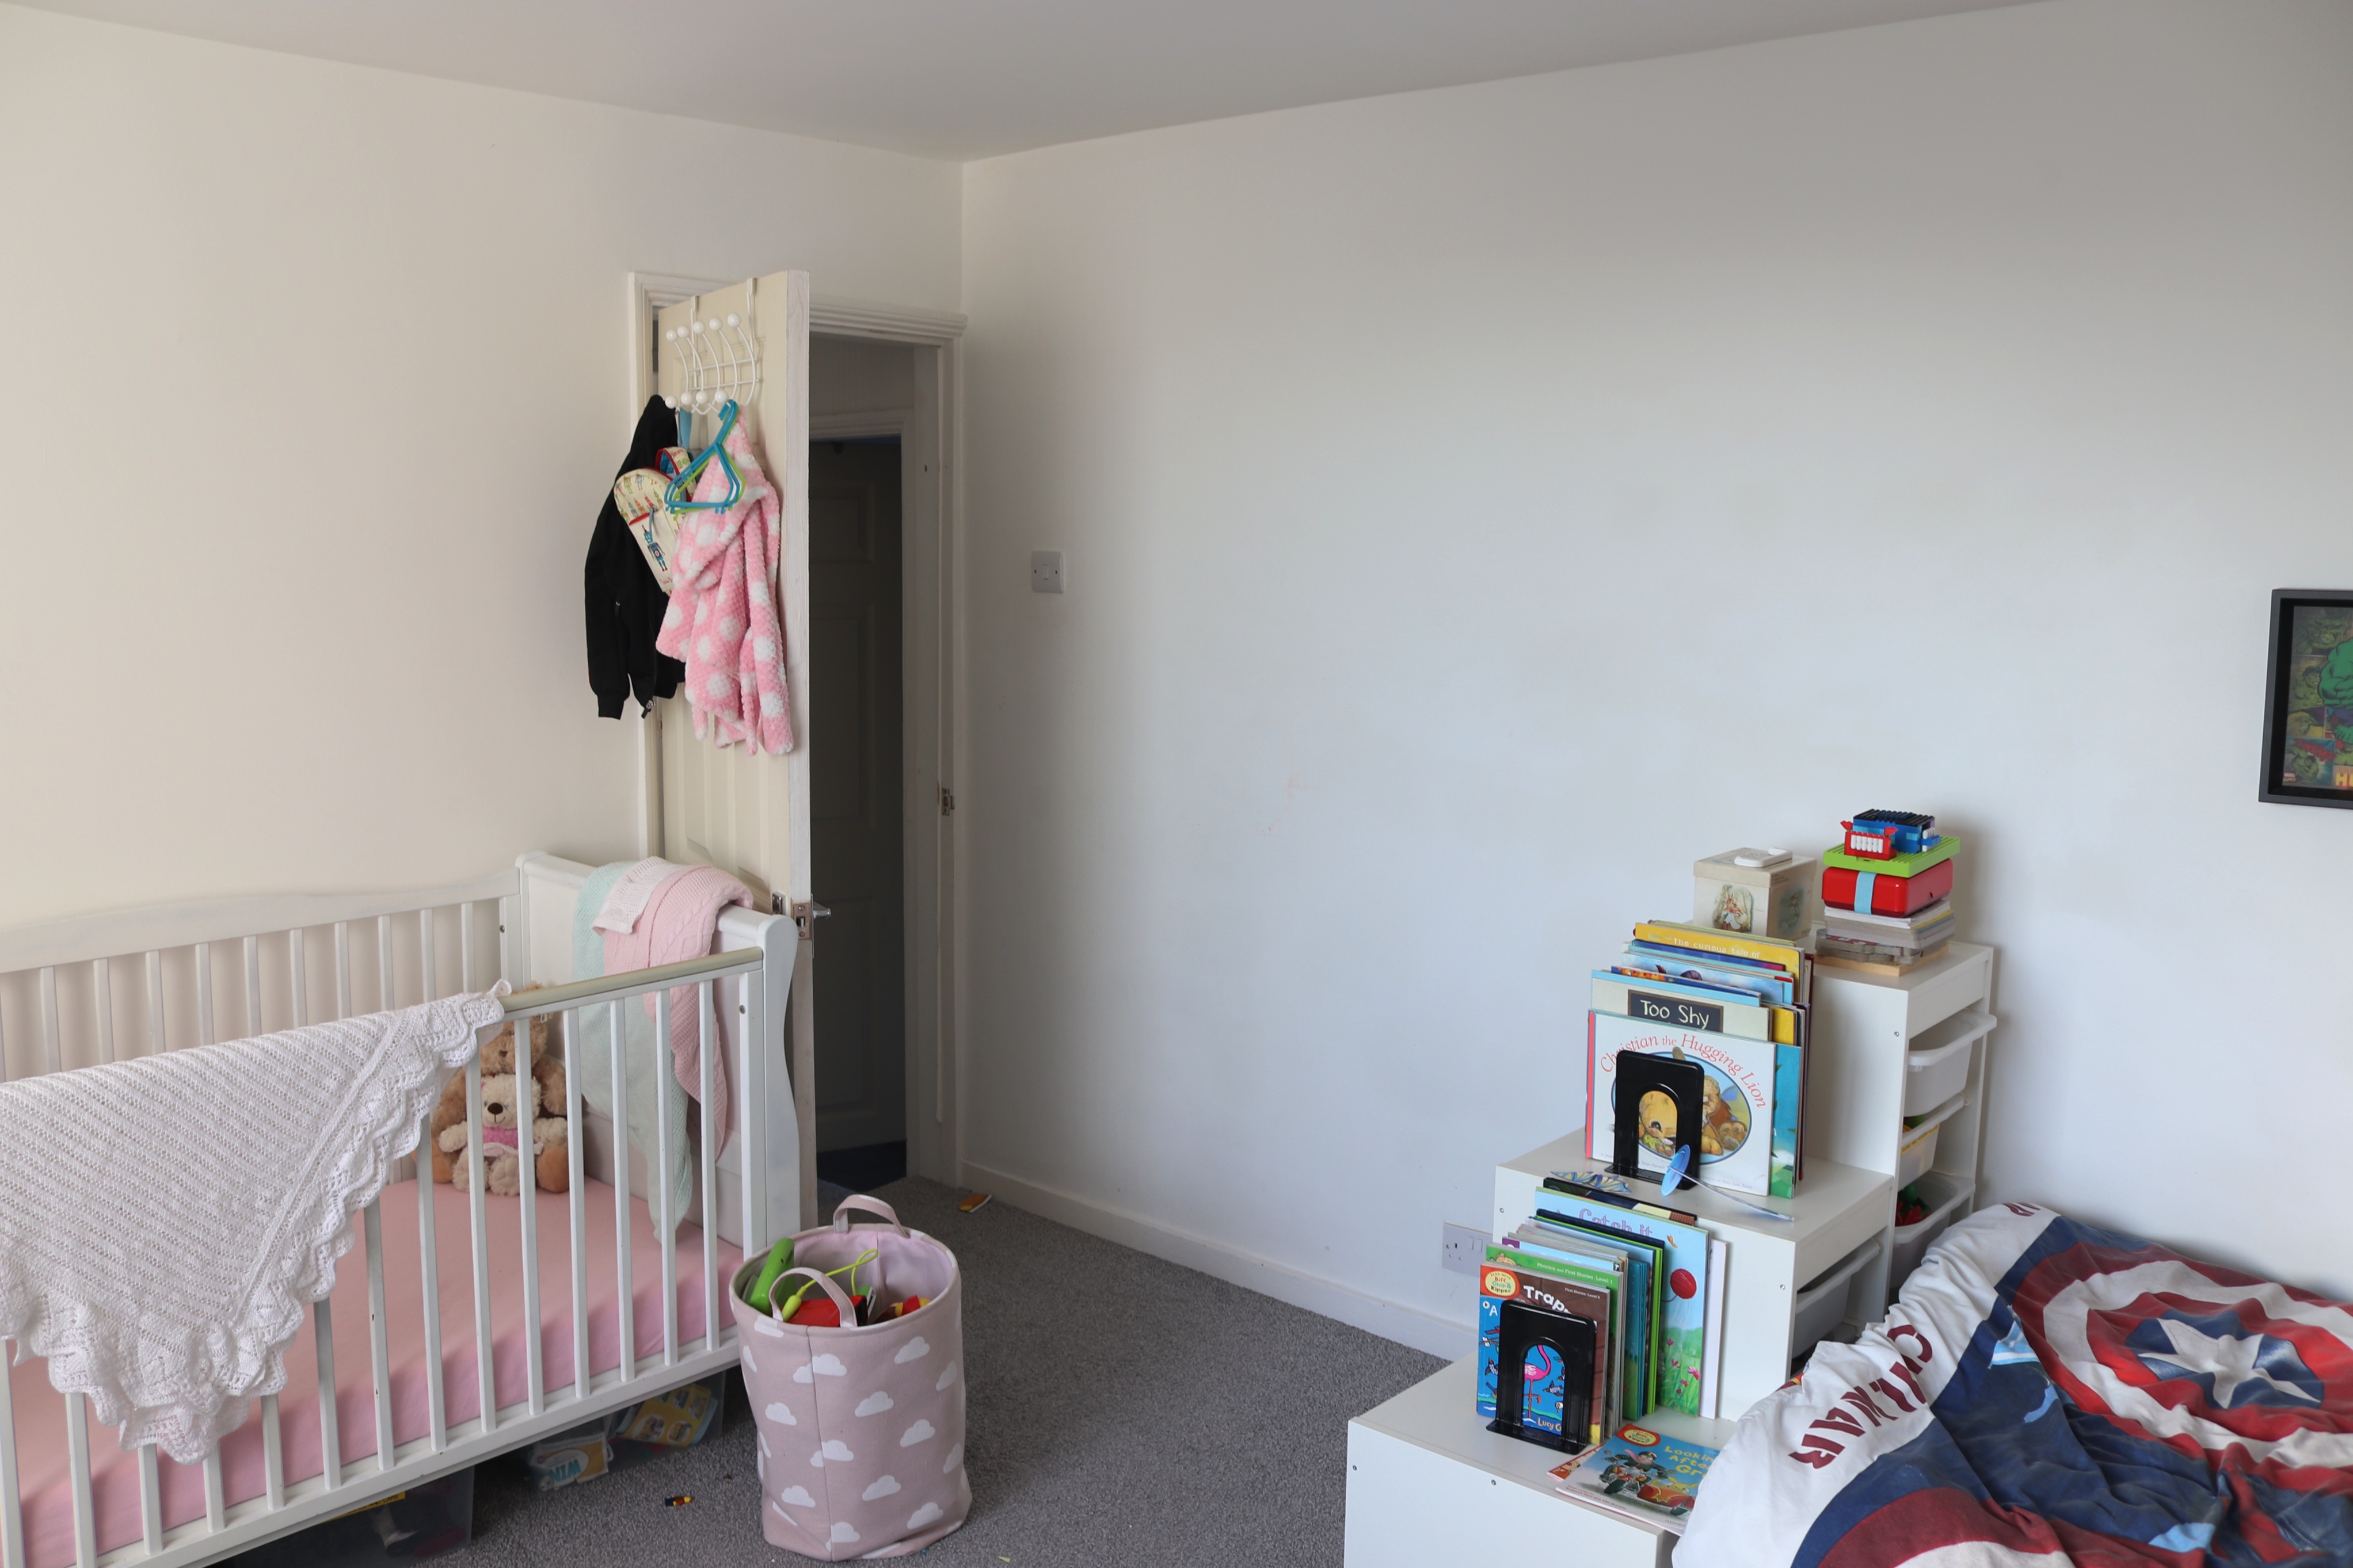
So as you come into the room Noa’s bed is to the right and Mason’s directly in front of you. When we first viewed the house I had planned to split the room directly down the middle, one side for Mason and one side for Noa but when we got everything in this layout just wasn’t working. So now the room is split diagonally Mason has the wall his bed is against and the chimney wall and Noa has the wall her bed is against and the window wall which you will see as we continue around the room.
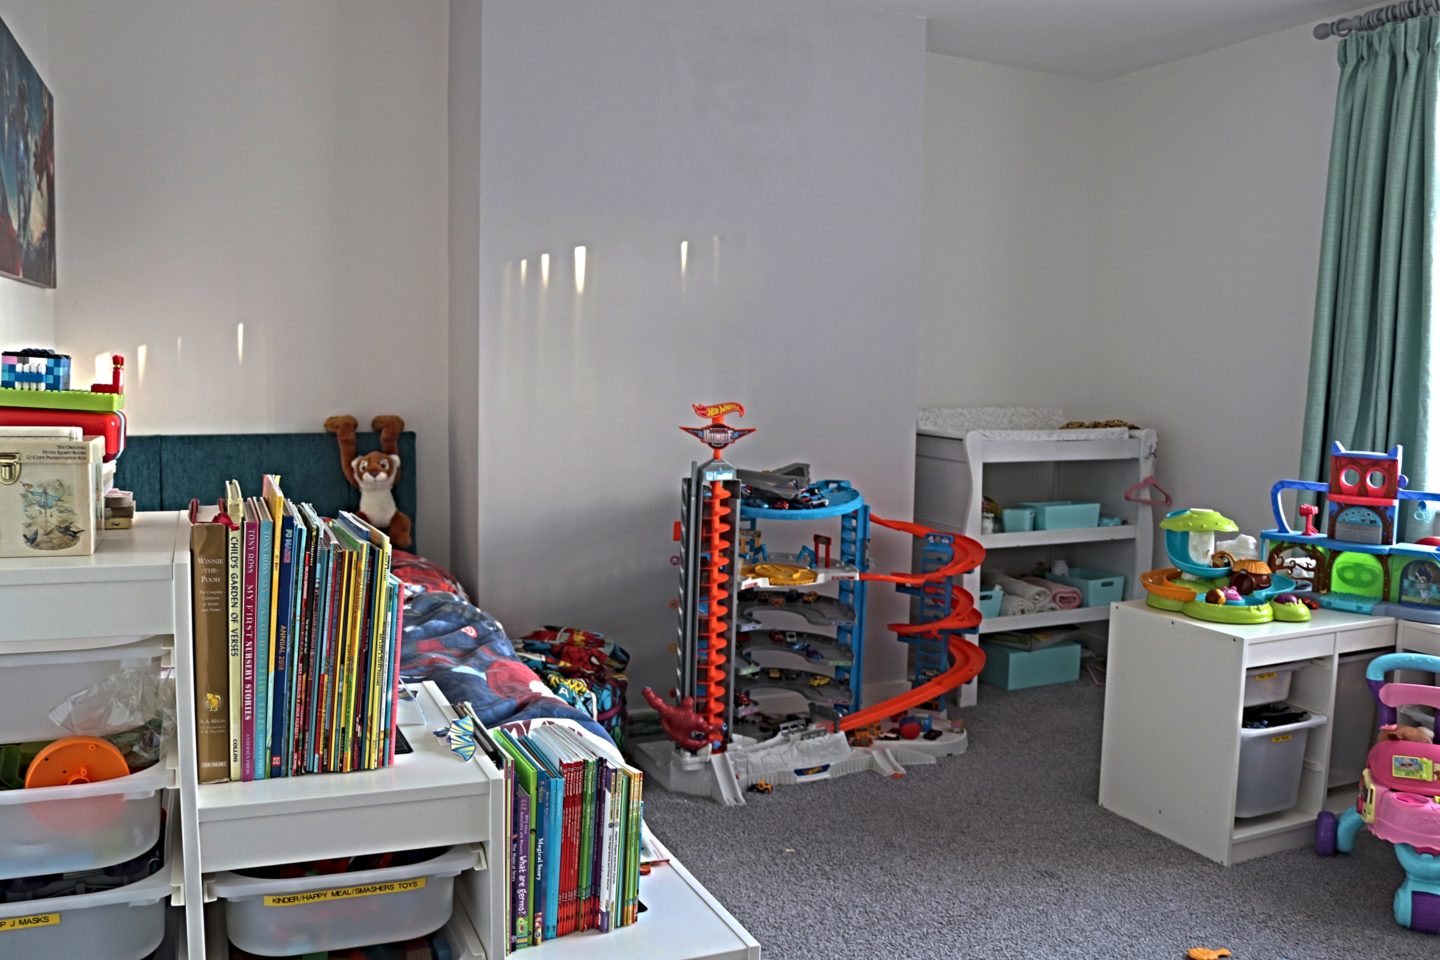
So this is the other wall that ‘belongs’ to Mason. This original layout we had caused me stress every time I looked in here. It always looked messy and chaotic now matter what! Noa’s change table was in the far corner, Mason’s hot wheels garage was right in the middle and I had created this L shape with the two Ikea trofast units, that you can see better in the picture below, that just seemed to fill the floor.
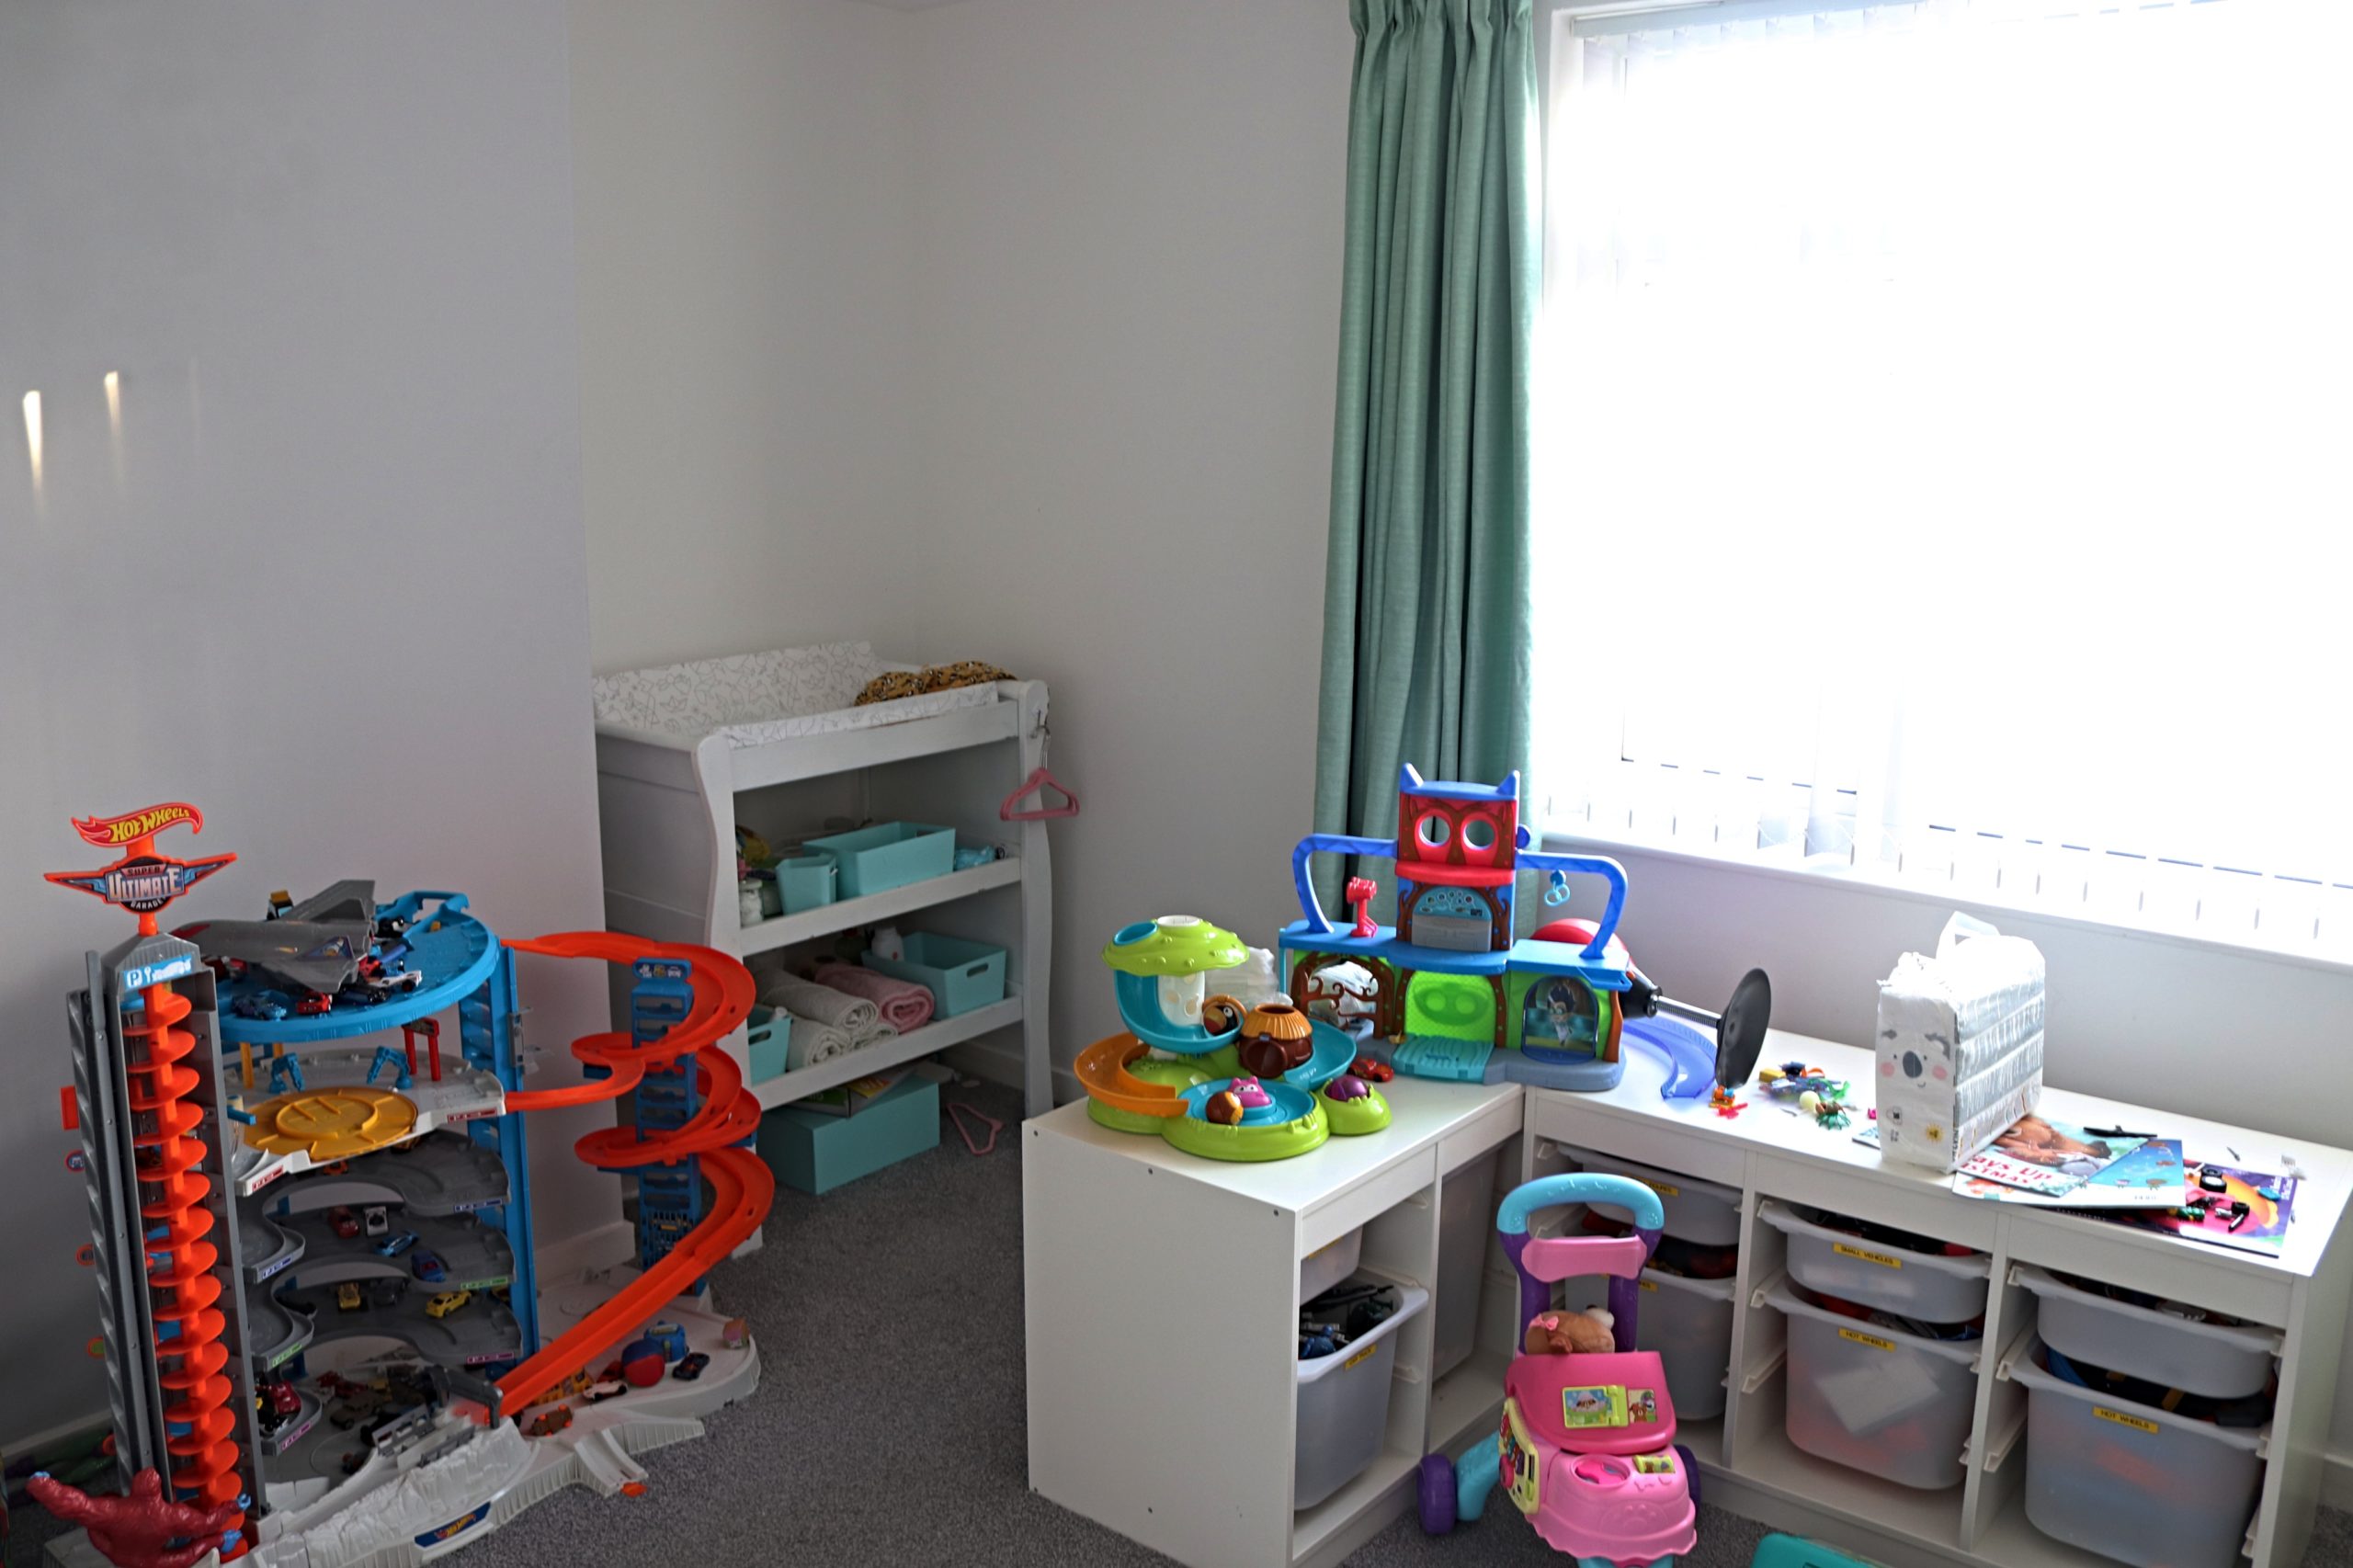
This window wall here is Noa’s other wall so the plan was to decorate Noa’s two wall with her cactus theme and Mason’s two walls with his super hero theme.
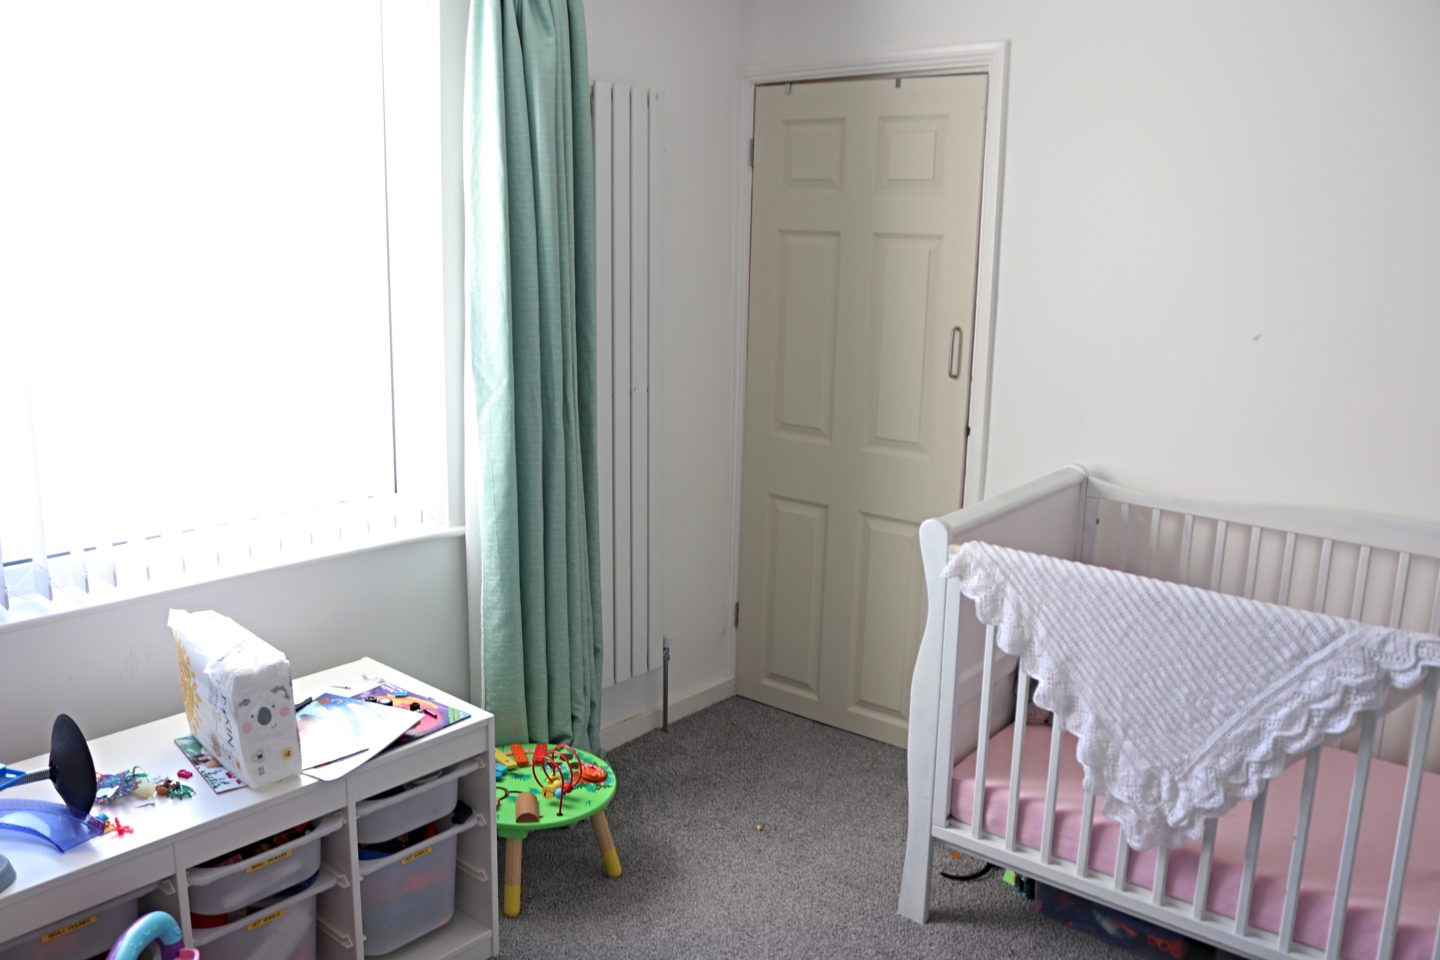
Finally, we’re moving around and back to Noa’s bed. This door in the corner is a cupboard which is why we gave this room to the kids as it meant we didn’t have to worry about fitting wardrobes in here.
We lived with the room like this for quite a while! I hated it so much because it had no character and it always looked messy. So I made a plan for phase one of the kids bedroom makeover. This was about a year and a half ago so we have actually moved on to phase two and I didn’t really take a lot of photos of the changes we made in phase one! I’m rubbish I know!
So, phase one changes of the kids shared bedroom included getting rid of the change table so we could bolt the two trofast units together and put those in that back space where the change table was. You can see this change in a picture from Christmas time below.
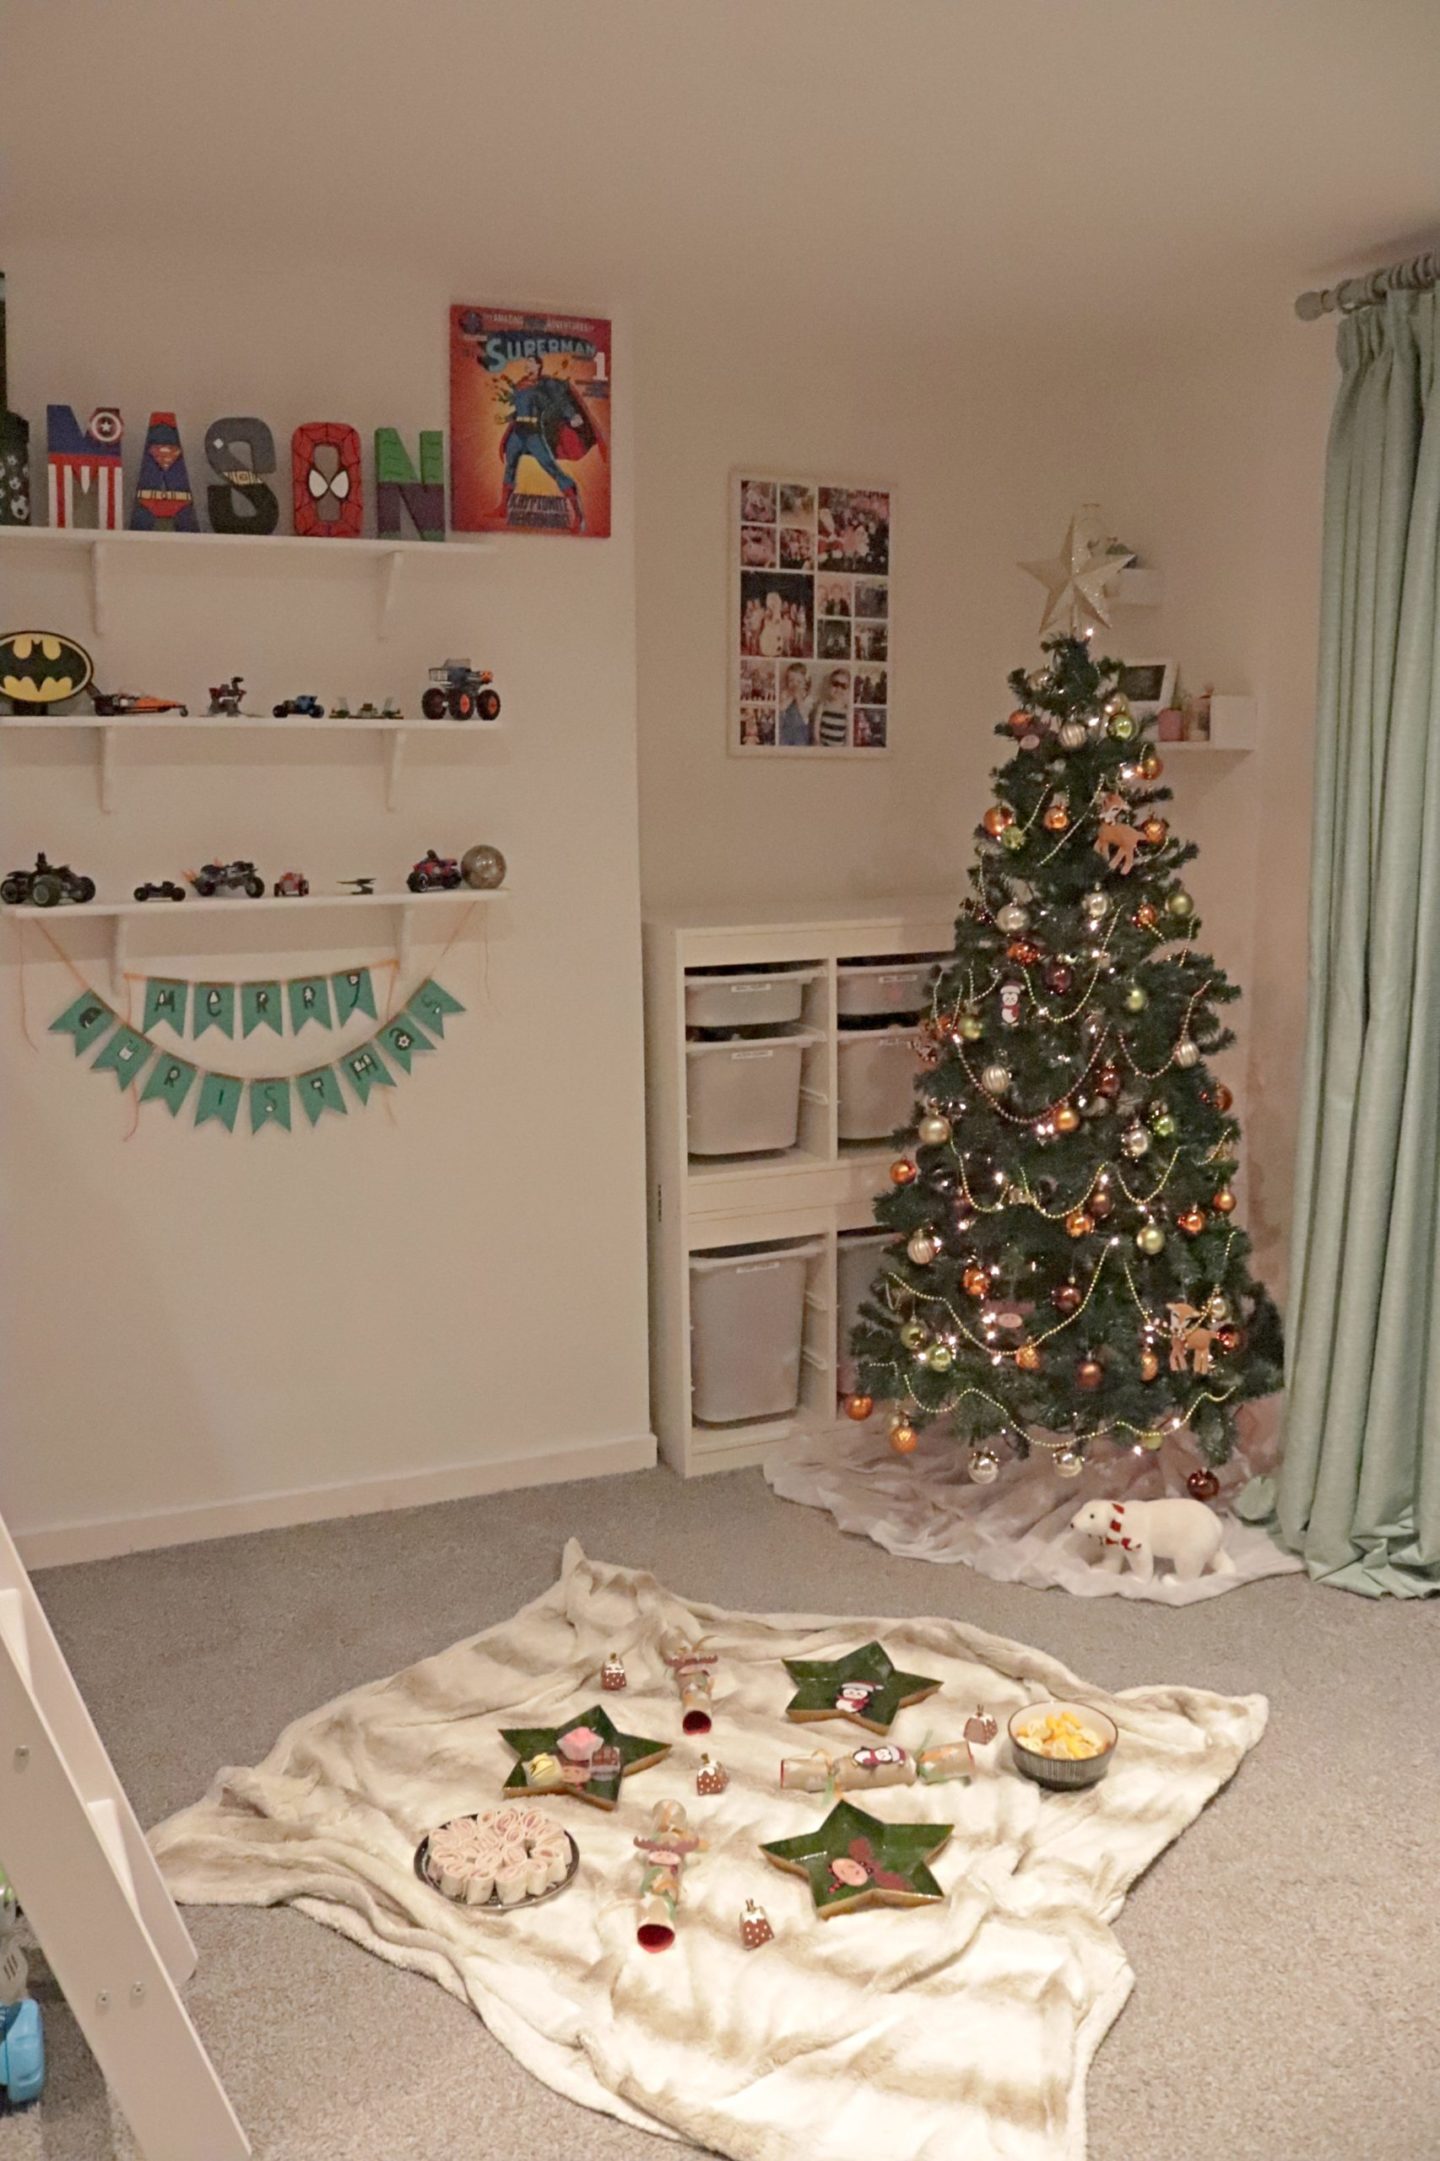
This one change cleared a whole lot of floor space! We also put some shelves on the wall for Mason’s lego models and put up some of his super hero pictures and decor left from his super hero bedroom at Seaways. You might also notice that the hot wheels garage is no longer taking centre space 😀 and that’s because we bought Mason a high sleeper bed. You can just see the ladder for it at the front of this picture and this is the one angle I do not have a good photo of at this stage.
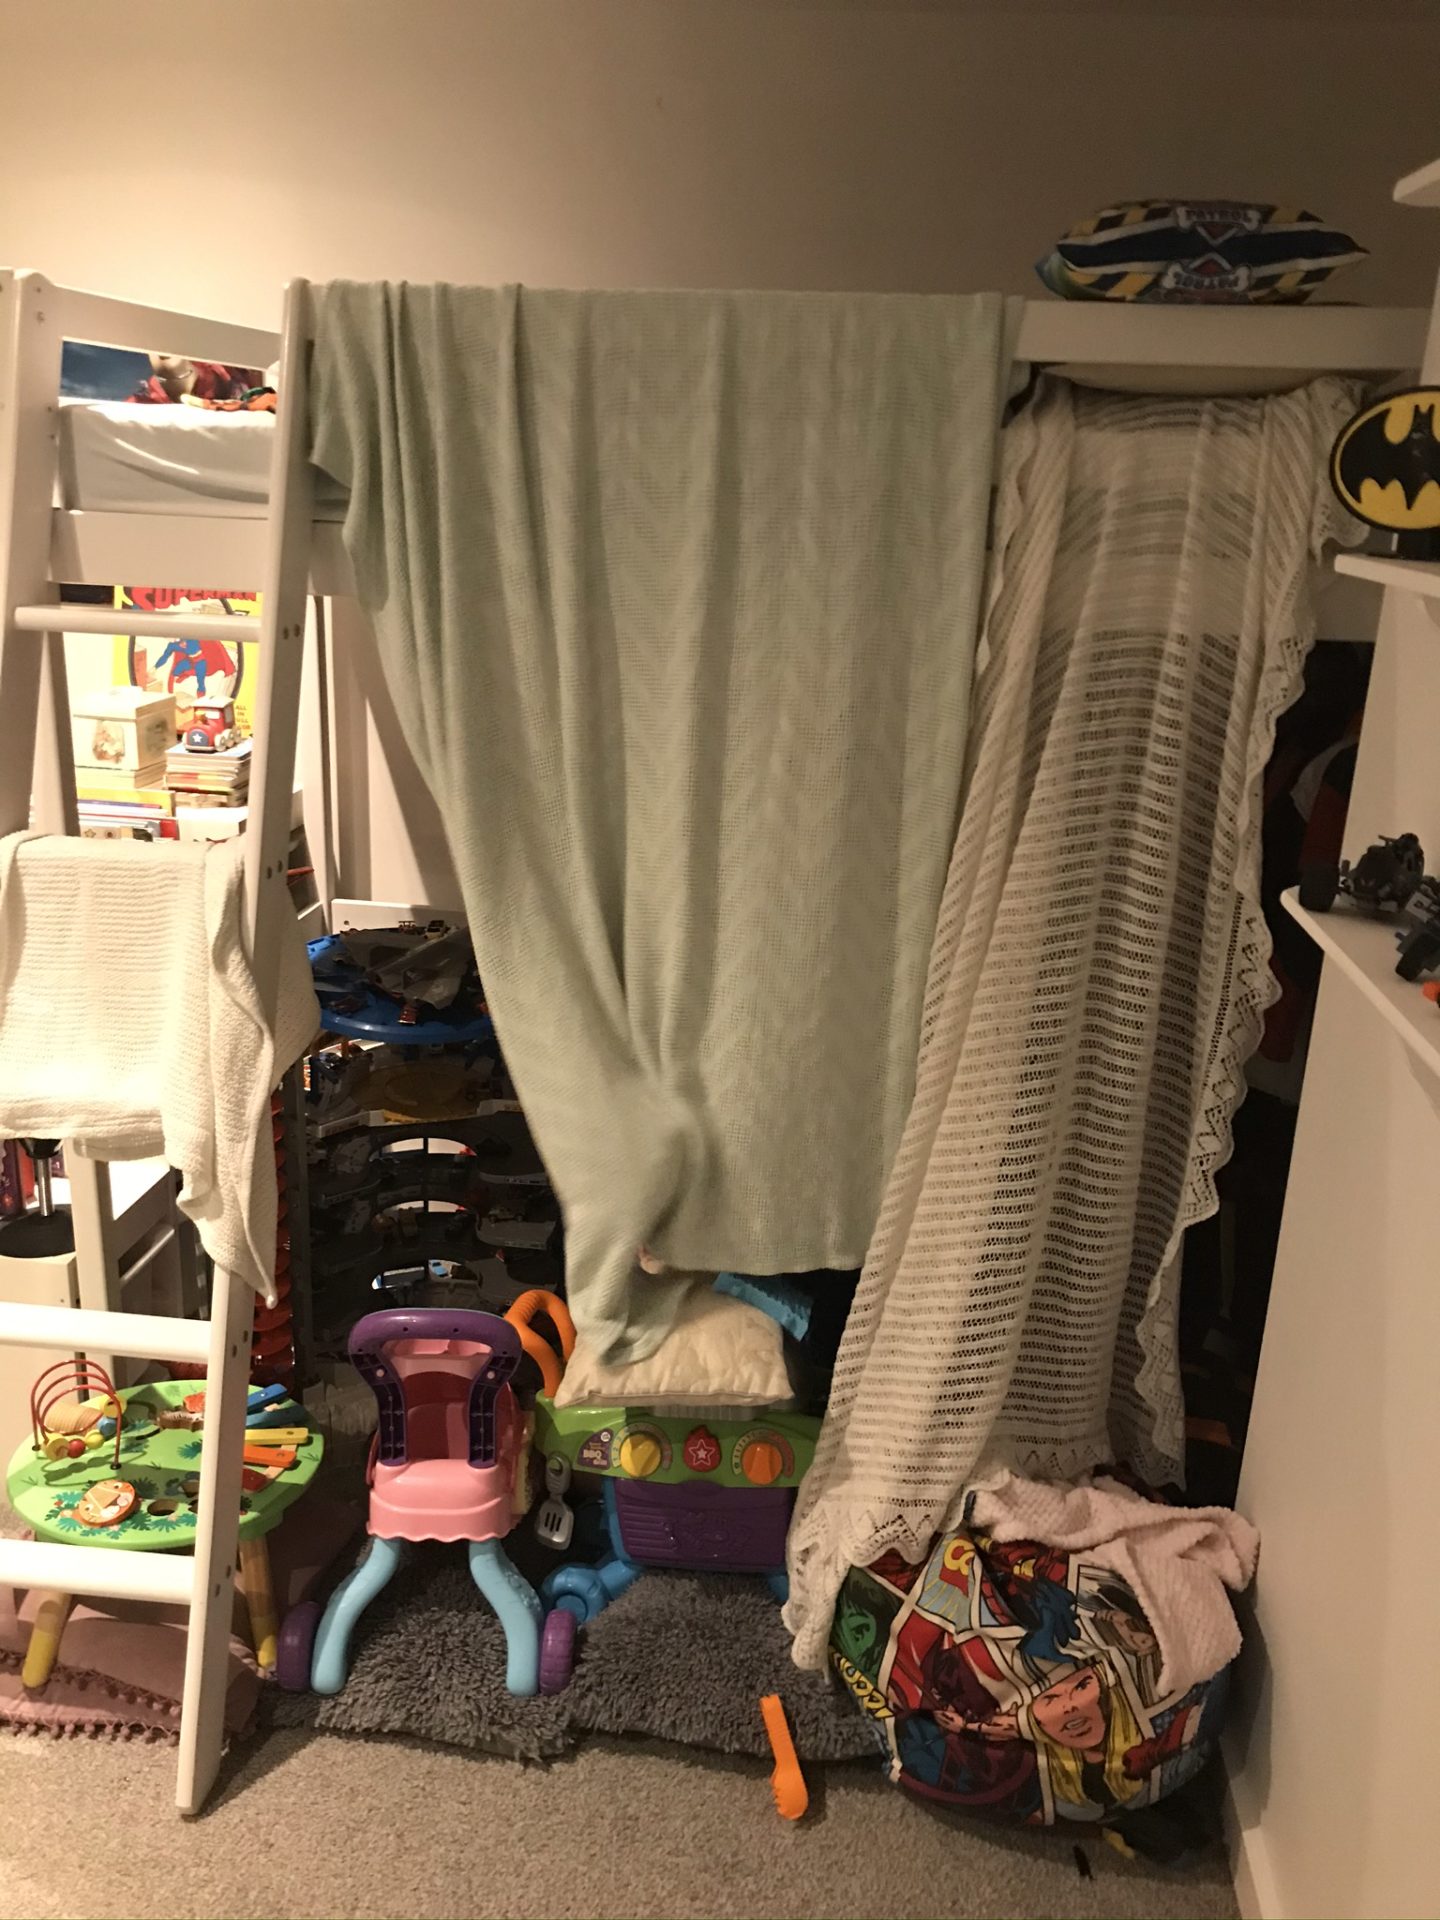
The above picture is all I’ve got 😀 but you can see how the garage now fits underneath it and eventually we would like to make some curtains to create an actual den so this homemade version doesn’t happen 😀
For the phase one changes we made on Noa’s side of the room I only have this picture from Instagram. As you can see, all we did was put up her little gallery wall and canopy. The window side of the room was now just clear space with the trofast units being in the corner and this is how the room has been ever since.
Although the room was absolutely fine this way, Mason clearly had his side and pictures and Noa clearly had hers, I did not like it. The plan had always been to decorate the room half and half but it still felt untidy to me. The sides didn’t flow and I just wanted to do something that made it feel more like one room while still having their clear areas. The only thing was that I didn’t know what I wanted to do!
And then all of a sudden I just saw an image and I had a plan. And once I have a plan I can’t wait which is why I am yet again writing a room plan post after I’ve already gotten started!! If you’re here from Instagram you will have already seen what I’ve done but most of you won’t be so I will share some images from my pinterest inspo board below to give you an idea of the plans. If you want to see the full Pinterest board you can do here.
The last of these three images is the one that finally helped me see how I could make the colour scheme I had been thinking of, work for Mason’s side as well as Noa’s! I then searched for green and neutral bedrooms on Pinterest and found the two other images. I want to add a scalloped edge green wall like in the first image to Noa’s bed wall and something similar to the picture with the triangles on Mason’s bed wall.
So the overall colours of the room will be white, green and neutrals (like wicker, cane and rattan) with Noa’s side having a little pink here and there and on Mason’s side going a bit more geometrical. I want to add some faux plants too to give a jungle feel without going full on jungle theme as I think Mason is getting to the point where he is too old for a themed type of room.
Like I said I have started painting already and if you go and follow me on Instagram you can see what we have done so far but I’m hoping to get those changes on here really soon!
Do you like these kids shared bedroom changes/ideas? If your kids share a bedroom let me know how you’ve tackled that in the comments below! See you soon.
Lianne x
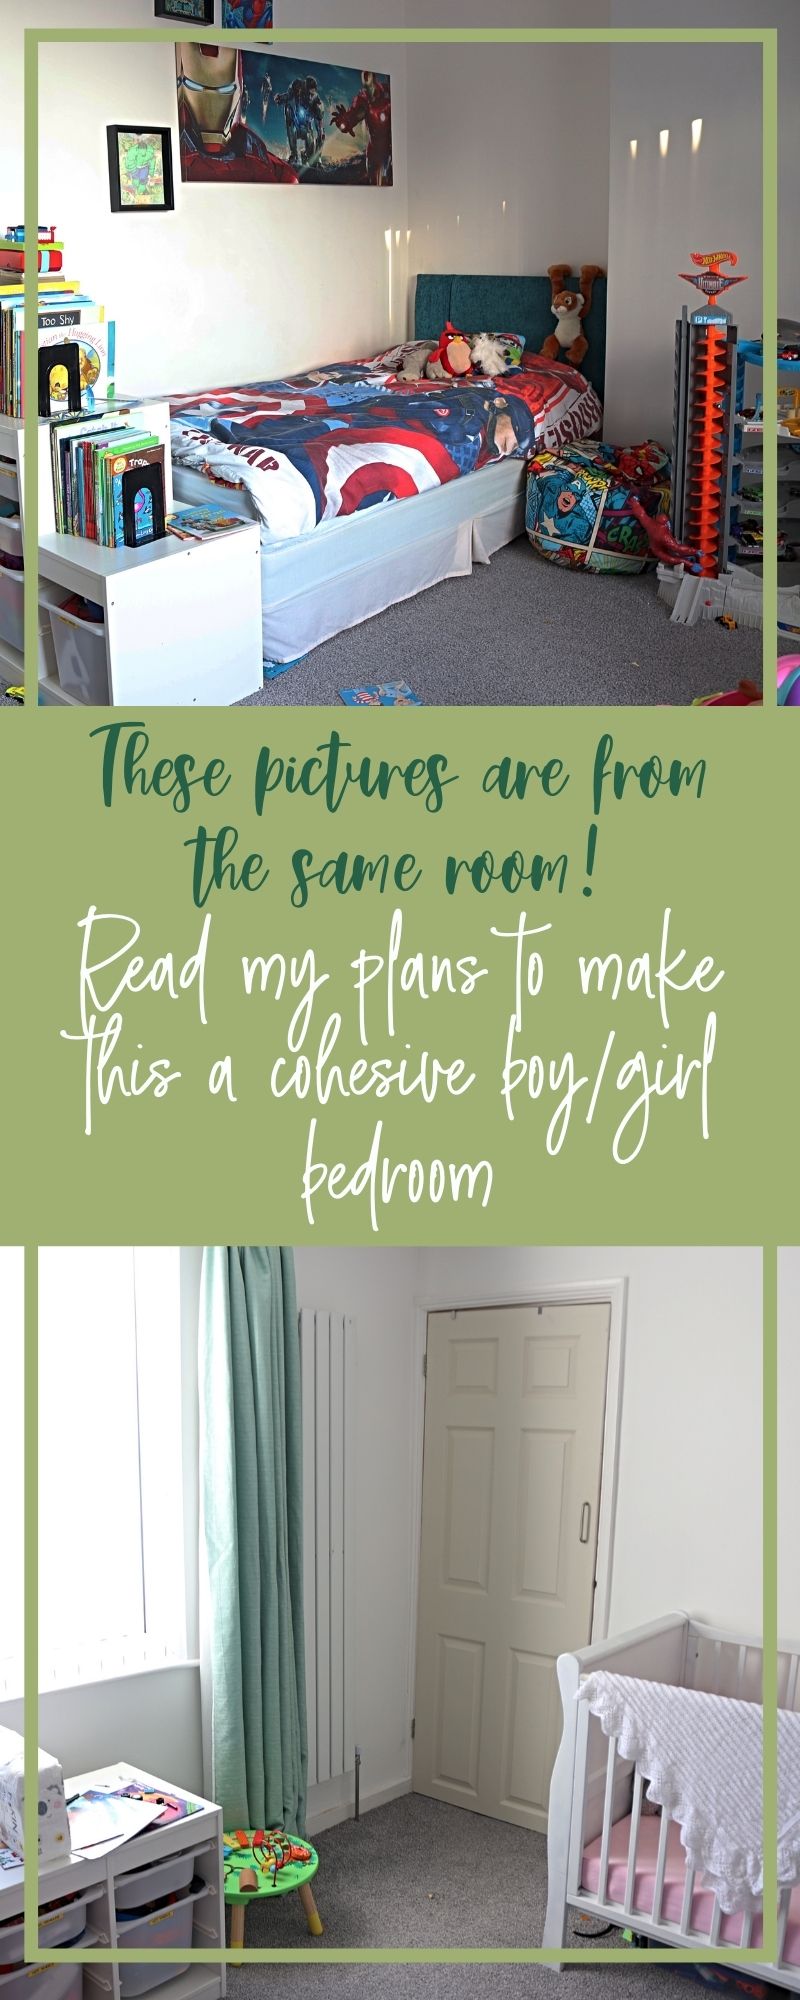
Pin a kids shared bedroom Plans to save it for later!

You should definitely consider the green, i have noticed it’s trending right now. i love neutral colours, definitely consider it for the walls and decor. Thanks for sharing. You should check out home design articles
Author
Thank you, I do love the green 🙂