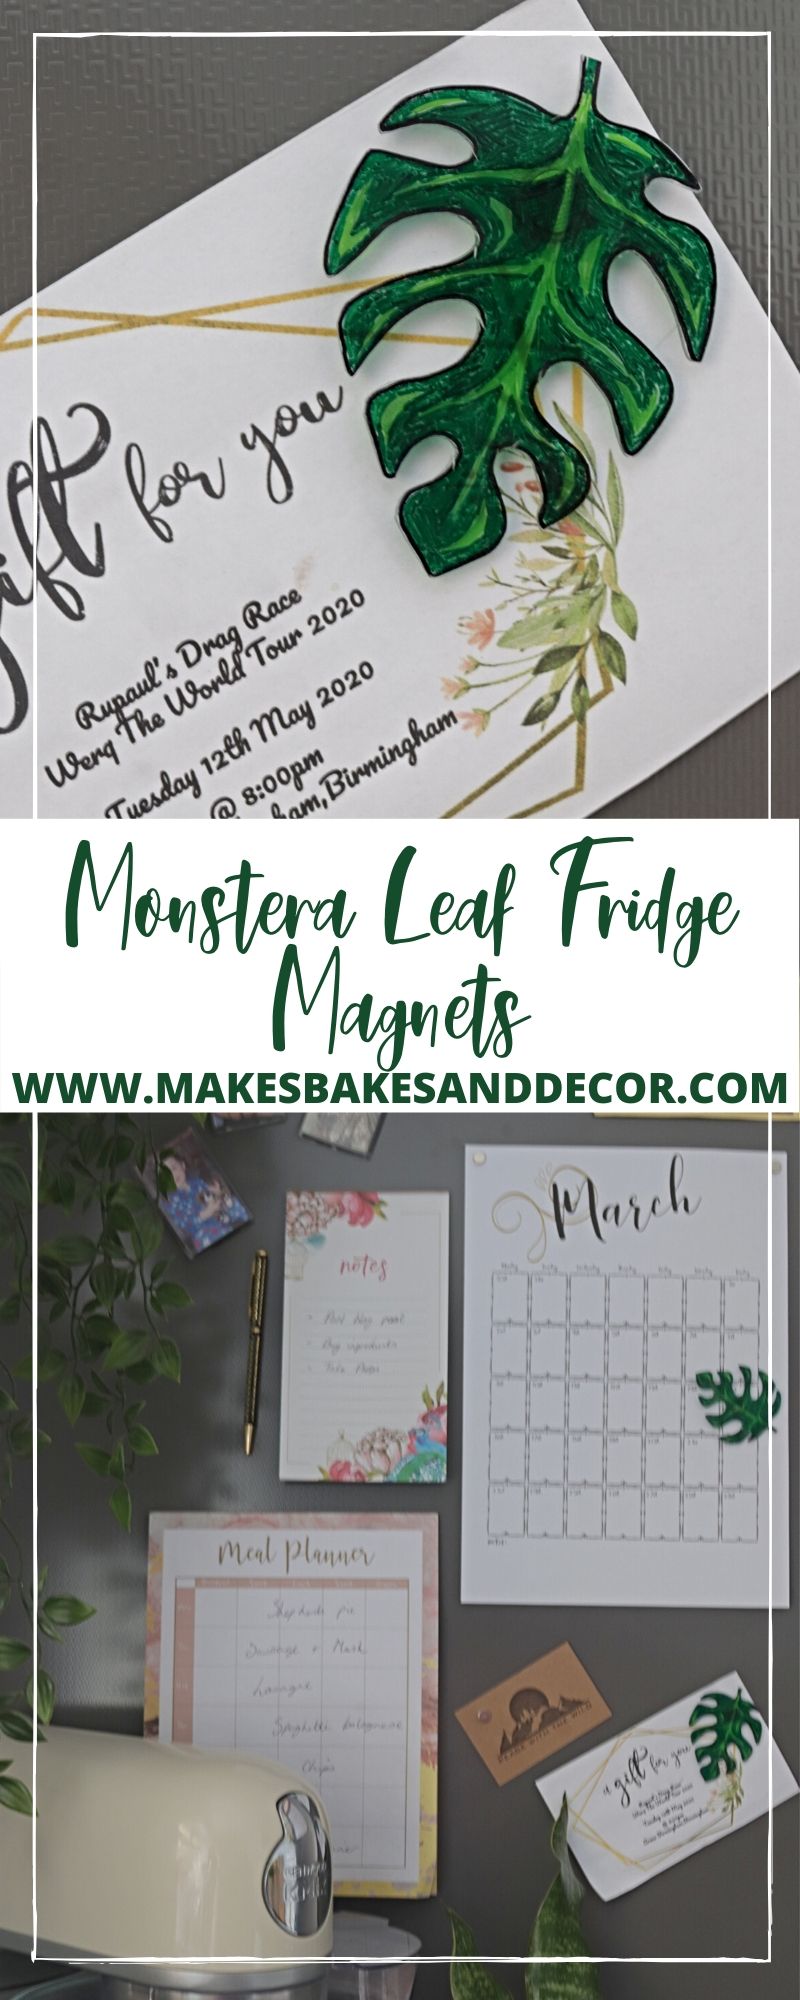
As I write this it is just 5 days until my Dad gets married. I am making their wedding cake plus I have other orders booked in this week for Mother’s day so my daily to do lists are long. I was determined though, that I wouldn’t let the blog slide just because I was busy! So I came up with a quick and fun craft that still looks really cool. These Monstera Leaf Fridge Magnets.
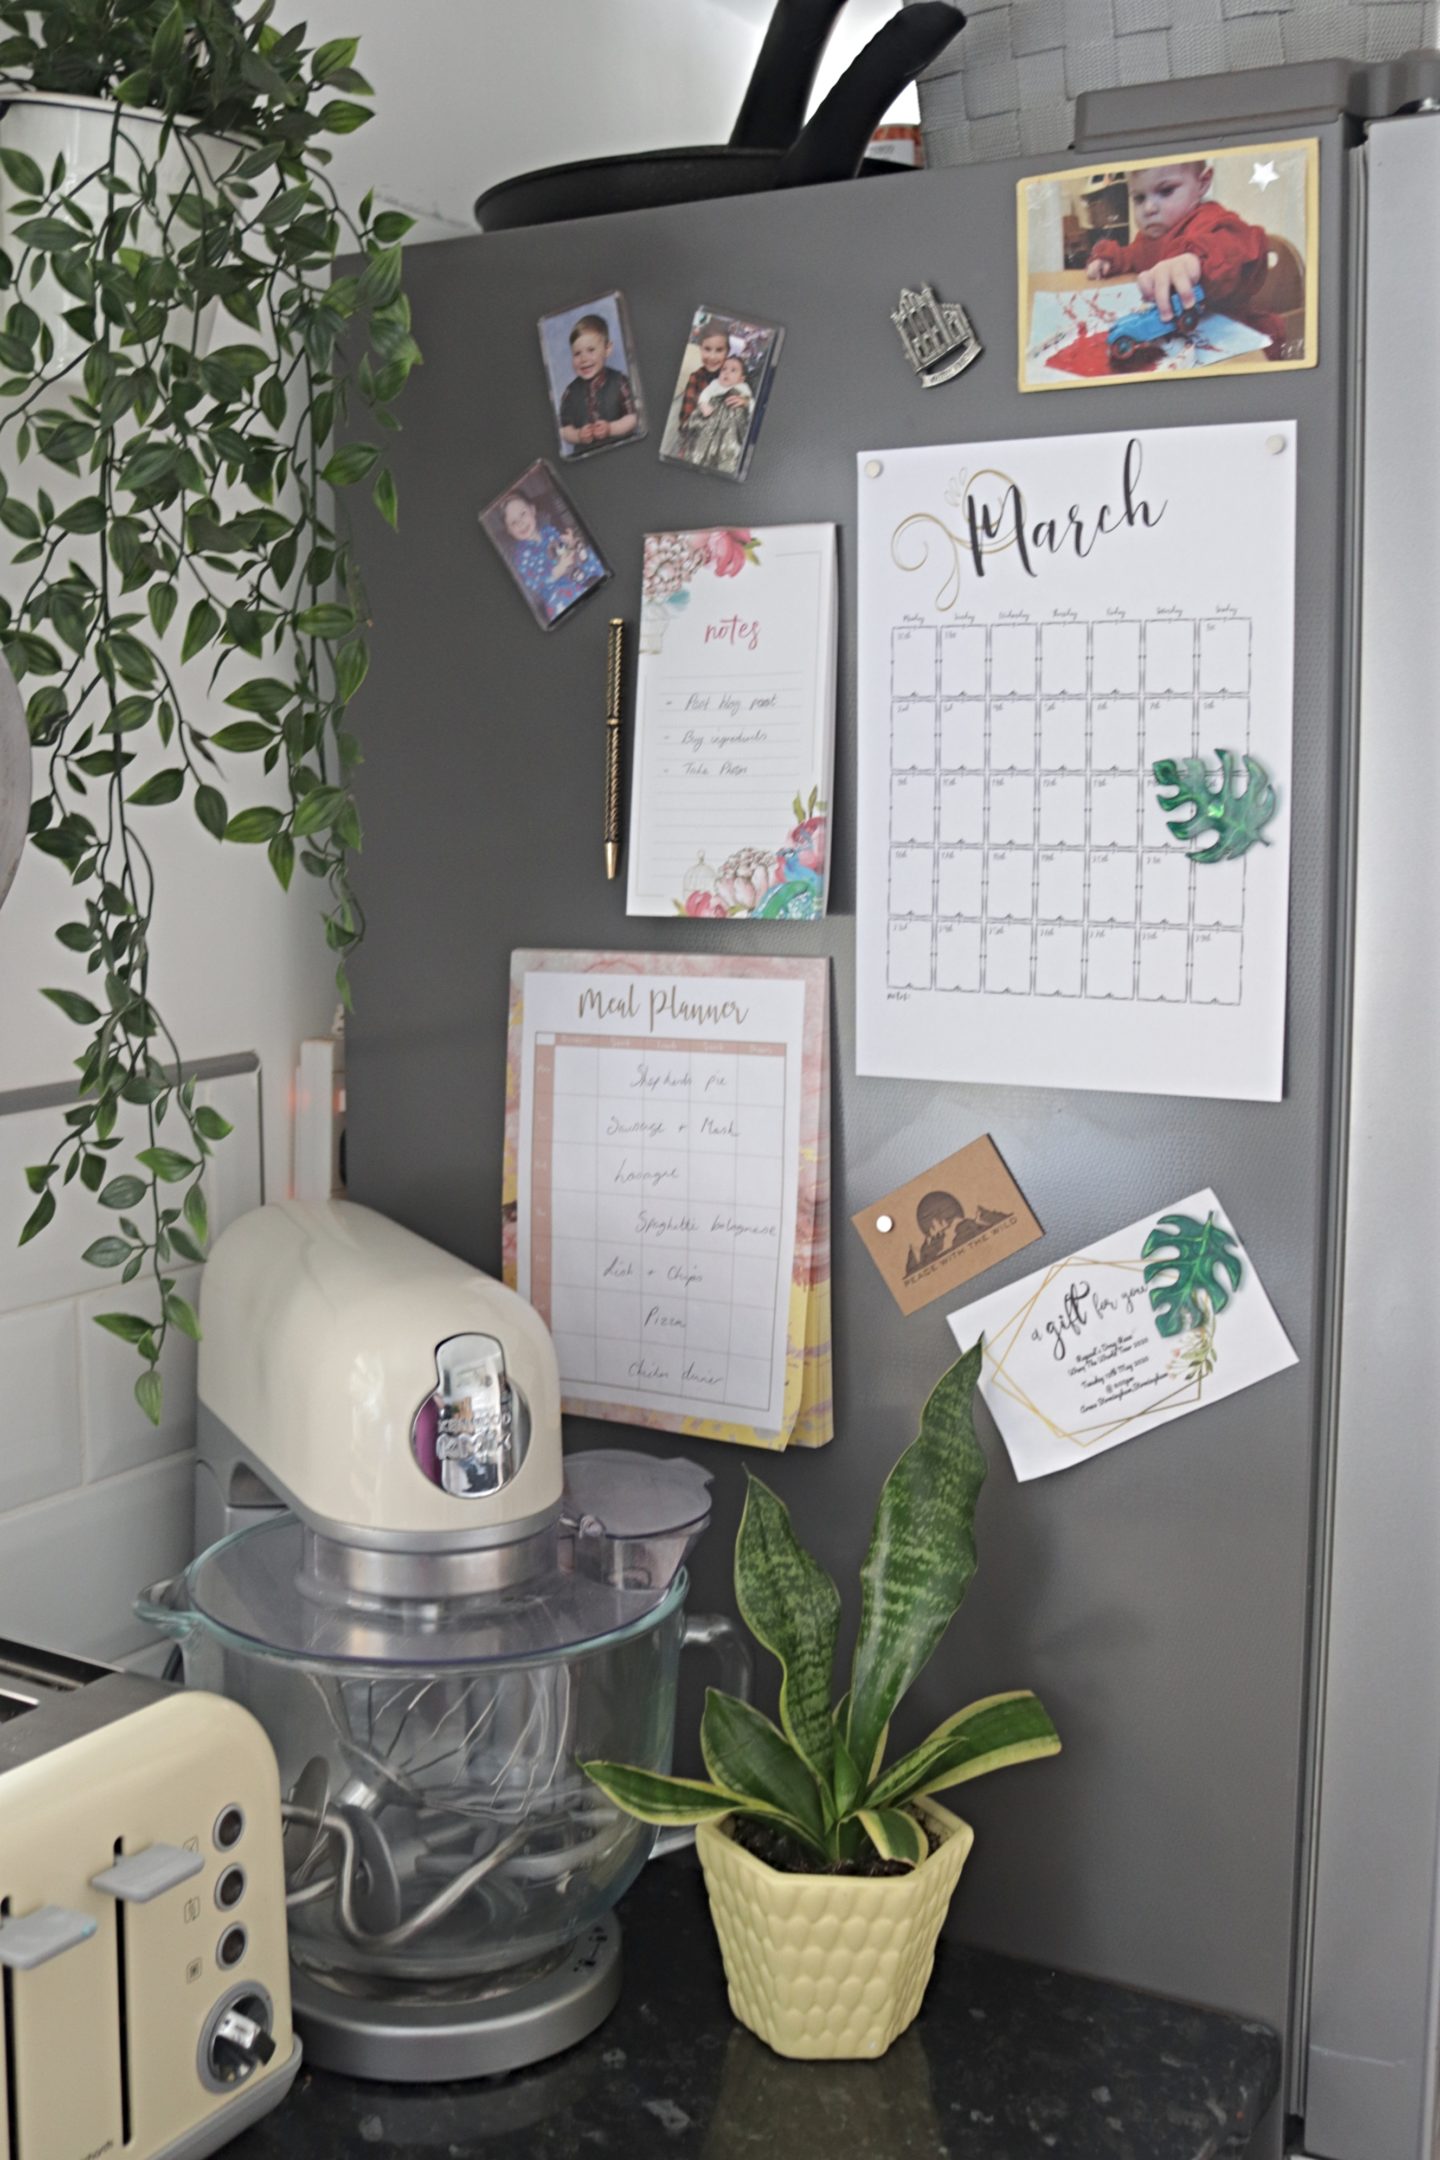
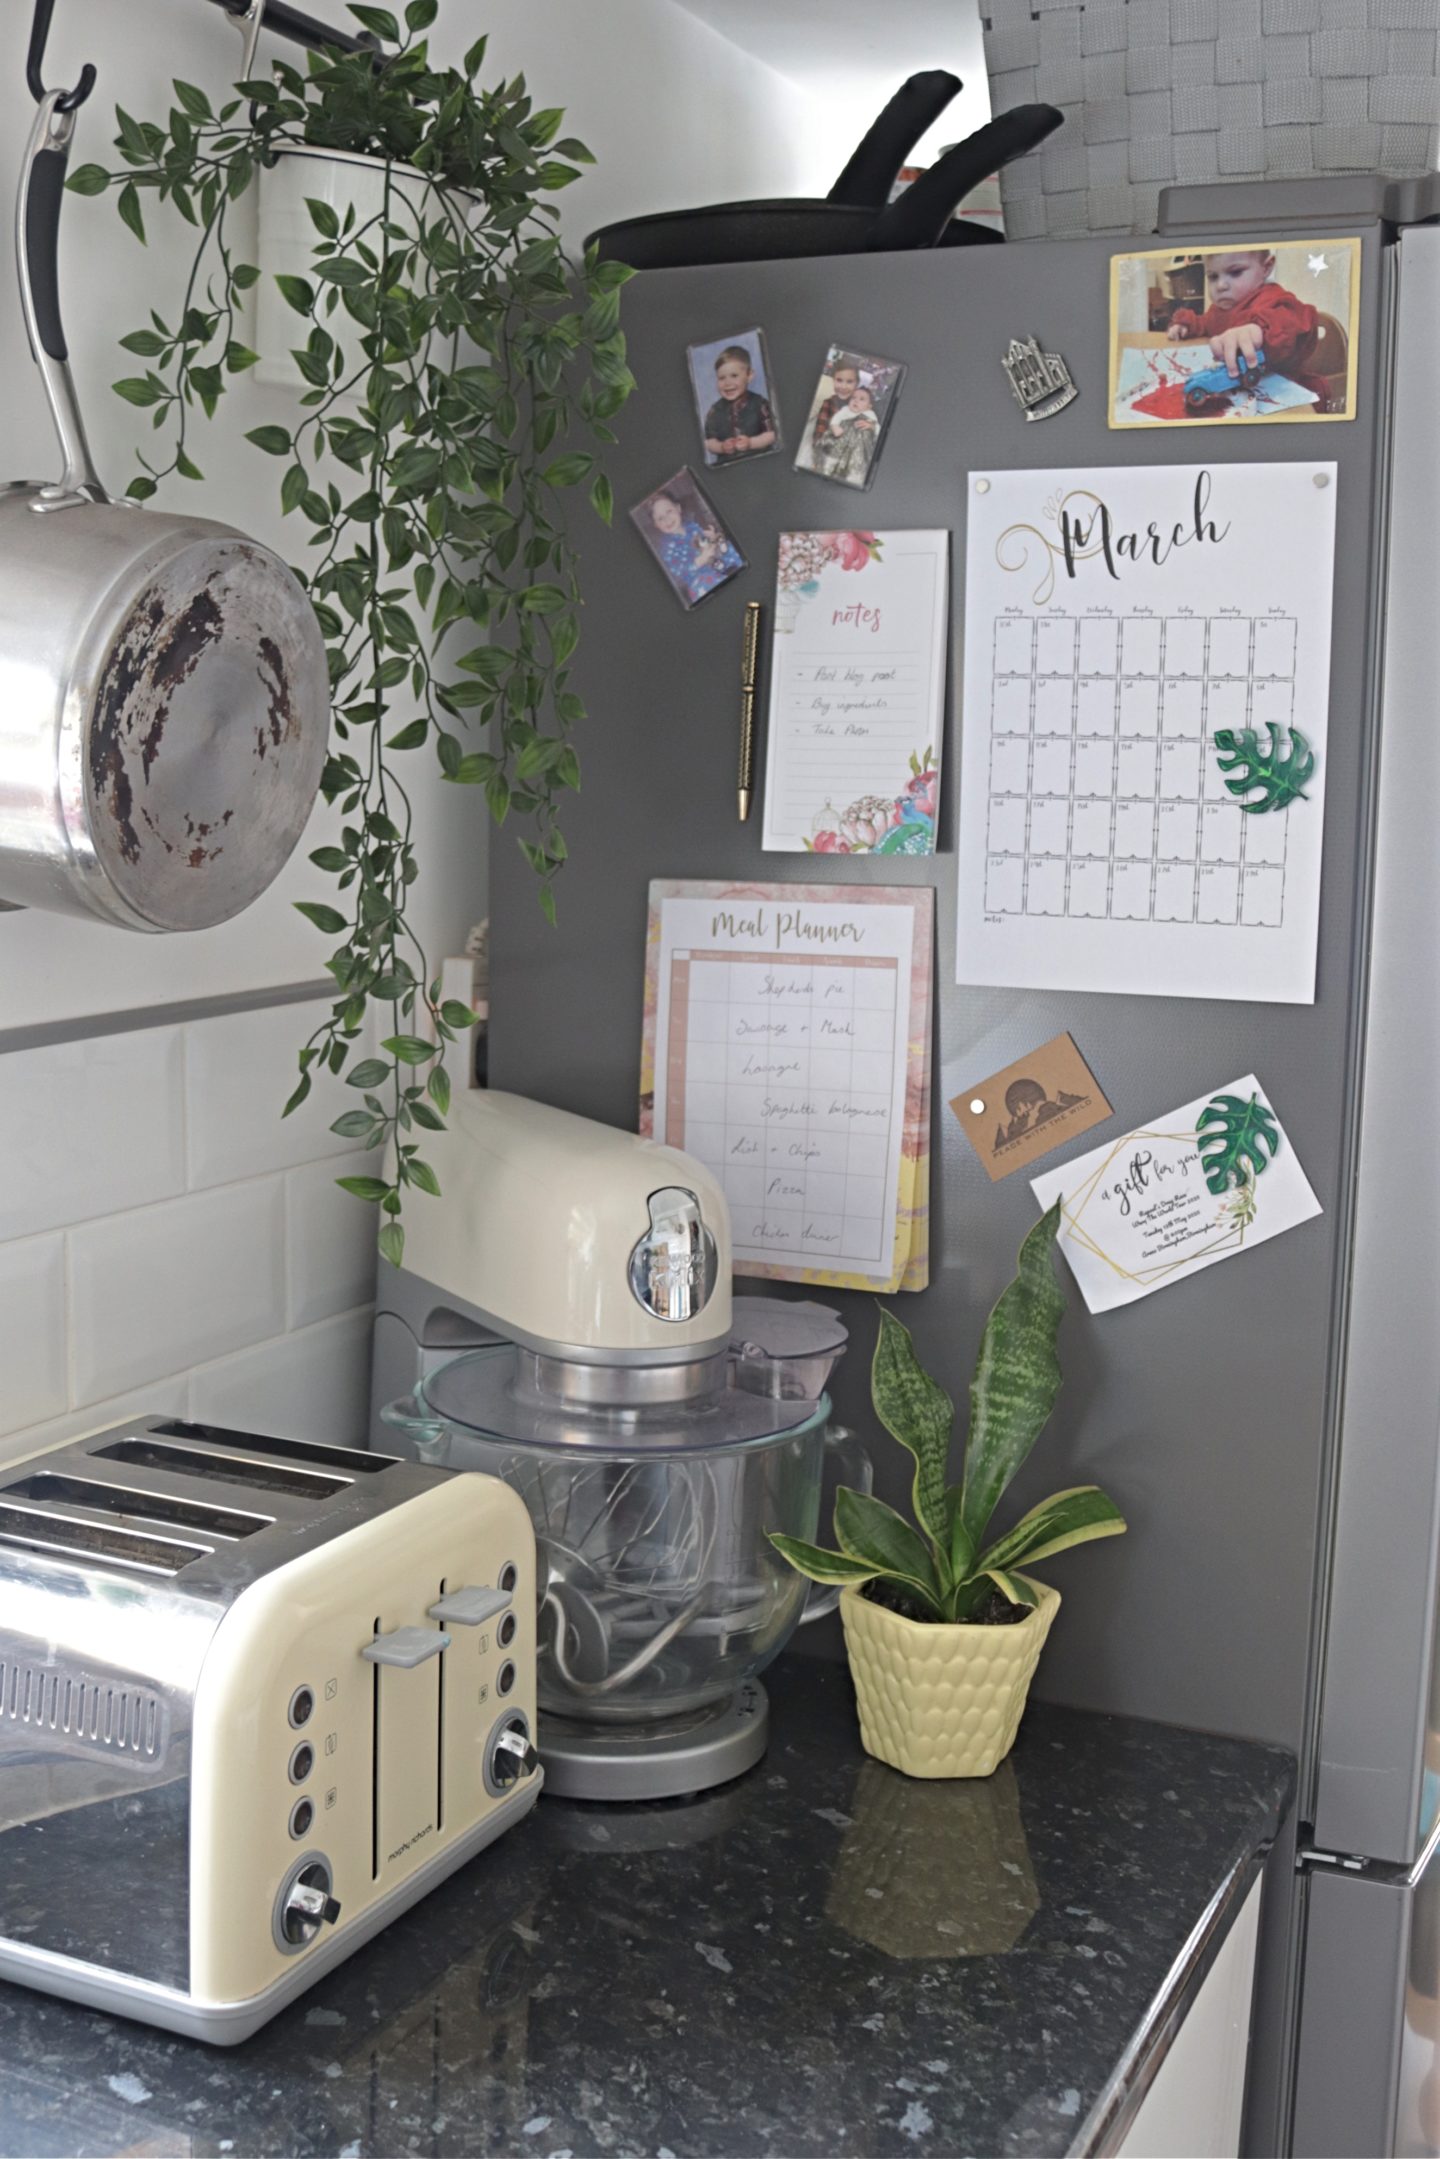
I just think they look really cool and they fit well with the leaf theme I have going in the kitchen now since we got the new blind.
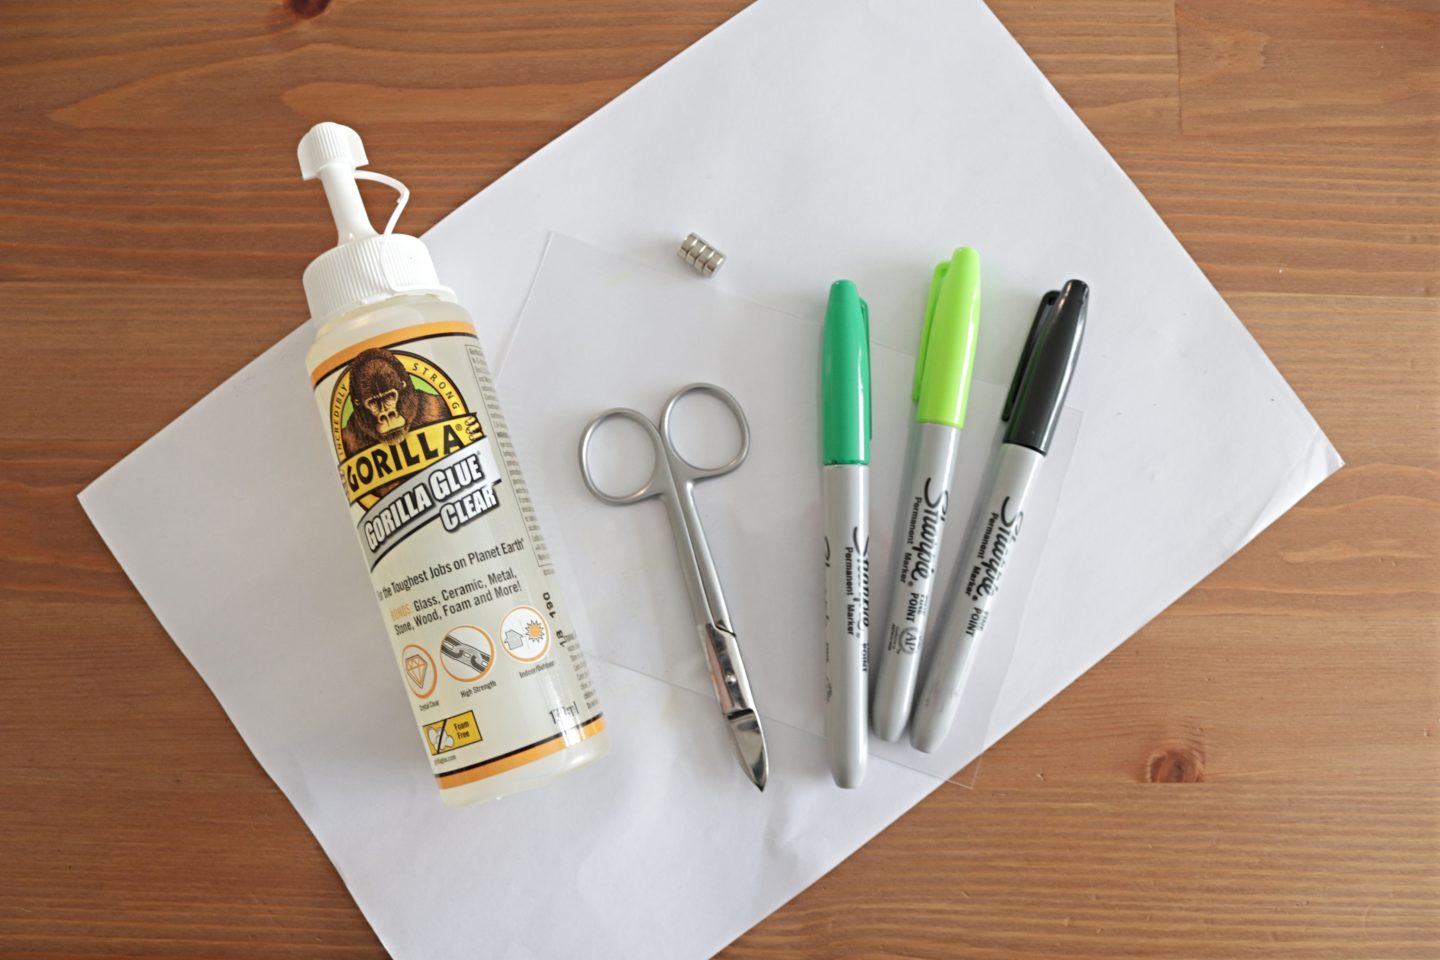
You only need a few supplies for this, Shrink plastic, sharpie pens, scissors, glue (I’ve linked a different one than I used because I think it would work better) and small magnets. I’ve linked them all below because none of us want to be going outdoors unnecessarily until this Covid-19 outbreak is under control!! You of course need your oven too to shrink the plastic.
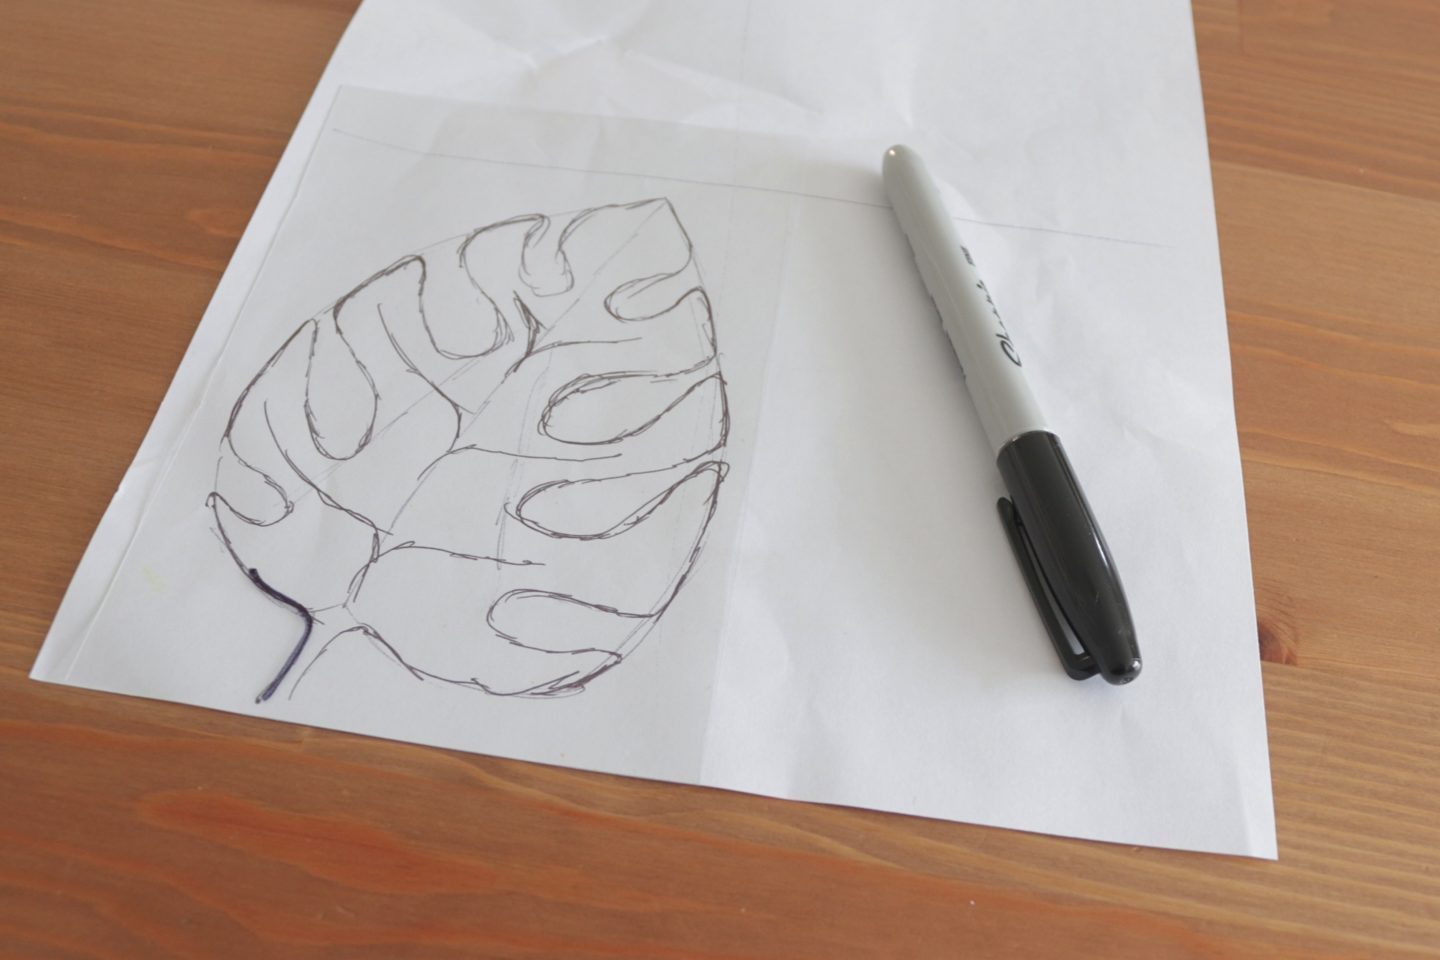
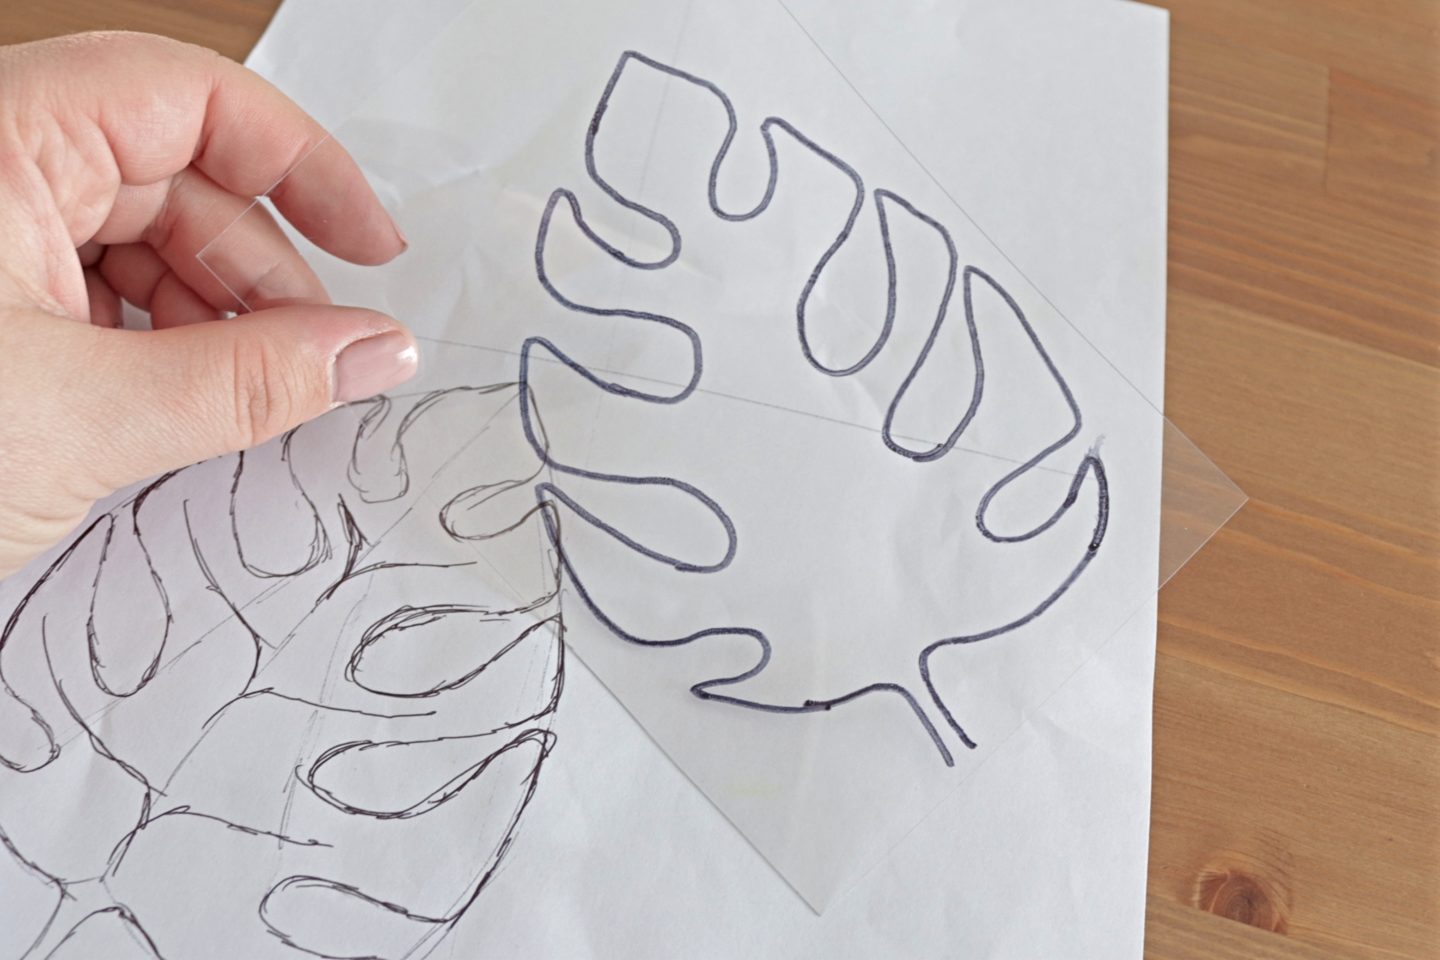
First I sketched out my monstera leaf onto a piece of paper until I had the design and shape I wanted. You need it to be as big as quarter of an A4 sheet (so A6). Once I was happy I traced the leaf onto my shrink plastic with a black sharpie or permanent marker. You need it to be a permanent marker or the pen will just wipe off the plastic.
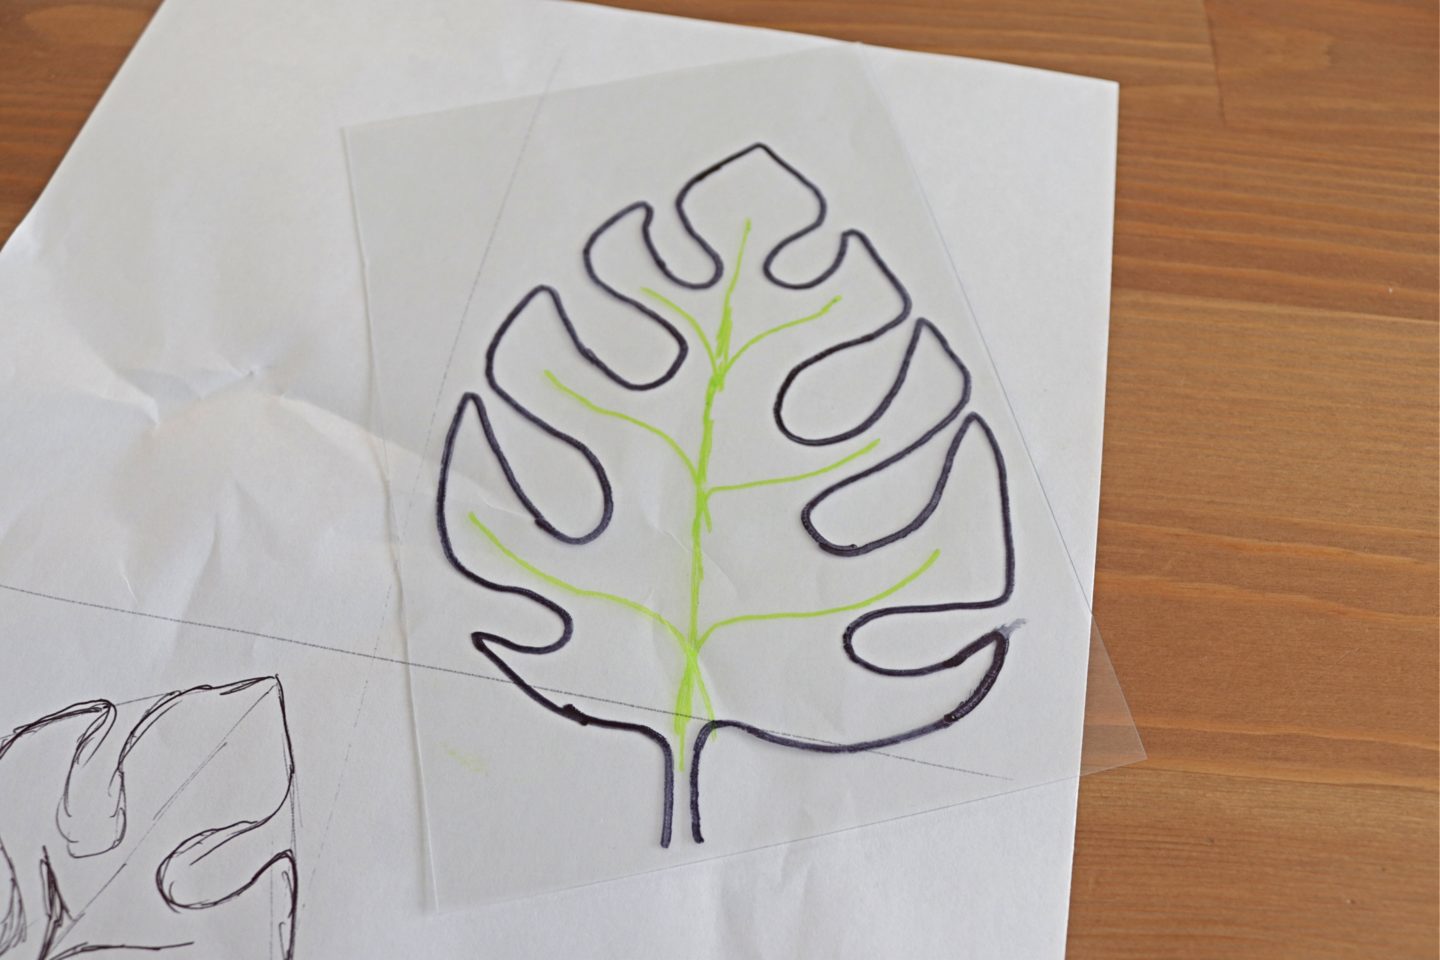
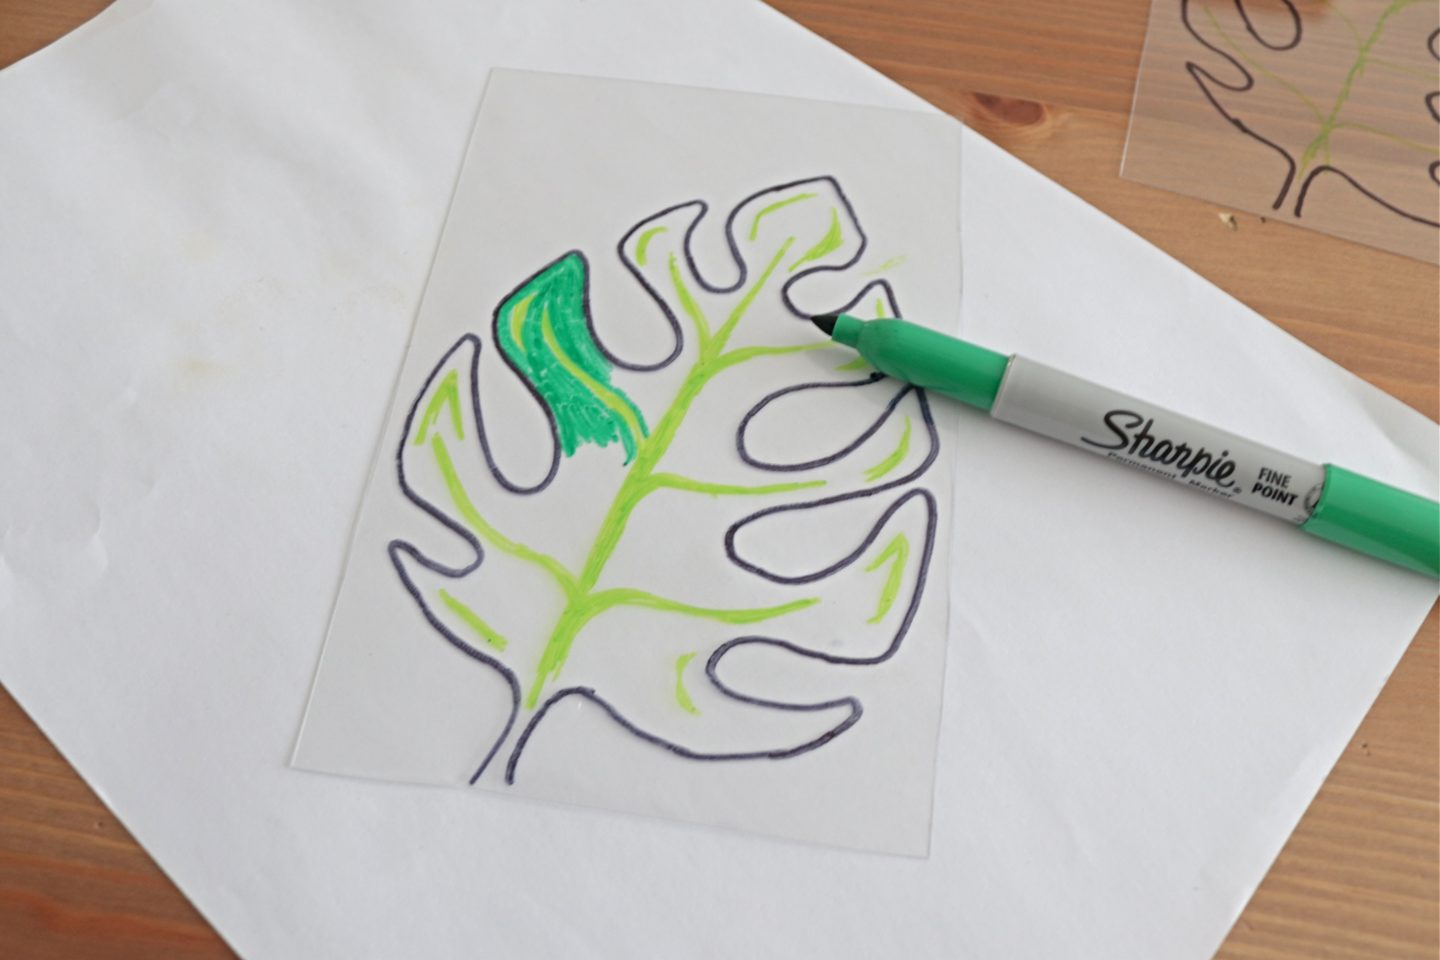
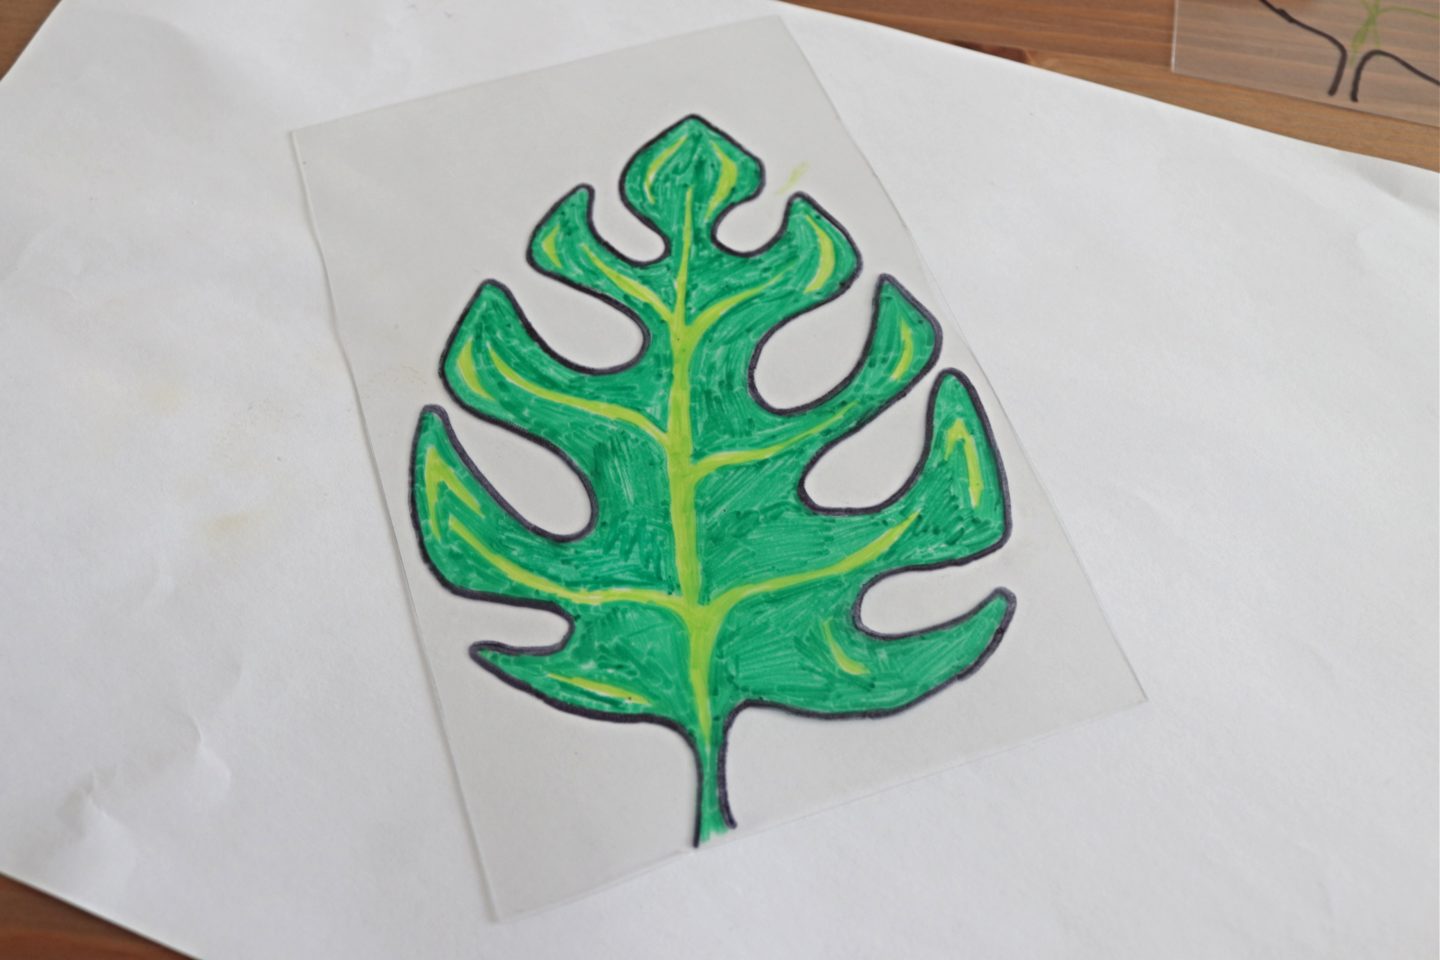
When I had finished with the outline I added in some details with a light green and then coloured in the rest with a dark green.
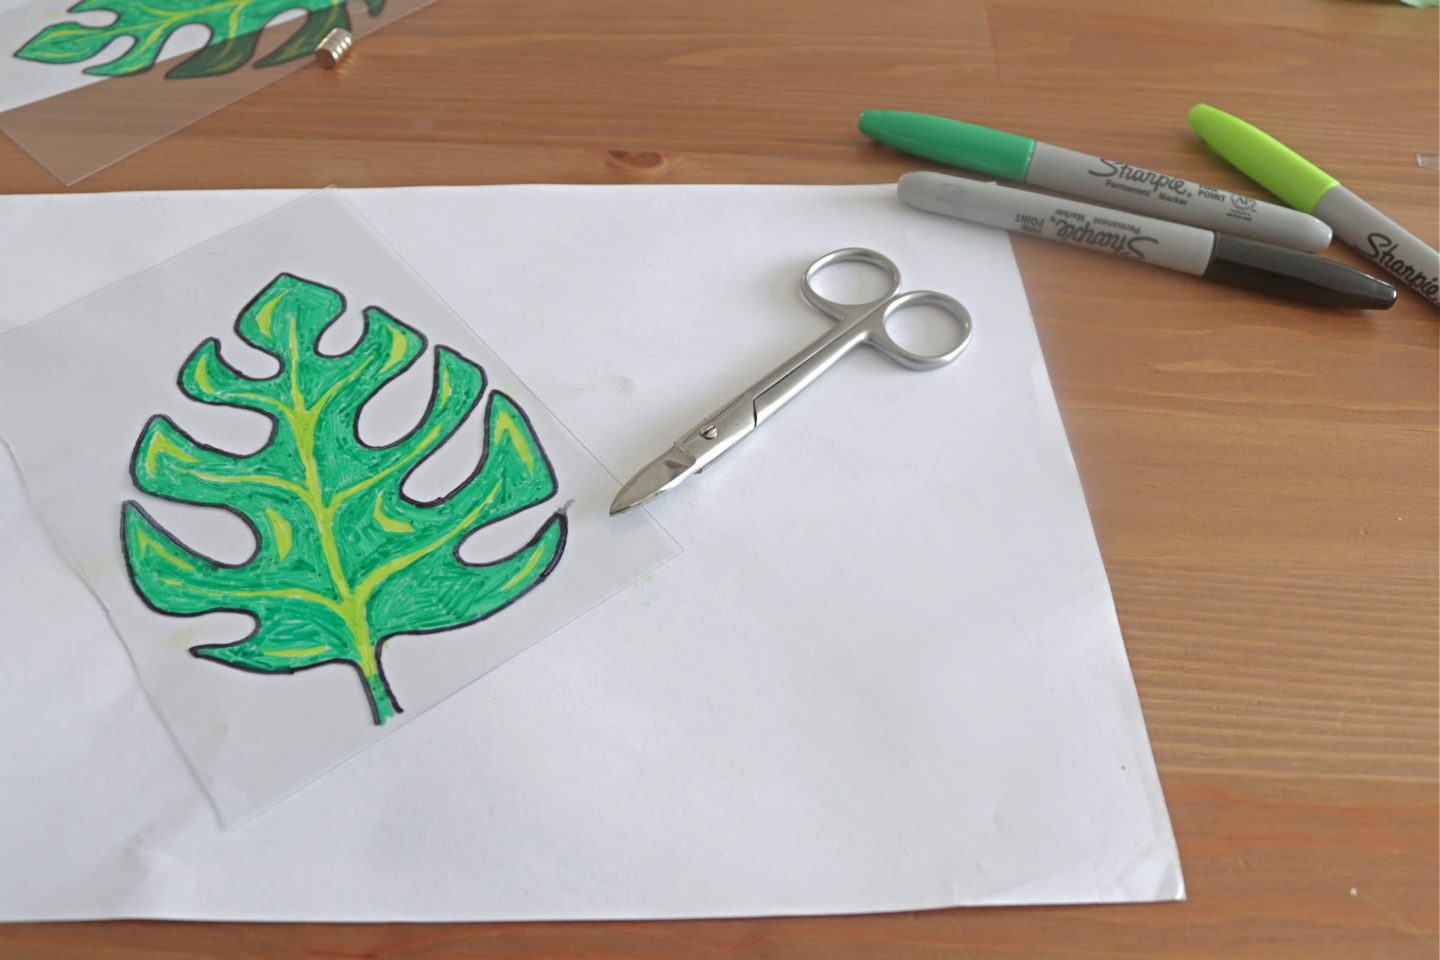
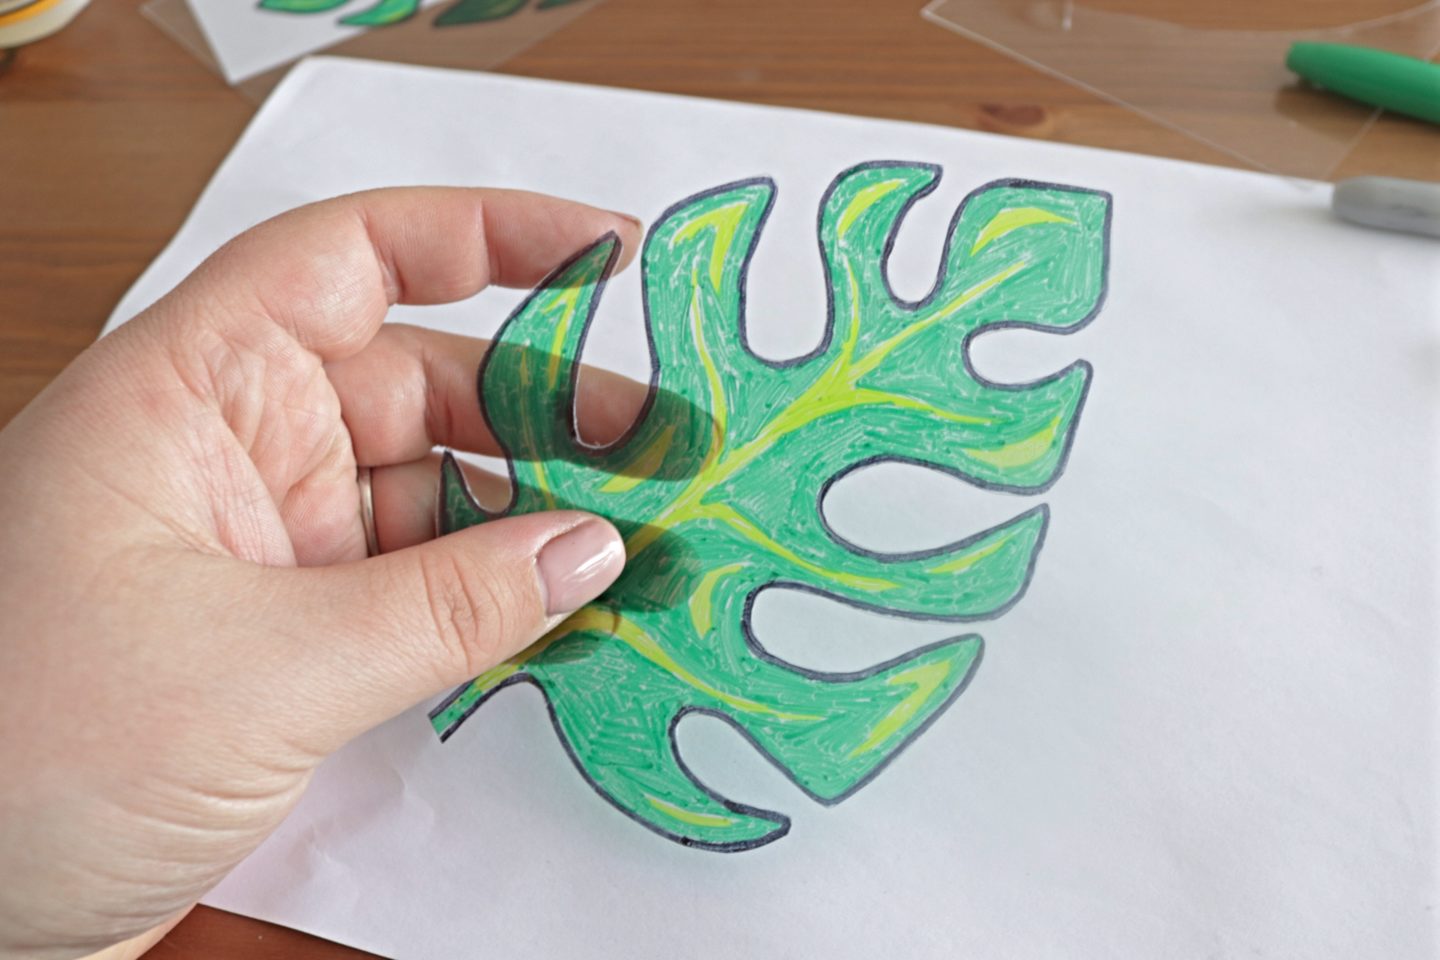
Once fully coloured in you need to cut out your leaf. You need to go slow and steady when cutting because if you get any knicks or splits in the plastic it will effect how it shrinks.
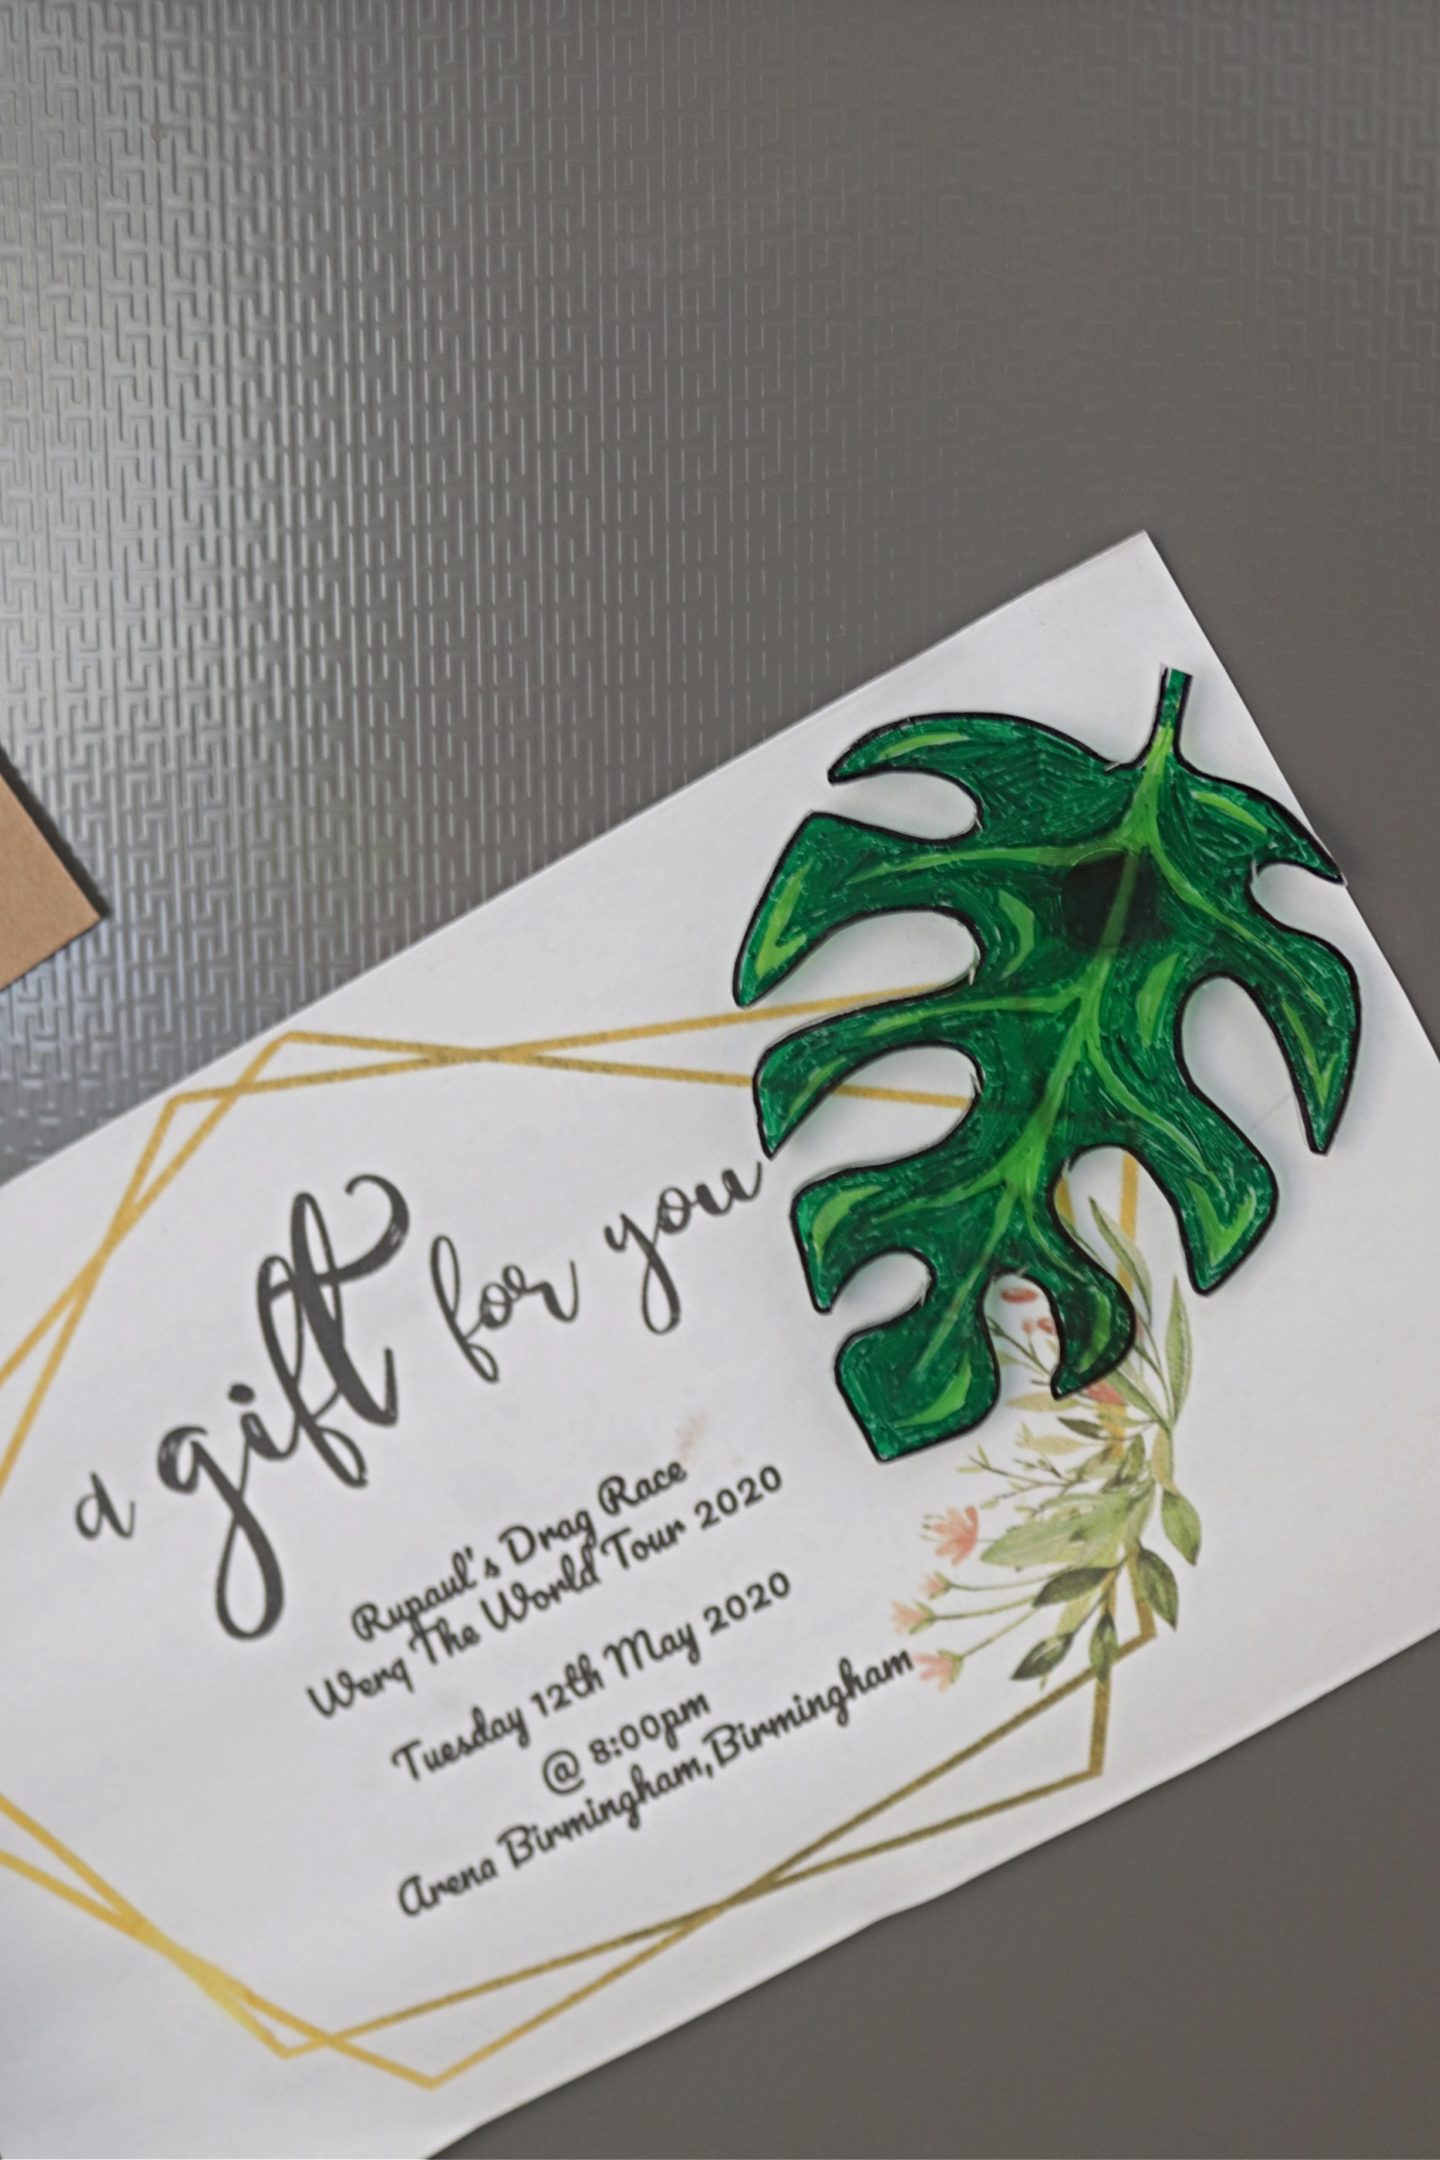
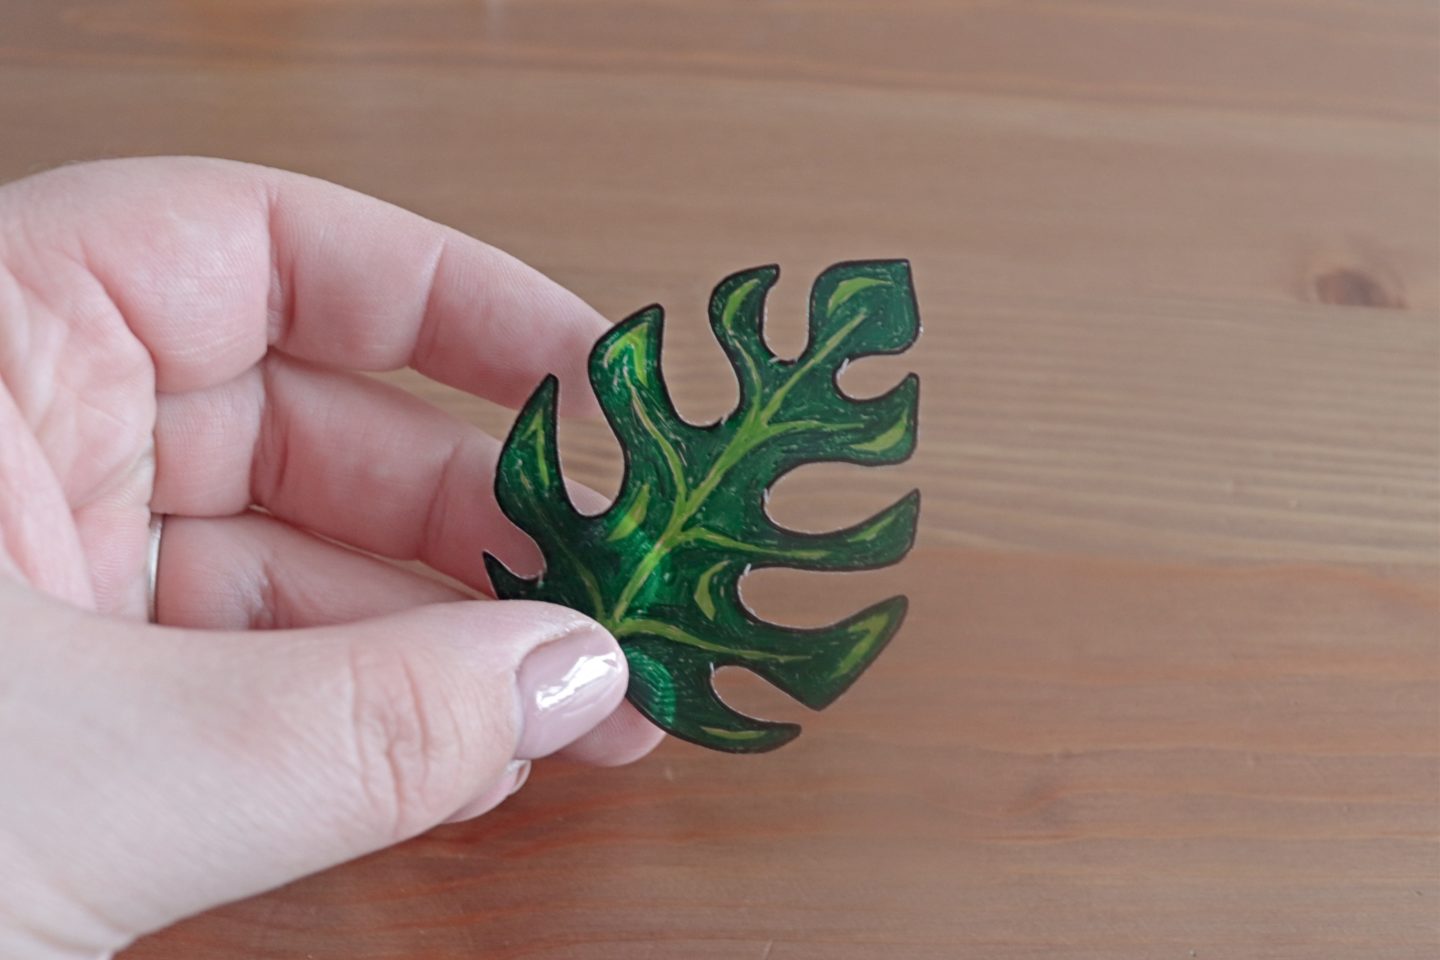
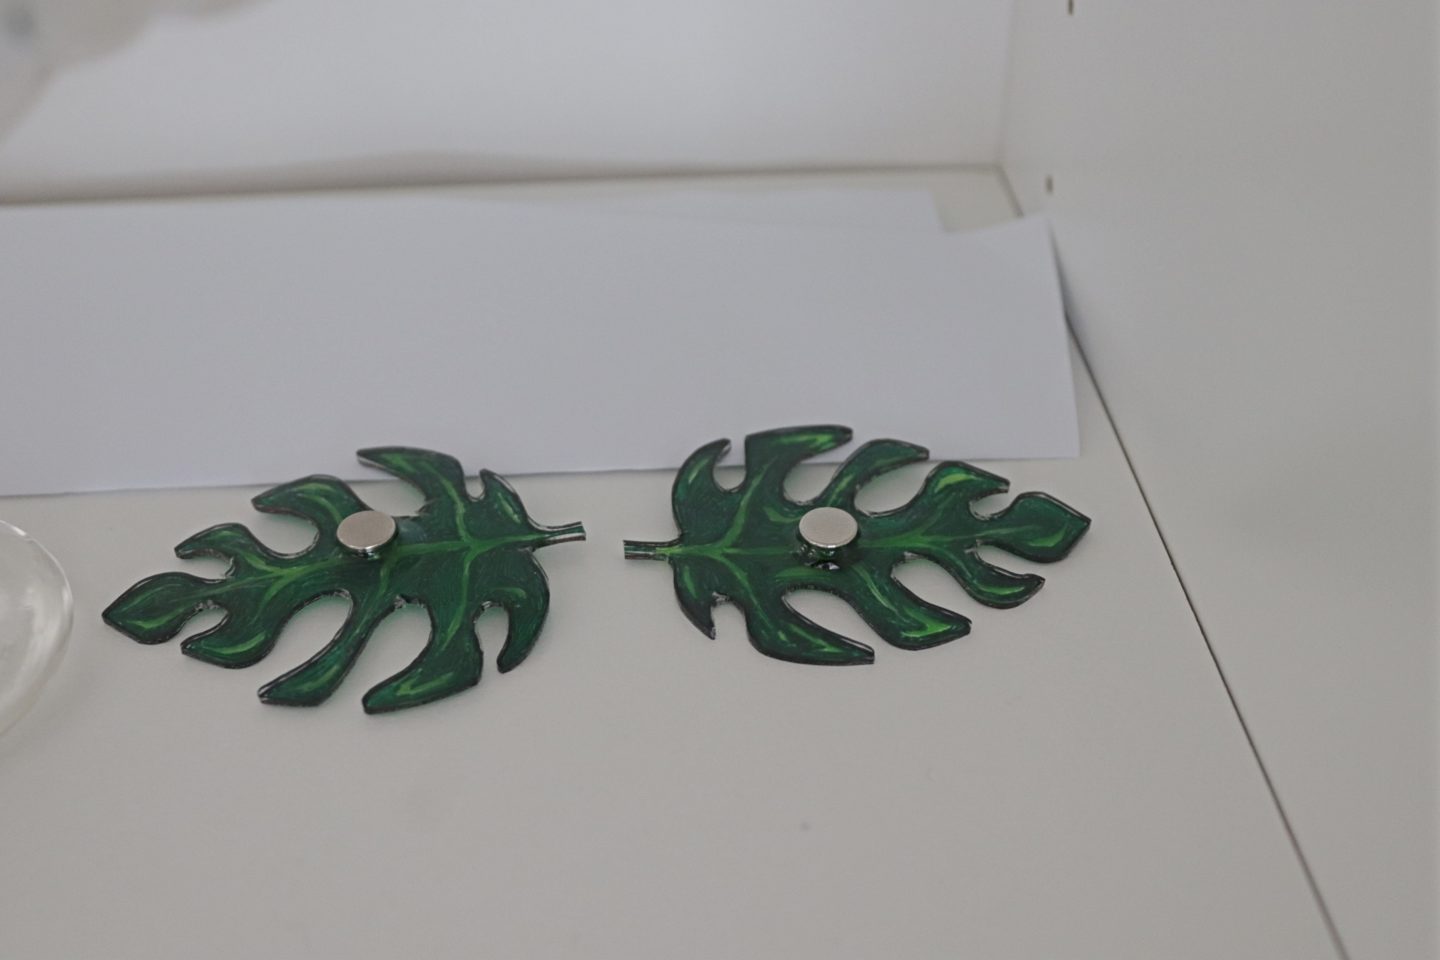
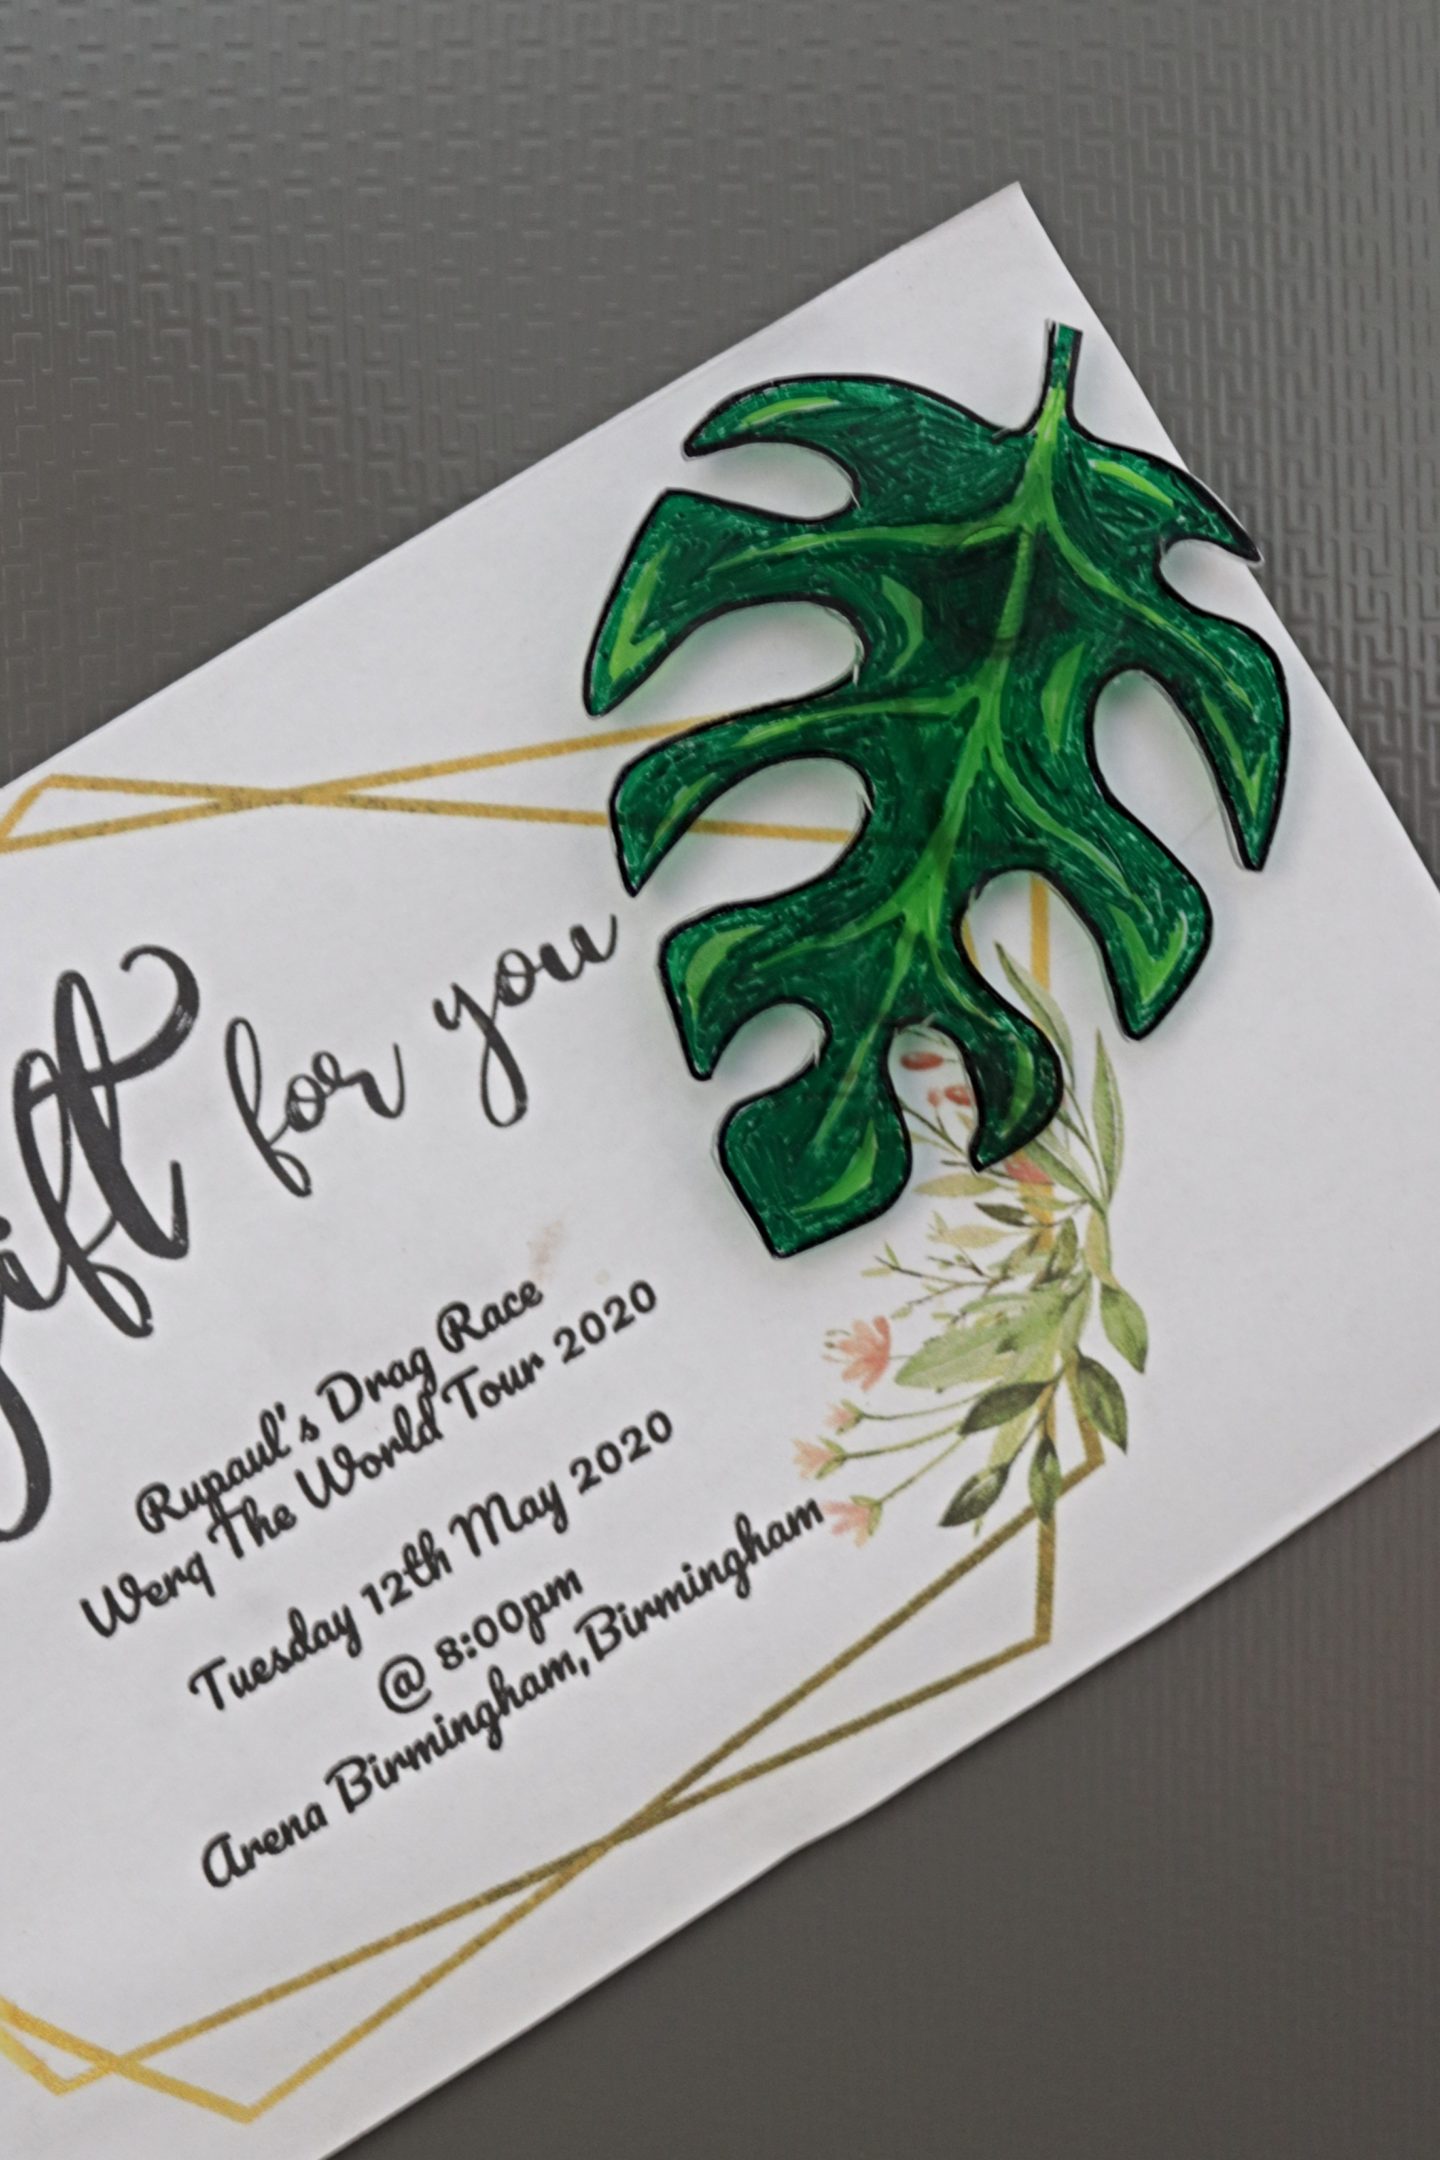
Now is the fun part. Always follow the directions on the particular brand of plastic you use but for mine I had to heat the oven to 160c. I then placed the cut out leaves on a baking tray and put them into the oven. I love watching this part through the oven door! You will start to see the plastic curl up and shrink. wait until the plastic has fully shrunk and is laying flat again and then take it out of the oven. Leave to cool before carefully removing from the tray. This is what your Monstera Leaf Magnets will look like now.
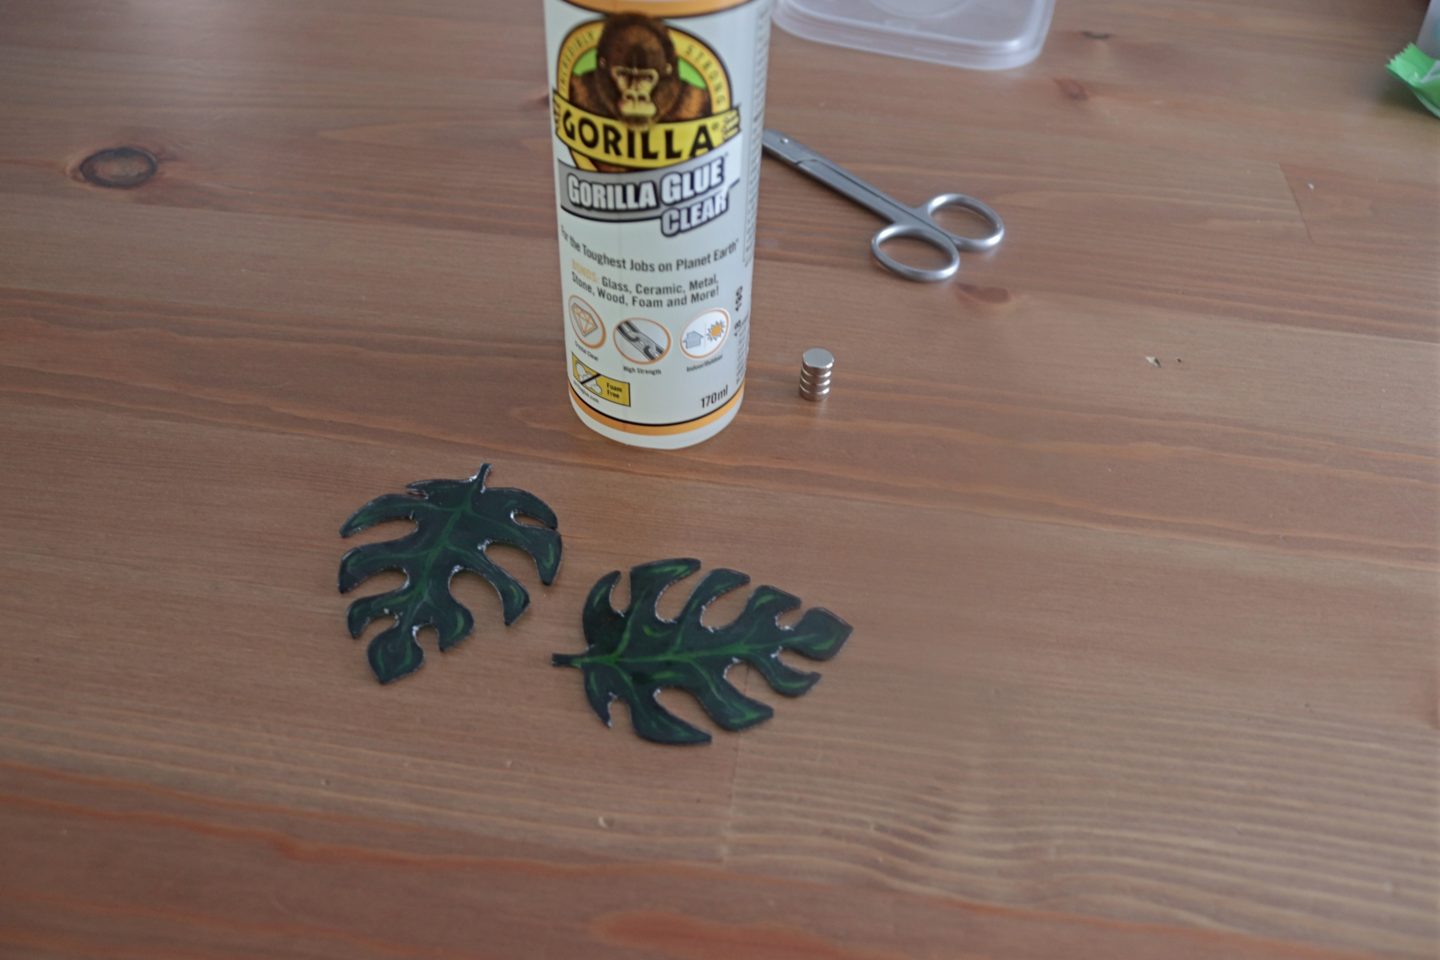
All you need to do now is stick the magnet onto the back. I used a glue that needed setting time but super glue would be best so it is stuck instantly.
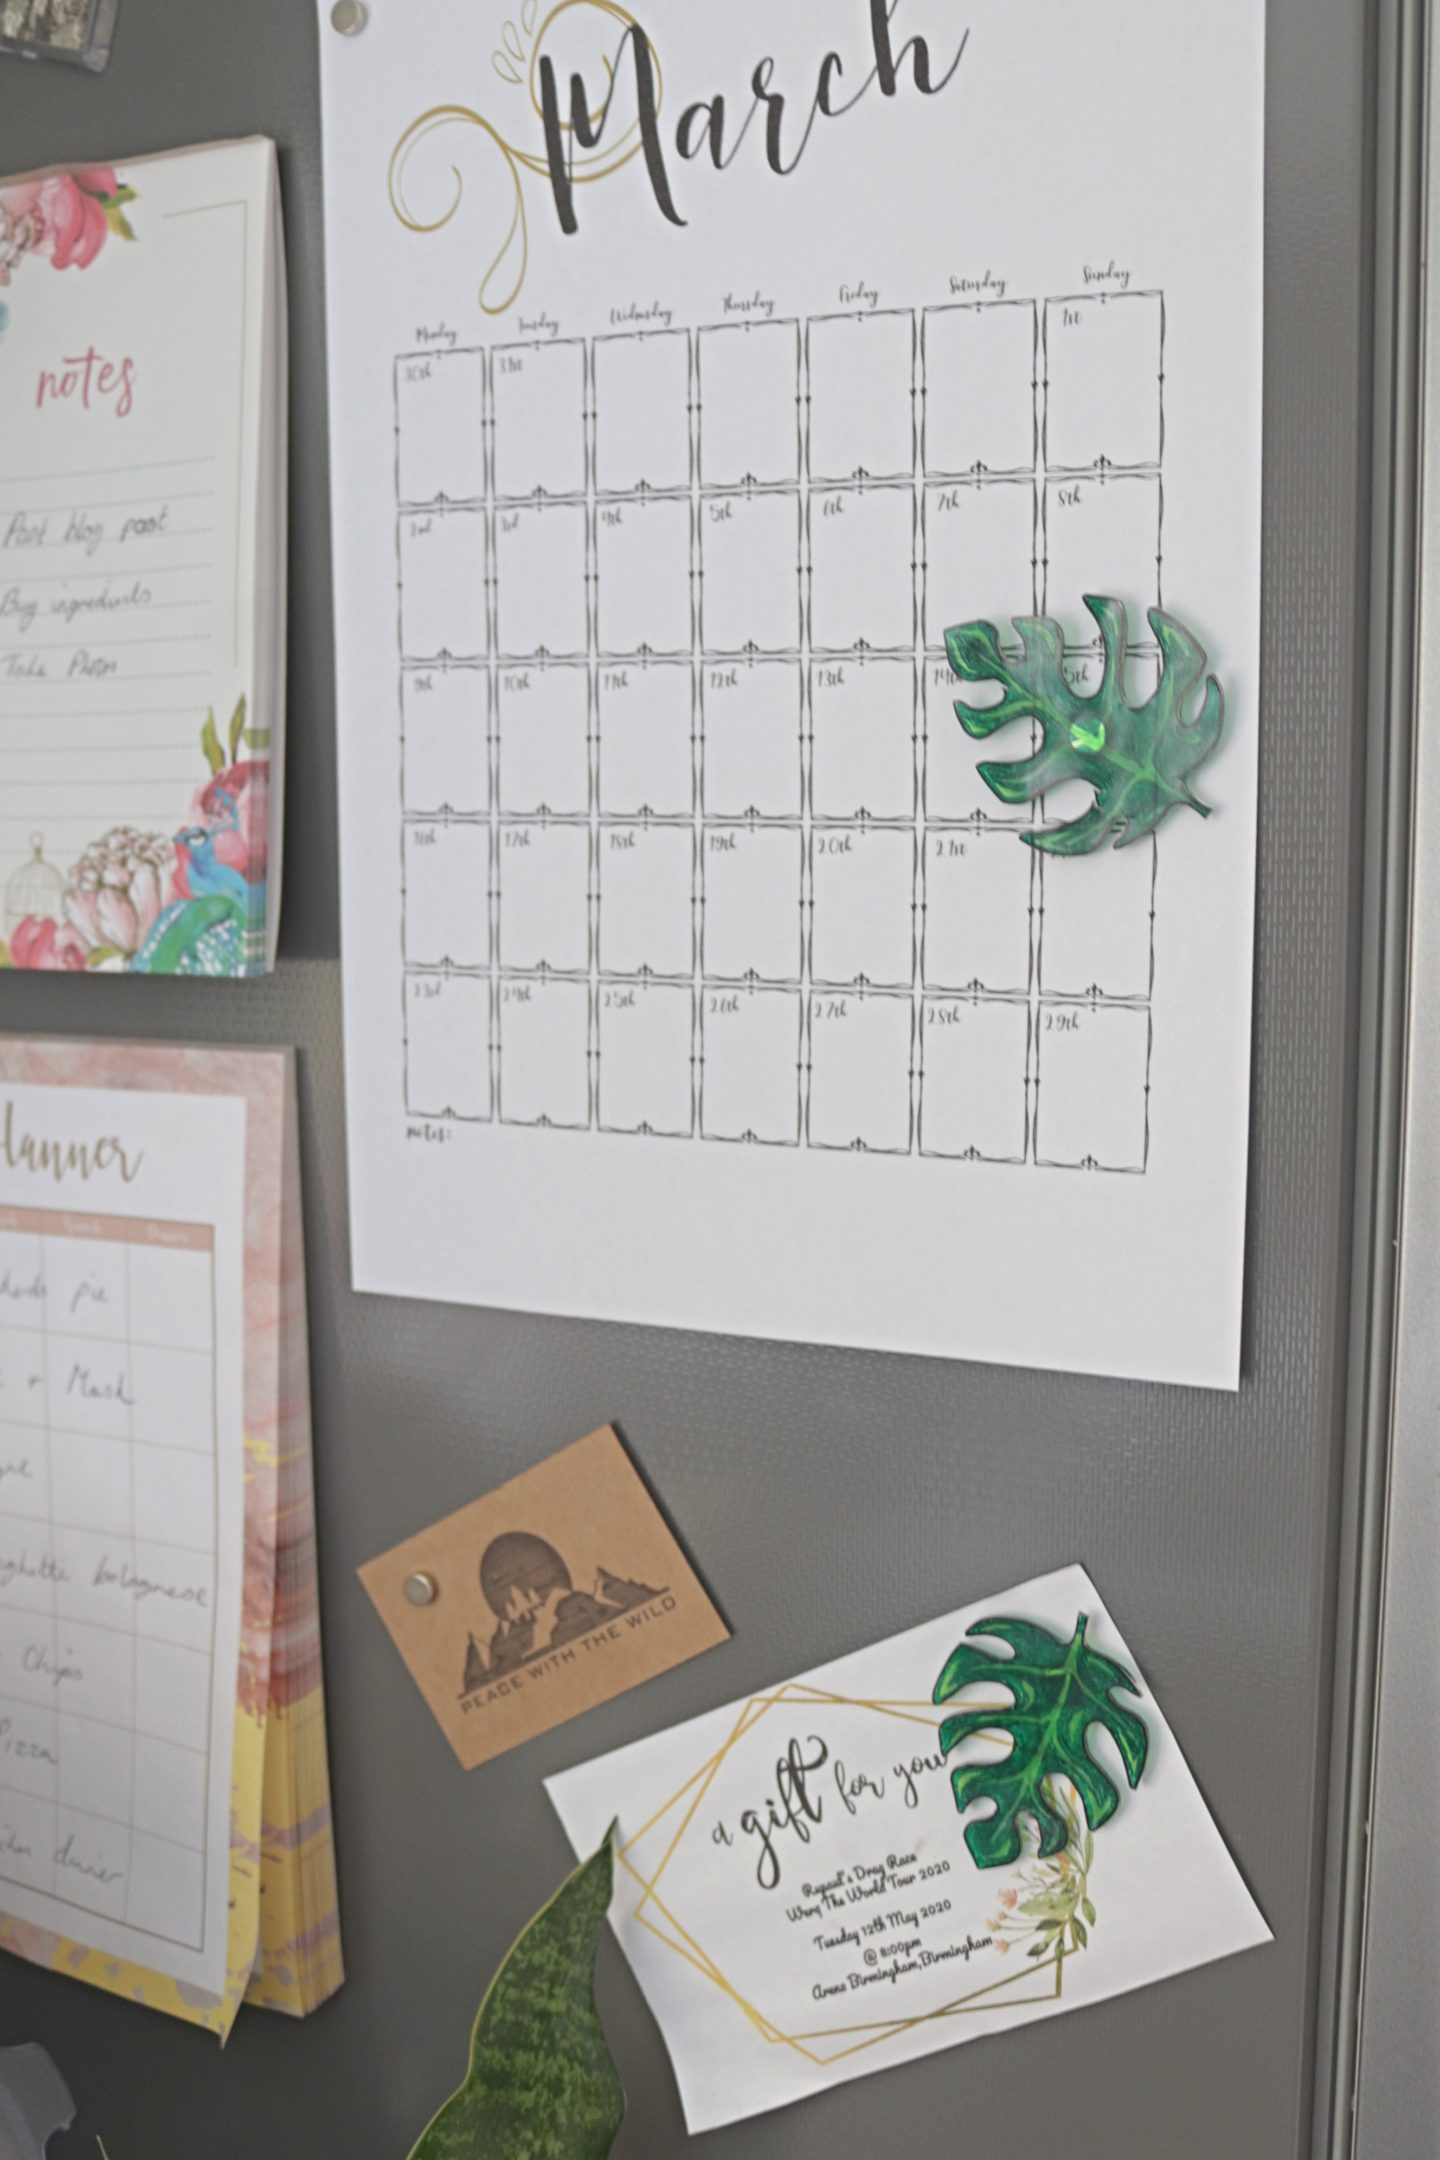
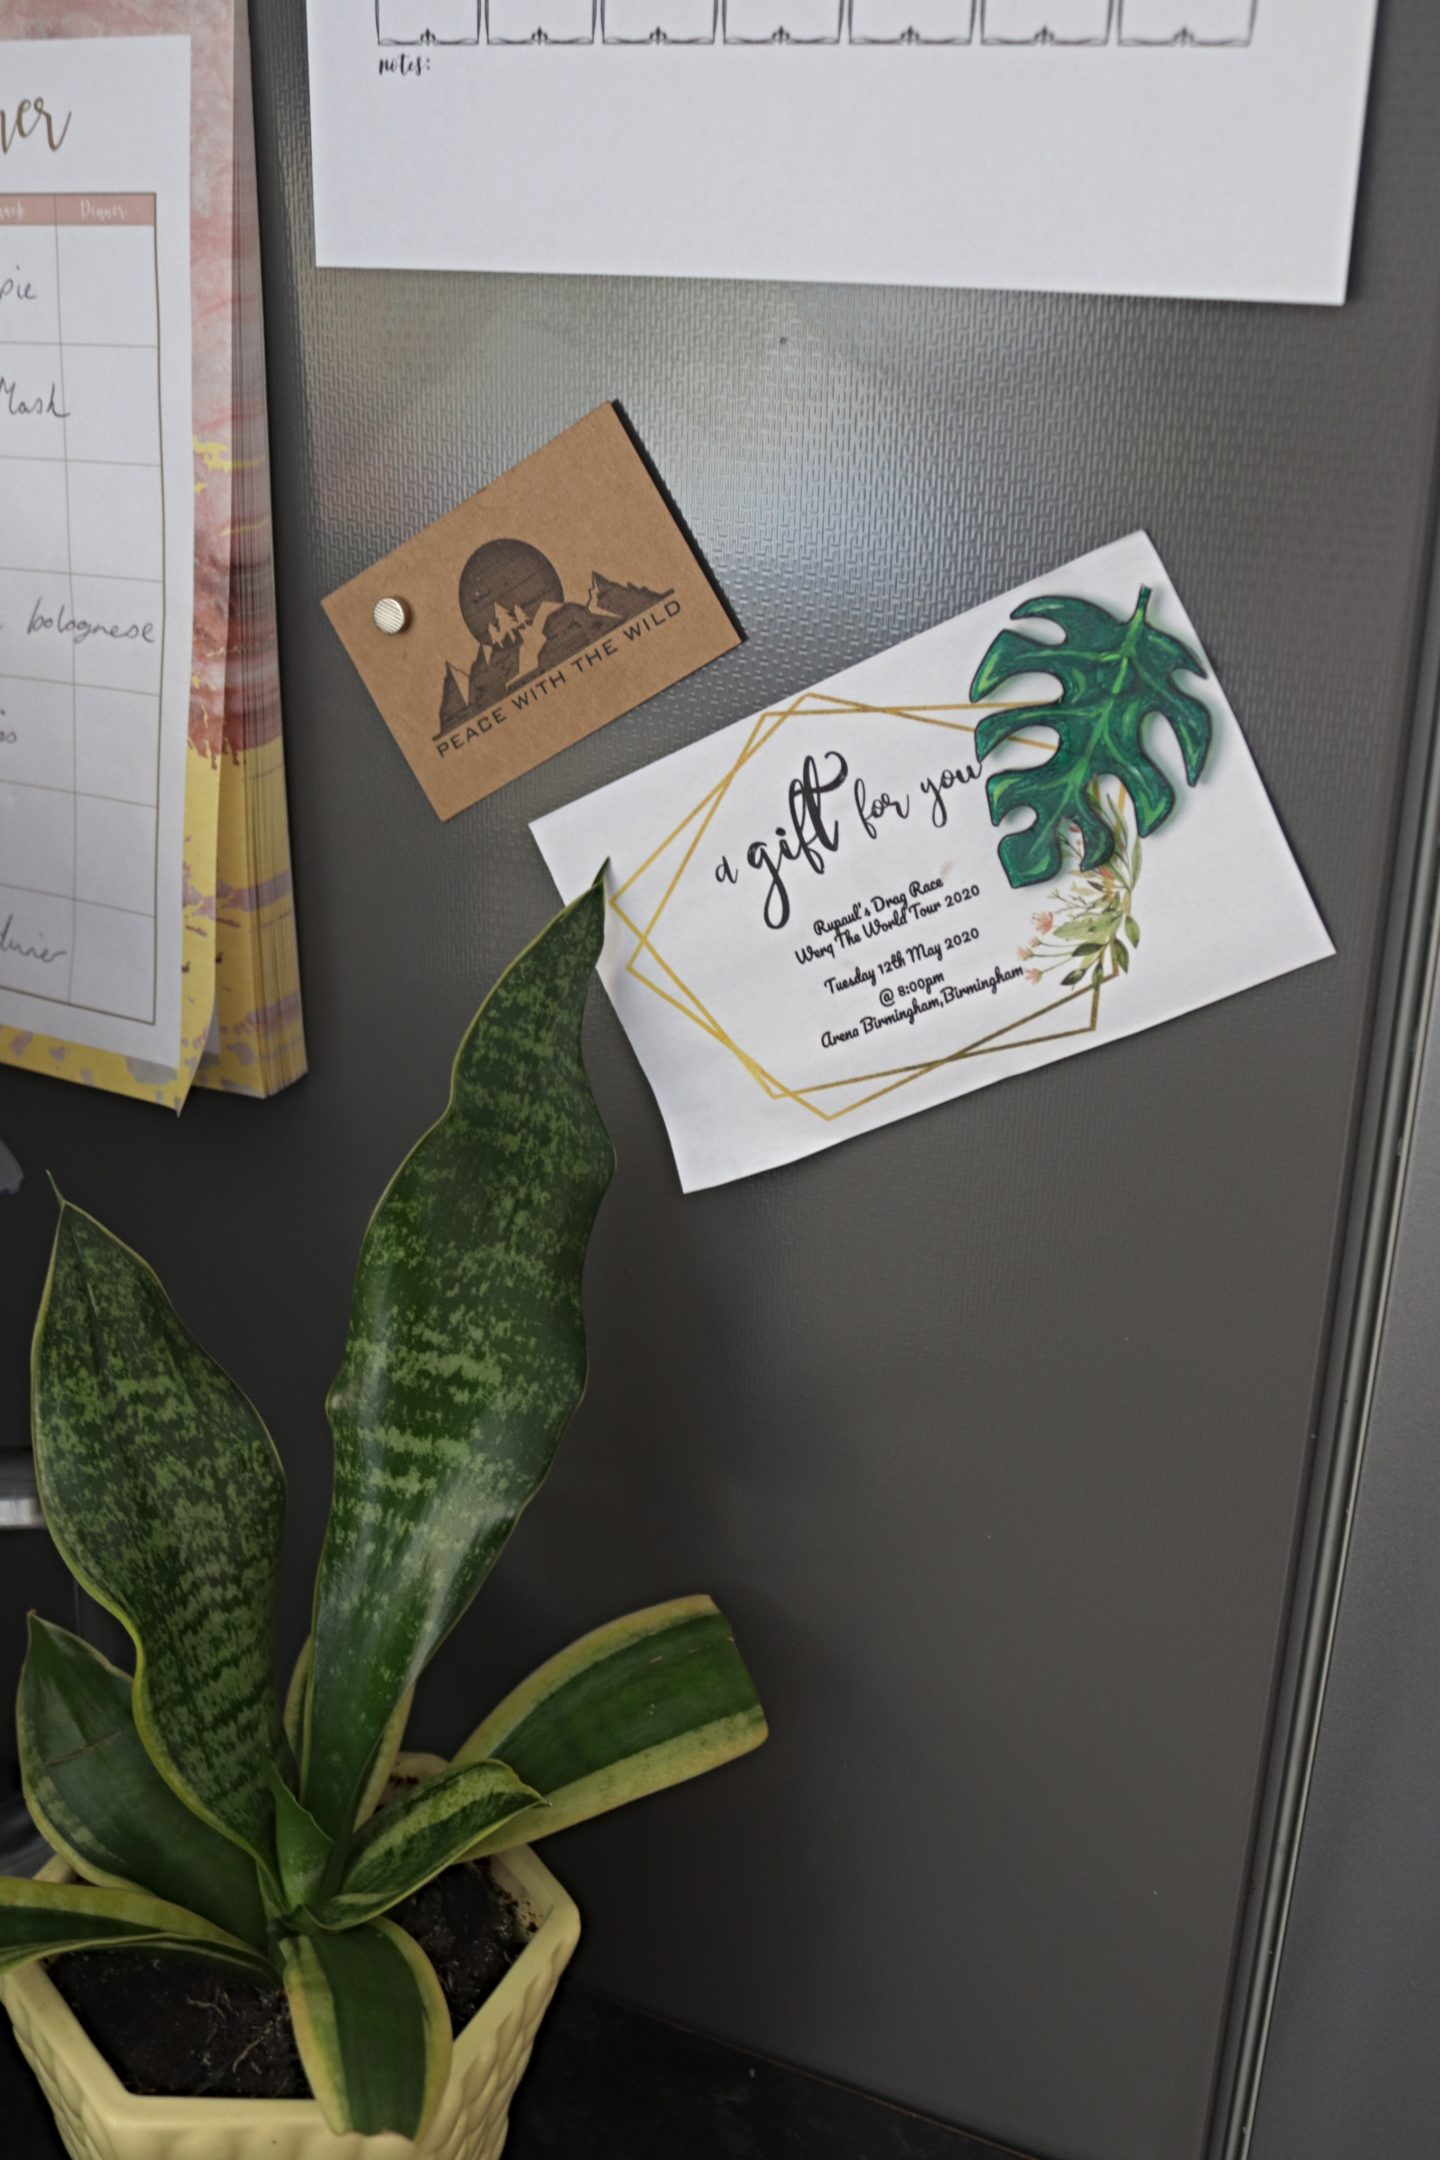
These are now on my fridge and once work is a bit quieter and I’ve got some spare time I’ll be making some more. We’ve always got bits of random paper on the fridge so why not display them stylishly with these Monstera Leaf Fridge Magnets!
Sorry, I like to take lots of photos and why not show you them all. This is also a great activity to do with the kids. Let them draw some fun leaves and flowers and shrink them down too!
Lianne x
Pin my Monstera Leaf Fridge Magnets to save them for later!