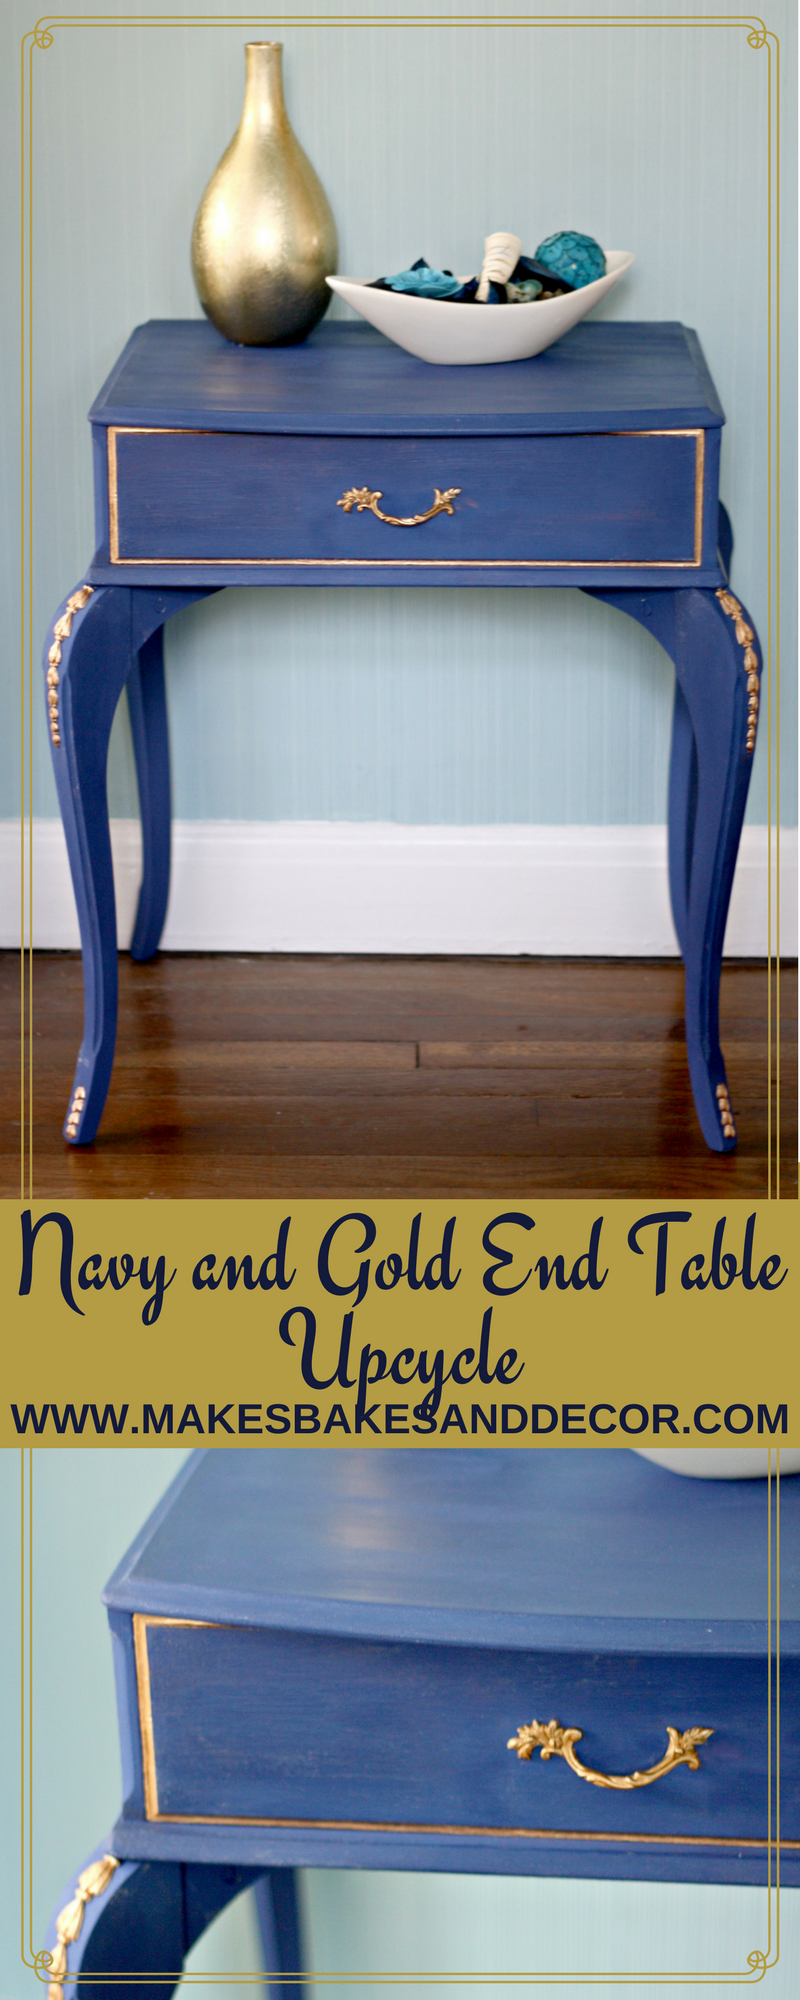
It’s been a long time since I shared an upcycle post, especially a furniture one. I got this table from a friend who was doing a house clearance so it was a freebie! As soon as I saw it I knew the colours that I wanted to do it in. Also I knew I wanted to use chalk paint, which, surprisingly, I have never actually used before. Keep reading to see how I finished my Navy and Gold End Table Upcycle.
This post contains affiliate links, find out what that means here.
Here is what the table looked like before I got started. It was painted in a shiny cream paint which was pretty marked and scratched. Then it had gold details on the legs and drawers. I wanted to repeat the gold detailing on the finished piece but I wanted it to be a brighter gold and I decided on a navy blue for the main colour.
Here are all the items I used to upcycle this piece.
UK Links:
US Links:
My first task was to sand down the whole thing. This was pretty easy using my mouse sander on all the flat surfaces. On the detailed pieces I just lightly sanded by hand using a sheet of sandpaper.
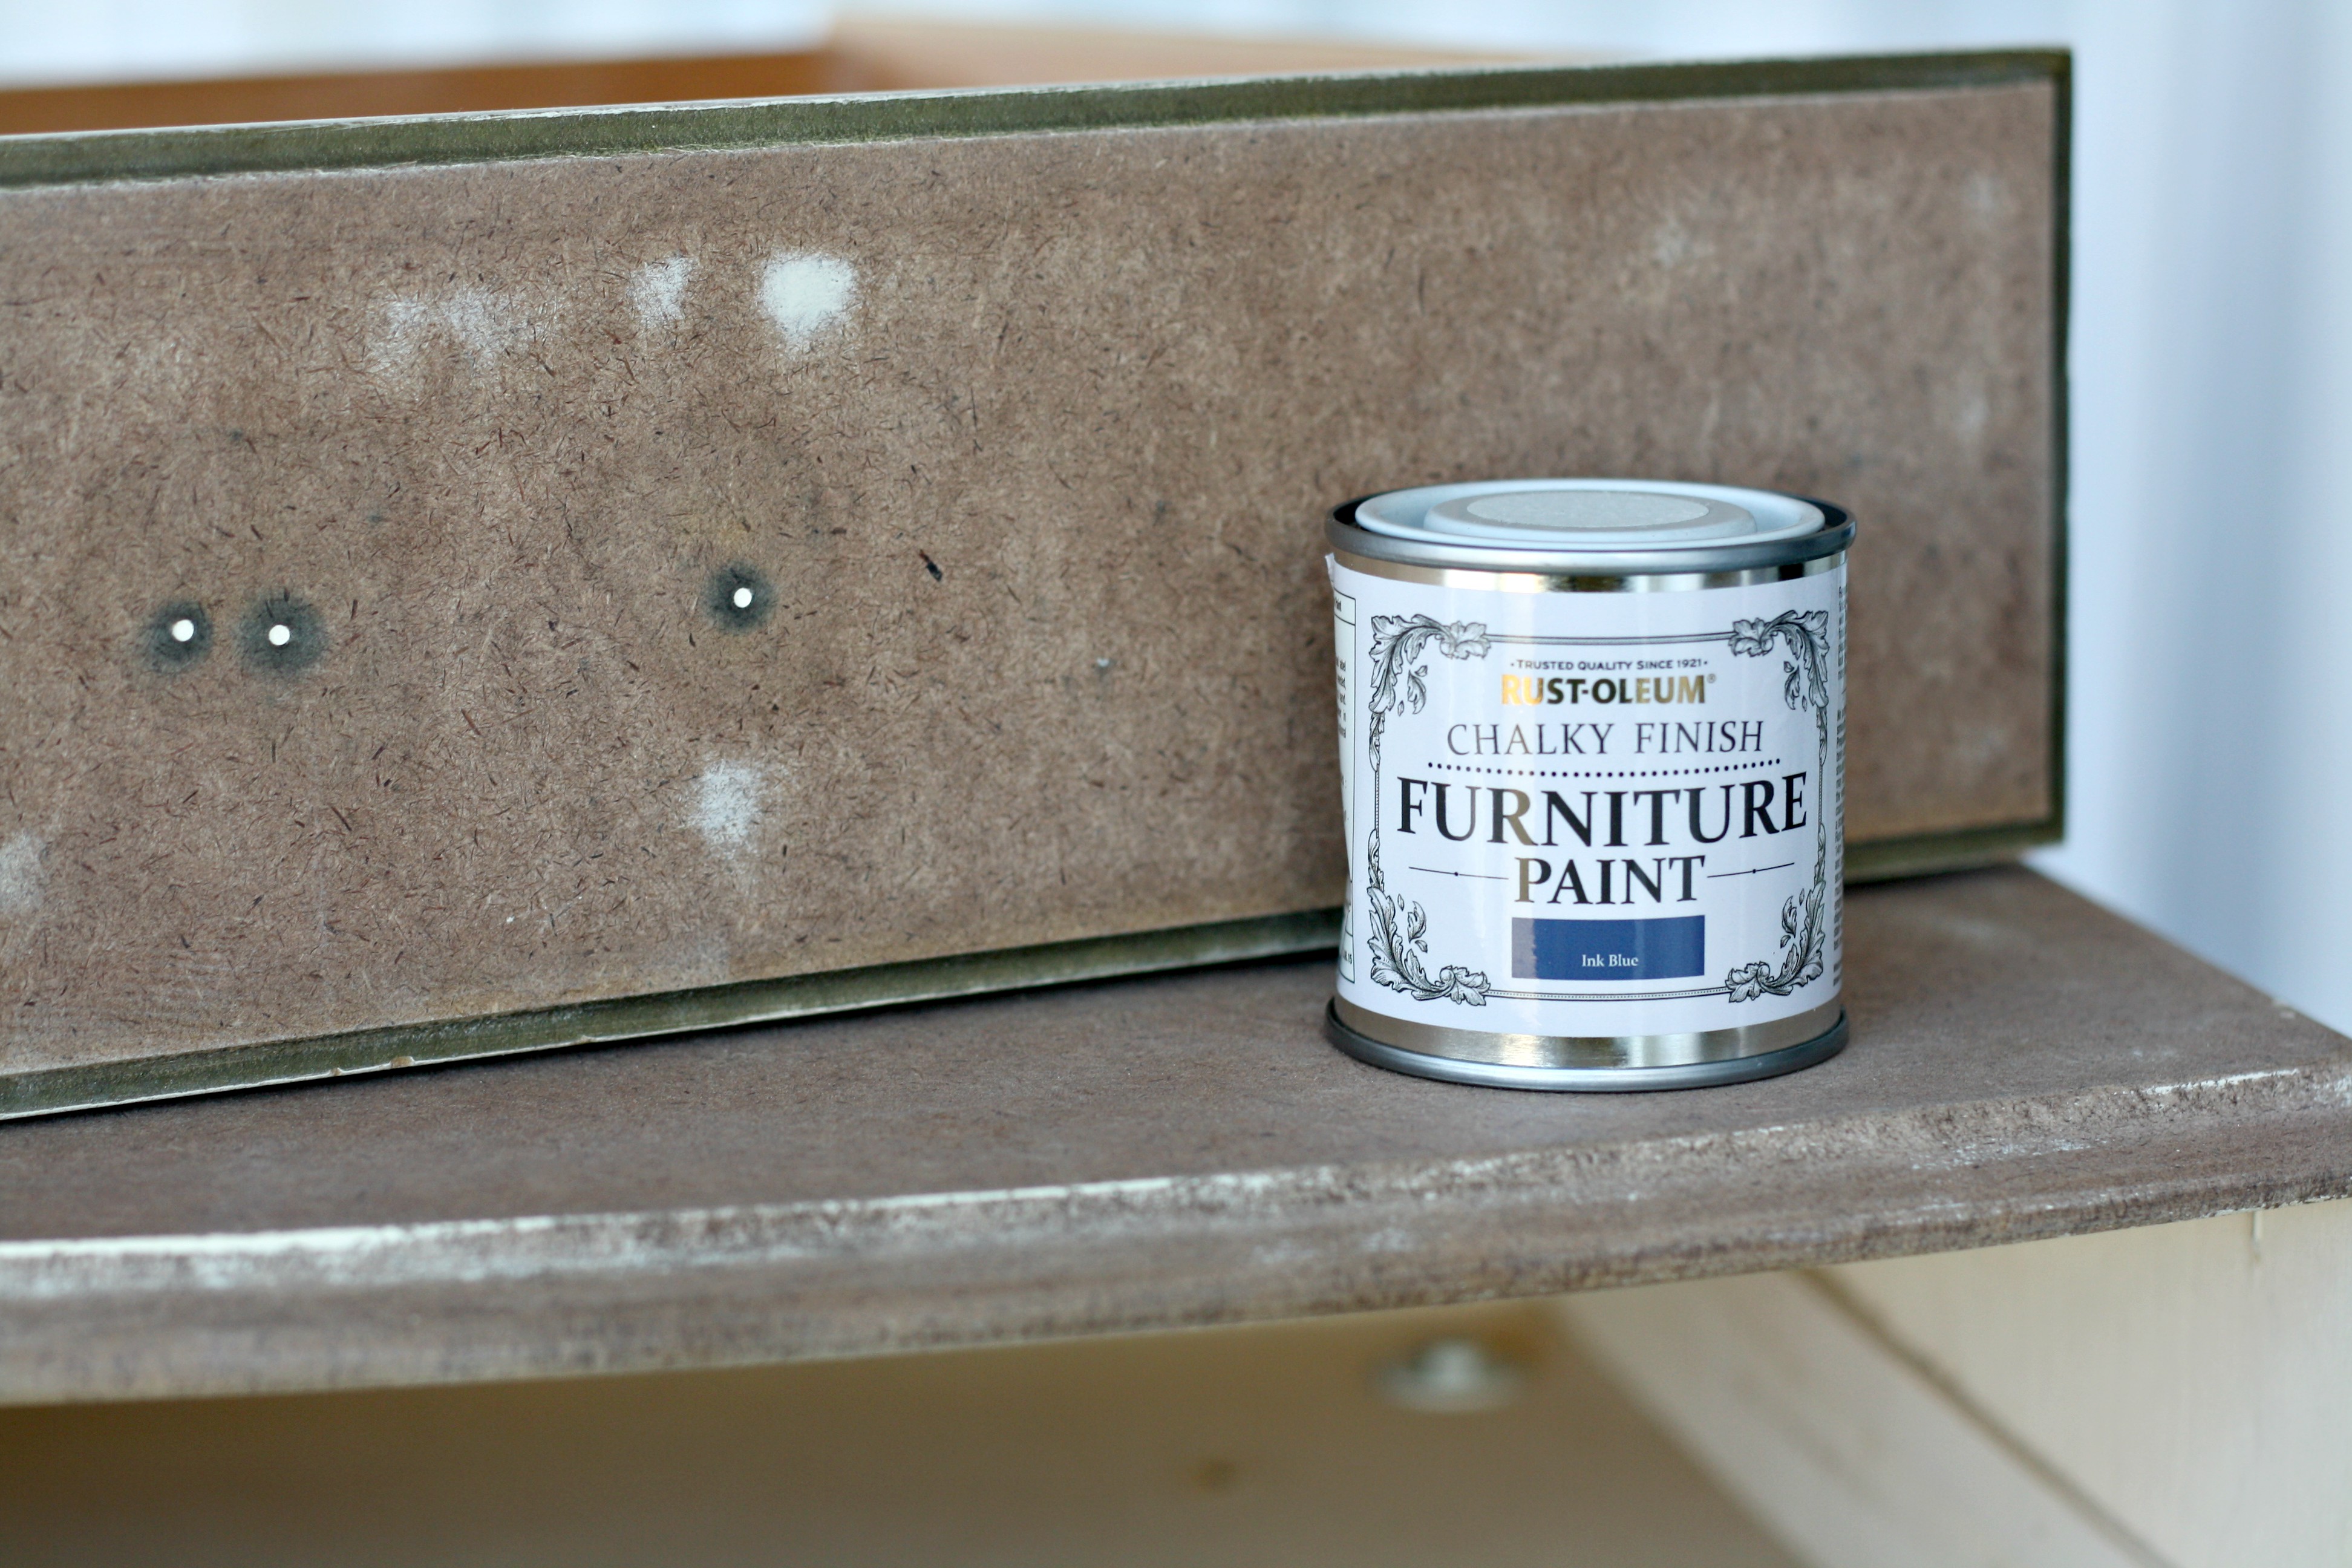
Once the table was fully sanded I painted it using the Rust-oleum Chalky Finish Furniture Paint in Ink Blue (see links above to purchase). I gave it two coats. As a first time chalk paint user one thing I found out, is that you need to make sure your first coat is completely dry before trying to apply the second. I attempted to put it on too soon and the second coat was not going on smoothly. I waited until the next day and the second coat then went on fine.
When the second coat was dry, I used this metallic leafing pen in gold on the handle and the raised detailing on the legs. After a quick poll on my Instagram I also added some gold to the outside edge of the drawer.
This pen was very easy to work with, I will definitely use it again on other projects, plus it comes in other finishes like silver and copper. As it was such a small area I was working on I did get a little over the edges but these were easily cleaned up using some more furniture paint and a small brush. You can see the detail finished up close below.
The last thing I did once the gold was dry was to seal the piece with rustoleum clear finishing wax. Using a soft clean cloth, sparingly, rub it all over the painted surface. Leave for an hour and then buff up with another clean cloth.
I’m very happy with my finished Navy and Gold End Table Upcycle even though I’m not sure where it’s going to live yet!! If you have liked this project you should have a look at my Before and After Occasional Tables and my How to Cover a Lampshade with Wallpaper.
Lianne x
Pin my Navy and Gold End Table Upcycle to save it for later!


What a lovely turnout!
Author
Thanks! It’s the first time I’ve used chalk paint so I’m really happy with how it turned out 🙂
Beautiful job Lianne I love it. The touch of gold was a grey idea! It looks do elegant now..
Author
Thank you! As soon as I saw this I knew it had to be blue and gold, unfortunately I’ve still not found a spot for it in my home 🙂
Sorry that should have read ‘great’ idea !!
For some reason one of my posts attached to my comment when I pressed publish comment. I have no idea how that happened!! So sorry. Please ignore it Lianne.
Author
Don’t worry Marie, it’s because of a plugin I have installed 🙂 If a blogger leaves a comment it will share their latest post. It’s called comment love, I like to think of it as a little thank you for taking the time to leave me a comment! 🙂