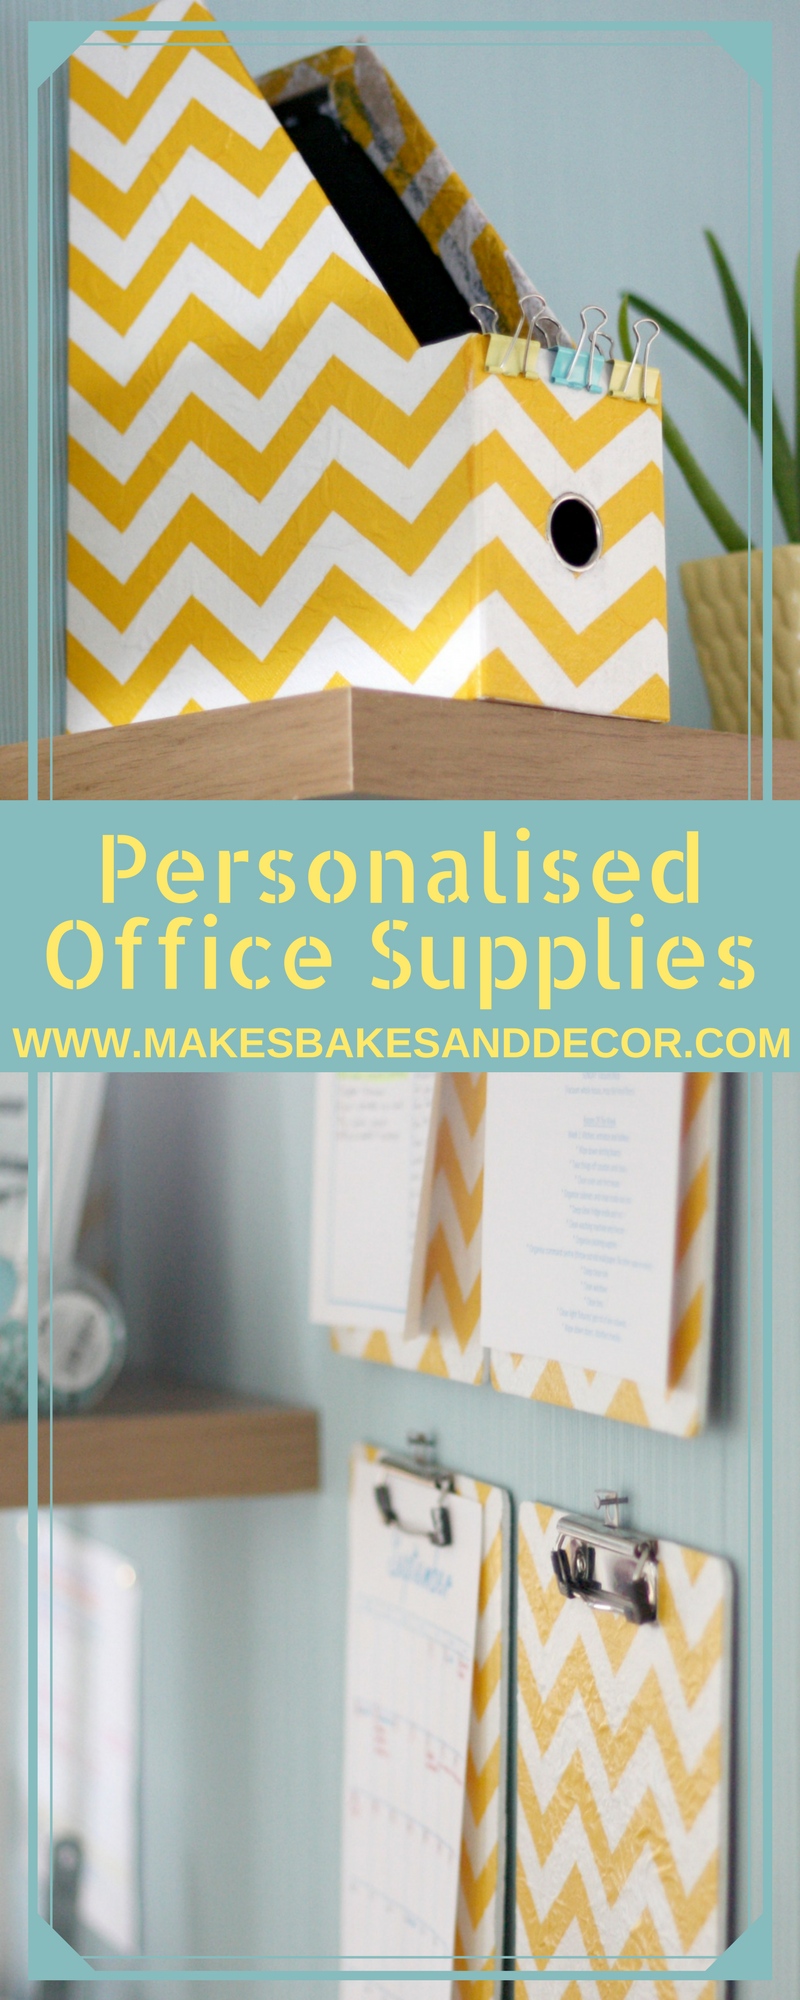
I’ve said lot’s of times before that my home is most definitely a work in progress. We have done bits in every room but the only one that is finished is the Small Toilet. The room that we’ve been working on the most at the minute is my office space. The room is really a large hallway and it has my desk, bookcases and a comfy chair. Over the summer though I’ve been working on organising the desk area so I have a designated space to work on the blog with everything organised. I’ve added some shelves and I picked up some super cheap box files and clip boards. They were just plain recycled board ones so they inspired me to make this post, Personalised Office Supplies.
This post contains affiliate links, find out what that means here.
There are a few reasons why you might want to try out this project. One is cost, my box files were £1.50 each and the clipboards £1.00 each. Then is was a couple of pounds for the napkins I covered them in, all together a lot cheaper than buying fancy office supplies. Two, you can’t find a set of office supplies that match your space. And three maybe you have a a lot of miss matched office supplies and you want them all to look the same.
Here is what I started with for my personalised office supplies. I picked these up in home bargains and last time I was in there they still had them in stock. I used Mod Podge and napkins to cover my own supplies but you could use anything, wrapping paper, fabric, wallpaper etc. Whichever you use though you can use the same Mod Podge technique that I’ve used to cover them. Here are some options that you can get online.
Because I was using Napkins that are very thin and I didn’t want the brown of the box files showing through I quickly gave them a coat of paint. I just used white emulsion and used a small roller to apply it quickly.
Once the paint was dry, I took a napkin and lined up where I wanted to stick it. I started with the front as I had the hole to draw around and then cut out.
Cover the side you’re working on with a coat of Mod Podge.
Carefully stick your napkin, paper etc on to where you have put the glue, lining it all up.
Trim off the excess and stick the sides down.
Cover the side in a layer of Mod Podge and leave to dry. You then need to repeat these steps for each side of the box/clipboard. To cover 3 box files and 4 clip boards it took the day. I would cover one side on everything and then get on with other things and come back when it was dry and complete the next side. Also If you are covering in a simple pattern like mine, make sure that you match up the pattern on the corners. If you are using a very busy pattern it wouldn’t matter about matching the edges up so much.
I’m really pleased with how my office is coming together. I love the Duck egg and yellow together, the bright happy colours make me want to get to work. For my actual desk area there are a couple of things for me to finish off. I want to paint the two shelves white and the desk needs painting white too. I also have to finish my pen pot. If you look in the photos I stuck it together made from tin cans about 6 months ago and it’s been on my desk as is ever since! I need some ideas on how to decorate it.
In case you’re wondering I found the duck egg file boxes and push pins in Poundland from their neon stationary range. The yellow and duck egg bulldog clips came from Home Bargains. Also the tutorial for my String Art Photo Frame is here, and my Super Easy White Board here.
Lianne x
Pin Personalised Office Supplies to save it for later!


I love what you did here. I use Mod Podge for a variety of projects and find it so versatile. I’ll have to add this to my list of inspirational to-do’s when I finally create my office/craft room space. Thanks for sharing 🙂
Author
Thank you! I am a big mod podge fan now! 🙂