
This post contains affiliate links, find out what that means here.
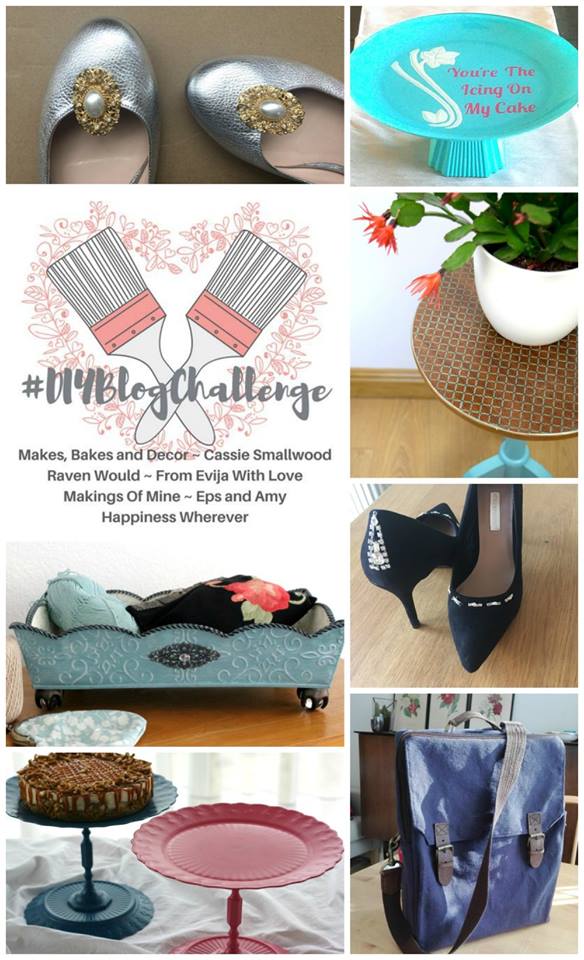
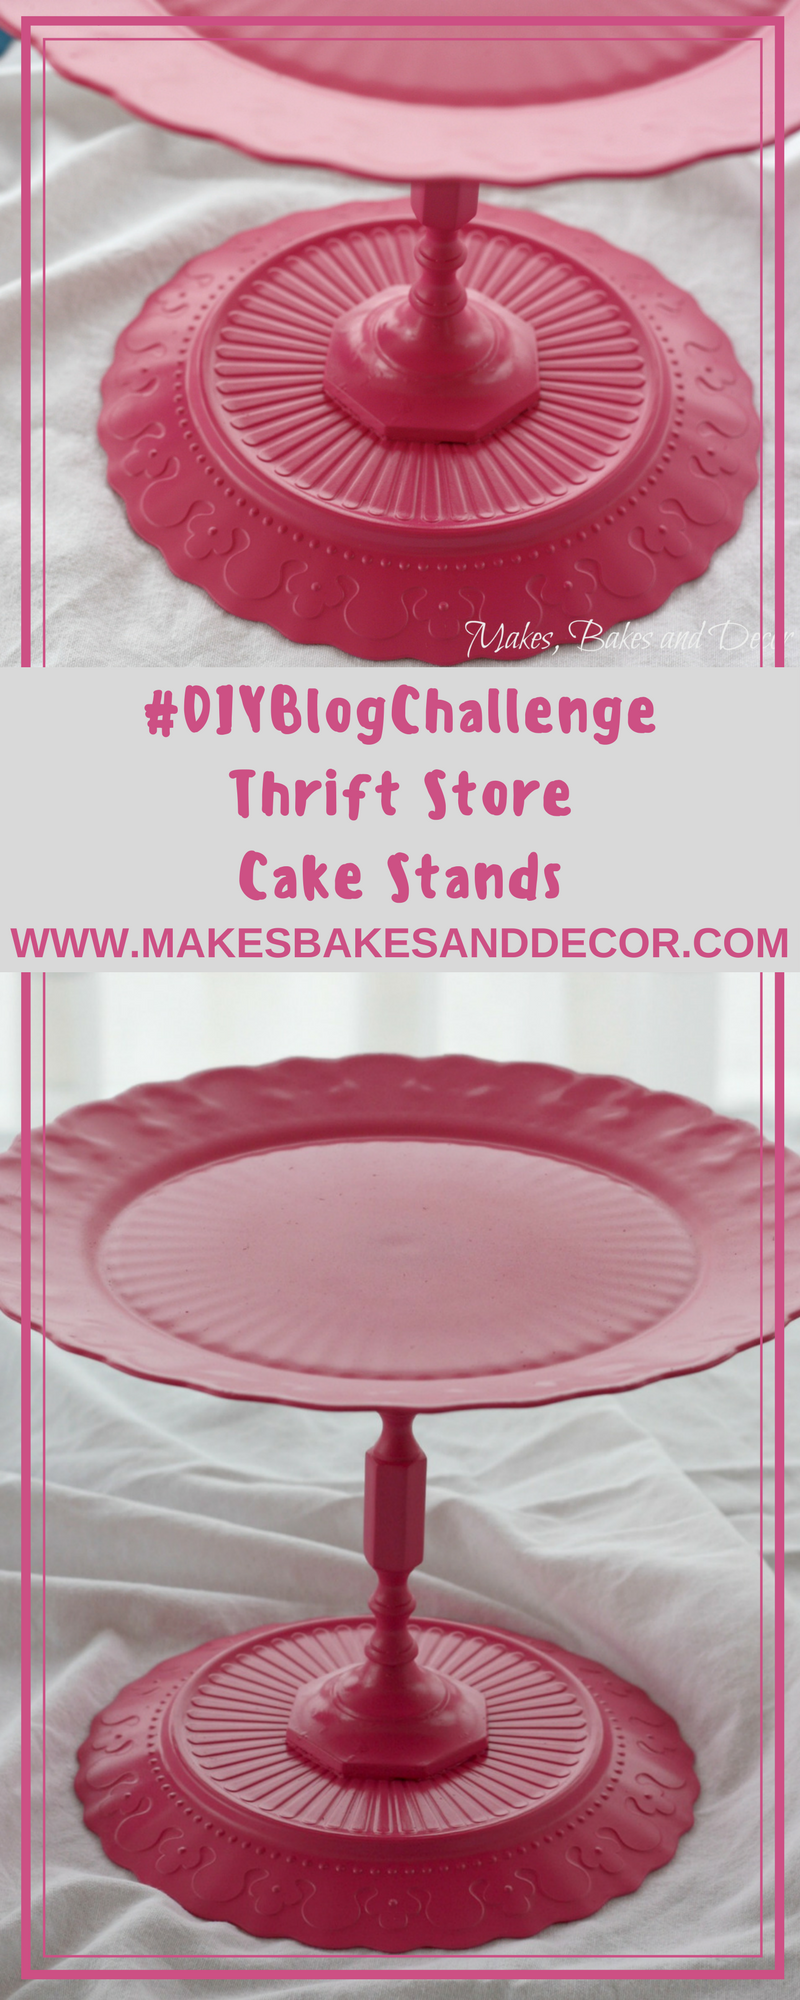
A few weeks ago, some of my fellow bloggers and I came together to create a group post. We came up with this, the #DIYBlogChallenge. Each month there will be a new theme for us to work with. You will then be able to visit and read everyone’s individual take on that months theme. Our theme for this month was a thrift store makeover! There was no set budget for us to stick to the only rule was to find something in a thrift store and revamp it to give it new life! And here is my project, thrift store cake stands.
I’ve wanted to make some cake stands to use for my cake photos for a while so I thought that this was the perfect opportunity. Below you can see the items that I picked up from a local charity shop.
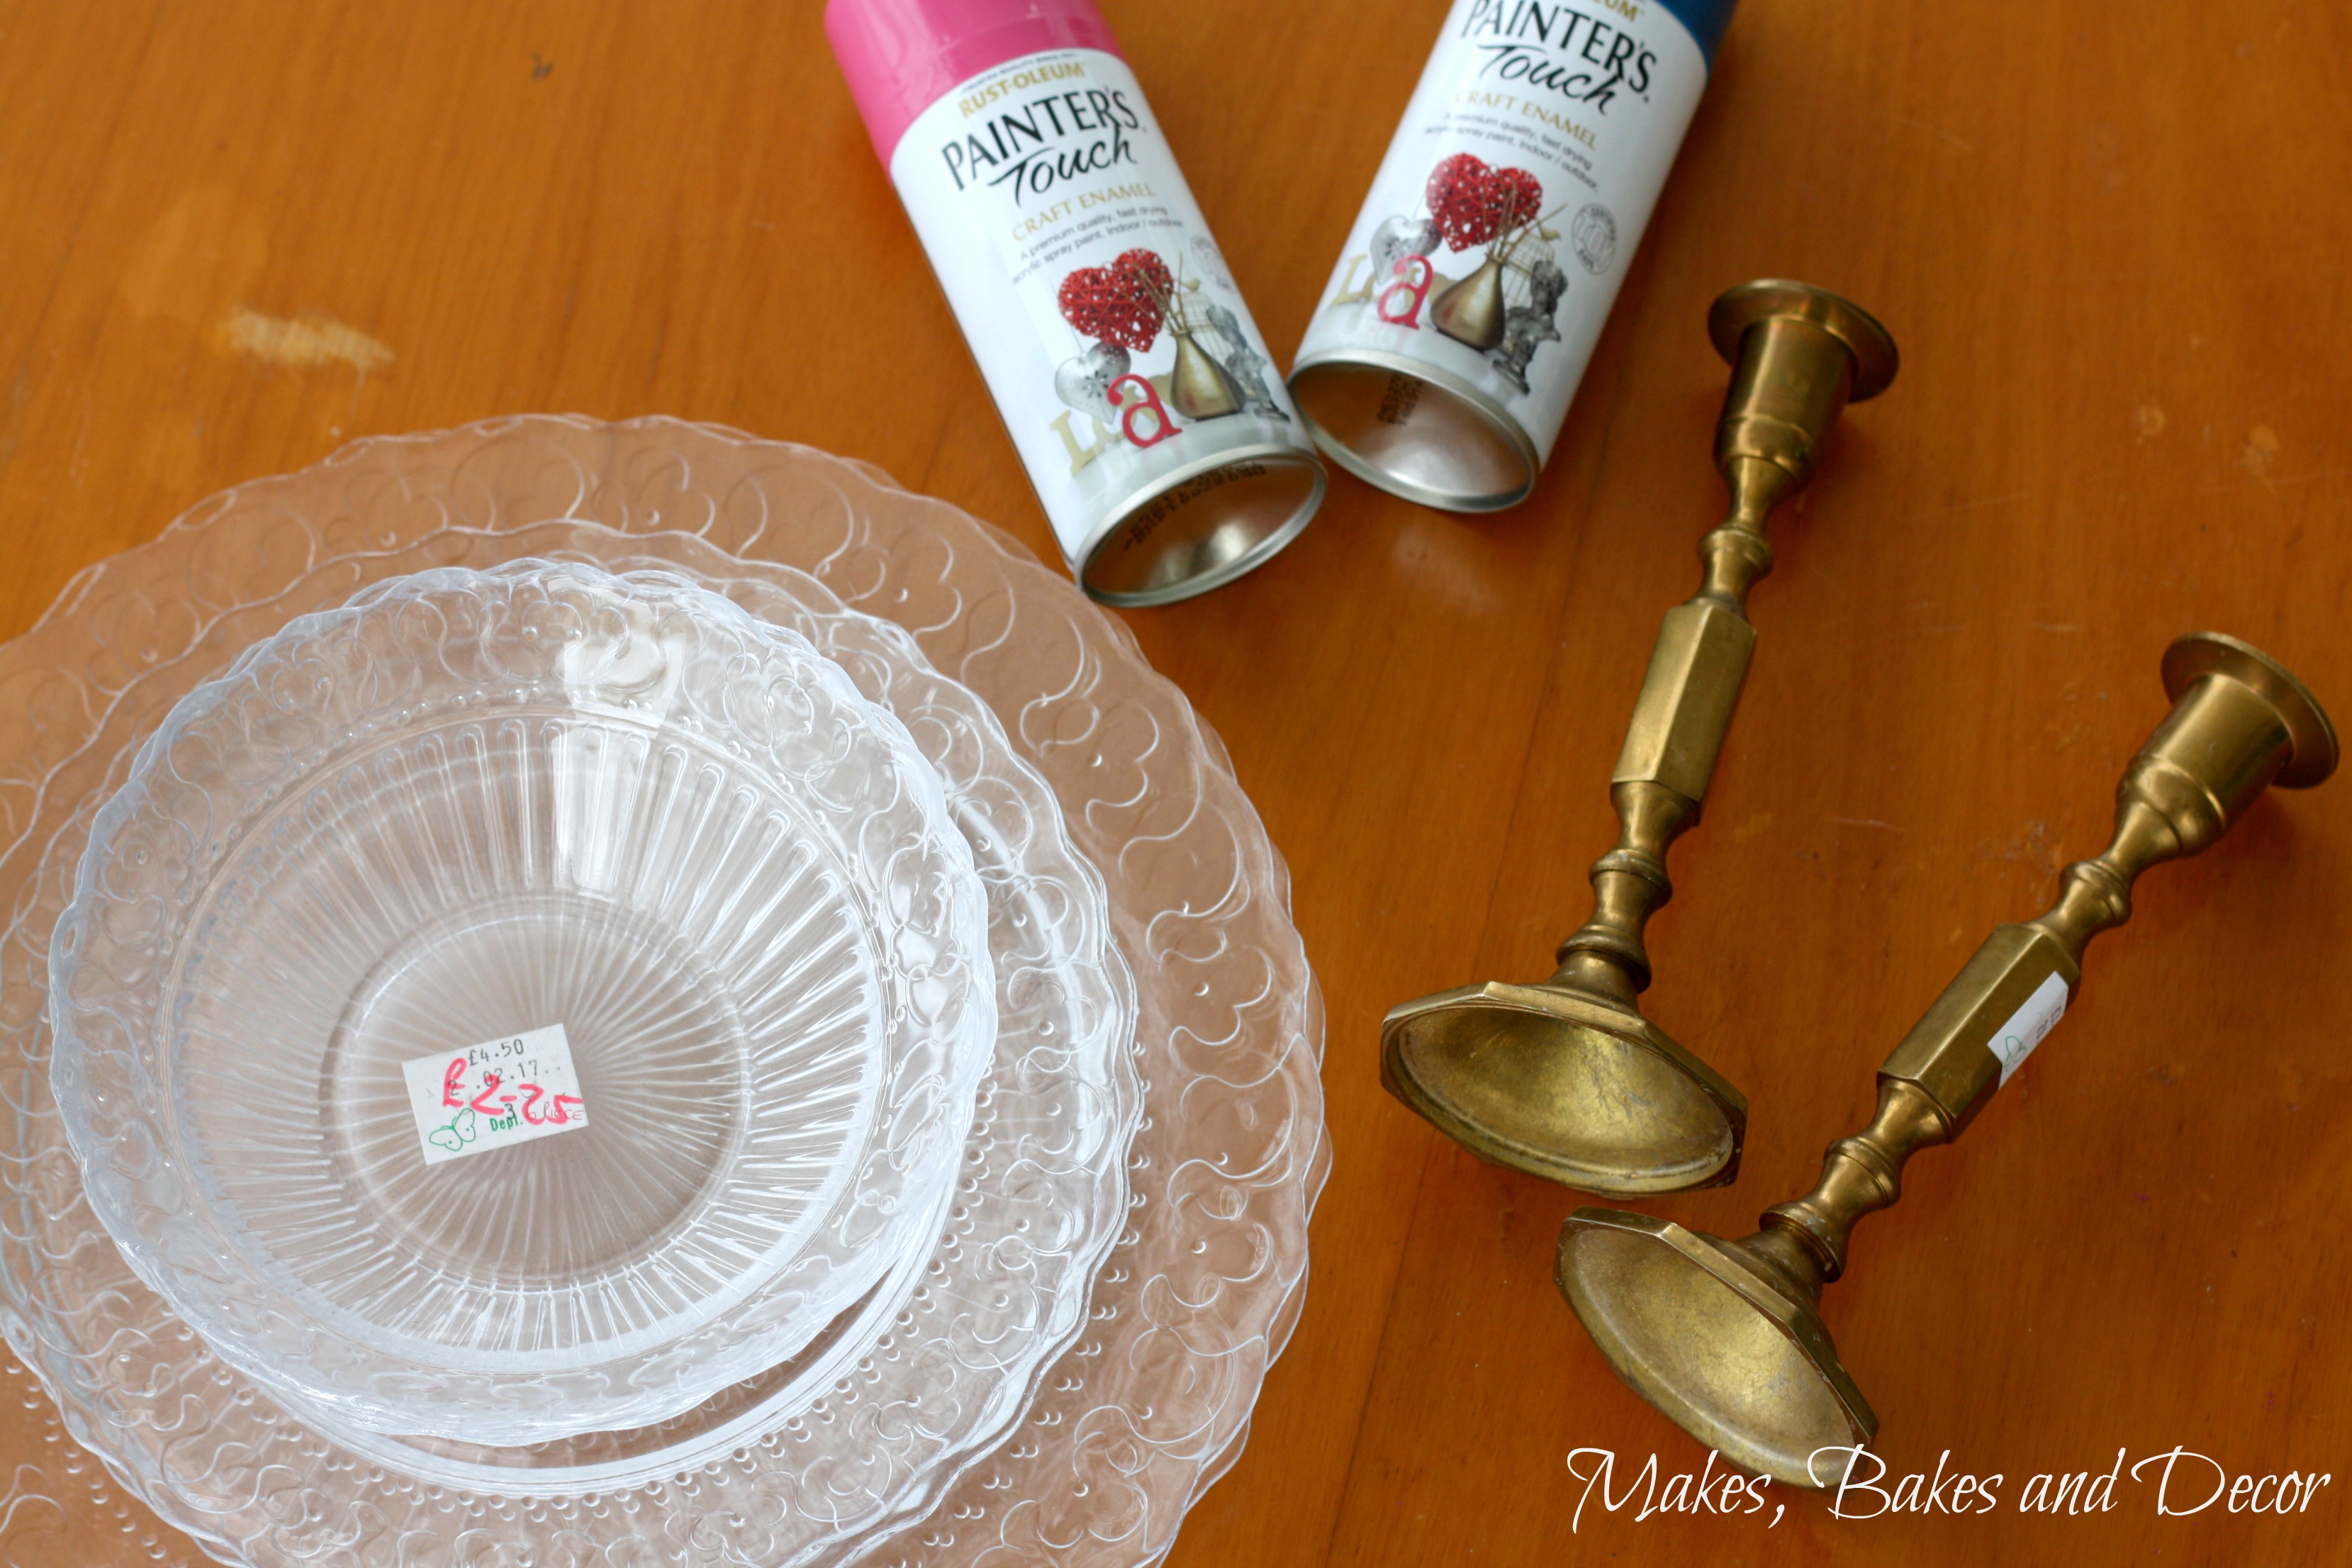
The set of 2 plates, 2 side plates and 2 bowls cost just £2.25 and the candle sticks were £3.50 for the pair, bargains! I didn’t use the bowls so I’ll be saving them for another project.
What I used:
Thrift store large plates and side plates
Thrift store candlestick holders
Spray paint in a colour of your own choice. Find the blue one I used here and the pink one here.
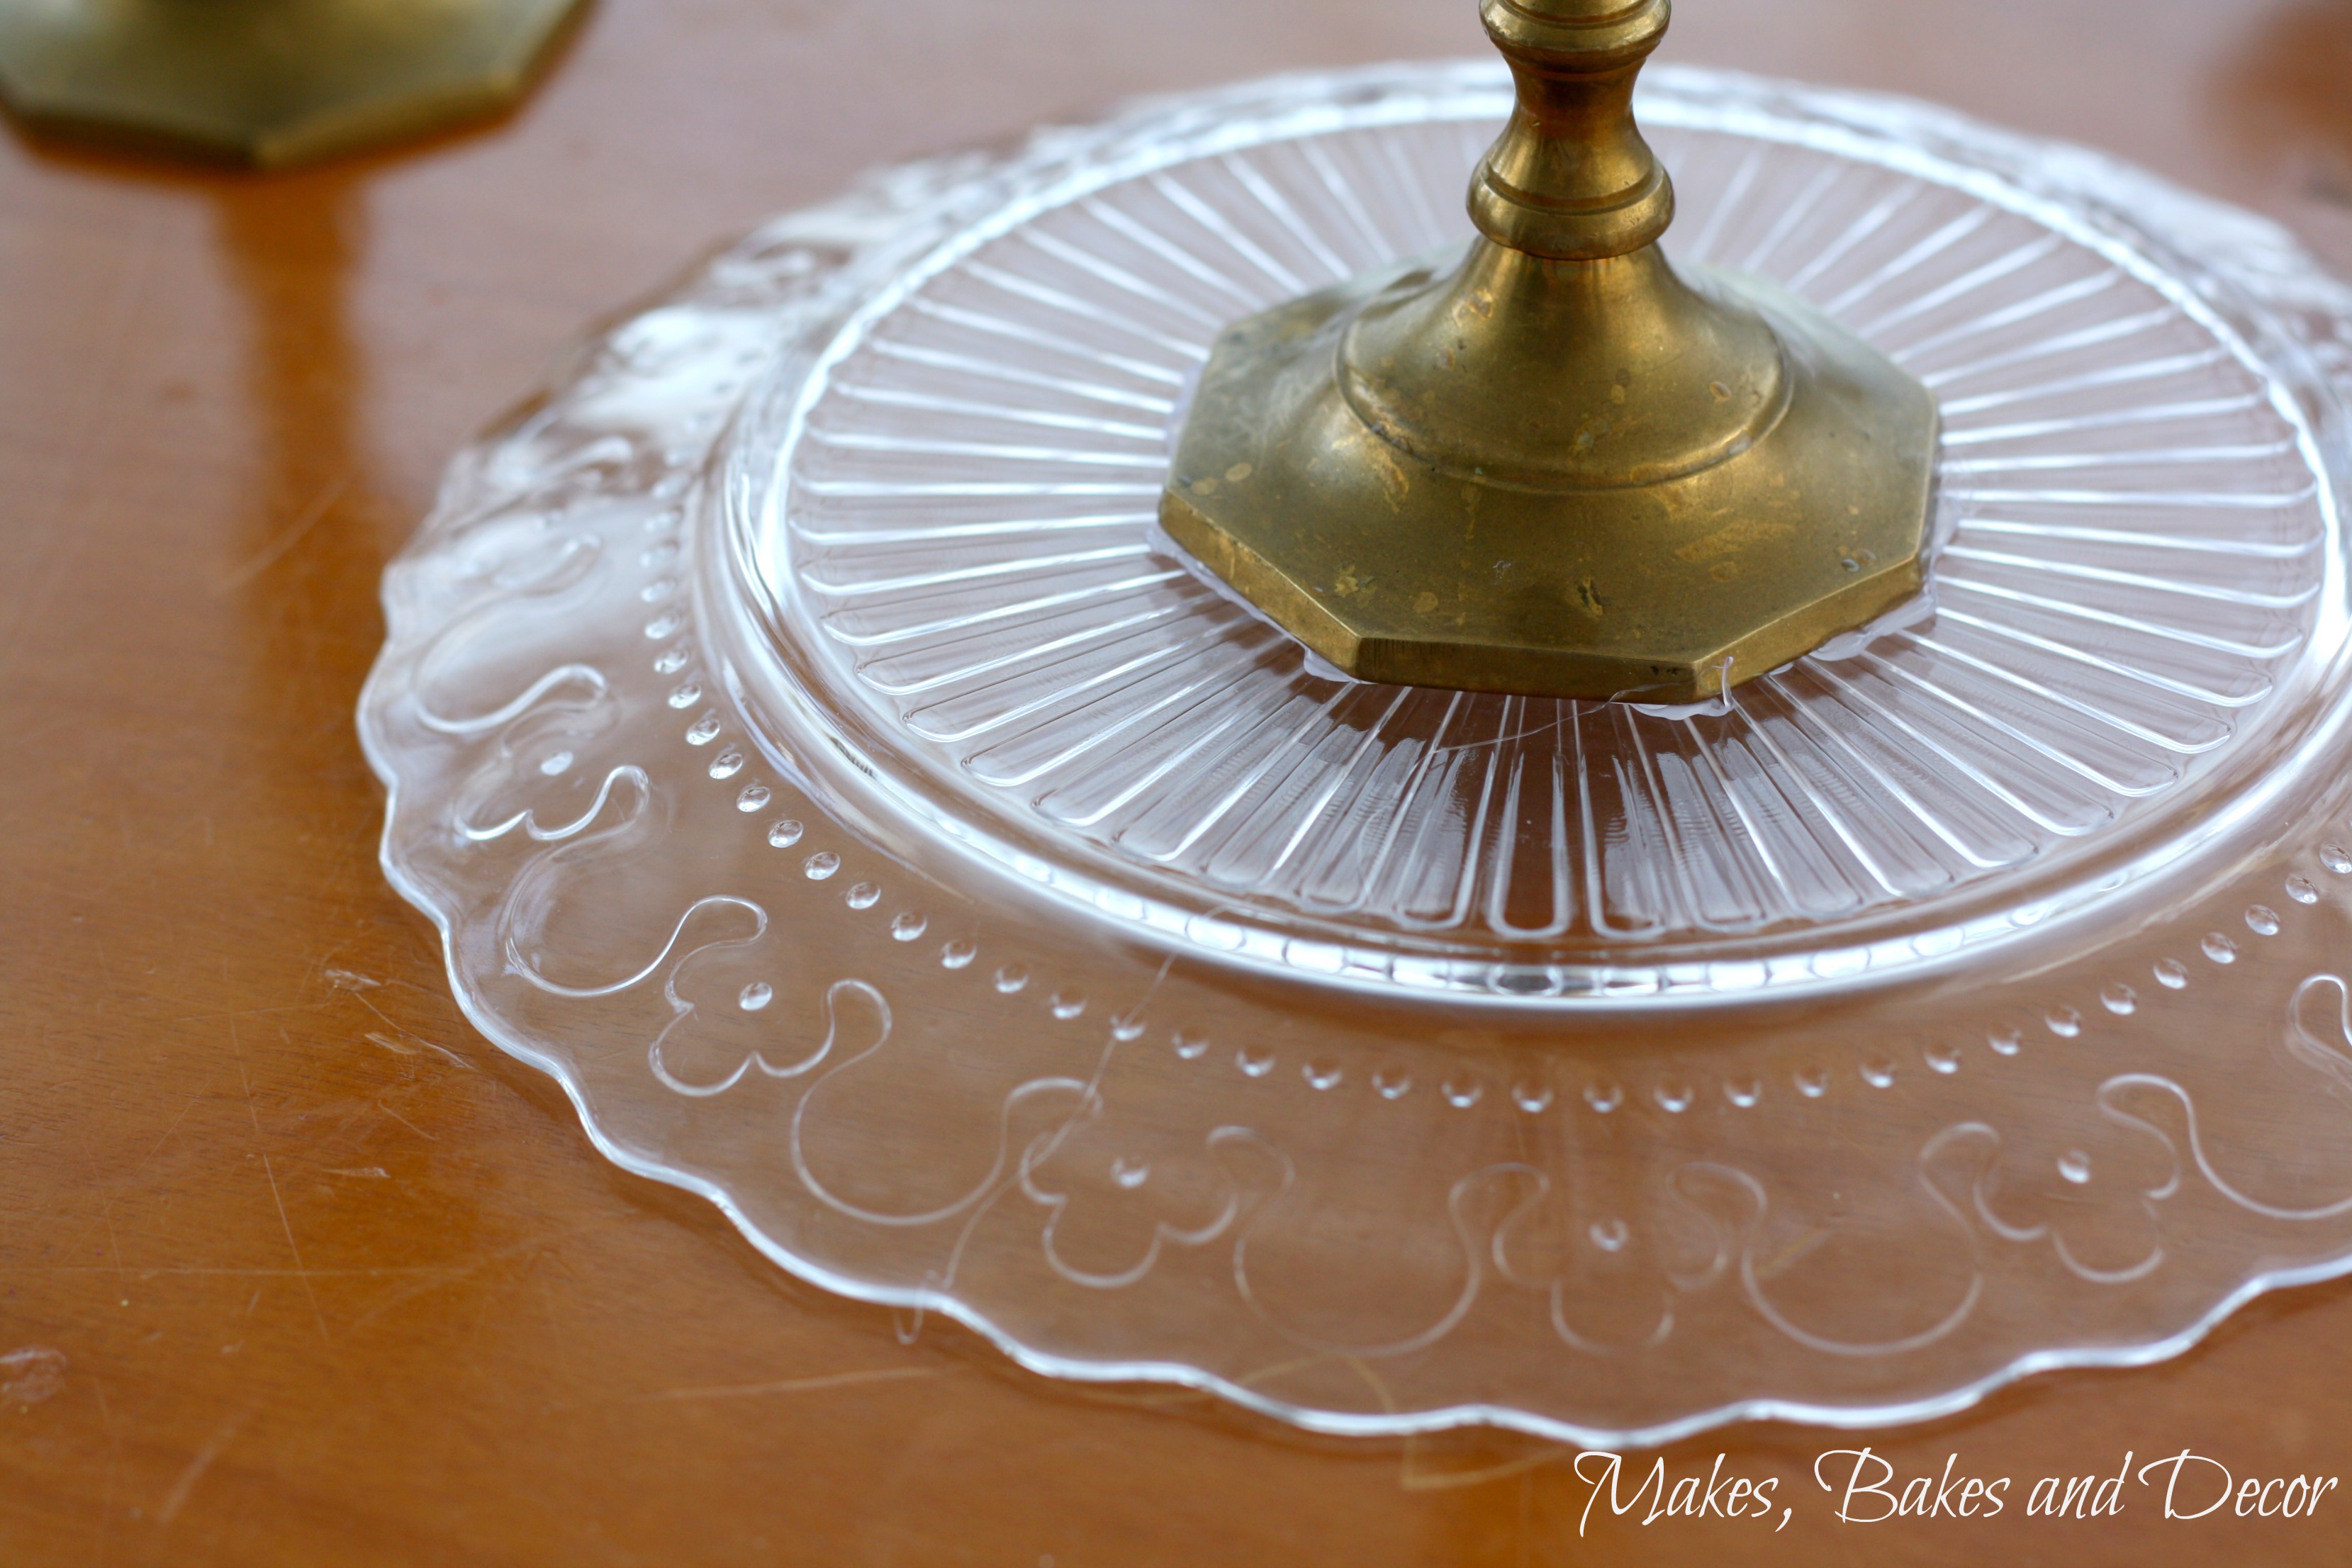
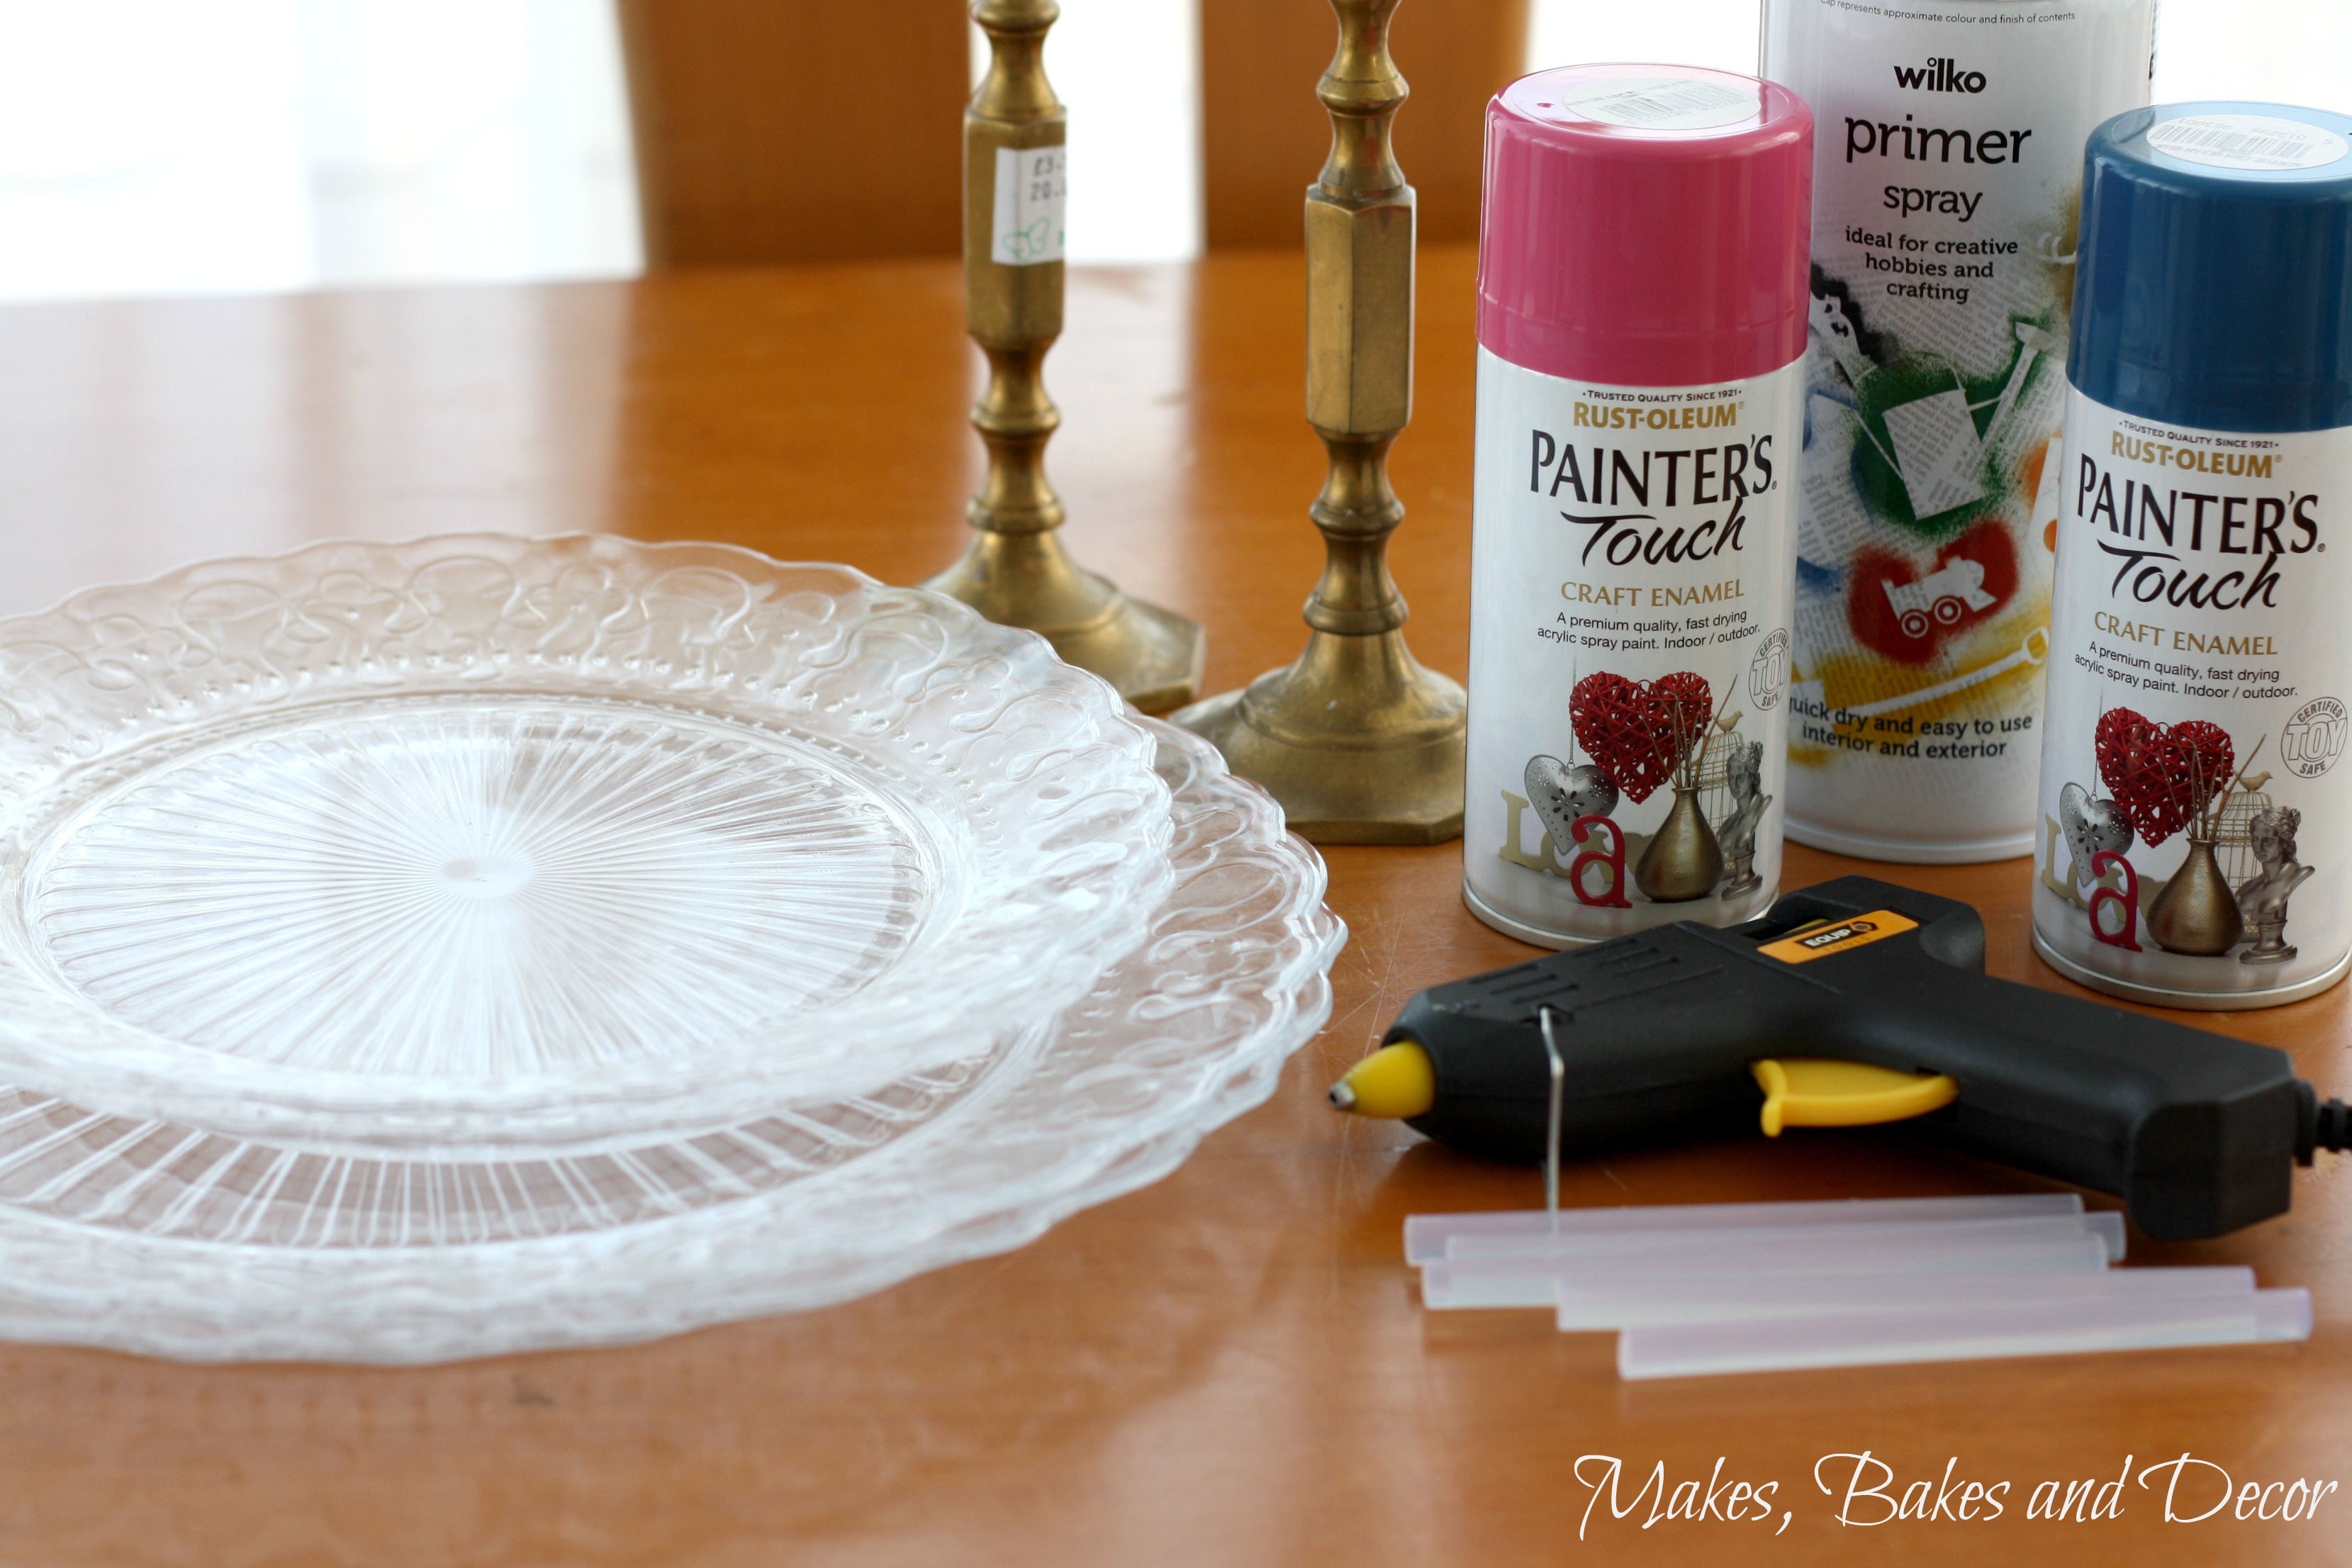
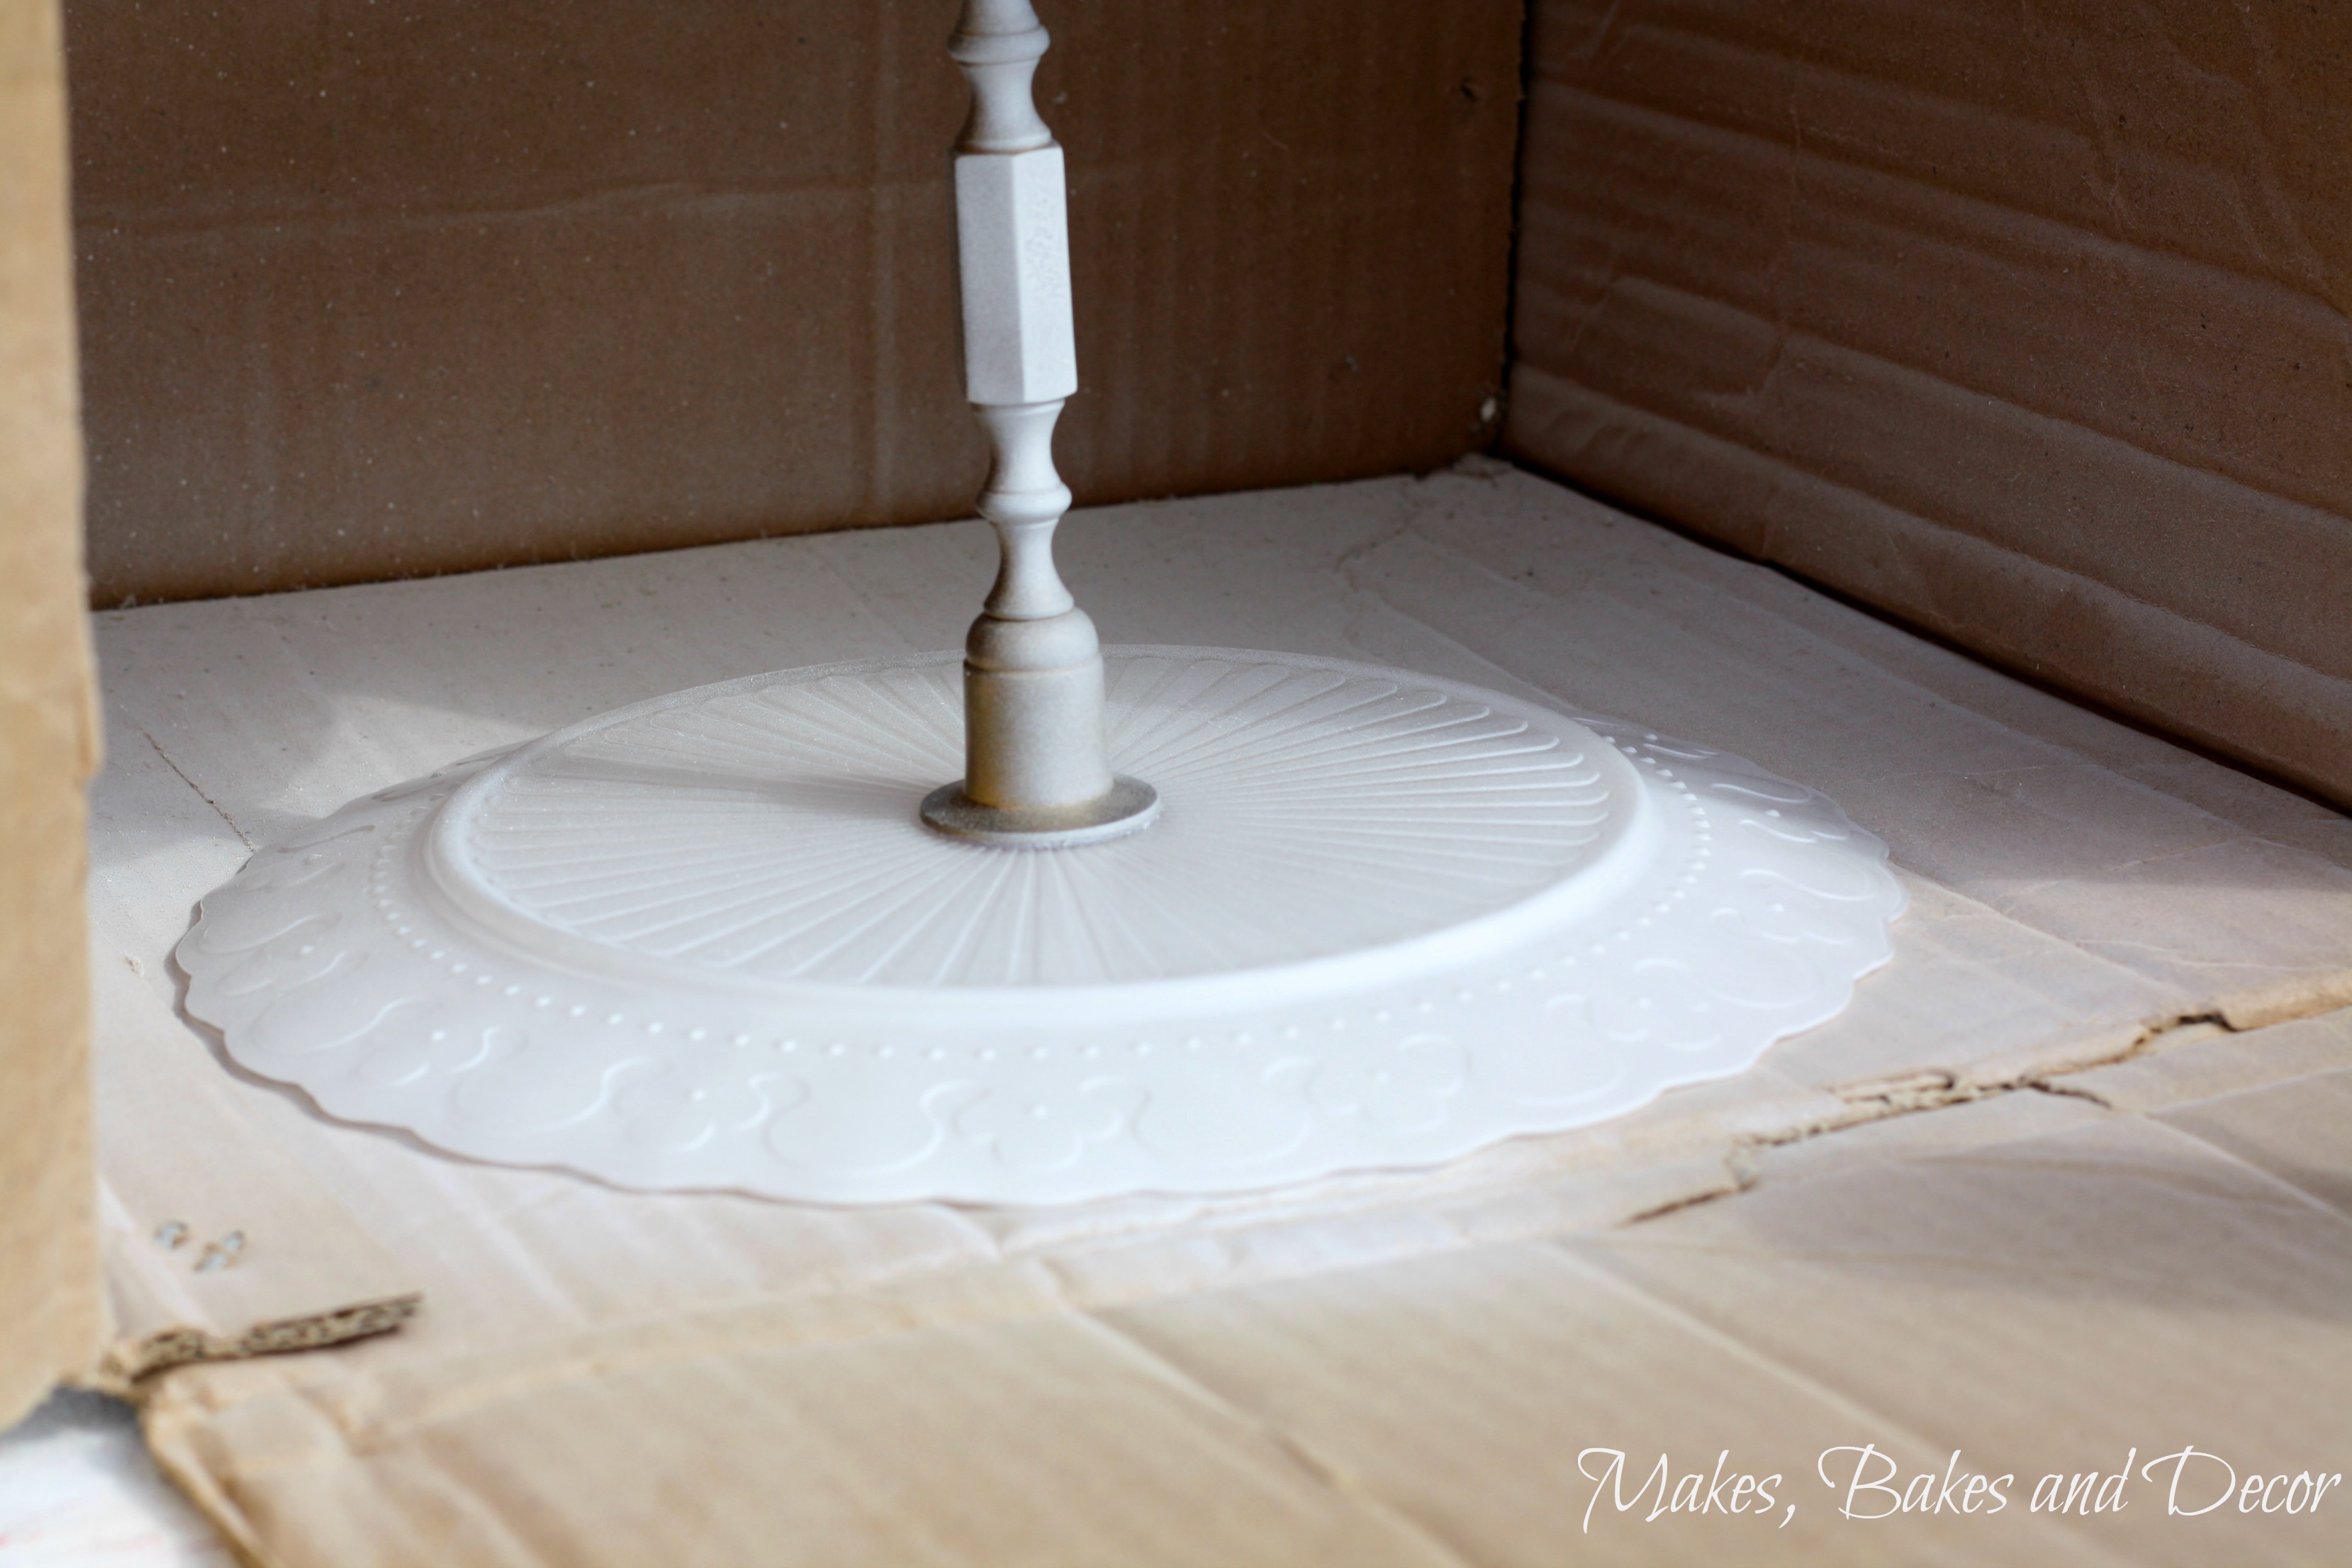
The first thing I did was to wash everything in hot soapy water to ensure everything glued properly. I then upturned the smaller of the plates, and using the glue gun stuck the bottom of the candle stick to the middle of the bottom of the plate.
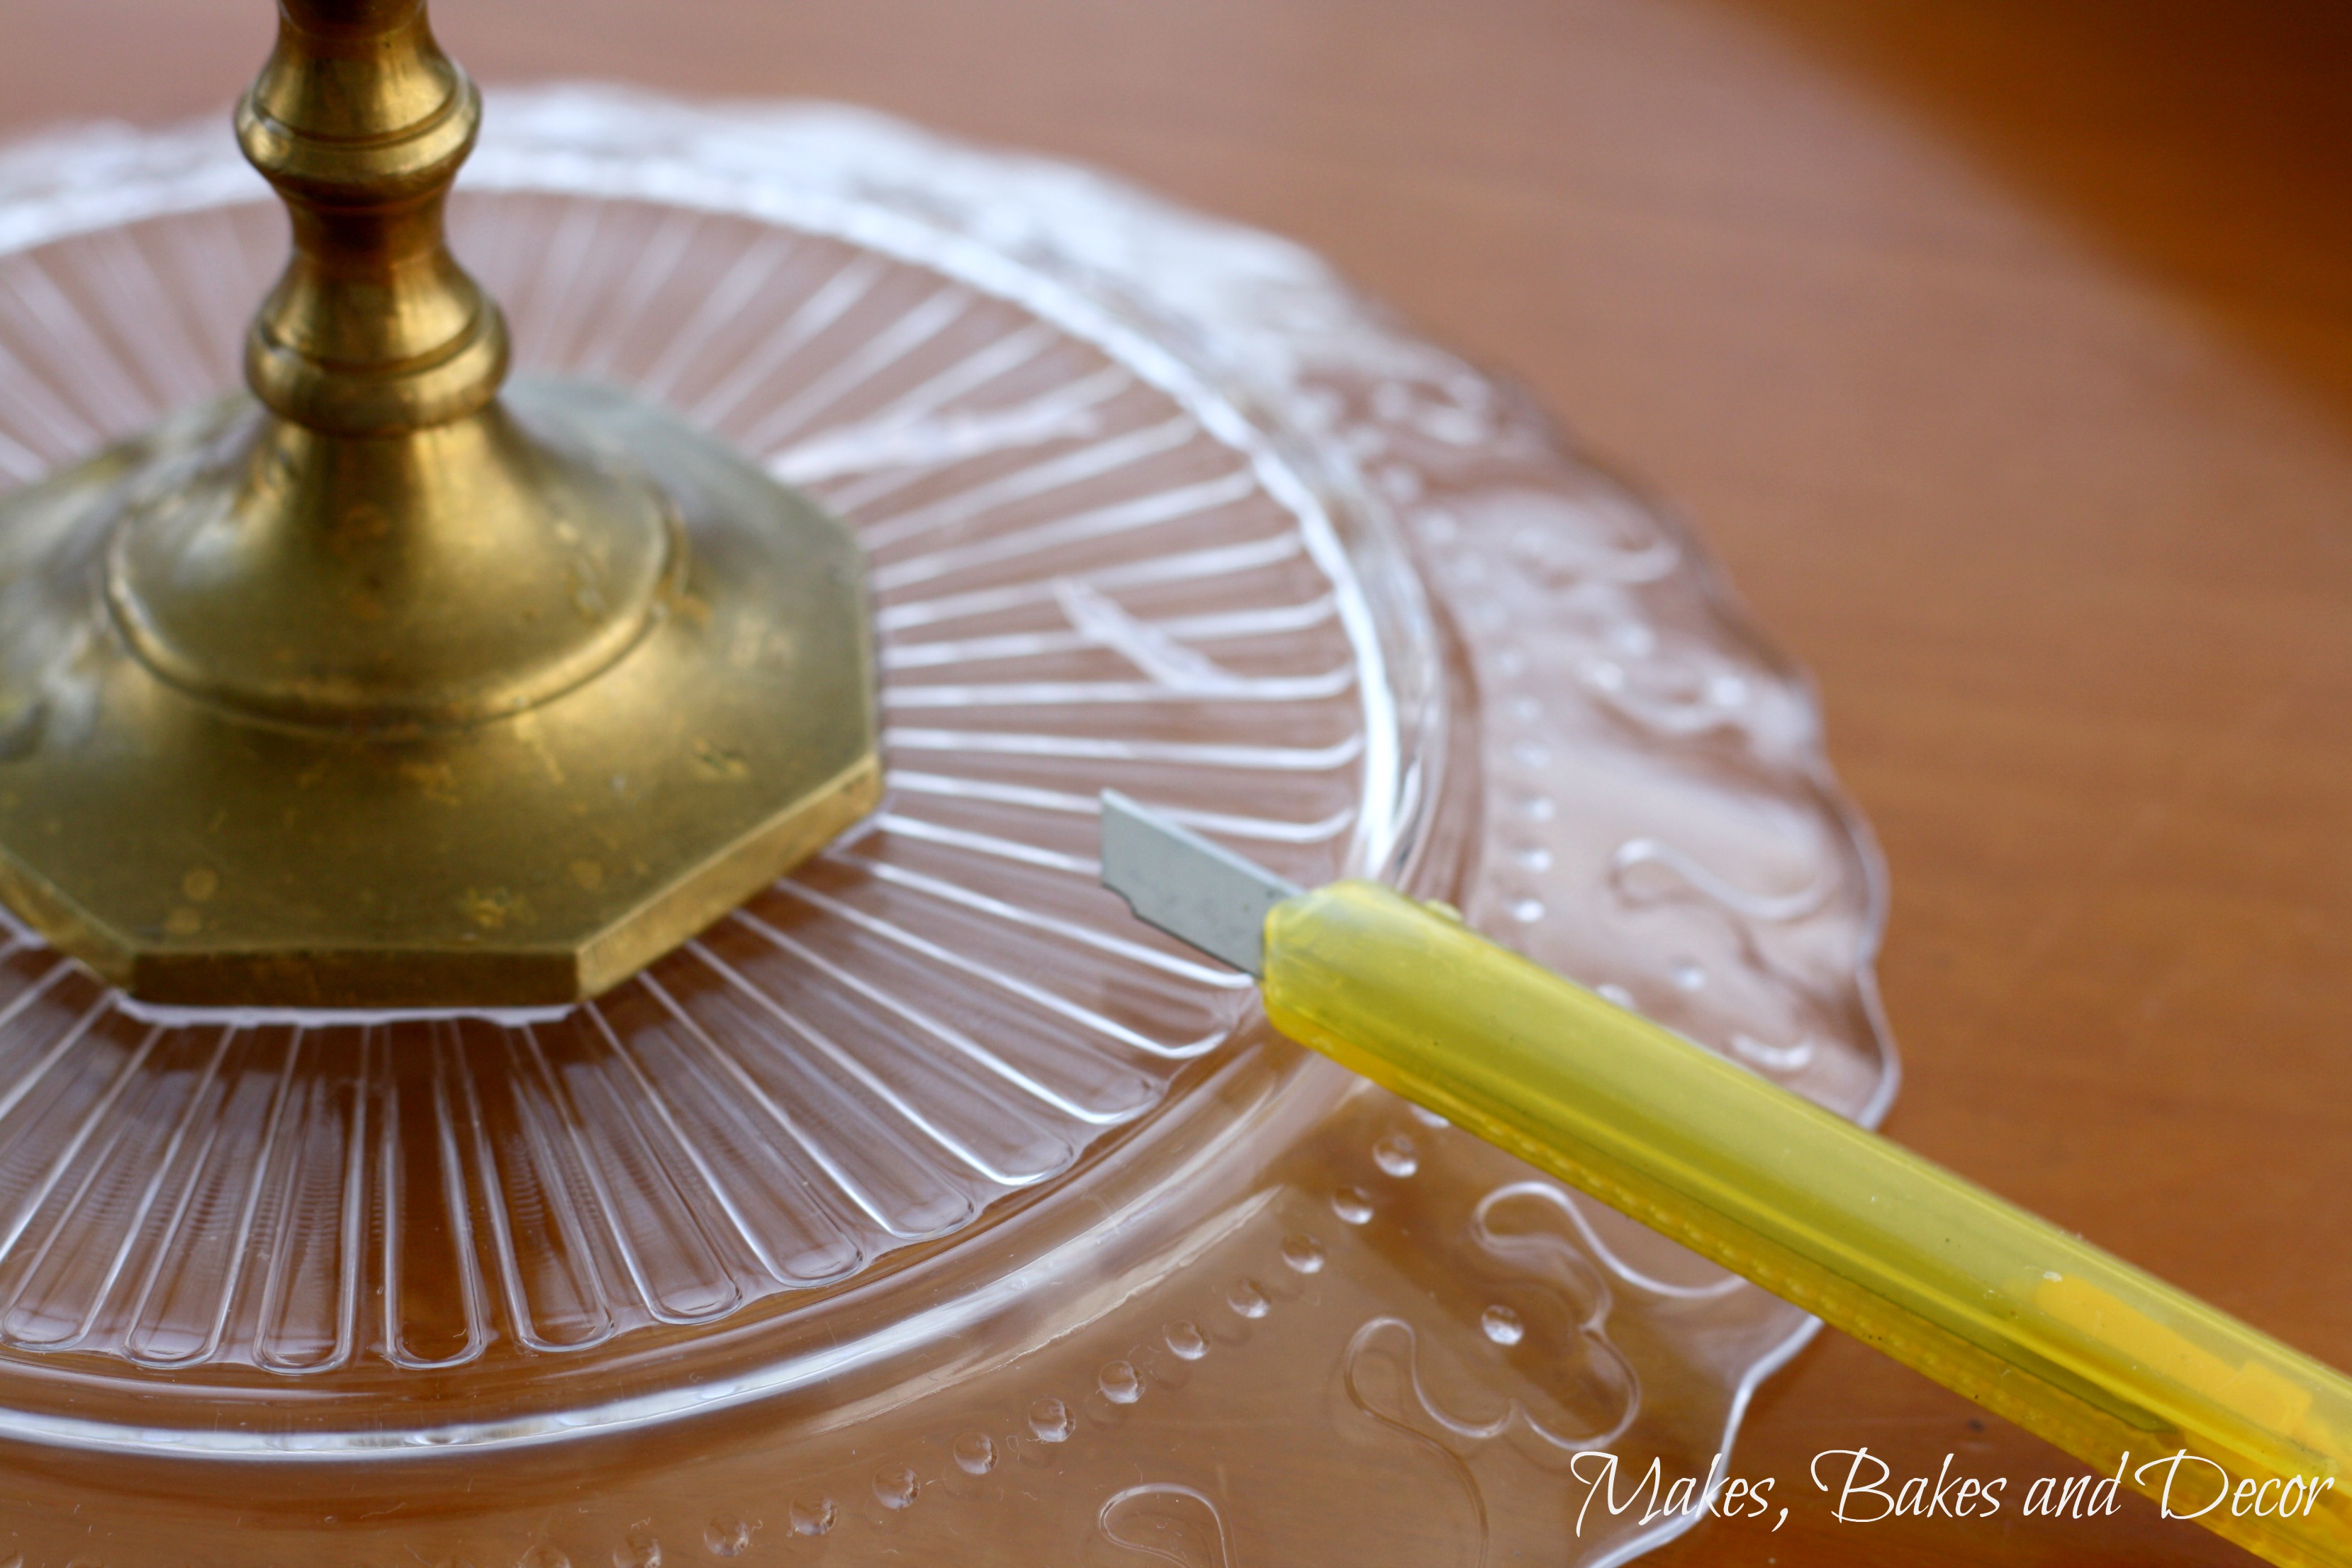
Next I used a sharp craft knife to cut of any excess glue.
Repeat these two steps to stick the top of the candle stick to the bottom of the large plate.
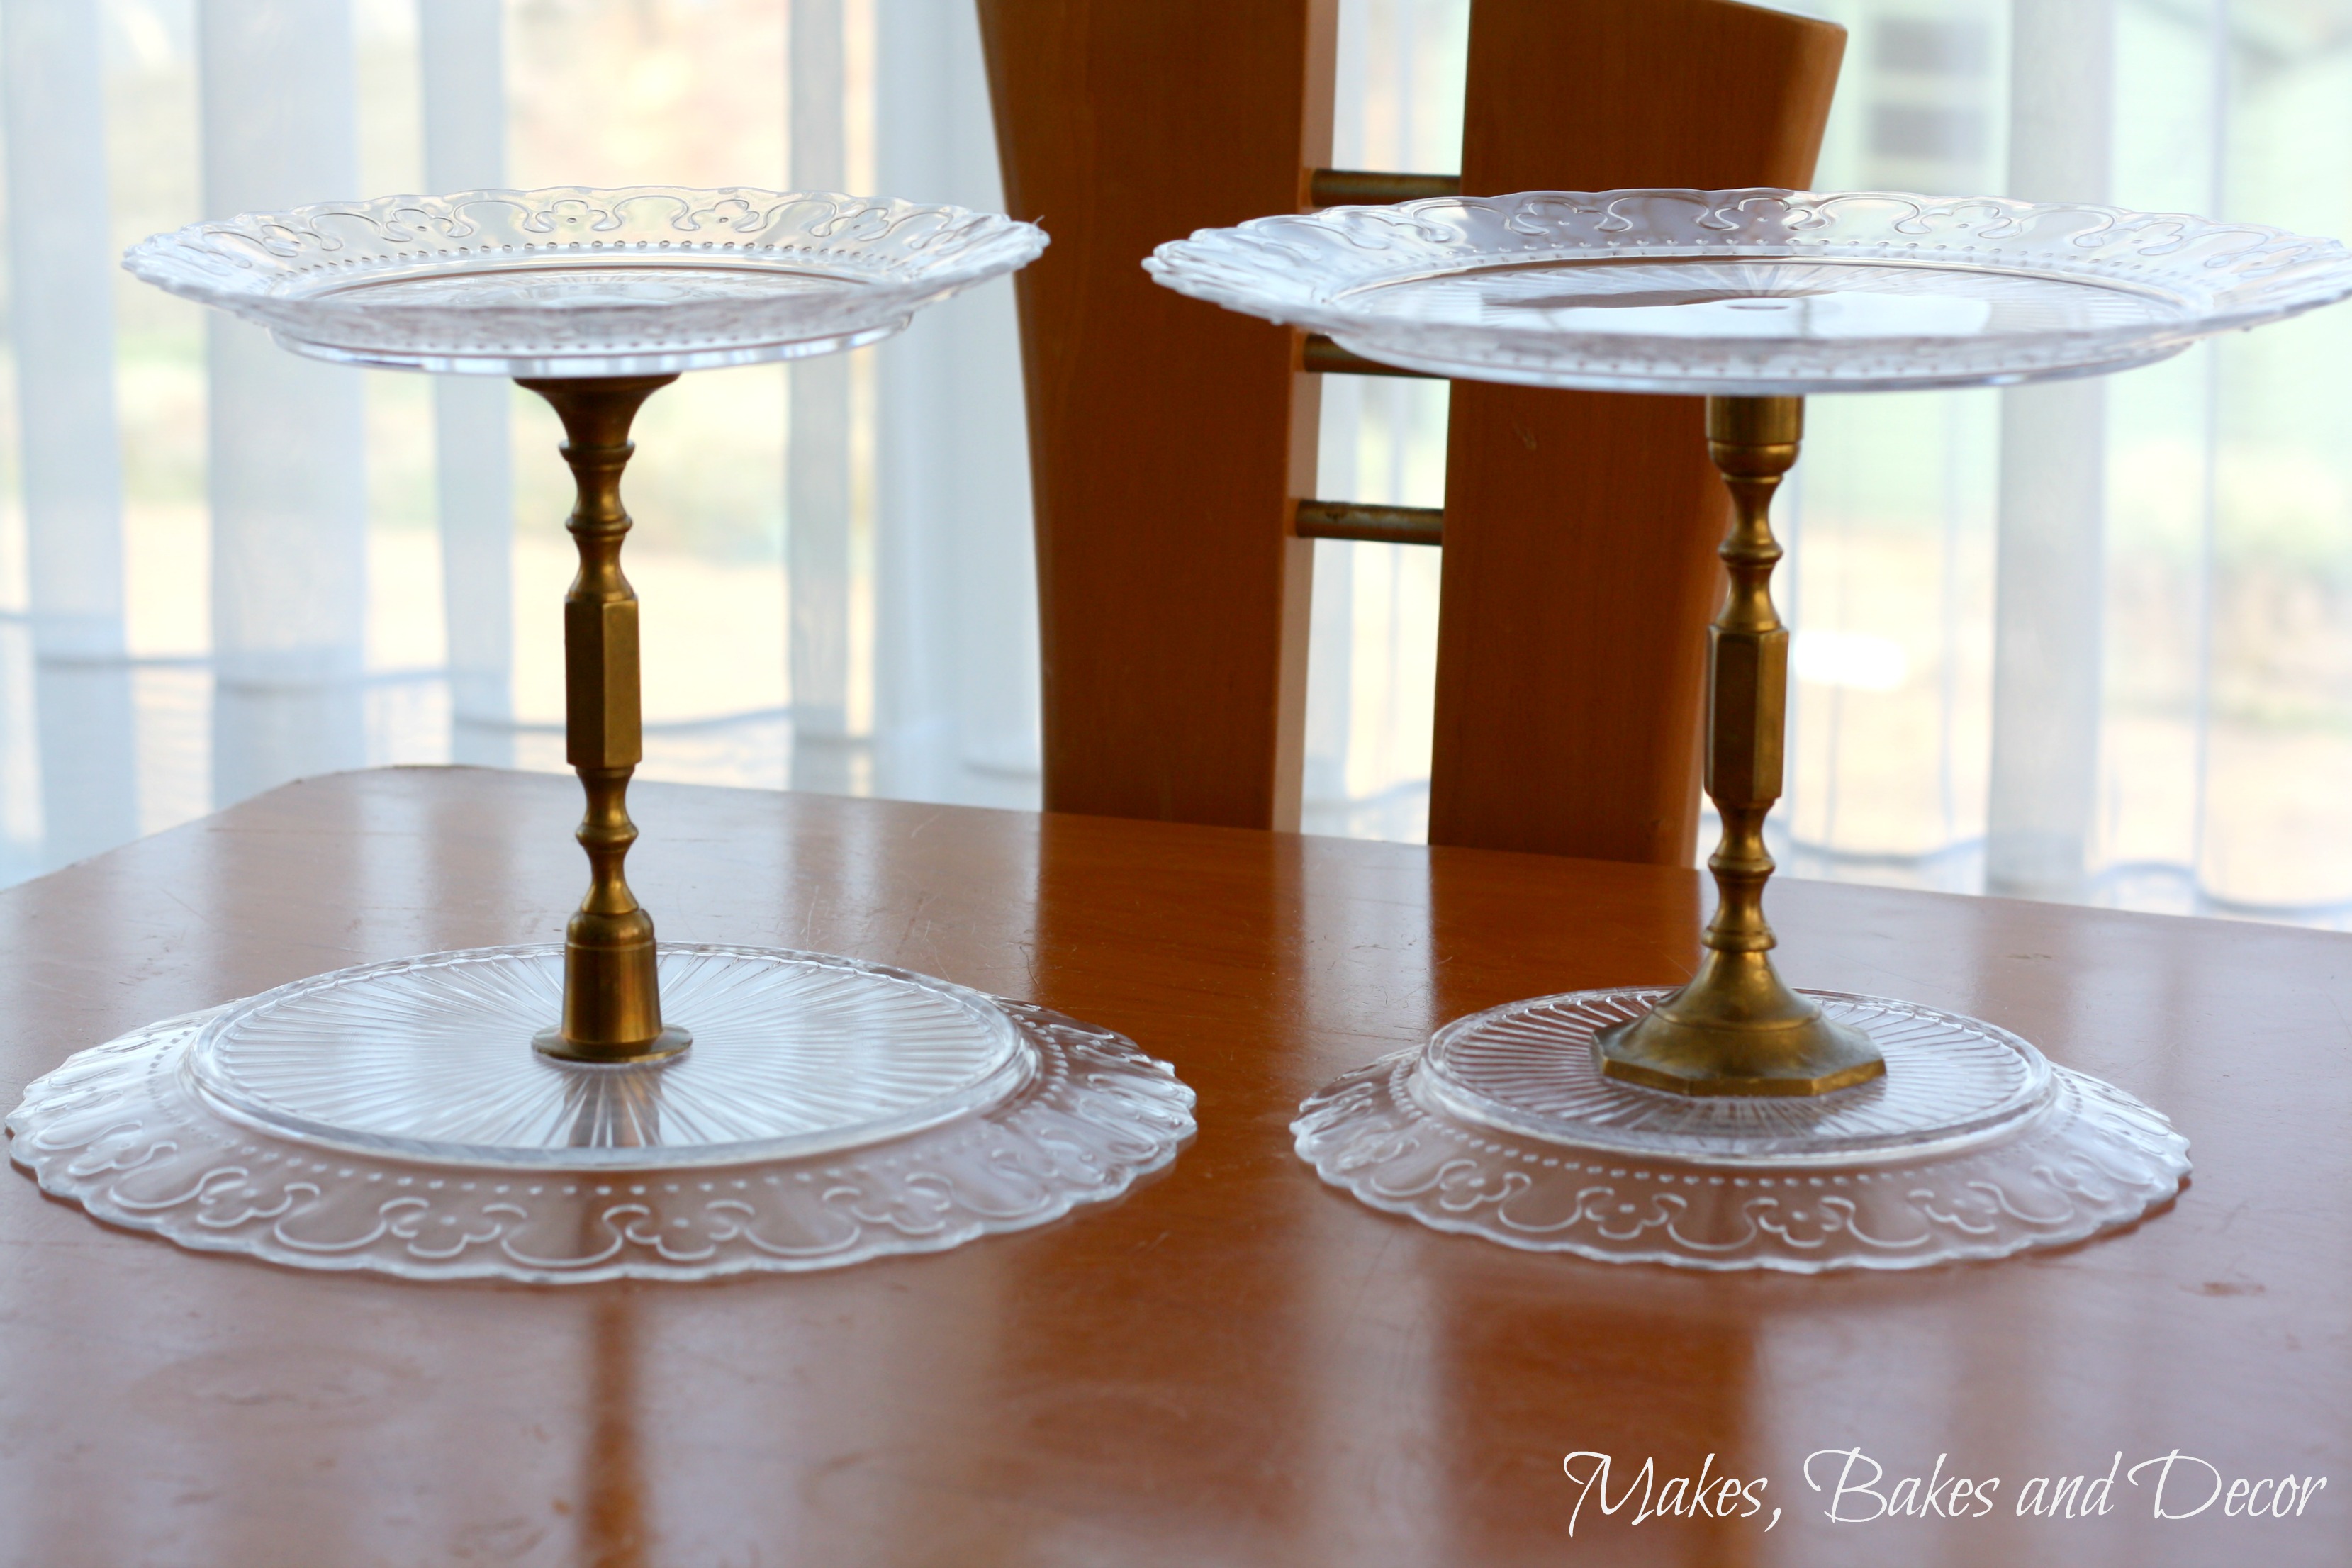
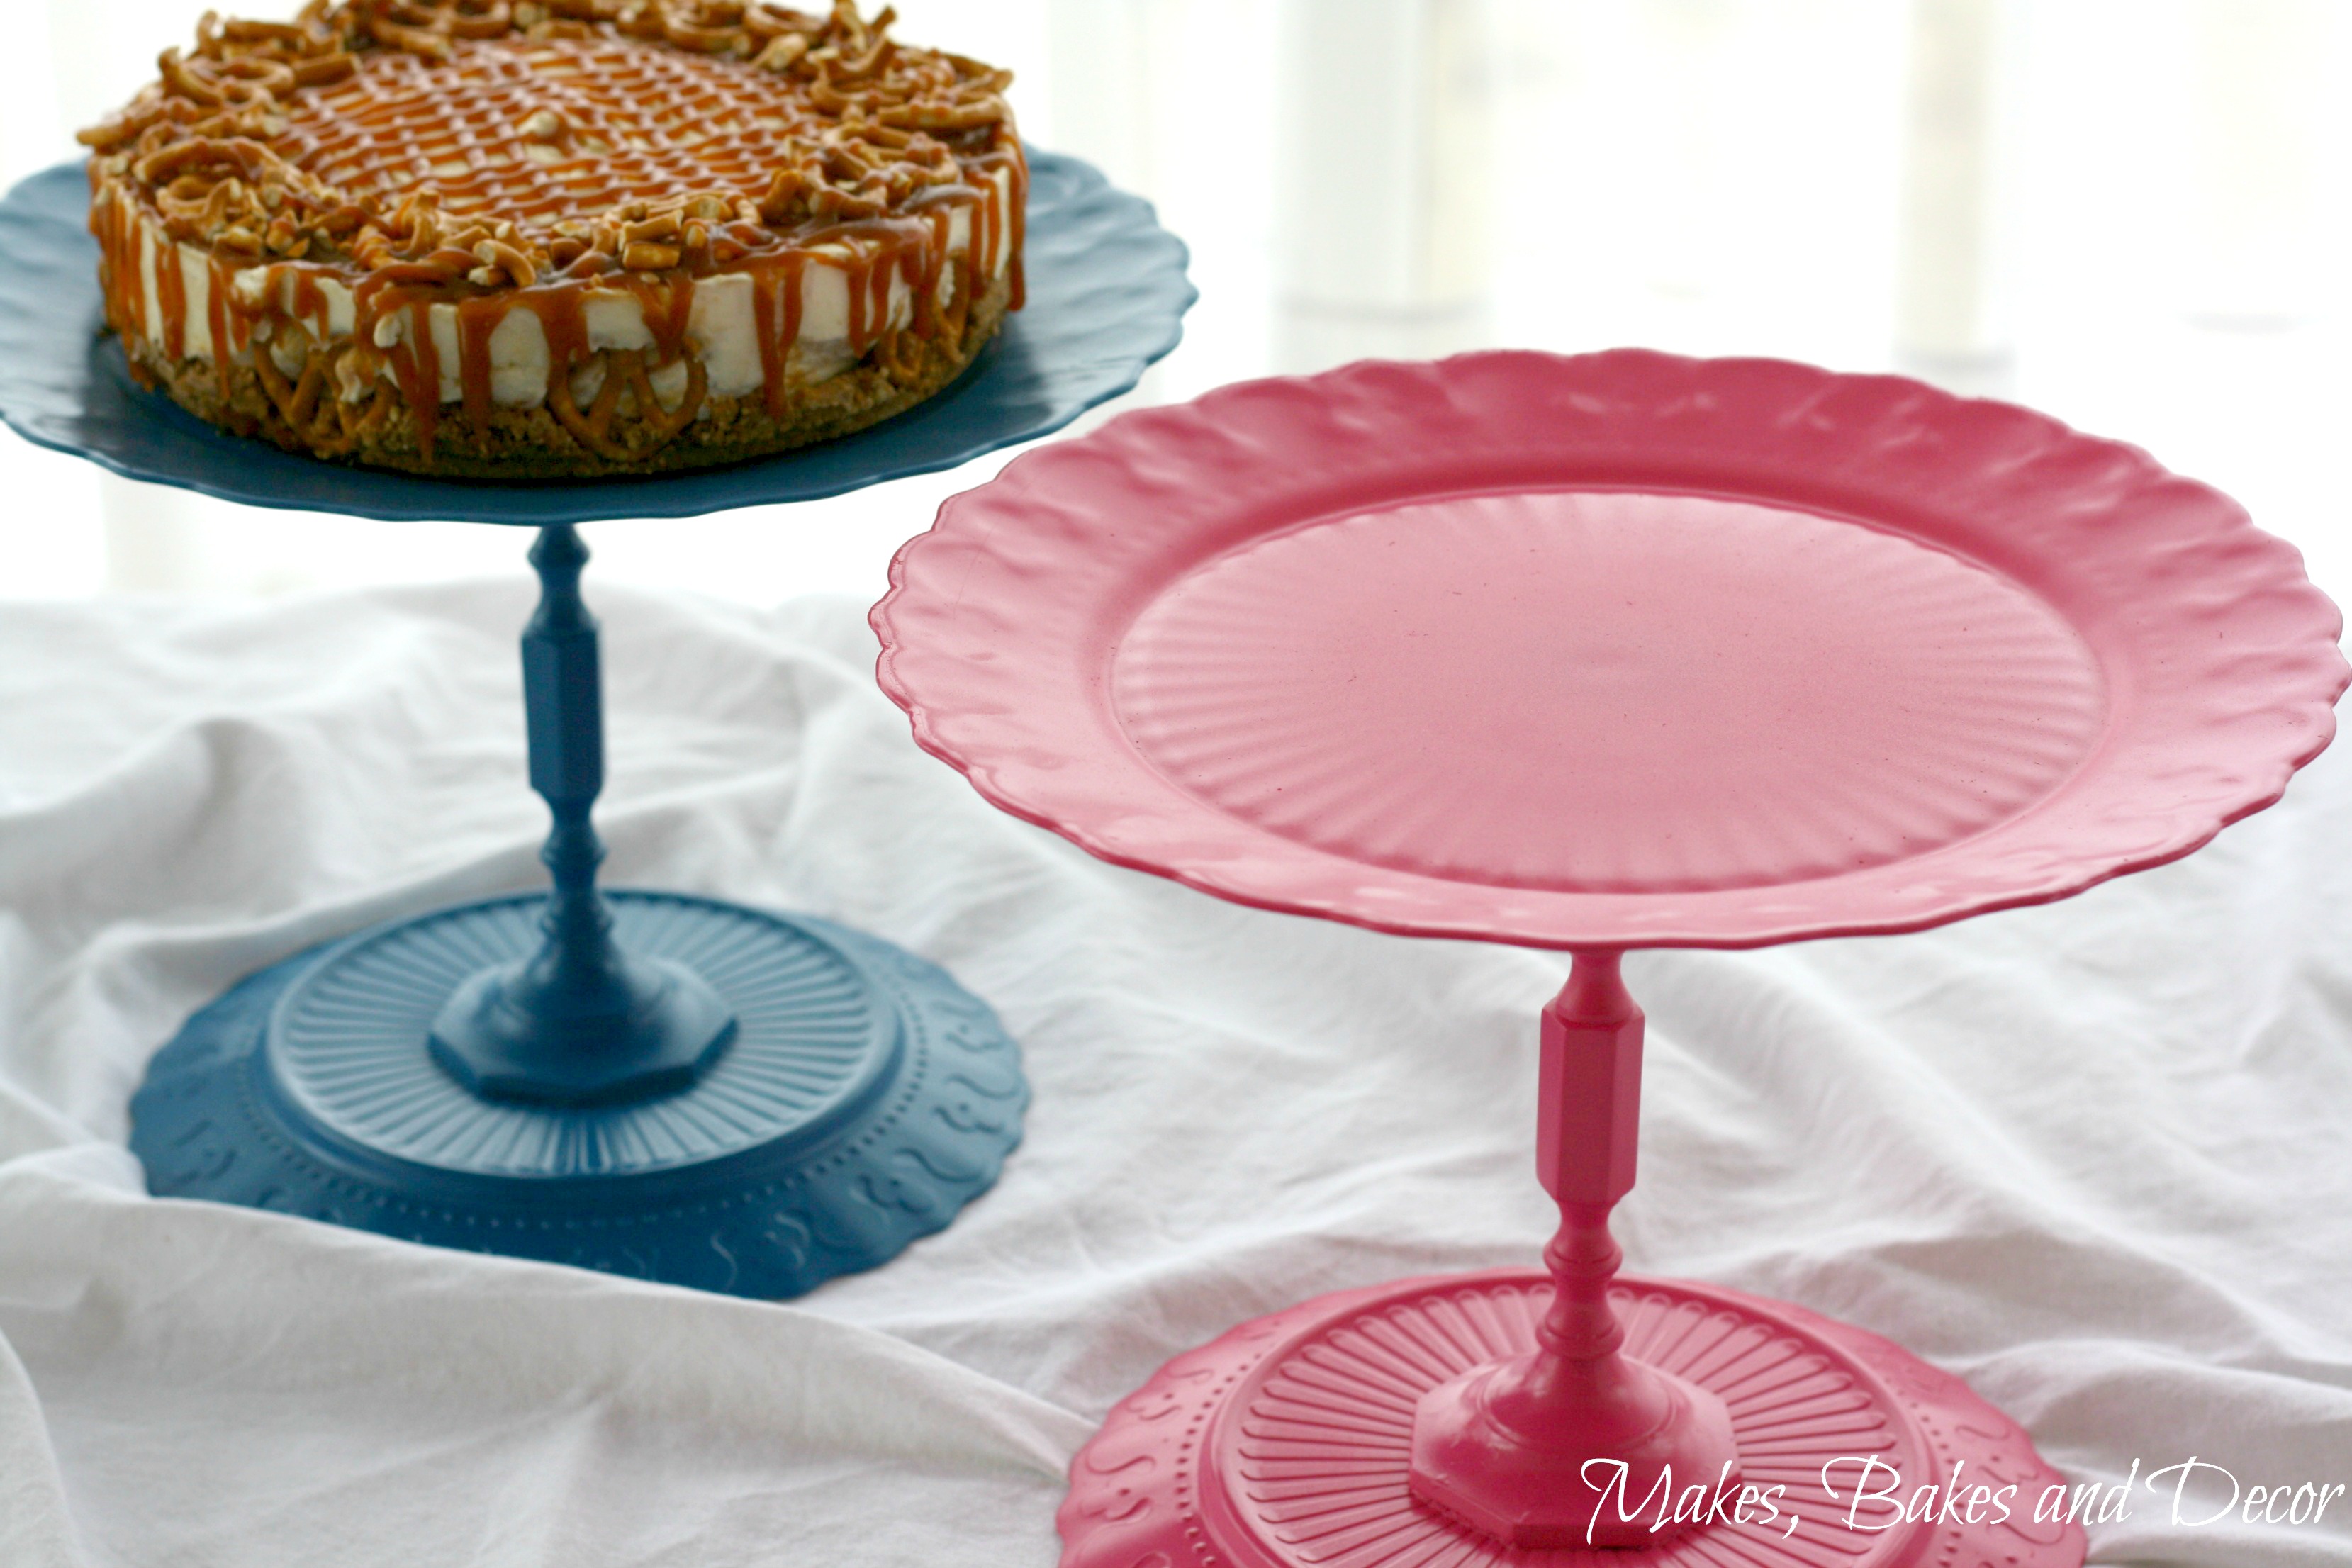
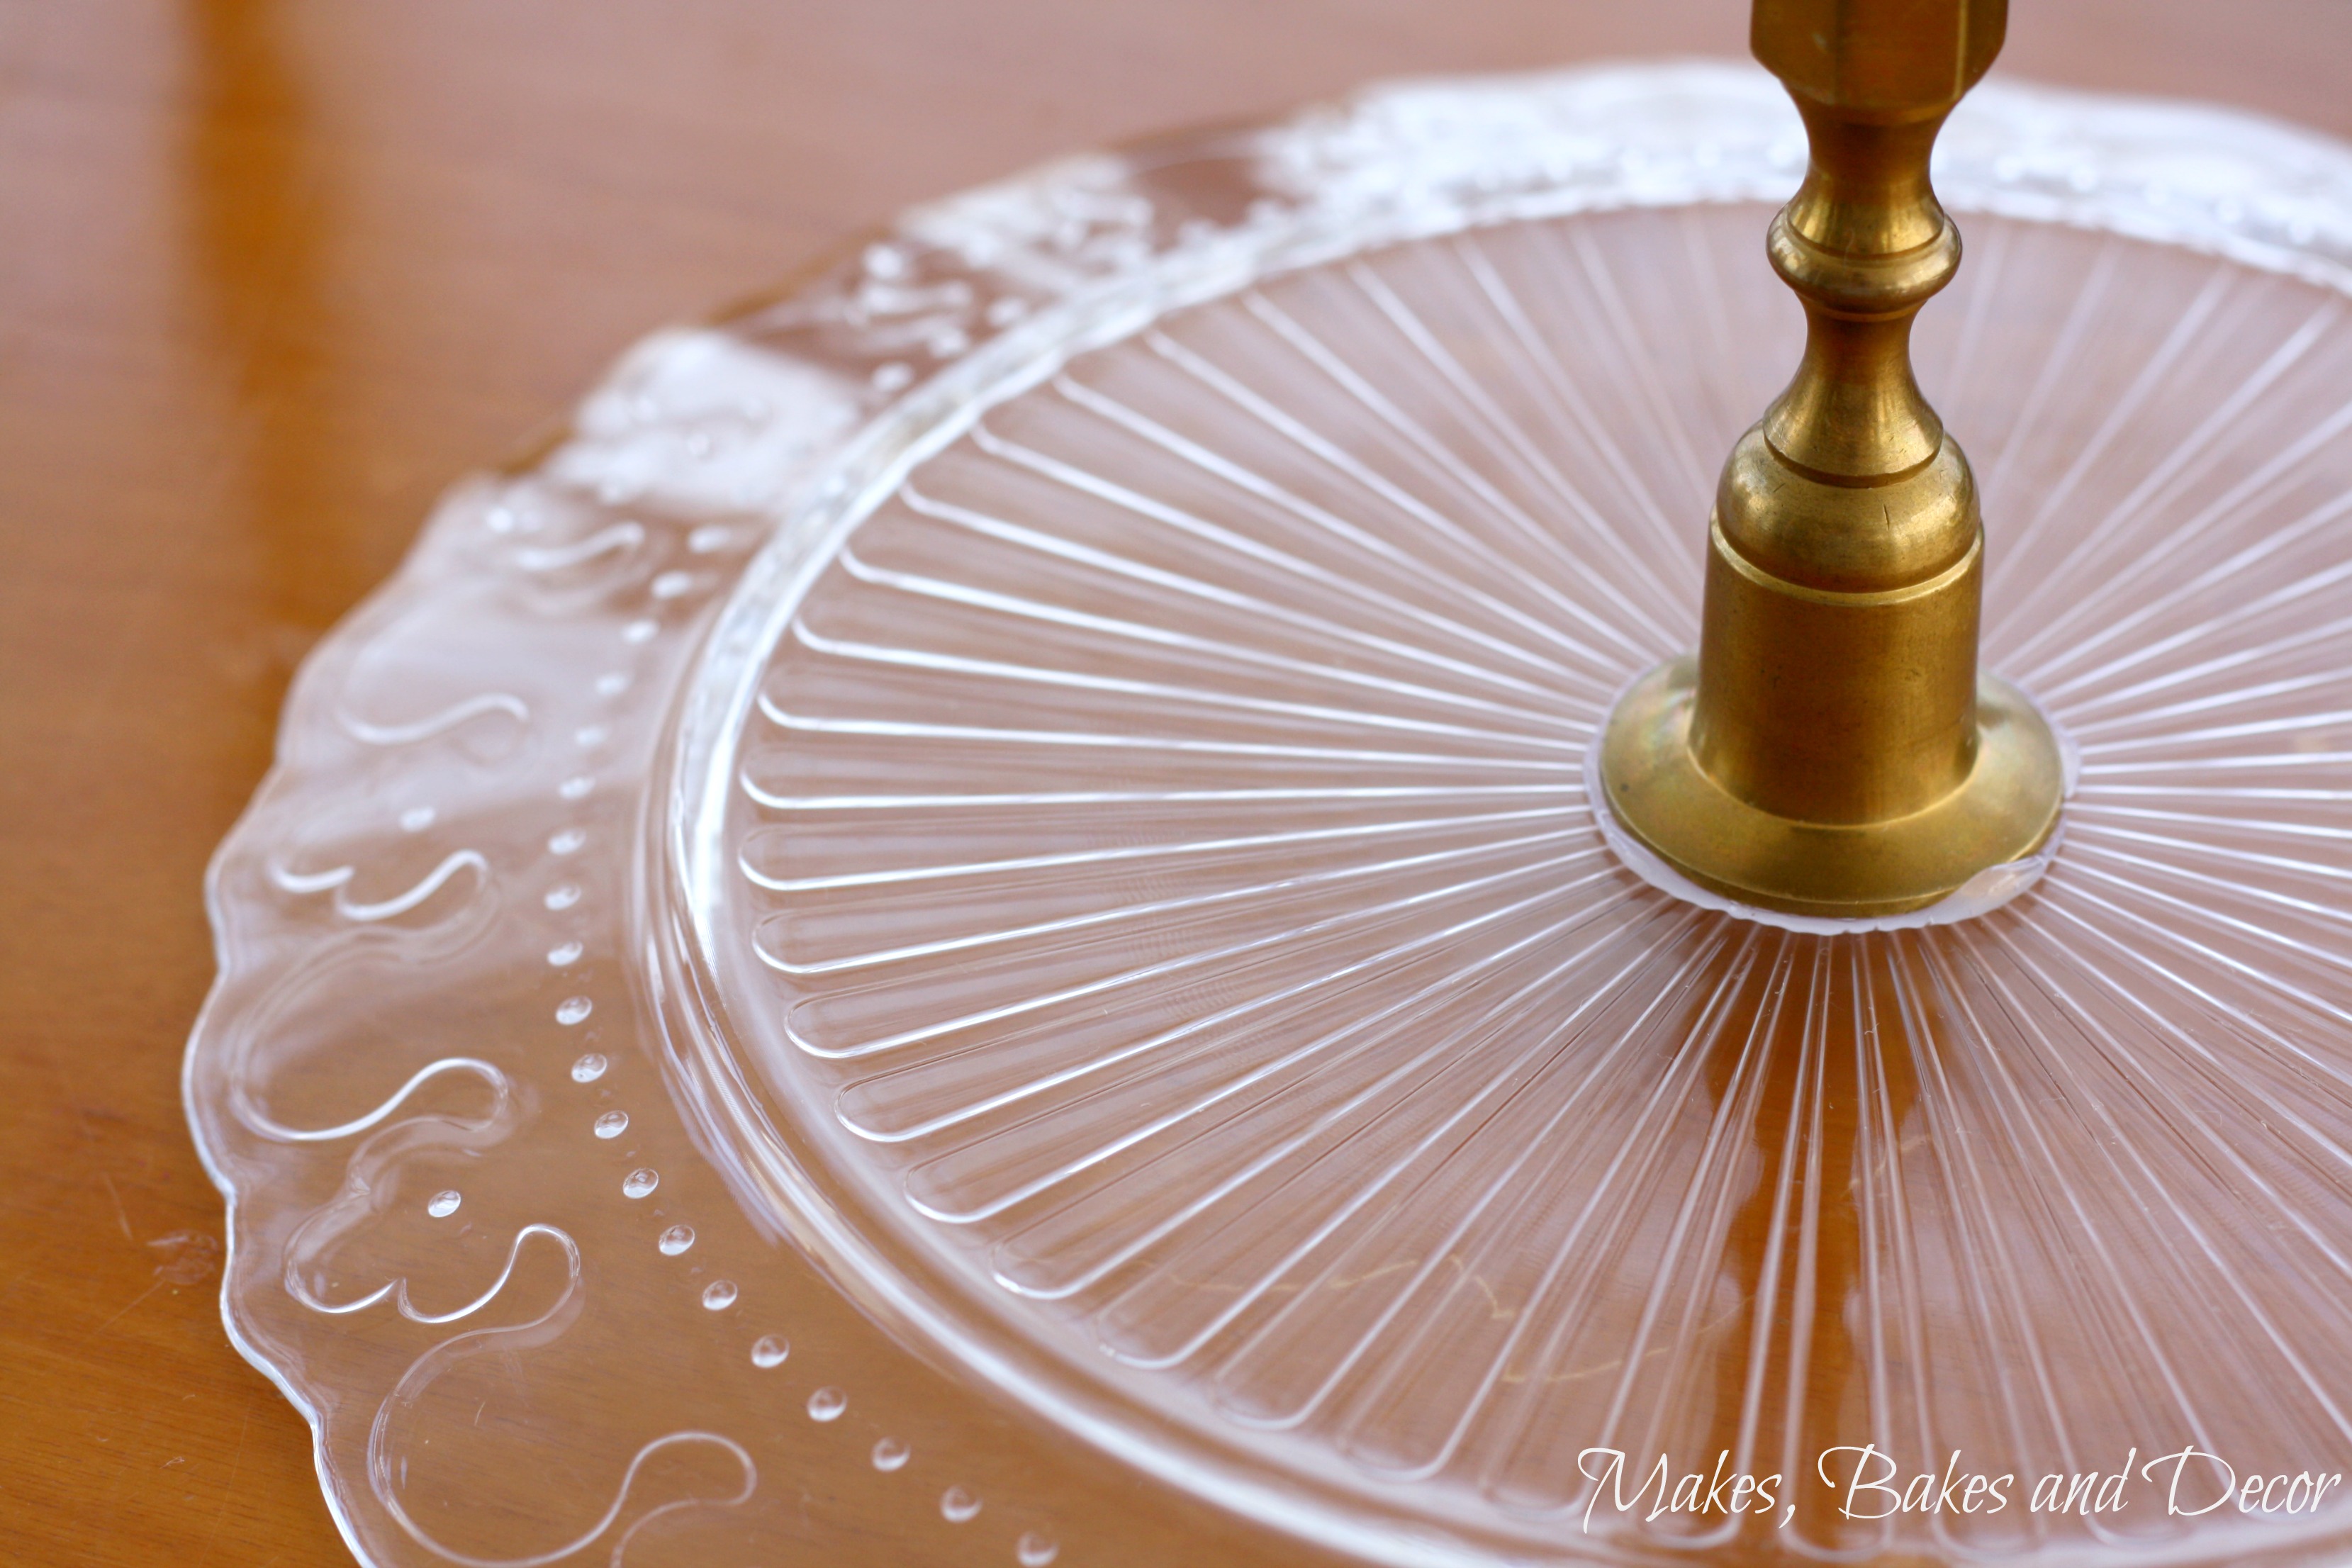
Here are the stands all glued together, I could use them either way round.
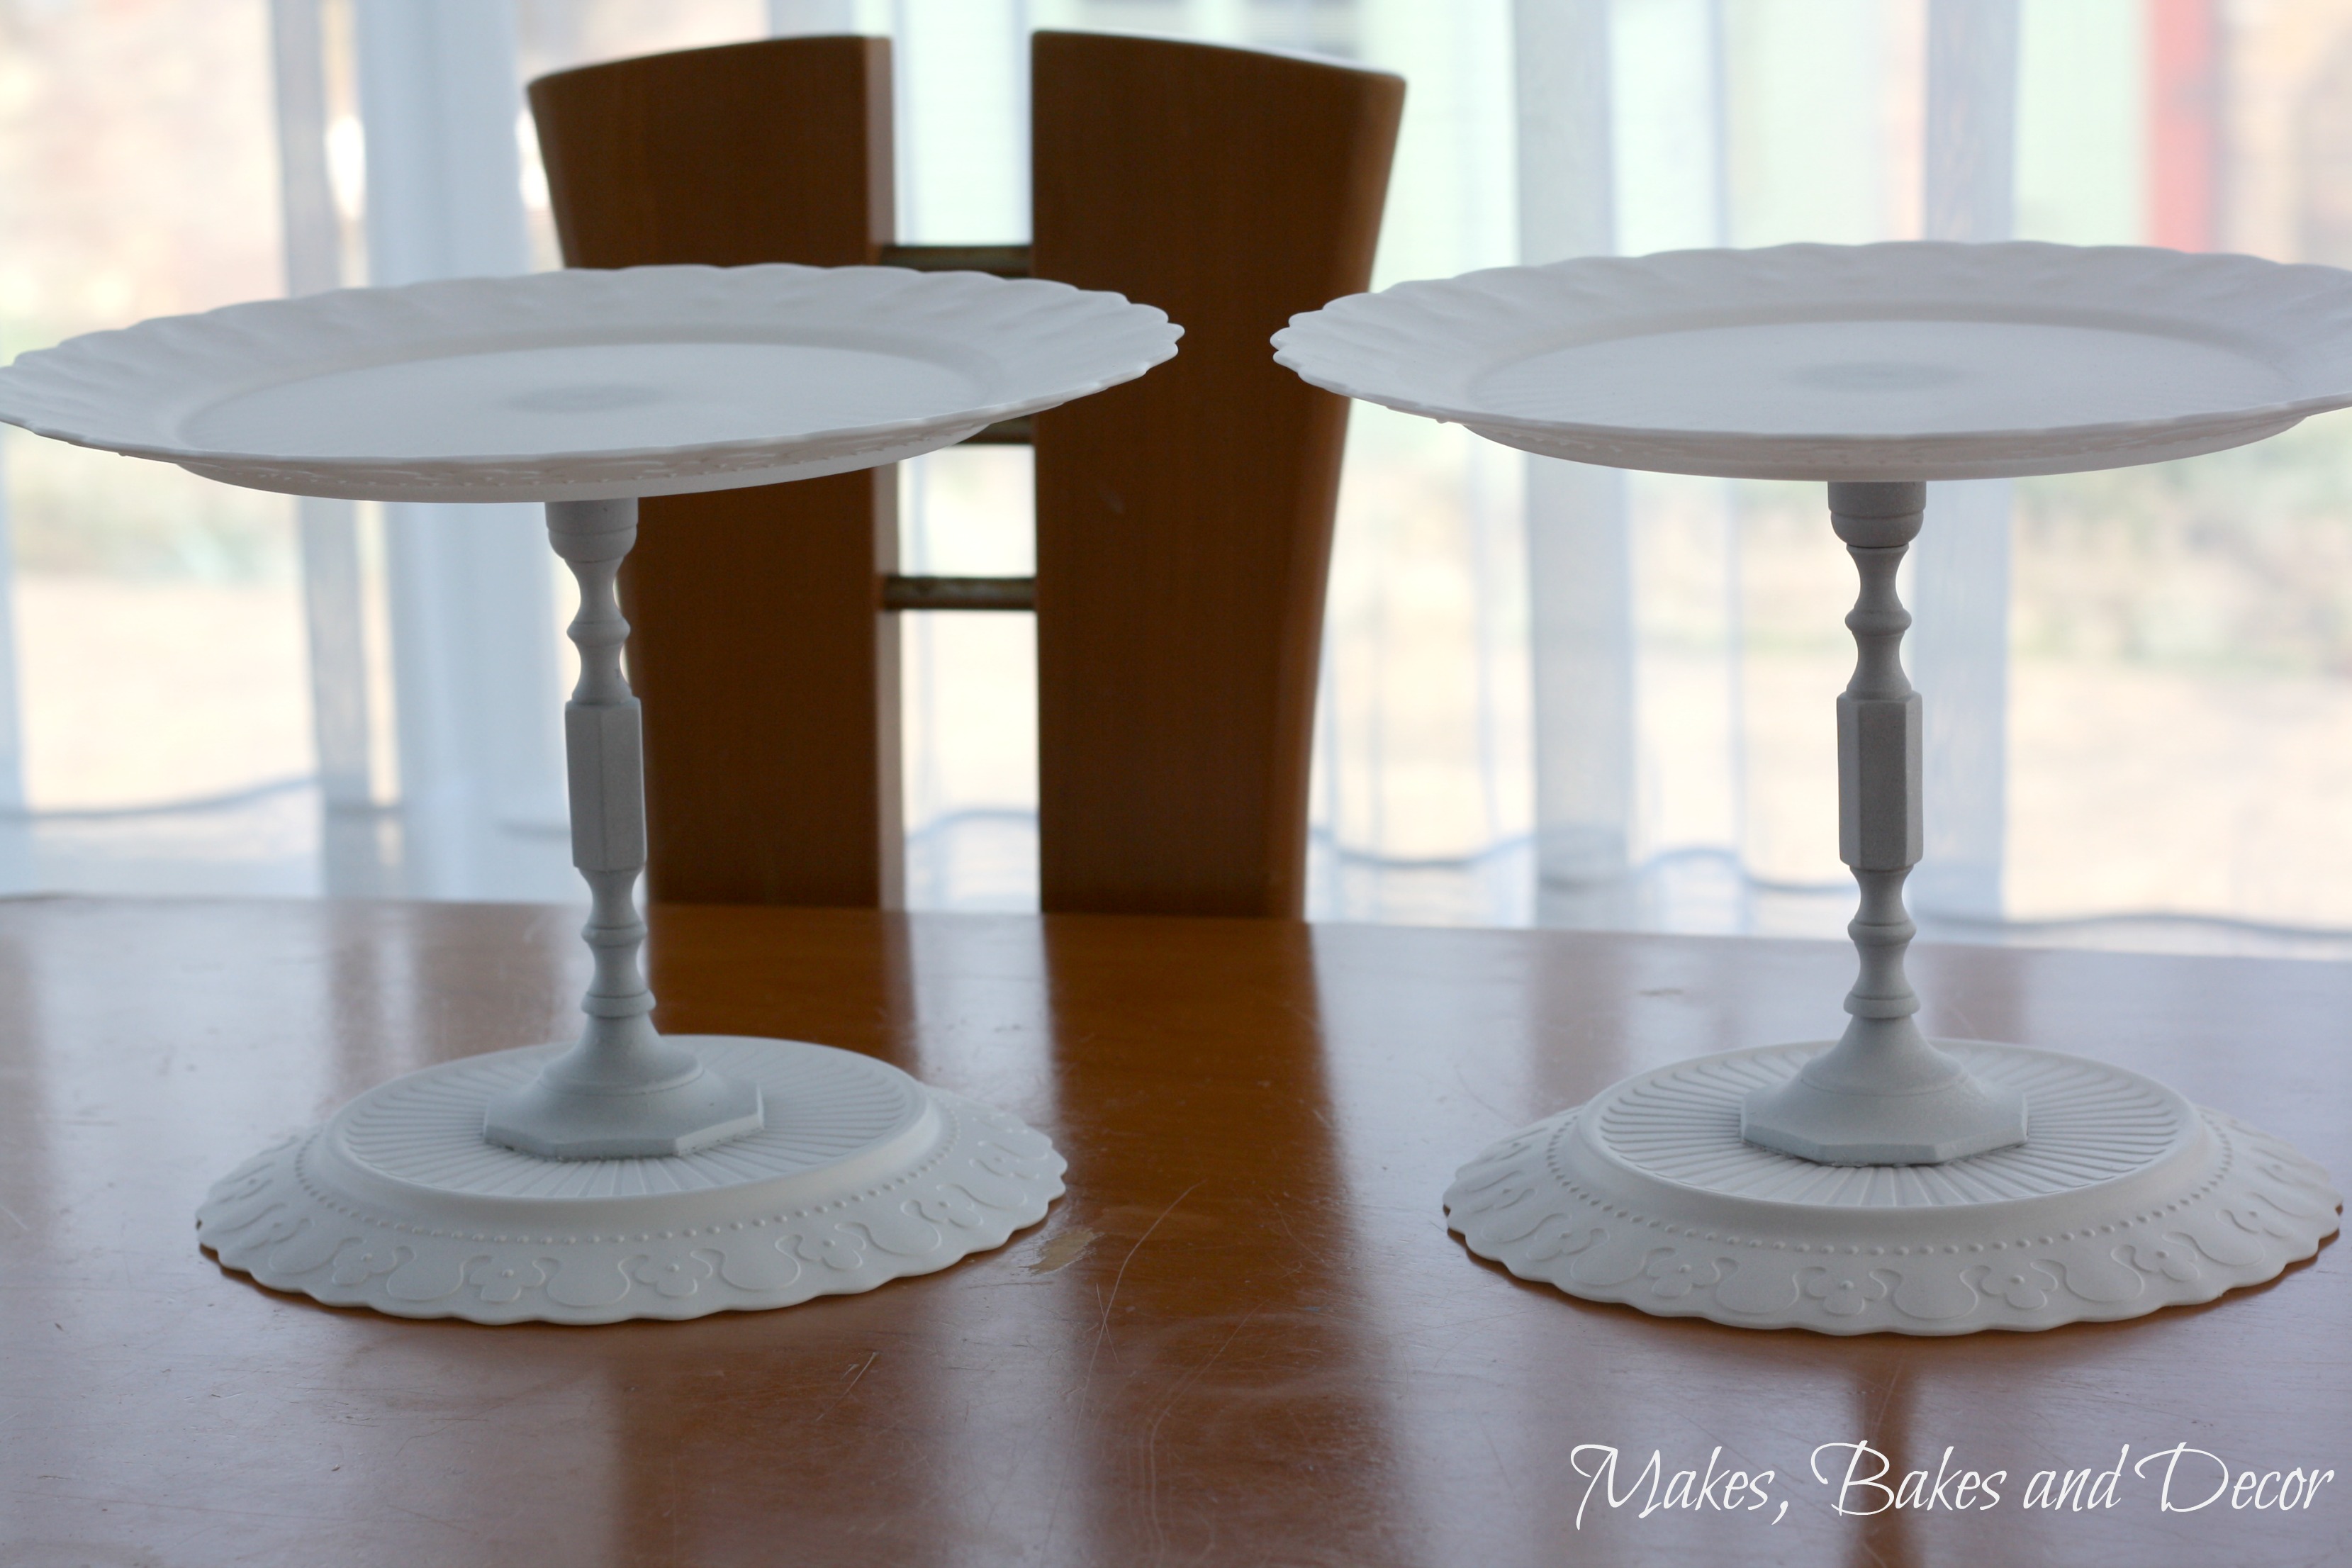
Both stands got a coat of white primer.
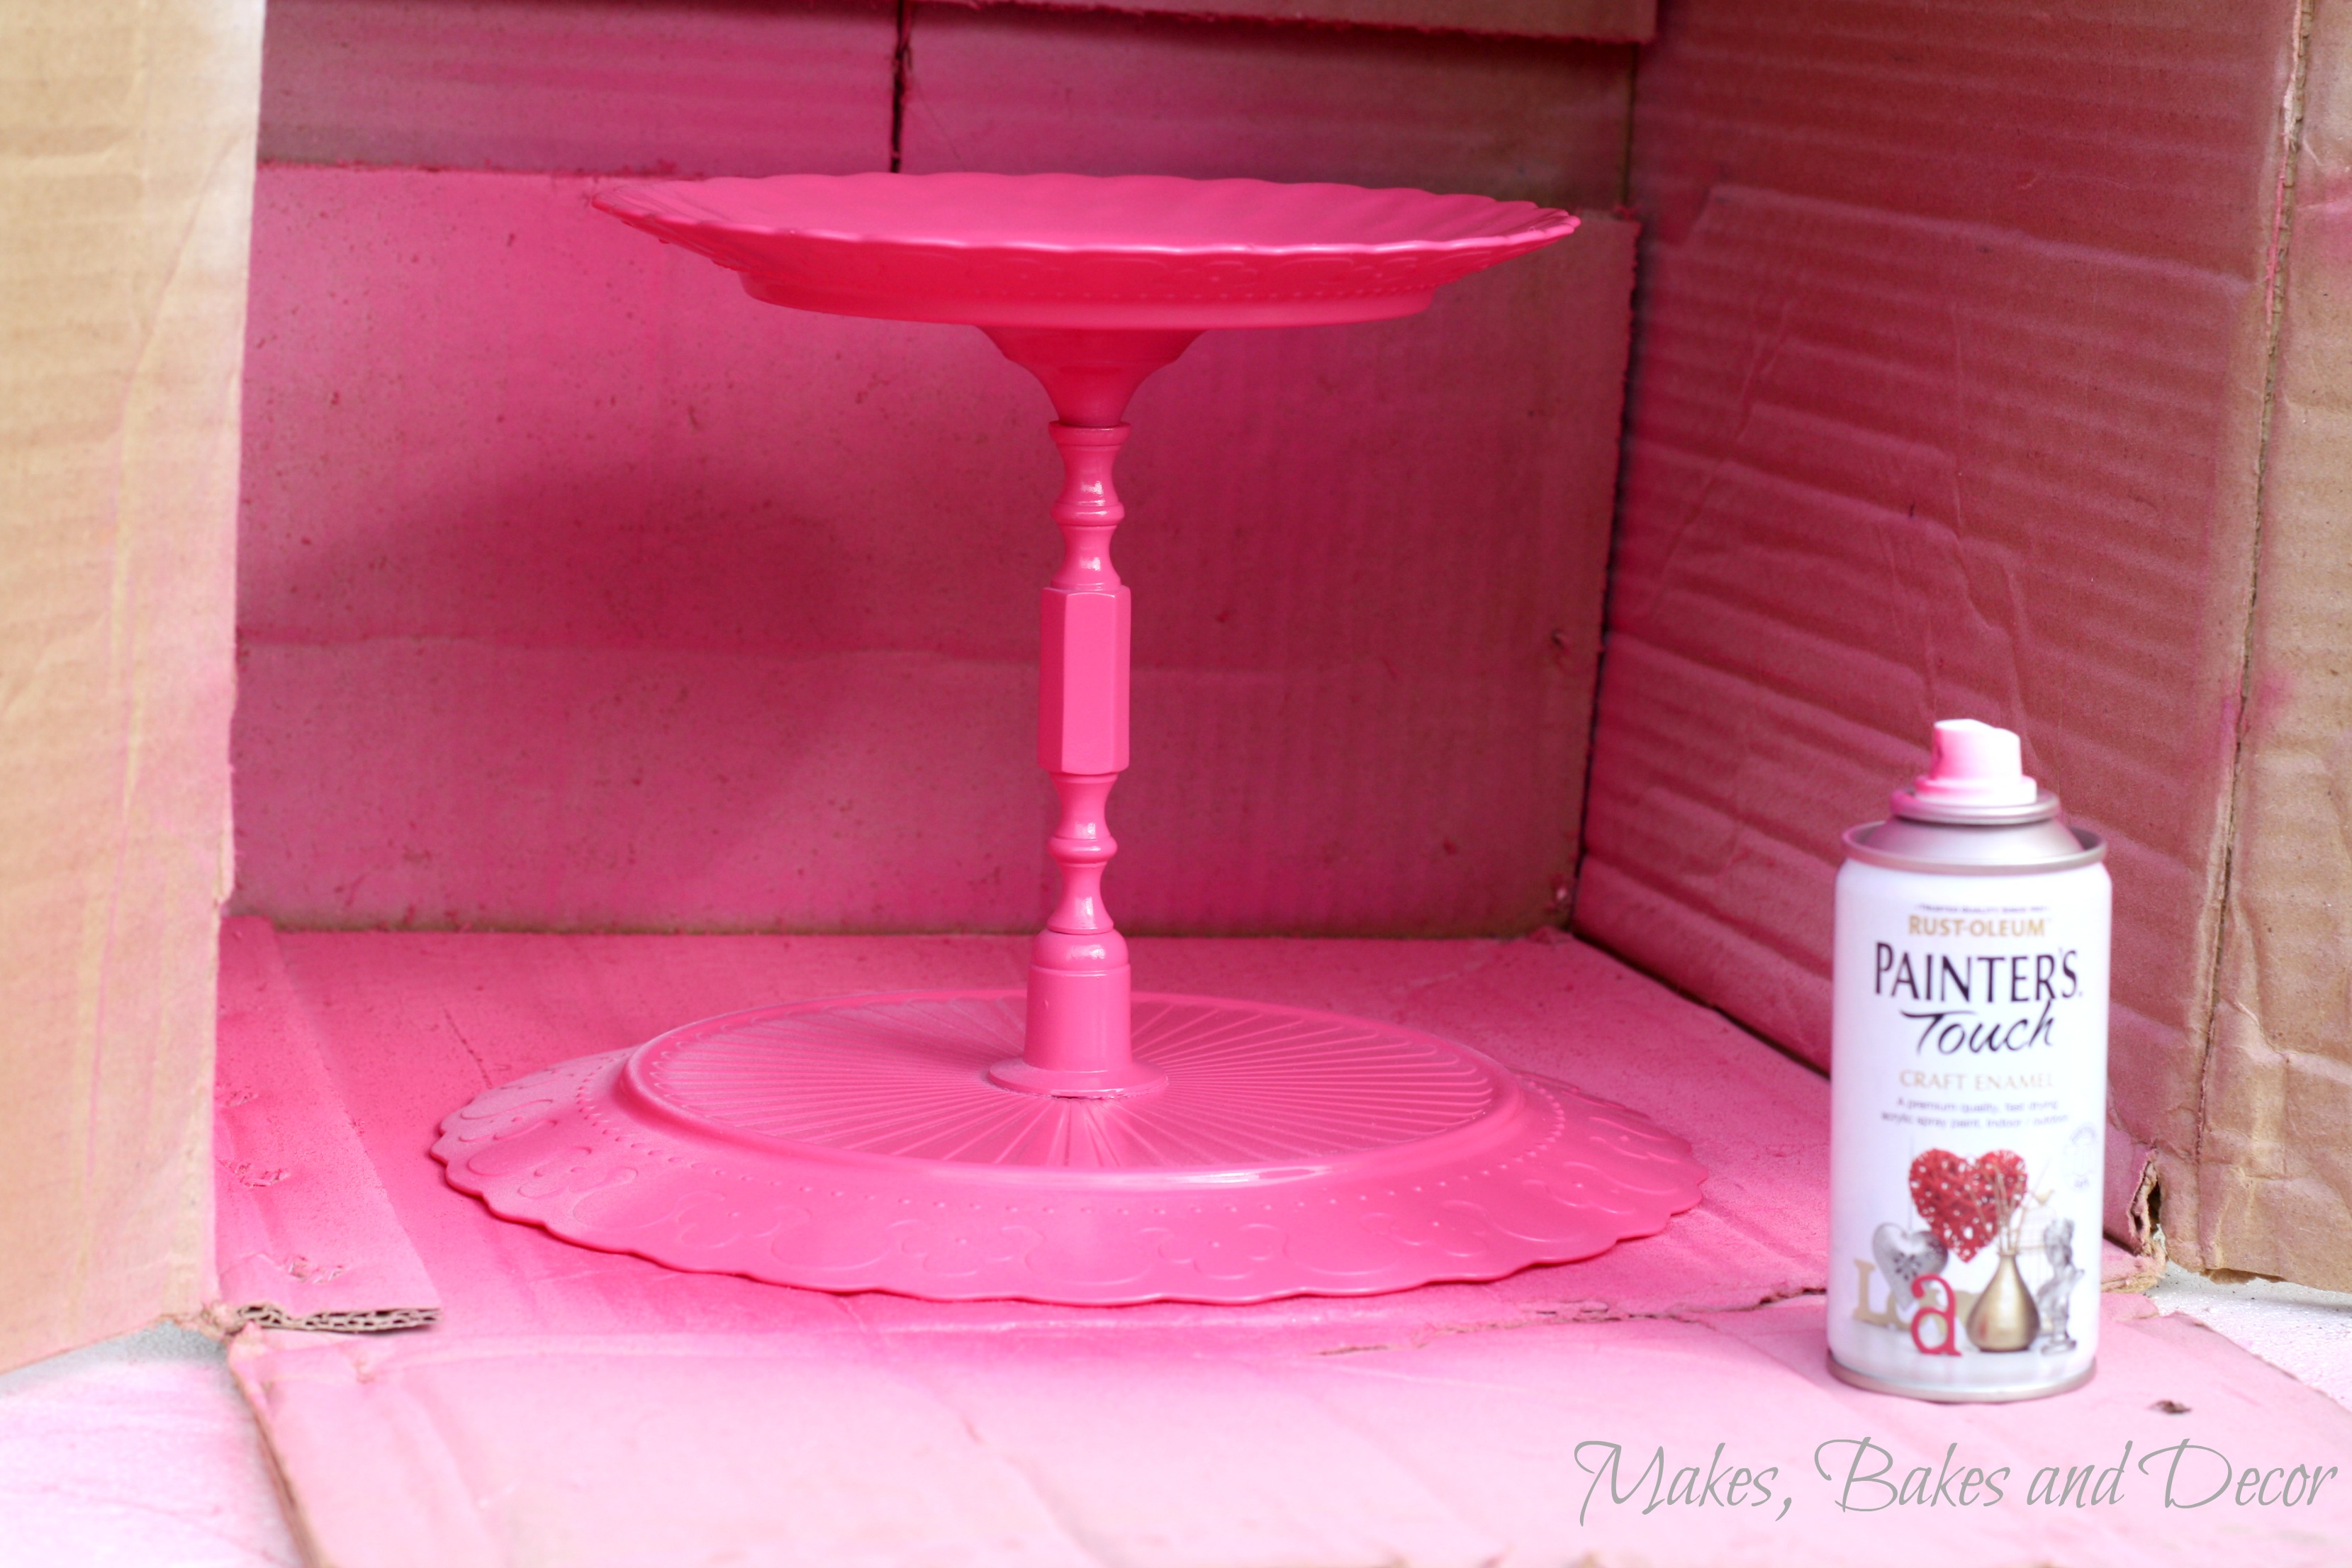
And then onto the fun bit, the colour! When you are spray painting always spaay a thin coat of paint, leave it to dry and then add another coat. Repeat this until you have a good solid colour. Don’t be tempted to spray a heavy coat of paint straight away as it will just run and it won’t look pretty. And here they are finished!
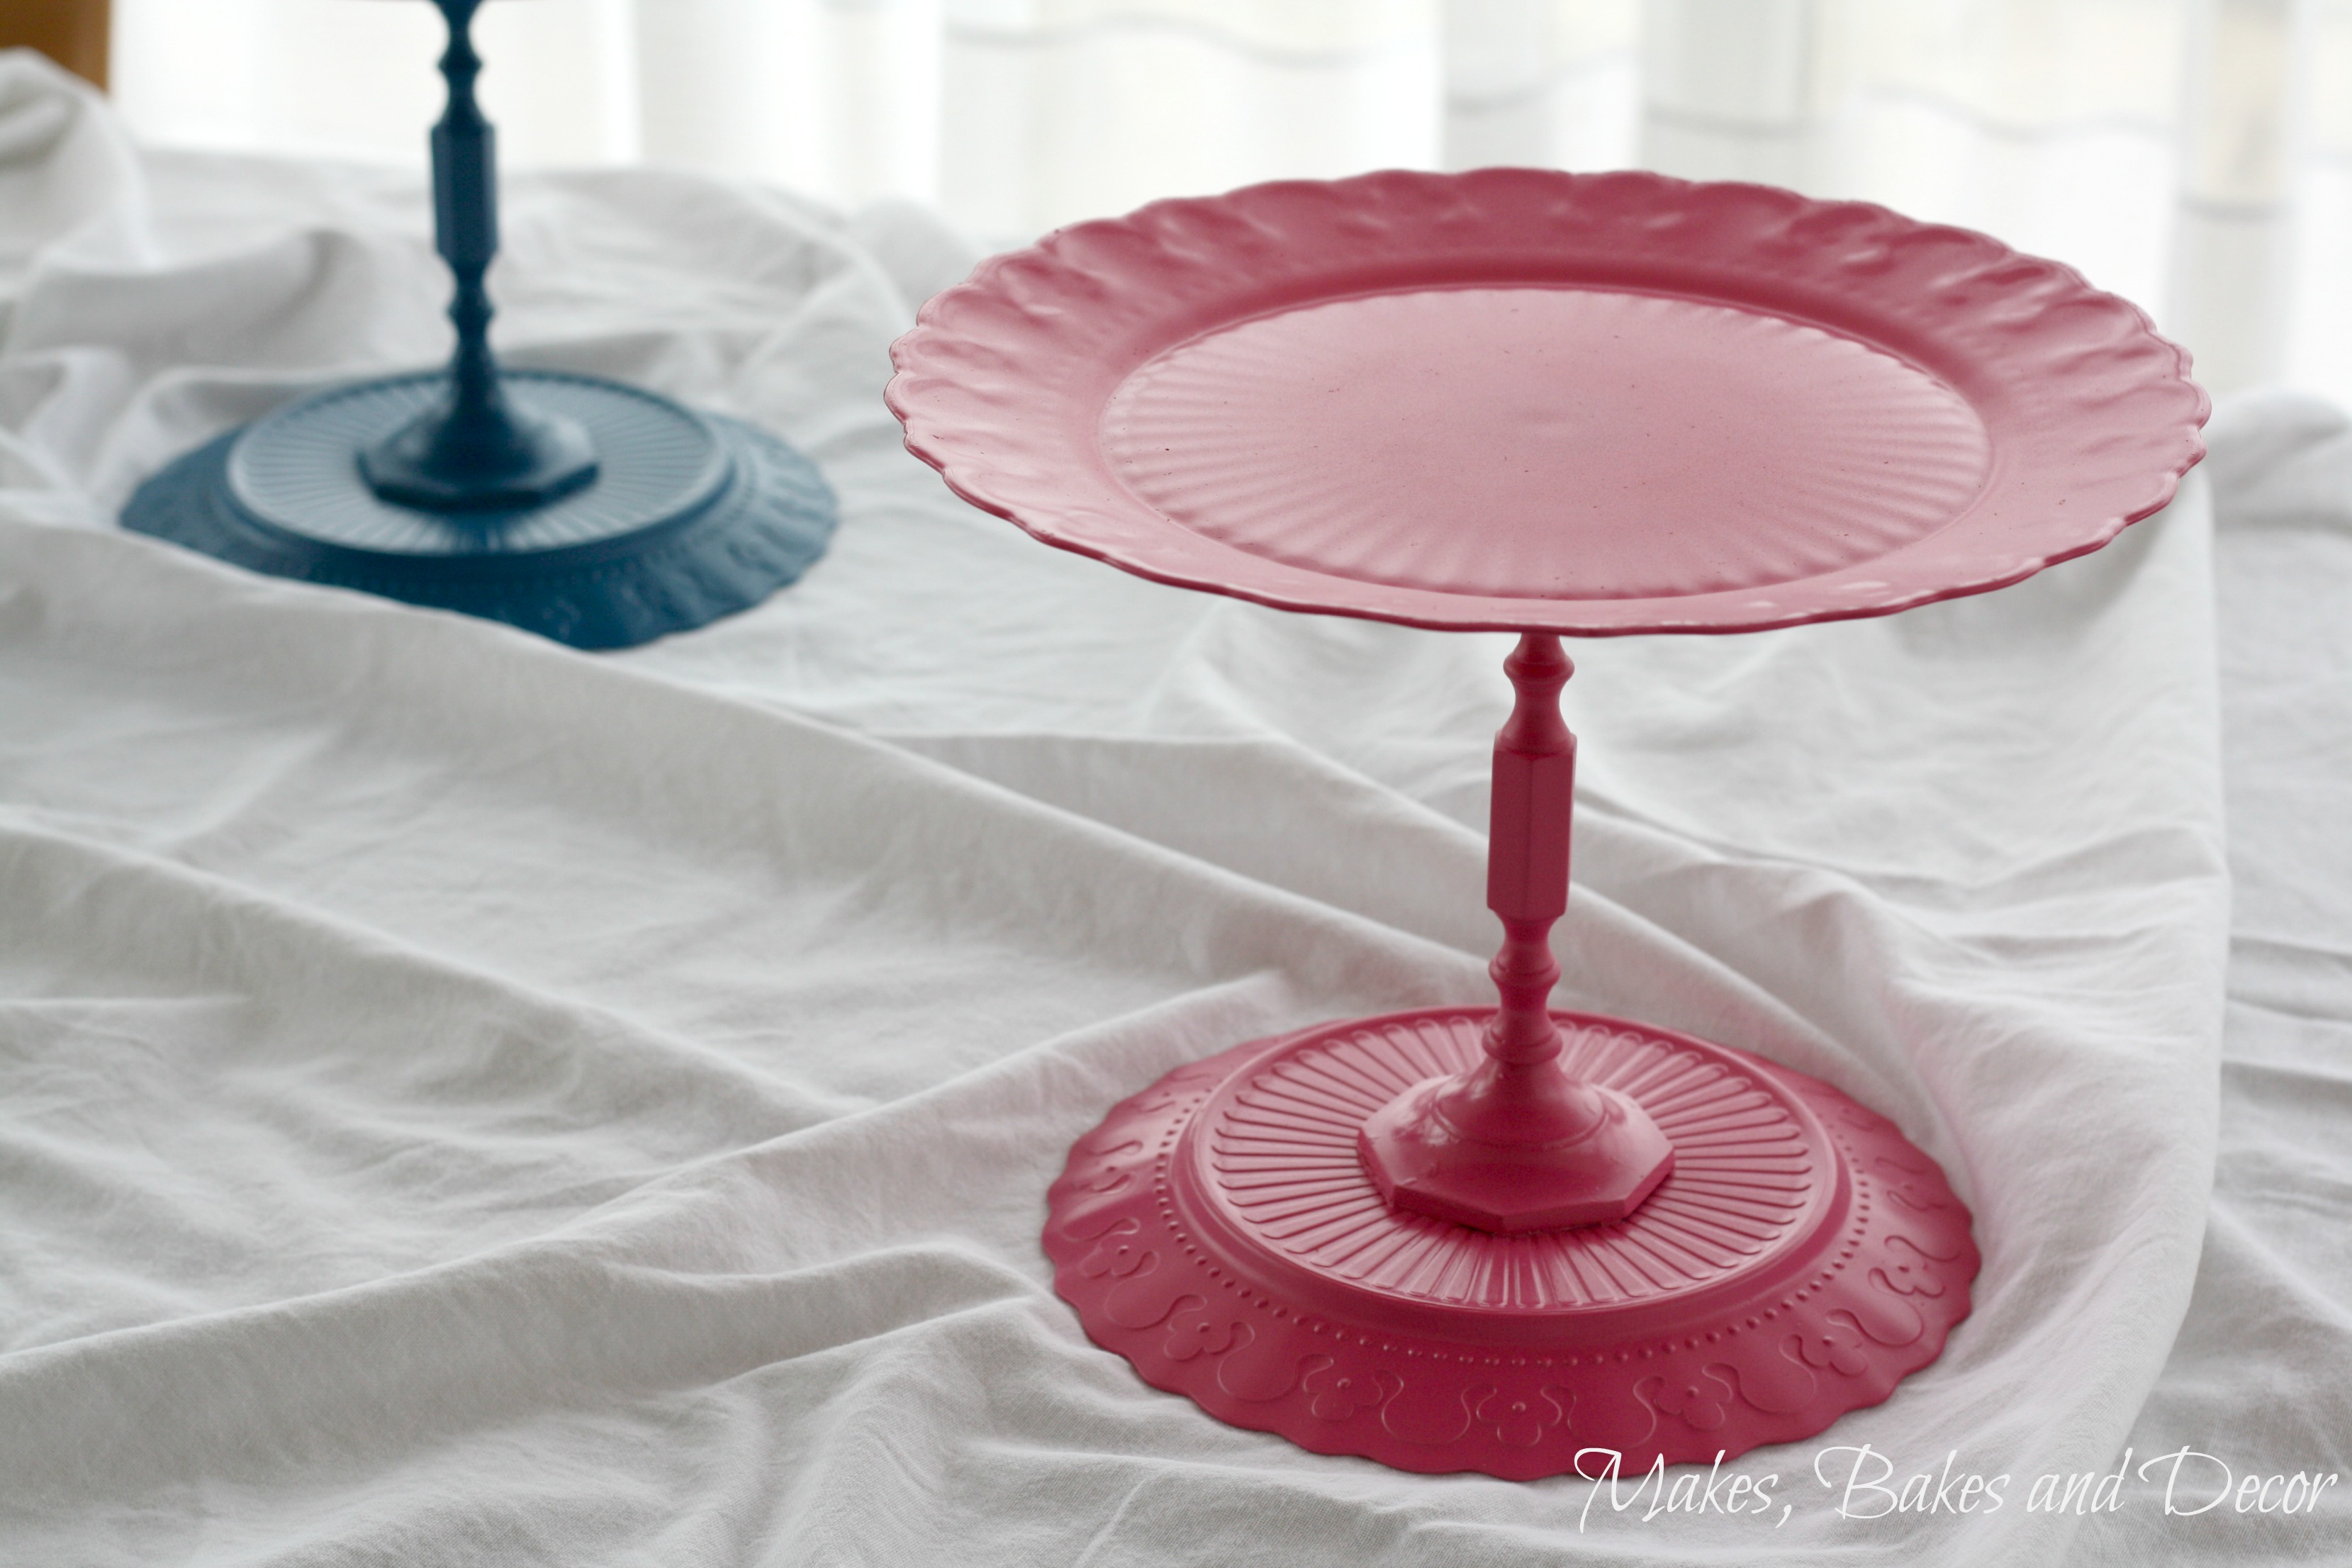
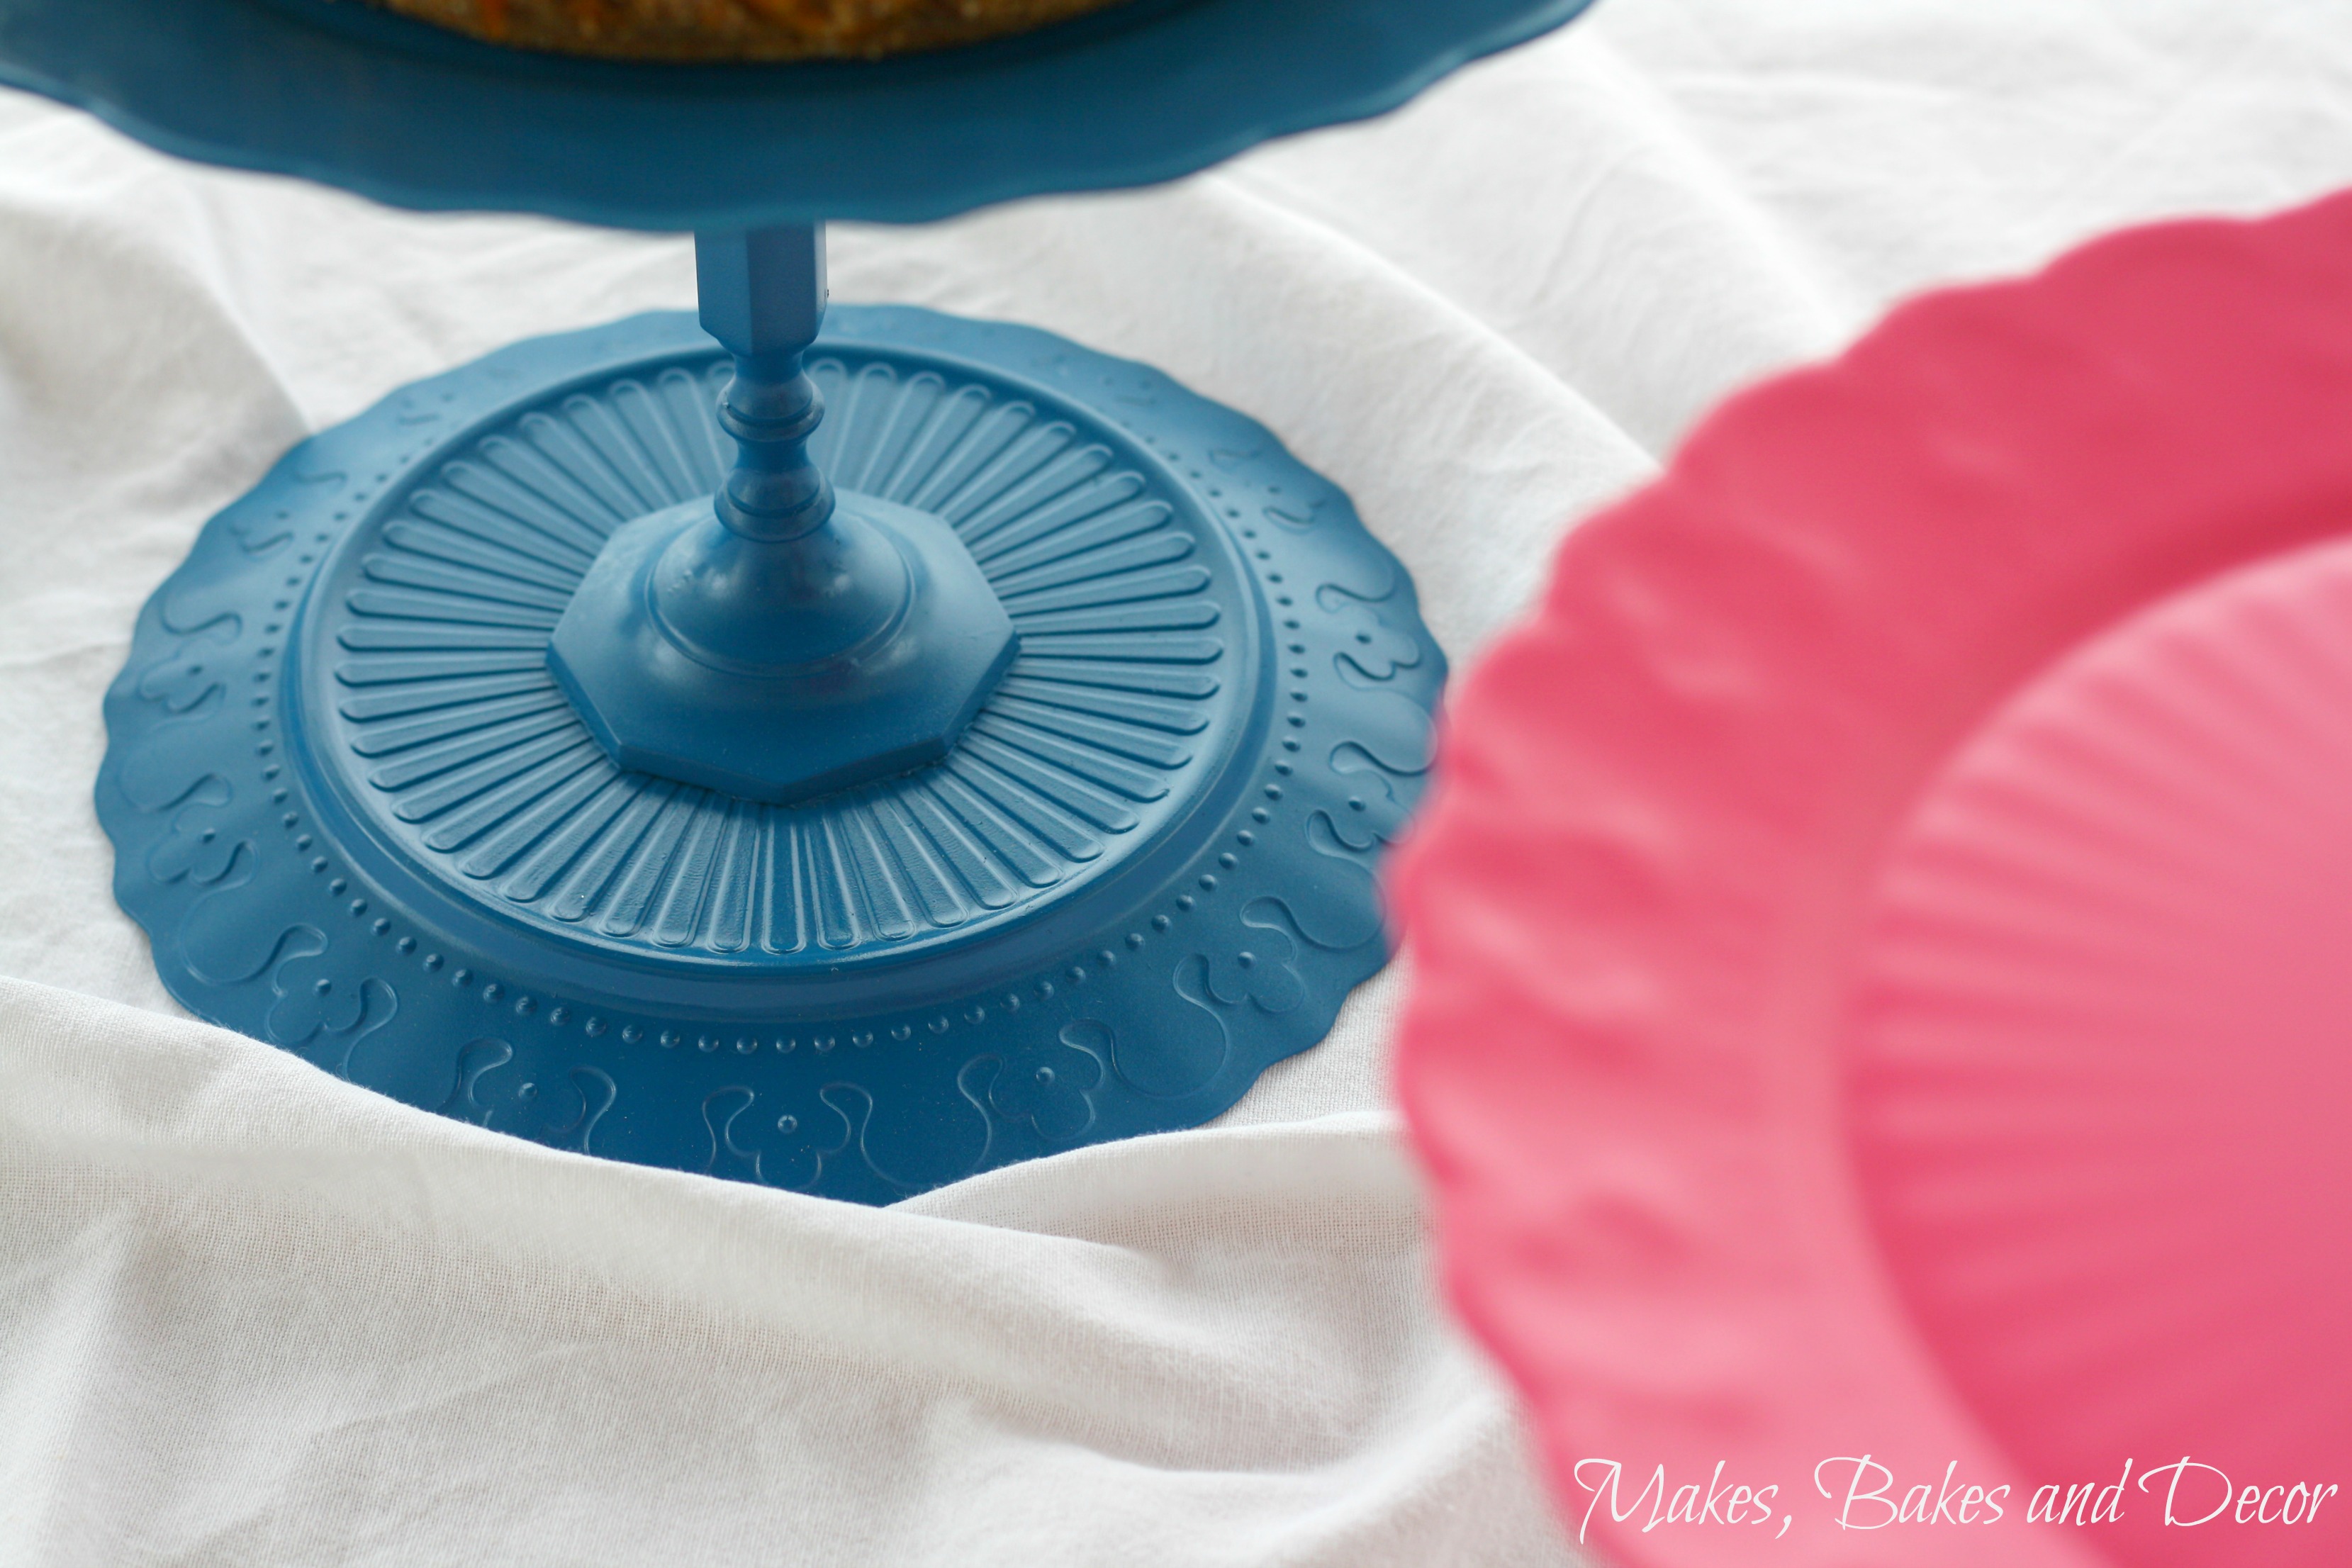
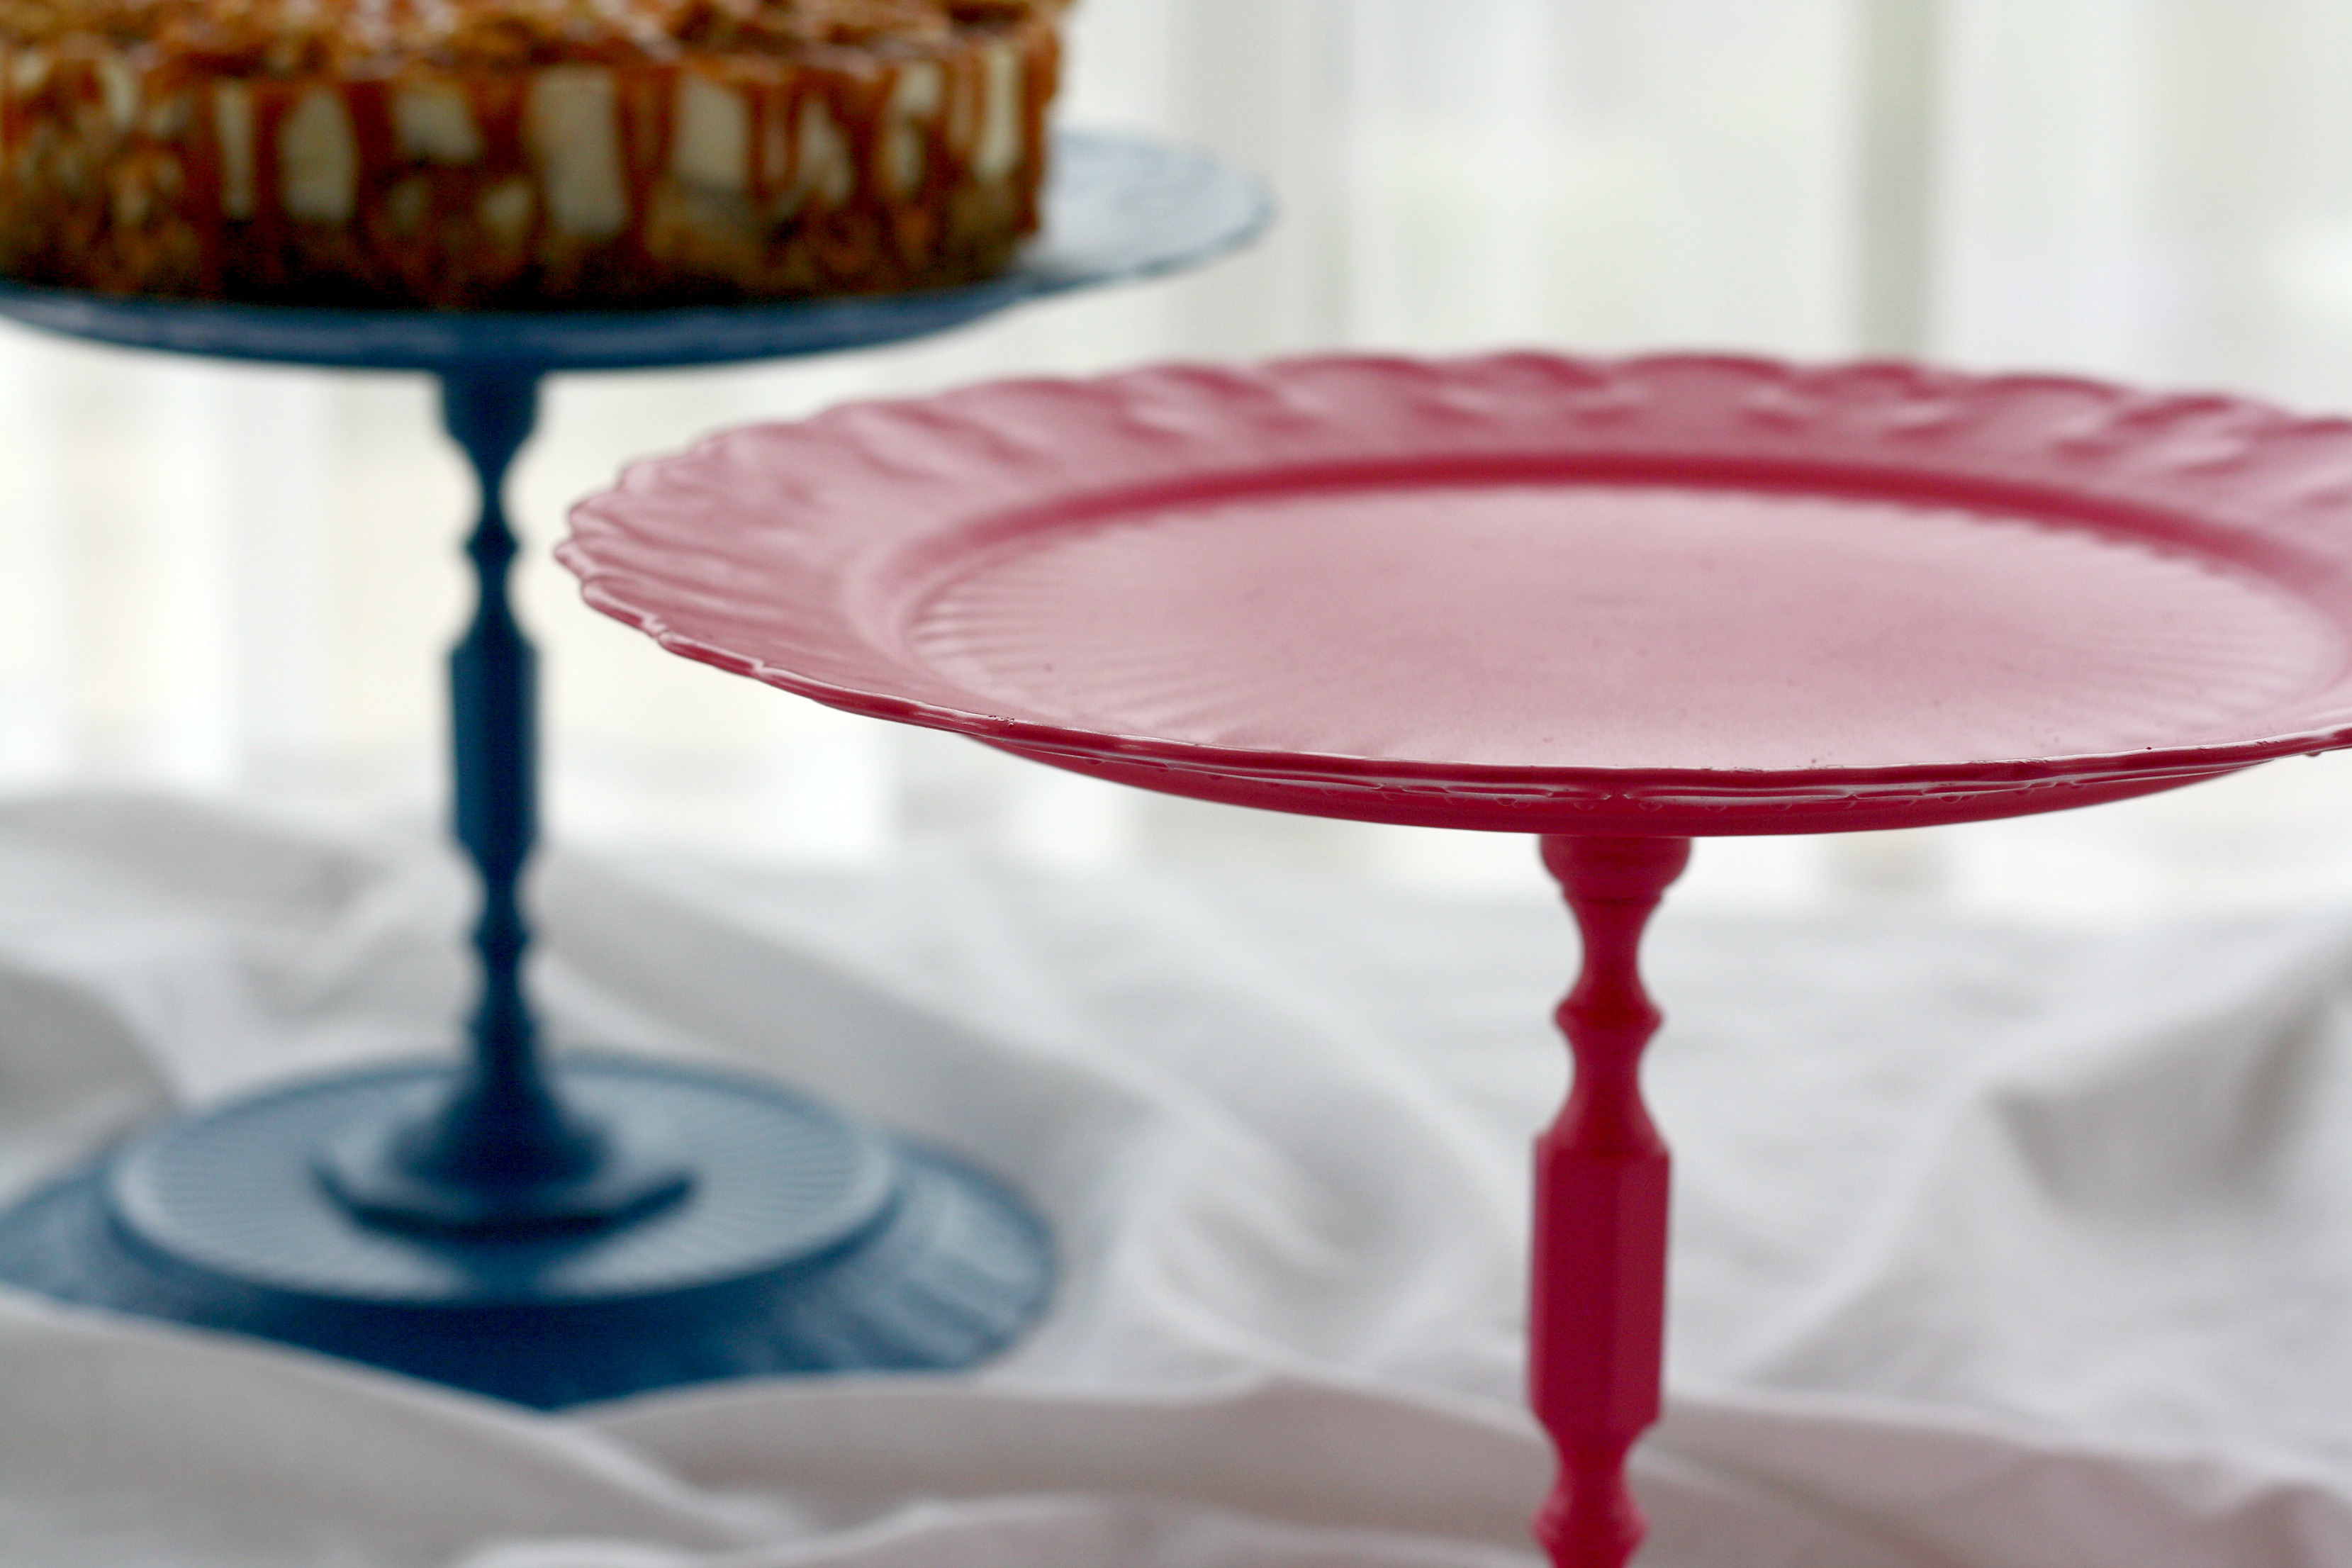
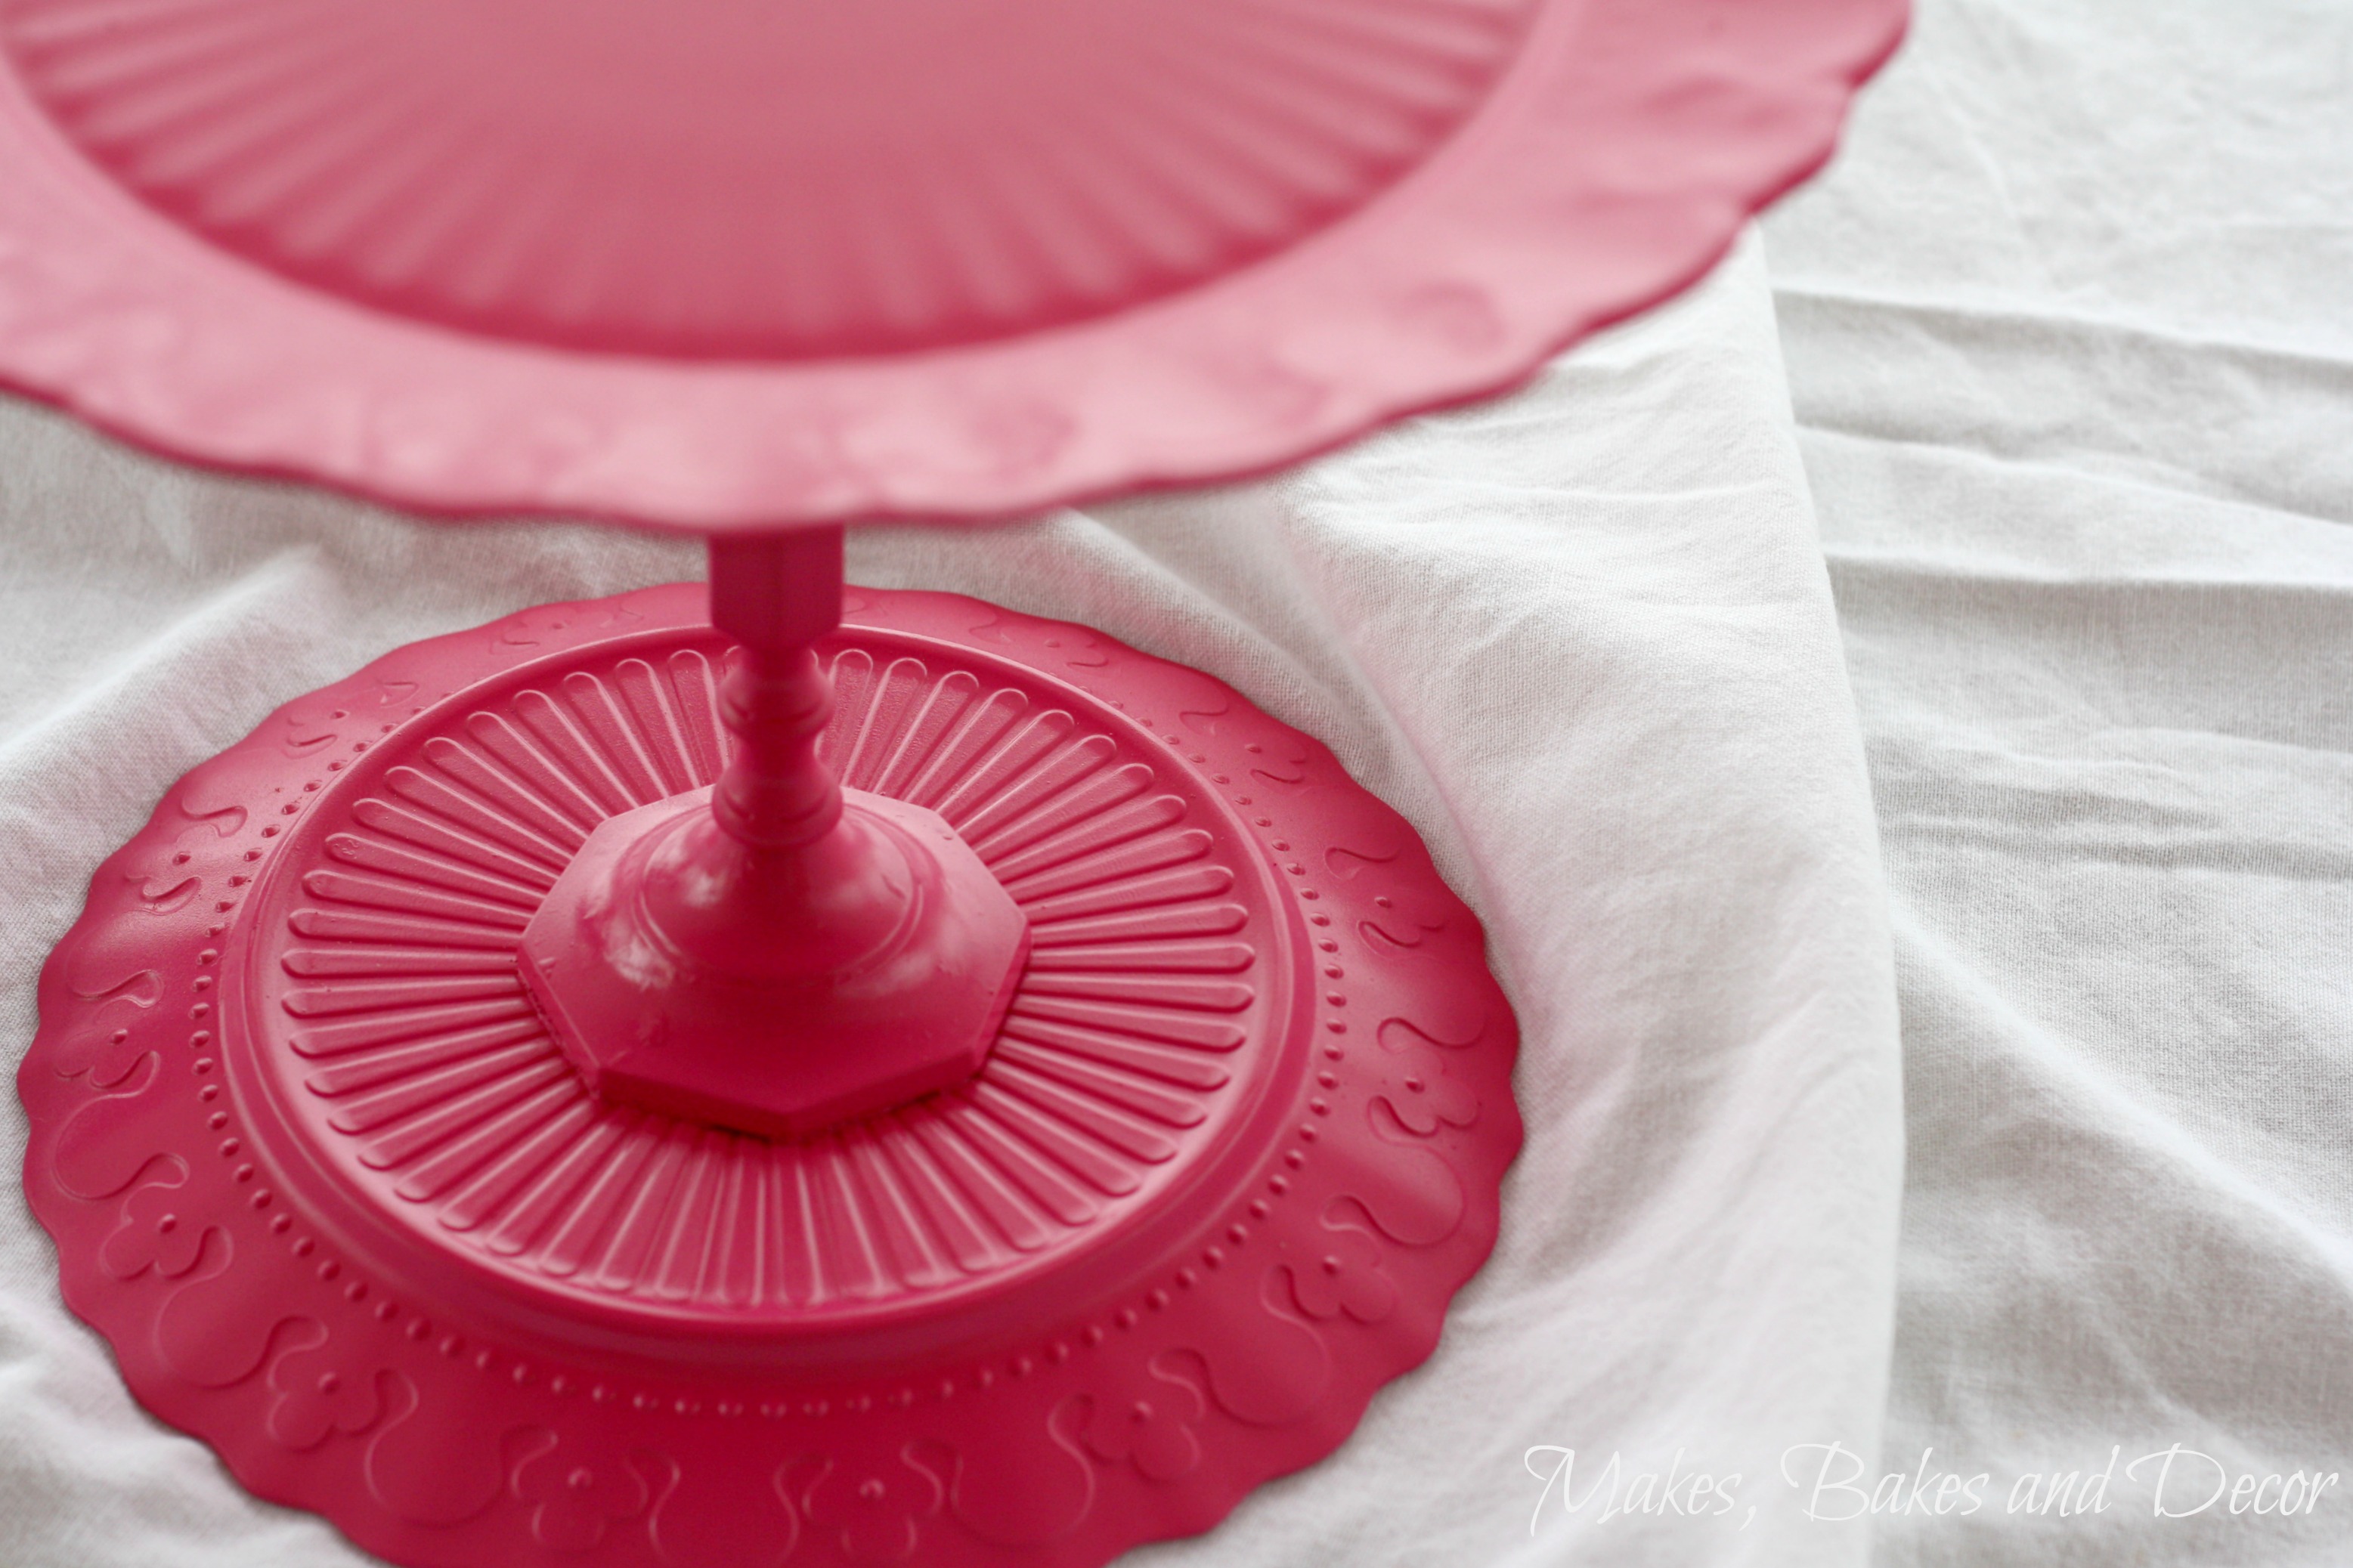

I love the colours That I chose. I wanted something bright and bold and I love how the colour really makes the pattern on the plates stand out. In case you are interested you can find the recipe for the cheesecake in the pictures here.
Now you just need to visit everyone else’s project in the #DIYBlogChallenge. I can’t wait to see how everyone else made their finished items! The links to each project are below.
Makings of Mine
Raven Would
I really hope that you’ve enjoyed all of our thrift store makeovers! I would love to hear any comments you have so just leave them in the comments section at the very bottom of the page.
Lianne x
Pin Thrift Store Cake Stands to save it for later!
Let’s be friends!
Like me on Facebook
Follow me on Instagram
Pin with me on Pinterest
Follow me on Twitter

They turned out beautiful! I love the colors you chose and the details on the plates make them look so fancy now that they’re painted.
Author
Thank you, I can’t decide which colour is my favourite 🙂
Pretty cake plates! Love the colors.
Author
Thanks! I love the colours too, I can’t pick a favourite 🙂
Wow these cake stands look amazing!!! Love how they turned out #DIYBlogChallenge
Author
Thank you! 🙂
These are lovely! And I love the spraypaint-in-the-box solution, I’m absolutely going to do that from now on 🙂
Author
Thank you! I love my very high tech spray station too 😉 ha ha!
Love them…they even looked good in white:)
Author
Thanks 🙂
Aw, too cute. You did a great job. They look amazing. I love this idea – I need to be more crafty. 🙂
Author
Thank you 🙂
These are great, I love the double sided nature, so you can use a smaller plate for a smaller cake Brilliant! #diyblogchallenge
Author
Thank you! I didn’t even realise they were double sided until my husband pointed it out ha ha! I’ve loved this #DIYBlogChallenge and I’m looking forward to the next one! 🙂
What a great idea! And the cake looks so yummy haha thanks for collaborating, was fun! 🙂
Author
Thanks! I think our first #DIYBlogChallenge has been a success 🙂 I loved everyone projects!
I love this idea. I just might have to try these myself. I love upcycling items.
Author
Great! Let me know how you get on 🙂