Hello everyone and welcome back to my blog. Today’s post is an Electric Fire Upcycle. So this project came about because of the ridiculous rising energy costs and the fact that we didn’t want to put our central heating on yet. 😀 We are currently saving up for a bioethanol burner but realised in September/October time that we wouldn’t be able to get one this year. We did however decide that we needed an extra source of heating in the living room as it is a much colder room than the rest of the house. Last year we found ourselves turning the heating up just to make this room warm when the rest of them were fine. That is not something that we want to be paying to do this year for obvious reasons and to be honest we are trying to use our central heating as little as possible right now because gas prices are just crazy as I’m sure everyone knows!
So we started to look around on Facebook Market Place, we didn’t want to buy brand new as we hopefully only need it for one year. After some searching Shaun found this one for just £30.
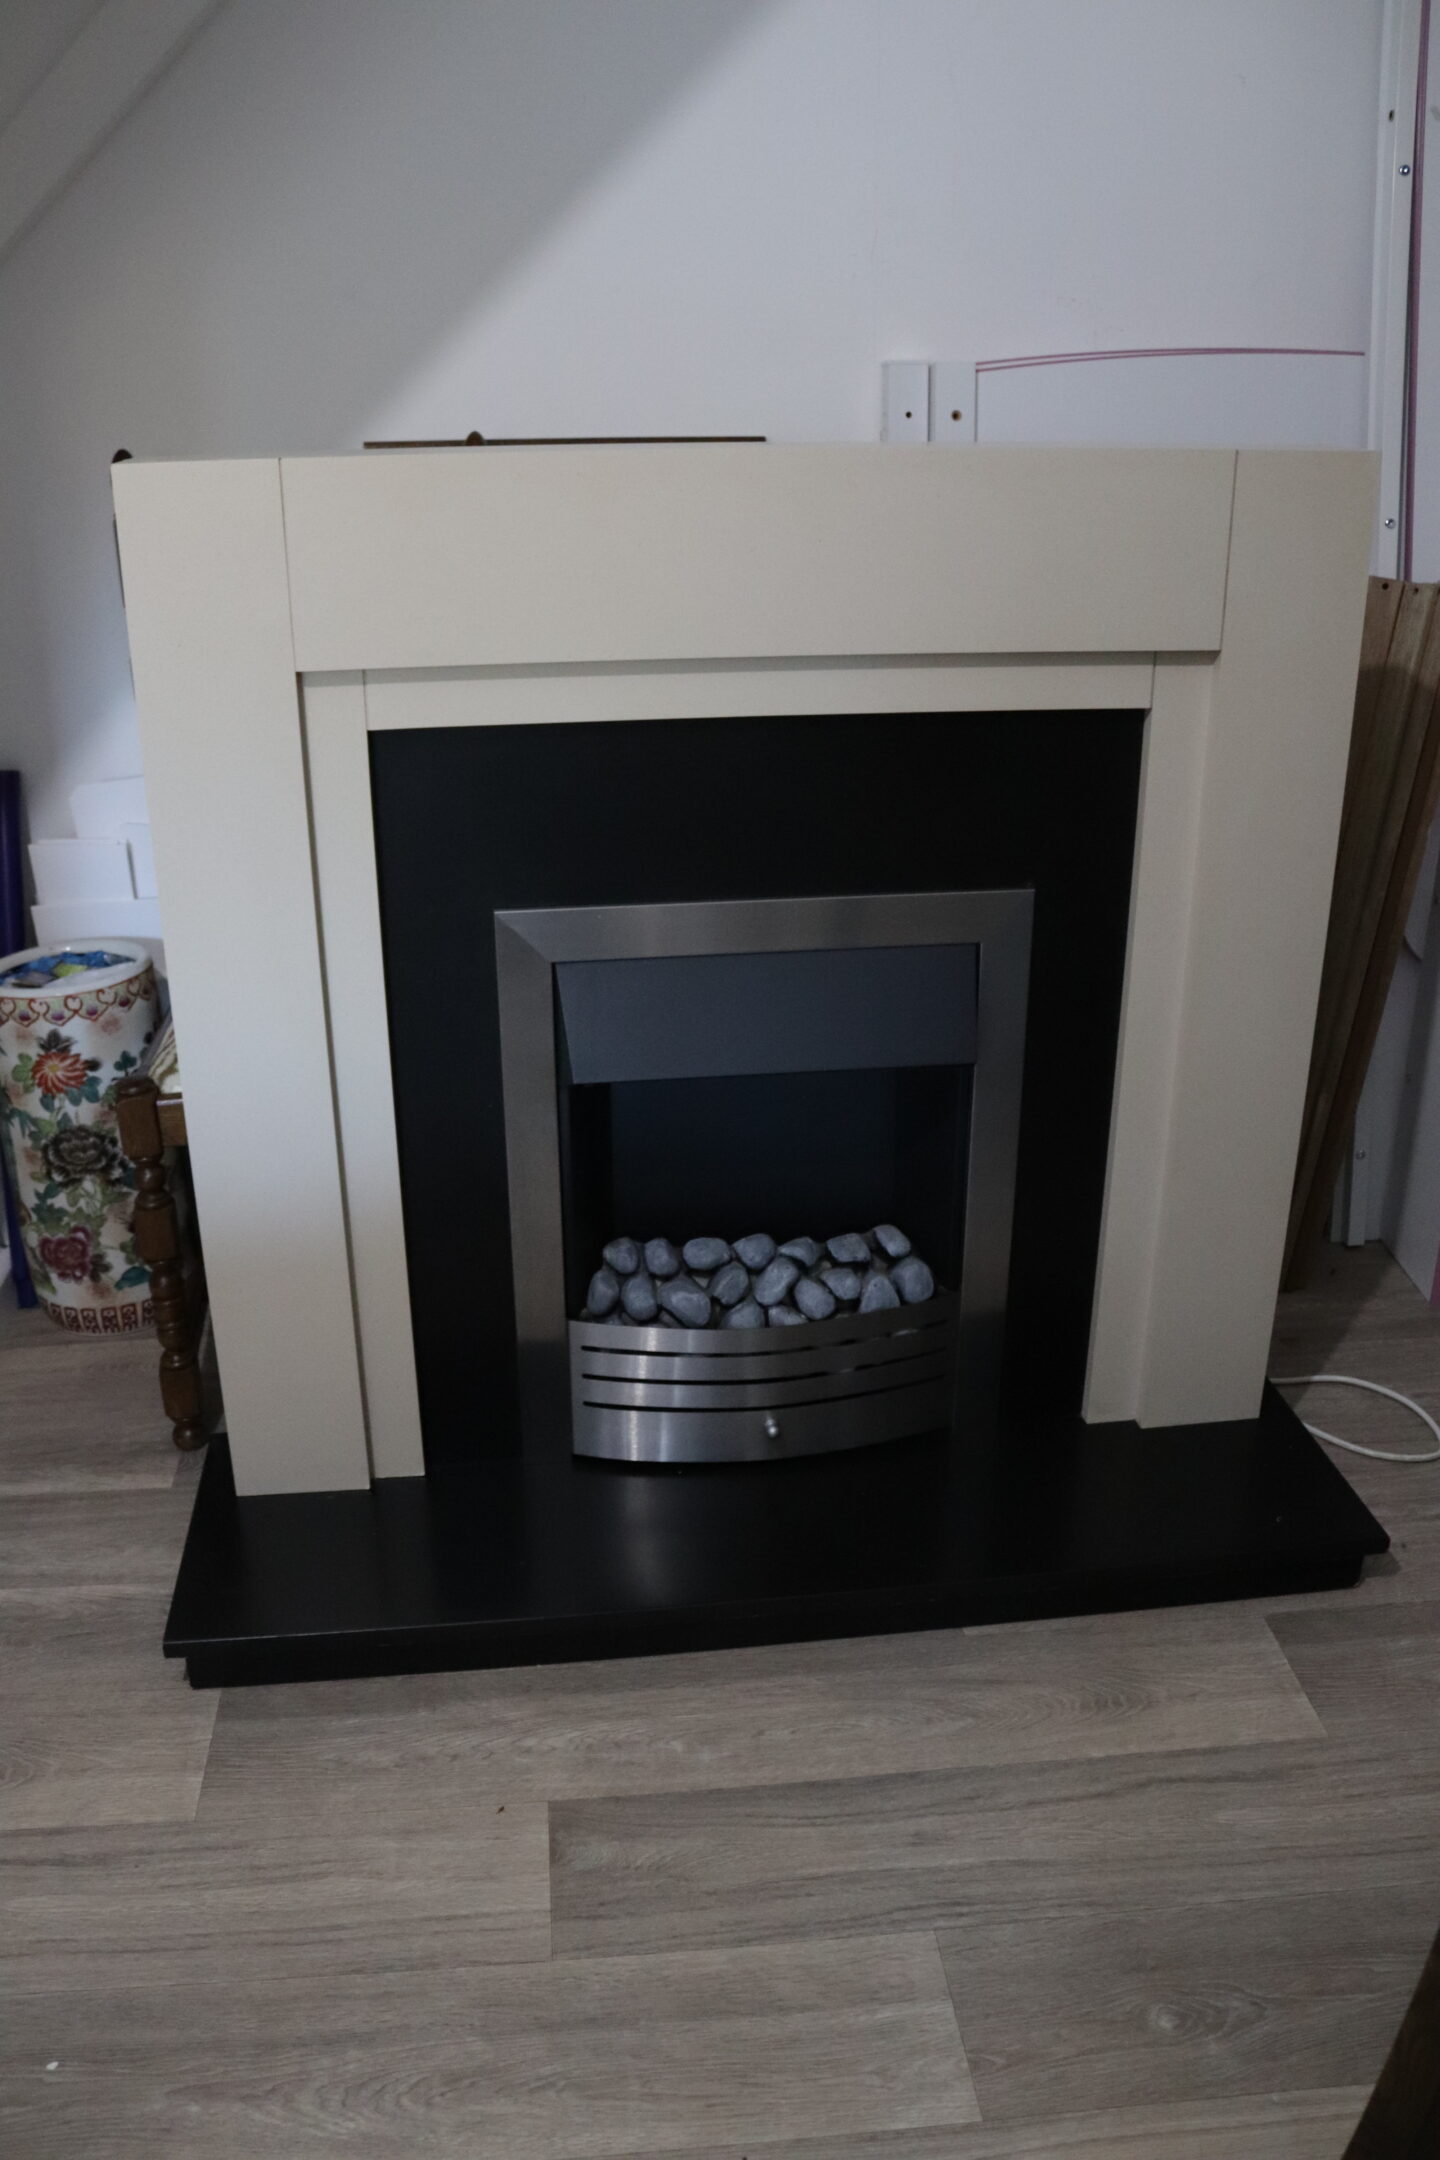
As it was it looked absolutely fine, I could have left it as it was but you know that just isn’t me Ha Ha! We did keep it in our living room for a few weeks so you might have seen it on my Instagram stories.
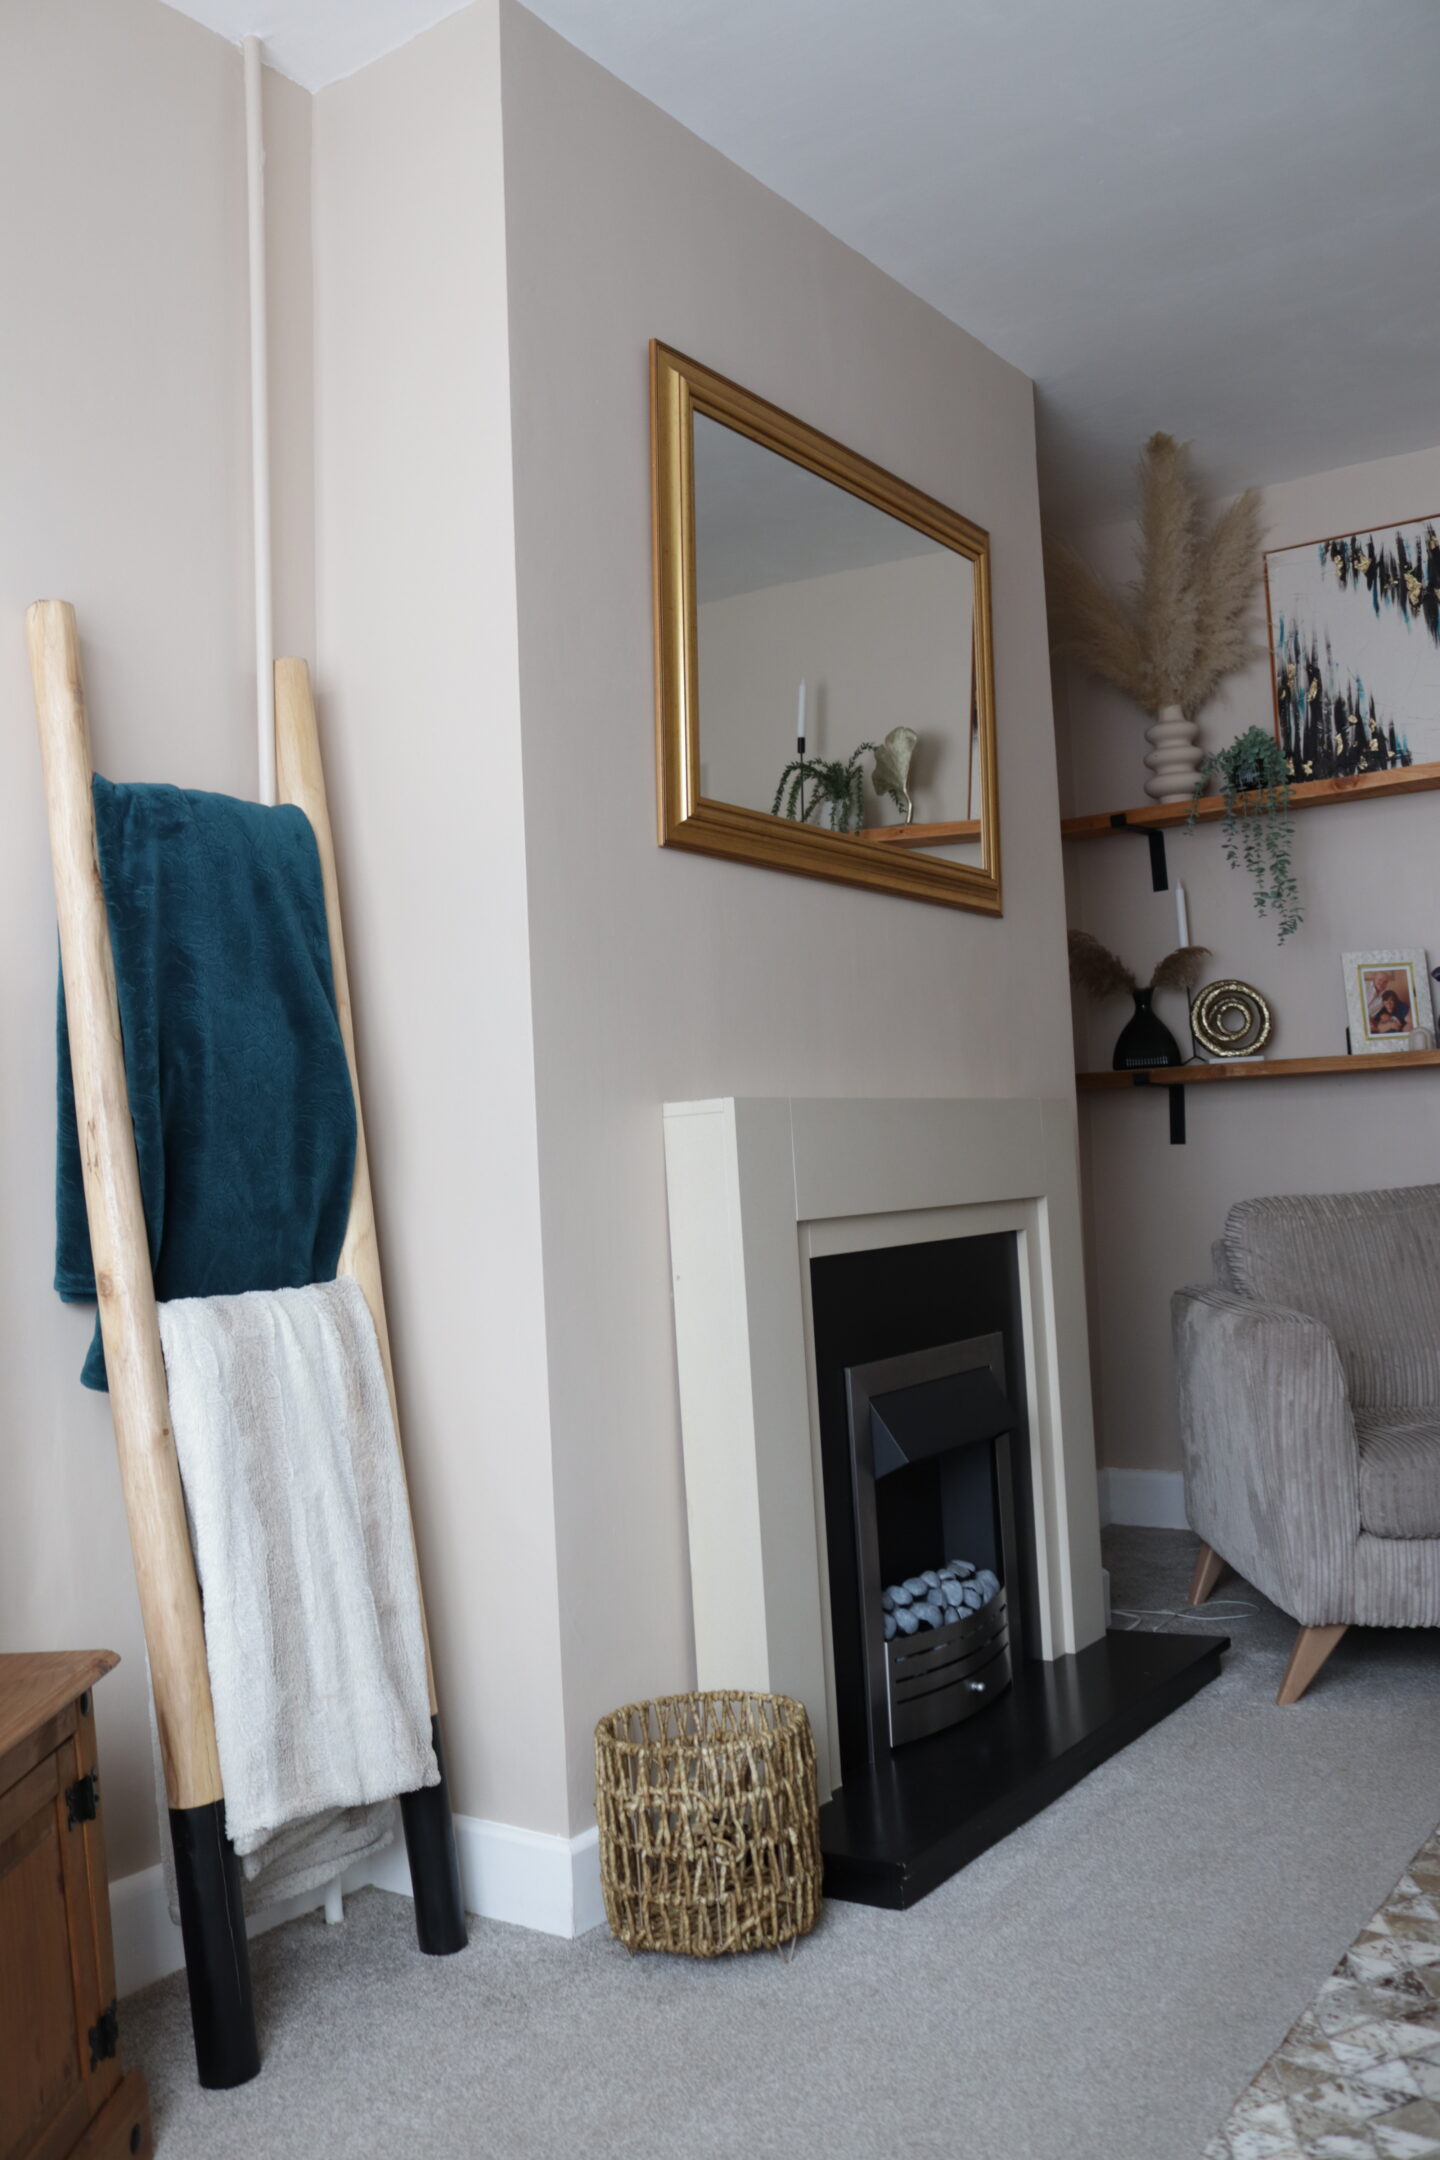
I felt that the colour was too similar to the wall for this room though as I like more of a contrast. Of course I chose black as you know I love painting anything and everything black. I wanted to add a simple pattern to the part that was already black and I also wanted to make the top much bigger so I could put decor pieces on the top.
Electric fire upcycle supplies
I used very few supplies for this really and I’ve listed and linked them all below for you.
- Rustoleum washable matt furniture paint in Black Sand
- Furniture paint brushes ( I really recommend using the right brush for the job, these ones are perfect for thin even coats and leave minimal brush marks)
- Floor Tiles I’ve linked the exact ones I used but I did find that there were a couple of tiles in the pack that the pattern match was a little off. There are so many peel and stick tile options for you to choose from though so have a good look around.
- Scaffold board, we had some in the garden that were just in a pile of rubbish when we moved in so I cleaned them up and have been saving them but you can also buy them from your local scaffolding yard like we did for our wall length scaffolding shelves.
- medium oak wood stain
- Gorilla wood glue
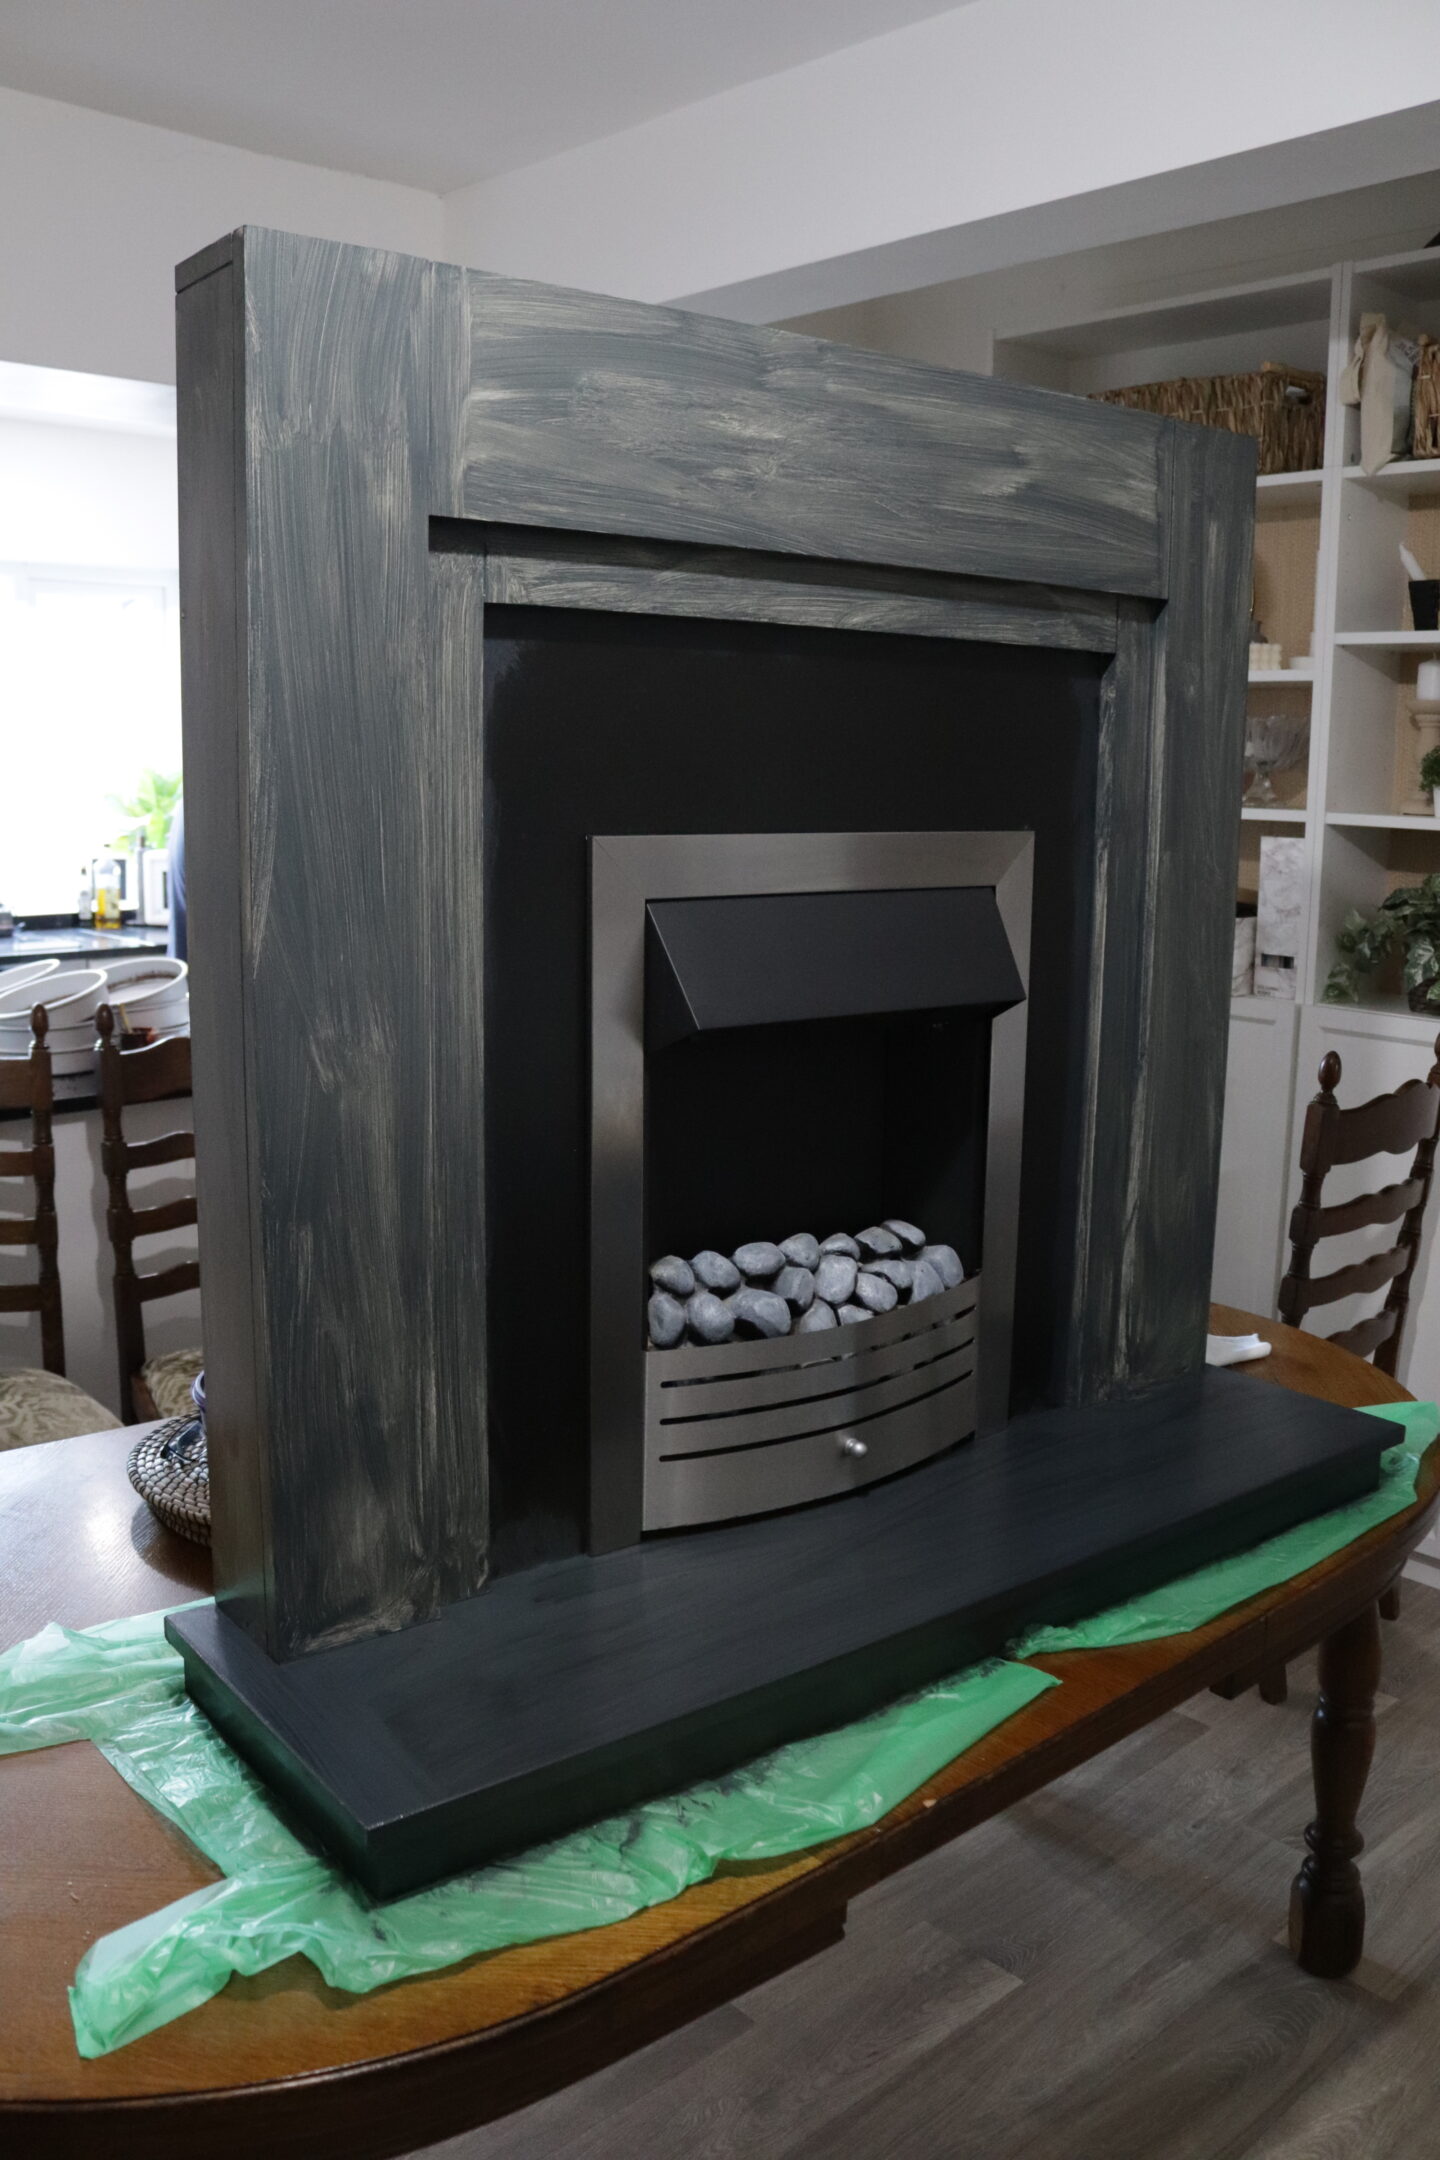
Step one was to paint. It was my first time using this Rustoleum washable matt furniture paint and I was really happy with it, it was a great paint to work with. It went on really smooth, it doesn’t require any primer or sealing (this surface was not at all shiny but if you are painting something that has a shine to it I would always recommend priming the surface like we did when we painted our melamine wardrobe). It also dried so quickly which for me is a bonus as I’m not a patient upcycler. The picture above is with one coat and the one below with two. We painted 4 thin coats in total as it was going onto a light colour. Although the base was already black we painted this too so it was all the same.

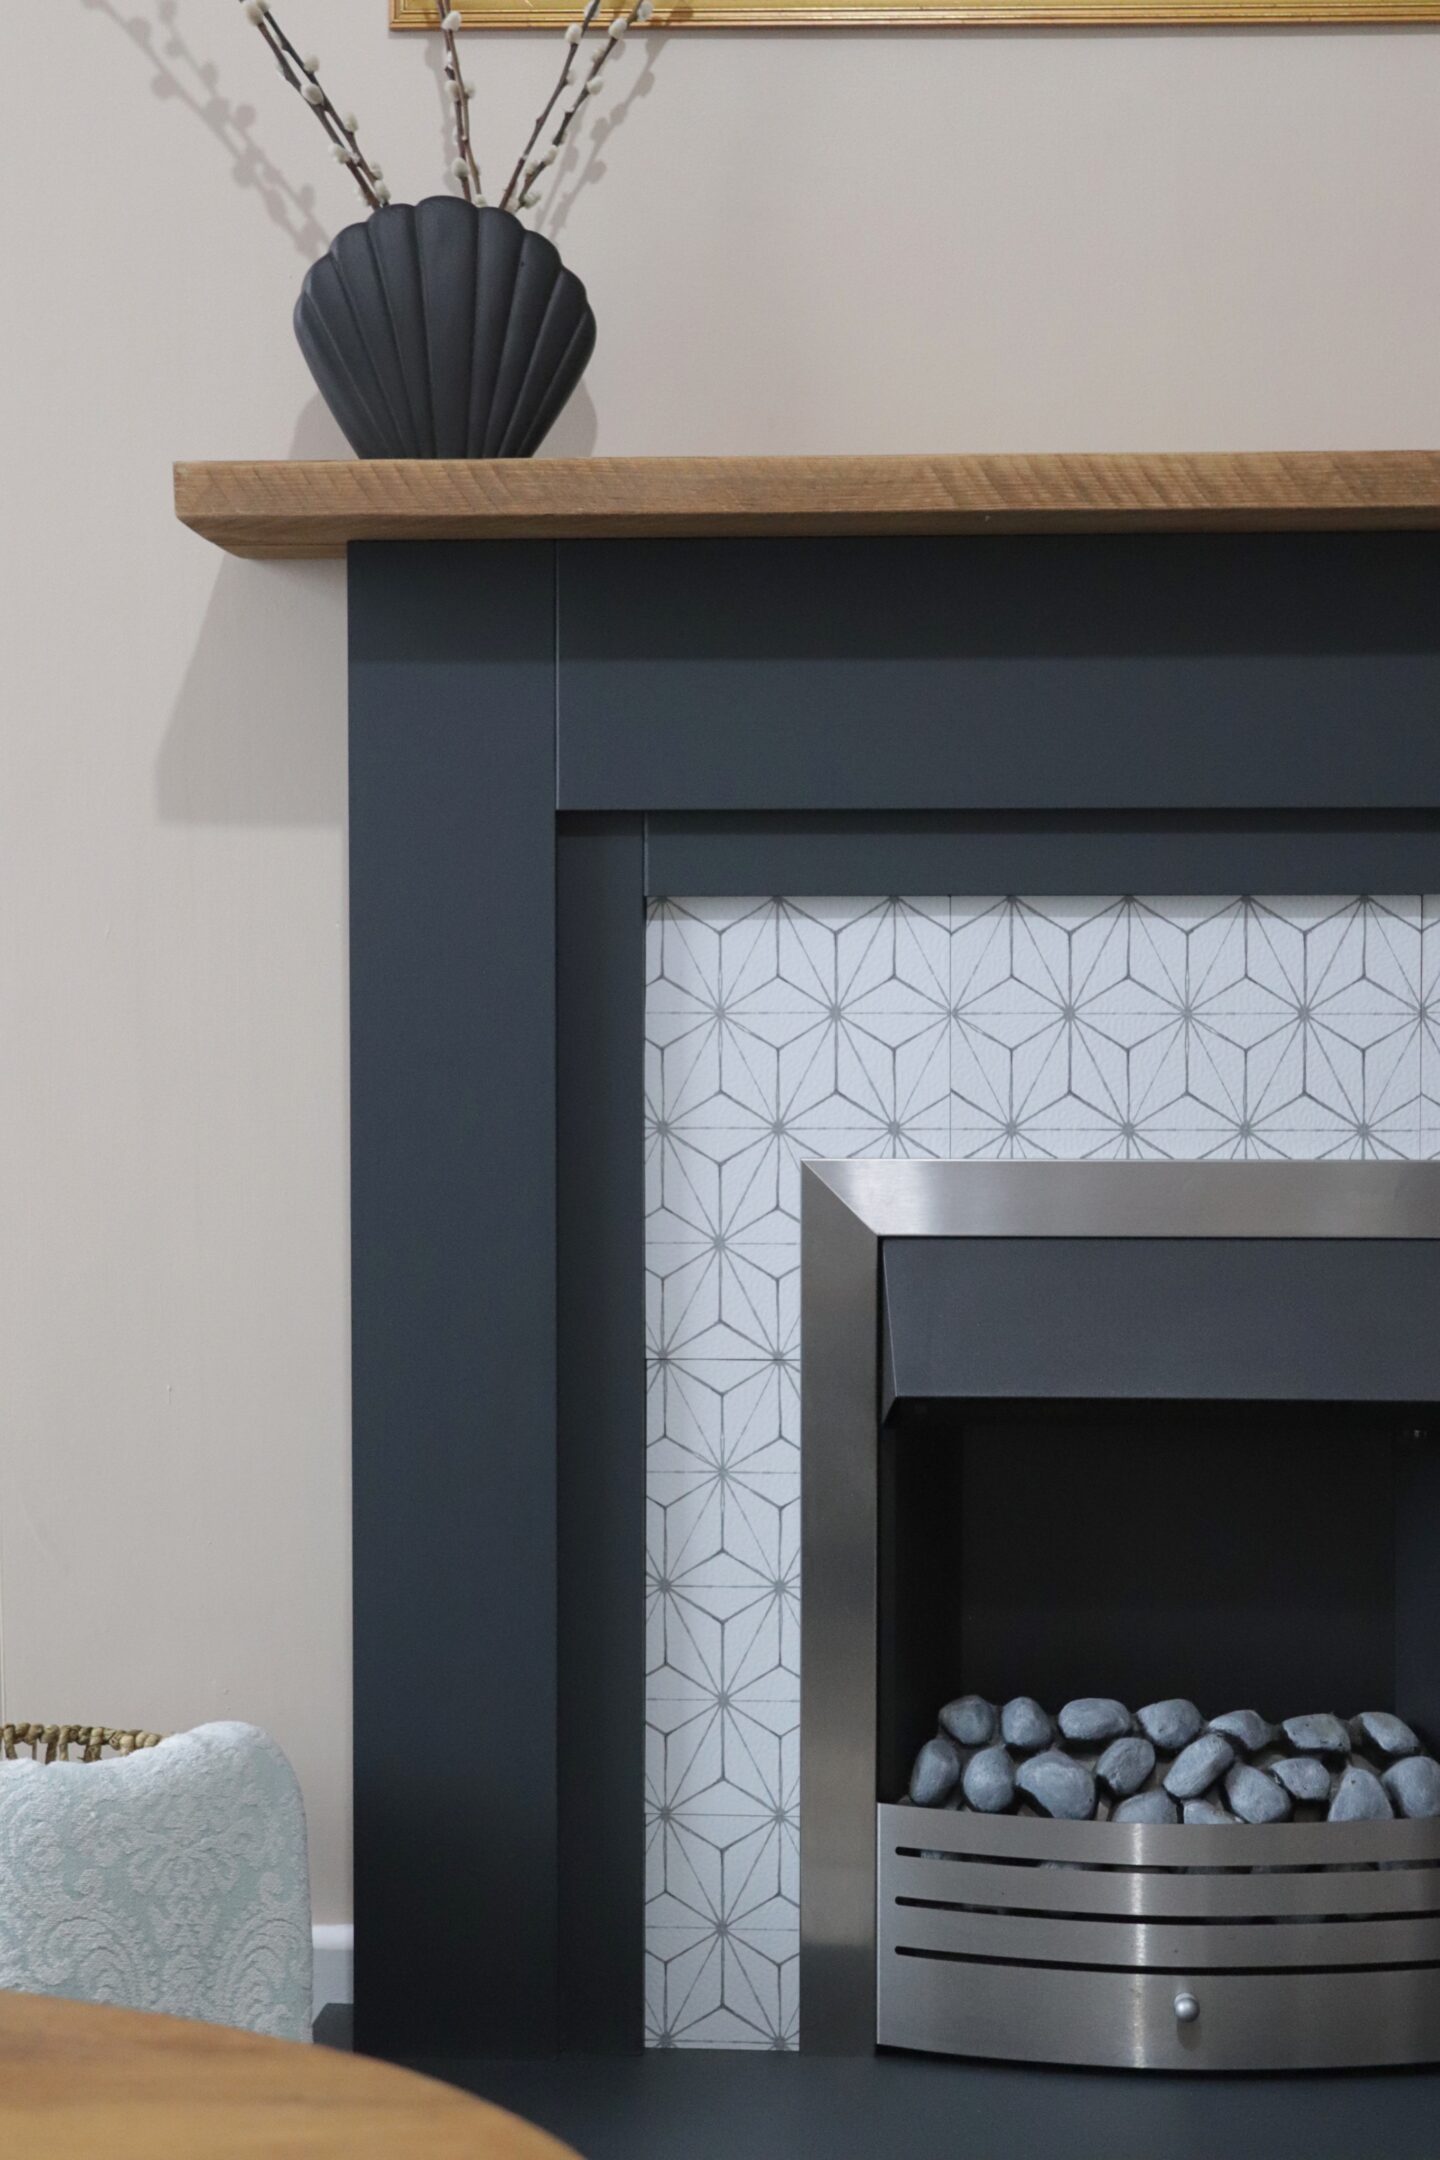
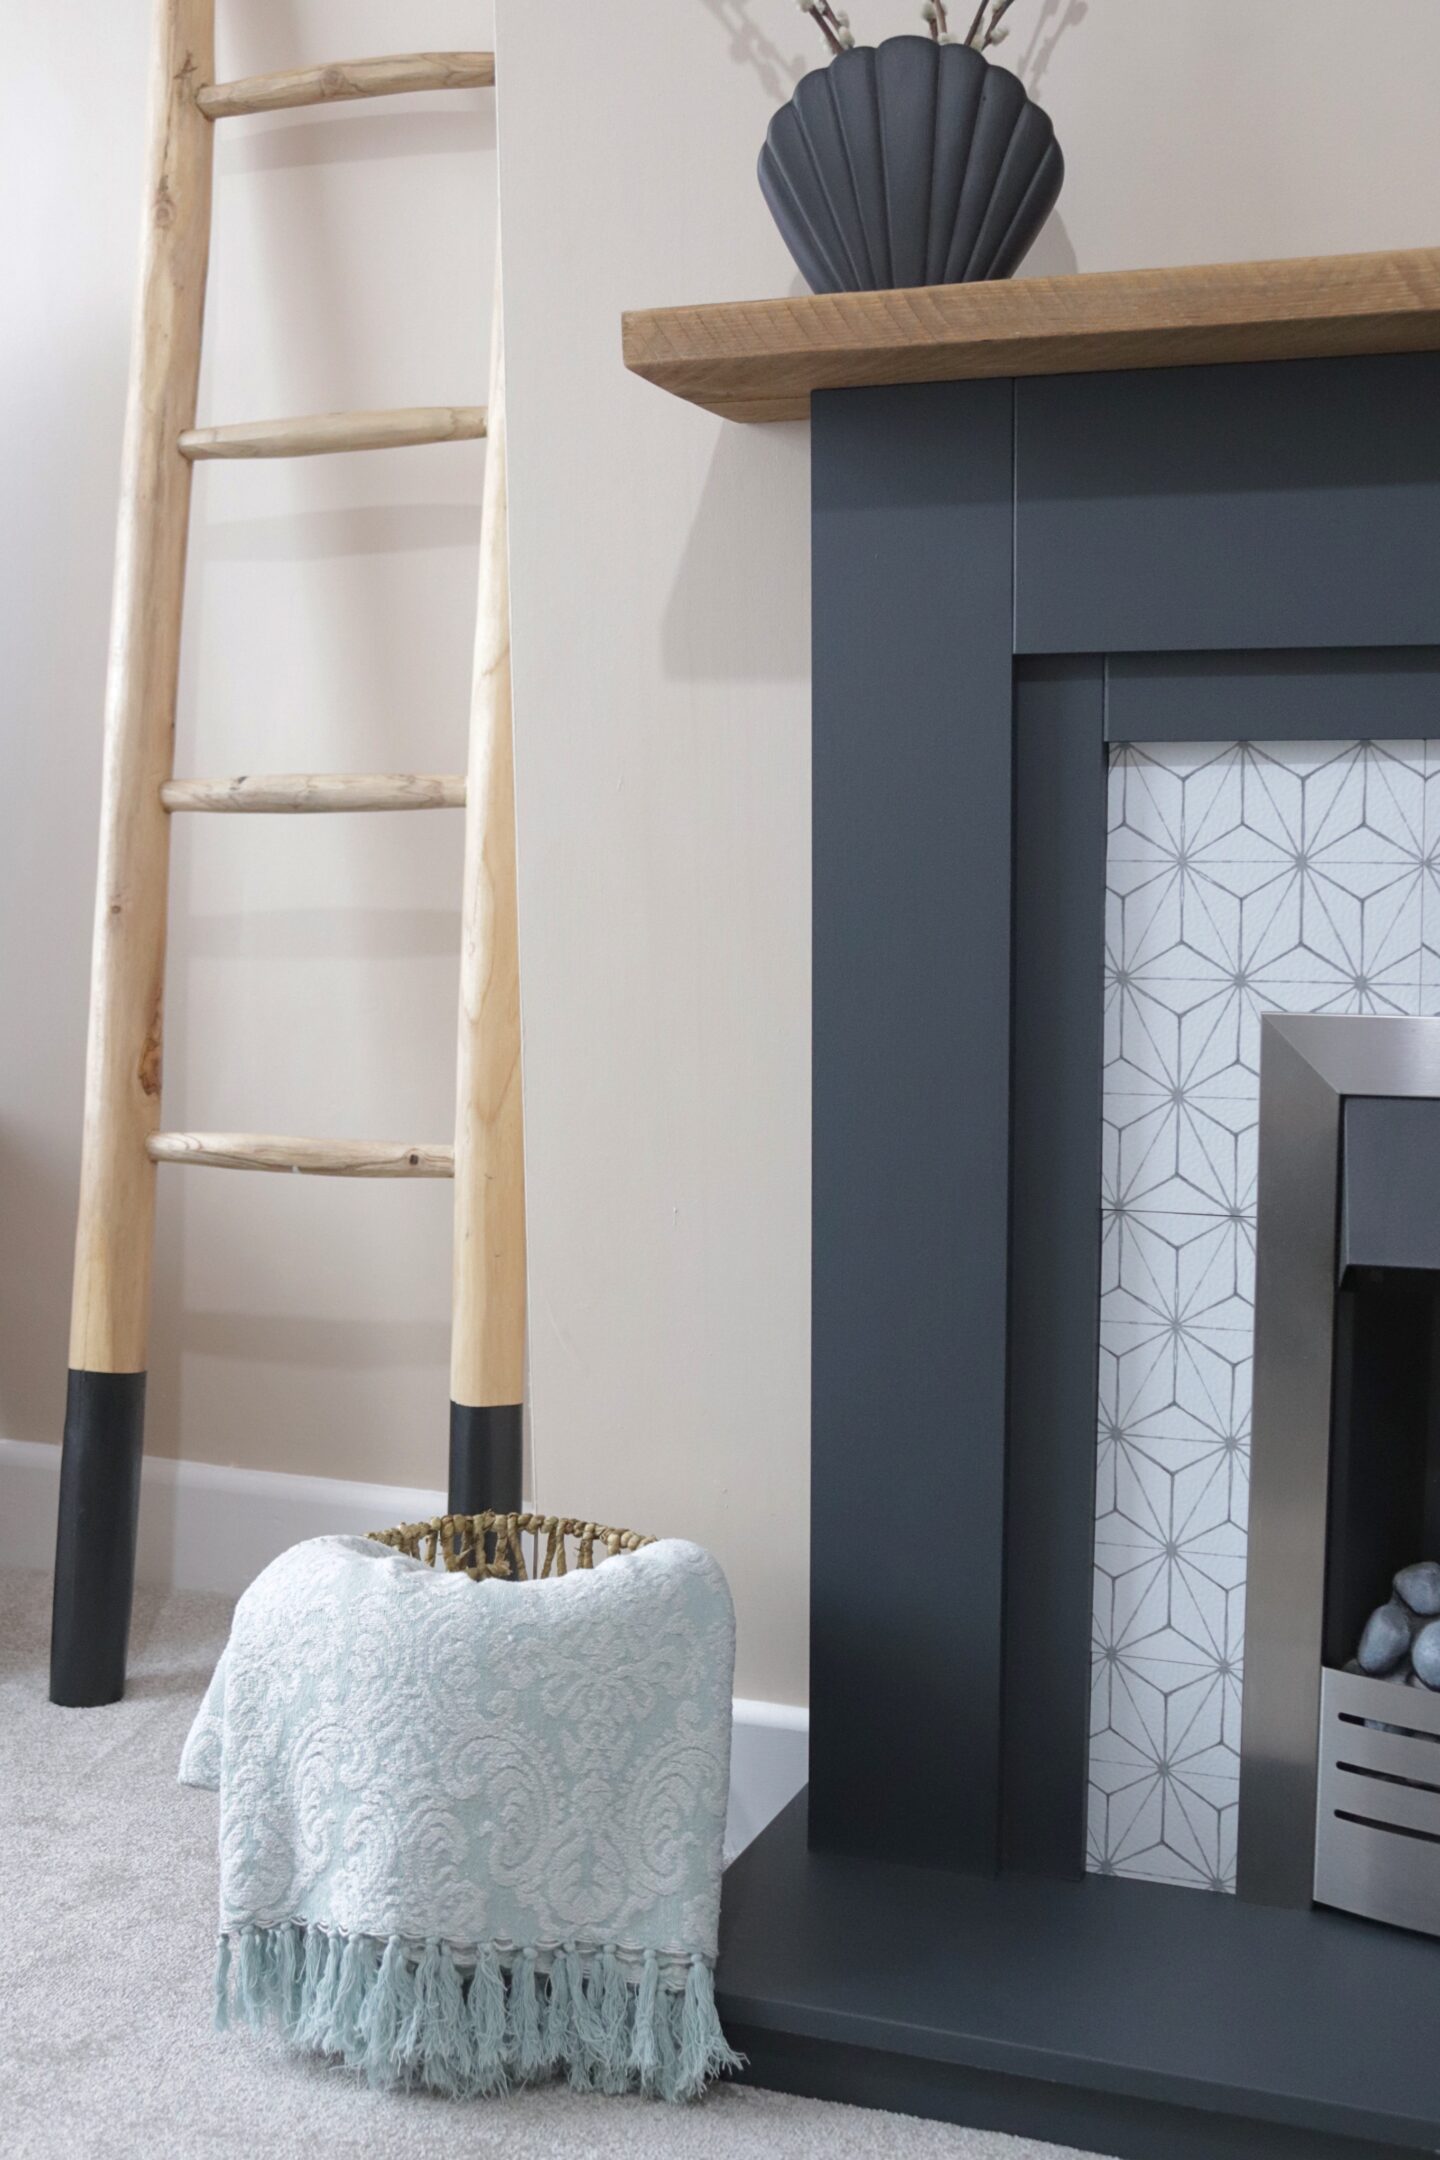
Once fully painted and dry it was time to add the pattern to the centre section. As I mentioned before we used a floor tile that was very tricky to line up the pattern as some of the tiles were misprinted. Apart from that issue they were very easy to cut, I just used a stanly knife.
We applied the first tile with the fire in place as you can see in the video above (watch it with the sound on 😀 😀 ) but then when we tried to cut out the second tile it just wasn’t as easy so we unscrewed the fire and took it out. It was then less of a stress getting the bottom edge line absolutely perfect because it would be behind the fire once we put it back in. The process of adding the tiles was tricky and took some patience but the final look was so worth it. I might be easier if you had a smaller tile. Or even wallpaper could be a good option.
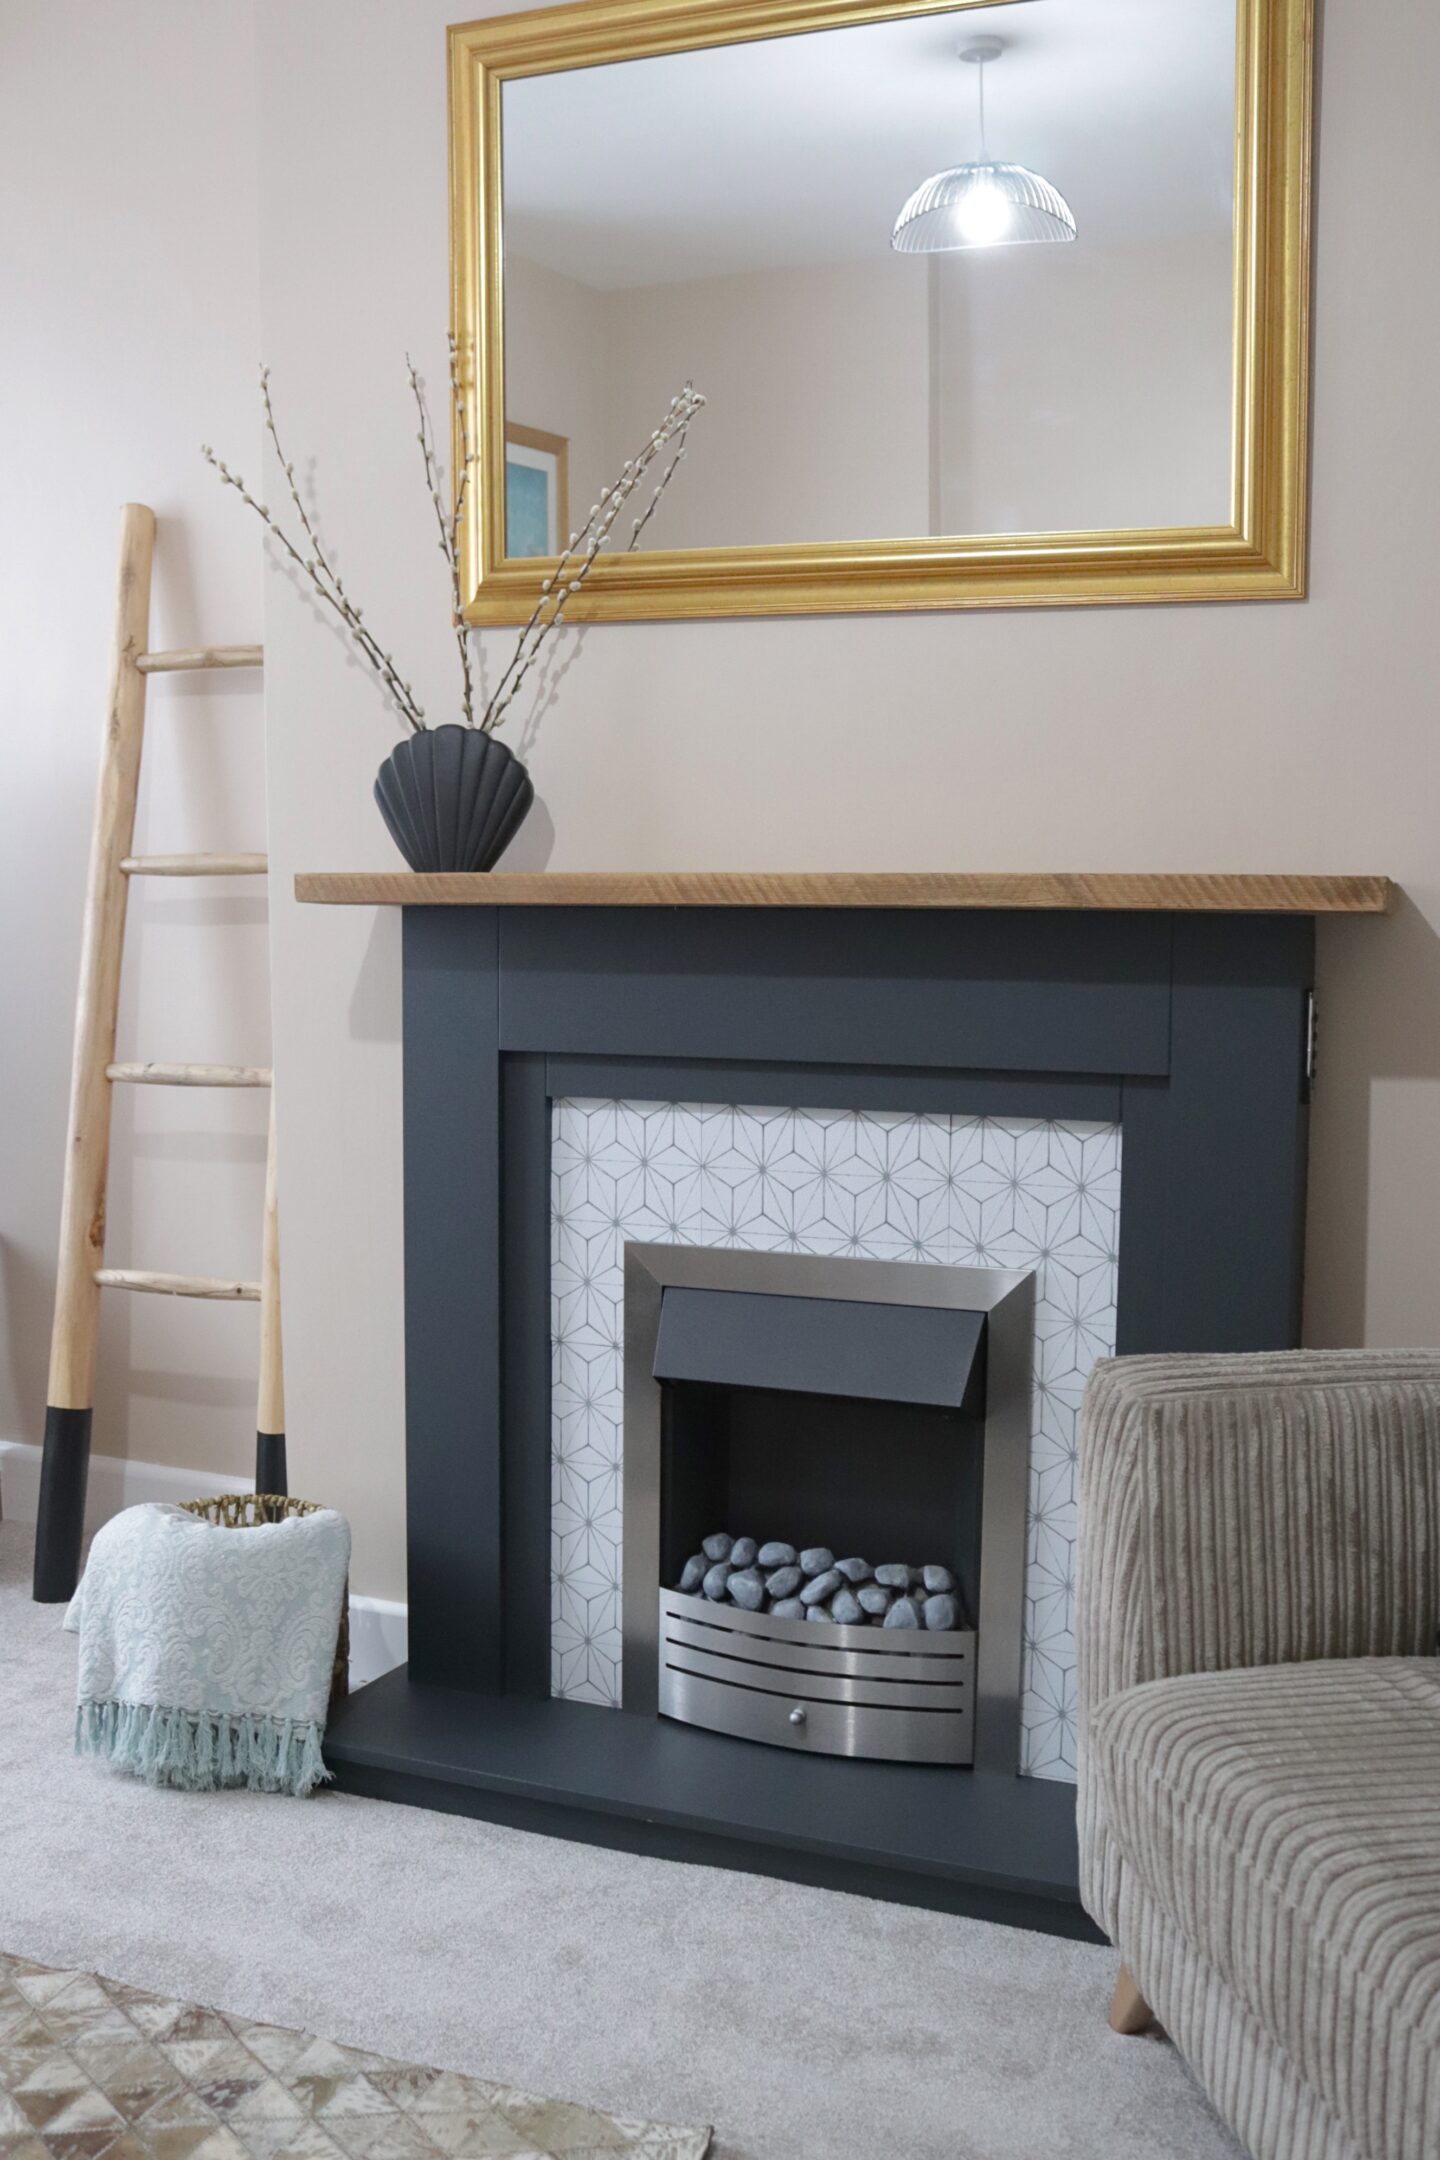
Once all the tiles were in place and the fire back in the final step was to add the scaffold board to the top. Shaun had already stained it at this point and I forgot to photograph us adding it on but we basically added a whole lot of wood glue to the top of the ground and then placed the scaffold so it was flush with the back and central so it hung over each end the same amount.
Al in all it was a very easy project that was completed in a day. We already has the scaffold board, wood stain, glue and paintbrush so the total cost of this project for us including the fire, tiles and paint was £66.00 (we also used only a quarter of the tin of paint so in reality it was even less than that). If you needed to buy a scaffold board and some of the other items it may cost more but then again you might be able to find a cheaper fire. You could also shop around for a better price on tiles or just use a cheaper alternative such as wall paper or stencil it with paint. You will have to let me know if you think the makeover was worth it!
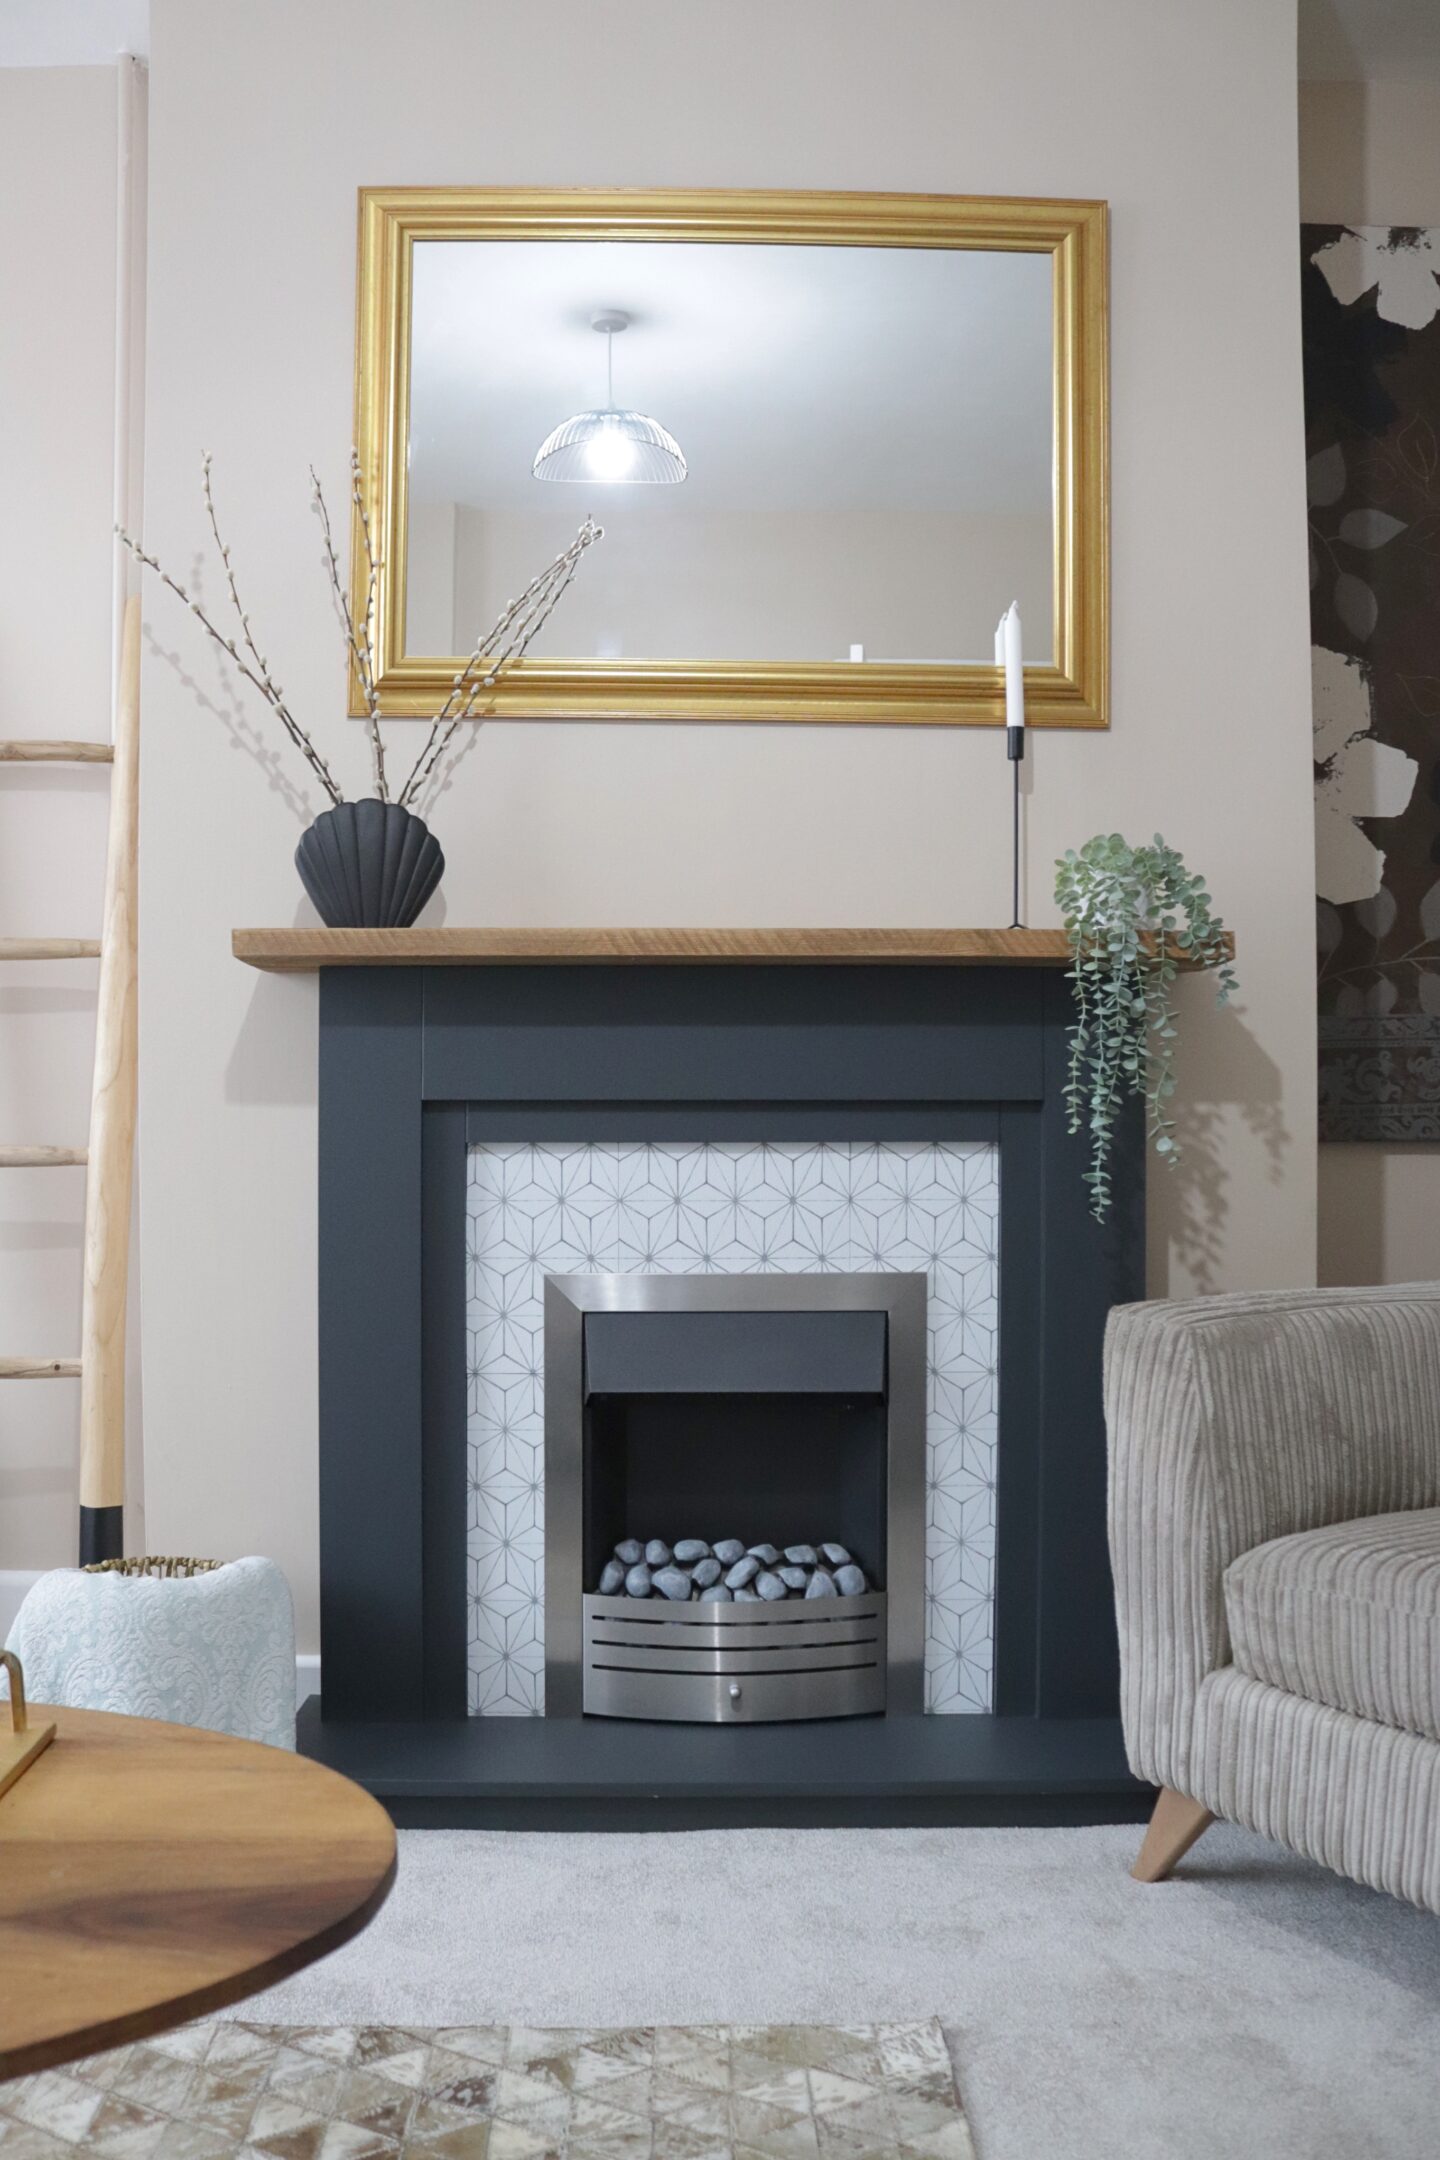
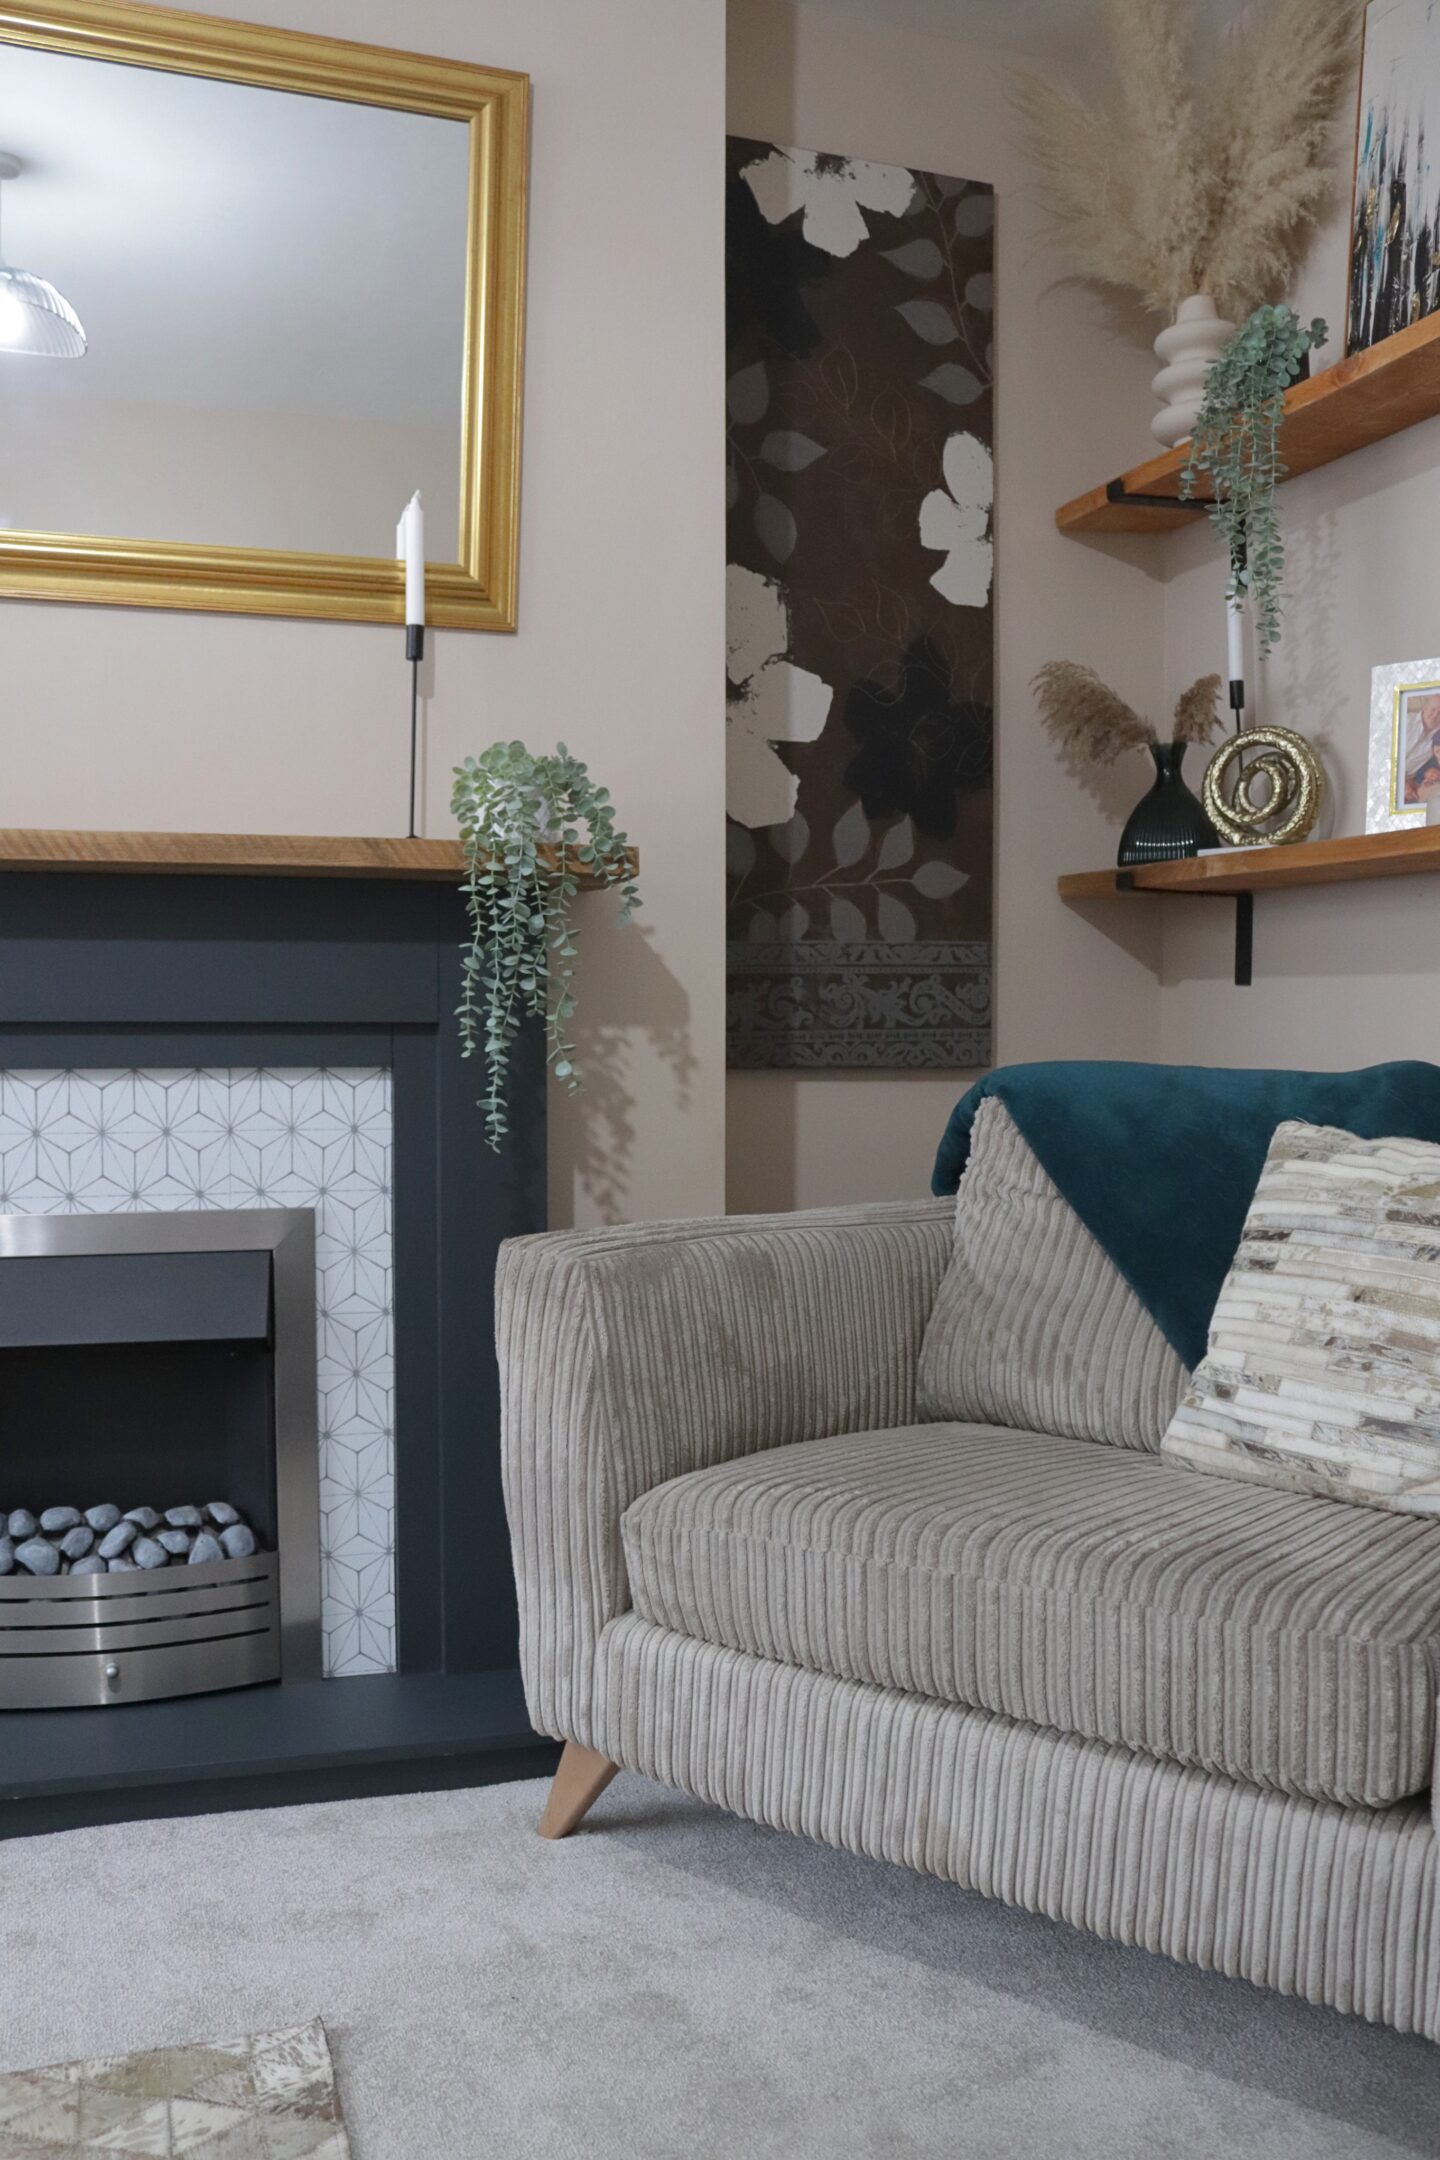
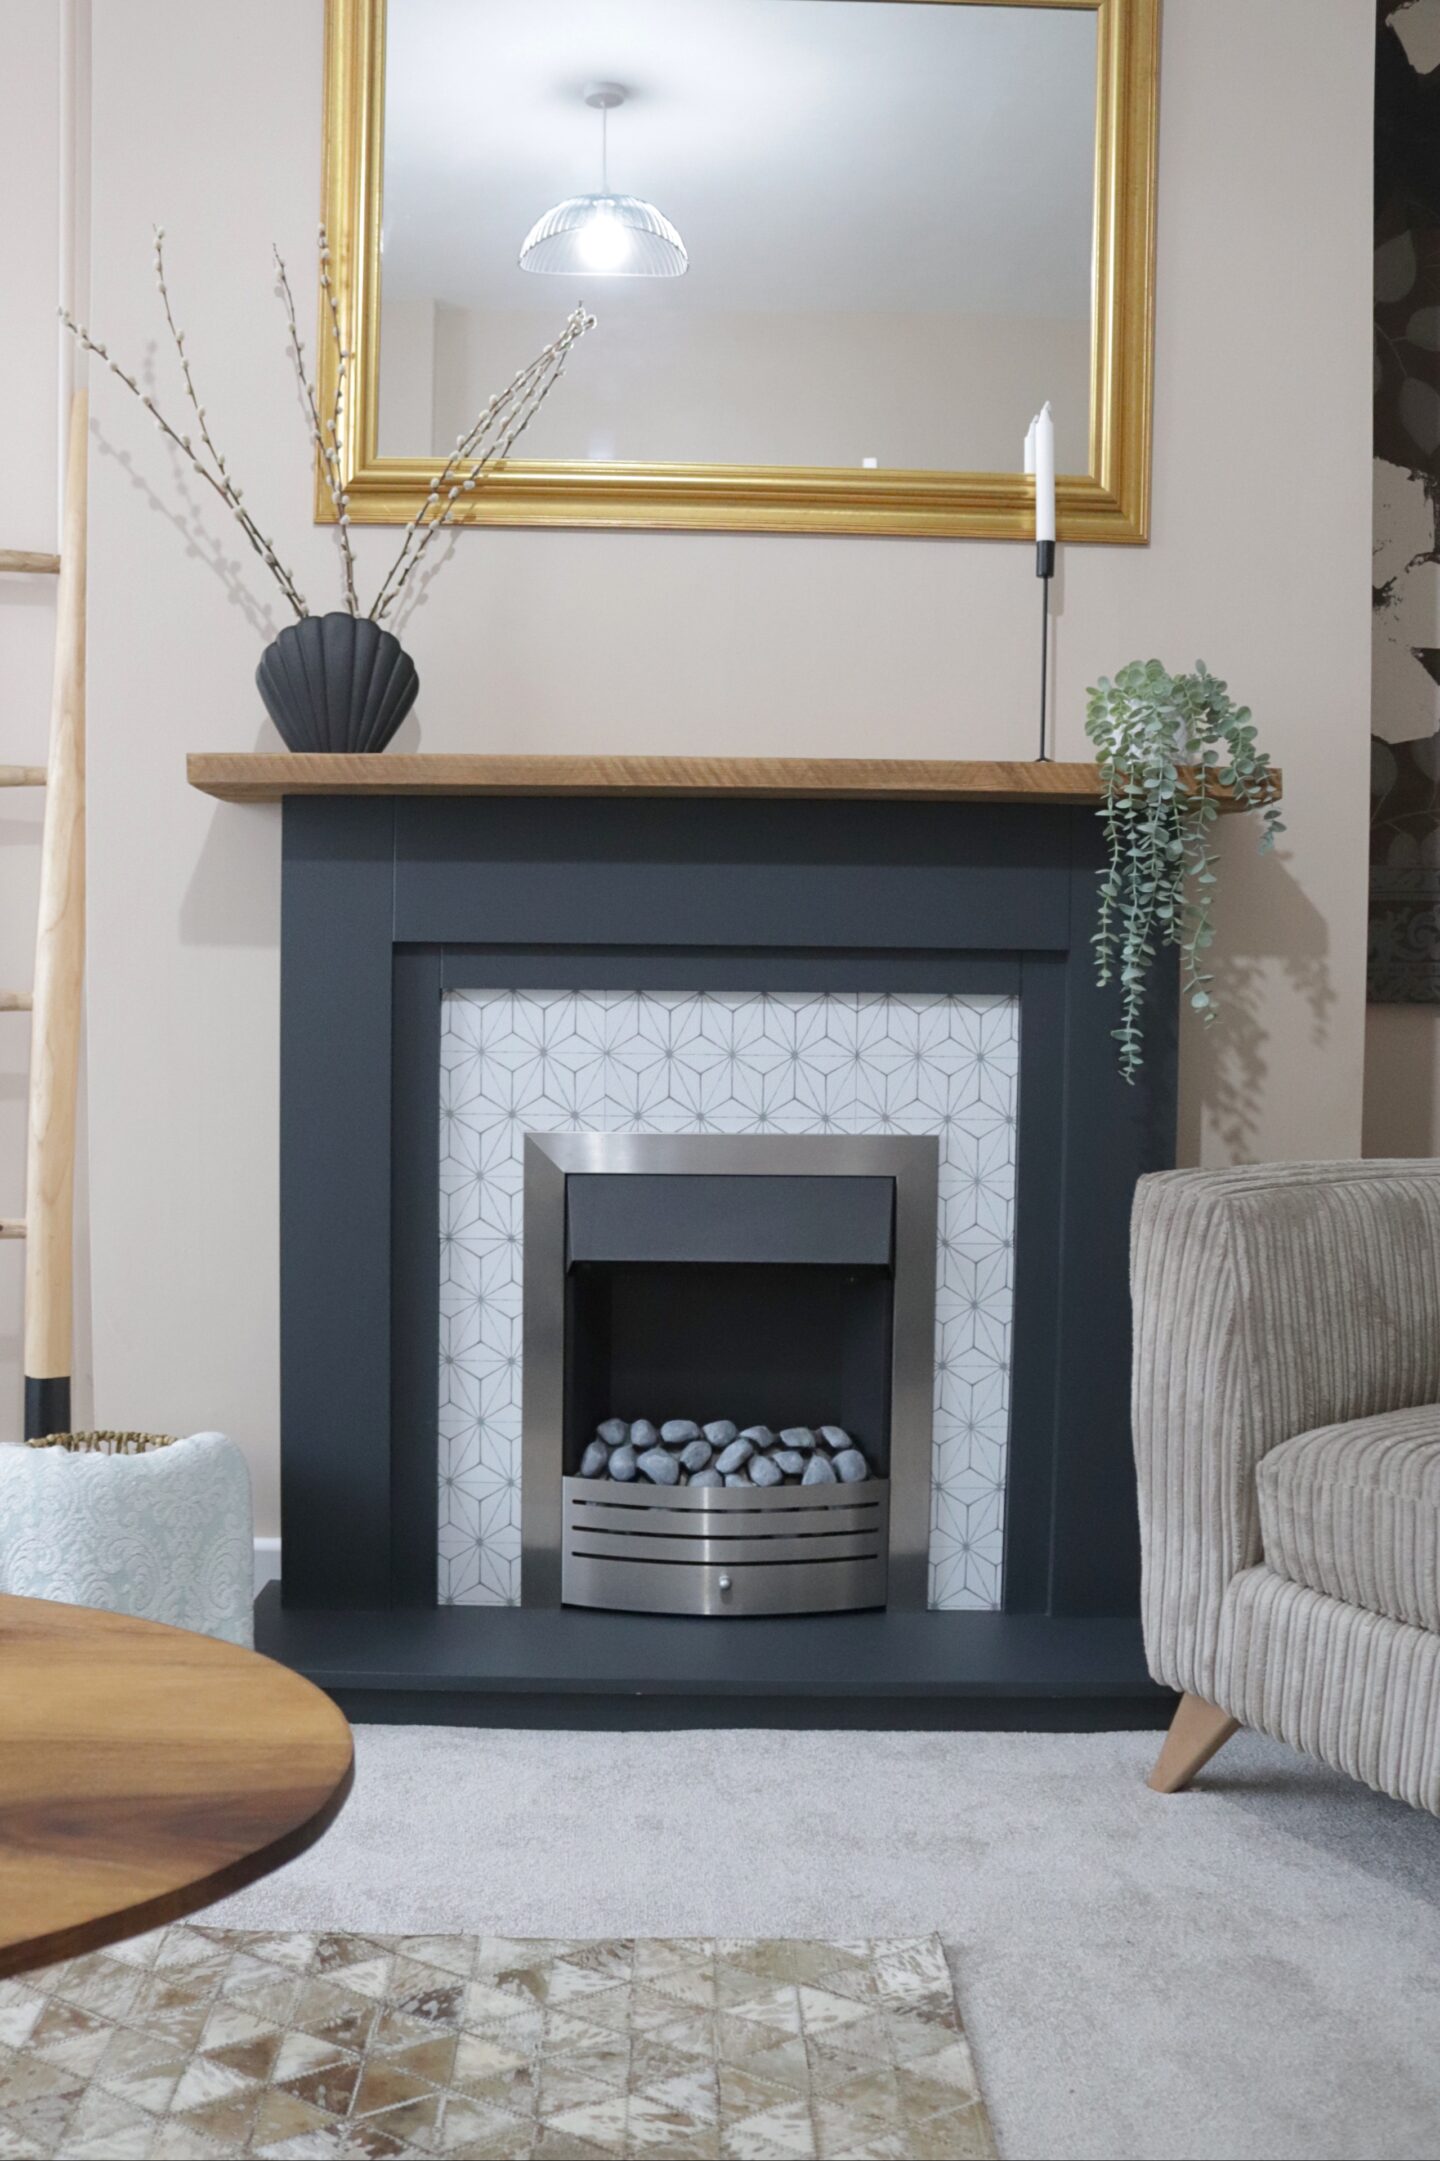
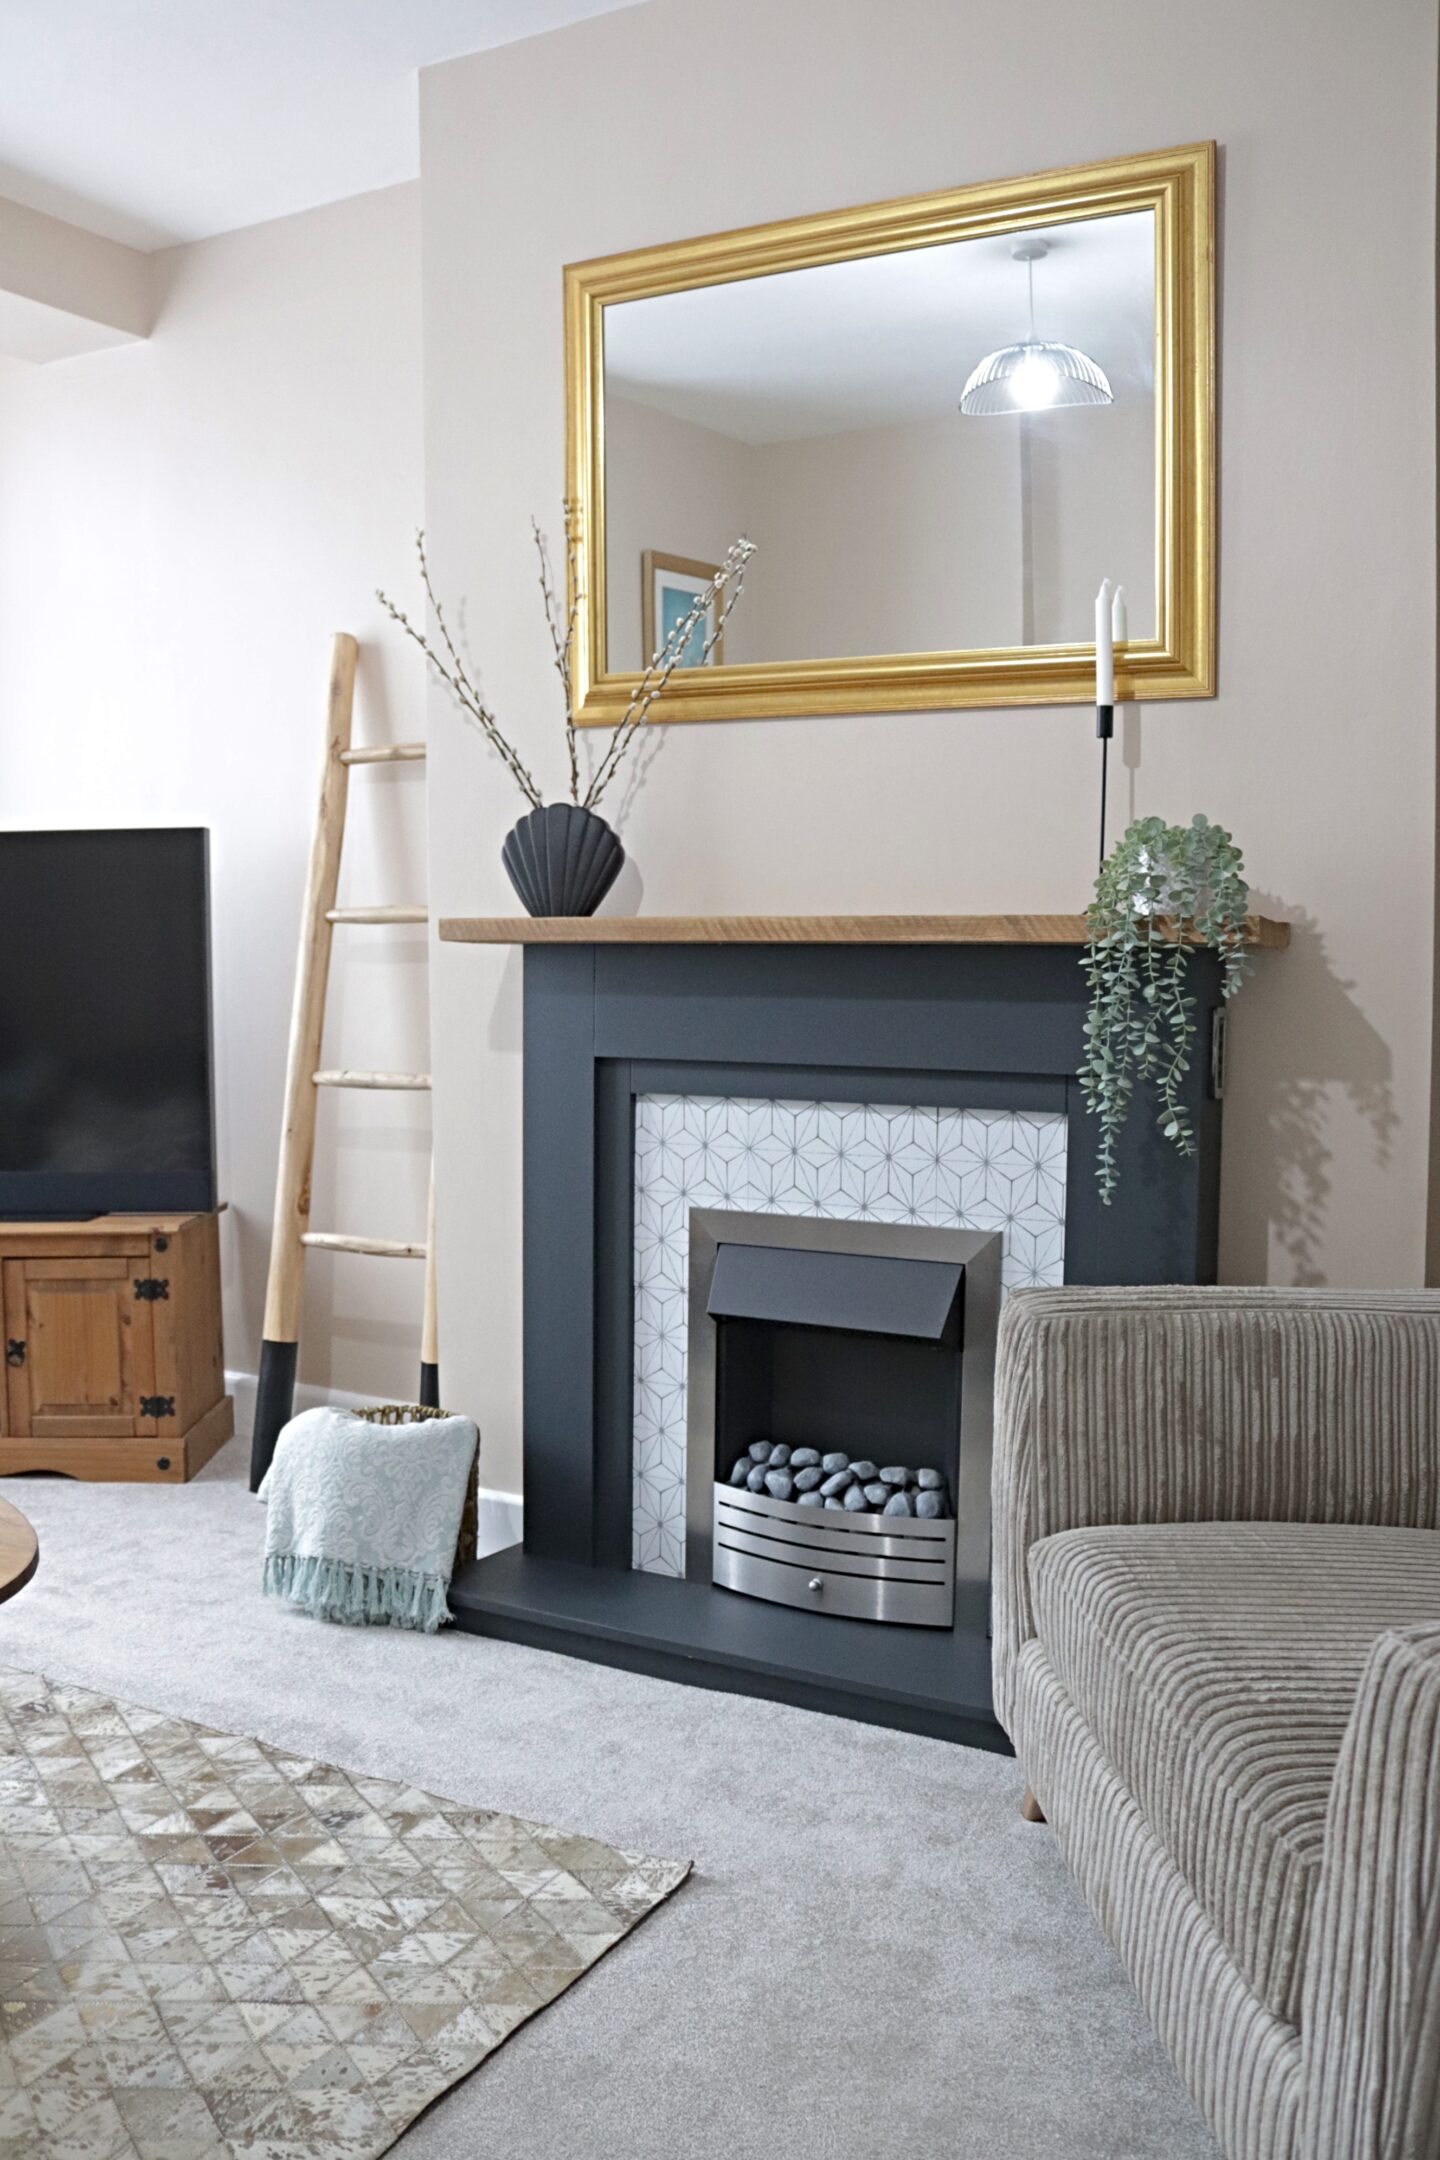
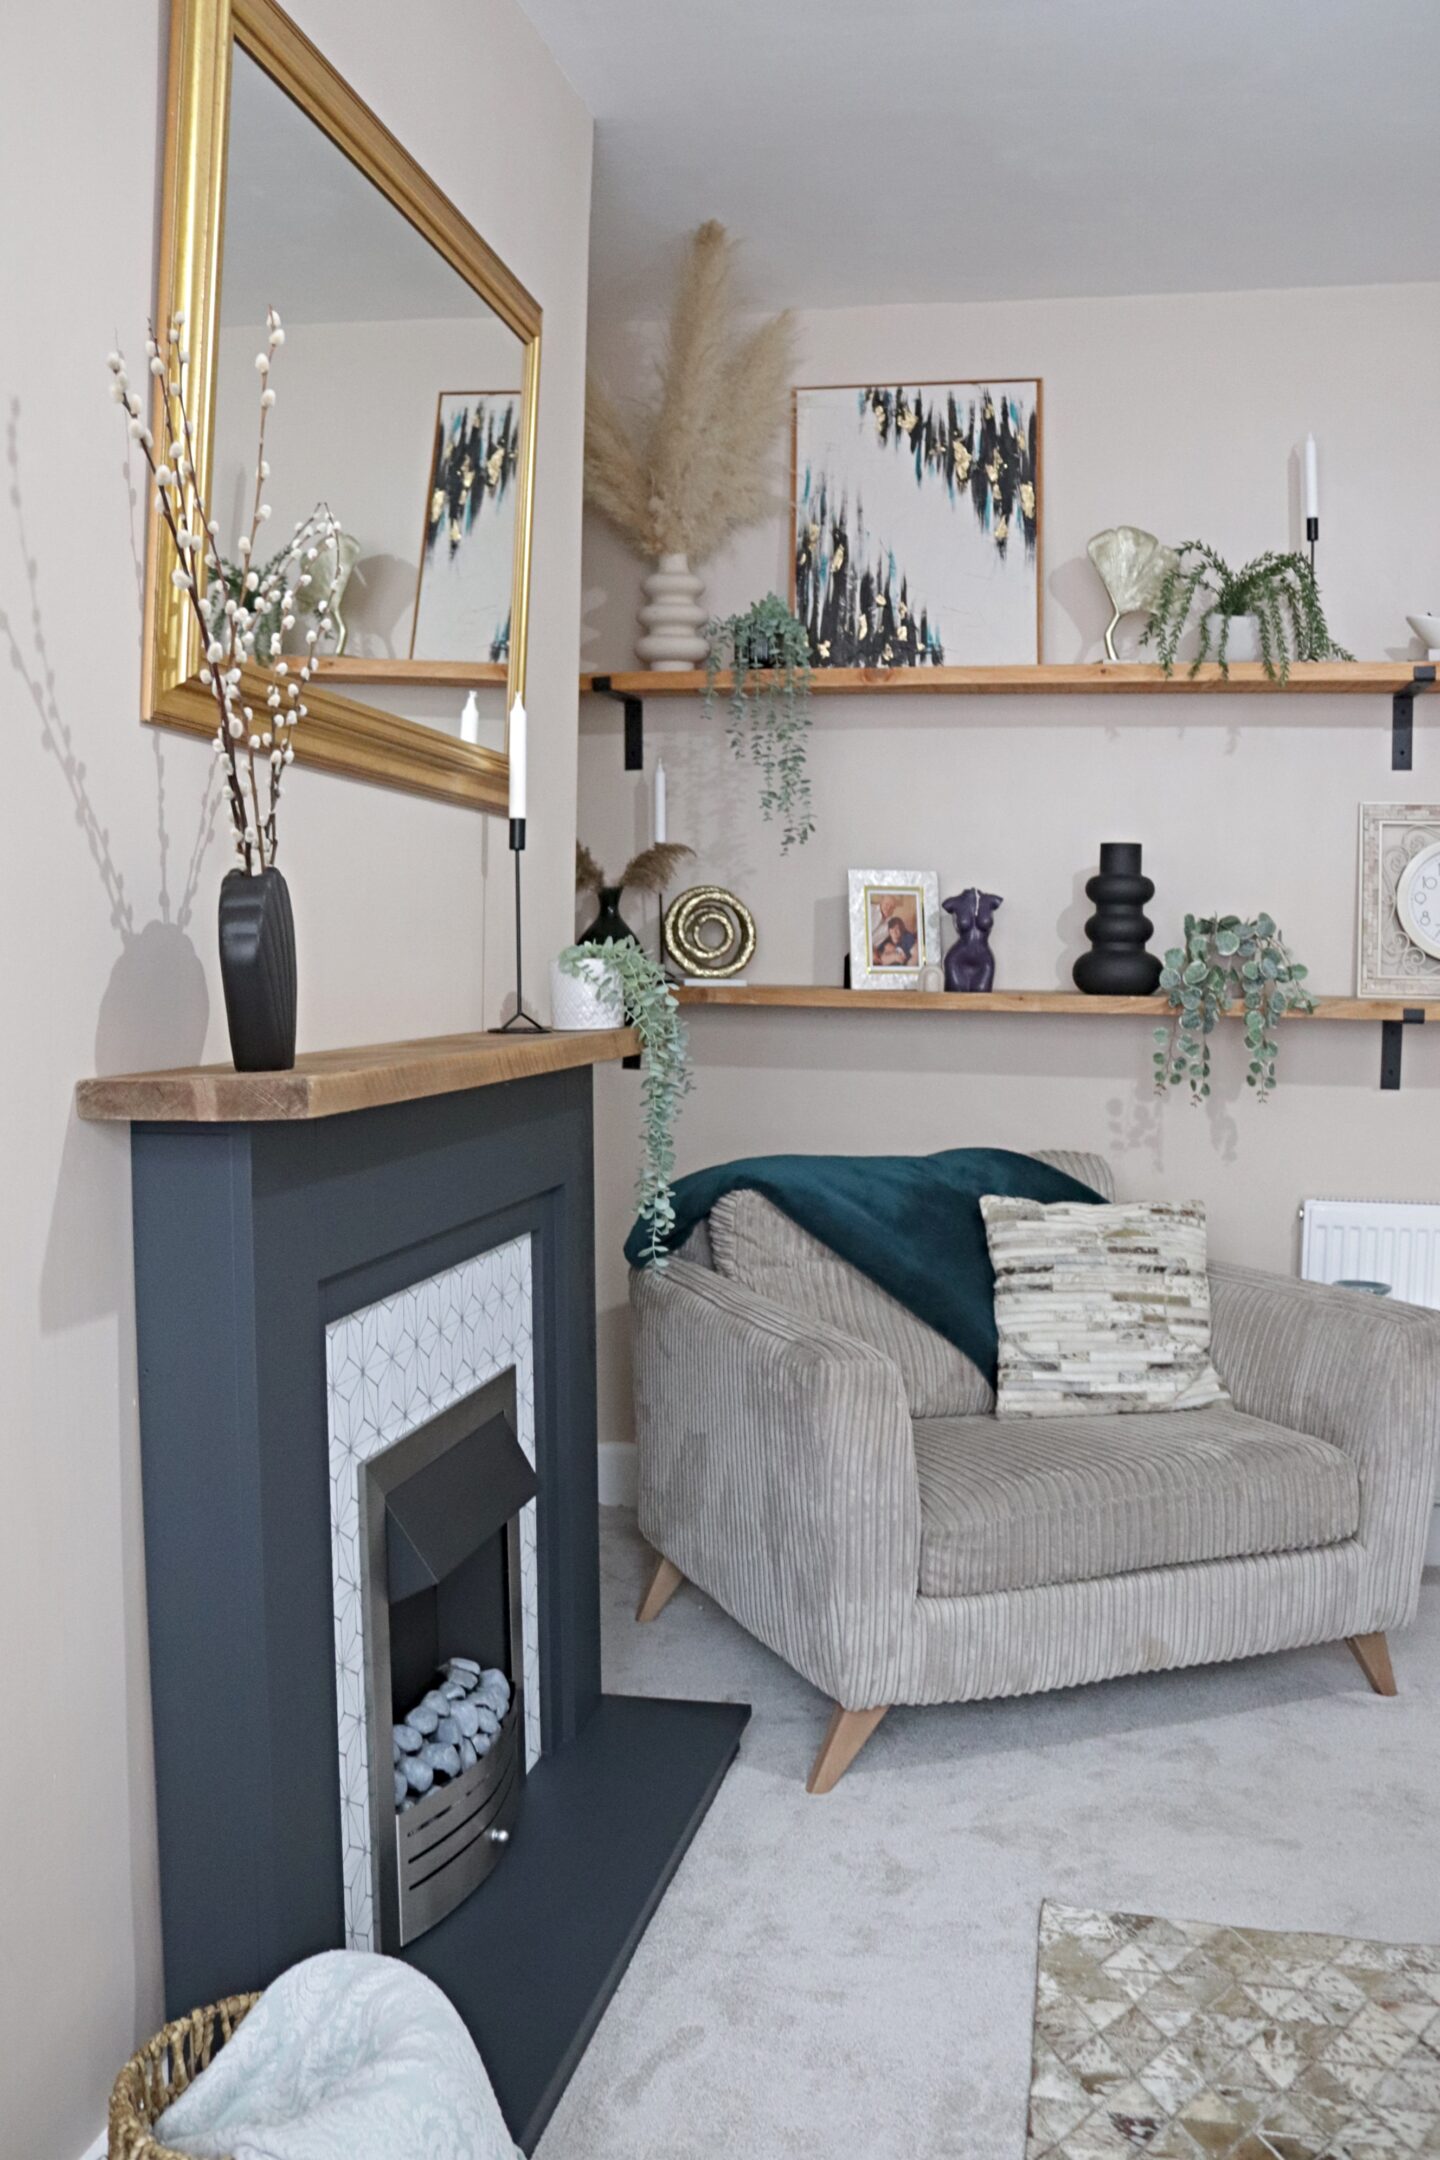
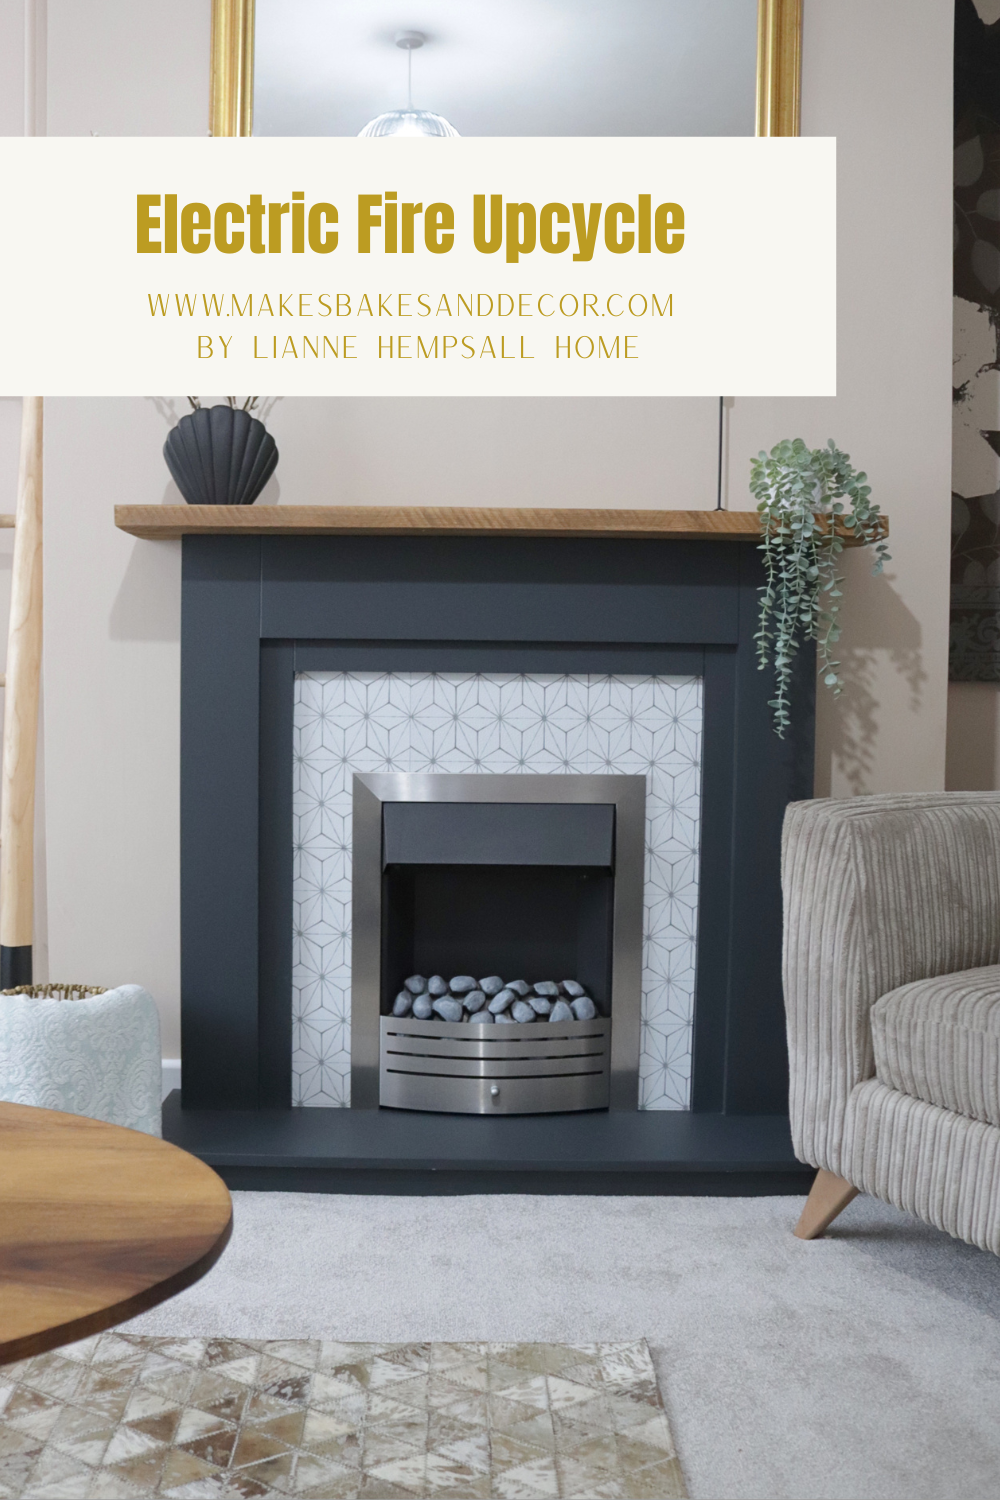
I did get a little carried away taking the photos, this isn’t even all the ones that I took! But we are so so happy with how this turned out. This Electric Fire Upcycle is a real focal point in the living room now. I think this project or doing something similar is such a great idea if like us you are renting and the original fire has been boarded up. Or even if you don’t have a chimney breast at all you can still create a mantle like this to make a feature in the room. I am really looking forward to decorating this mantle for Christmas and don’t you worry some Christmas content will be coming soon!
Lianne x
Pin my Electric Fire Upcycle to save it for later!